Project Serenity: an 08 Tacoma DC overland build-up

frozenground

Adventurer
As a DC TRD Taco owner, I am drooling over your truck. It is very well done, good show! As a browncoat sympathiser, I am liking the Firefly decal! Subscribing to this thread and taking notes...
Cool, thanks for the comments!

Now if I can just get it up to date before we leave for NV/Death Valley... guess I better grab a fresh cup of joe :coffee:
 

frozenground

Adventurer
bed rack v2.0/bed rail modification

started by selecting some steel, 3x3 angle and box tube:
serenitybuild10_13.jpg


removing the bedside caps:
serenitybuild10_14.jpg


measured and cut the bedside caps, removing the overhang over the rail. once I had the fit I sanded down the edges and cleaned them up.
serenitybuild10_15.jpg


first cuts completed in the steel: fitting up nicely!
serenitybuild10_16.jpg


long cuts completed in the steel, hole patterns transferred and drilled, test fitting:
serenitybuild10_17.jpg


trimmed to length and shaped, starting to look good
serenitybuild10_18.jpg


front:
serenitybuild10_19.jpg


next i fabbed up the rack mounts from the box tube:
serenitybuild10_20.jpg


rack mounts all welded on:
serenitybuild10_21.jpg


Then it was time to put everything together in the bed and make sure the tonneau was gonna fit with the new system and the Frontrunner rack etc. I also needed to get the final measurements for the weatherstripping that I later used to seal between the bed rails and the tonneau rails.

pics from the mockup:
serenitybuild10_22.jpg


tonneau rolled up:
serenitybuild10_23.jpg


tonneau rolled down:
serenitybuild10_24.jpg


Everything fit together pretty well at that point, it is a little tight getting the header installed with the extra thickness of the steel, but it works. Much stronger and more stable than the original mounts I had made.

During the mock up and test fit, I decided to make some tie downs and weld them onto the new bedrail caps as well. Turned out sweet, and have proven to be very useful.
serenitybuild10_25.jpg


At that point I wanted to get them powdercoated, called around and both local shops had a 3 week wait. Well, we had a trip planned so as usual I needed it done and took them in to get Line-X'd instead.. big mistake, came out looking like melted poo and coated so thick with giant runs they wouldn't fit back into the bed. Got my money back from that fiasco, stripped the Line-X off, and rattlecanned them with Krylon. I have plans to take them out again later this winter to make some modifications and will get them powdercoated then.
 

Mr. Leary

Glamping Excursionaire
As a DC TRD Taco owner, I am drooling over your truck. It is very well done, good show! As a browncoat sympathiser, I am liking the Firefly decal! Subscribing to this thread and taking notes...

So yer one of them independents! :mad:


:coffeedrink:

I'll apologize in advance for vomiting random Firefly quotes all over this thread...


... but please carry on. I'm really liking this build!
 

frozenground

Adventurer
tailgate lock and DTRL override switch

tailgate lock: I installed the basic Pop n' Lock system. Pretty straightforward, just needed to remove the tailgate backer.
serenitybuild10_26.jpg


Here it is installed. Cool unit, pretty secure. Not impressed with the lock cylinder itself, though. At some point in the future I may try to upgrade the cylinder with a higher quality version..
serenitybuild10_27.jpg


next I decided to try the DTRL "stealth" mod. This is basically just a switch interrupt to the daytime running lights, so that I can shut them off when desired.

Simple mod, but difficult contortions required to reach the correct wiring harness behind the dash (unless you feel like removing the lower dash for this. I didn't )

here's the rocker switch I picked up at Radio Shack:
serenitybuild10_28.jpg


Here's where I installed it, next to the hood release. You can see the two leads for the switch coming out of the cubby hole. After this pic was taken they got wired up to the switch and everything got put back together
serenitybuild10_29.jpg
 

frozenground

Adventurer
So yer one of them independents! :mad:


:coffeedrink:

I'll apologize in advance for vomiting random Firefly quotes all over this thread...


... but please carry on. I'm really liking this build!

ha no worries, not like your going to the special hell for it :ylsmoke:
 

frozenground

Adventurer
some shake down pics

after I got the rack mods finished we took her out to make sure it wasn't going to come apart and dump our tent in the trail. As usual, wifey had the camera handy :cool:

projectserenity_34.jpg


projectserenity_35.jpg


projectserenity_36.jpg


serenitybuild10_33.jpg


serenitybuild10_32.jpg


serenitybuild10_34.jpg


zapping some prairie rats over on my buddy's place
serenitybuild10_36.jpg
 

frozenground

Adventurer
RAM Mount

I went with a RAM mount for laptop mounting solution. In the future I am contemplating a netbook or tablet and mini-mount system instead which would take up less room, but for now this is working pretty good..

components unpacked:
serenitybuild10_37.jpg


pic of how it mounts to the passenger seat brackets, very solid.
serenitybuild10_38.jpg


install was simple. I ended up taking out one section of the arm to save some room, and it still has plenty of adjustment range for both driver and passenger use.
serenitybuild10_39.jpg
 
Last edited:

frozenground

Adventurer
rear bumper bedliner-ized

then my chromaphobia flared up again and we had to kill off the last remaining chrome on the truck, the rear bumper.. So we picked up some roll-on bedliner and wifey did a great job with the coating while I was working on the toolbox and dual 12 volt setup..

getting prepped:
serenitybuild10_40.jpg


First coat.. looks like crap!
serenitybuild10_41.jpg


But after the third coat it looks great! Here it is all re-assembled with some road dust too..
serenitybuild10_42.jpg
 

frozenground

Adventurer
some misc stuff..

re-relocated the rear diff breather as it was getting pretty dusty/muddy inside the fender. so I drilled a hole and put it here:
serenitybuild10_43.jpg


got some cool no step decals for the tonneau rails:
serenitybuild10_44.jpg


serenitybuild10_45.jpg
 

frozenground

Adventurer
new toolbox and dual 12 volt system

took me a long time to get all this together and planned out, but definitely worth it.

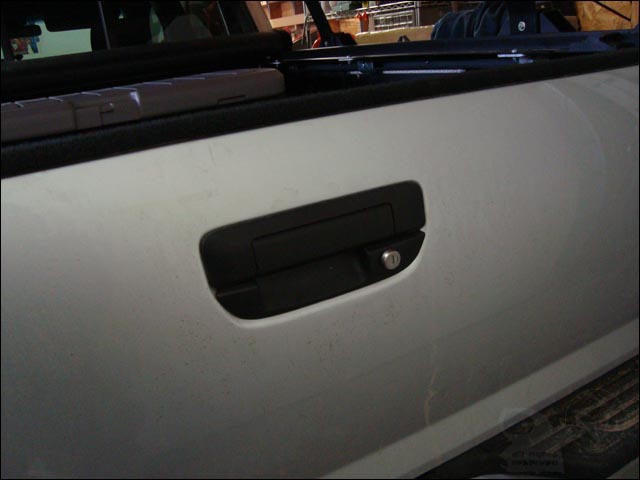
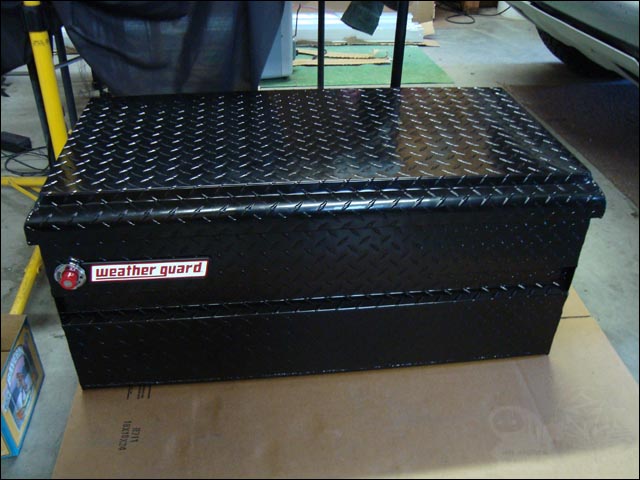
new toolbox the day I got it!
serenitybuild10_46.jpg


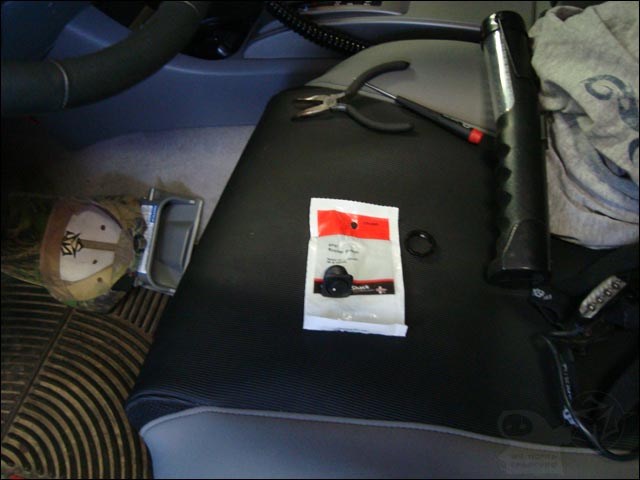
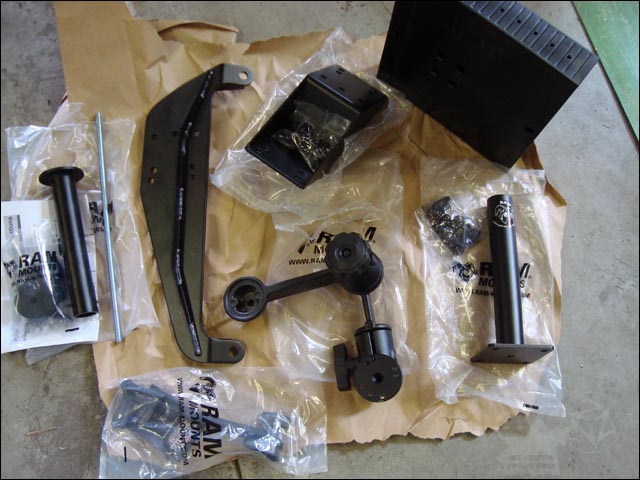
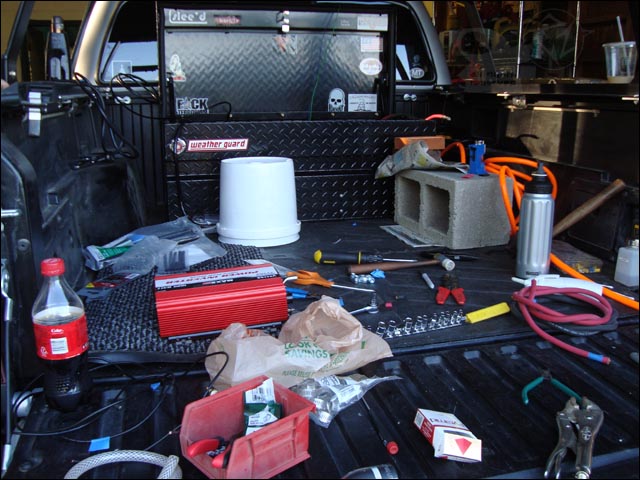
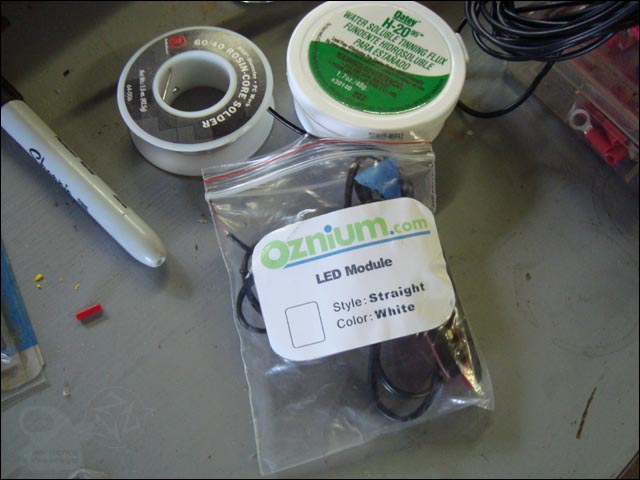
collecting components took awhile...
serenitybuild10_47.jpg


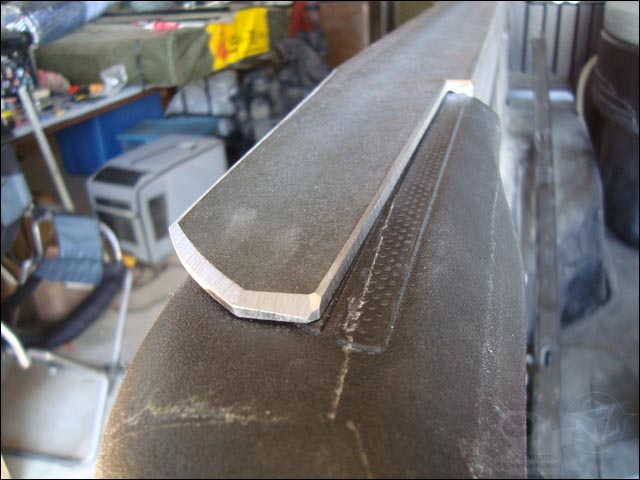
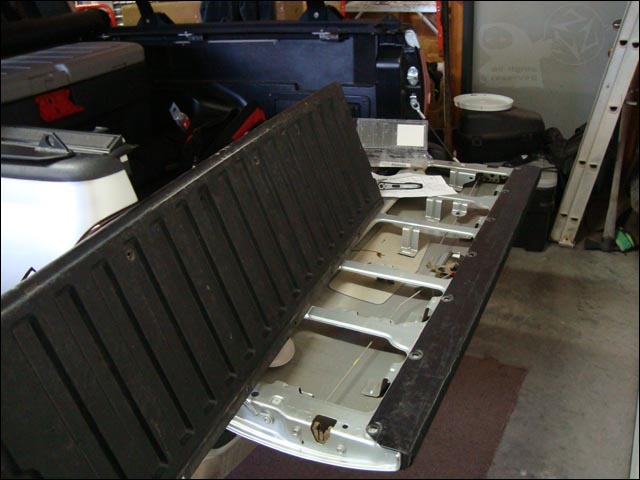
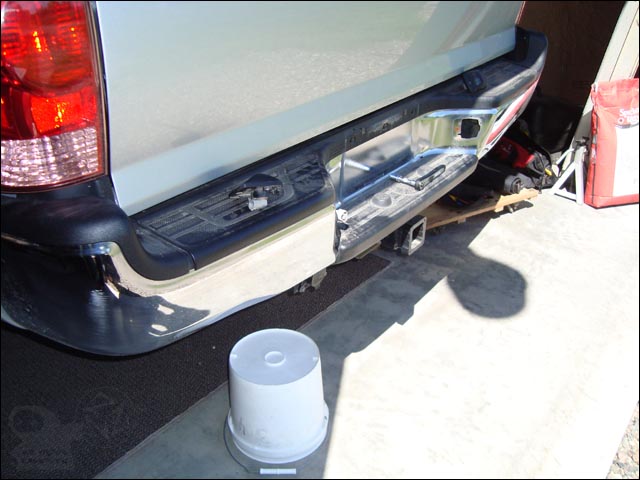
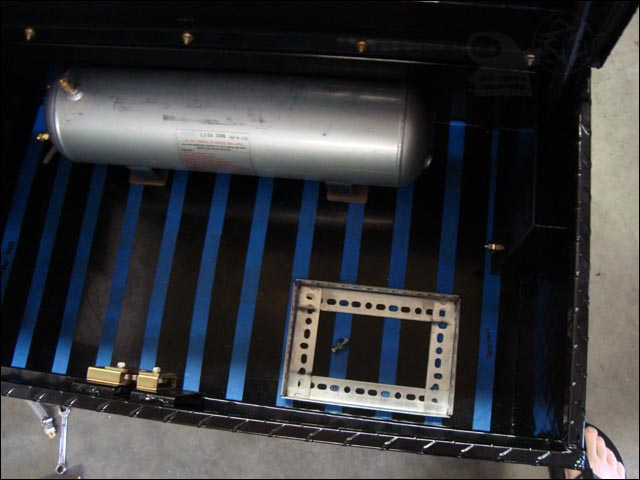
ripped the old junk out of the truck and started laying out the interior of the new box:
serenitybuild10_48.jpg


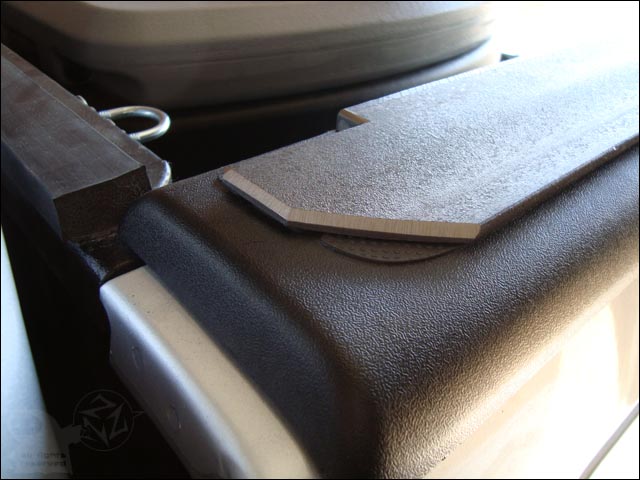
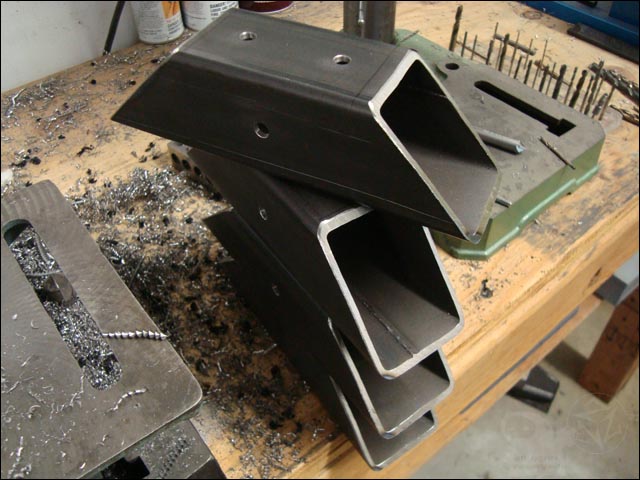
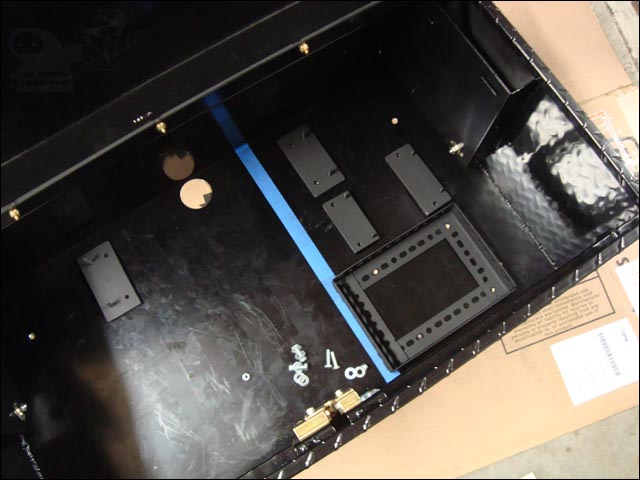
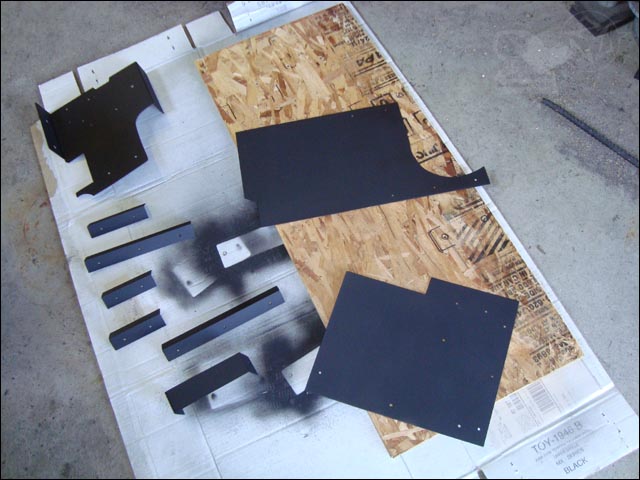
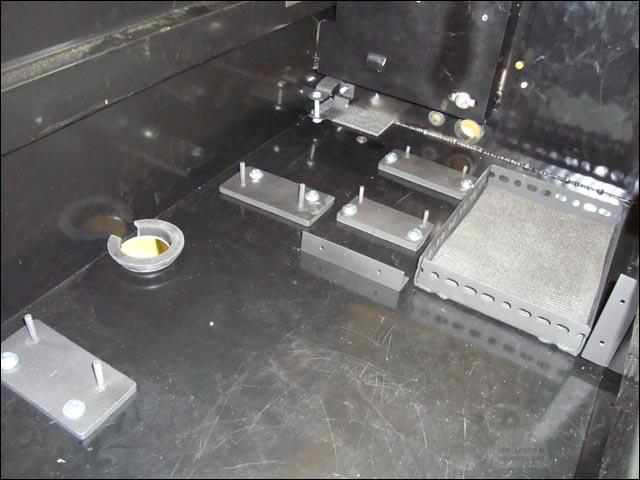
sub-structure brackets all complete and painted:
serenitybuild10_49.jpg


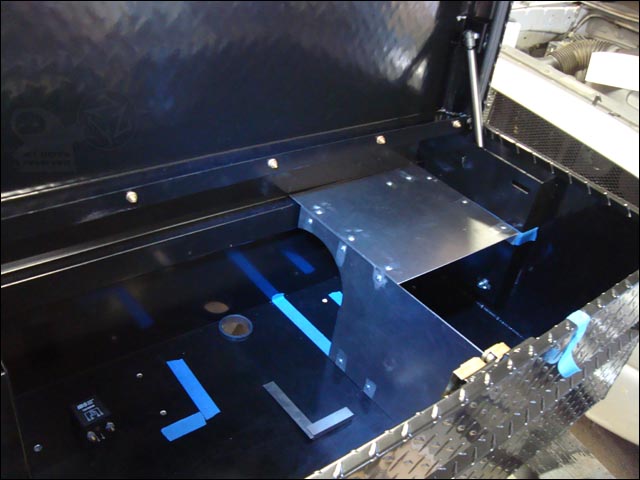
test fitting the dividing wall and shelf:
serenitybuild10_50.jpg


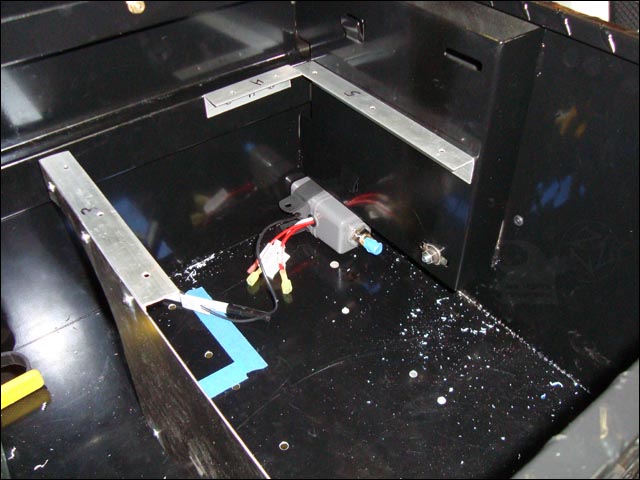
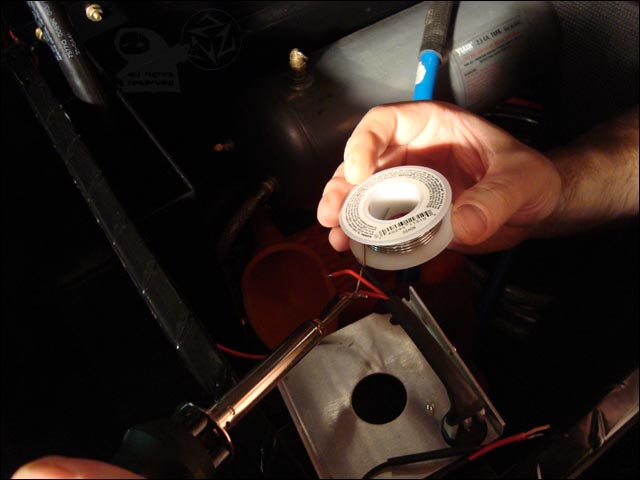
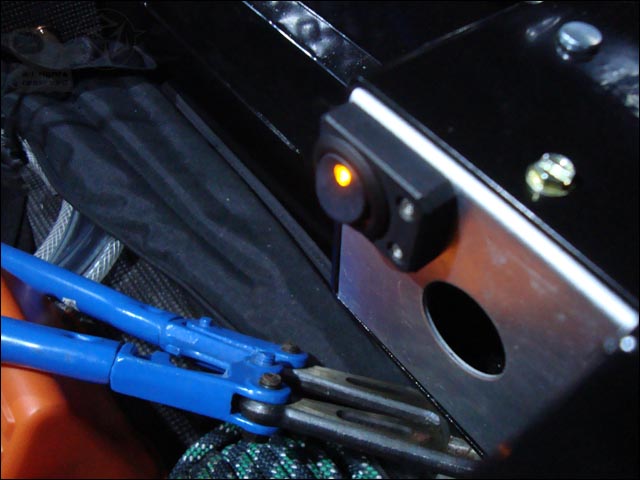
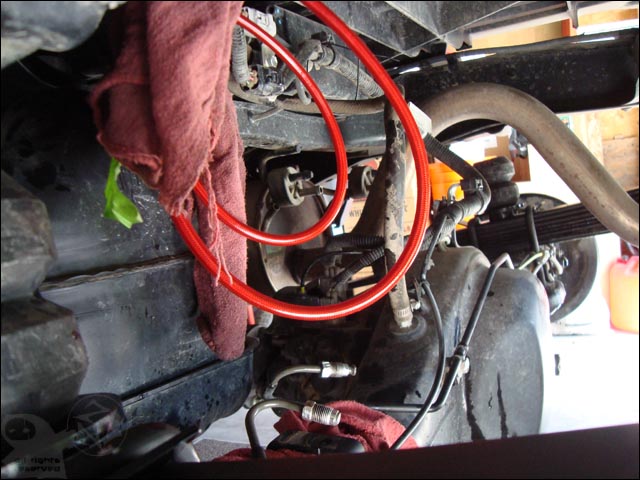
drilling more holes.. pressure switch bracket completed
serenitybuild10_51.jpg


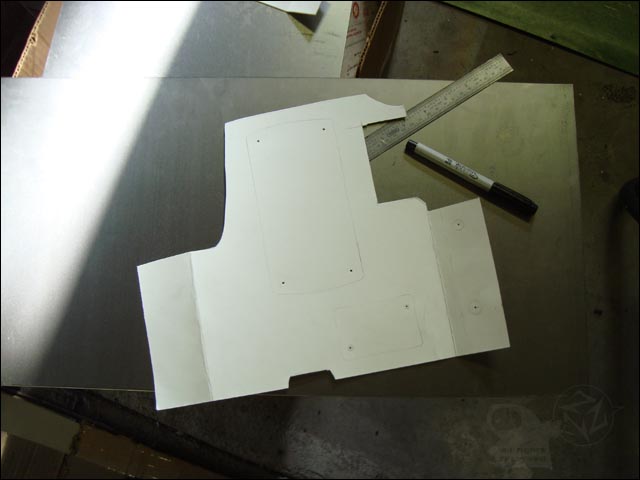
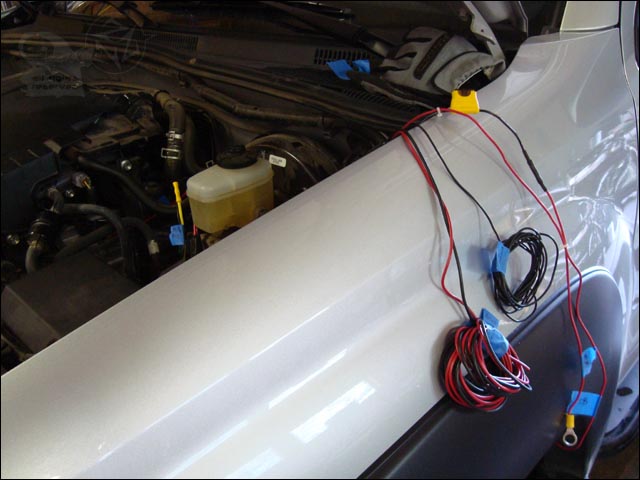
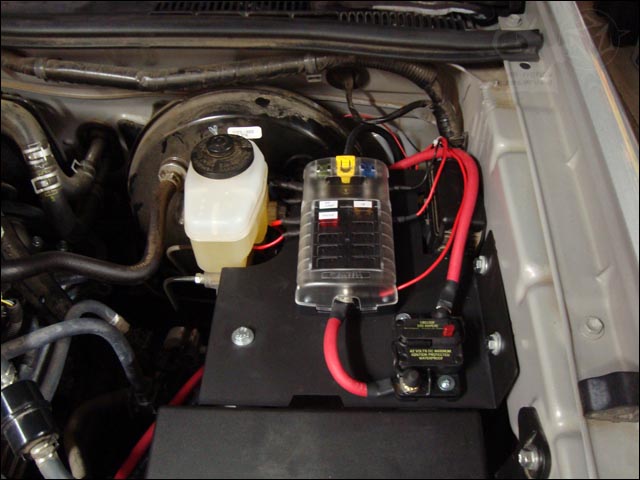
making a pattern for the underhood bracket plate to hold the BlueSea fuse block (thanks barlowrs!)..
serenitybuild10_52.jpg


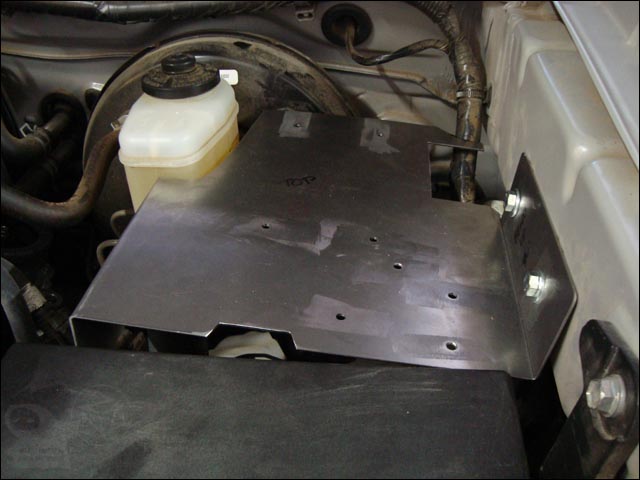
test fitting the bracket plate under the hood. made this out of 16ga
serenitybuild10_53.jpg


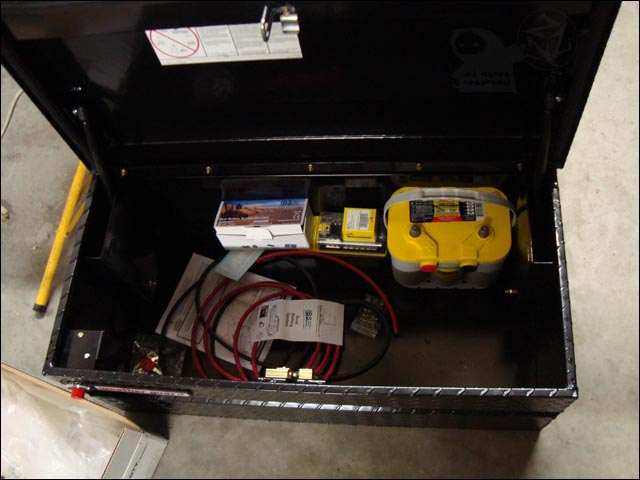
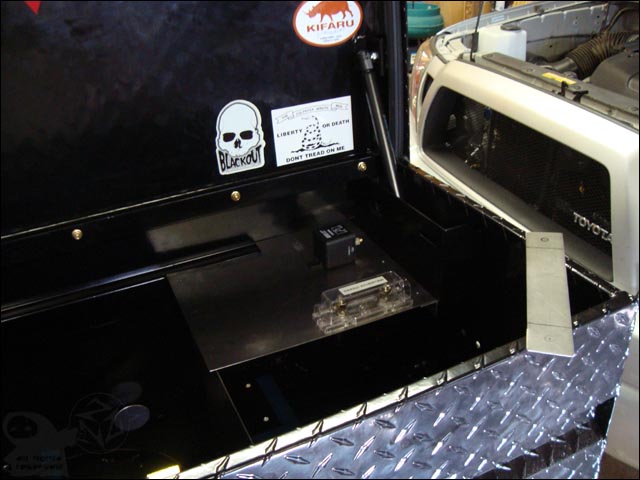
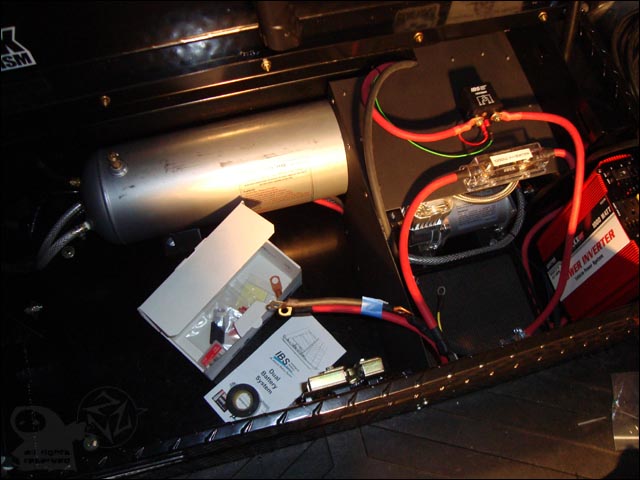
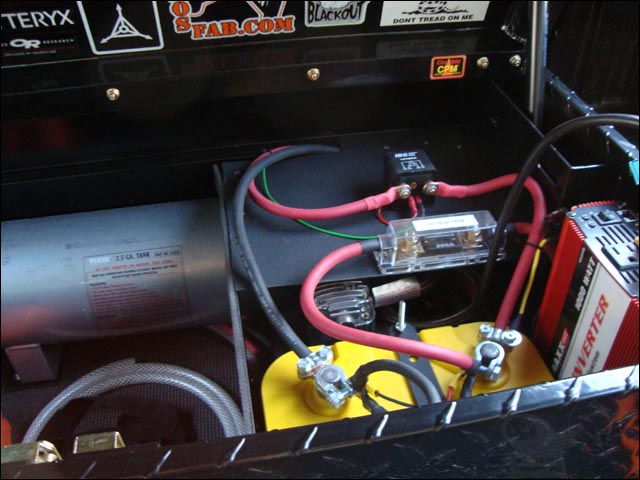
laying out the shelf components, IBS relay and fuse holder (also started installing some stickers lol)
serenitybuild10_54.jpg


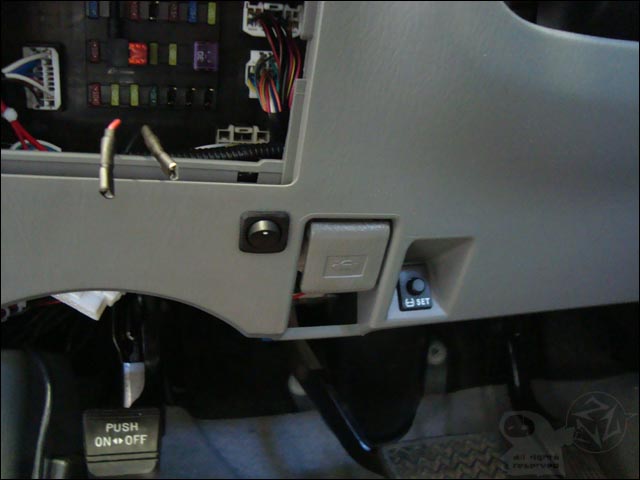
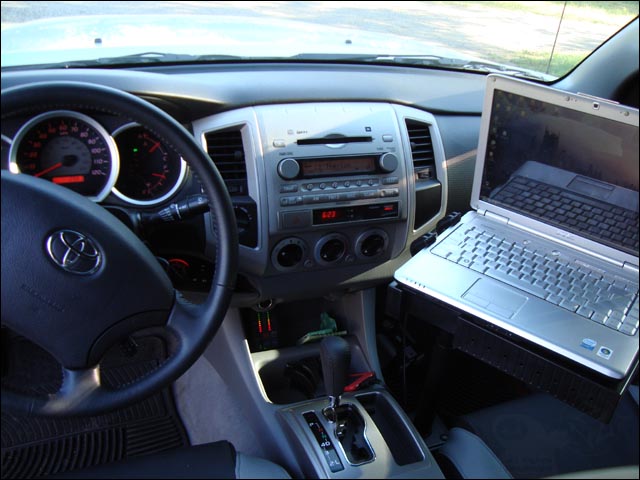
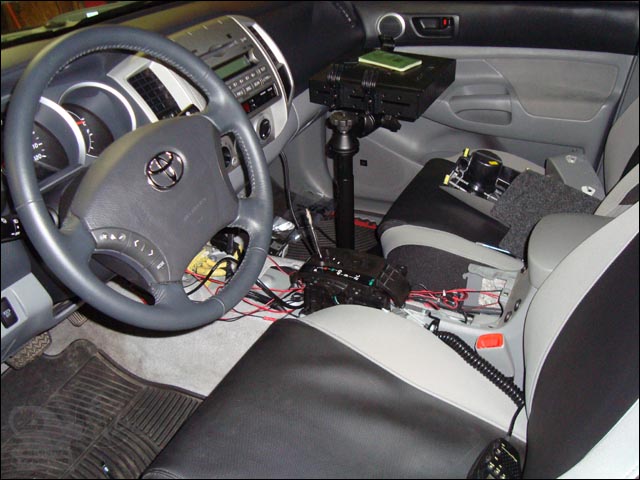
center console disassembled, running all the wiring for the battery controller module:
serenitybuild10_55.jpg


All remaining metal parts getting paint:
serenitybuild10_56.jpg


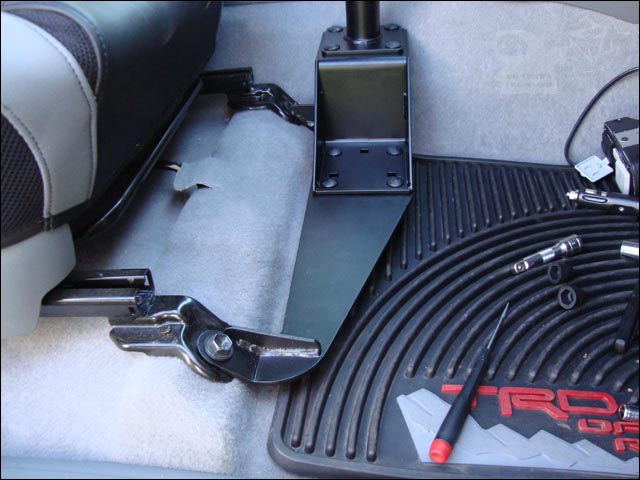
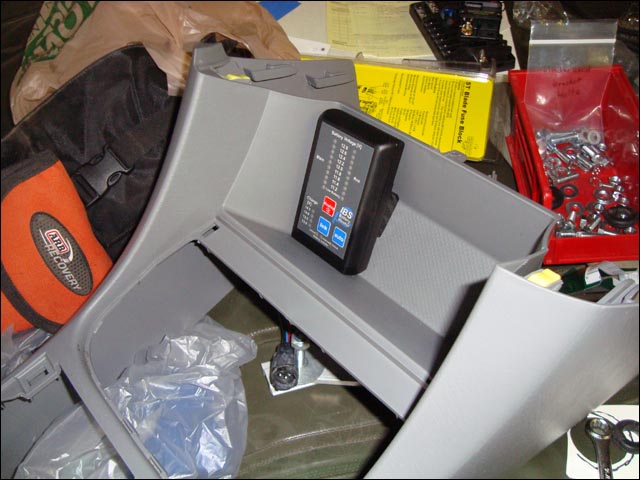
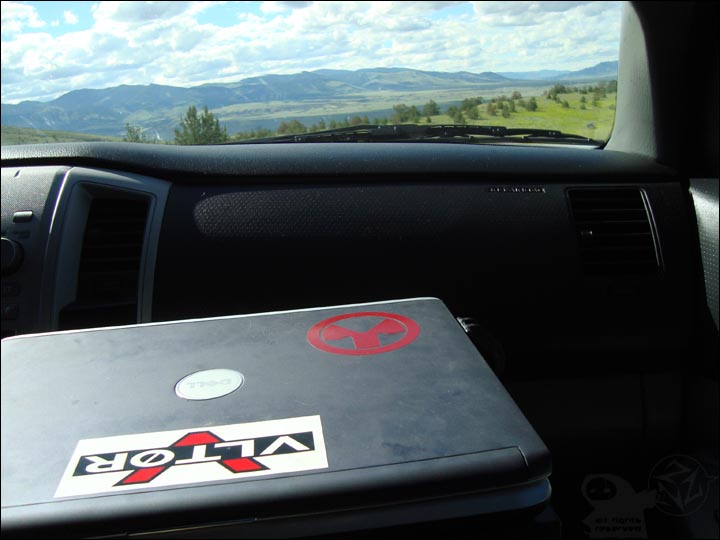
Installing the battery controller module in the center console. Made this little bracket with velcro to hold it place, worked great!
serenitybuild10_57.jpg


battery controller in place:
serenitybuild10_58.jpg


re-wiring all the old accessories to the new fuse block location:
serenitybuild10_59.jpg


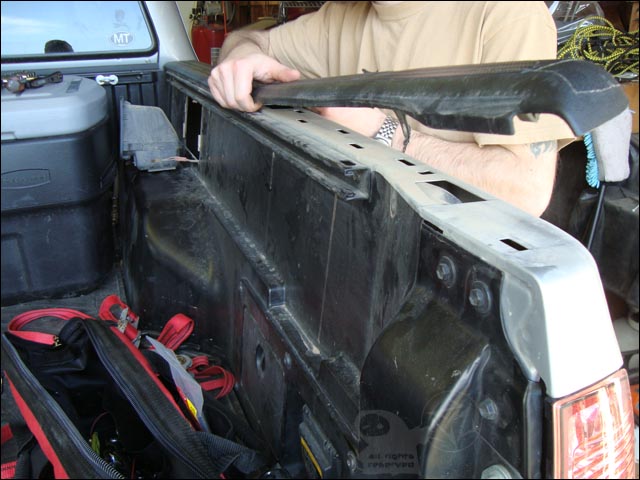
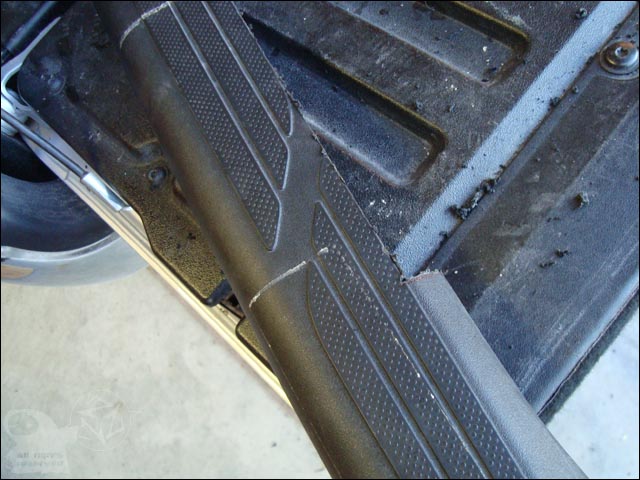
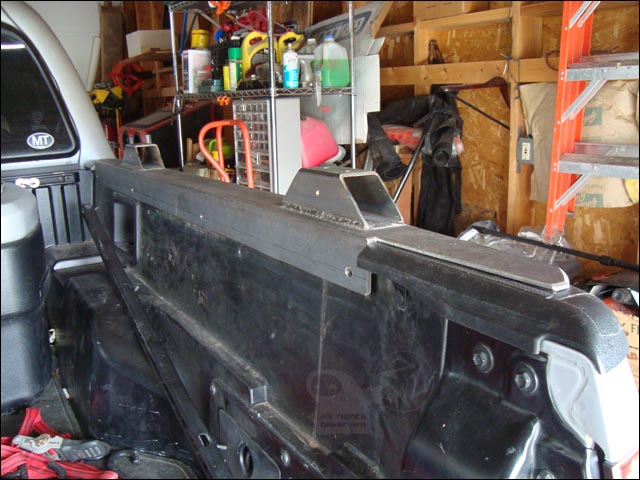
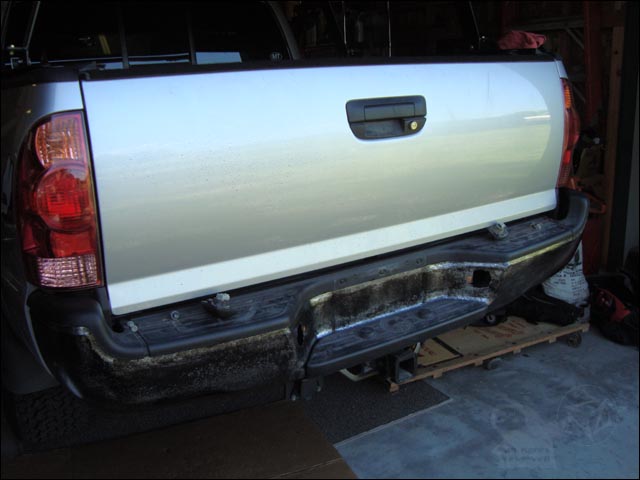
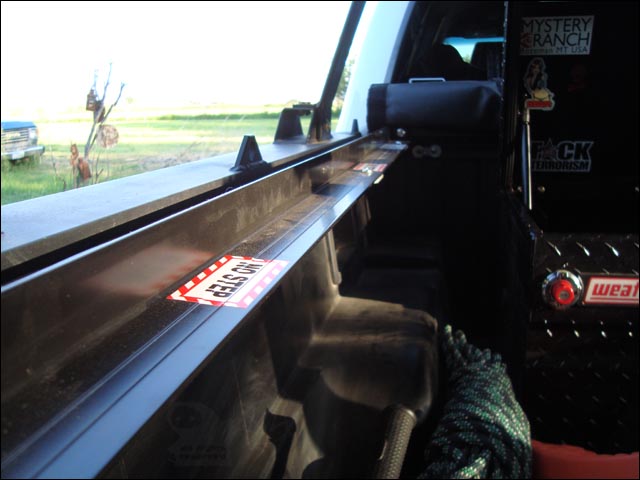
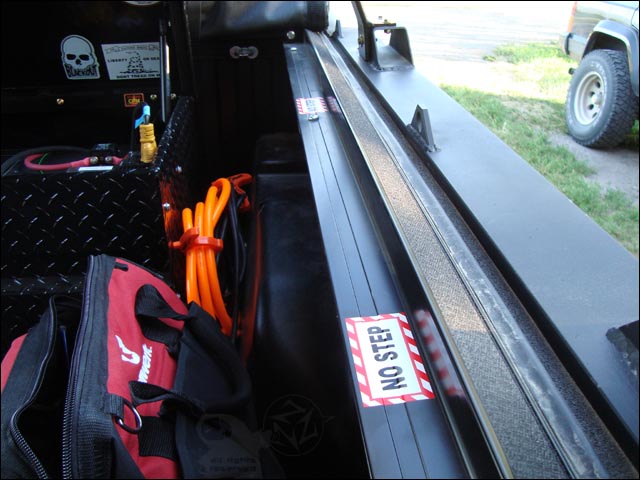
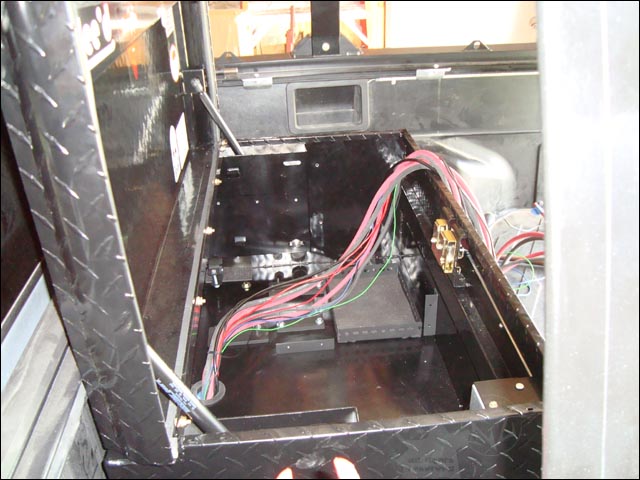
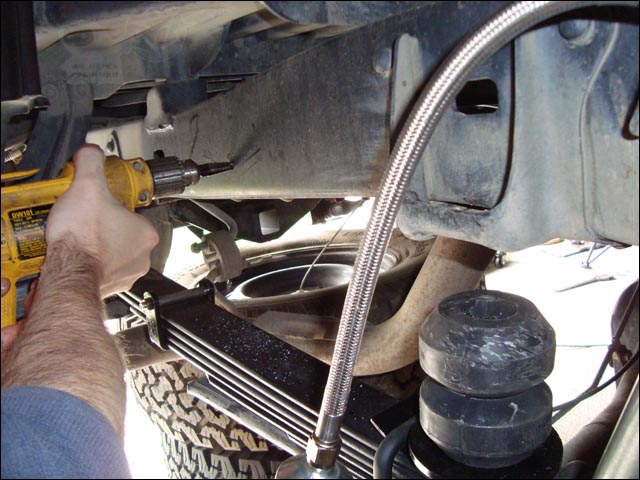
finally time to mount the box into the bed, all brackets bolted in first..
serenitybuild10_61.jpg


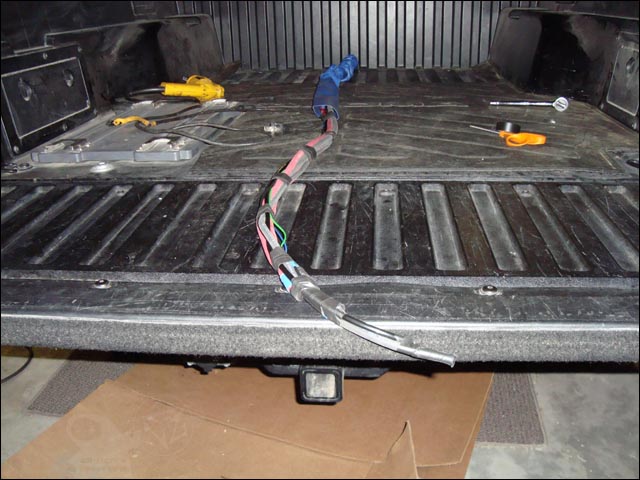
giant wire snake creature routed up into the bed..
serenitybuild10_62.jpg


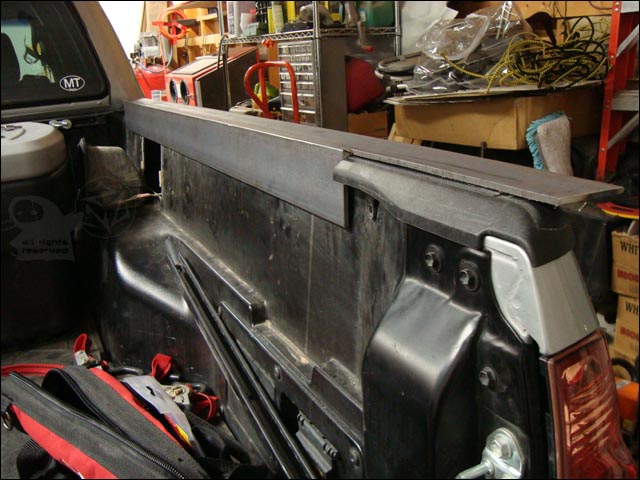
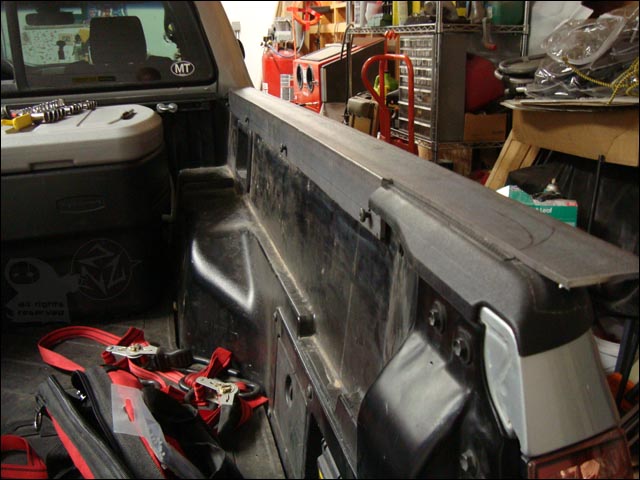
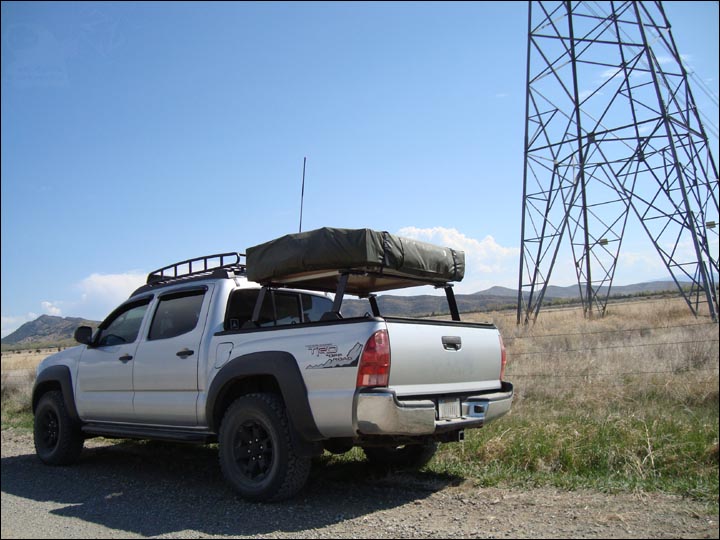
box mounted to bed and ready for components!
serenitybuild10_63.jpg


cont. in next post..
 

frozenground

Adventurer
dual battery / toolbox cont..

feel like i spent a couple days living right there getting all the junk installed lol
serenitybuild10_64.jpg


connections to the fuse block complete, 12 circuits should be plenty of room for all my future electrical needs under the hood.
serenitybuild10_66.jpg


inside of box almost complete, all wiring and components in place just waiting for the battery...
serenitybuild10_67.jpg


wanted to add some illumination to my box o magic, so i got a couple of these 6LED modules and a switch from oznium
serenitybuild10_68.jpg


modifying the plate from the latch in the toolbox to accept the switch, made a g10 standoff plate to prevent interference from the latch..
serenitybuild10_69.jpg


switch installed:
serenitybuild10_70.jpg


soldering in...
serenitybuild10_72.jpg


connections complete, switch on!
serenitybuild10_73.jpg


let there be light
serenitybuild10_74.jpg


completed box pics
serenitybuild10_141.jpg


serenitybuild10_142.jpg
 

frozenground

Adventurer
front suspension

I think it was about in here somewhere that I re-did the front suspension.

Before:
serenitybuild10_82.jpg


After:
serenitybuild10_89.jpg


some pics of the process:

pickle forking the ball joint lol wut
serenitybuild10_83.jpg


a pain to get these out, the pivot bolt is trapped in the engine compartment and took some bending of the sheet metal to get it out..
serenitybuild10_84.jpg


the old and the new
serenitybuild10_85.jpg


new control arm in, this pic shows the taper adapter that connects the spindle to the uniball in the arm, pretty cool system..
serenitybuild10_86.jpg


coilover and upper arms in place, time to mount the sway bar relocation plates and brackets for the rez cans
serenitybuild10_87.jpg


pic of the passenger side showing the can bracket before can is attached..
serenitybuild10_88.jpg


drivers side all buttoned up
serenitybuild10_89.jpg
 

frozenground

Adventurer
rear suspension

and moving right along to the rears

before:
serenitybuild10_90.jpg


and after:
serenitybuild10_102.jpg


pics of the process:

first thing was to get the old junk out..
serenitybuild10_91.jpg


removing the leaf springs, always nice to have some extra hands around for this..
serenitybuild10_92.jpg


rear springs out.
serenitybuild10_93.jpg


giving the leafs a few coats of rust preventative.
serenitybuild10_94.jpg


had to grind the keepers off one end to get the AALs to fit into the packs
serenitybuild10_95.jpg


new springs in place!
serenitybuild10_96.jpg


flushing off the center pin..
serenitybuild10_97.jpg


u-bolts and Timbren bumpstops in place
serenitybuild10_98.jpg


time for brake lines, this was a pain because I had to remove the brackets and grind out the openings larger to fit the new lines. worked out pretty well in the end..
serenitybuild10_99.jpg


drilling the frame to install the rez can mounts
serenitybuild10_100.jpg


at some point in there we sprayed the rear axle, shock mounts and spring perches with the anti rust stuff.

rear drivers side pretty much done:
serenitybuild10_102.jpg
 

frozenground

Adventurer
suspension shakedown and GPS reciever

after I got the suspension finished up and a full laser align it was time to shake her out, so we went for a drive on some washboards and rutted gravel. Fast. Any of my fellow Montanans who may have been hanging out on a ranch over by Buffalo Jump that day, you have my sincere apologies for the dust cloud :sombrero:

serenitybuild10_105.jpg


serenitybuild10_103.jpg


serenitybuild10_104.jpg


around that time I picked up a GlobalSat waterproof USB GPS antenna. We started using it on the laptop in conjunction with DeLorme Topo and it is working great so far. I will get more pics of the GPS puck hardmounted to the rack soon.
serenitybuild10_107.jpg
 

Forum statistics

Threads
185,915
Messages
2,879,594
Members
225,497
Latest member
WonaWarrior
Top