Pink Panther Build

bee

Observer
IMG_20130526_215743_1.jpg


I have been toying with building a camper for 3 years ever since I lived out of a pickup shell while traveling the Canadian Rockies. The Goal is to have a True 4 season, 4 wheel drive vehicle that is refined enough to be able to live in full time if inclined.

My construction methods are based off of PODs build. Foamular 600 and 12oz fiberglass will be making up the box. The box will be removable from a custom flatbed mounted on a pickup. Water and batteries will be mounted to the truck to keep weight low and increase usable room inside the box.

Exterior dimensions: 10ft long x 7ft 3" wide
Concept 1.jpgConcept 2.jpg
 
Last edited:

bee

Observer
I forgot to mention. I am a DIYer, My fiberglassing experience is virtually zero but I figure I will be an expert after this build. I hope to use this thread to document my build for myself to look back on as well as for others who might want to get a feel for what it takes.

If you have some ideas feel free to share, in fact I already have a few questions. The camper will have a toy hauler style rear door and a side door. Does anyone have some good weatherstripping sources? What kind of weather stripping would you recommend? Can anyone recommend a good quality door latch?


I am going to try to include a picture with every one of my posts. I will add a couple here to make up for later on when I am to lazy. I will also try to include rough pricing as I go along.

Here is a pallet of 3" thick foamular special ordered from Menards, and yes you have to buy it in pallet increments. Cost $1300

The truck in the photo is a 3/4 ton diesel farm truck I picked up cheap. If I don't find something nicer then it will be the chassis for the build.
Cost $4000 after necessary repairs.
*note just because the cummins diesel can go 500,000 miles doesn't mean the rest of the truck can. With 184,000 the rest of the truck was/is falling part.....


IMG_20111015_171800.jpg


220 yards of style 9772 12oz s-2 fiberglass from Thayercraft.
Cost $1300
Doesn't look all that impressive... S-2 just doesn't have the bling of carbon fiber lol
IMG_20130604_111407.jpg
 
Last edited:

bee

Observer
Scarfing, besides sounding cool its the standard tried and true to method of joining pieces of wood. I was a bit nervous going into making the 10 foot long strips to protect the roof and floor. I did a bunch of research and found a million and one different ways of doing it. In the end I came up with my own method. It was fast and effective. The only down side is there is no room for clamps so screws are used to secure the plywood. If you don't mind a few screw holes its works great.

First I made a square block of wood out of a 4x4 scrap. Then I screwed the ply to this block which I then clamped down. This held the ply strip at an exact 90degrees to the chop saw. Then I rotated the saw to adjust my cut angle. Hopefully that made sense, at any rate seems way easier then most of the other methods I have come across
IMG_20130505_144348.jpg IMG_20130505_144814.jpg

Once I had my pieces cut up I glued them together using the table saw fence as a straight edge. I screwed instead of clamped which allowed me to stack one strip right on top of another. Once everything was all screwed down I was able to move it out of the way to dry.
IMG_20130505_144457.jpgIMG_20130505_150813.jpg

So to clarify by staggering the joints slightly I was able to use screws to clamp the wood down. I would lay up a scarf joint glue and screw, then put the next scarf joint right on top slightly to one side and repeat. In the picture you can see I am stacked 3 high.
 
Last edited:

westyss

Explorer
Not one to put down a good scarf but why not use a sheet of ply 10' long and rip it to size?

Thanks for posting prices on the materials, sure gives one an idea of the cost of building something like this in perspective, looks like so far $2600, what do you expect the resin to come to?
 

bee

Observer
Not one to put down a good scarf but why not use a sheet of ply 10' long and rip it to size?

The short answer is that I didn't have 10ft ply. Thats a good point though special ordering a sheet would have been an option. I lucked out and actually was able to buy a pallet of scrap birch from the Re-store, which is a construction thrift store. The birch had been donated by Herman Miller, the furniture company. Its my first time working with such nice wood, I am going to be spoiled when I run out.


The resin is from Aeromarineproducts. I chose their resin because it is non-blushing. It was between aeromarineproducts and uscomposites. Both have great prices and good reputations. This is just a rough guess but 30 gallons of resin is $1400, then there are also fillers and miscellaneous supplies.

I have glued up the front wall, as the test panel. I found out that having 45degree sides is a bad idea. When you try to clamp it the foam wants to ride up and out of the plywood. I ended up running screws through the plywood and into the foam to keep it from moving around. Once it dried I pulled out the screws.
Next problem is that the foam sheets vary in thickness. I thought to my self "it is just foam I can sand it by hand with my hand made 4 ft long board". Well its damn near impossible. Once I got one side to what I thought was close enough I tried fairing it with epoxy and microballoons, which is harder to sand then foam...I gave up. I am going to try a router and a sled I will post pictures up when I actually attempt it.
IMG_20130526_215729_zps2f74b449.jpg
 
Last edited:

pods8

Explorer
Cool, go get'm! Did thayer have the 1582 glass in stock when you ordered? I would have been tempted to try that out if they had it when I bought my glass. Pricing on it is sweet and as long as its still conformable putting 2 plys of that down would equal the 3 plys of 8-9oz that I put down on the exterior of mine.


Think hard about where you want your blocking for attachements ahead of time. ;)

Also sounds like you're already doing so but definitely rough up the surface aggressively on the foam to help the bond, back fill with the micro slurry as you're doing. You can start laying the glass right over the wet micro to avoid sanding or go back and scuff it up, more of a time management item.

The uscomposites stuff I've been using really hasn't had much blush and I'm also using peel ply so the upper layer gets ripped off anyways so it really hasn't been an issue.
 

pods8

Explorer
The camper will have a toy hauler style rear door and a side door. Does anyone have some good weatherstripping sources? What kind of weather stripping would you recommend?

Are you going to have an overlapping lip? If so I may have something of interest, I bought a 100' roll of double bulb seal like below to put between my top and bottom half. However since it only has adhesive in the middle the bulbs are going to roll up on themselves so that's no go for me. I think it'd work nicely in a static application though. I think I'm going to go with a "Q" profile seal instead that has a flap off the bulb for my sliding application.

Double_Bulb_Cap_Seal__66885.1297197547.1280.1280.jpg
 

bee

Observer
pods8 thanks for the tips, not sure if Thayercraft had the 1582 in stock. Your right it does seem like great bang for the buck. I am pretty sure I have decided on using one large seal for the doors something sized around 1 inch tall. The taller seal should be able to handle irregularities better then a shallower seal.

I have decided to go against the grain and I am not going to use a fantastic fan. IMO they are far from ideal. They have stupid rain sensors that wake you up at night, they catch branches and break if you back up, They cast shadows on your solar panels, They don't work with snow on top of them. So here is my alternative...
P1700635_1.jpg
I have decided to go with 3 small aluminum vents (~$30 ea.) mounted on the sides. They will house two 92mm computer fans for about 80 cfm each vent. I may wire them with a thermostat depending on how motivated I am at the time of installation. Pros are: they can be open in the rain, they will be flush with the outside wall nice and low profile, all aluminum construction. Downside is 3 vents will still be half the cfm of a fantastic fan.


I tried sanding my wall panel flat by hand to no avail and the largest power sanders are under 2 ft long and air compressor hogs. Luckily I found this article and it worked amazingly well. http://www.thewoodwhisperer.com/videos/flattening-workbenches-and-wide-boards-with-a-router/
I bought a 3 inch router bit from magnate $75, and I only cried a little when it hit a screw that I had forgotten about.
P1700638_1_zpsc2ec7ede.jpg


Here is the wall after routering ready for the fiberglass layup.
P1700640_1_zps58a4ddb2.jpg


My helper already starting the durability testing..
P1700643_1_zpsf75f04a4.jpg
 
Last edited:

bee

Observer
Logistics

One thing I have lucked out on is having the resources for a build of this size, I underestimated what the requirements would be.

For example:

I totally underestimated the quantity of materials I would need. My original rough estimates were off by almost half what my current estimates are on a few of my materials. This was quite a shock to my pocket book.

My original plan was to prep all the materials at my friends fathers house (he has a very nice work shop, seen in the photos) and then assemble in my front yard. I quickly realized this wasn't going to work at least when using a slow cure epoxy. The risk of rain is simply to great. Even if there is no chance of rain the simple anxiety of knowing that all your hard work and $500 minimum in materials could be ruined in an instant just was to much for me.

My goal from the beginning has been for a true 4 season camper. I decided that 3 inch foam was the way to go for a rating of R15. But here is the kicker, you need a 10" circular blade to cut that deep. This rules out most circular saws and track saws. I have to cut a few inches off of the length of each foam piece as they are 8 ft long and my largest panel is only 7ft 3" long. Cutting 8 ft stock down like that is rare and the table saw I was using was physically to close to the wall to make this possible. Foam is light but try running plywood through a table saw just cutting the edge off, it isn't going to happen on any normal sized system. I lucked out and my solution was to ask someone I knew who has a cabinetry business to help. He has a beam saw which is like a track saw on steroids.
If I was to do this again and didn't know a guy with a beam saw, I would go with a wall thickness that a track saw could cut through and spend over $1000 on a tracksaw with accessories. Or Actually I would look more into buying pre built panels if I were to do this again.
Here is a photo of a tracksaw (stolen from the web), it is the bees knees when cutting up sheet goods.
user736_pic1999_12395067351_zpsa6cb1997.jpg


This won't be a problem for most of you, but definitely was a logistical blunder on my part. I designed my camper in sketchup in metric. Now even though I have grown up in the US I never understood why we used such an unfriendly system of measure with fractions and the like. So I started using metric, well that is all well and good until you have to build it and all your tools are in american...man I hate fractions, and now trying to redo everything into american is making my head spin.
 

bee

Observer
Were did you get those Vents? Look like a good match for a project I have
Thanks

The vents were purchased from http://store.stepvanparts.com/SIDE-VENTS-STEPVAN.HTM
I bought version A I believe, which is also standard dimensions, so finding replacements in the future should be easy-ish.
I plan on mounting them from the inside so it will be flush with the outside like this 18 wheeler seen in the picture. The only thing different will be that I will have it rotated 90 degrees so that it can be open in the rain. Upright like in the picture is for scooping air while going down the road.
IMG_20130619_121924_zps618edd42.jpg


I pulled some more photos off my phone of the router sled system. These pics should give a better idea on how it works.
IMG_20130616_165910_zpsed078f56.jpg


If you look on the right side you can see the low areas (looks whitish)that need to be filled in with more microballoons.
IMG_20130616_195422_zpsd9766fb4.jpg
 

bee

Observer
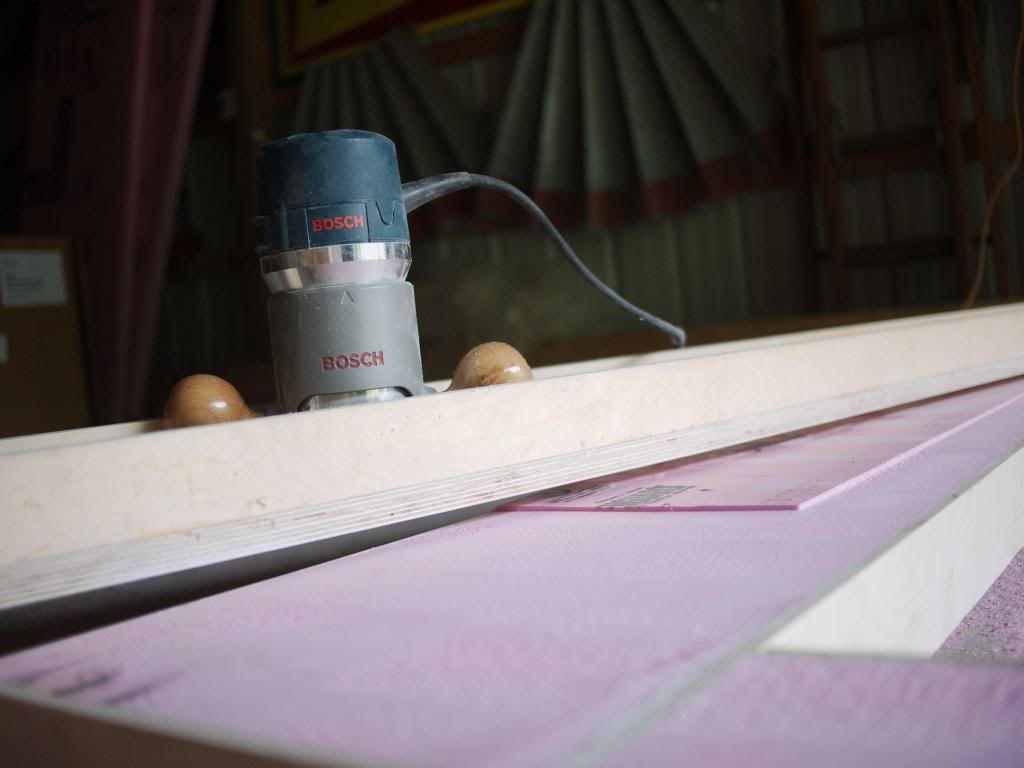
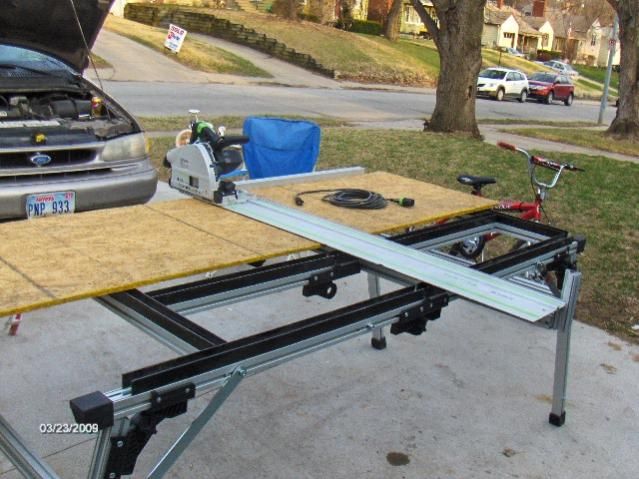
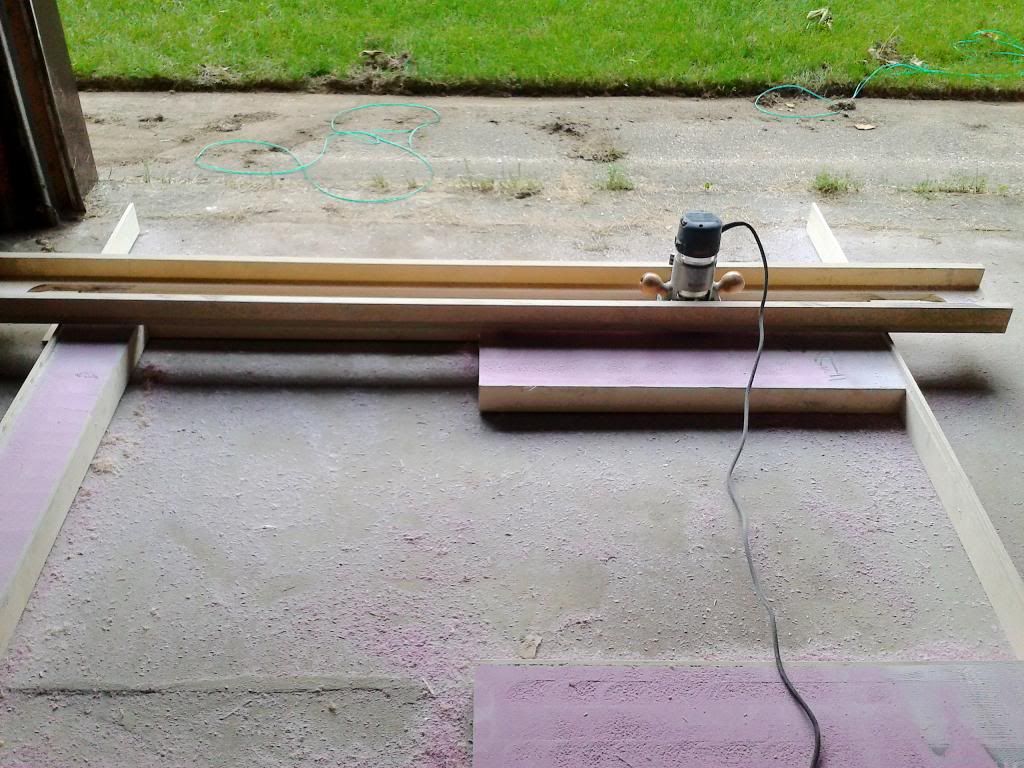
Yeah the concrete isn't flat at all. I had it in a flatter location when I actually glued up the panel. I did not push down at all while I was routering. In fact I think the sled has a little flex in it, I guess I should have made the sides a little taller, but I was being cheap, that is about $40 dollars in birch as it is :(. With that being said I would estimate that my sled has only about 1/32" - 1/64" of an inch variation over the 8 ft length. When I attach my guide rails on the side I figure another 1/64 of error when lining them up. The floor offering uneven support another 1/64th. So all in all this is way way way more accurate then sanding by eye. Faster as well.


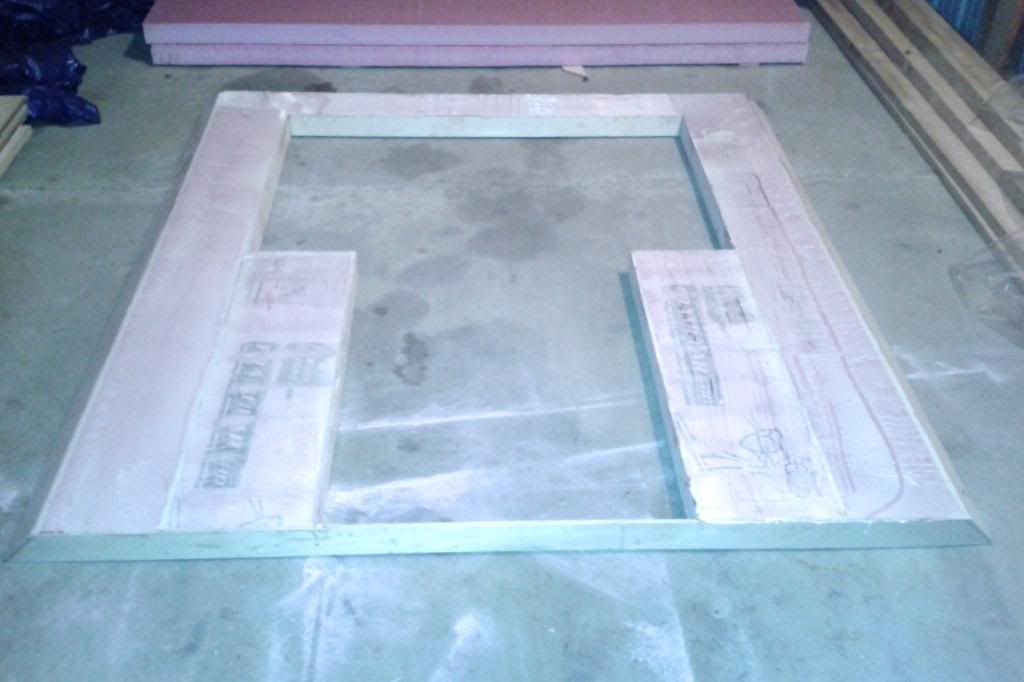
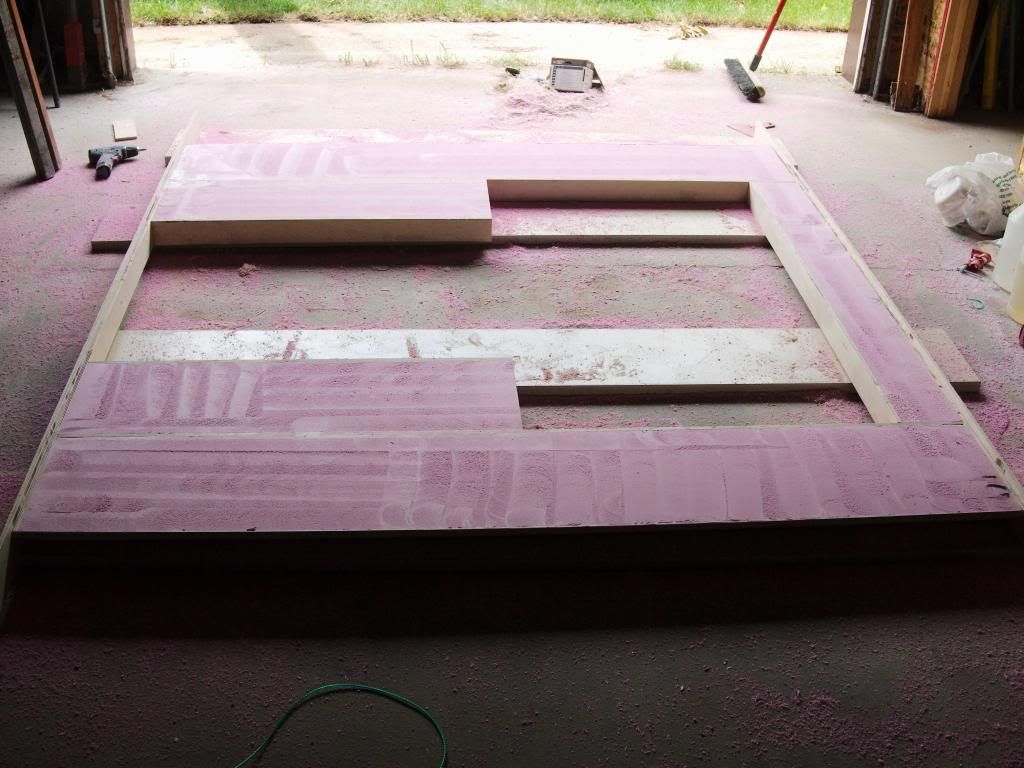
I am trying to decide how to attach the walls to each other.
2 of my friends think I should assemble the box then fiberglass it. Personally I don't see how I can manage that. Even with scaffolding I just don't picture it working out very well. Maybe if I had a way of rotating the box as I worked? The benefits would be that you could tweek the walls to fit while they are still flexible, once they are glassed there will be no way to easily massage a crooked wall into fitting nicely. The 2nd benefit would be no seams to leak.

My original plan was to fiberglass the panels flat, following pods construction methods, then use epoxy resin and fiberglass tape to assemble the box. The downside to this is making it look good. My goal is to have zero body filler on the outside of the glass and these tape lines will be wavy and visible. The reason I don't want to do any fairing work on the outside of the glass is that the glass has a texture to it, sanded fairing compound will be smooth. This means that if I start fairing it out then I have to continue with the whole box if I want it professional looking. I have not decided on how I am going to finish the box. If I use a textured product like monstaliner it probably won't matter, but if I use an autobody style paint then I have a problem. Actually what if I use neither? What if I add some dye to the last layer of epoxy? Less work, and way way cheaper......

The 3rd idea I have is to use an adhesive like sikaflex 252 to attach the panels. The sikaflex would be 2-3mm thick which would offer some benefits. Hopefully it would add some flexibility to the box. As this is composite construction my fear is that it will be too stiff and will tear itself apart instead of just flexing a little. It should also have a dampening affect which should make the box last longer since vibration is another big concern when dealing with foam. My concerns are that it will be the weak link after a few years. It will have aged poorly leak loose strength.....

Any thoughts? Should I go with option 1, 2, or 3? Maybe a 4th option I haven't thought of?
 

Forum statistics

Threads
185,782
Messages
2,878,177
Members
225,329
Latest member
FranklinDufresne
Top