1969 E100 CamperVan DIY build

OrangeSpear

new here
A good friend of mine showed me this forum after I started on my new project. So,... Im not really sure where I fall in this forum. Im neither 4x4 or all terrain. But we plan to roam about the USA for a while in the van. :sombrero:

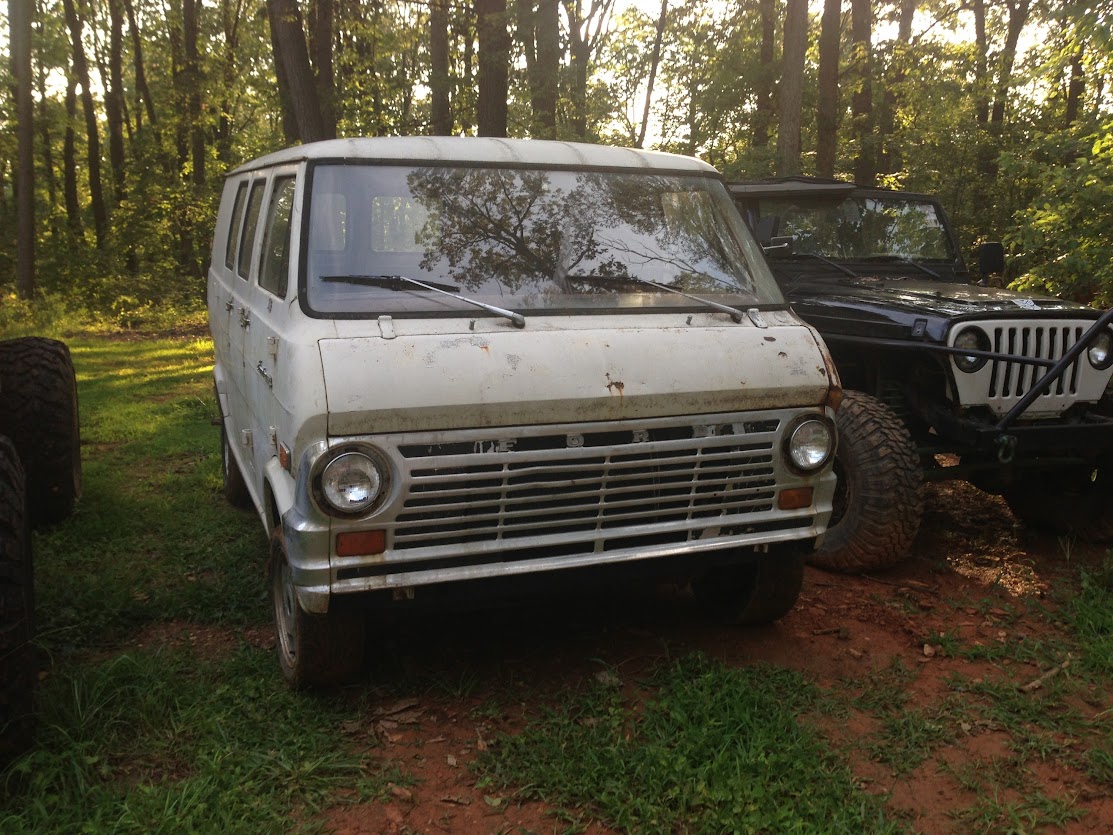
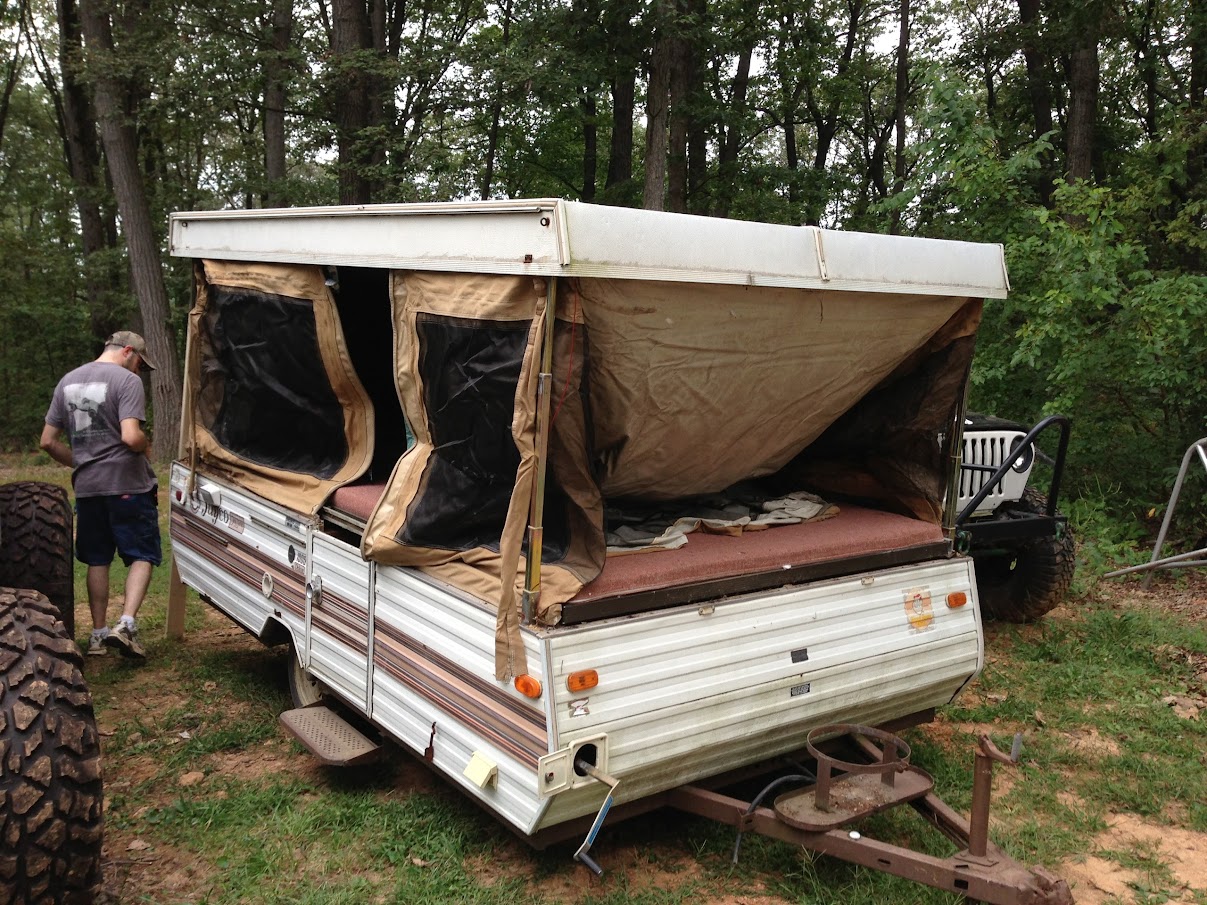
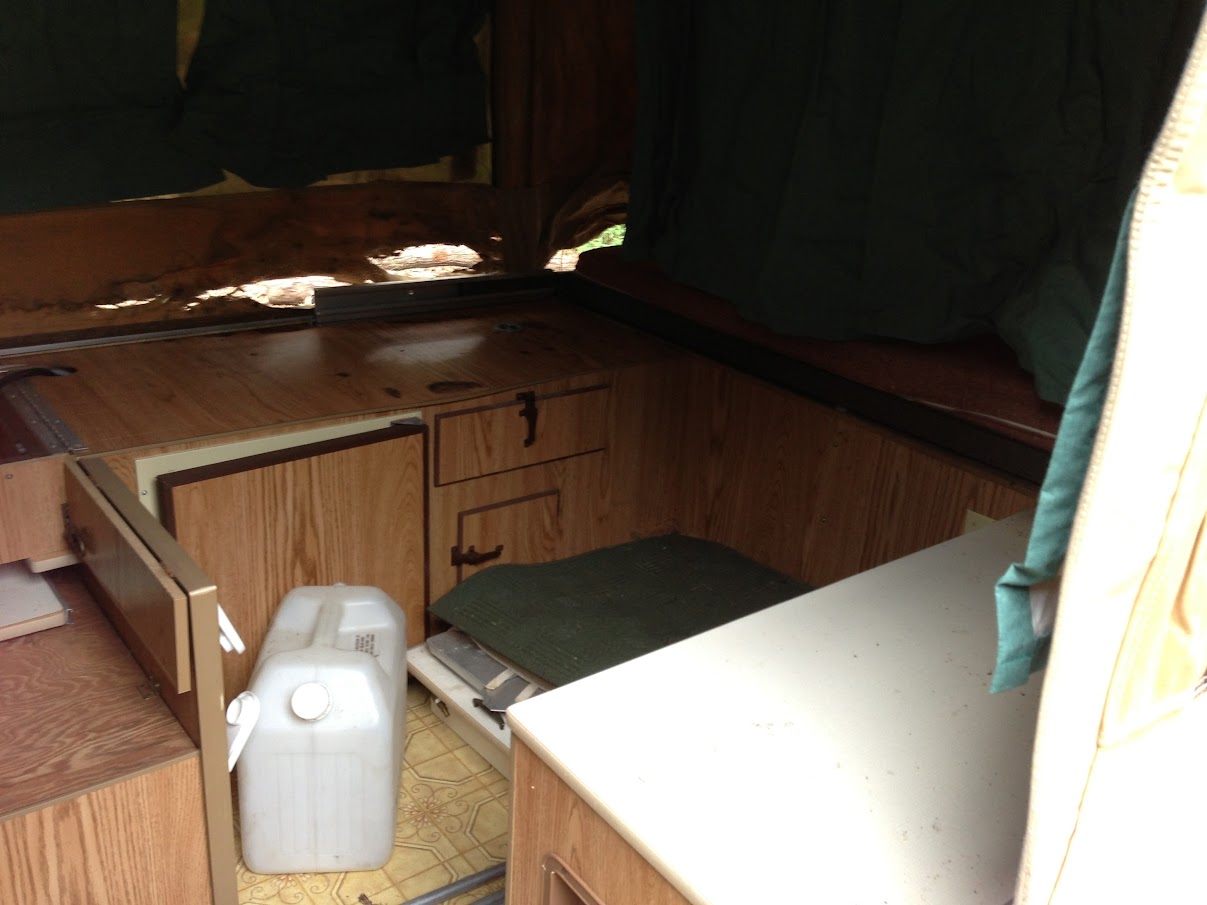
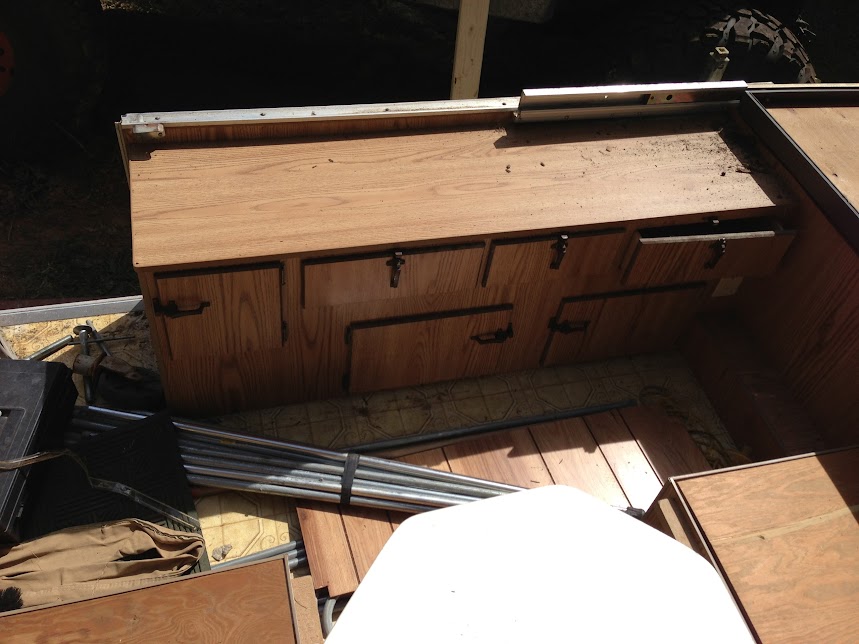
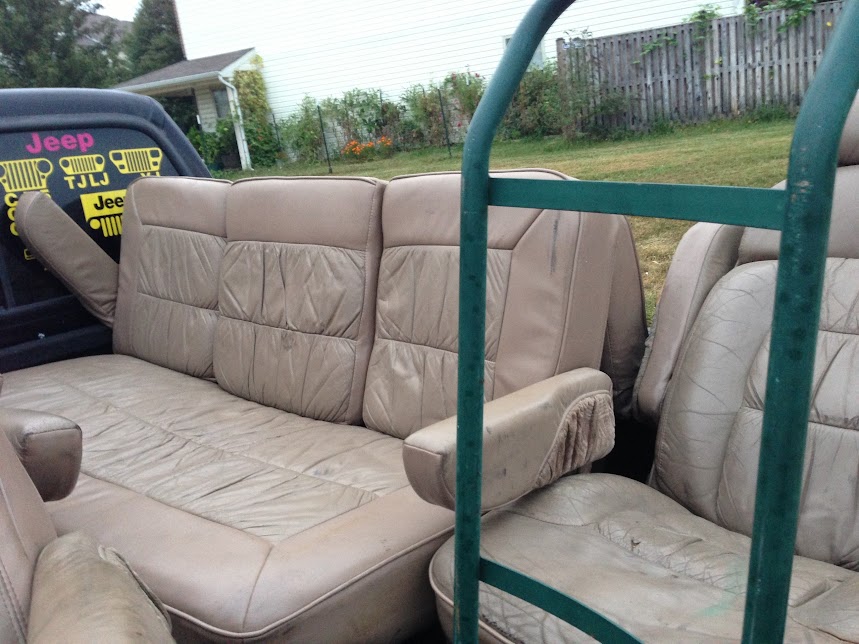
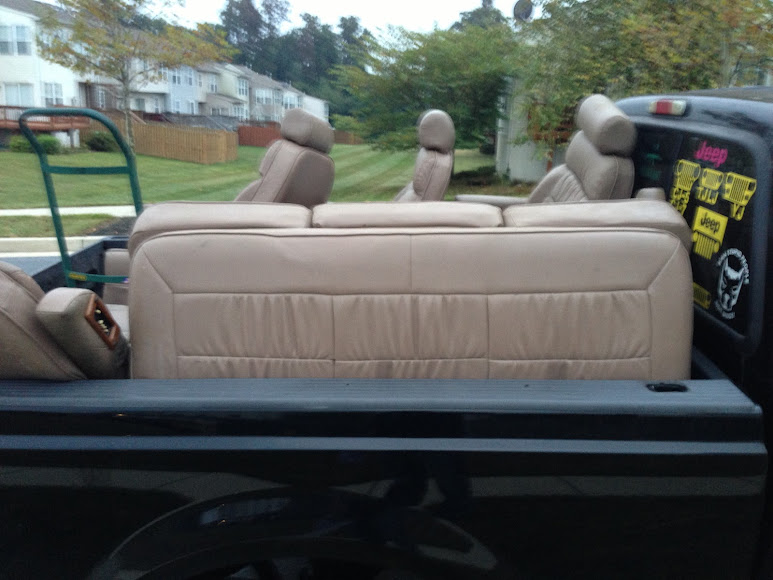
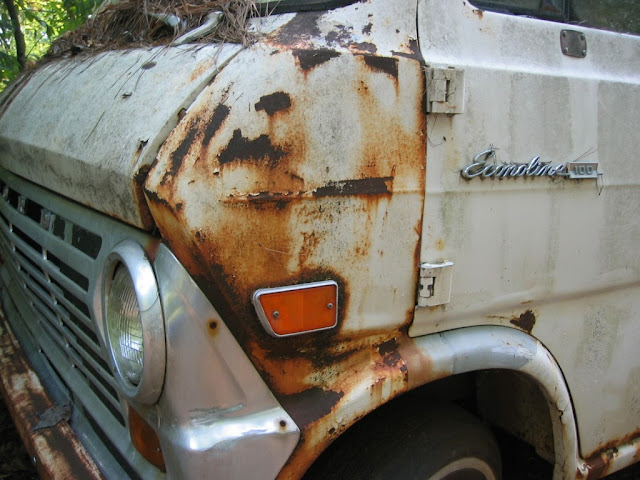
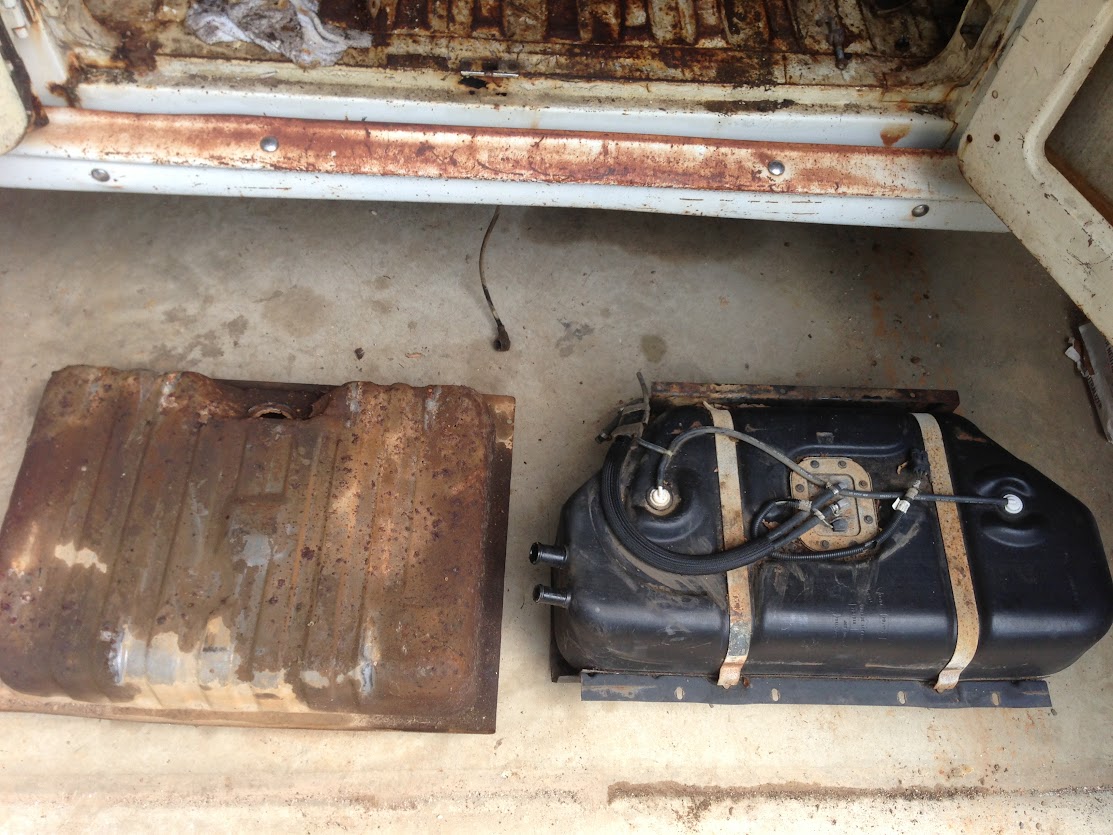
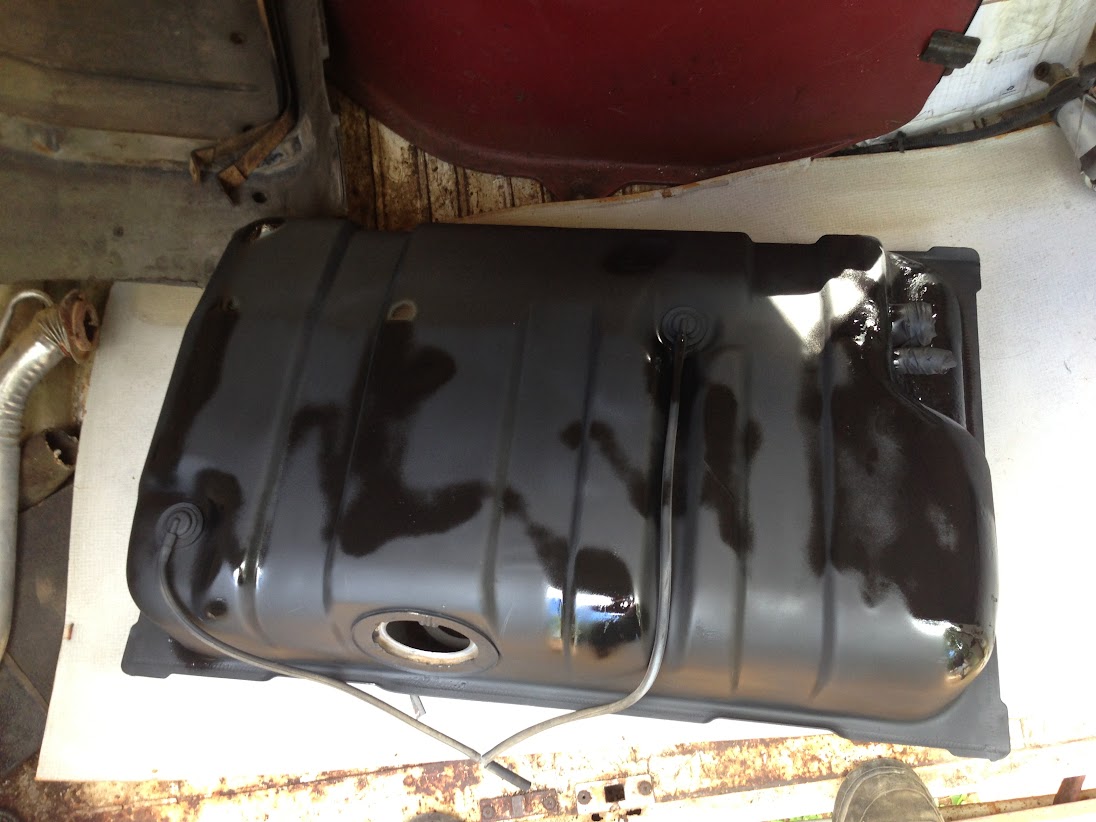
So here is the start, I received my 1969 E100 when my grandfather (original owner) passed away. This was the first vehicle i ever drove. So for the last 10 years it has sat in woods of Alabama. 2 years ago I was able to get it and cut it out of the woods and bring it home. Its been a slow go but im getting there. It did crank (after i cut the fuel line and ran it directly out of a gas can. but it did crank!) and the can had NO brakes or E-brake. This intro post is going to jump around a little because i have been working on the van off and on for the past 2 years while i was building out 2 other builds, a 1984 CJ8 Scrambler and a 198? CJ7 'juggy'.

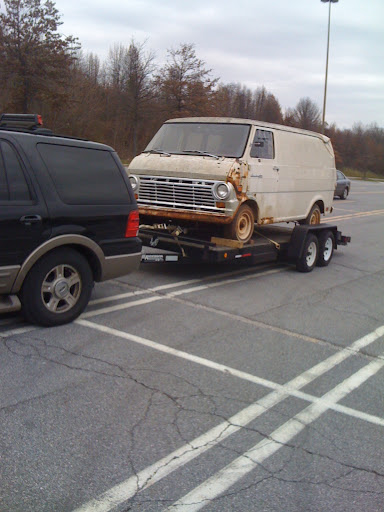
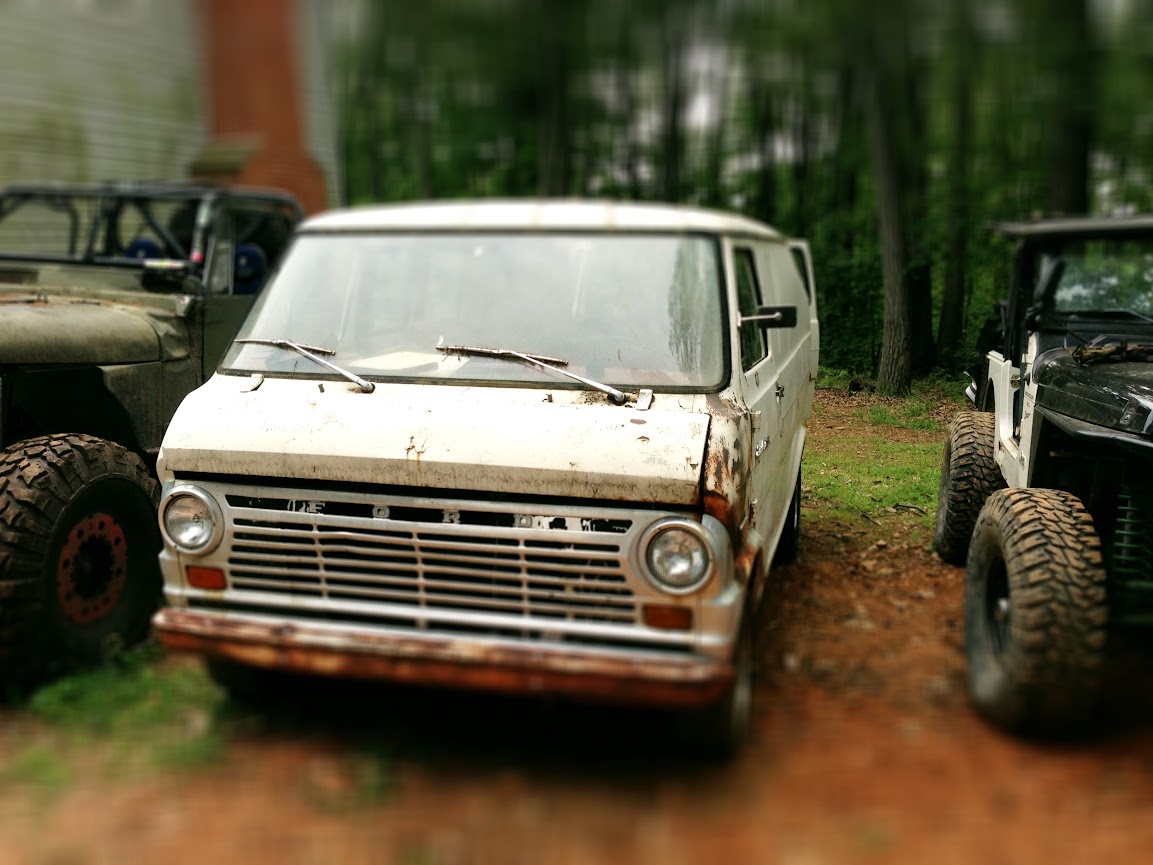
getting it from where it sat for over 10 years-- (before the hurricane that placed a tree on its rear)
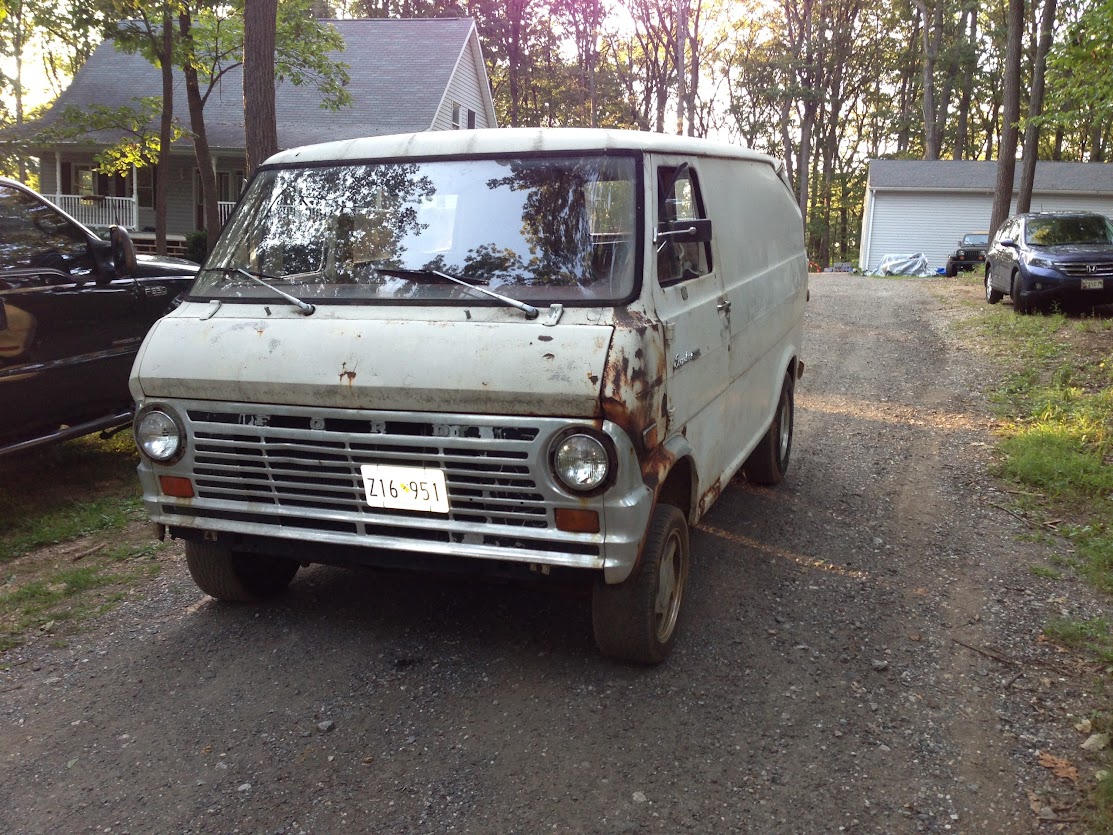
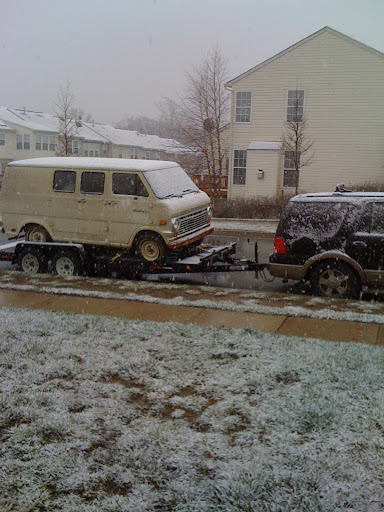
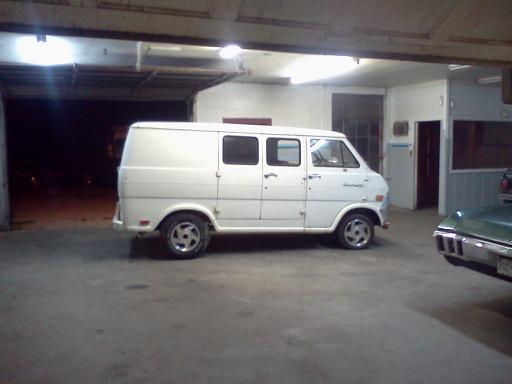
MVC-033S.JPG

From%20Camera%208-17-07%20484.jpg

From%20Camera%208-17-07%20485.jpg

From%20Camera%208-17-07%20486.jpg

From%20Camera%208-17-07%20488.jpg

MVC-013S.JPG


bringing it to MD---
photo.JPG

photo%201.JPG

photo%202.JPG


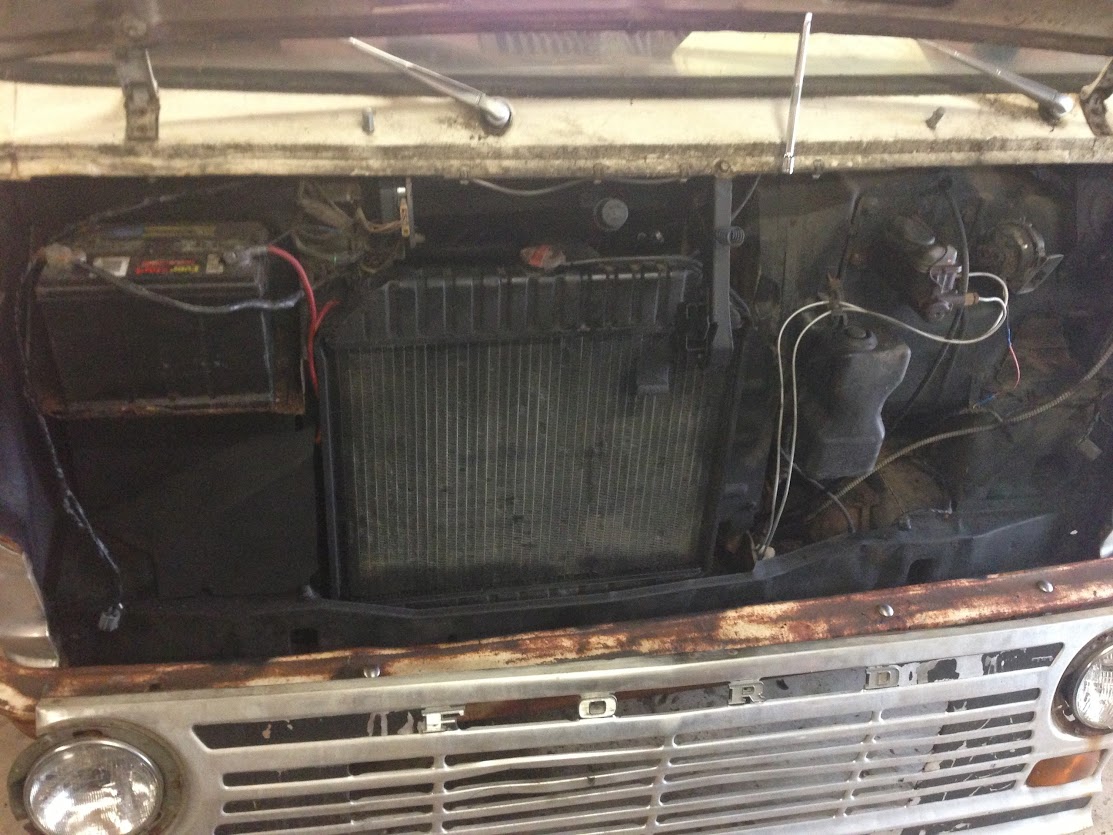
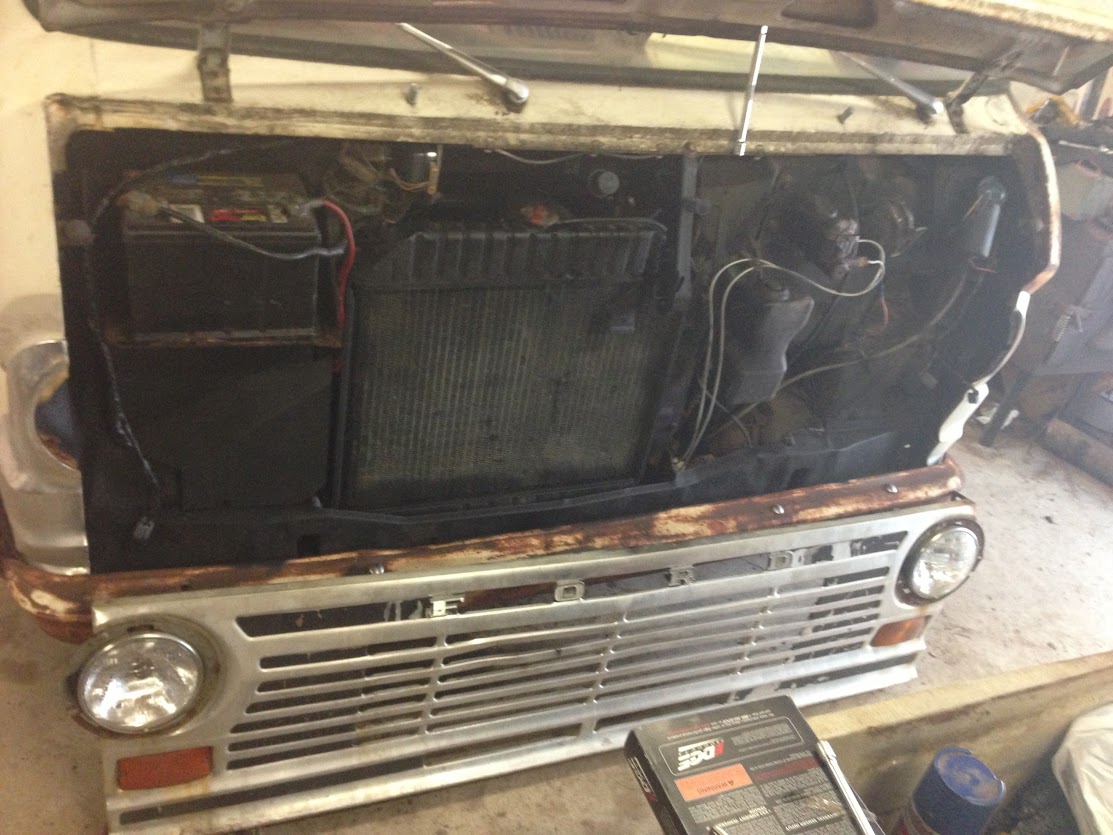
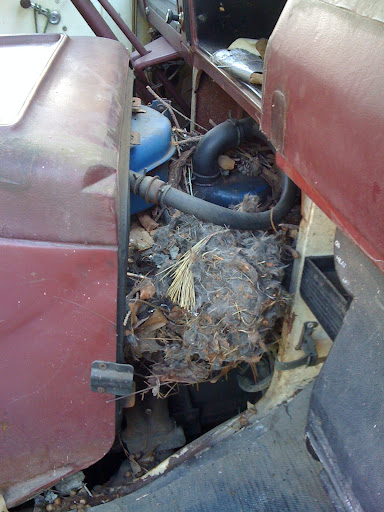
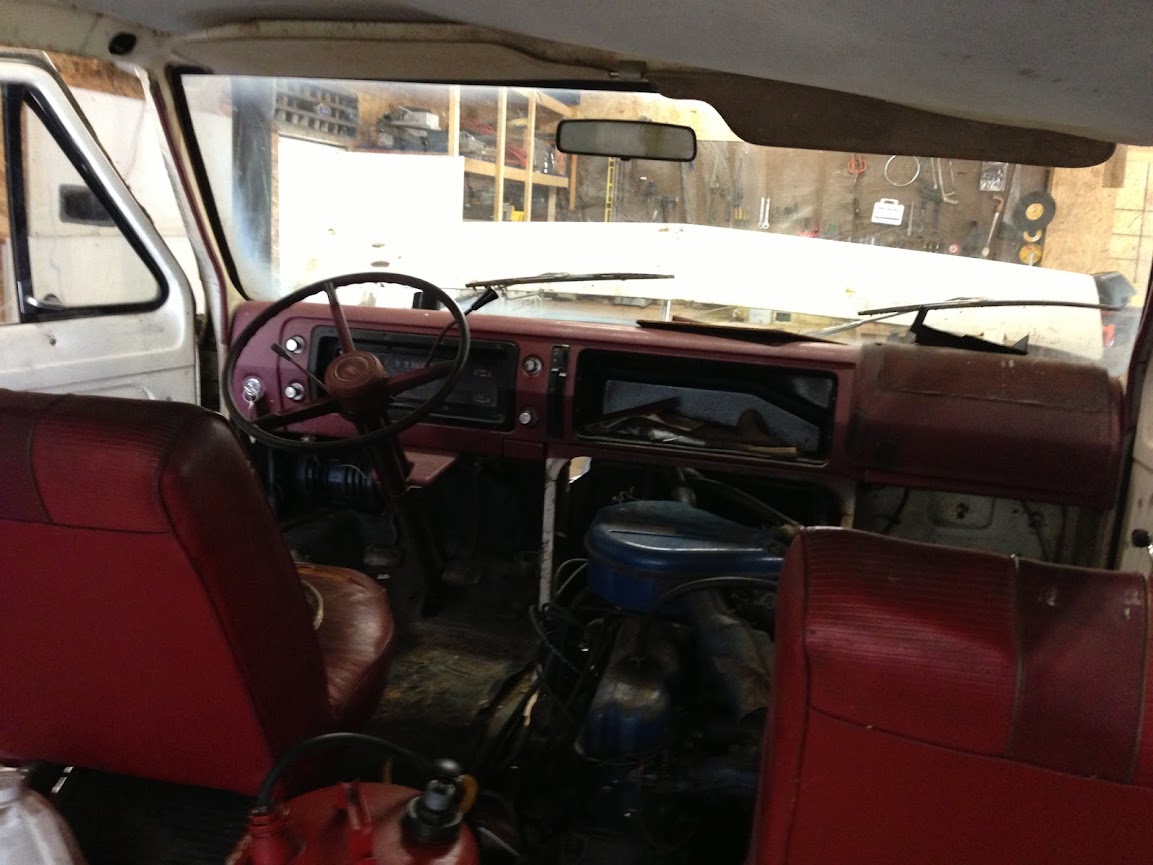
Opening the engine compartment 'Dog house' for the first time well this was a squirrel house ---
photo%201.JPG

photo%202.JPG


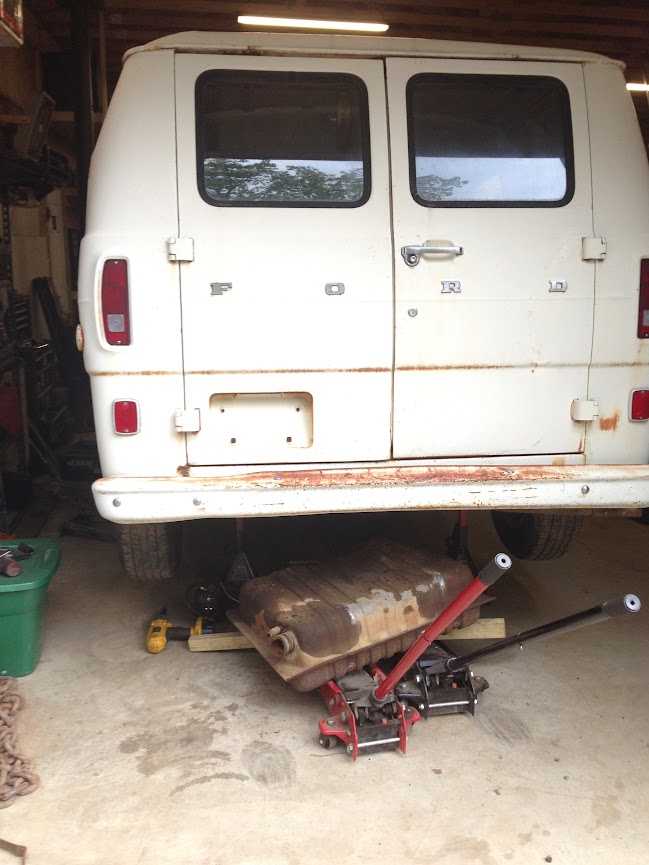
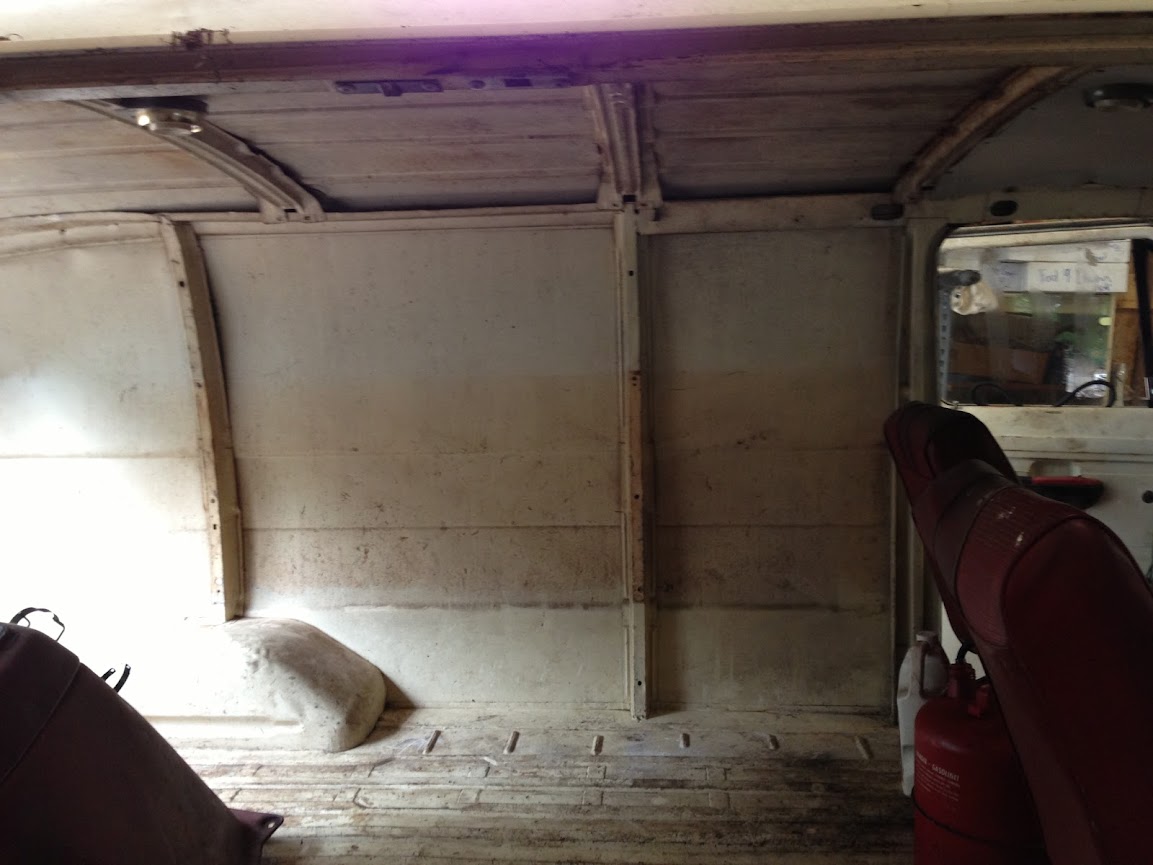
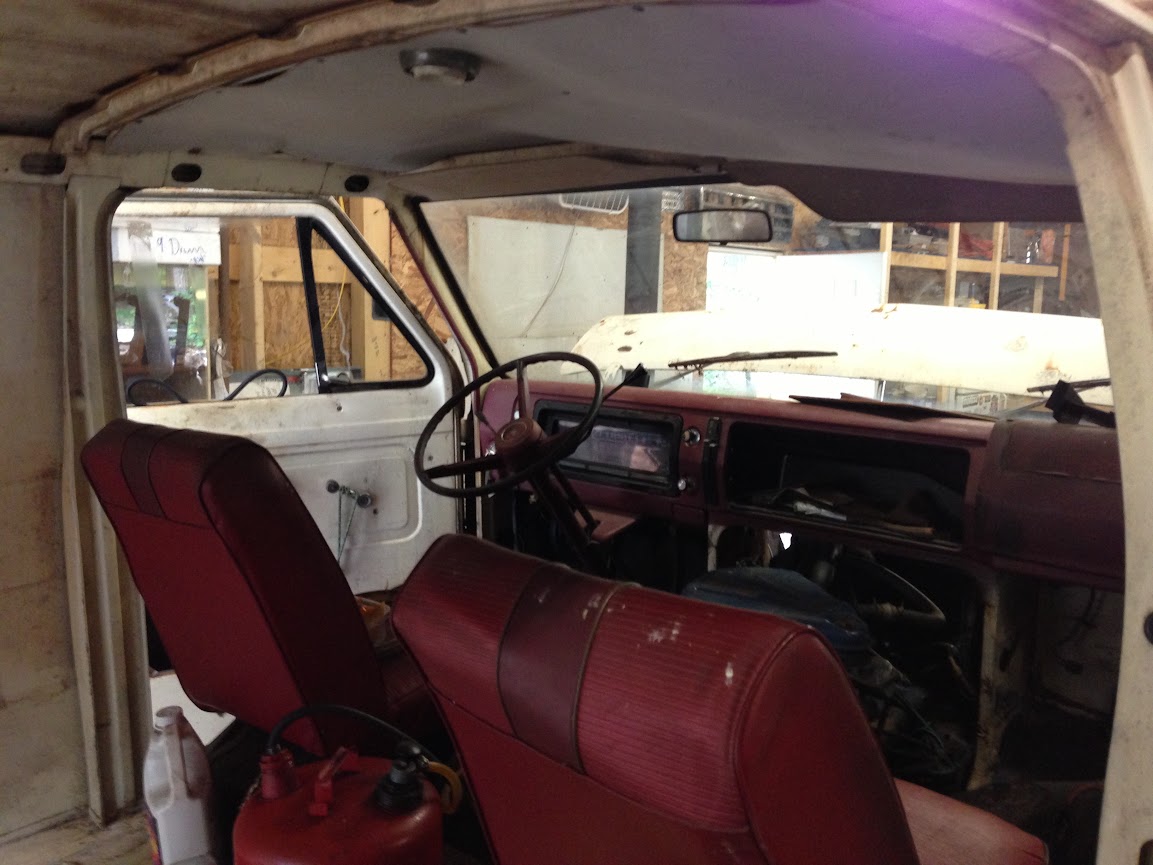
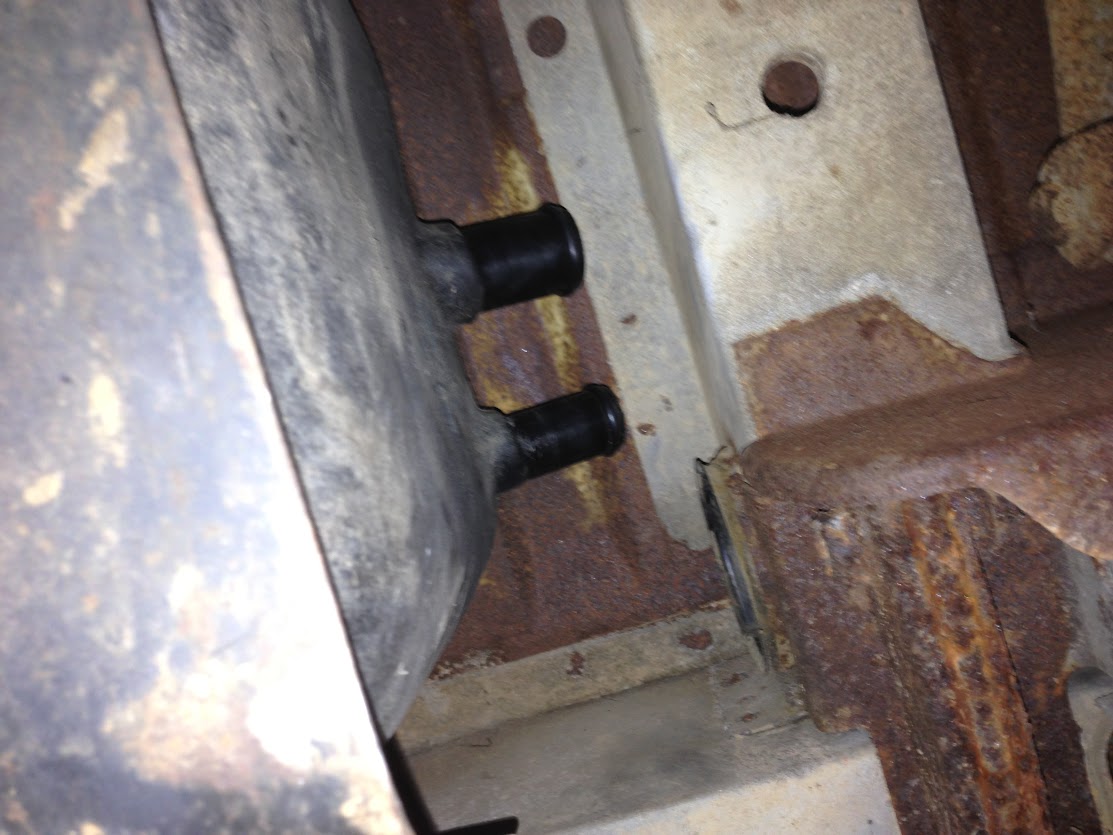
in my shop where i have been replacing everything brake related.
photo%201.JPG

photo%202.JPG

photo%2525201.JPG


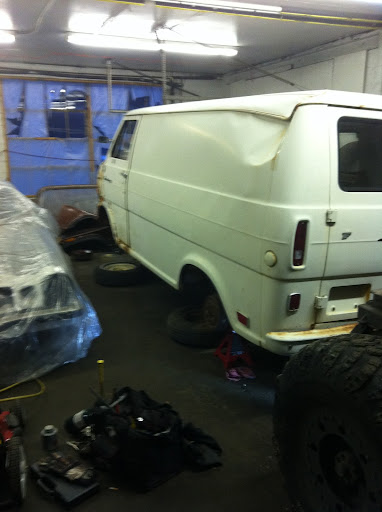
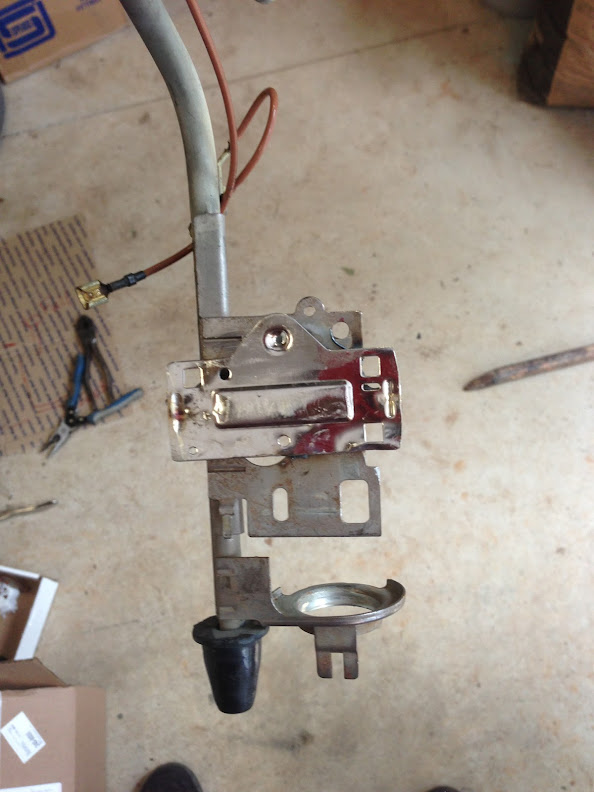
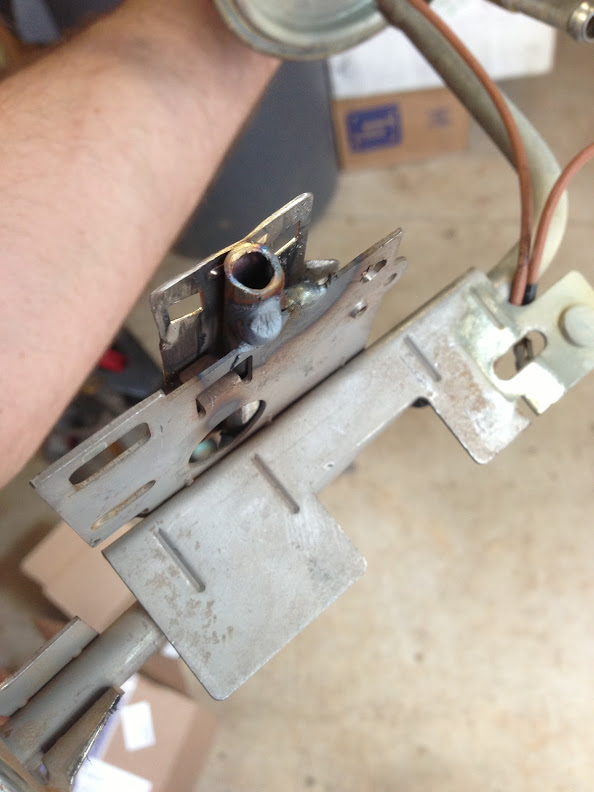
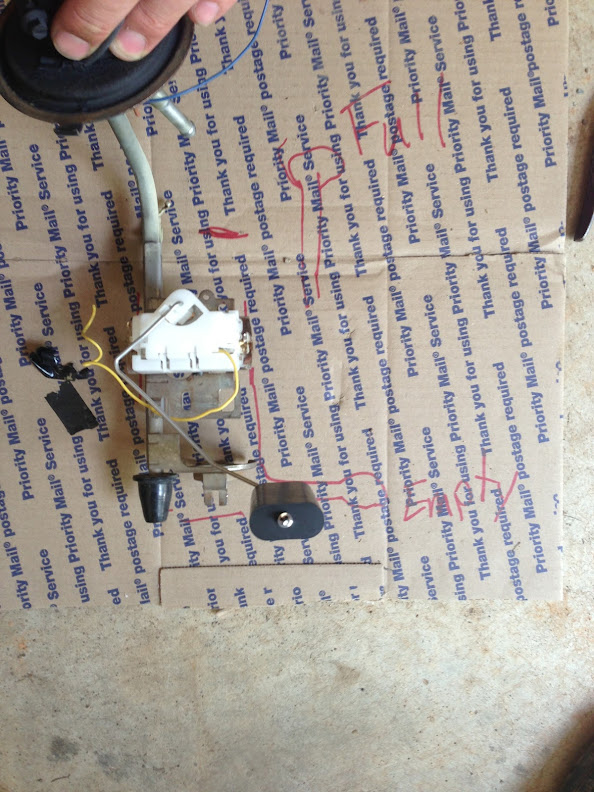
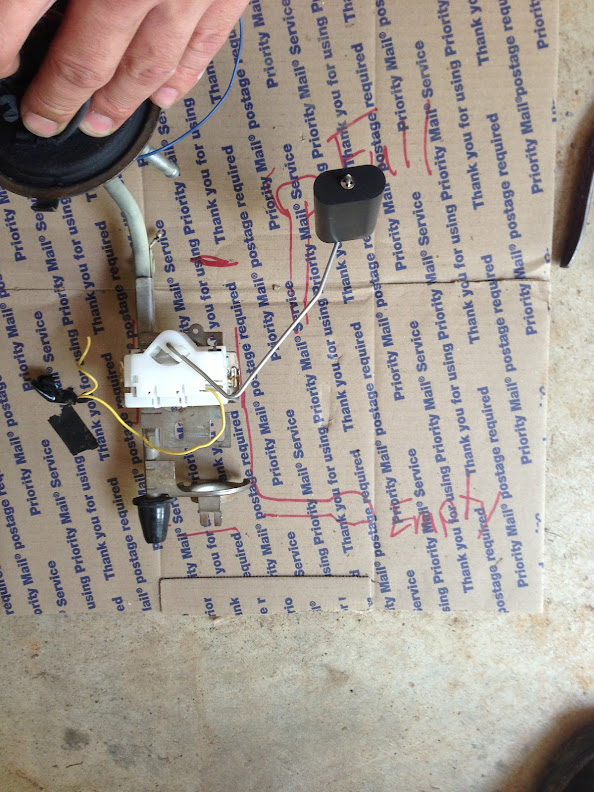
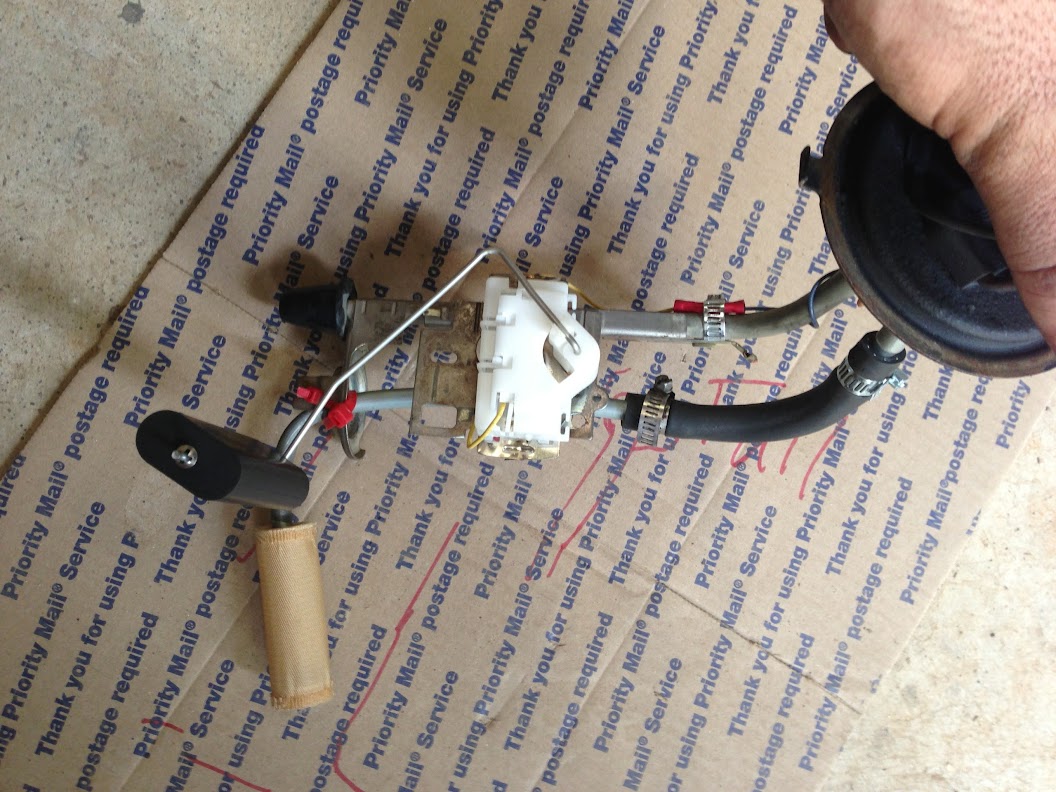
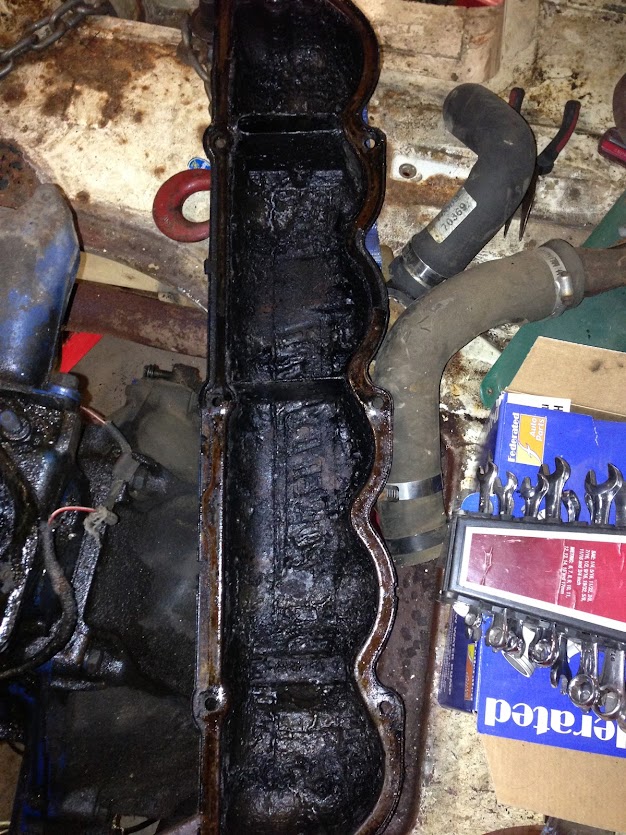
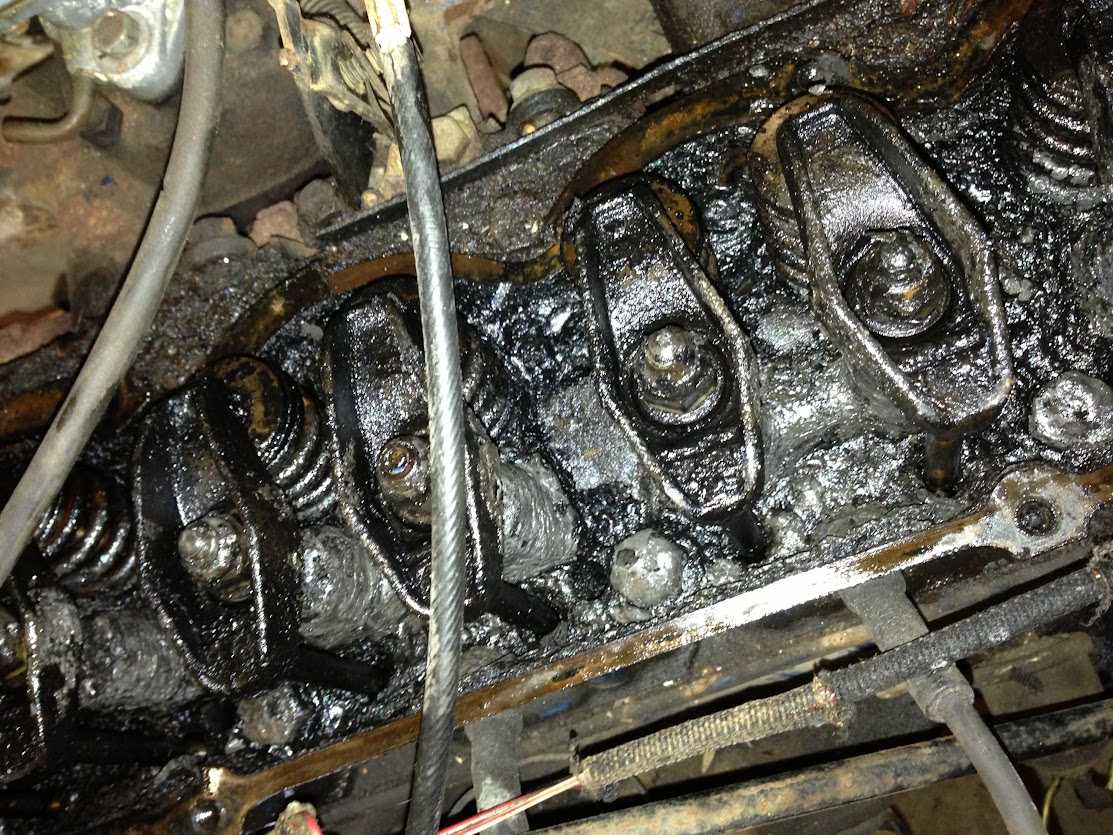
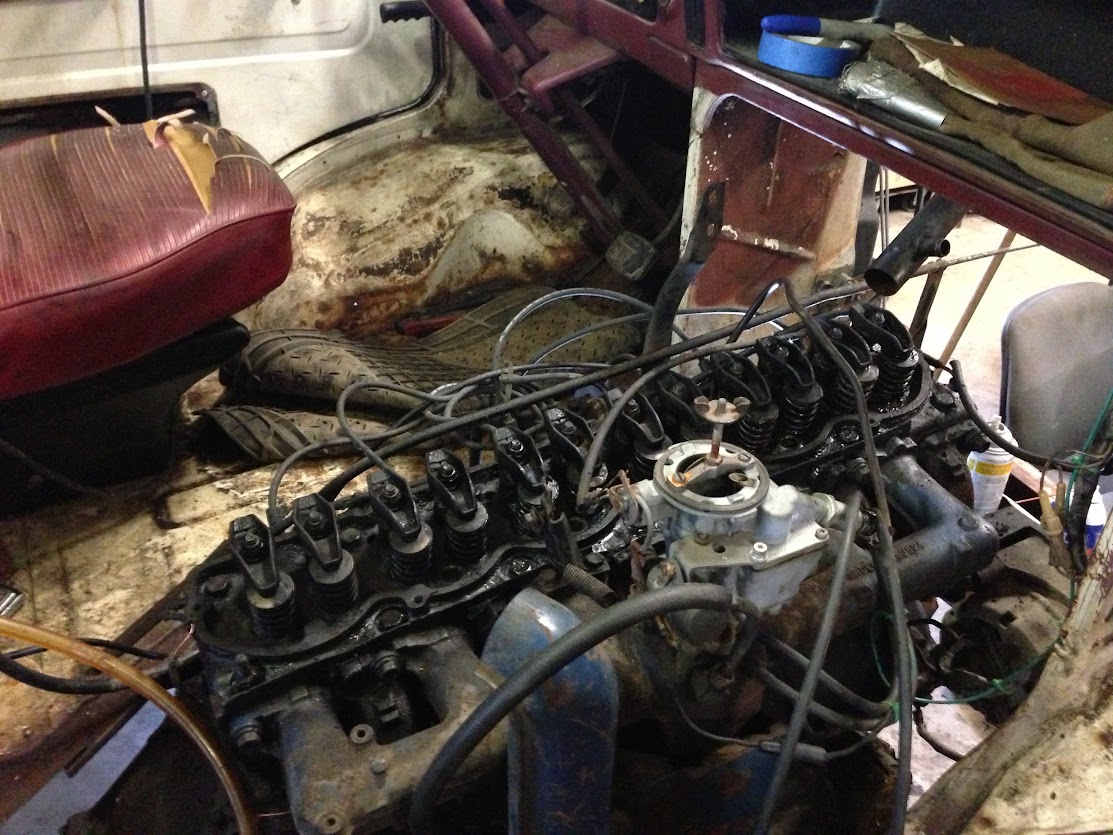
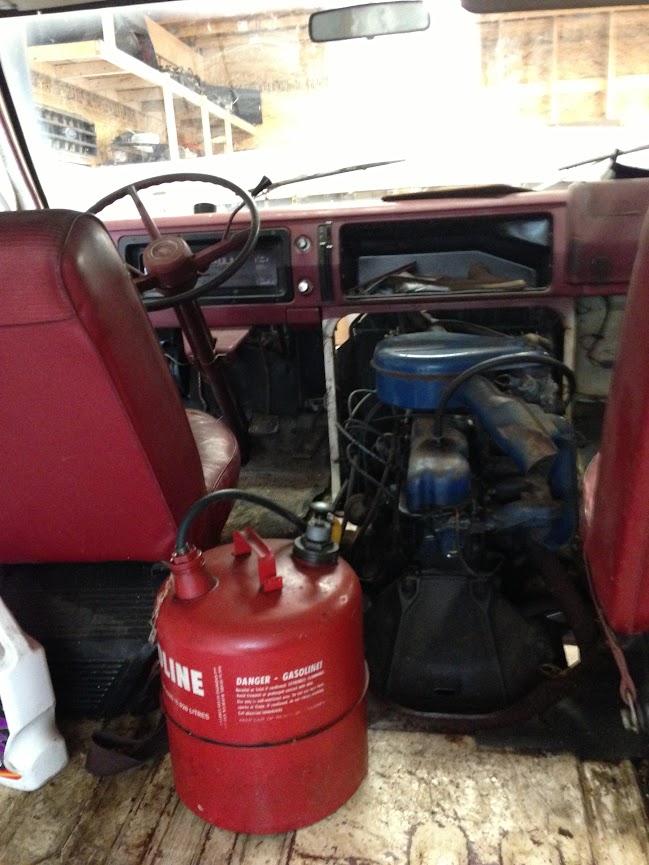
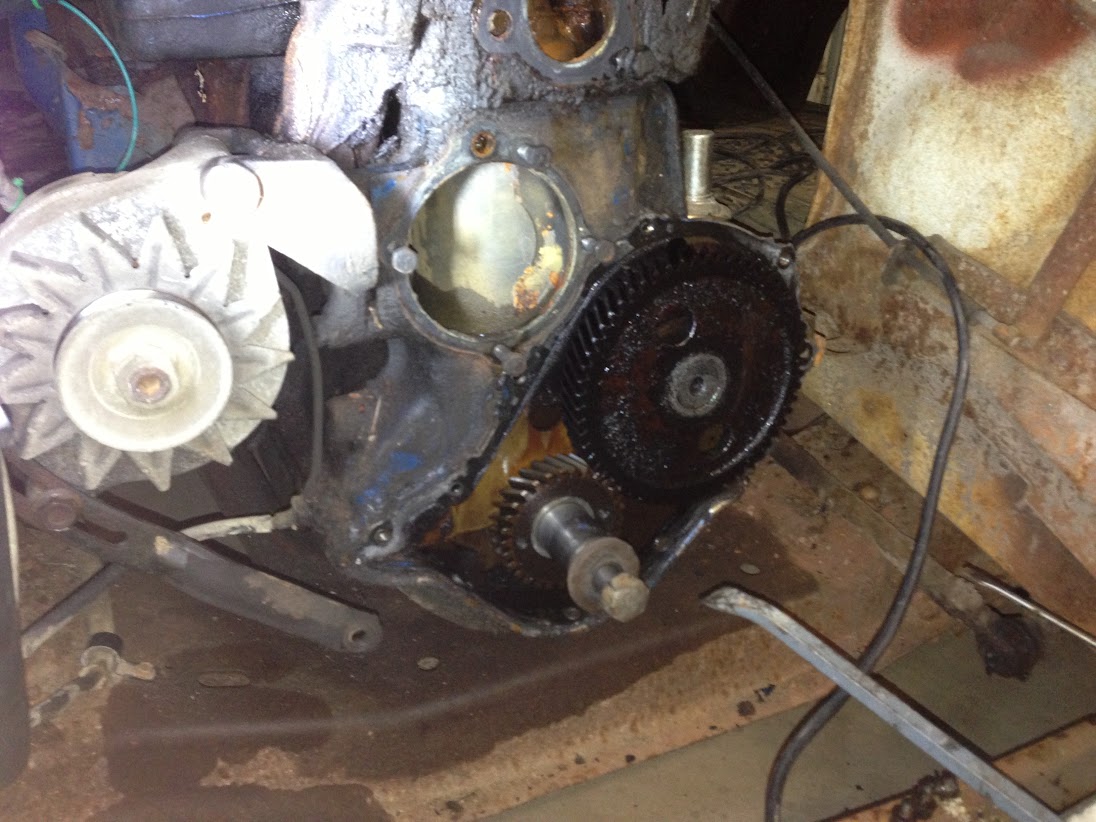
I replaced everything brake related, and gave the motor a quick overhaul of new parts like cap, rotor, wires, heater core, waterpump, points, carb rebuild and other easy little things that need to be replaced after 10+ years of siting.
 

OrangeSpear

new here
Some of my latest work has involved the inside clean up and fuel system.

Here are some pics from when i pulled the current fuel system.

39.jpg

37.jpg

36.jpg


Fuel tank will need to be replaced, that kind of goes without saying.
34.jpg


The van is a 3 speed. 3 on the tree. and this is one way of access the shift linkage off of the column.
17.jpg


The shift linkage. Needs to be cleaned and greased.
16.jpg


Inside
you can see a poly tank sitting there. I hope to be able to make that fit and use that tank and sending unit.
13.jpg

14.jpg

15.jpg

12.jpg

11.jpg


im stilling working on the build plan. where to go next?
I plan on building it out inside and out, then paint.
 
Last edited:

OrangeSpear

new here
Thanks for all of the positive comments!!

So the The poly tank that was out of a 1989 Yj (that i was hoping to use didnt fit).

short story: you cant use a 1989 YJ gas tank or sending unit. First we tested the sending unit from the tank. Worked perfectly backwards. Full was Empty and Empty was Full. We did swap the wring around thinking that that may changes things but it doesnt change the resistance being sent to the fuel gauge.

I know for a fact that the YJ sending unit is 0 ohms empty and 88 ohms full.

The tank would have taken more modifications than it would have been worth.

i am now going to get a JEEP CHEROKEE (1986 - 1996) JEEP WAGONEER (1986 - 1990) tank/sending unit and an 80's ford sending unit. I plan to swap the floats/resistor on the sending units. My buddy owns a shop and has a 1993 Cherokee waiting to go to the junk yard. He has agreed to let me pull the tank as long as i do it today!!!


Testing the YJ fuel tank that i had sitting around. It wouldnt work. the fill lines were just way to far away from where they needed to be.
11.jpg

5.jpg

7.jpg


Here is my sending unit that i pulled out of this Van.
10.jpg


Does anyone know of a place to buy sending unit parts?? i dont need a whole one. I just need to buy the resistor part. But if i have to i will buy a ford unit and take off what i need to to make it fit with the sending unit that fits the Cherokee tank.

Also here is a new sticker that my wife deigned for me. Im really digging it! Ford Gen 2 Vans!
1.jpg
 
Last edited:

OrangeSpear

new here
weekend update:

acquired my Cherokee tank (in the pouring rain)
35.jpg


Along with the tank i kept the tank straps, J bolts and fuel fill pipe.


First thing i did was sand the tank down and give it a fresh paint job. (after first doing a test fit to see how this was going to fit under the van)

7.jpg

26.jpg

18.jpg


Next i did the Cherokee fuel tank mod as described here http://go.jeep-xj.info/HowtoFuelTank.htm

I used a 1/2inch 90degree copper elbow and about 3 inches of a straight piece. Soldered the the 2 pieces and then used JB weld to adhere it inside the tank.
(the red lighter is only for size reference)

30.jpg

32.jpg


Since im still waiting on my Ford sending unit to come in, i decided to go ahead and do a mock install with the tank.

I used the Van's tank straps. I also learned had i not cut the ends off of the Cherokee J bolts they would have been the perfect length. So i had to make new J bolts out of a piece of 'all thread'. I heated the ends and bent them.

On the left is the factory J bolts of my van. On the right are the J botls off of my donor Cherokee. Because i didnt have a deep enought socket with me when i was removing the tank, i cut about 3-4 inches off the length. Had i not done that the Cherokee J Bolts would have worked.
19.jpg


So i ended up making new ones.
17.jpg


Next obstacle to tackle was the fuel fill diameter differences from the stock tank vs the Cherokee tank.

The top of the picture has the Cherokee fuel fill pipe and the bottom of the pic is the Van fuel fill pipe.

23.jpg


Before the Cherokee's pipe starts to taper, it is the same diameter as the van's fuel fill pipe. So i merged them. I did this so i could keep tube diameters the same.

I haven't welded them together yet because the Van's pipe is very rusty on the inside. Im trying to decide on how to remove the rust and what to do as a rust prevention. any ideas? I think i can sand blast the inside but i really have no clue what to do to keep it from rusting again.

21.jpg
 

OrangeSpear

new here
I have been putting off doing the water pump really only because i didn't want to remove the radiator. But, since im still waiting on parts to arrive and I have the waterpump on hand, I decided to go ahead and tackle this job.
It quickly spiraled out of control.

Radiator drained and removed.
13.jpg


The first sign was the chalky mud that was in the bottom of the radiator. (not pictured)


Water pump off and thermostat hosing off.

12.jpg


Pulled the harmonic balancer due to the amount of oil/mud build up behind it. There was more of that chalky mud up in the thermostat house.
5.jpg


Pulled the timing gear cover and found sludge.

2.jpg


Plans of action are to flush the radiator and motor. De-grease the exterior of the motor. Pull the valve cover off and drop the oil pan.
So i ordered a bunch of new gaskets last night and since the oil pan is going to be off i decided to replace the oil pump too. I also bit the bullet and got a new harmonic balancer (not a cheap little item :unsure:
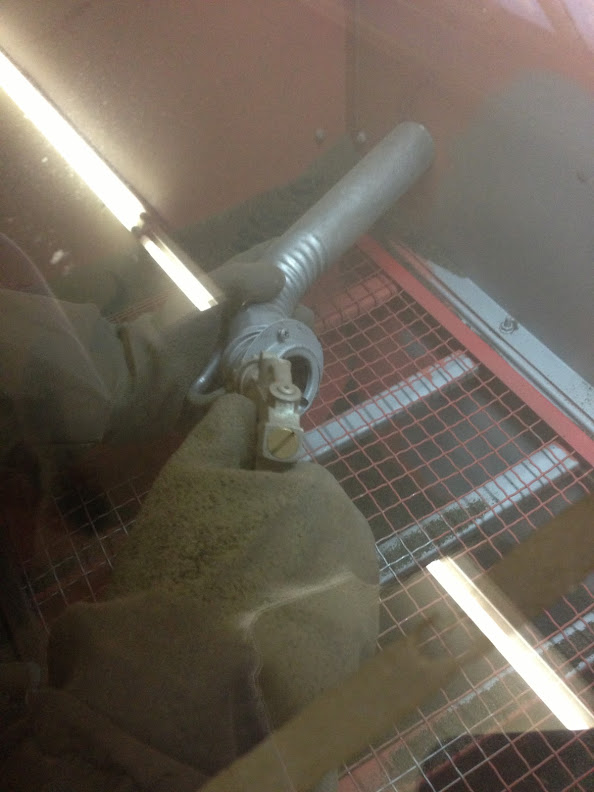
) I was really surprised at how hard it was to find a harmonic balancer for this motor.


But so far the best thing i have acquired is this book. Many many many of my questions have been answered with this book.
34.jpg
 

OrangeSpear

new here
time to catch up on my progress

So i have a good bit done on this build, and because this is a new forum to me, i have forgotten to update it. So here we go with the update...

Harmonic balencer acquired. (this was a discontinued part and was a struggle to fine)

on to the Fuel tank and Sending unit.
Short version is that i was able to get it all to work.

I was able to take the Cherokee OEM sending unit and the Dorman Ford Sending unit and combine them.

Ford Sending unit with the correct resistor for my E100 fuel gauge.
32.jpg


my 1993 Cherokee sending unit. (sorry i forgot to take photos before i started taking it apart, so this is a photo from the web)
123471_o.jpg


In this picture, i have removed the cherokee float and sending unit. The fuel pump is still installed, for now.
31.jpg


after several test fits, i cut the section out of the Ford unit that held the ford sending resistor and i welded the plate to the cherokee sending unit. (also removed electronic fuel pump)
24.jpg

23.jpg


using my template that i created from the old Cherokee float, i retested my float positions. I did have to bend the float a little.
21.jpg

20.jpg


Added the sock and some new tubing to bypass where the fuel pump was.

14.jpg


Fuel tank is in. If i had placed the tank so that it sat in the fuel straps, then the fuel tank would touch the exhaust pipe. I may bend the exhaust pipe later so that it is out of the way and then preposition the tank so that the straps sit in their grooves. (as of 9/10/2013.. I bent the tail pipe away from the tank and now the tank straps sit in their groves like they should)
12.jpg

12.jpg


Video of Fuel gauge working!


Sandblasting the fuel fill pipe.
9.jpg


New shocks and coils all around.
6.jpg

bad photo
5.jpg


I started pulling the oil pan but ran out of time. I undid the motor mounts and was able to lift the motor about 4-5 inches but that still wasnt enough to get the oil pan to slide out.
 

OrangeSpear

new here
When we pulled the timing gear cover, we noticed a lot of oil build up 'sludge'. So this prompted the next action, remove oil pan and valve cover.

I must admit that removing the oil pan was not as easy as i initially thought it was going to be. Disconnected motormounts, crossmember, crossmember L braket, and then lifted motor as high as possible and wiggled it out from under the motor. By this point im really only a few bolts away from just pulling the motor.

This timing gear is what promoted further investigation into the possible engine sludge.
2.jpg


I forgot to take a picture of the Oil Pan when i removed it and started cleaning on it. But had a lot of black sludge and the bottom of the pan was a thin layer of what looked like gray clay.

Valve cover:
18.jpg


19.jpg


Cleaning valve cover:

13.jpg


11.jpg


Cleaned inside valve cover:

4.jpg


What lied beneath:
15.jpg

16.jpg


Cleaner:
9.jpg

3.jpg


I wasnt able to crank it yet. The paint hadnt dried on the valve cover yet and i am waiting on the new motor mounts to come in. I replaced several items since i was this far into the motor.
 

OrangeSpear

new here
~~~~~~~

Ok so the valve cover paint had dried and the new motor mounts finally arrived. It was time to put it all back together and see how it runs. I was almost like a kid waiting on Christmas to come. I didnt want to rush and miss simple steps but i couldn't wait.


After putting everything back together, here is the very first turn of the key.

revving it up a little

I let it run for about 30min-45min.

Everything back in its place.
4.jpg

2.jpg


I first drove it up and down our long driveway, then i went down the street and back.
This was the first time i had driven it since i was about 12 or 13 years old. I was on a high the rest of the day!

Parked and ready for tags. (this is a whole other issue. Since Alabama didnt issue titles before 1976, this has been an issue for months. im still trying to get it tagged.)
I did end up removing the front bumper. The passenger side was just barely crushed in and it made it really hard to get the grill to sit properly behind it.
3.jpg


~~~~~(later the next day)

Finally got the title and tag issues settled.

Drove it for the first time in 20ish years!!

1.jpg


It drove a lot easier and better than i was expecting. Every once and while it wanted to wander but that was when i was above 50mph.
 

OrangeSpear

new here
This past 2 weekends

Now that the Van is tagged, titled and road worthy, Its time to start the camper side of this build.

This weekend i came home with a new popup Jayco 1006 Deluxe and a Norcold 6052 RV 2way fridge. (all for $150)

the plan is to gut the popup and use this stuff to create a camper van. This doesnt have everything i will want or need but i think its a huge jump start.

13.jpg

9.jpg

10.jpg

8.jpg

7.jpg

6.jpg

5.jpg

14.jpg

21.jpg


~~~~~~

Weekend update.
I feel like I got a good bit done on getting prepared with the camper install.

I was able to take apart the popup camper, catalog all items, and take measurements of each possible item i may use.

Start off first removing all cushions, curtains, canvas walls and the broken roof.
26.jpg


time to remove and measure.
25.jpg

28.jpg


Also this Jayco came with an awning. Score! Its what they called an Add-a-Room. its only the roof part but im stoked about it.

Good news on the fridge that i bought from the junk yard for $50. After running for one hour, the freezer hit -13 and the fridge was around 36, on its coldest setting.

Another thing i was having issues with, was what to do for a back seat/bed.
I found on craigslist near me, where someone had gutted the inside of a 1997 Ford Club Conversion Van. They wanted $150 for all of the interior seats. So i went to look at it and ended up buying the lot. I had to take all of the seats. The rear bench/bed exceeded my expectations. Its a 3 piece bench. When it starts to lay flat it has a 3rd section that it pulls up to make the bed larger. Its dirty and needs some TLC but the seat is in good condition. I didnt have a way of testing the functionality of it yet, so im still not 100% all motors and switches work.

Front View
43.jpg

3rd section view that hangs off the back when up in Bench Mode.
45.jpg


I will also probably end up using 2 of the captains chairs for the front. They have seat heaters and massagers built in. My big concern with using seats that are a little wider than OEM, is being able to get the doghouse off.

Im sure I will have many questions to come but one that i have right now pertains to the safe installation of the propane tank and lines. Do i install the copper propane lines (the copper lines then turn into the rubber lines near the item of use) that will go to the fridge, inside cooker and outside cook area, inside the Van (in the sub-flooring)?
 

Forum statistics

Threads
185,891
Messages
2,879,254
Members
225,450
Latest member
Rinzlerz
Top