richard310's 04 Xterra

richard310

pew pew
Nice! I like the lights on the grill. I've thought about finding three or four 1" LED marker lights similar to the Ford Raptors but never really looked into it that much.

Beautiful shots, sir. Love the amber LED setup. And that dog is awesome!

Was that a Red Heeler?

Great pictures, looks like a blast. Loving the set up.

Looks like a Blue Heeler (aka ACD - Australian Cattle Dog). Our dog is an ACD+Akita mutt, super smart but aloof unless he knows you well, a bit aggressive towards unknown large dogs- but I'm sure this has nothing to do with richard310's X so I'll shut up :)

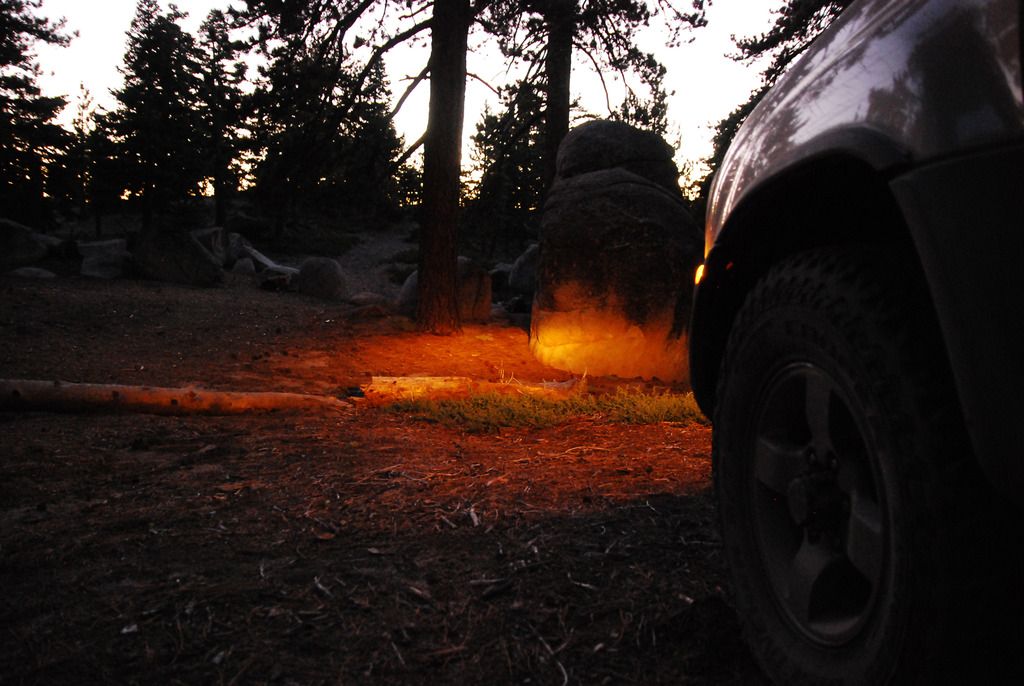
Thanks guys. The amber LEDs are a flood pattern and work out quite well. The pattern extends the headlight coverage further and wider and work pretty well nestled in the grille. The color turns out more yellow than amber and match my yellow headlights well. I have yet to remove the HIDs on the bumper. Laziness has gotten the better of me.

And no problem about the puppy. It's my friend's Aussy Cattle Dog. She's quite the bundle of energy!
 

richard310

pew pew
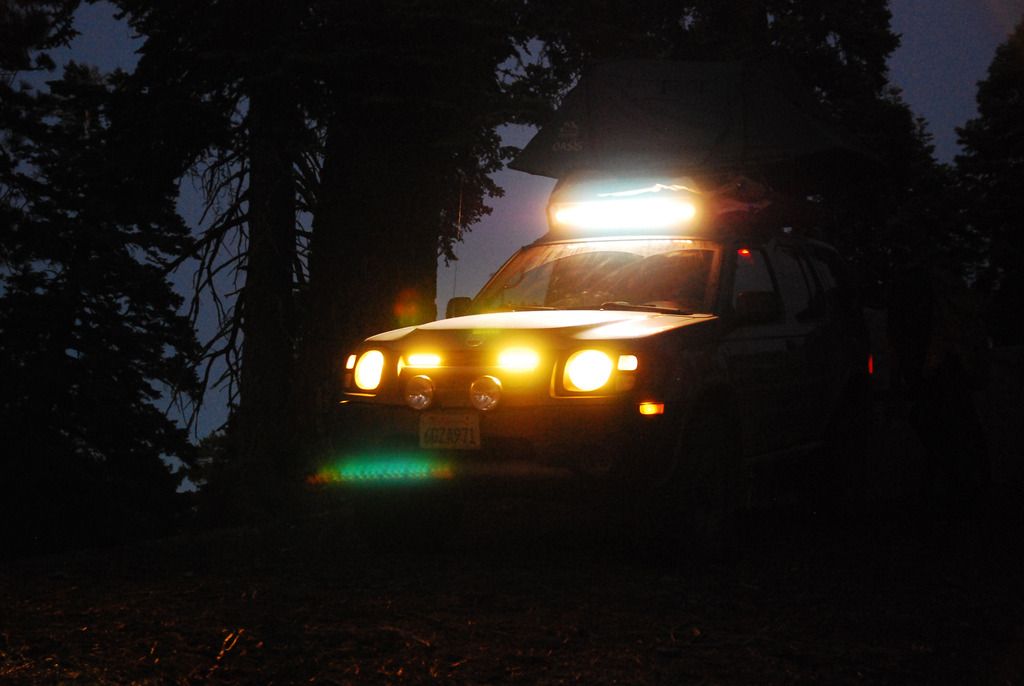
Some info regarding the new lighting setup

Grill Mounted LED Bar HERE:
- 5W CREE LEDs (30W total)
- 2550 Lumens each
- 30degree Spot/60degree flood
- 6.8" Length

Roof Mounted LED Bar HERE
- 10W CREE LEDs (180W total)
- 15300 Lumens
- 30degree Spot/60degree flood/Combo
- 32.5" Length


Headlights on only:


Headlights on and grill mounted LEDs (flood):


Headlights on, grill mounted LEDs on (flood), and roof bar on (flood, spot combo:


I do need to modify my mounting points on the roof bar to rotate the bar upwards to lift the beam more. The grill mounted bars also need to be just ever so slightly rotated upward as well. Otherwise, I love the new setup. No more windnoise, ample light ouput, and a much sleeker look, although I do miss the round lights. I will be re-wiring the grill LEDs straight to the battery instead of the headlight as I prefer to isolate the circuit.
 

cparcell

Observer
How does it handle with the rtt and lift bits. Were currently running a 3 inch suspension lift and will be picking up a a rtt this fall. We are not running a rear sway. Currently on 32s and are goung up to 33s e class. We usually load up heavy on the top and inside. Curious if we will even notice the tent since xterras are naturally sway felling. I have a 3 inch body lift and before I install It I wondering if we should just goto a 1 inch or two inch wince we dont need the clearance just the service easement with a BL
 

richard310

pew pew
Thanks fellas. The lightbar is really working to my liking. I think I'll be sticking with this setup for awhile.

cparcell - It handles just the same. My cot/RTT doesn't affect any characteristics than when it was lifted. It still acts the same, although there is a considerable drop in MPG (approx 2-3) with it strapped atop. To be expected with a lift and extra stuff strapped on top.
 

Longrange308

Adventurer
Looks great Richard! Are you still getting a lot of glare off the hood? I remember that being a major complaint of yours with the old setup.
 

richard310

pew pew
Looks great Richard! Are you still getting a lot of glare off the hood? I remember that being a major complaint of yours with the old setup.

Nope! I'm glad it's all gone now, as the bar itself sits a few inches back from where the old setup was. Only problem now is that I've got two holes on my bumper and grille...
 

richard310

pew pew
After changing the oil on Tuesday morning, I discovered that the tensioner bolt attached to the alternator had decided to vacate its home. Luckily, it only backed itself out and I had tightened down the upper bolt enough to limit the movement of the alternator itself. However, the belt had been loose enough to cause squeal on start-ups. Headed into work, scrounged around for some metric hardware, found a grade 8.8 almost 4inch long bolt, and popped that baby in with some locktite on the threads. Re-adjusted the tension and was on my way with no more squealing start-ups. I had read that a few folks had the bolt head shear right off and left threading in the bracket. Thank goodness I didn't have to disassemble anything or blowout any holes.

Just reminder to do a check-over on and around the trucks, pre and post trips and maintenance schedules. Save yourself the headache!
 

cparcell

Observer
I managed a personal best over 700 miles one way with a long trip. 19mpg mtn and 22 mpg flat lander on a trip to sc. Thats with the suspension etc and a roof basket and roof mounted spare. Im figuring around 15 with a rtt.
 

richard310

pew pew
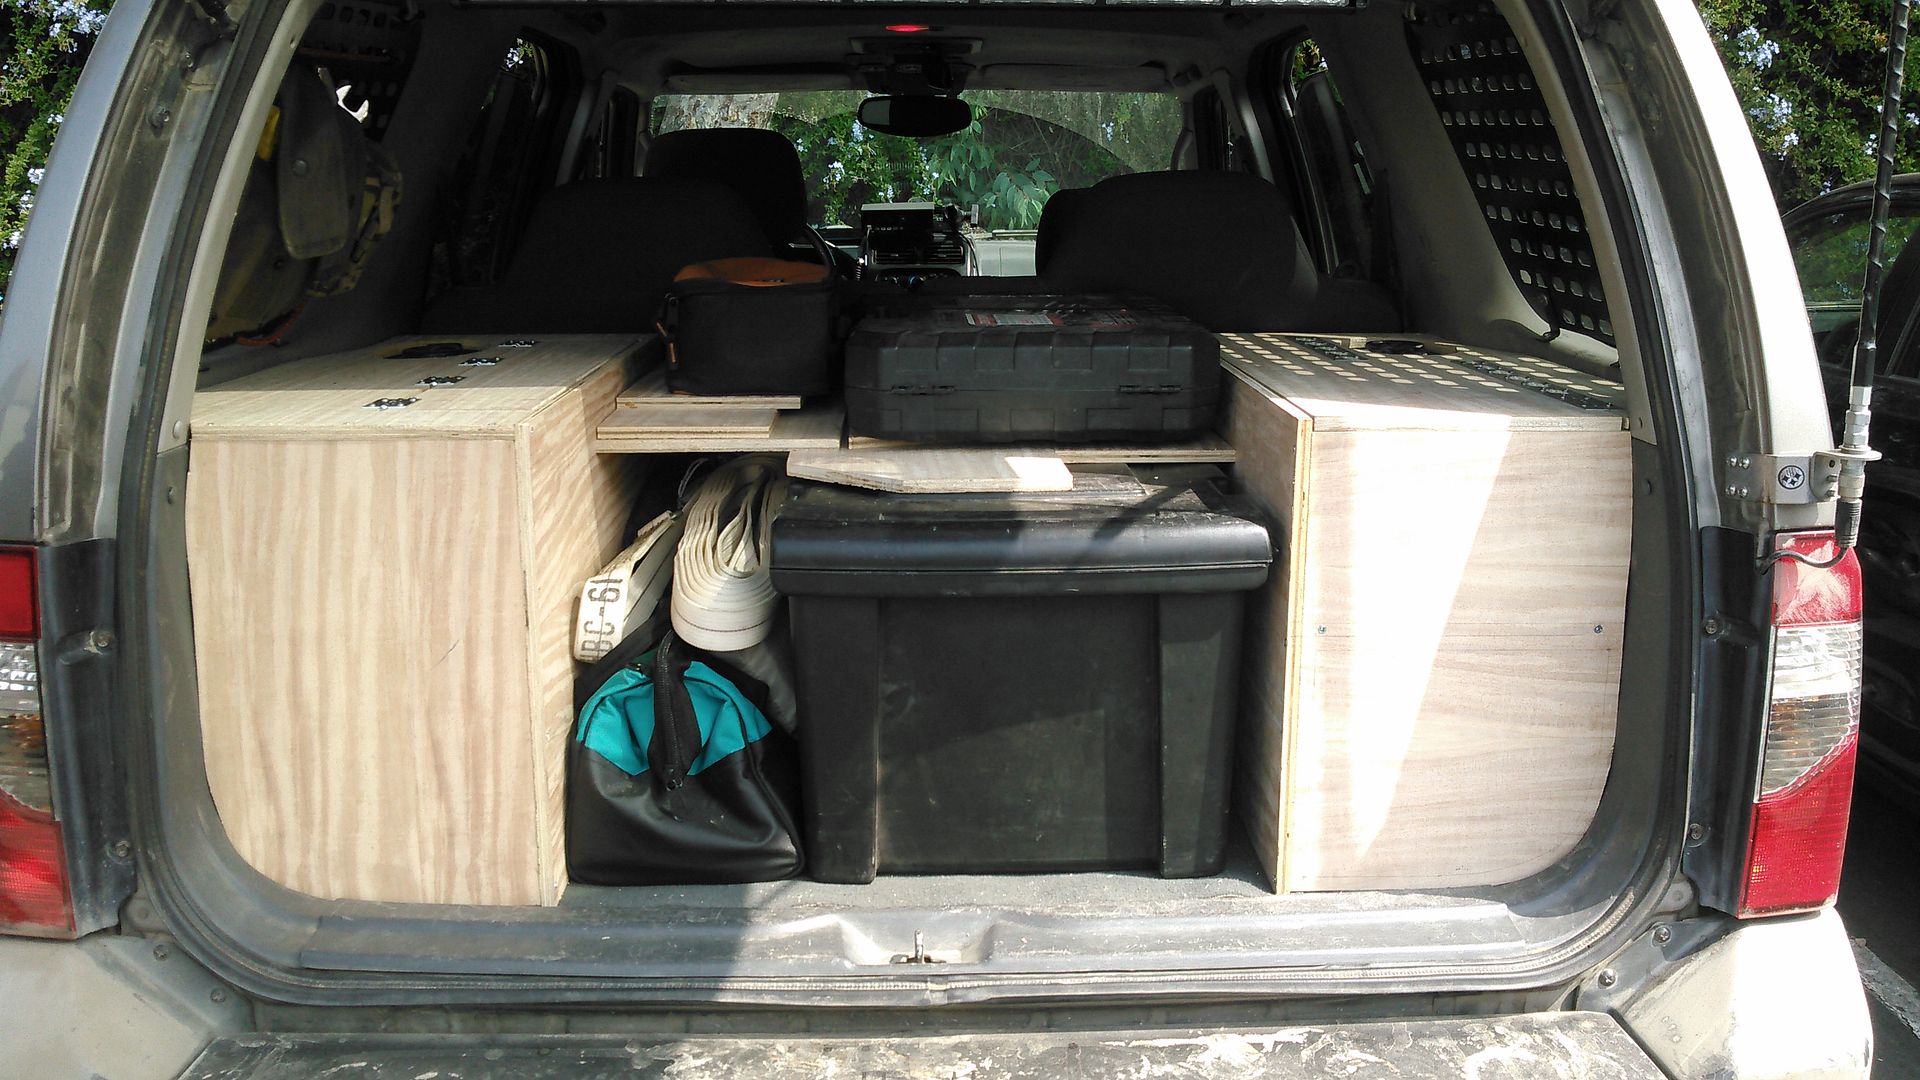
So, I started building my rear cargo system. Totally worthless post with no pictures, but I'm about near halfway completed.

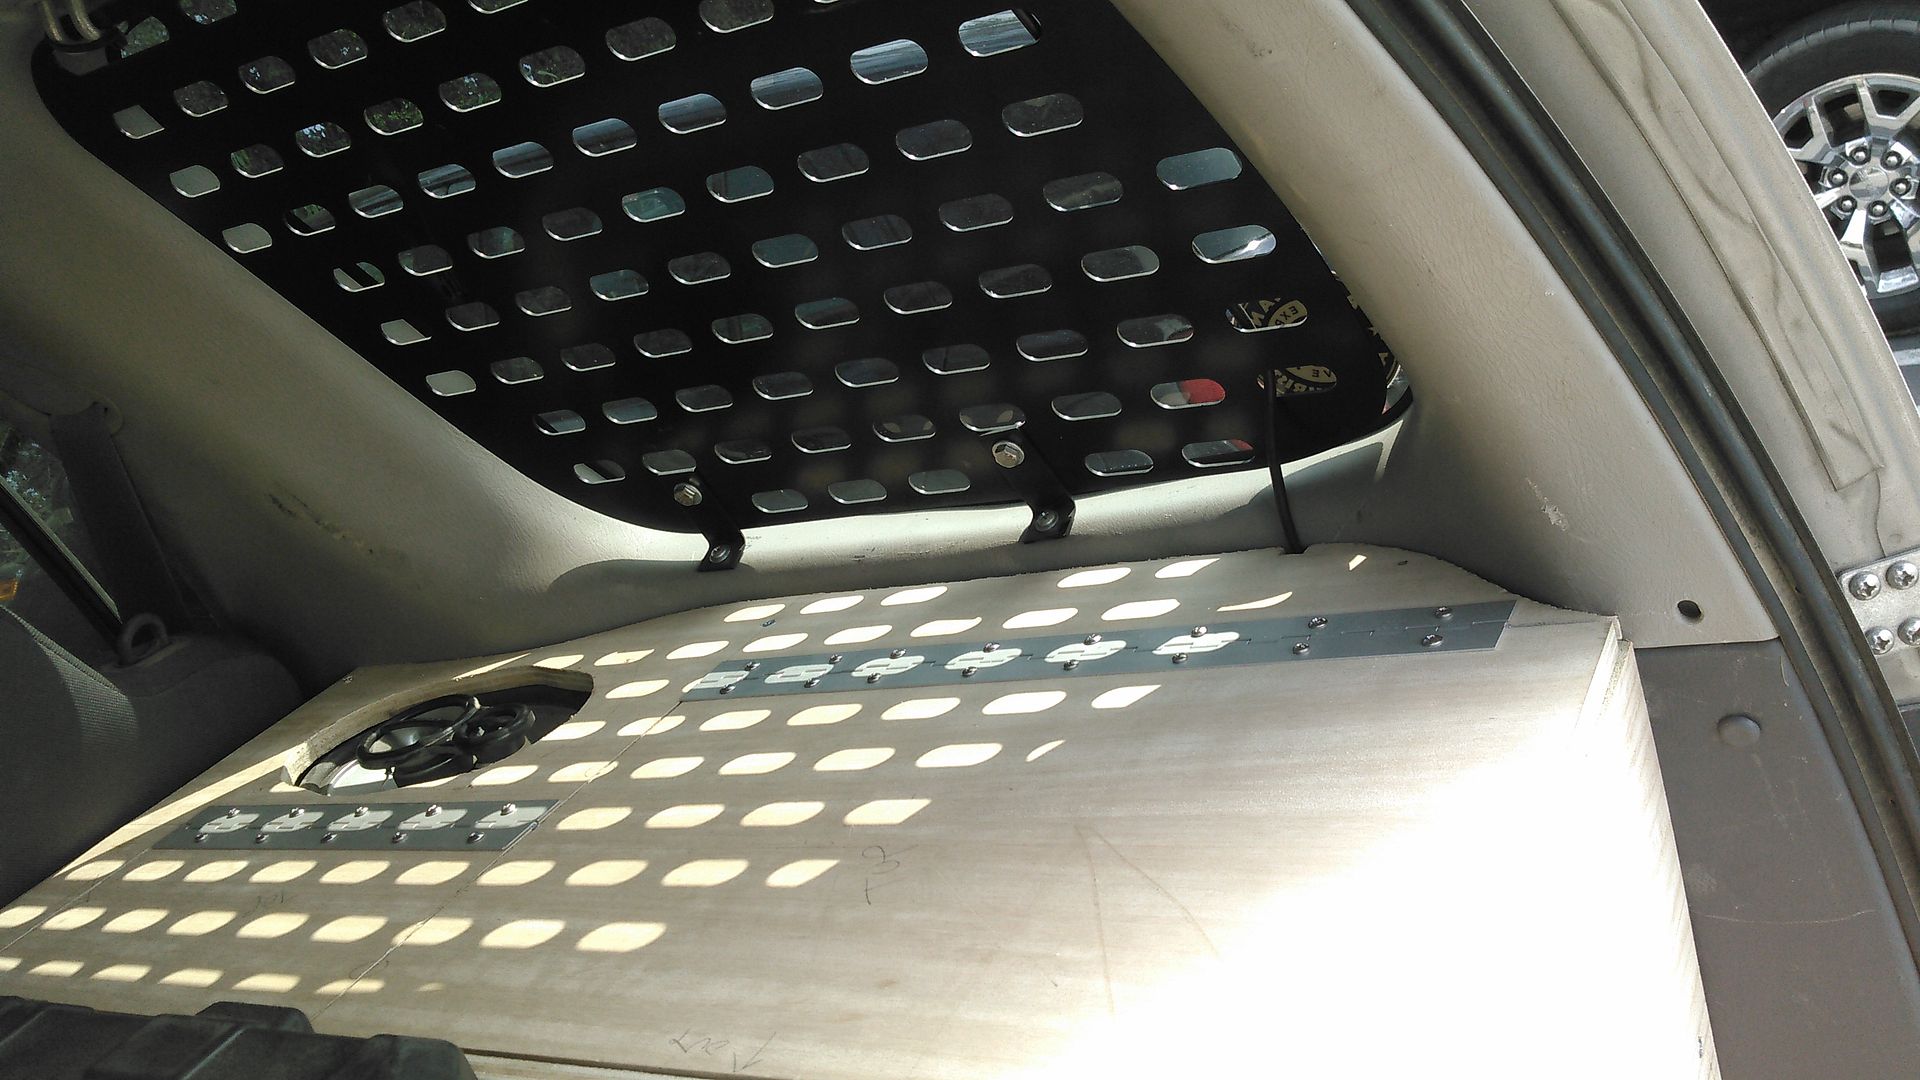
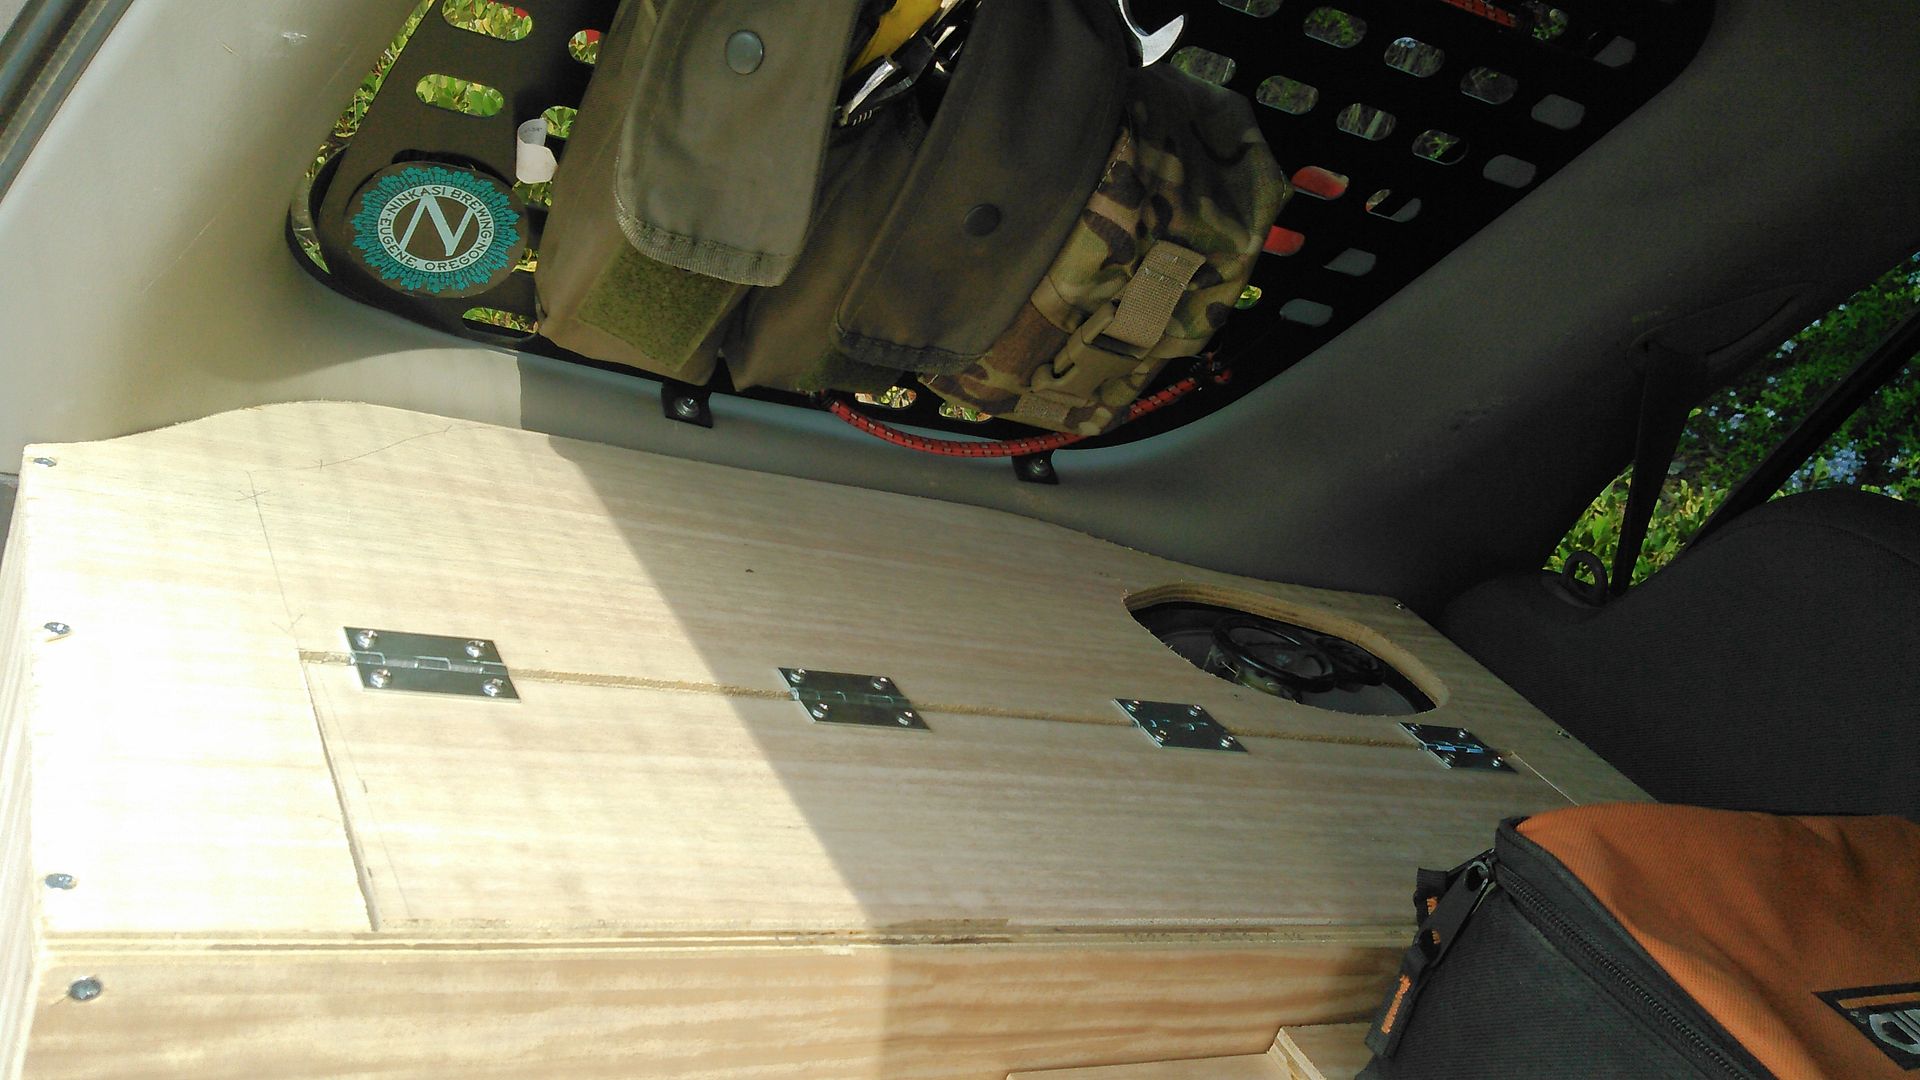
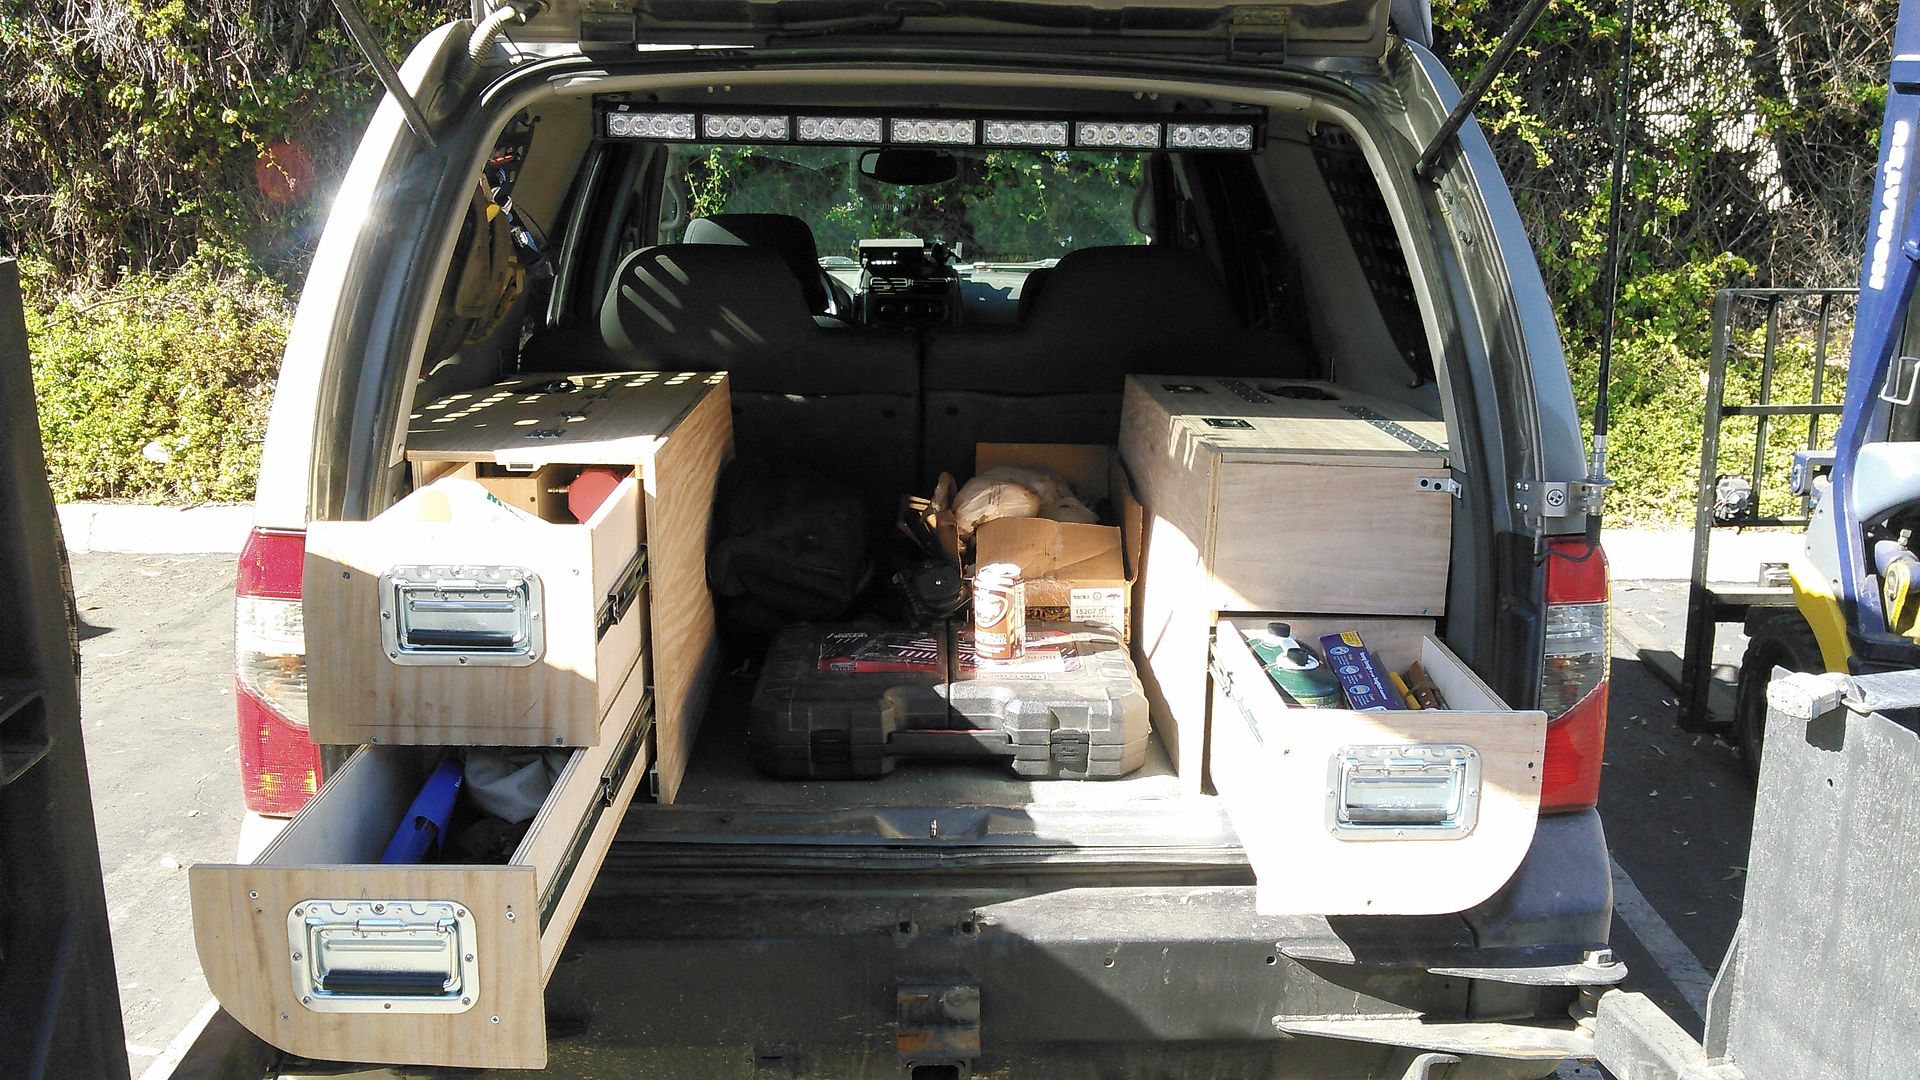
I'm using 1/2" ply from Home Depot that's been pre-sanded and cut down (MUCH lighter weight and less finish work). There will be two separate units just under the window line, one on each side of the cargo area: One drawer in the bottom of each, and two flip-top cubbies (one big and one small) up top. I'll be anchoring them down with L-brackets to the hook brackets on the floor and also to the factory side panels. The rear speakers will be moved to the top deck just next to the two cubbies and the 12V plug will be relocated for easier access.

I'll most likely be using automotive carpet of some sort to wrap the entire units to give it a finished OEM look. I may also cut a deck to bridge the two units to create a flat space for better organization if necessary. I'll try to update as I was only able to work on it last Friday at work. Hopefully I'll be able to squeeze in sometime this week to finish the other half and get the drawers going and MAYBE snap a few pictures of my shoddy workmanship.
 

richard310

pew pew


Right side:


This side just needs a lower drawer, approx 14" deep, carpet and a speaker cover. I'll most likely line the insides of the cubbies and drawers with a dense padded foam to eliminate interior noise from its contents.


Left Side:


The left side still needs both drawers cut out. I still have to figure out the top drawer and how that will wrap around the speaker without the slides interfering. I may just make it a narrow drawer since it has a flip top already cutout for top access.

I still have to cut out the rear facing panel for the drawers and carpet the whole unit. I just ordered the sliders for the drawers from McMaster Carr: Full extension, hold open sliders with an approx 100lb load rating. Latches and magnets for the flip tops and drawers need to be ordered. Also left is to fab up some L-Brackets to mount the units to the vehicle itself. I'd say about another week to source materials and figure out the drawer dimensions and it'll be completed.
 

Raul B

Explorer


Right side:


This side just needs a lower drawer, approx 14" deep, carpet and a speaker cover. I'll most likely line the insides of the cubbies and drawers with a dense padded foam to eliminate interior noise from its contents.


Left Side:


The left side still needs both drawers cut out. I still have to figure out the top drawer and how that will wrap around the speaker without the slides interfering. I may just make it a narrow drawer since it has a flip top already cutout for top access.

I still have to cut out the rear facing panel for the drawers and carpet the whole unit. I just ordered the sliders for the drawers from McMaster Carr: Full extension, hold open sliders with an approx 100lb load rating. Latches and magnets for the flip tops and drawers need to be ordered. Also left is to fab up some L-Brackets to mount the units to the vehicle itself. I'd say about another week to source materials and figure out the drawer dimensions and it'll be completed.
Looks great.....
 

Forum statistics

Threads
185,909
Messages
2,879,456
Members
225,497
Latest member
WonaWarrior
Top