All-Purpose Scout 80 build

MotoDave

Explorer
Nice! I'm liking the stance, I dig the recessed fender fuel filler cap. What is the reasoning behind linking the front, but not the back?

Keep up the good work!

Honestly, mainly for cost reasons right now, Johnny Joints and tube adapters add up quick! I think I will link the rear at some point, although I expect it'll work pretty well with the long leaf springs.
 

MotoDave

Explorer
I bought all the DOM tubing for the links this week, and set up my lathe to cut a matching bevel to the tube inserts.

2" x 1/4" wall for the upper and lower links
2014-01-19%252015.09.29.jpg

2014-01-19%252013.20.46.jpg


1.5" x 1/4" wall for the panhard bar
2014-01-19%252013.35.39.jpg


I tried out the rollers I built as a make shift welding positioner, and had some issues with the ground wanting to pull the tube in one direction or another. Sort of solved it by wrapping some ground strap around the tube and letting it unwind. I still wish I had a real rotary positioner, I think it'd make the end product much more consistent. I tried both MIG and TIG on some extra joints I ordered, and was happier with the results using TIG, so that's how I'll do the rest of the joints. I doubt they will end up in the pretty weld thread, but I am getting solid penetration with the current setup so it will hold.

Cut one in half to check penetration and make sure I'm not getting any porosity/gaps
2014-01-19%252020.24.05.jpg
 

MotoDave

Explorer
Got the rest of the links tacked up last night and bolted back in under the truck.
2014-01-20%252020.33.21.jpg


2014-01-20%252020.33.38.jpg


Ordered the tie rod and drag link from WFO Concepts, they sell them cut to your specs, tapped and with milled wrench flats for less than I could have bought tubing and taps myself. Last piece of the puzzle will be to build the panhard bar mounts, which I'm waiting on getting the drag link into place for, so that I can try to match the length and angle as best as packaging allows.
 

Matto

Observer
Wow - this is fantastic. As the others have said, that's some awesome welding right there.

Can't wait to see this progress.

Cheers,
Matt
 

MotoDave

Explorer
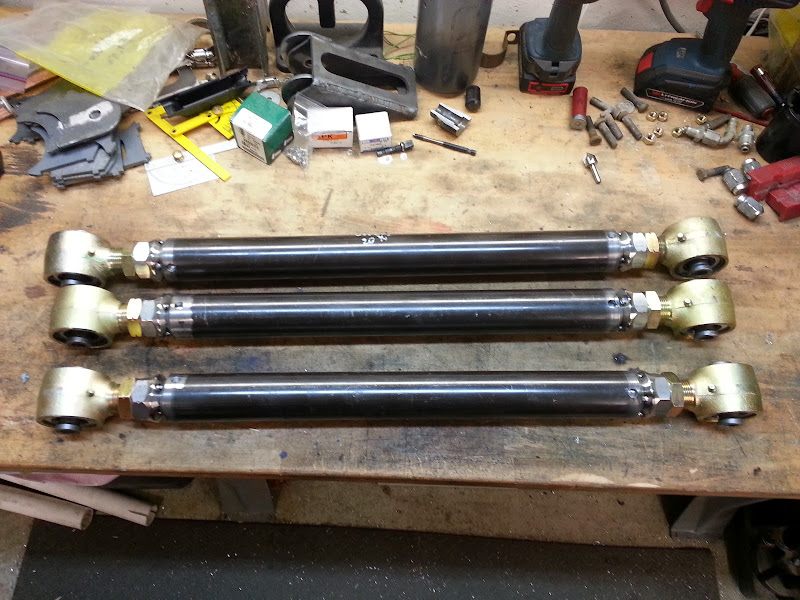
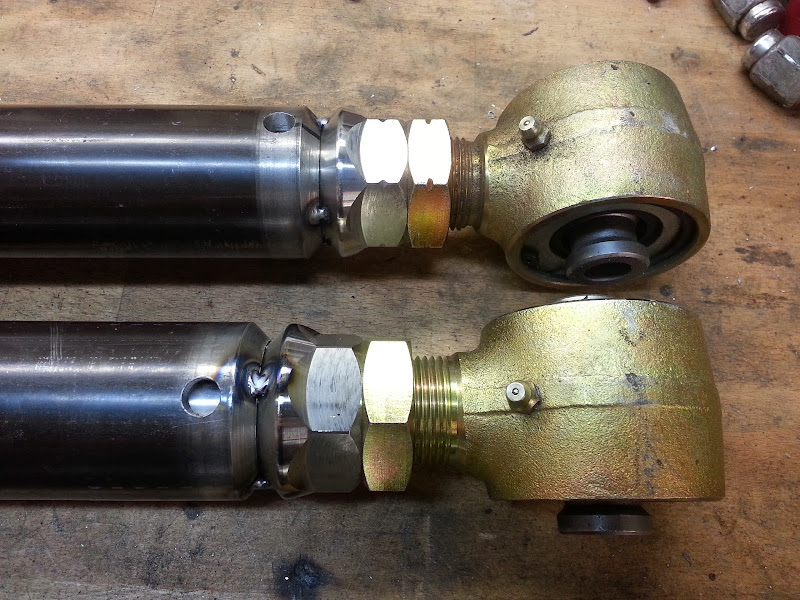
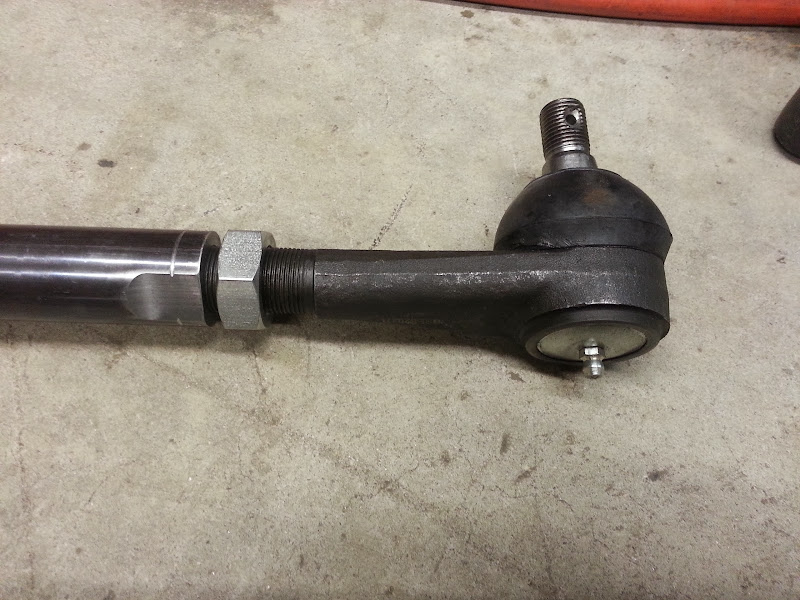
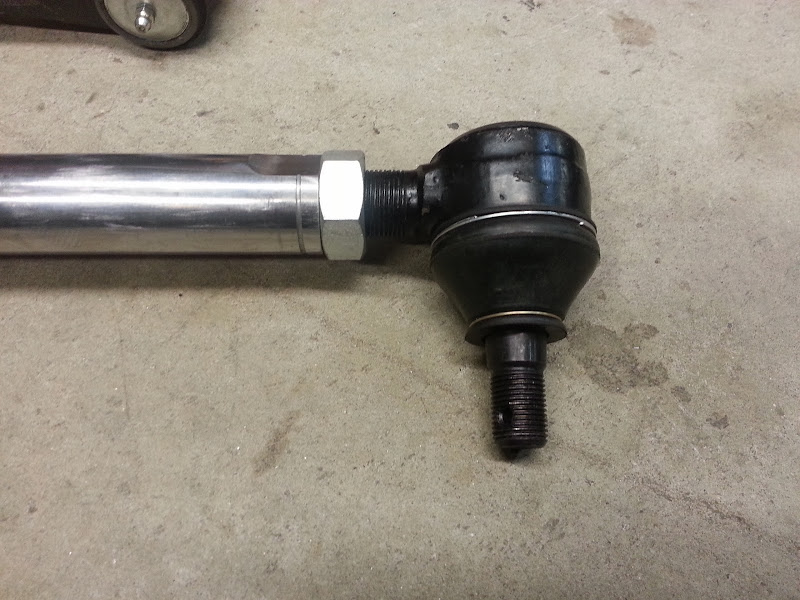
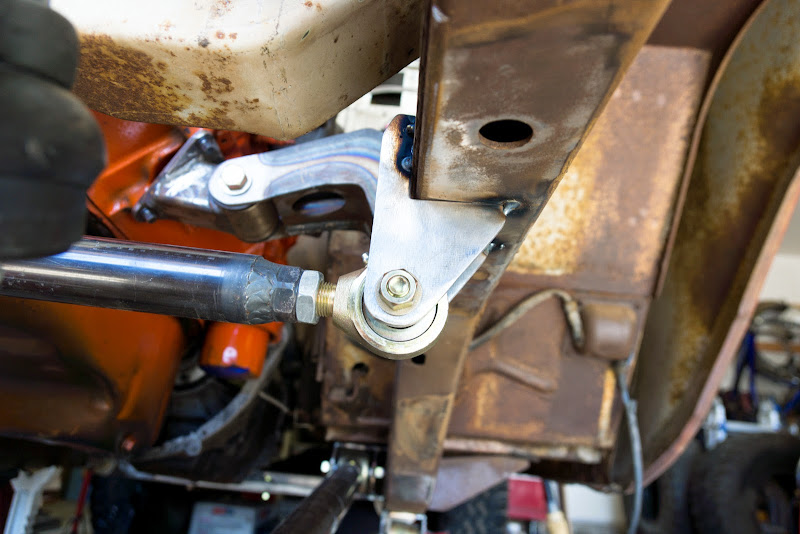
Received the drag link and tie rod from WFO Concepts, nice parts.
2014-01-23%252020.14.01.jpg


I'm using 7/8 thread Dodge/Chevy TRE's, also from WFO:

Drag Link: ES2027R and ES2027L
2014-01-23%252020.14.18.jpg


Tie Rod: ES2010R and ES2010L
2014-01-23%252020.14.13.jpg


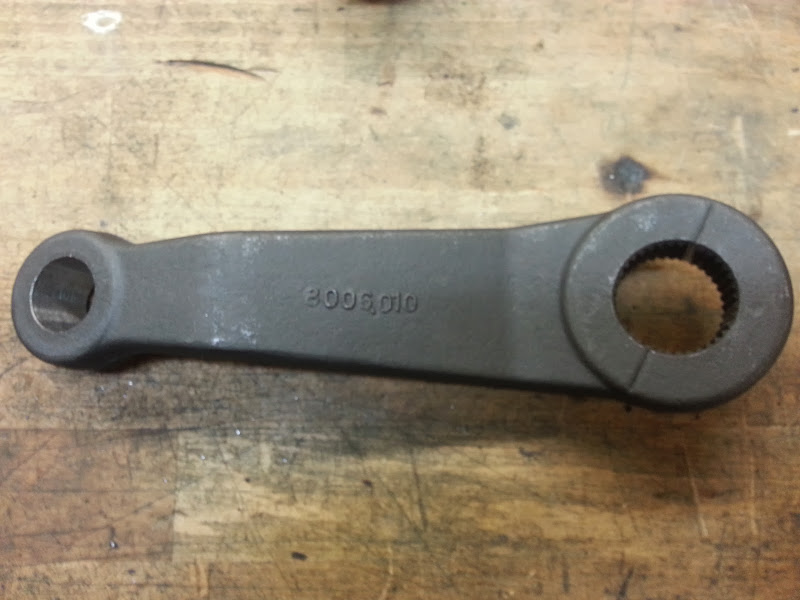
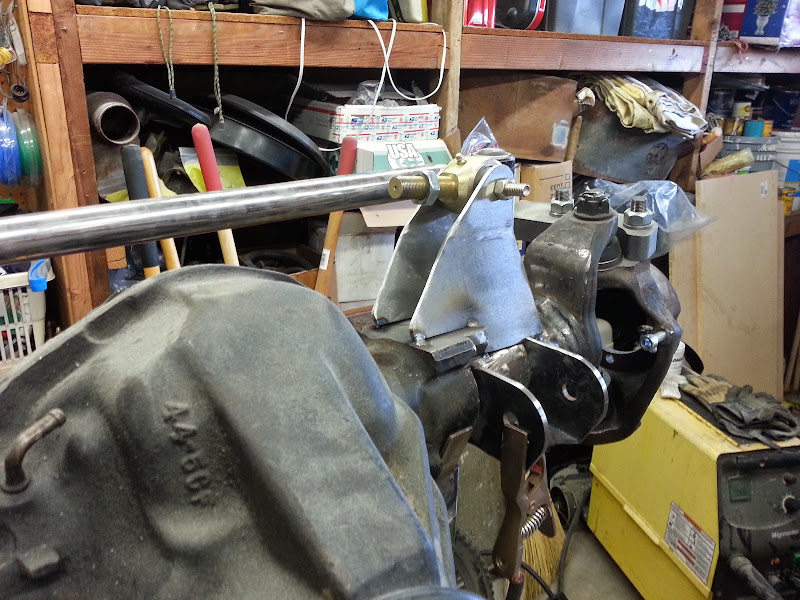
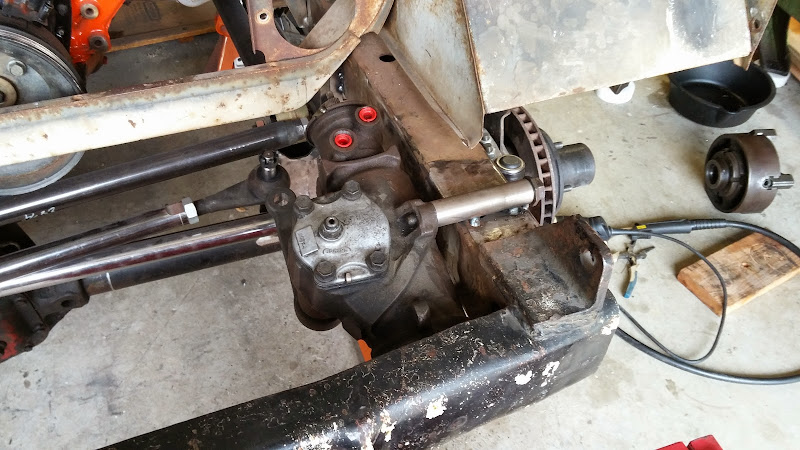
WJ pitman arm, reamed out for the larger TRE taper and filed the 'master' splines so that it'll key on my steering box whatever way I need it to
2014-01-23%252020.26.42.jpg


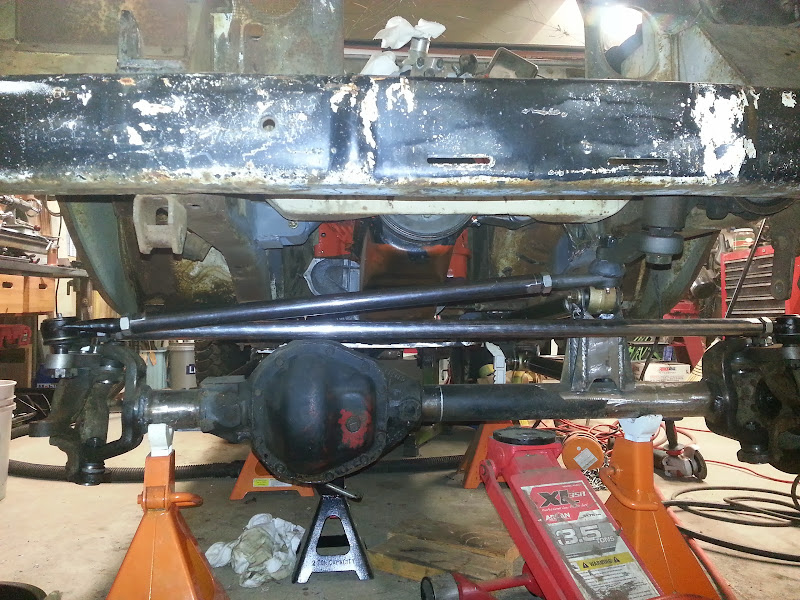
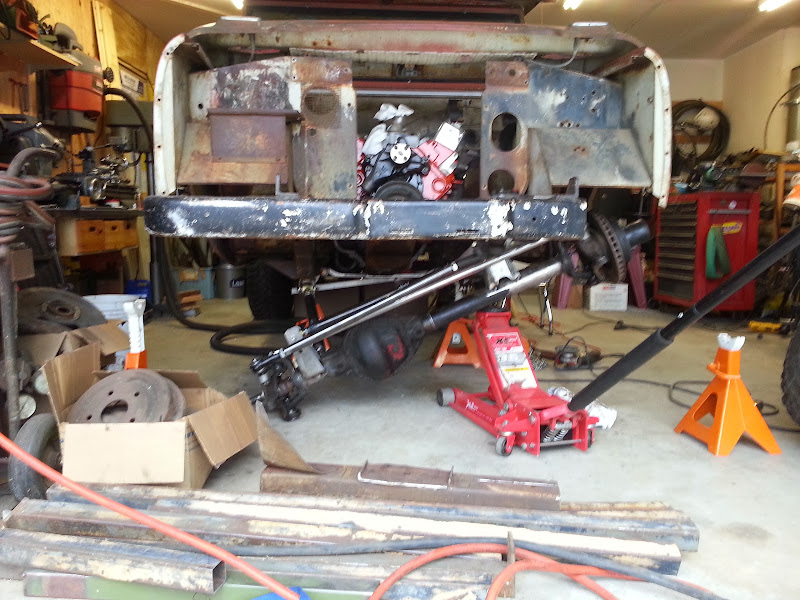
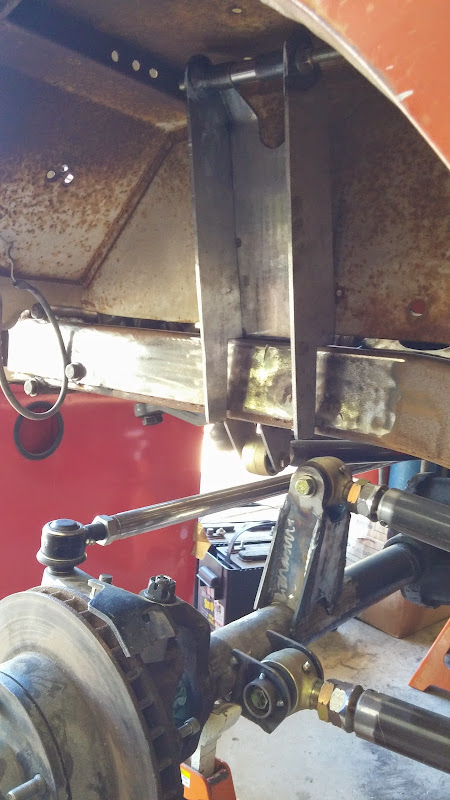
Suspension at ride height, Panhard bar not in place yet
2014-01-23%252021.08.33.jpg


2014-01-23%252021.09.26.jpg


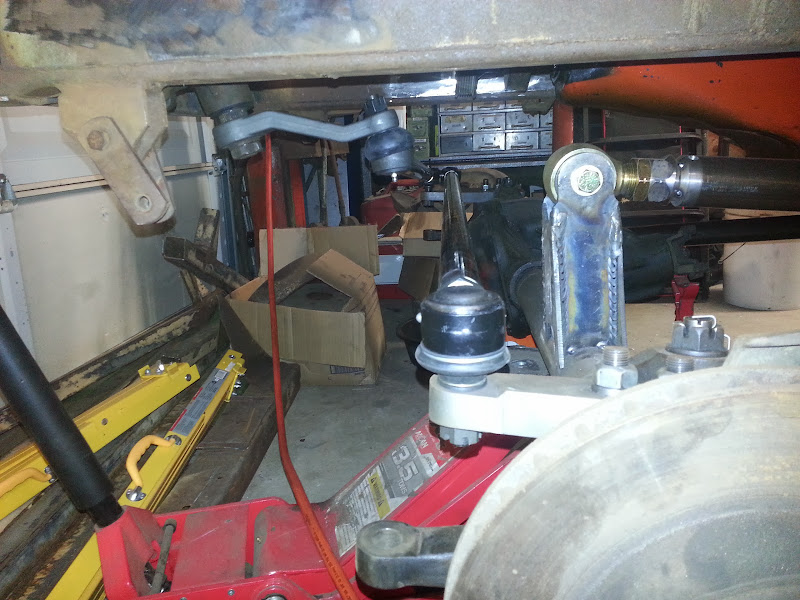
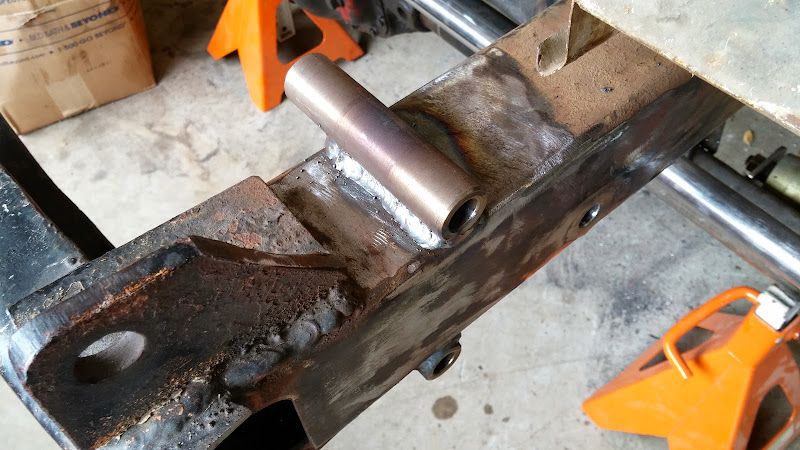
Start to the steering box mounting
2014-01-23%252021.07.27.jpg


I'll sleeve the other 2 bolts through the frame, and tie this top sleeve in with some strap.

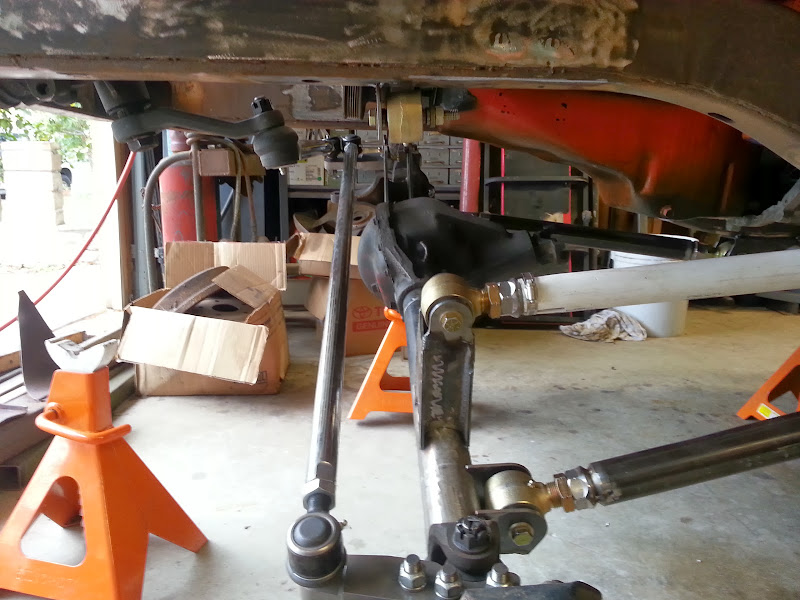
This weekend I was able to get the panhard bracket mocked up, and test out how it looks under articulation:
2014-02-02%252015.57.55.jpg


2014-02-02%252015.58.10.jpg


2014-02-02%252016.00.51.jpg


I wound up rotating the upper link mount backward an inch and the axle, to make room for the panhard bar mount. Using the ruffstuff panhard bracket in the highest hole, the panhard bar is almost exactly parallel to the drag link at ride height. Panhard and drag link lengths are identical. I want to try to measure how much bump steer this setup will give me, either by improving my CAD model to accurately include steering parts, or physically measuring it on the truck (or both). I may slot out the panhard bracket to lower the mounting hole (make a custom weld washer to locate the hole), or I may built my own panhard bracket, since this one takes up a lot of my very limited axle tube real estate.

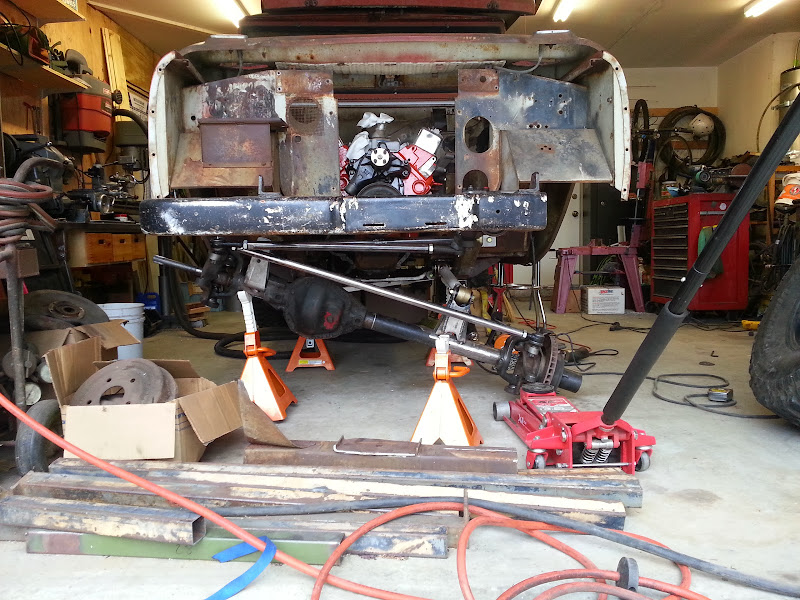
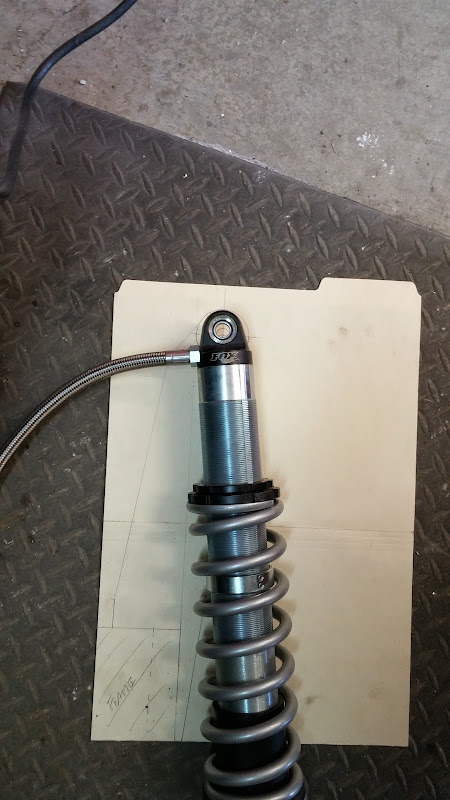
Next steps, build a more permanent panhard bracket on the frame, figure out shock mounts, and try to get some idea of corner weights so that I can get springs to put on the coilovers. Cant wait to get it back to being a roller again soon.
 

stolz

Adventurer
Amazing build thread Dave! And thanks for showing me the site again! Stoked on it, I'm always looking at build threads now haha.
 

MotoDave

Explorer
Amazing build thread Dave! And thanks for showing me the site again! Stoked on it, I'm always looking at build threads now haha.

Thanks dude, I cant wait to get it out on some adventures. Figured the site would be right up your alley.
 

edlaffoon

Adventure Every Day
VERY nice truck, the finished product will be a cut above. (I'm fighting the urge to look for a used lathe right now)

How does you filler neck work with that cap? I really like it... may have to steal the idea.
 

MotoDave

Explorer
VERY nice truck, the finished product will be a cut above. (I'm fighting the urge to look for a used lathe right now)

How does you filler neck work with that cap? I really like it... may have to steal the idea.

I've yet to build the filler neck that will be inside the bodywork, I have some ideas on how to make it work though. I've been waiting to get the fenders cut and cycle the rear suspension so that I can make sure the filler stays clear of the tires under full articulation.
 

MotoDave

Explorer
And we're back ...

So picky me wasn't happy with the panhard bracket that I bought, so I made my own.
2014-06-22%252017.44.00.jpg


Made the frame side brackets too, and got everything tacked in place.
DSC01176.jpg


The panhard bar is the same length and angle as the drag link, in fact from the front you can't see the panhard at ride height. Engineer Dave is happy now.
DSC01177.jpg


Everything is playing nice when cycling the suspension, but its definitely tight. I have some backup plans in case things move in ways I don't expect and I get contact.
DSC01172.jpg


I started working on the coilover mounting. I am trying to avoid or minimize having to notch the shock mount into the frame, so I am going to push the bottom mount as far outboard as possible. Due to the panhard mount on the axle, the coilover needs to mount basically on top of and slightly behind the C's. I am thinking a bracket that is welded to the C for one side of the shock, and another that keys off of the lower link mount. Will play with some cardboard templates this week.

Got a bunch of other small things done, like making the spacers for the coilovers, working on the back shell for the gas caps, etc. Been putting my new (to me) lathe to work.
DSC01139.jpg


Every once in a while its good to take a step back and look at the truck as a whole, I am still happy with the direction its going.
DSC01211.jpg
 

MotoDave

Explorer
I suck at doing this quickly. I feel like I overthink too much and it holds me up from just getting to work and building ****. Who cares if I have to rebuilt it later. Metal is (pretty) cheap.

First shot at a shock tower - cardboard layout
2014-08-16%252015.11.23.jpg


After a bit of work with the bandsaw and belt grinder
2014-08-17%252012.34.58.jpg


First test fit on the frame. As you can see the inner fender needs to get cut out to let the shock tower sit on top of the frame.
2014-08-17%252012.40.40.jpg


I'm planning to build the lower shock mount as far out on the axle as I can, most likely I'll do something off of the inner C. I'll tack the shock towers on the frame as is, mount the shocks and try articulating the axle as much as I can. I am expecting that the coils will make contact with the frame when one side is drooped out, so I will notch out the frame in that area and move the upper shock mounts back. This is definitely one area where trying to run narrow axles is turning out to be a real pain in the ***.

One other minor update, I finally got the other 2 steering box sleeves welded through the frame. I will plate in the top and bottom sleeves to give them some extra reinforcement.
2014-08-09%252017.06.47.jpg


2014-08-09%252017.22.31.jpg
 

Forum statistics

Threads
185,916
Messages
2,879,603
Members
225,497
Latest member
WonaWarrior
Top