HavenInTheHills
Power Wheels Pilot
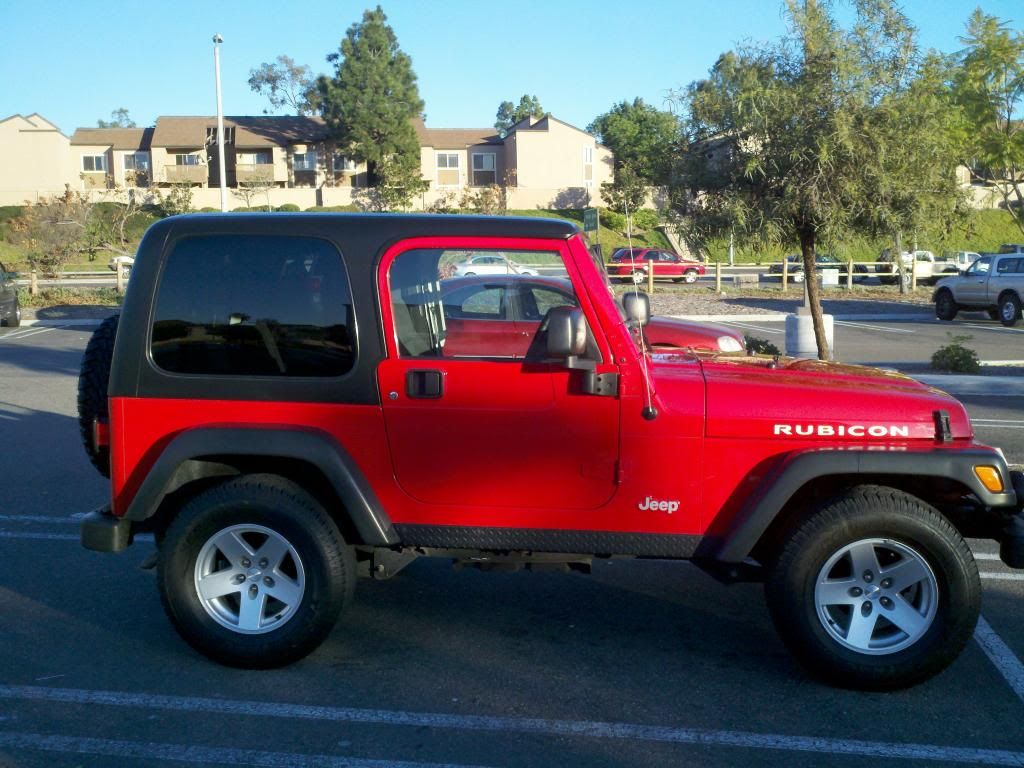
I have a little bit of time to kill today so I figured I would post a thread on the build up of my 2006 Rubicon. I bought it 3 years ago, bone stock, from a guy who's wife said 2 jeeps in their garage was too many. 6 speed, 4:10 gears, dana 44 axles, lockers, 4:1 reduction transfer case, hard top and stock doors. I had owned a 97 TJ and a 1990 YJ previous to this Jeep but this would be my first that I built myself.
The day I bought it.
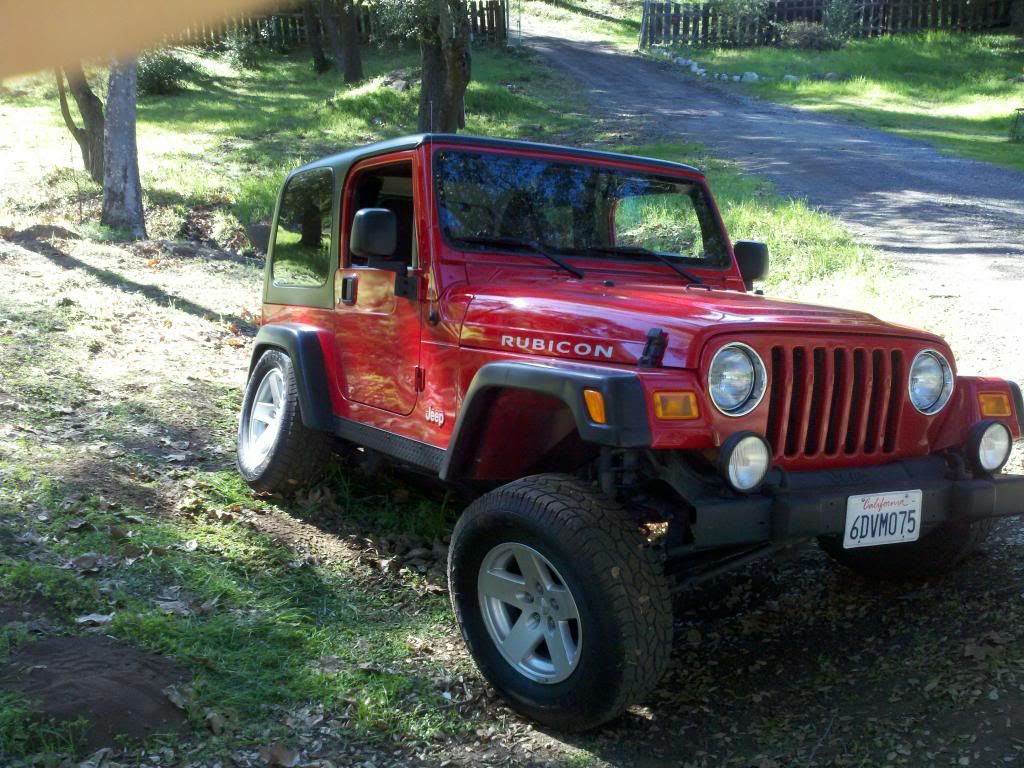
Flexin it out a little in my front yard after I threw on some sway bar disconnects that my roommate had sitting in the garage.
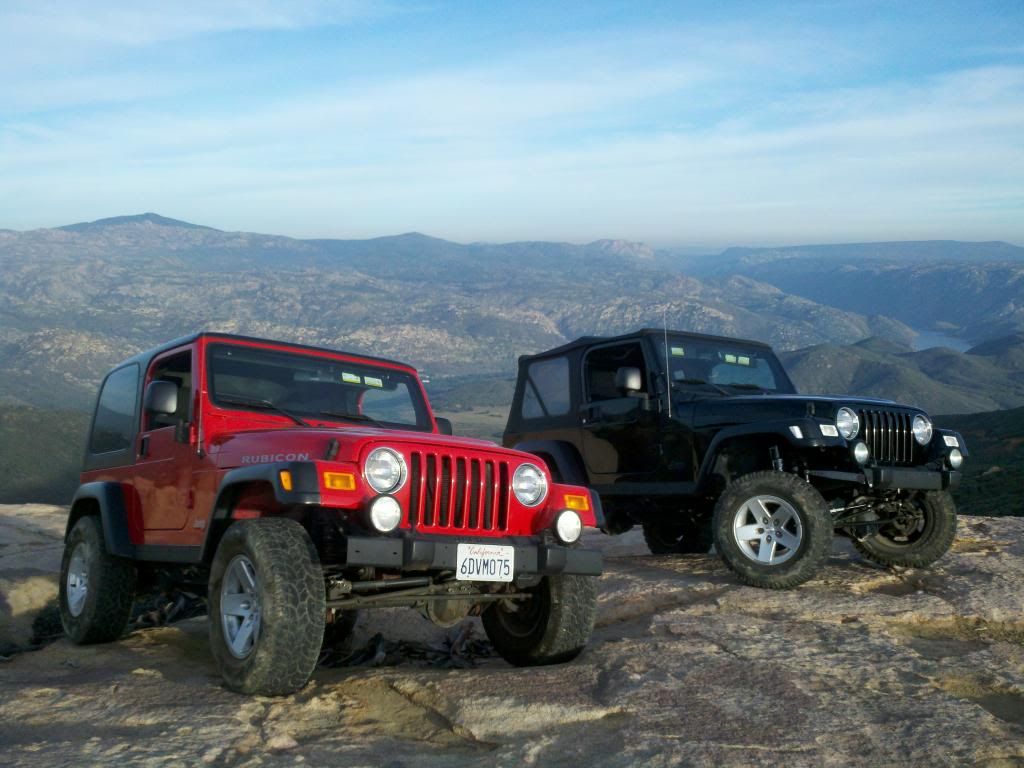
First trip up Carveacre/Pancake Rock down the street from my house.
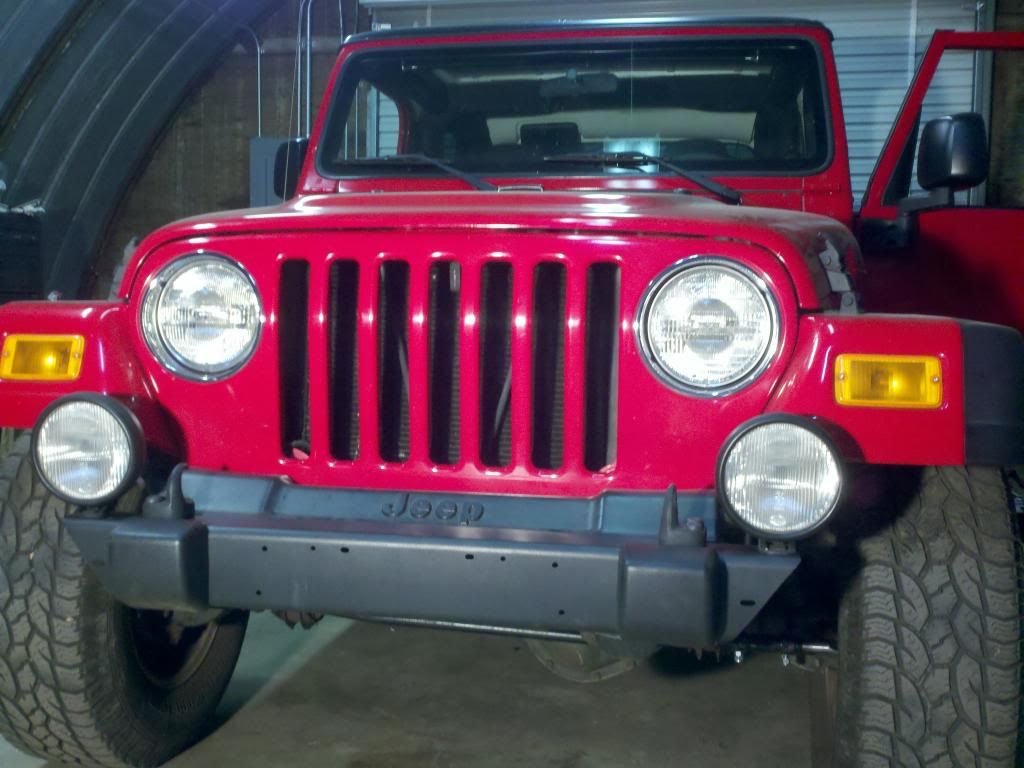
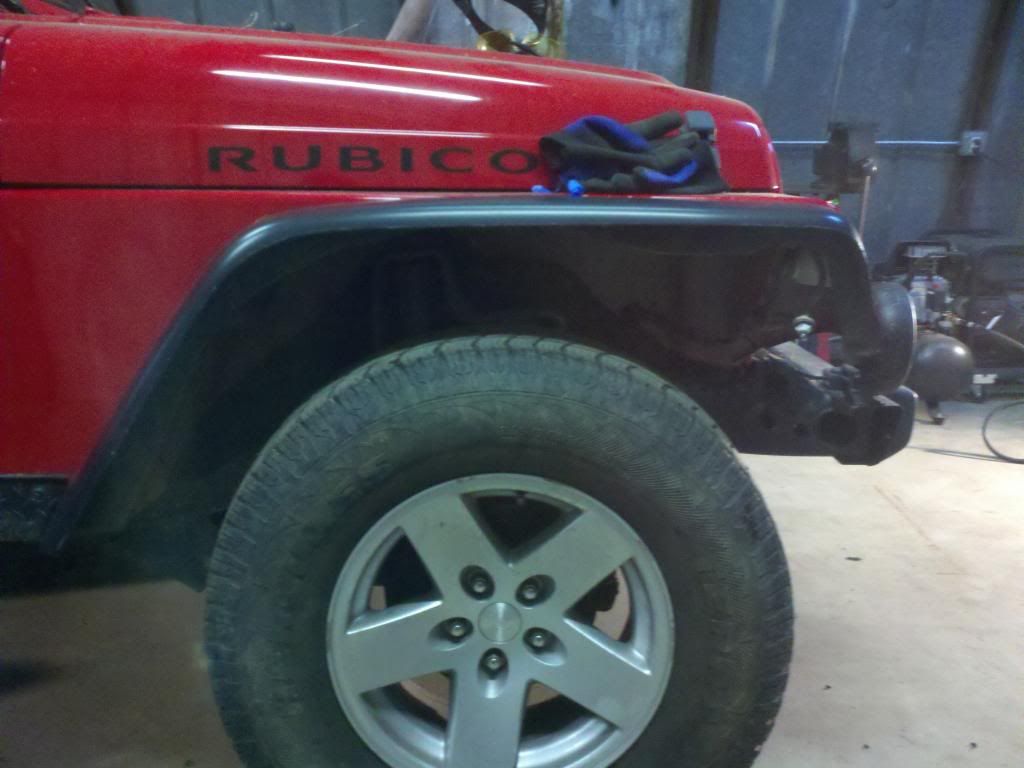
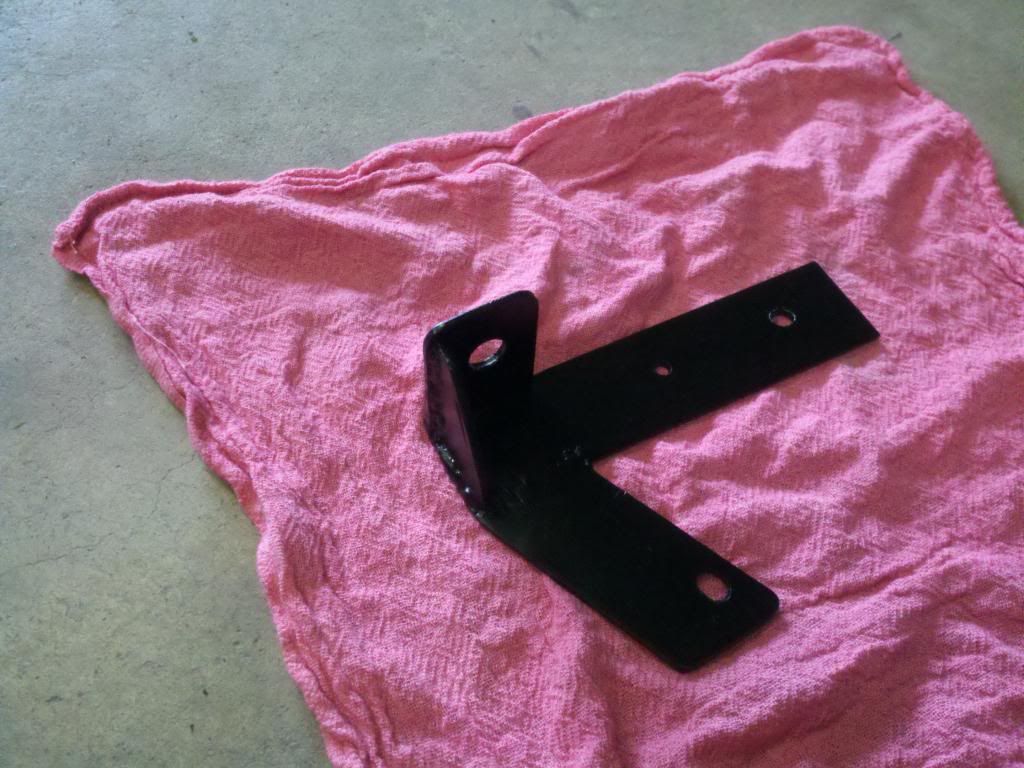
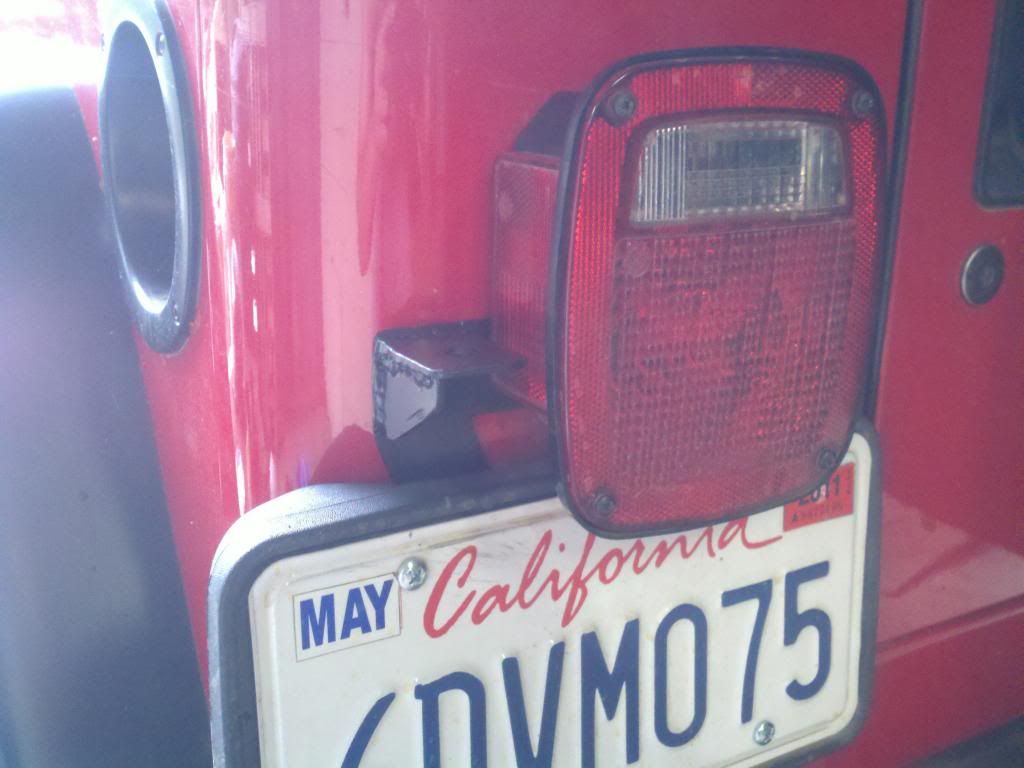
First things first, I cut down the stock front bumper to increase the approach angle. Cut the stock flares, as the Rubicon versions are a little overkill in my opinion and I built a cb antenna mount with some flat stock I had laying around.
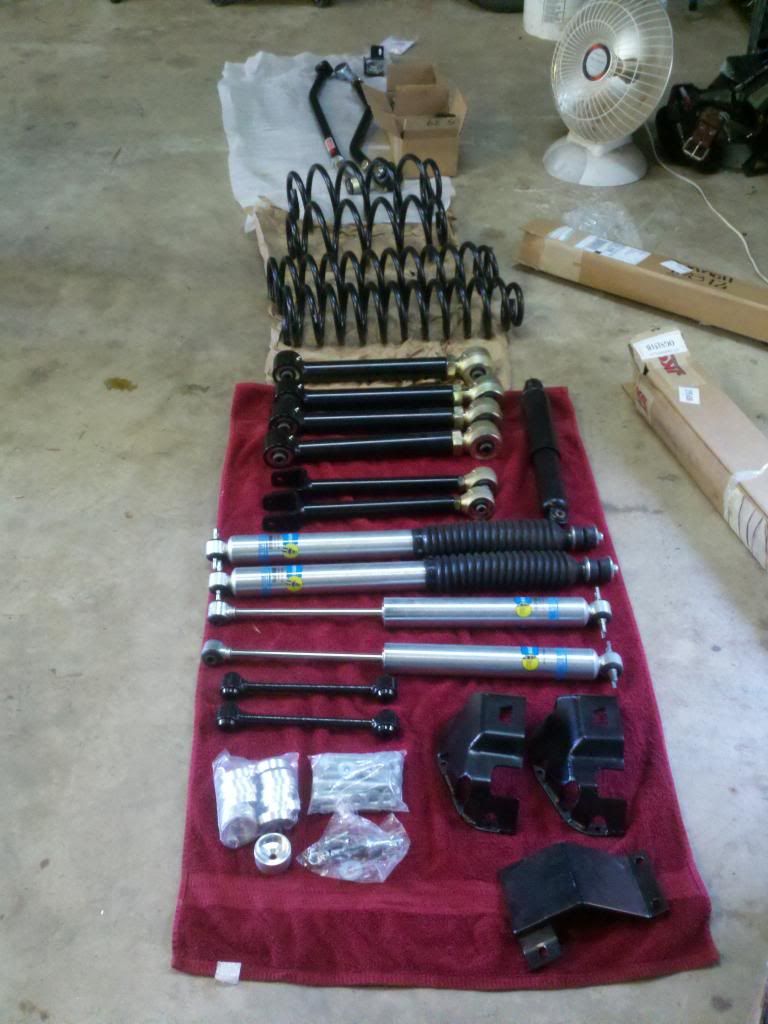
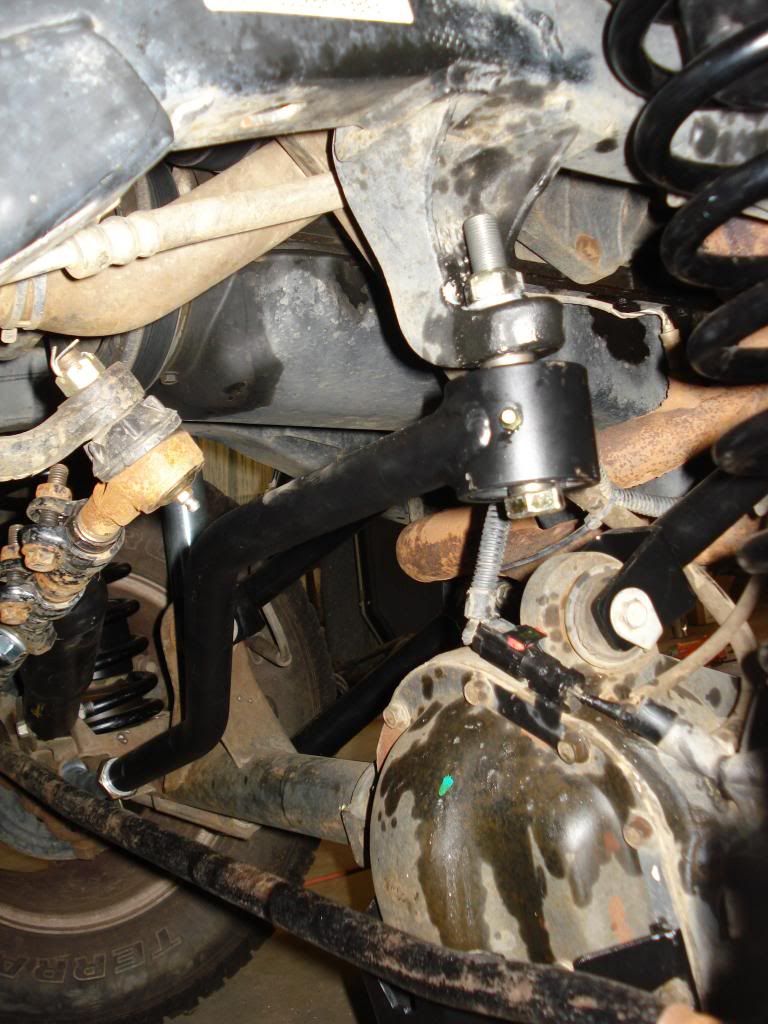
After saving for a while and picking up some new and some used parts, it was time to lift her. Here are most of the parts. Rokmen Johnny Joint arms, Superlift 4" lift springs, Bilstein 4" lift Long arm shocks, OME steering stabilizer, the old Currie Steering box skid, Warn diff skids, Rokmen 1/2 inch body lift, currie bump stops, currie front trac bar and JKS rear trac bar with bracket.
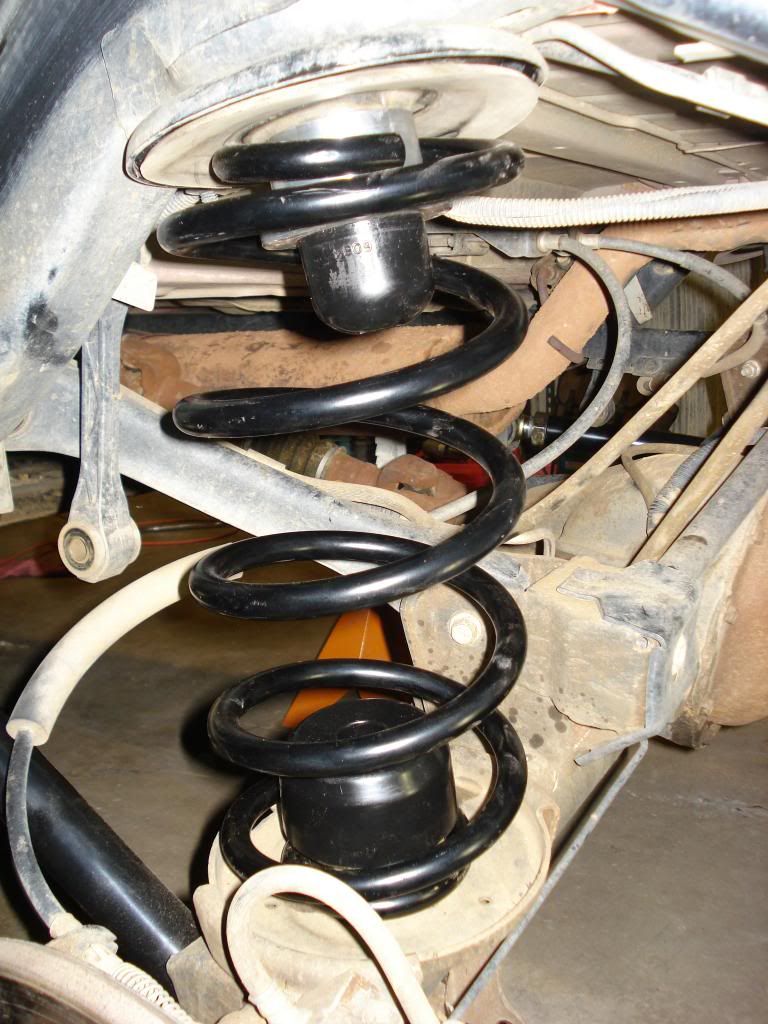
The final lift height! At this point I still had not ditched the Hercules tires that came on it.

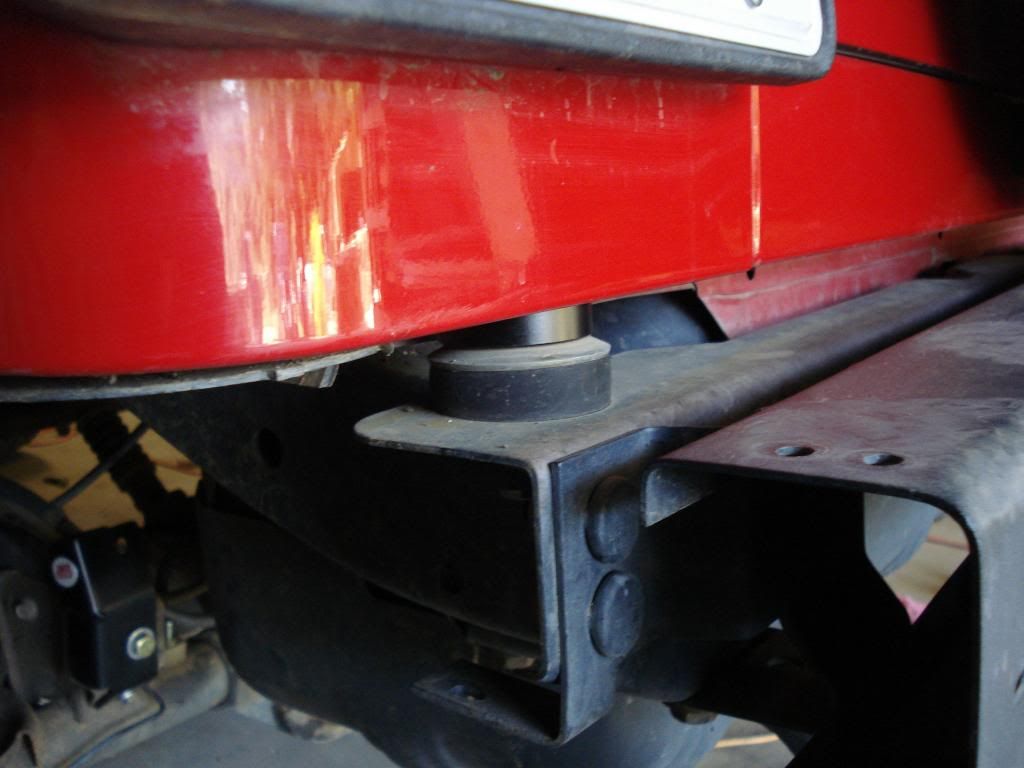
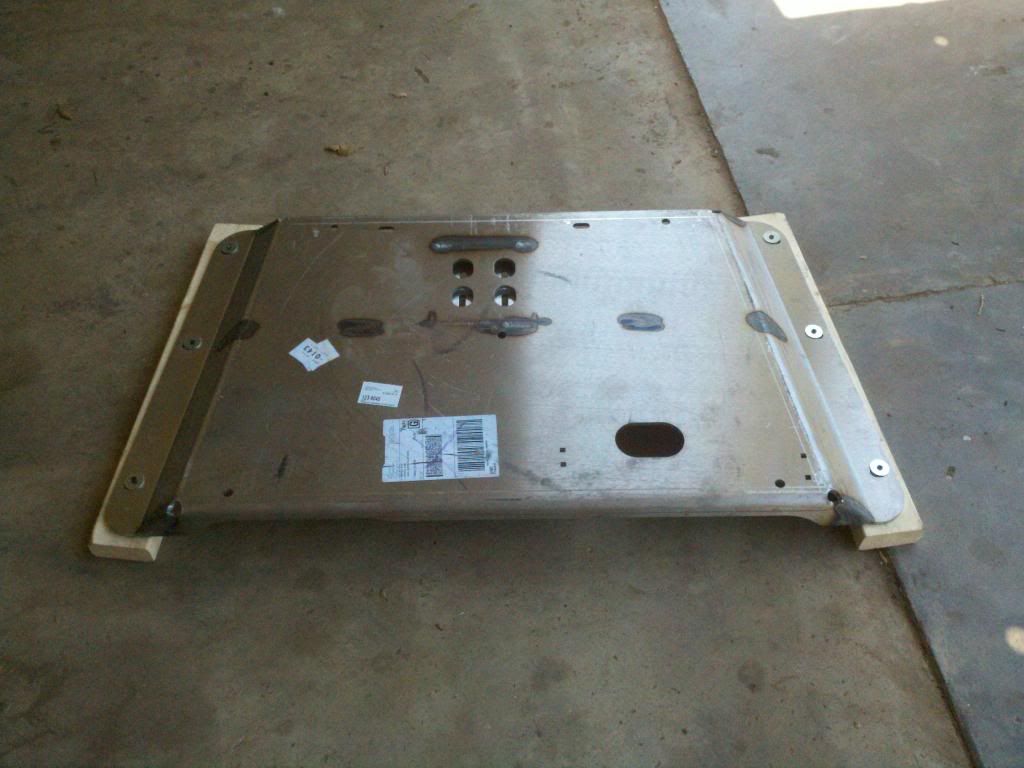
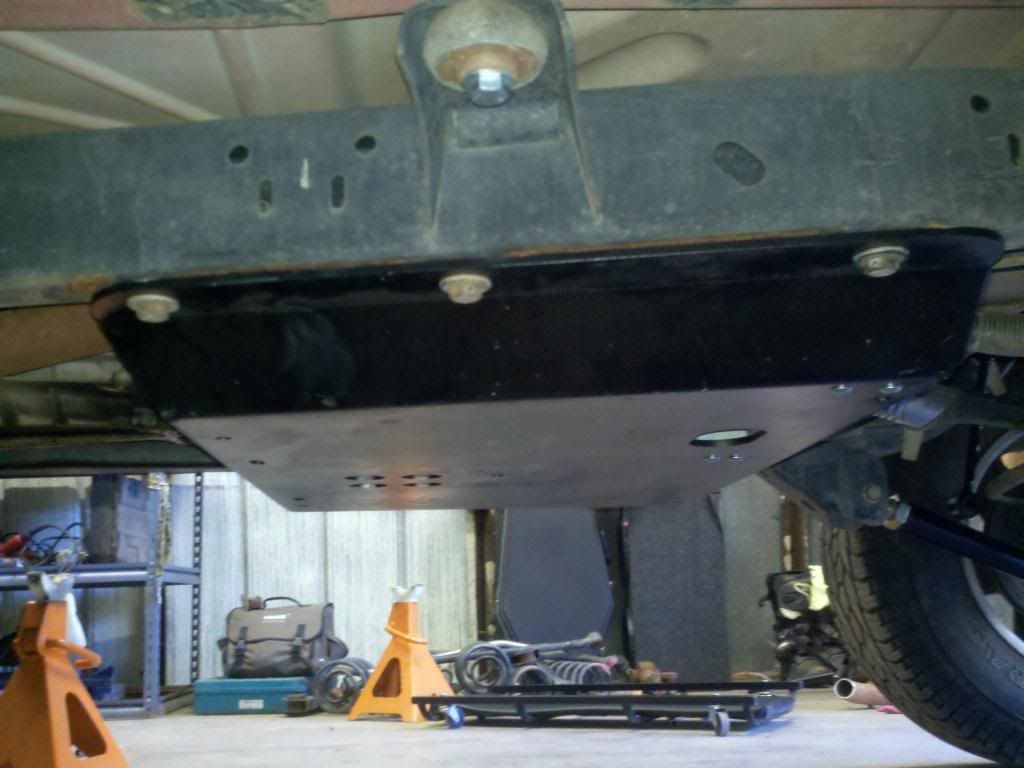
Next up it is time for some more armor. Bought this Rokmen belly up skid, this was the reason for the 1/2 inch body lift.
I gained about 2 1/2 inches of clearance.
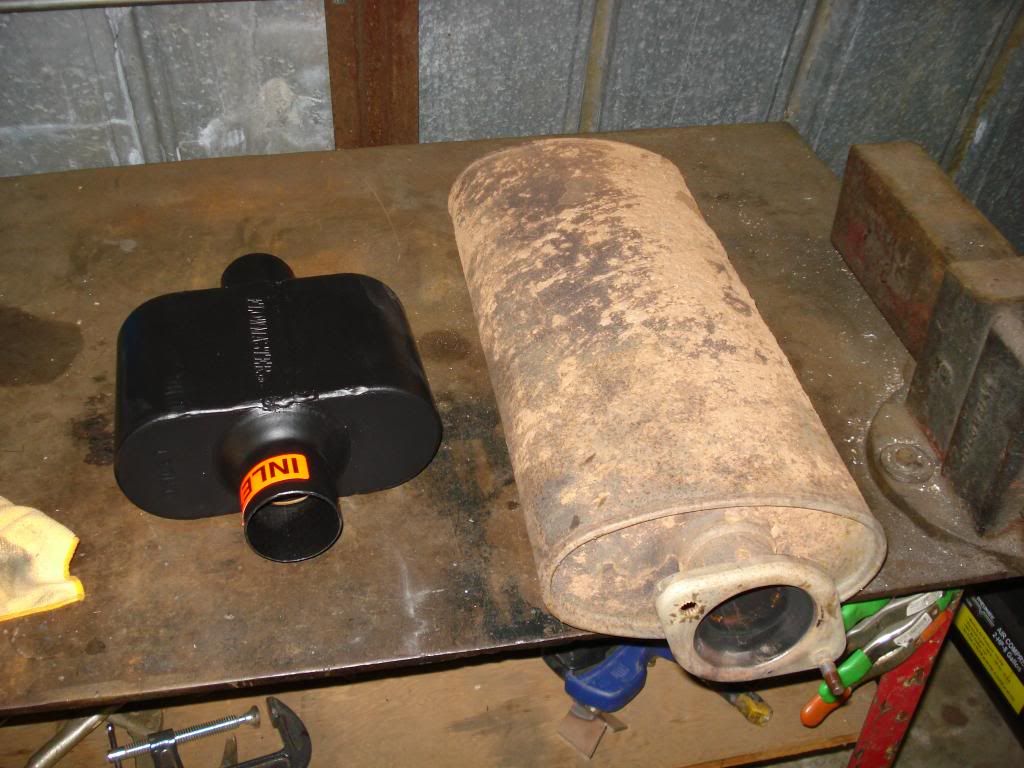
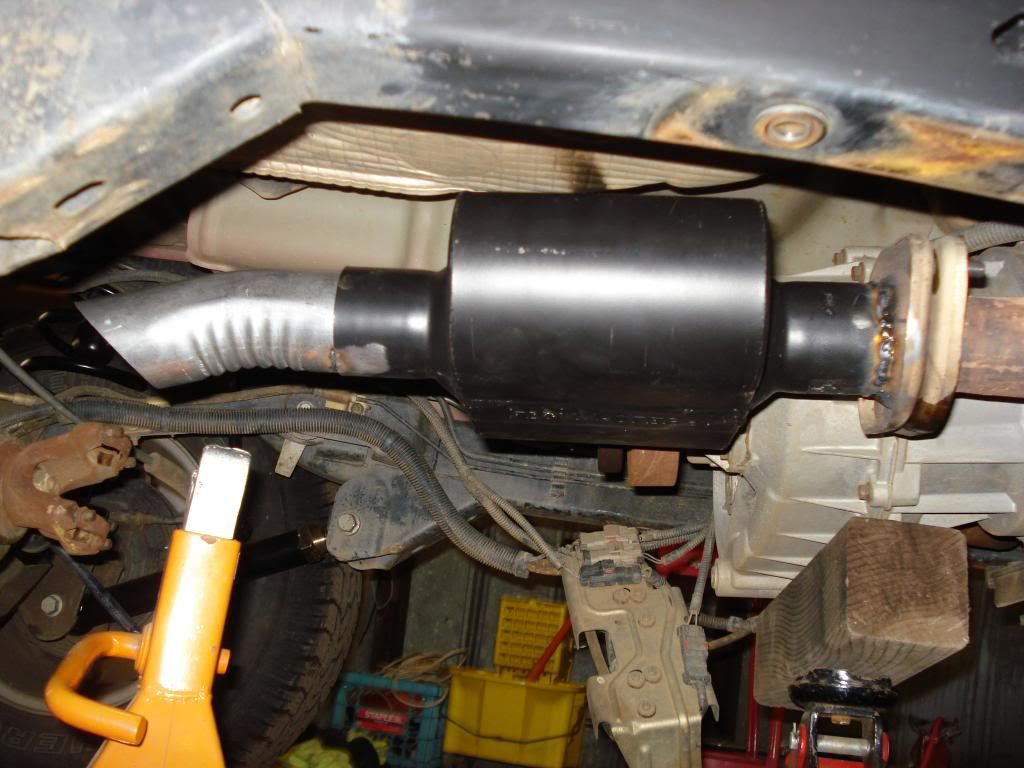
I ordered a Flowmaster Super 10 muffler from Jegs and had it at my doorstep within 24 hours.
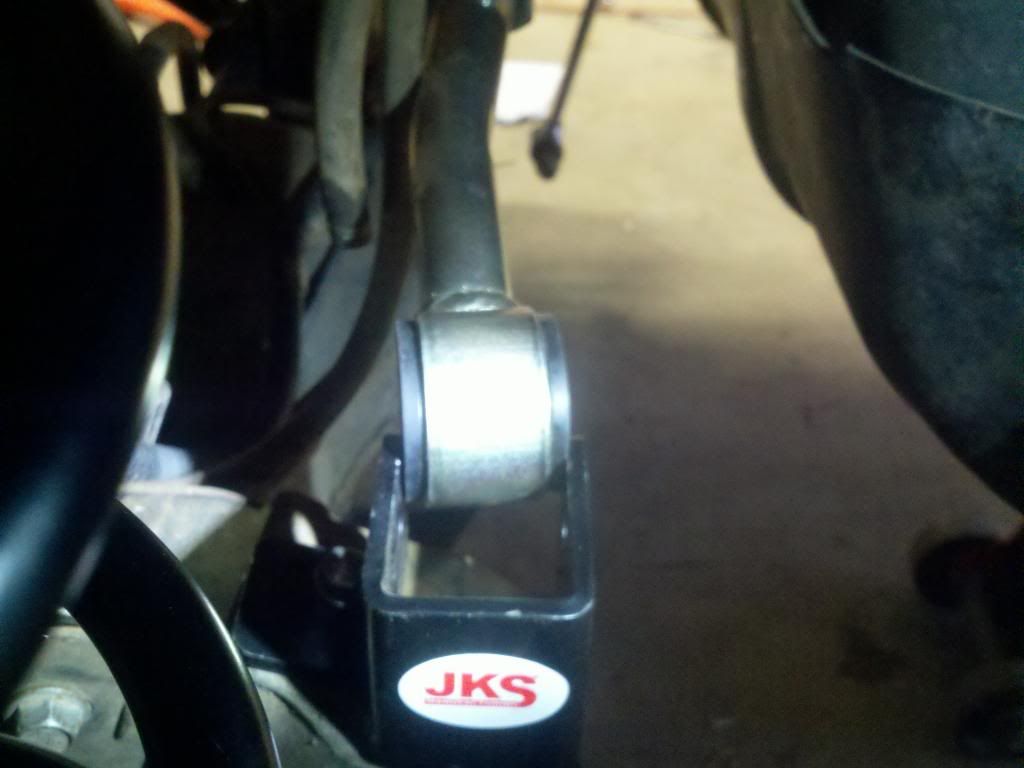
The JKS trac bar never aligned correctly and their customer service ended up being non existent so I ultimately sold it and went with a Teraflex unit instead with johnny joint type ends.
I sold the stock Moab rims and tires and got a smoking deal on some BFG 33/12.50r15 KM2s on 15x8 steelies with a 4.5 inch backspacing.

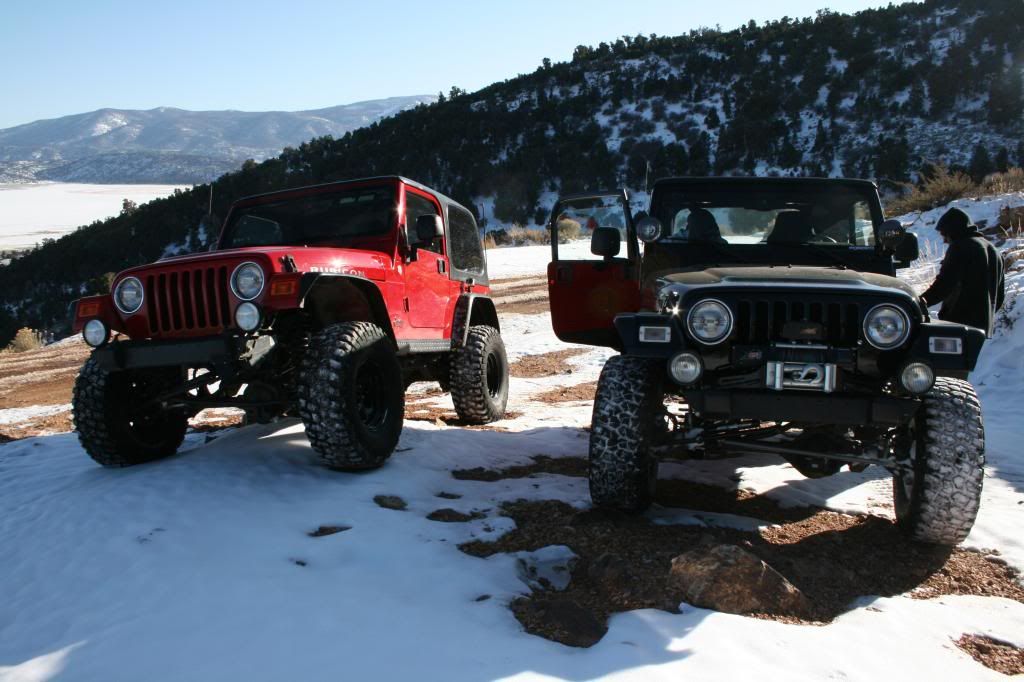
Took a trip to Big Bear for my birthday with my roommate, brother and friends.
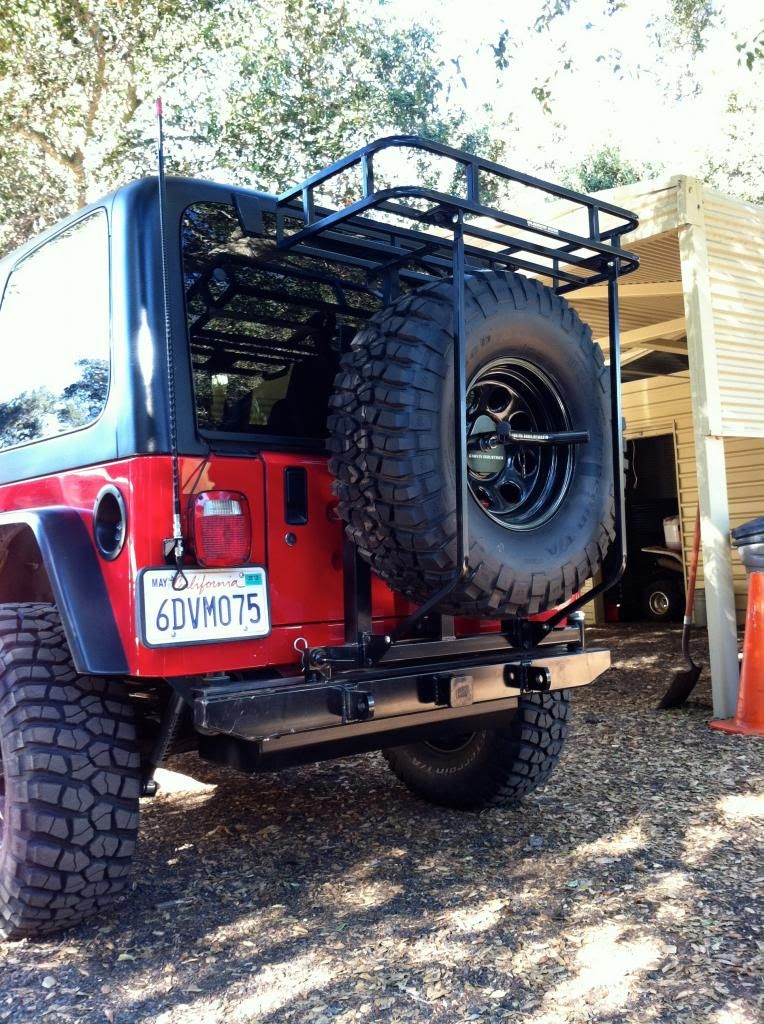
A friend was selling his Garvin bumper tire rack combo for super cheap so I jumped on the deal. I added a Rokmen gas tank skid too, which also requires a half inch body lift.
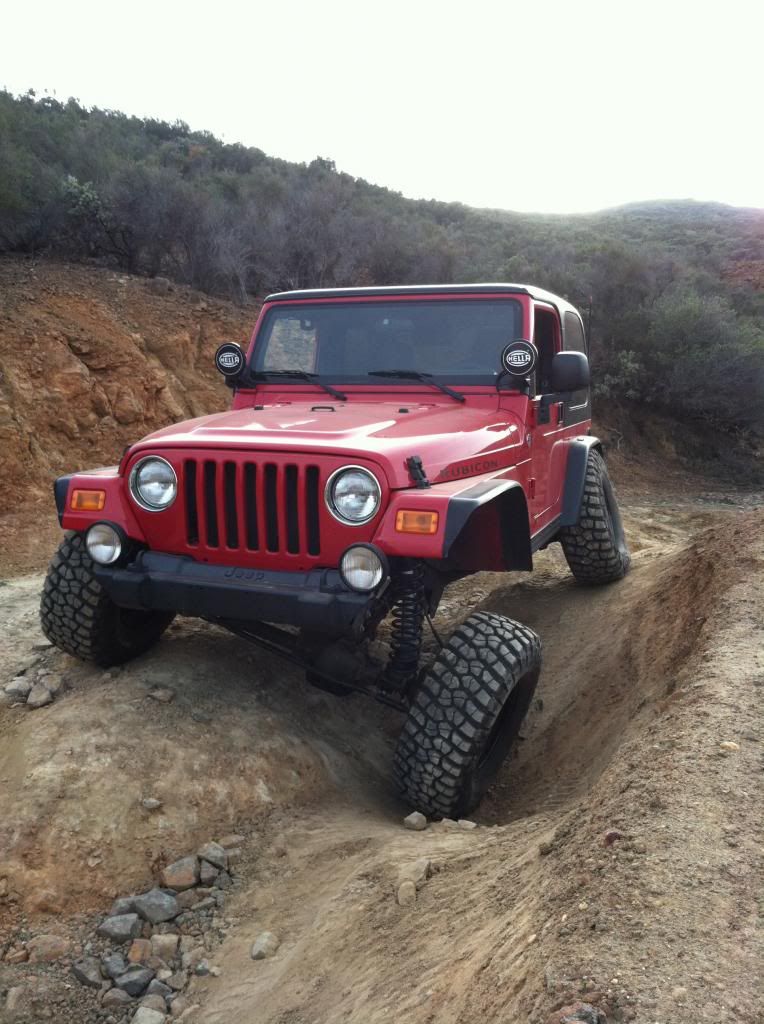
Here is the first trip up the same trail near my house with the new suspension.
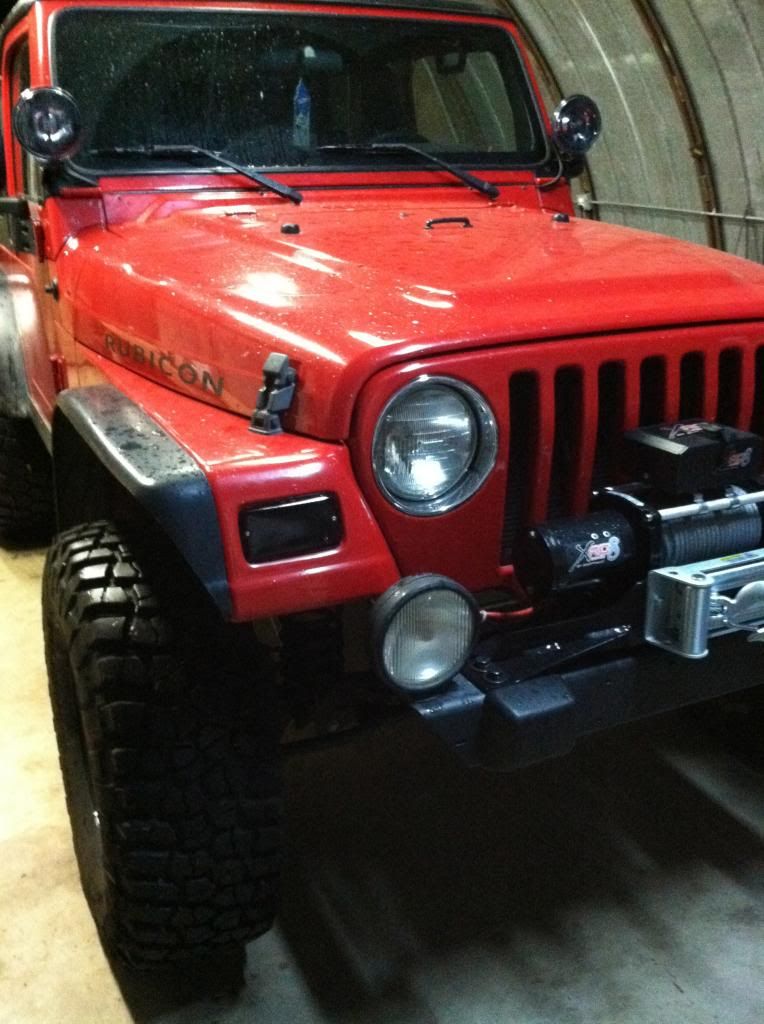
My family got me a Smittybilt winch for christmas. Also, the red Rubicons came with grey lettering on the decals so I had my friend cut me some black ones.
The day I bought it.

Flexin it out a little in my front yard after I threw on some sway bar disconnects that my roommate had sitting in the garage.

First trip up Carveacre/Pancake Rock down the street from my house.

First things first, I cut down the stock front bumper to increase the approach angle. Cut the stock flares, as the Rubicon versions are a little overkill in my opinion and I built a cb antenna mount with some flat stock I had laying around.


After saving for a while and picking up some new and some used parts, it was time to lift her. Here are most of the parts. Rokmen Johnny Joint arms, Superlift 4" lift springs, Bilstein 4" lift Long arm shocks, OME steering stabilizer, the old Currie Steering box skid, Warn diff skids, Rokmen 1/2 inch body lift, currie bump stops, currie front trac bar and JKS rear trac bar with bracket.


The final lift height! At this point I still had not ditched the Hercules tires that came on it.

Next up it is time for some more armor. Bought this Rokmen belly up skid, this was the reason for the 1/2 inch body lift.

I gained about 2 1/2 inches of clearance.

I ordered a Flowmaster Super 10 muffler from Jegs and had it at my doorstep within 24 hours.


The JKS trac bar never aligned correctly and their customer service ended up being non existent so I ultimately sold it and went with a Teraflex unit instead with johnny joint type ends.

I sold the stock Moab rims and tires and got a smoking deal on some BFG 33/12.50r15 KM2s on 15x8 steelies with a 4.5 inch backspacing.

Took a trip to Big Bear for my birthday with my roommate, brother and friends.

A friend was selling his Garvin bumper tire rack combo for super cheap so I jumped on the deal. I added a Rokmen gas tank skid too, which also requires a half inch body lift.

Here is the first trip up the same trail near my house with the new suspension.

My family got me a Smittybilt winch for christmas. Also, the red Rubicons came with grey lettering on the decals so I had my friend cut me some black ones.


 So unfortunately the only space I have to work in is in my dad's barn at his house. It is currently occupied by my Great Grandma's 1965 CJ5 that I picked up in Idaho over the summer and it will soon be moved outside and covered so I can start my trailer build. The CJ restoration will probably happen next year as it will be frame off.


