FG84 Camper Build

Maninga

Adventurer
Yesterday was a fairly big day. Final round of changes, plans and pre production conversations had. Plans are being signed off, release forms given for Styromax to start the build process which will begin next week. Eta is hopefully before Christmas, but they can't be sure on when it'll be due to all the intricate pieces and testing they'll be doing to make sure it all works together. So either Christmas or Februry is when I'm expecting to pick it up.

The build tally also came in. A little over budget, but with a much widened scope from when it was initially broached to them. So I'm happy with that. Given it's their first build of this nature, there's a lot of time being absorbed by them as R&D, which has helped me out greatly.
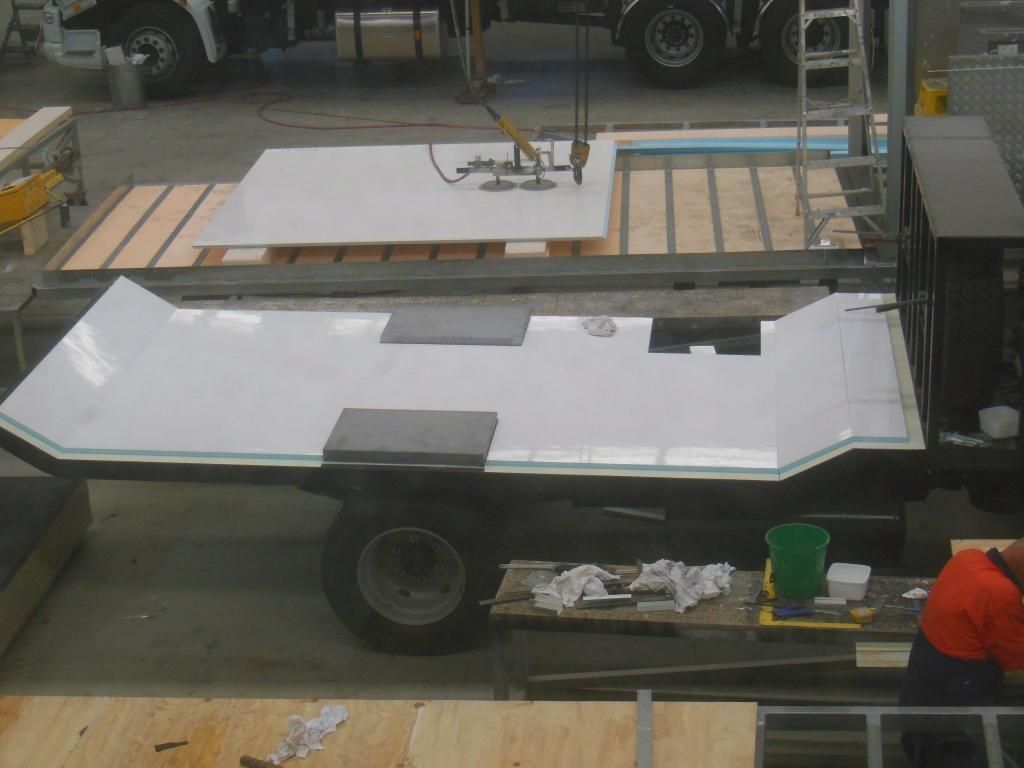
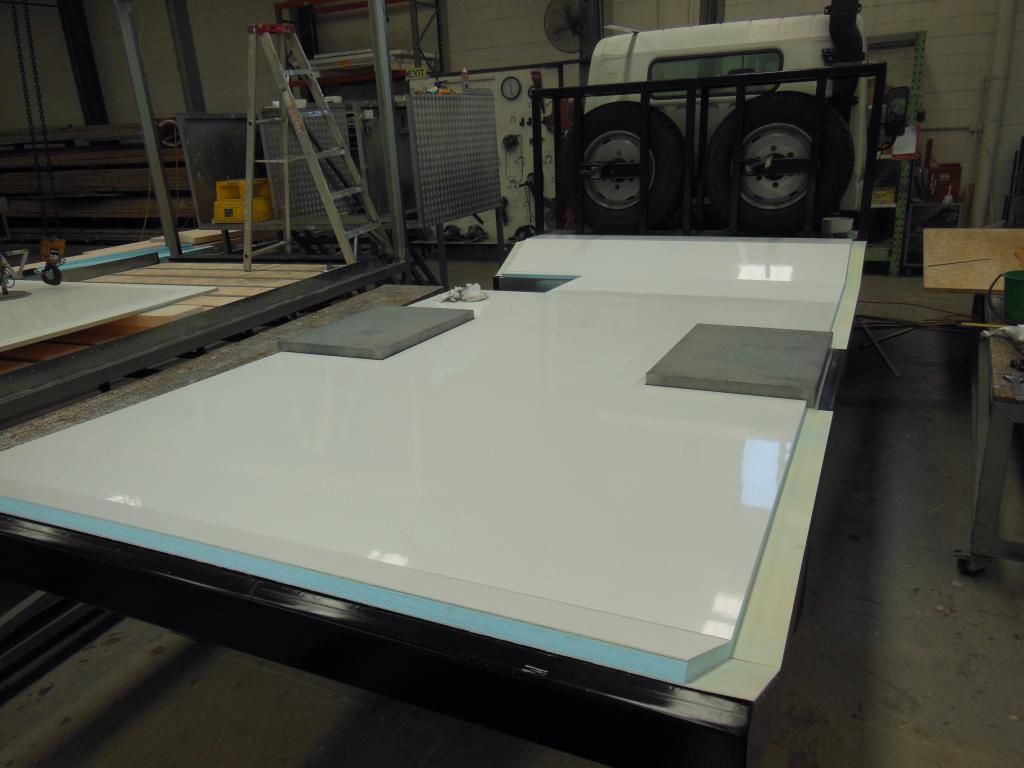
Final images

image.jpg

image.jpg
 

Maninga

Adventurer
Flooring

First progress photos are coming through. Test fitting of the floor panels.

imagejpg2.jpg


imagejpg1.jpg


They're going to start working on a test jig to ensure all the angles are right for the walls and cut outs are in the right places. Better to test it works, than make the panels and find they don't work.

Fridge gets delivered tomorrow. Bought the latest version of the vitrifrigo DW210 with slamlock latches. Hear these are the same latches on isotherm, should keep it nice and closed up tight.
 
Last edited:

Gatsma

Adventurer
That insulated floor should alleviate the old freezing-floor-in-the-morning syndrome, thereby avoiding too-cold-feet! Nice job, Joe!
 

Maninga

Adventurer
Fridge gets delivered tomorrow. Bought the latest version of the vitrifrigo DW210 with slamlock latches.

I'm learning an important lesson here. Make sure you get the dimensions specific to your model, and blueprints don't always tell the full story.

Planning: Depth of fridge on Vitrifrigo website is 585mm for the normal fridge. Width of door on blueprints was 619mm. End result, fridge fits through the door so I had the fridge delivered locally rather than to Styromax (guy I bought it from is just round the corner from them).

Actual: Depth of fridge is more like 615mm due to flush fitting slamlock, about 605mm actual plus some tubing at the back of the unit. Turns out the 619mm for the door entry was prior to the capping being put on for the air seal, so is more like 580 wide that I can fit something in through. End result, fridge won't fit in the front door.

I've a box of parts to send up to the Styromax guys already, I guess the box is going to be a bit bigger than planned. They'll put the fridge in prior to roof going on, if I ever need to get it out, roof will have to come off.
 
Last edited:

Maninga

Adventurer
Sliding drawers, front is flush against the frame. If we took the drawers out, wouldn't affect dimensions.

Well bugger. I'd based everything on what I could see on the Vitrifrigo website. Turns out they're for the non-slamlock version. The flush fitting slamlock, which I got, is bigger than the one normally advertised. Just came across an image of my version on a completely different place that's got the flush fitting slamlock version, with the dimensions I've just experienced. Modifying earlier post to reflect.
 
Last edited:

SkiFreak

Crazy Person
I'm learning an important lesson here. Never rely on the dimensions given by a vendor, and blueprints don't always tell the full story.

Planning: Depth of fridge on Vitrifrigo website is 585mm. Width of door on blueprints was 619mm. End result, fridge fits through the door so I had the fridge delivered locally rather than to Styromax (guy I bought it from is just round the corner from them).

Actual: Depth of fridge is more like 615mm, about 605mm actual plus some tubing at the back of the unit. Turns out the 619mm for the door entry was prior to the capping being put on for the air seal, so is more like 580 wide that I can fit something in through. End result, fridge won't fit in the front door.

I've a box of parts to send up to the Styromax guys already, I guess the box is going to be a bit bigger than planned. They'll put the fridge in prior to roof going on, if I ever need to get it out, roof will have to come off.

Me thinks you have not been looking at the correct dimensional drawing...

flush mounting kit DW210.jpg
 

SkiFreak

Crazy Person
I just had a close look at mine and the absolute minimum width would be 590mm (flush mount frame and drawers removed).
Not knowing how Styromax are doing your door seal, I can only guess, but you could probably remove the rubber seal to get that extra 10mm.
As I keep saying... the devil is always in the detail.
 

Maninga

Adventurer
I just had a close look at mine and the absolute minimum width would be 590mm (flush mount frame and drawers removed).
Not knowing how Styromax are doing your door seal, I can only guess, but you could probably remove the rubber seal to get that extra 10mm.
As I keep saying... the devil is always in the detail.

Yep, wrong drawing for the model I ended up buying, a detail missed that'll have a shipping bill associated with it and make it harder to take out.

Fitment of the seal

Door seal.JPG

Aluminum section sticks out with rubber sealing it in place.

Heather took one look at the fridge though and said "I like it", so it's not going back or being returned.
 

Maninga

Adventurer
I think so. They were starting the wall panels last week. I want to get the fridge sent off either this week or next, sorting out shipping today/tomorrow.

They sound like a good fridge, so shouldn't fail for a long time. If it does fail and needs to be removed, 4 bolts secure the roof to actuators, 6 slides detach, unhook the wires going to the roof, and lift. If the roof was fixed, then I'd have a problem.
 

whatcharterboat

Supporting Sponsor, Overland Certified OC0018
I just had a close look at mine and the absolute minimum width would be 590mm (flush mount frame and drawers removed).

Thats what I thought too. The frame (and drawers) has to be removed.....but still sounds too tight.

Regards John.
 

Maninga

Adventurer
I'd be calling them, 'cause if you can widen the door it will make things much easier in the future.
What the worst they can say? No...

Been going back and forth with emails about progress and queried them on changing the door opening size. Yeah, it's a no (I could almost hear the exasperation from here).

Current progress and some insight into how they're building it.
Work is starting as we speak on the bottom walls….walls will be made in two parts an inner and outer. We decided to go this way for strength.

The inner wall will be 28.6mm and the outer wall 47mm…at the bottom we will be 75.6mm thick. These two halves will then be bonded together as a separate process. This takes much longer to achieve but ultimately we will have a very strong wall that will resist any warping.

Now here is the tricky bit……..we need to assemble the bottom stepped walls exactly square and true so the linear slides are all aligned with each other otherwise we will suffer binding when lowering or lifting the roof….don't want that!

Again we will take the long road and assemble the bottom walls off the chassis. We are going to assemble the bottom walls on a true flat surface such as our vacuum bed with a jig to hold them square, once bonded we will then lift the bottom wall assembly onto the chassis/floor and let it sit where it wants and bond it in place
 

Forum statistics

Threads
185,886
Messages
2,879,182
Members
225,450
Latest member
Rinzlerz
Top