You are using an out of date browser. It may not display this or other websites correctly.
You should upgrade or use an alternative browser.
You should upgrade or use an alternative browser.
Keiko the Tacoma - An Evolution of Needs
- Thread starter Toiyabe
- Start date


washington taco
Explorer
I like your thread! Lots of pictures minimal BS!!
Toiyabe
Adventurer
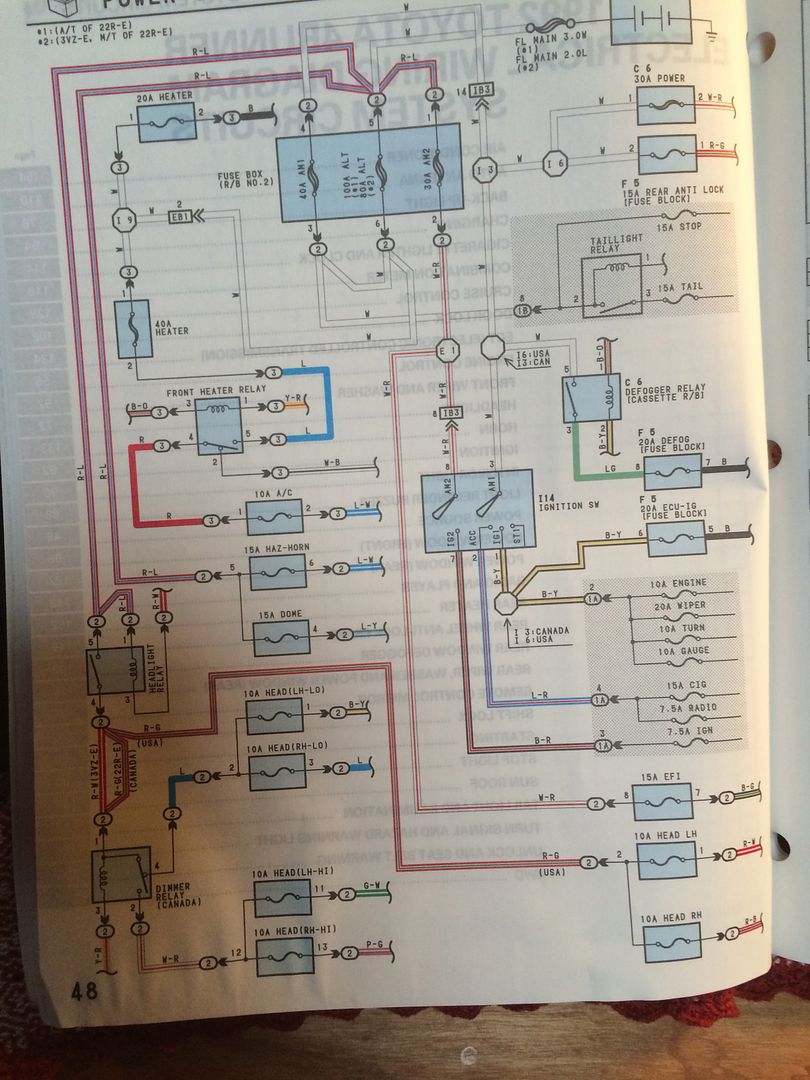
My shop manuals got here.
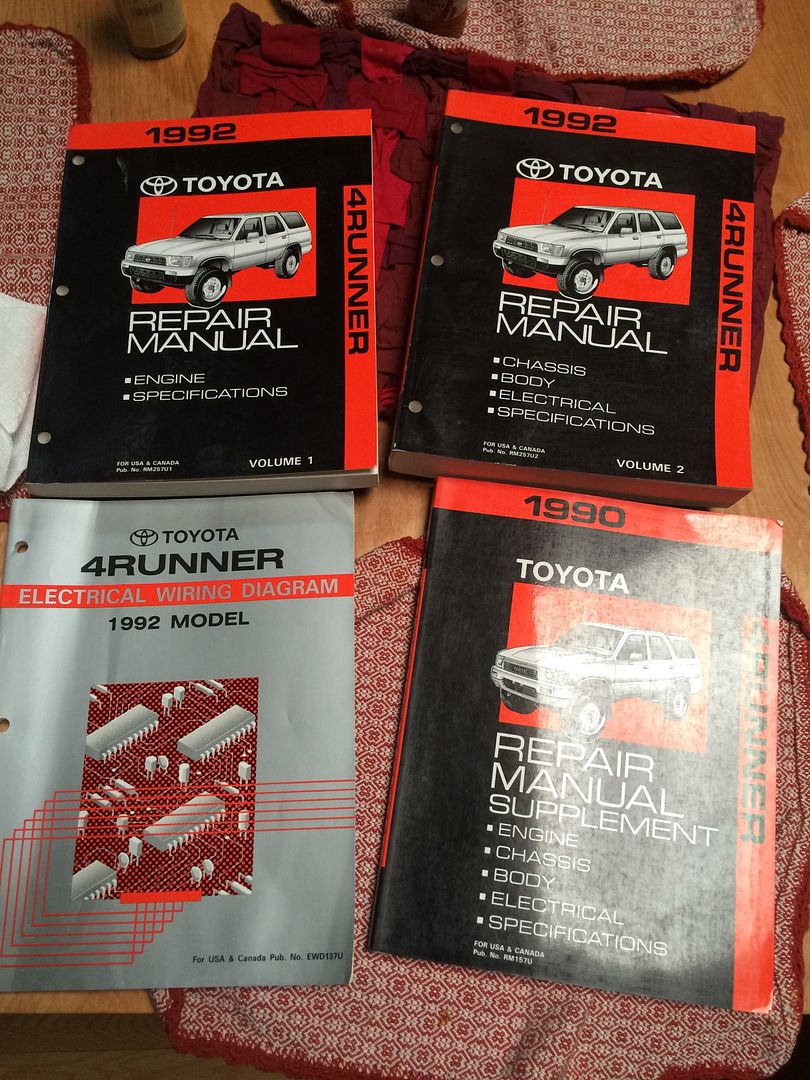
Accept no substitutes.
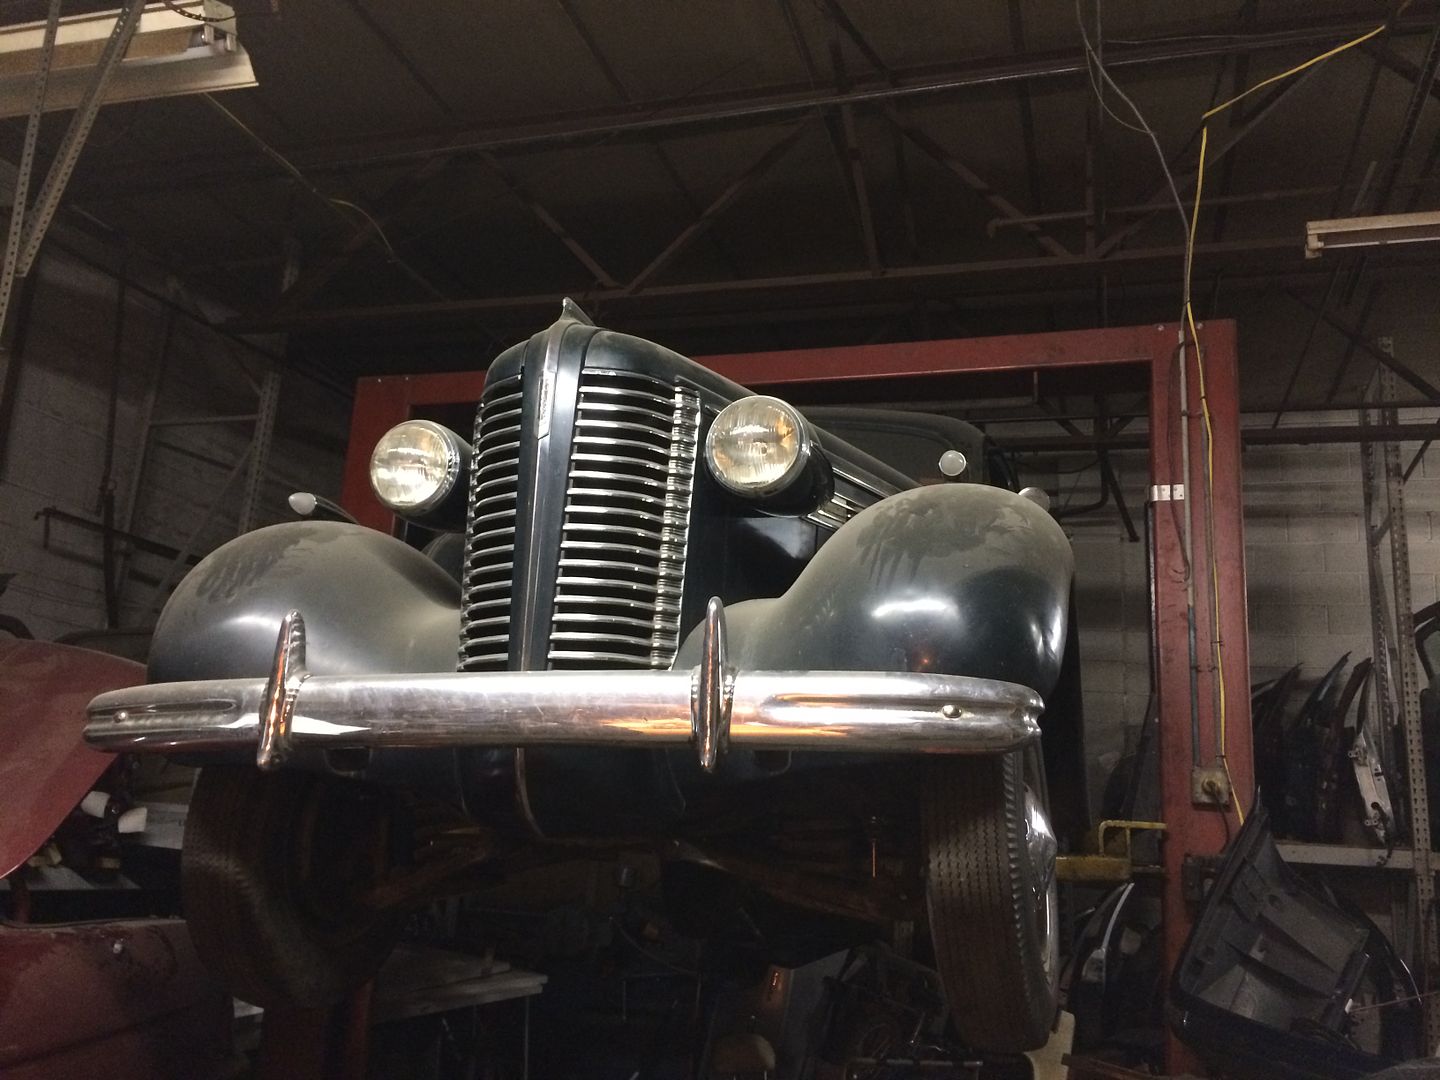
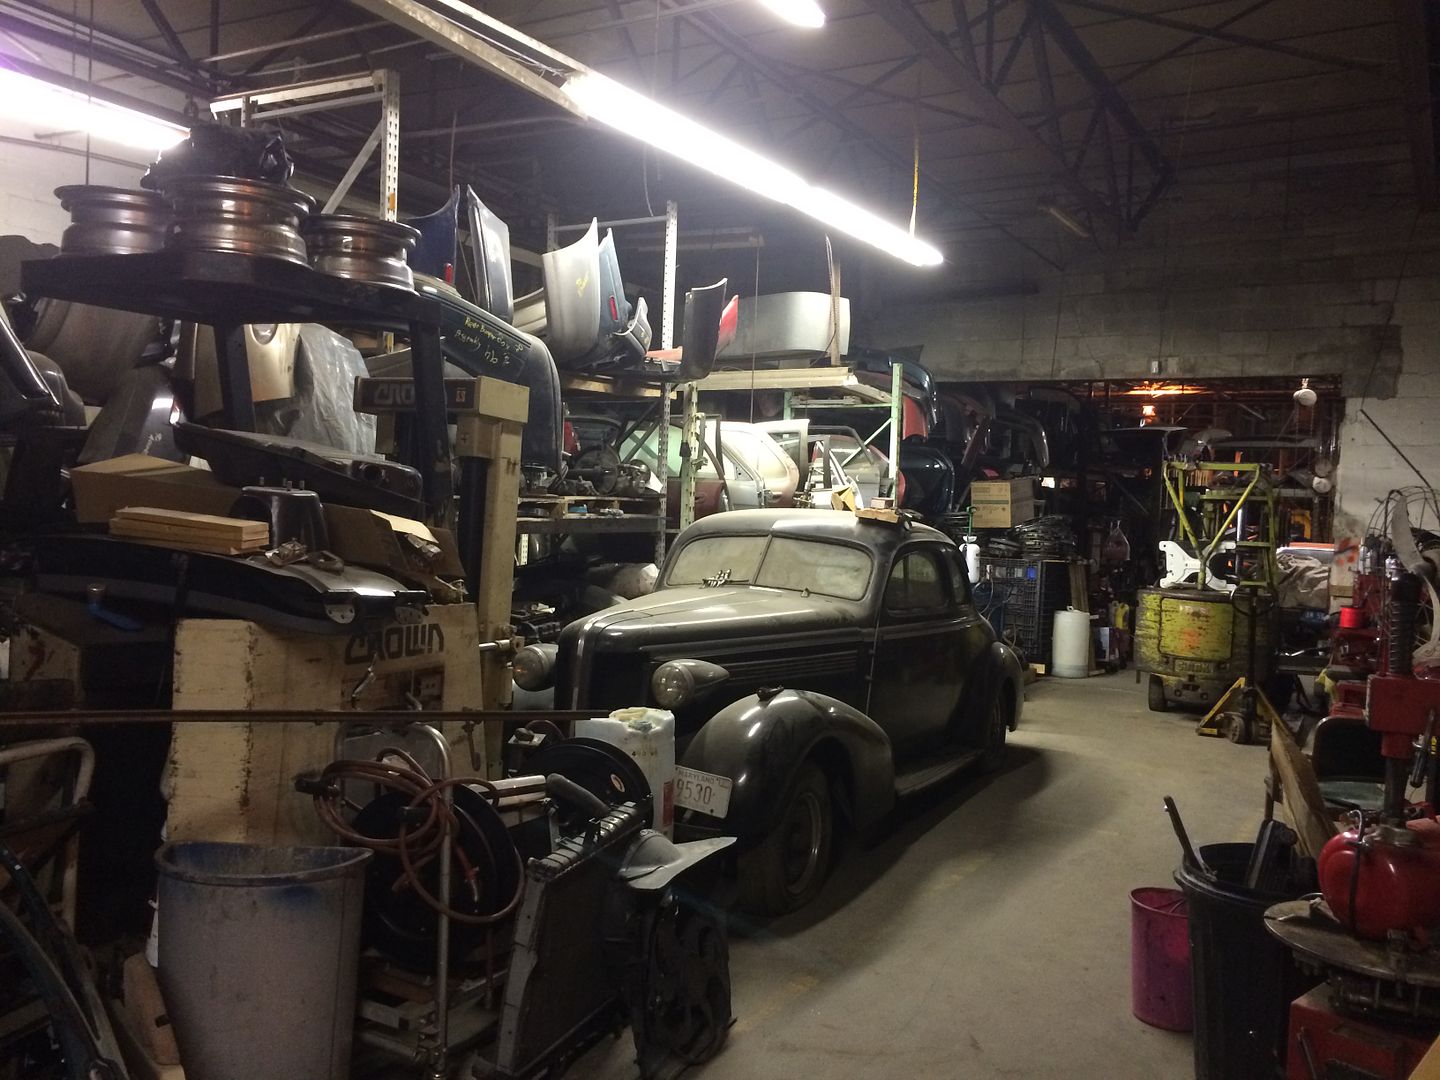
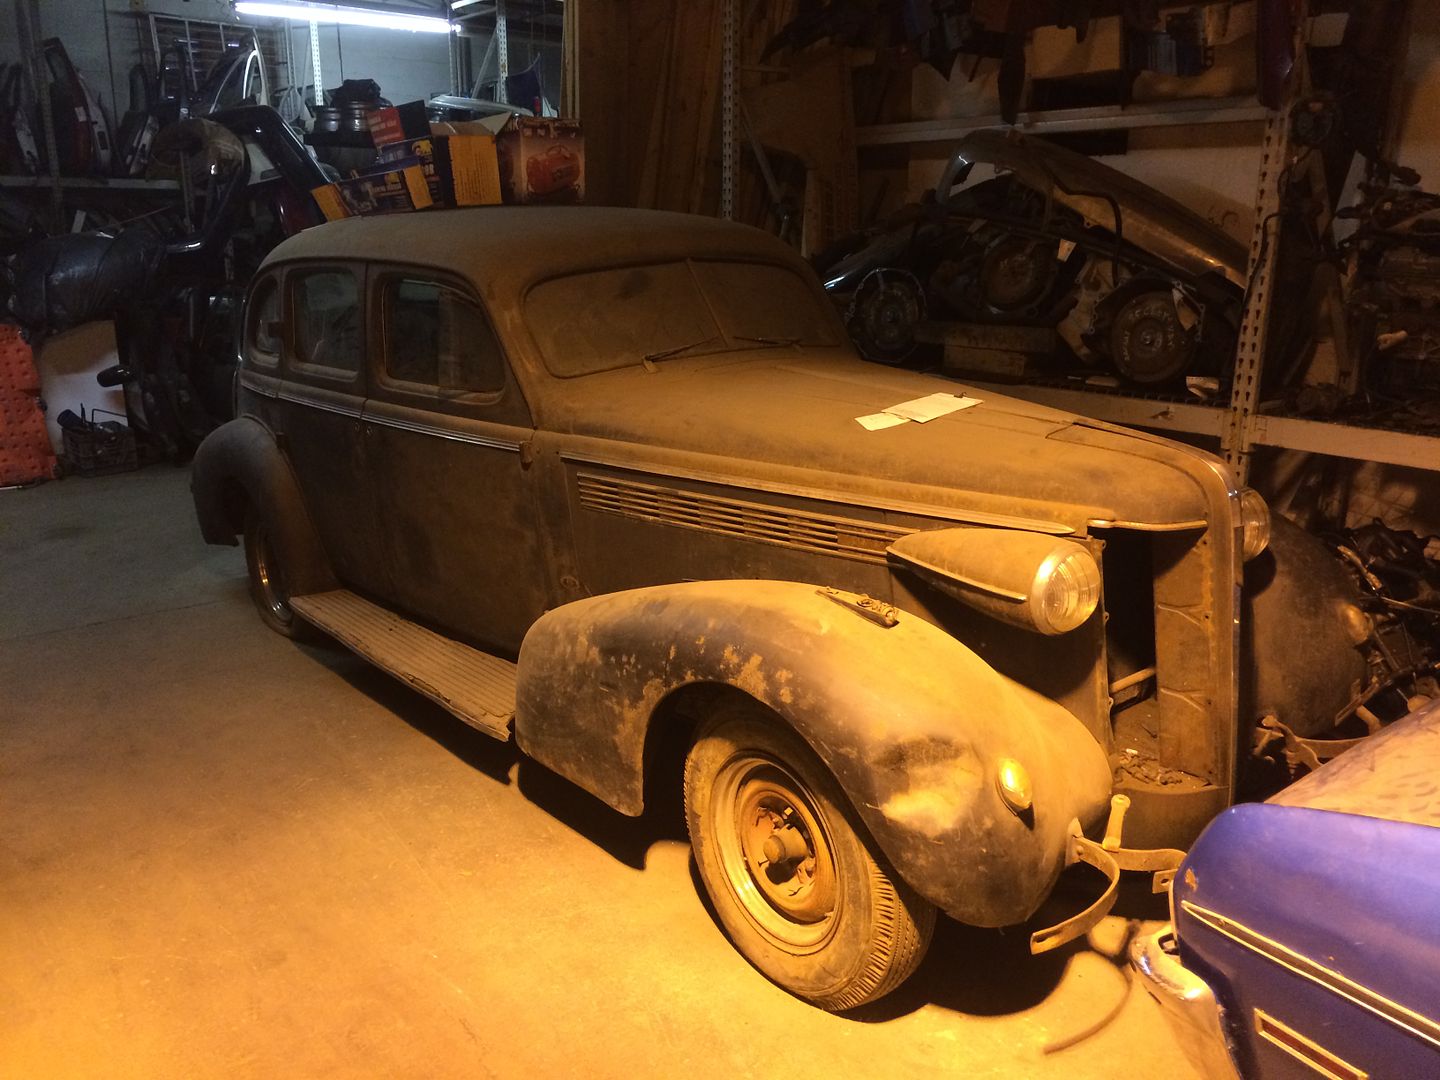
I went and got an engine at an amazing junkyard in Baltimore. Deep in Baltimore. It was probably the nicest, cleanest, most helpful salvage yard I've ever been to. I heartily recommend it, for anything like this. Millennium Auto Parts, 5260 Fairlawn Ave Baltimore, MD 21215‎, (410) 466-9492. To give you an idea, they showed my the 4Runner they got the engine from, and let me grab any extra parts I might need from the engine bay. Then they loaded it for me, and gave me a bottle of water on my way out.
They are also car people.
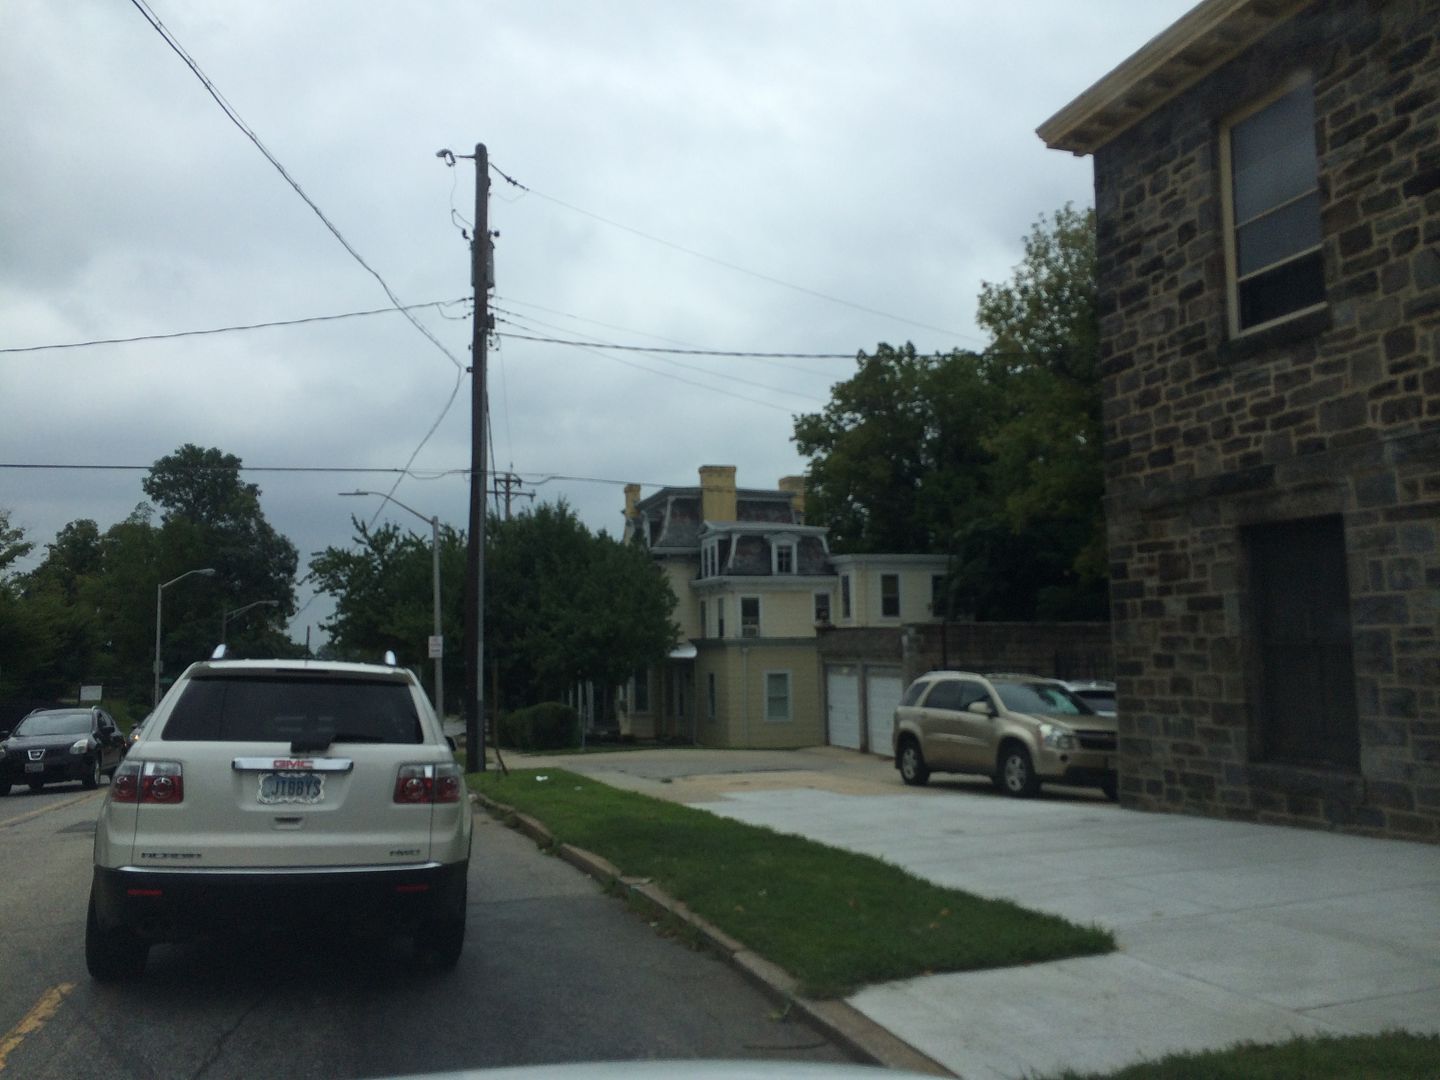
Burned out Baltimore has some great buildings.
Back home.
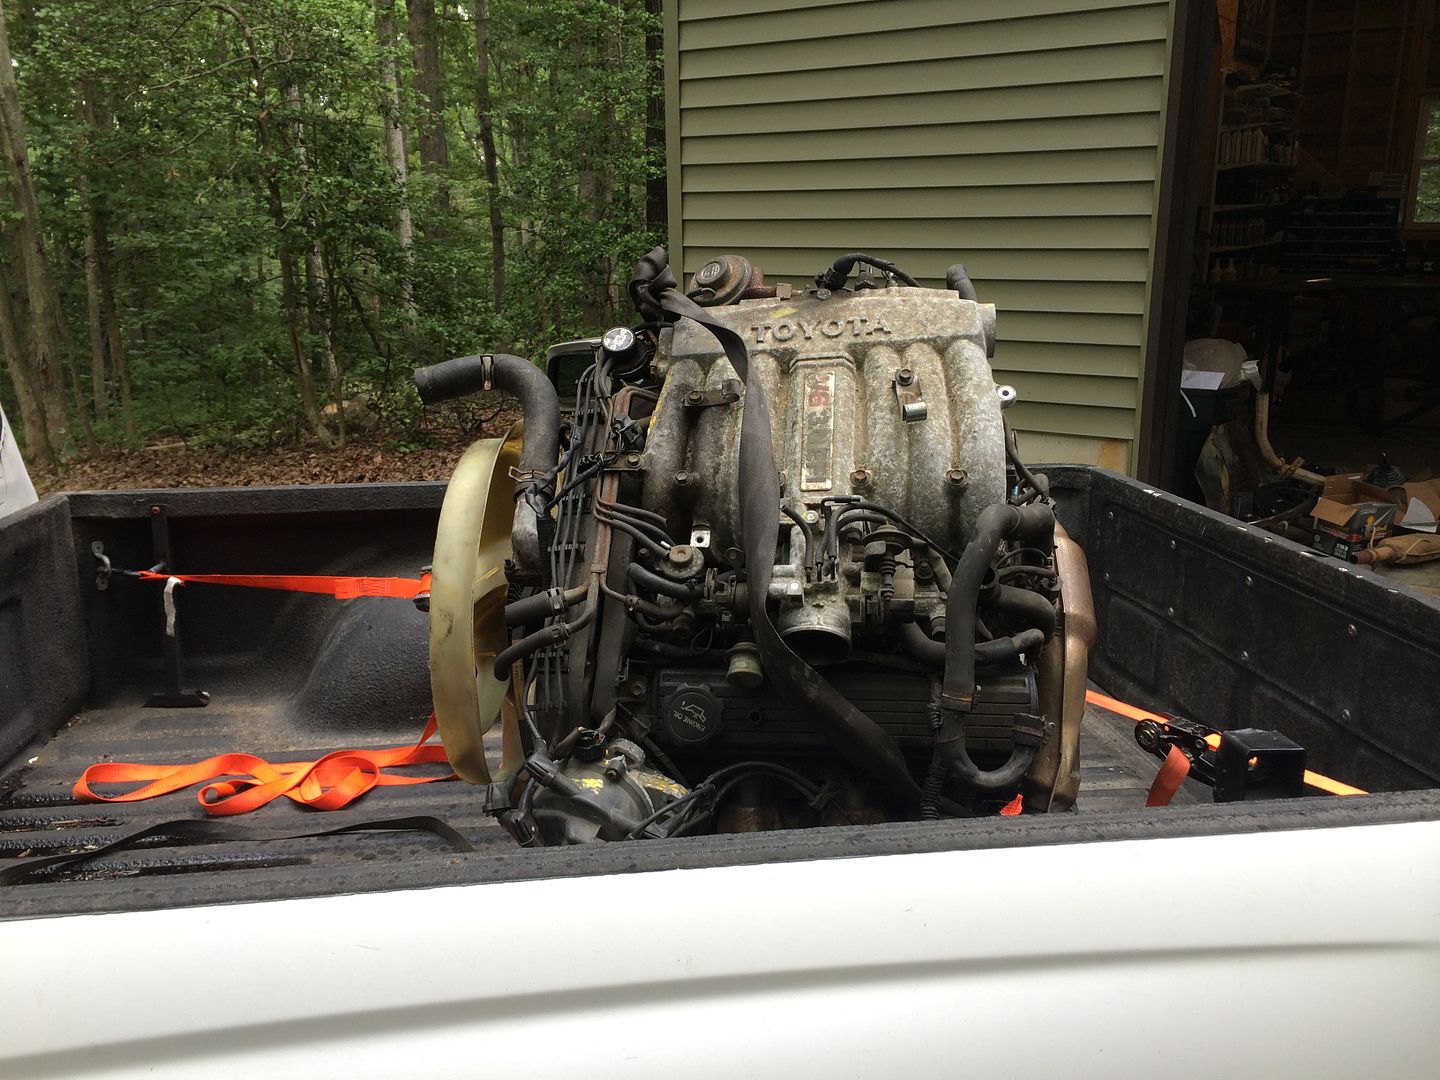
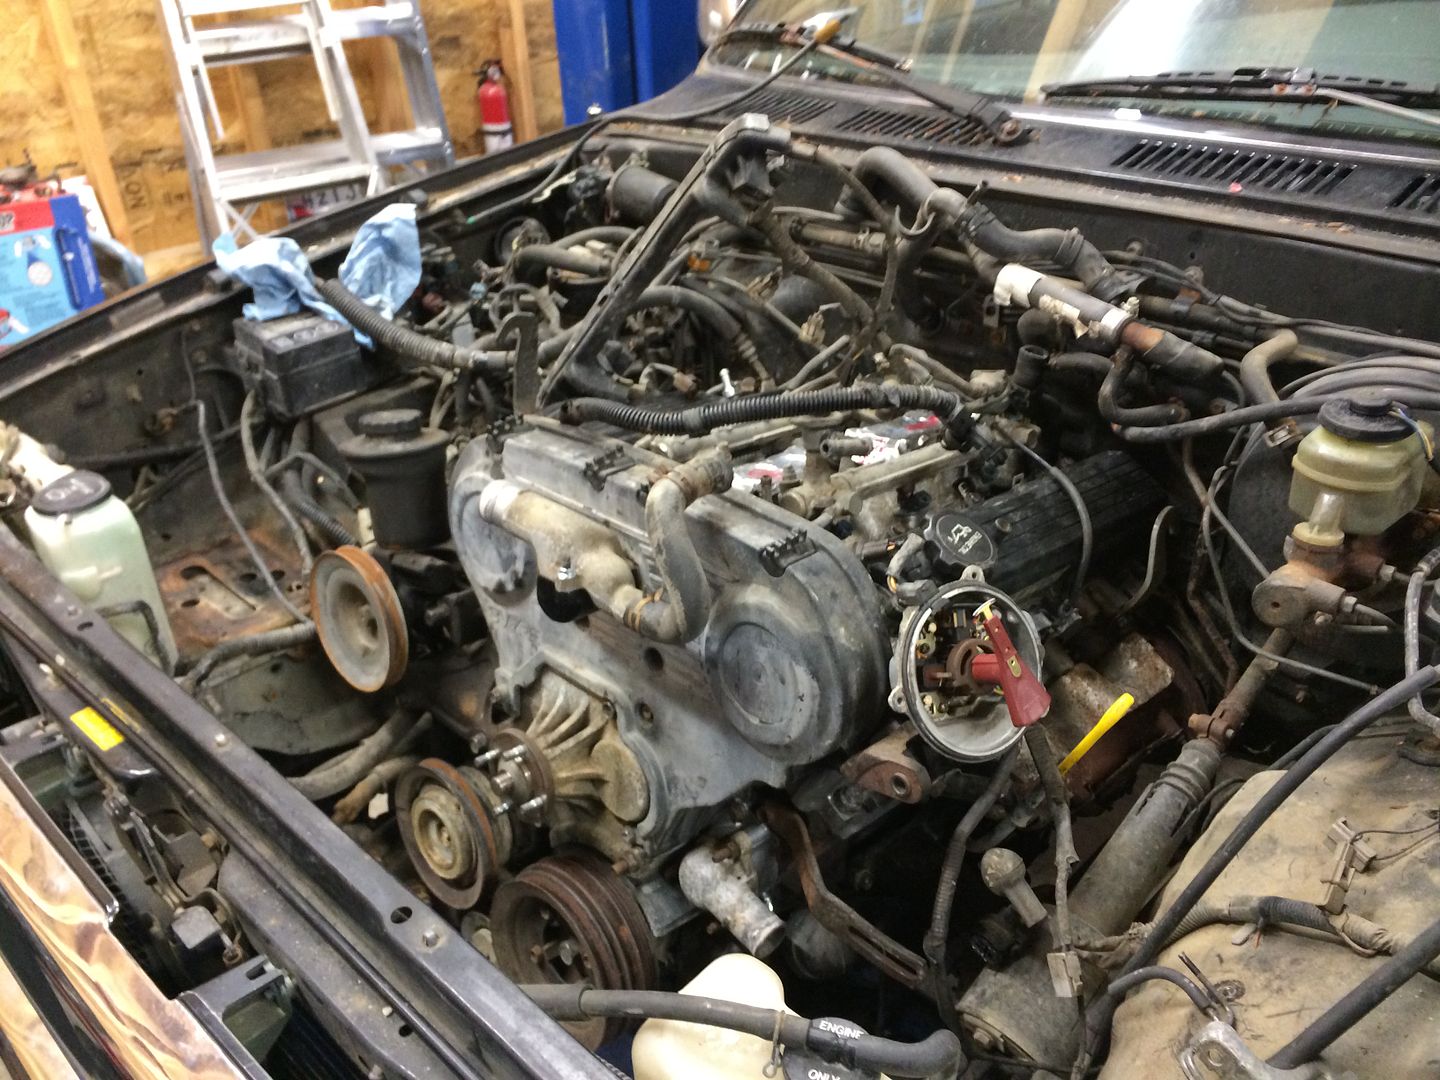
Cleaning it up.

Accept no substitutes.

I went and got an engine at an amazing junkyard in Baltimore. Deep in Baltimore. It was probably the nicest, cleanest, most helpful salvage yard I've ever been to. I heartily recommend it, for anything like this. Millennium Auto Parts, 5260 Fairlawn Ave Baltimore, MD 21215‎, (410) 466-9492. To give you an idea, they showed my the 4Runner they got the engine from, and let me grab any extra parts I might need from the engine bay. Then they loaded it for me, and gave me a bottle of water on my way out.
They are also car people.


Burned out Baltimore has some great buildings.

Back home.

Cleaning it up.

Toiyabe
Adventurer
Wow, what a yard. Those 30s cars are beauts.
Did you consider a 5z engine before getting the 3z?
I did, but after adding up ancillaries from the 5vzfe engine a for sale-even those with wiring harnesses and ECMs-it was going to be more than I want to spend right away. I will probably eventually swap a 1uz in, I think. But that's down the road.
Toiyabe
Adventurer
Toiyabe said:The list:
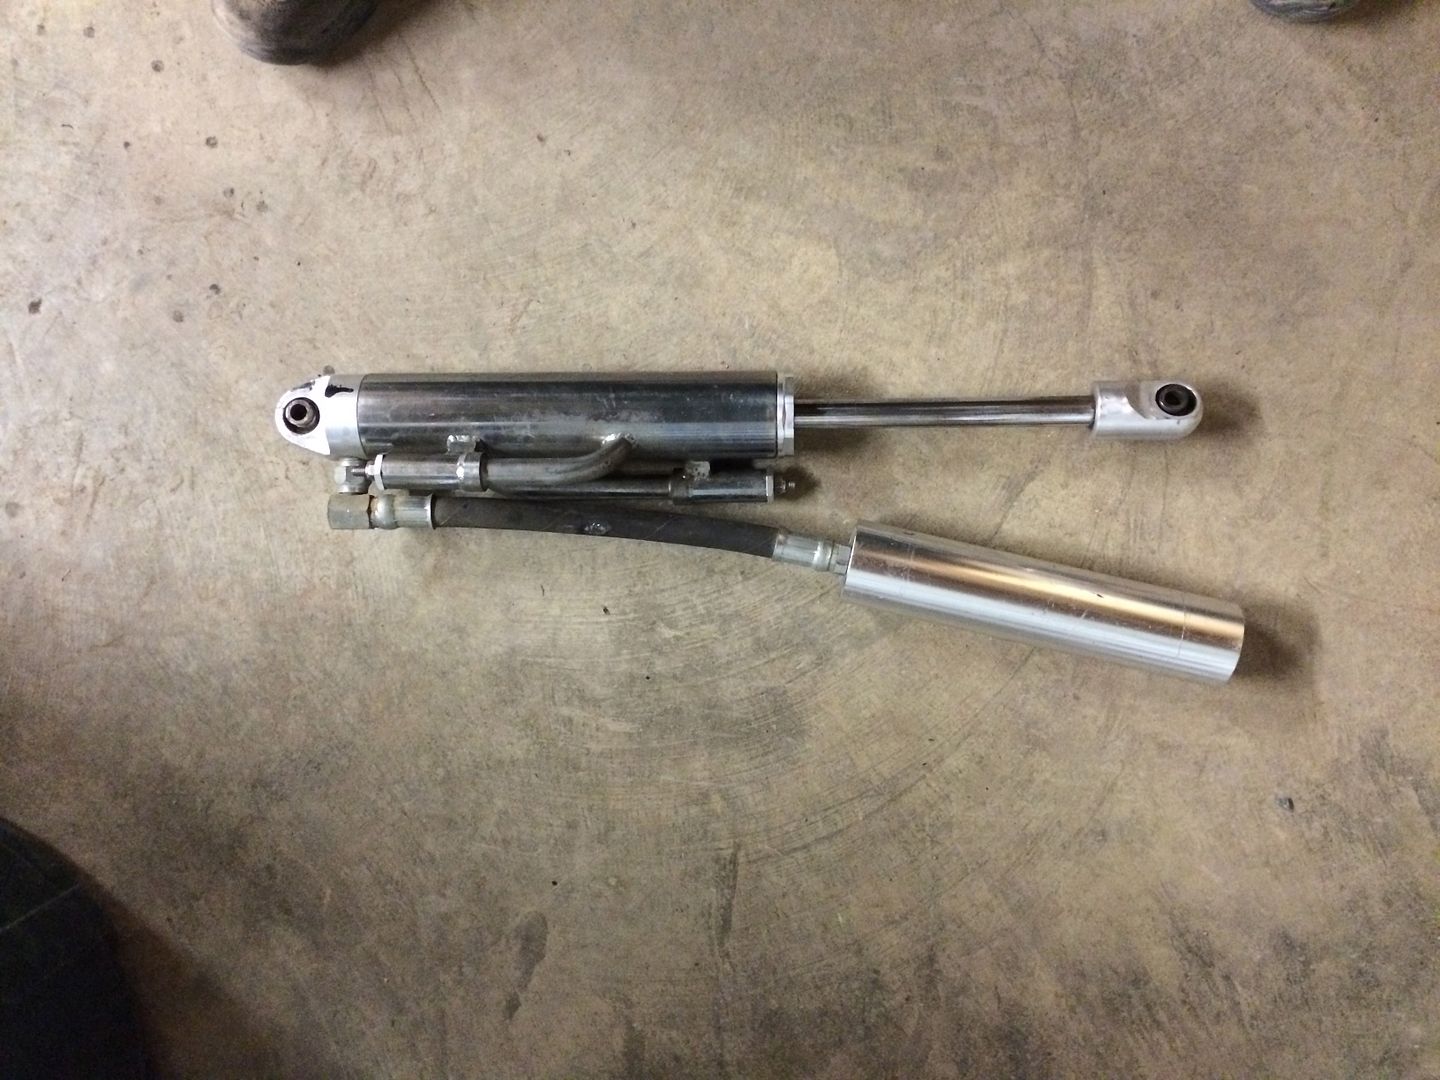
Remove ADD actuator and clamp.
Drain and fill front diff.
Remove ADD solenoids, vacuum reservoir, and lines.
Remove engine mounts and transmission support brackets from old engine and clean. Install on new engine.
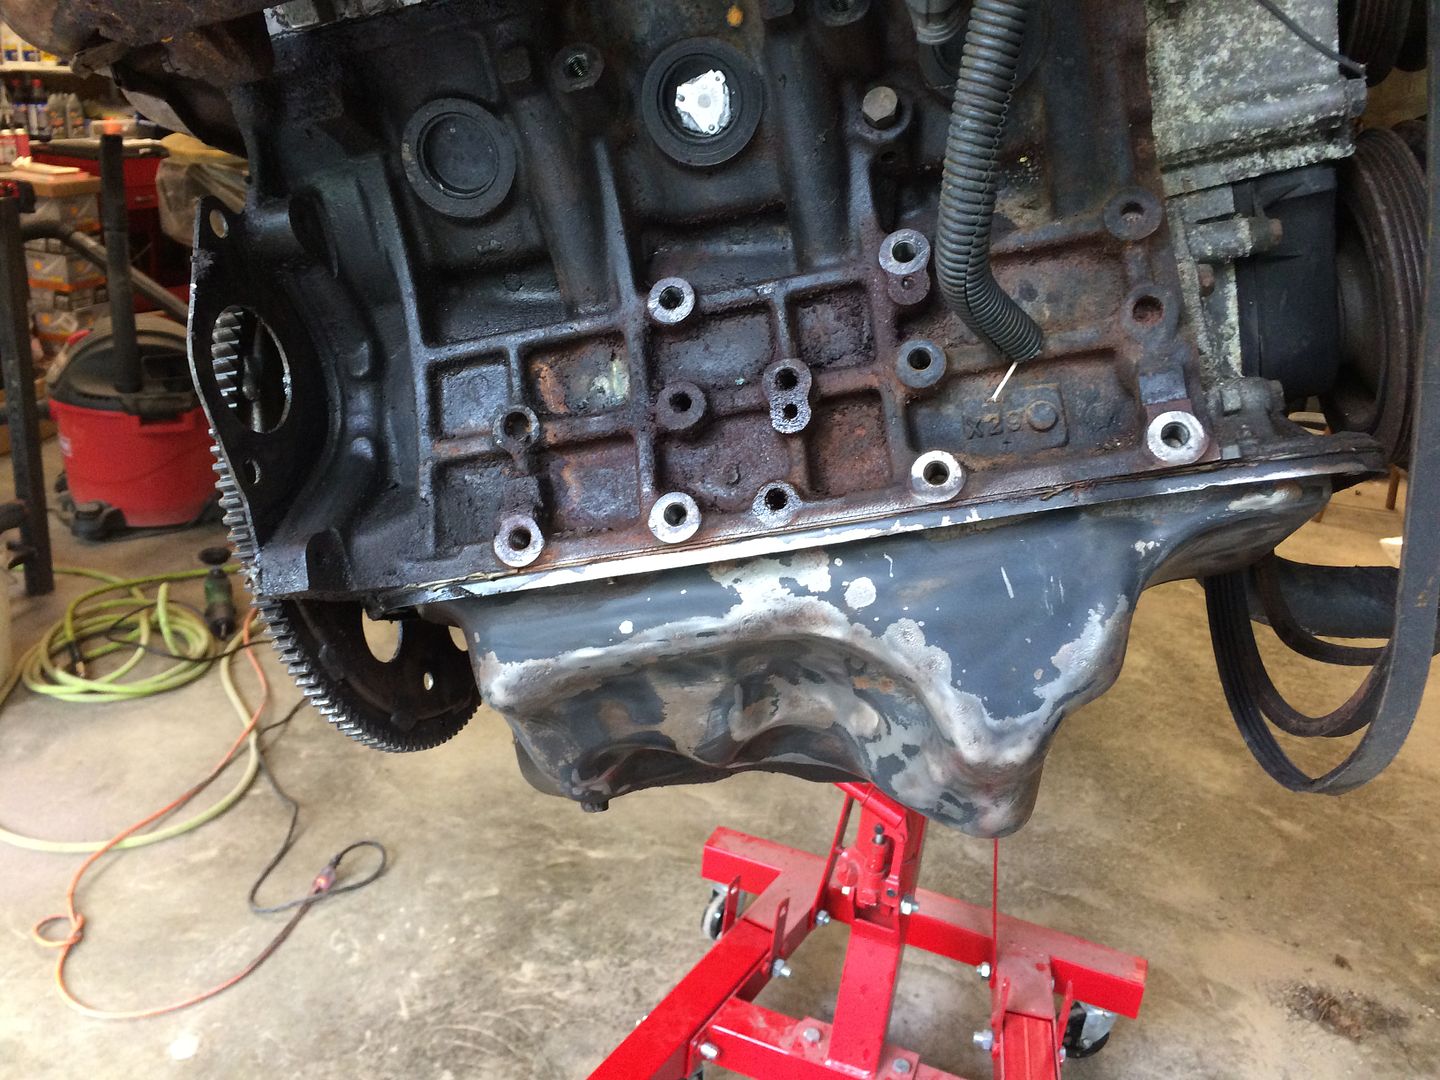
Clean driver's side of oil pan and block and paint.
Install new oil filter.
Remove exhaust manifolds, intake manifold, crank pulley, timing belt pulleys and sheet metal, and all sensors from old engine.
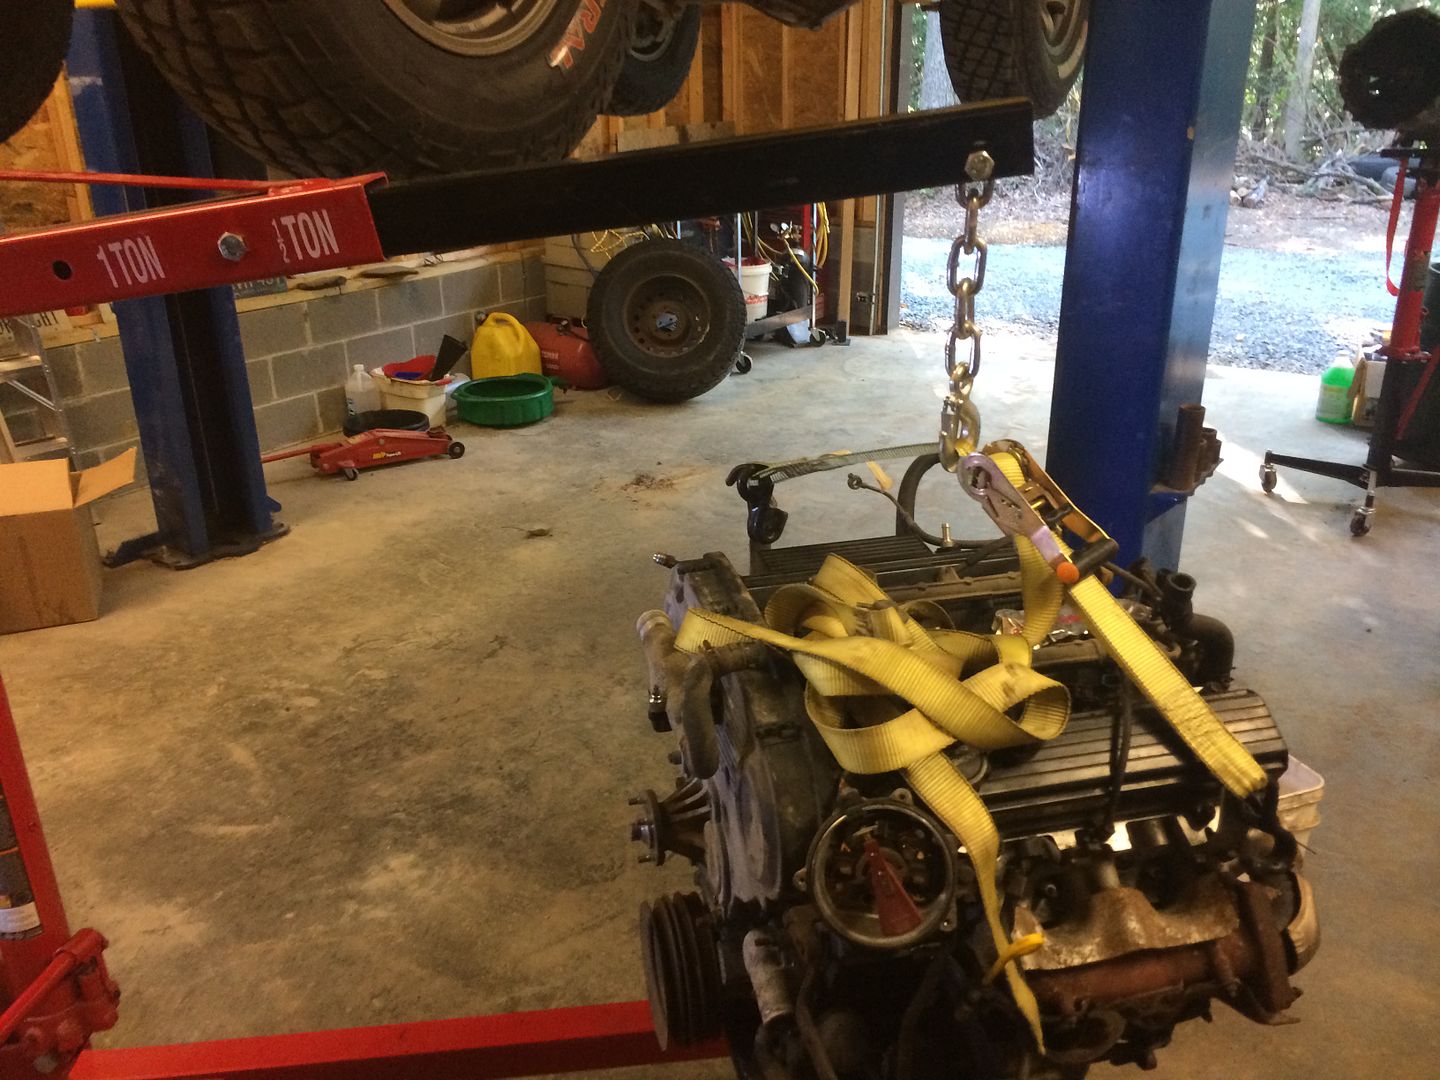
Move old engine off stand.
Remove flex plate and transmission plate from new engine.
Put new engine on stand.
Remove intake plenum and wiring harness.
Swap injectors and rails to new engine.
Paint plenum.
Remove valve covers and paint. Reseal.
Install new timing belt, water pump, rollers, and clean and reinstall all sheet metal.
Reinstall crank pulley.
Install better of two fan brackets.
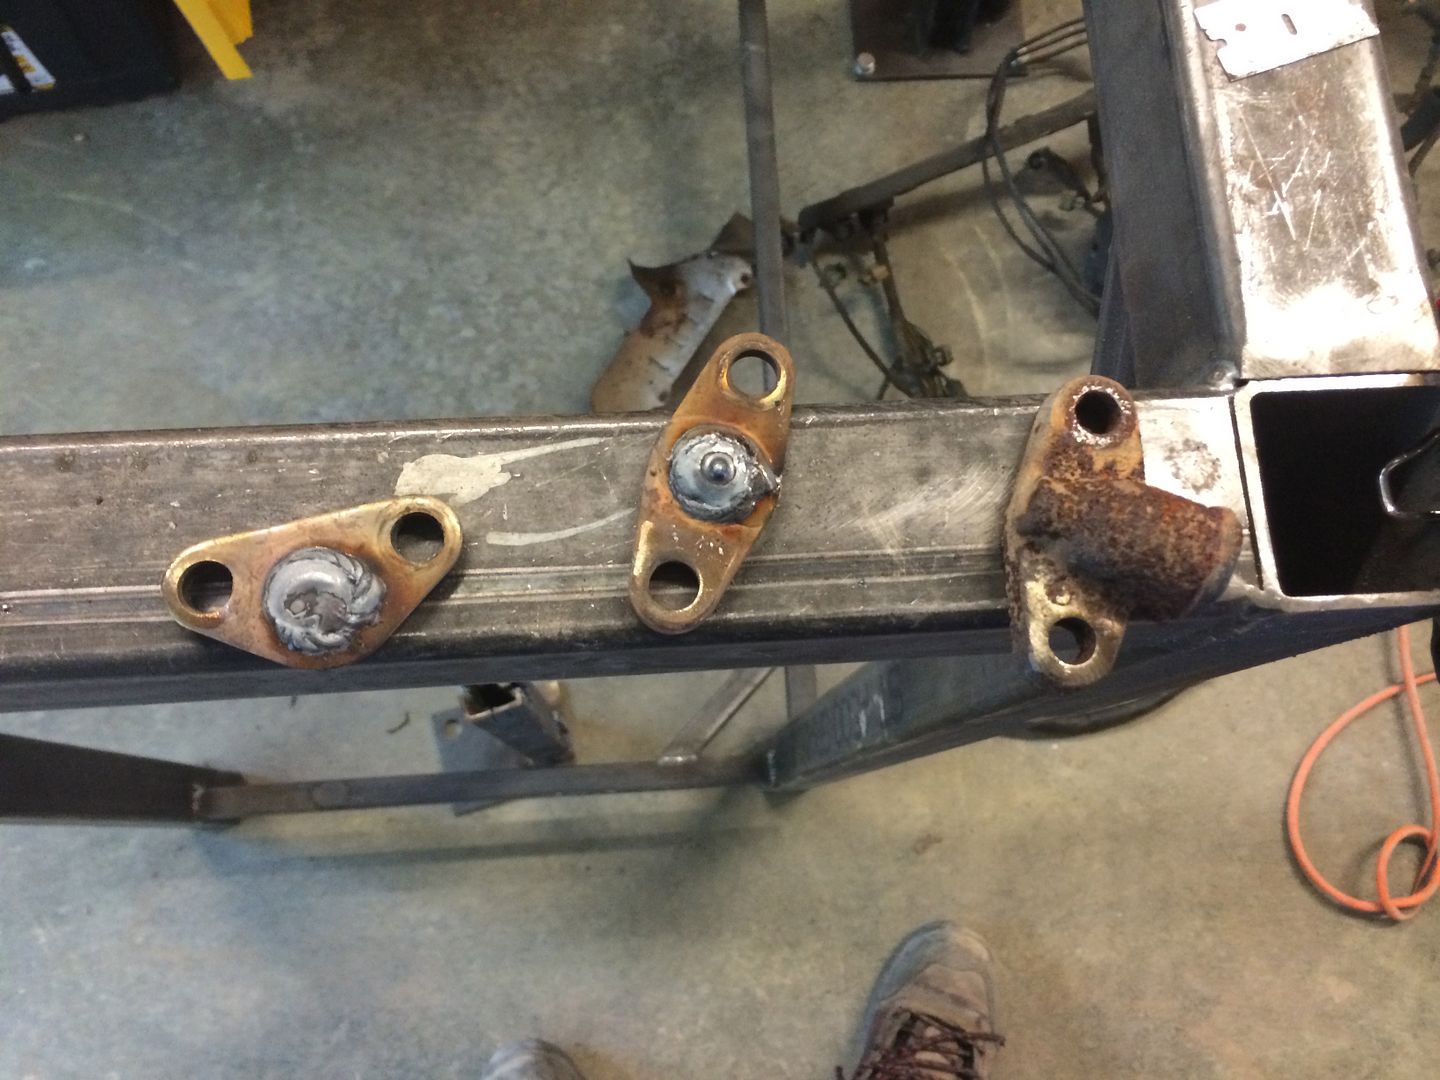
Weld up old fittings for egr and pair. Install.
Install new spark plugs.
Install all brackets for lifting and misc.
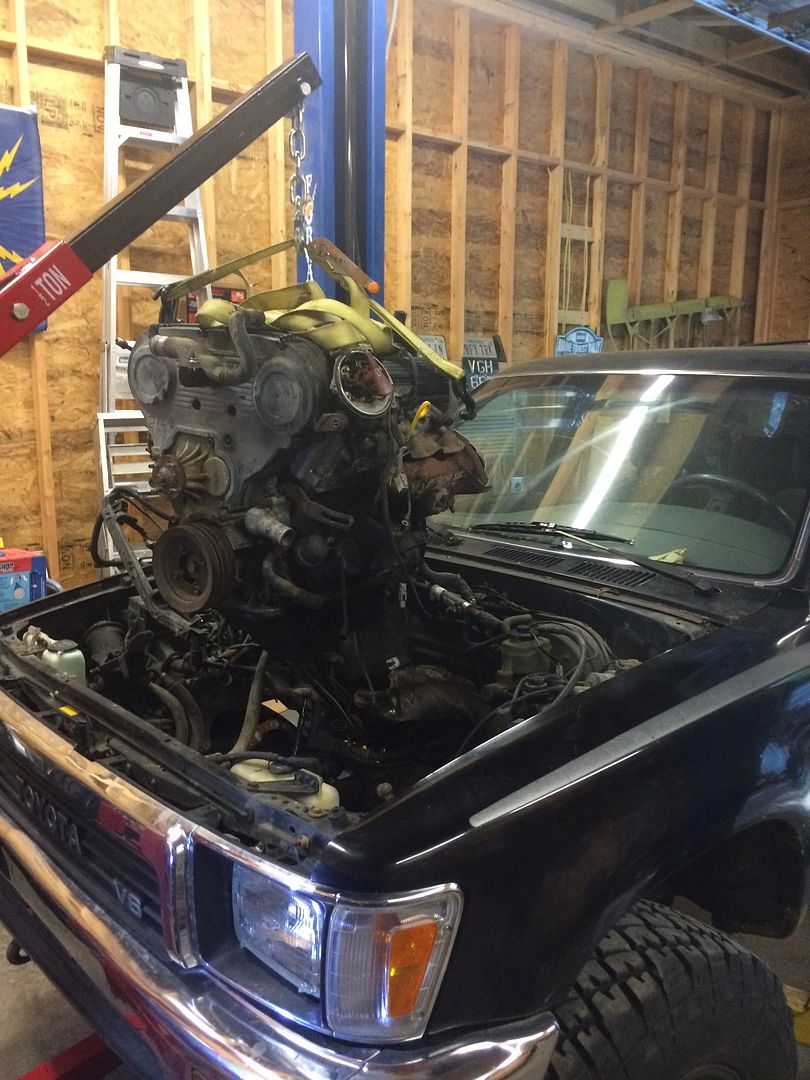
Install engine.
Install transplate and flywheel.
Clean transmission.
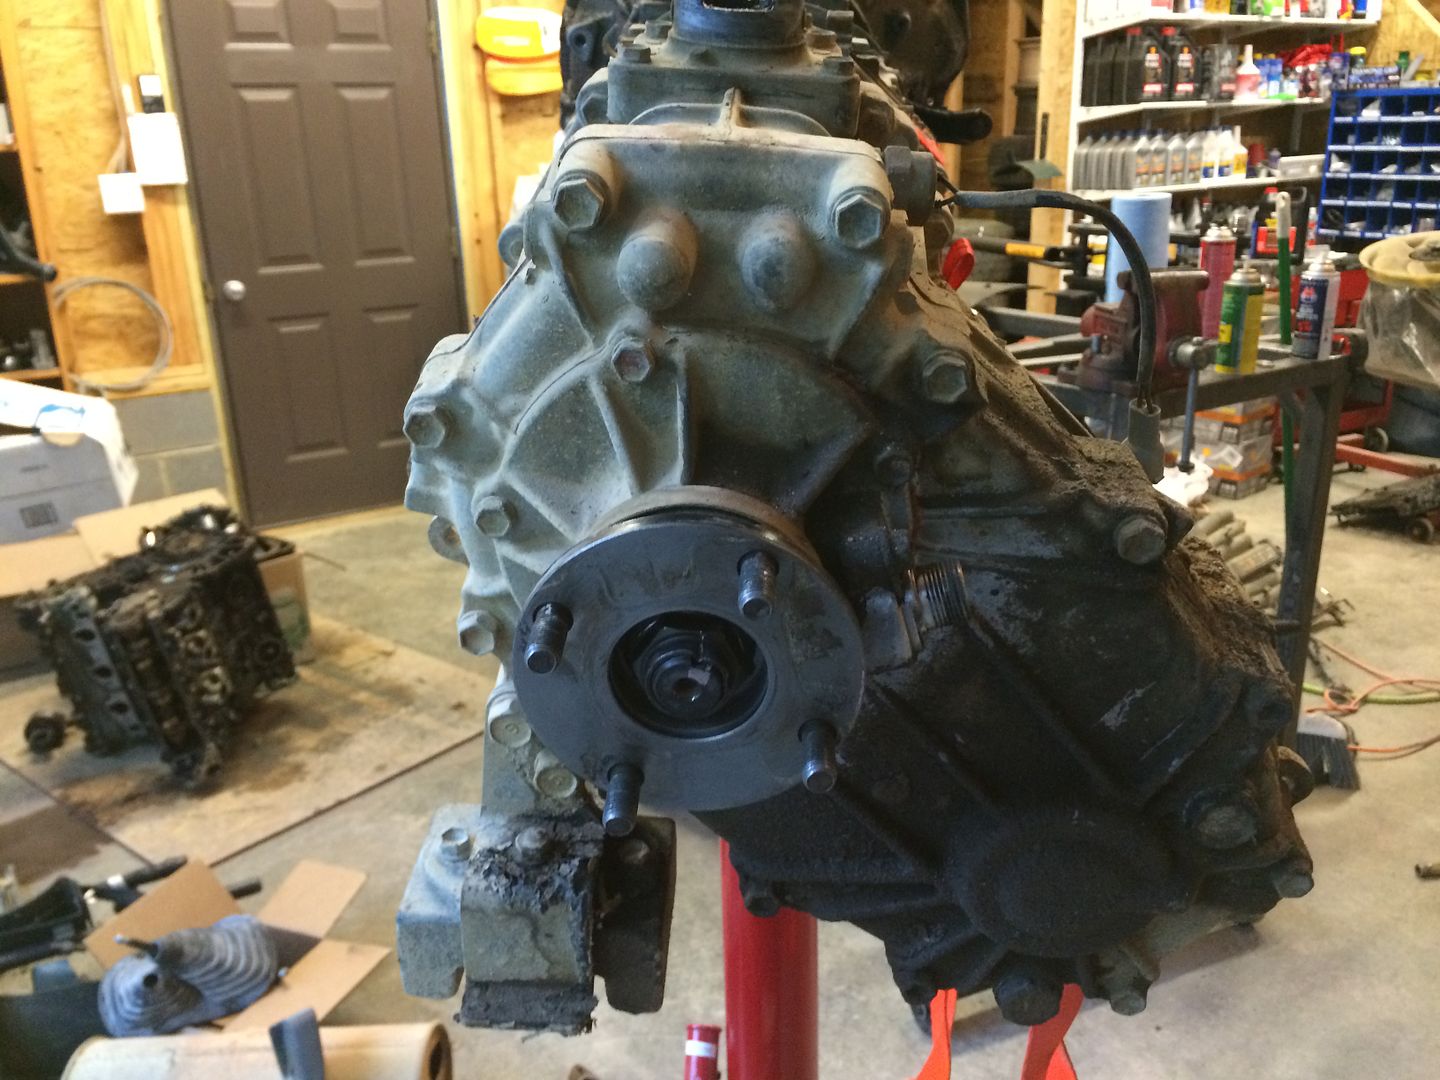
Reseal transfer case output flange.
Install transmission and transfer case.
Install cross member.
Attach AC compressor to engine.
Attach PS pump to engine.
Attach starter and alternator to engine.
Attach wiring harness.
Install plenum and throttle body.
Install correct heater hoses.
Finish vacuum hose reroute.
Connect evap system.
Install distributor, cap, rotor, and wires.
Install shifters.
Attach wires to transmission.
Attach front driveshaft.
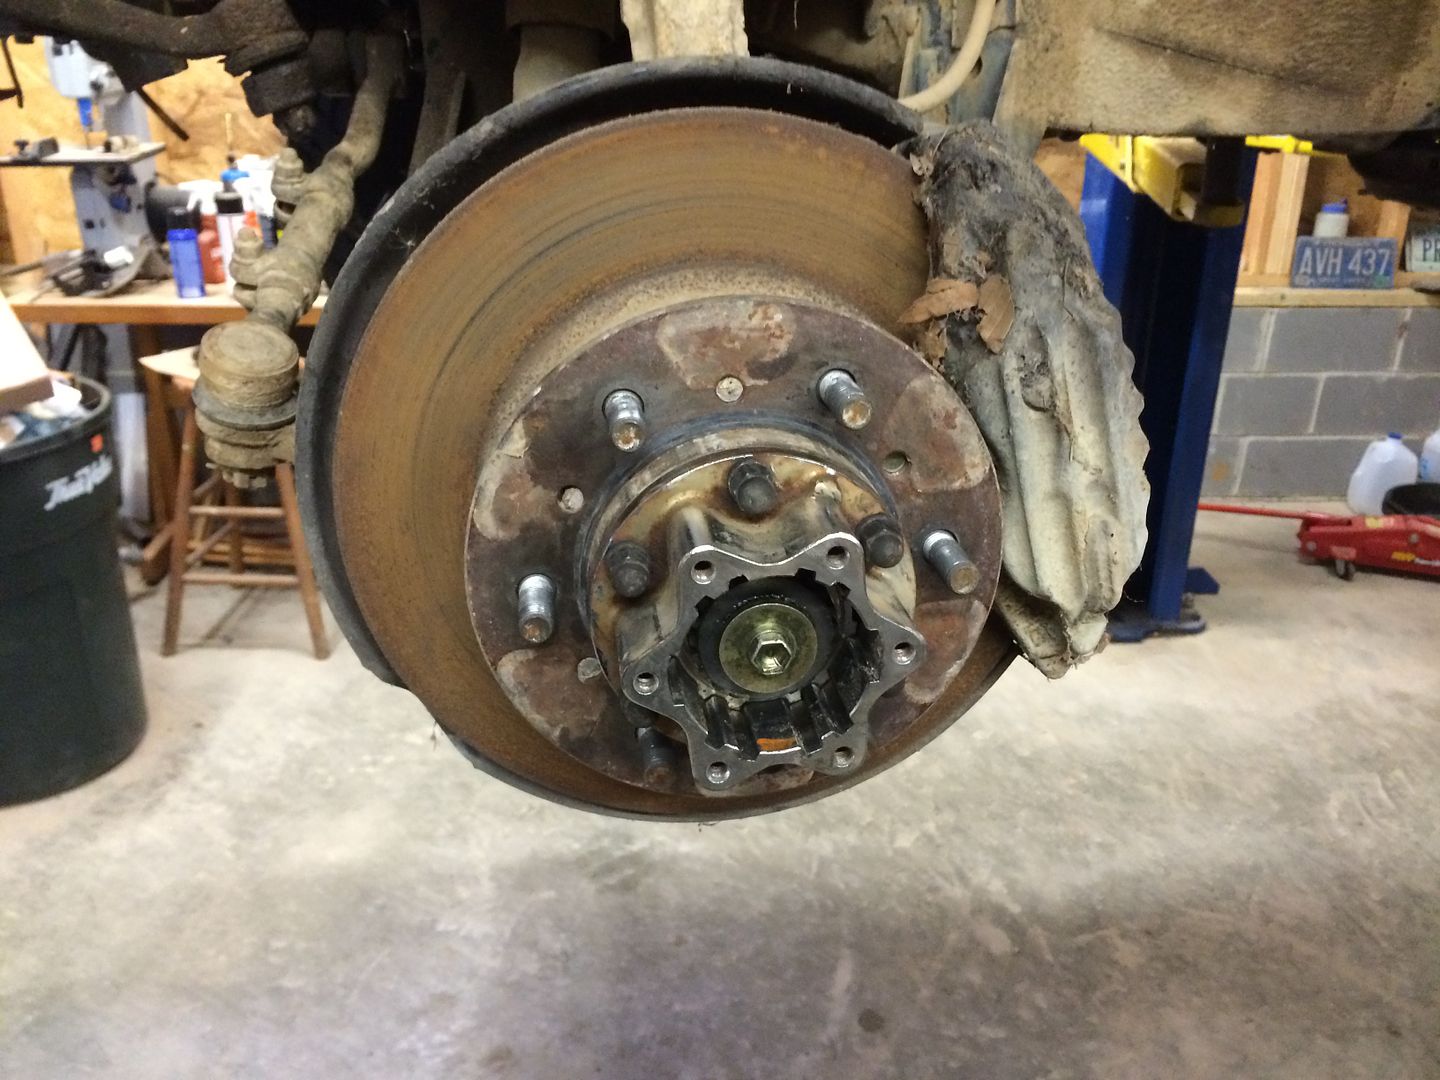
Install front Aisin manual hubs.
Remove fuel tank.
Repair fuel feed line to filter - fabricate new.
Reinstall tank.
Install rear driveshaft.
Fill transmission and transfer case.
Drain and fill rear axle.
Attach downpipe and catalytic converter.
Measure for new muffler and tail pipe.
Install fan clutch and fan.
Install drive belts and tension.
Install radiator and hoses.
Install air cleaner assembly and AFM.
Remove EGR intake.
Fill with oil and coolant.
Install 10k ohm resistor in EGR temp sensor connector.
Install positive battery terminal.
Install battery with new hold down.
Start.
Attach hood.
Attach front bumper more securely.
Build exhaust.
Clean truck.
A great shirt at the hardware store.

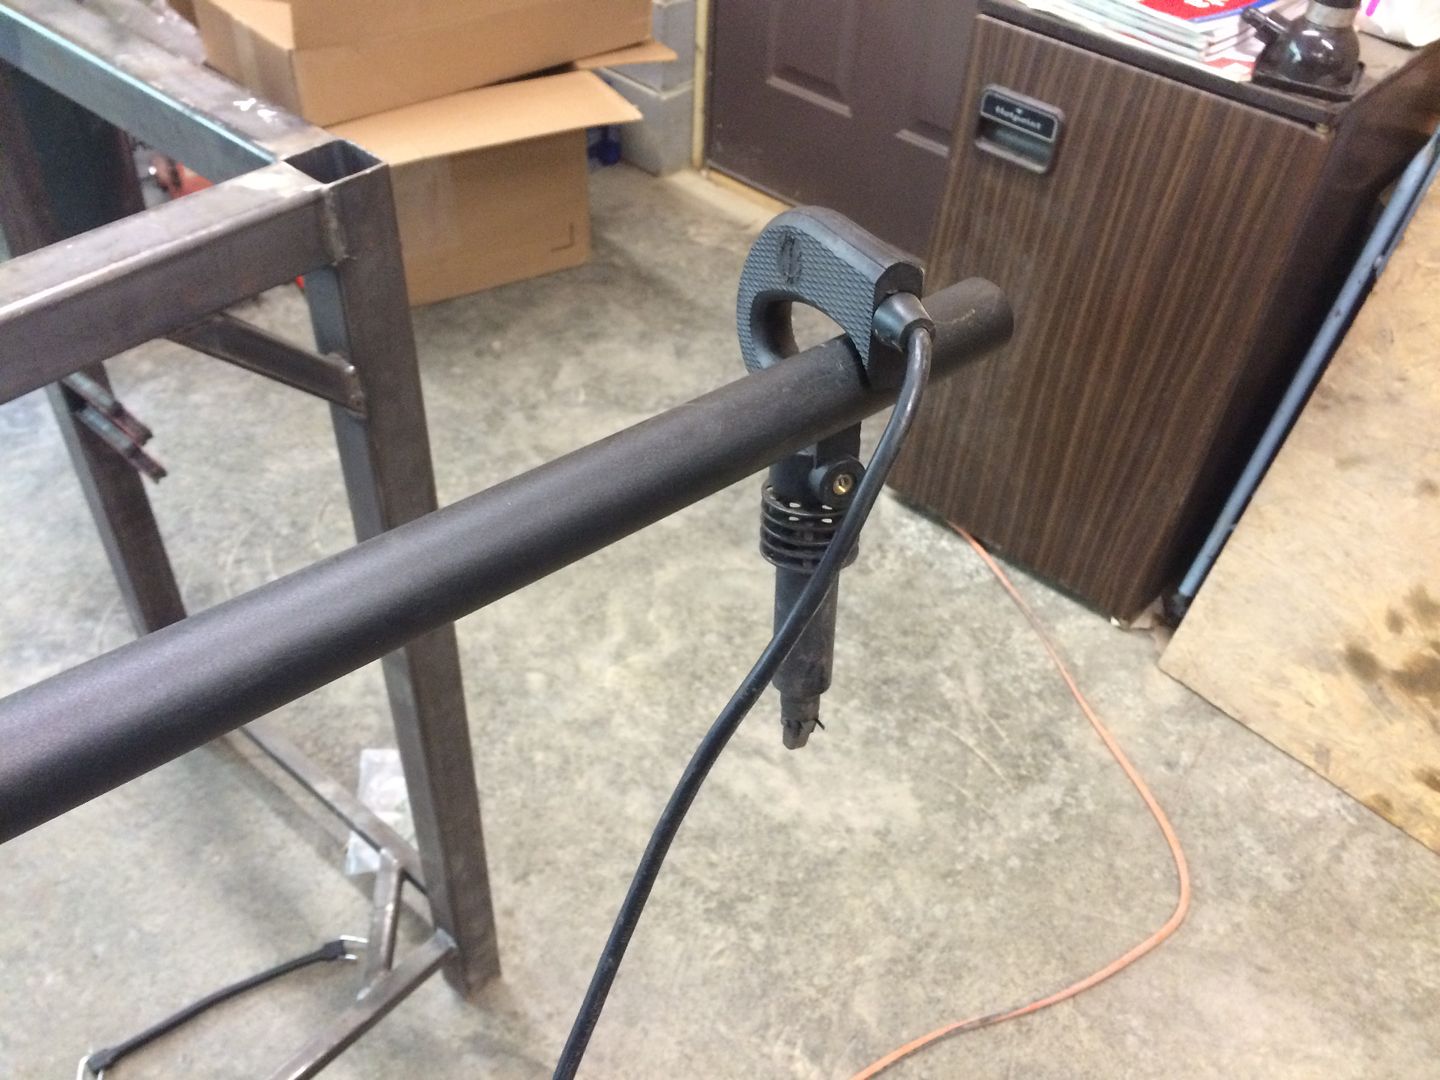
ADD removal. Rather than clamping the shaft, remove the detent ball and spring, and reinstall with a longer bolt to compress the sprig to coil bind. This locks the shaft in place, and there's no question of proper alignemnt or slipping.


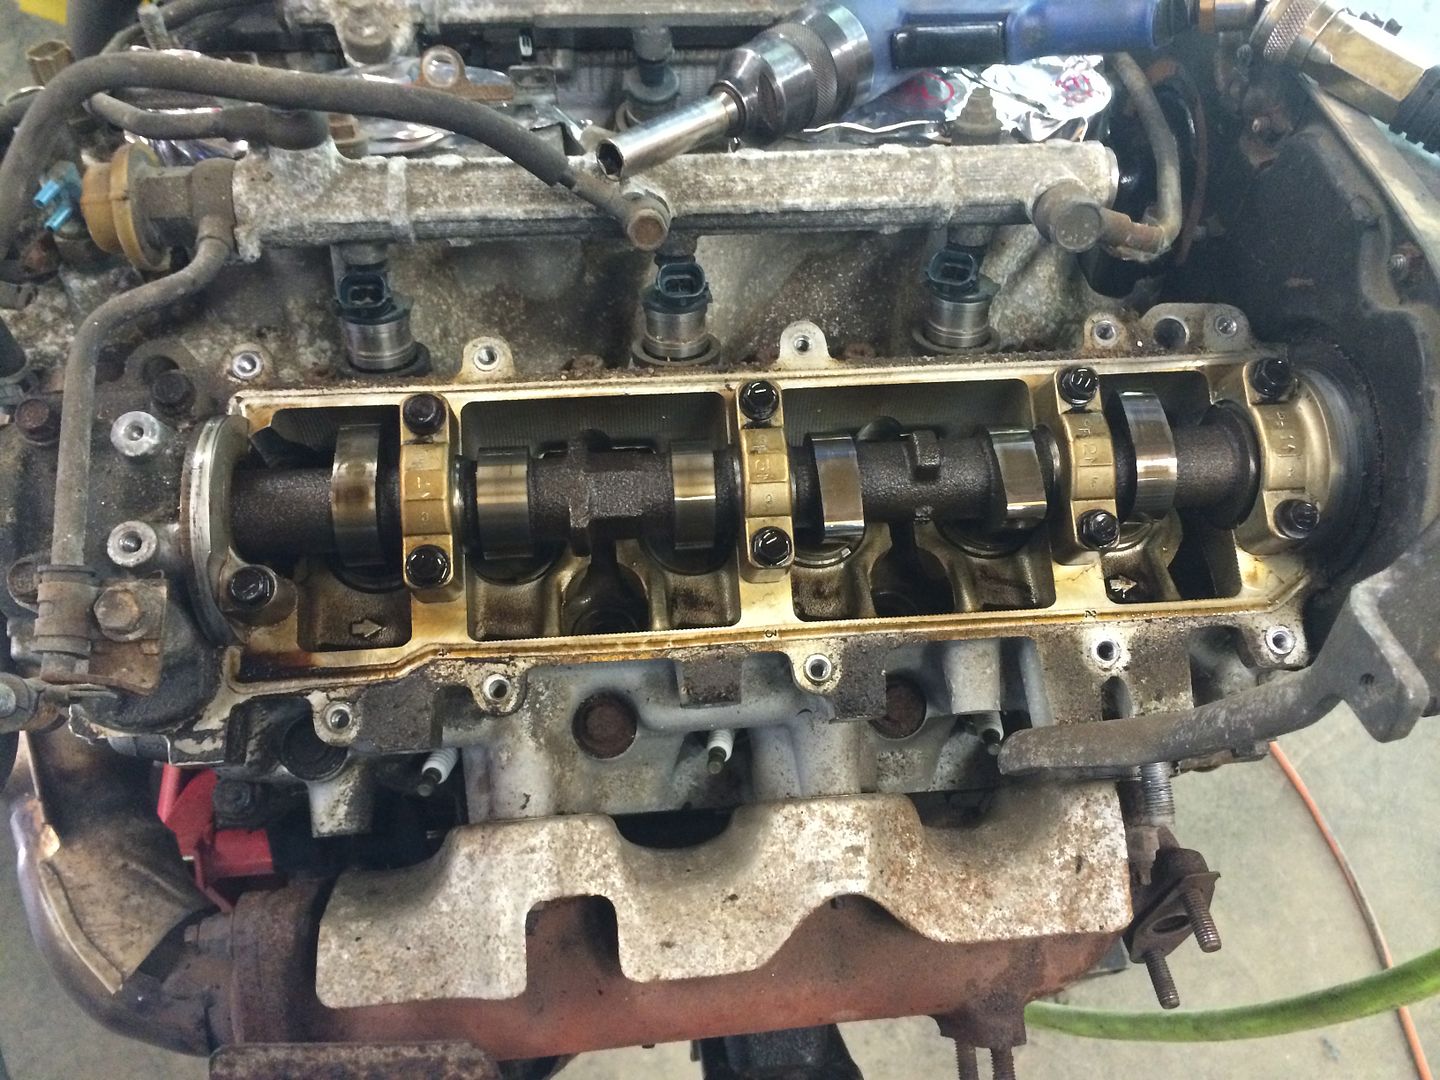
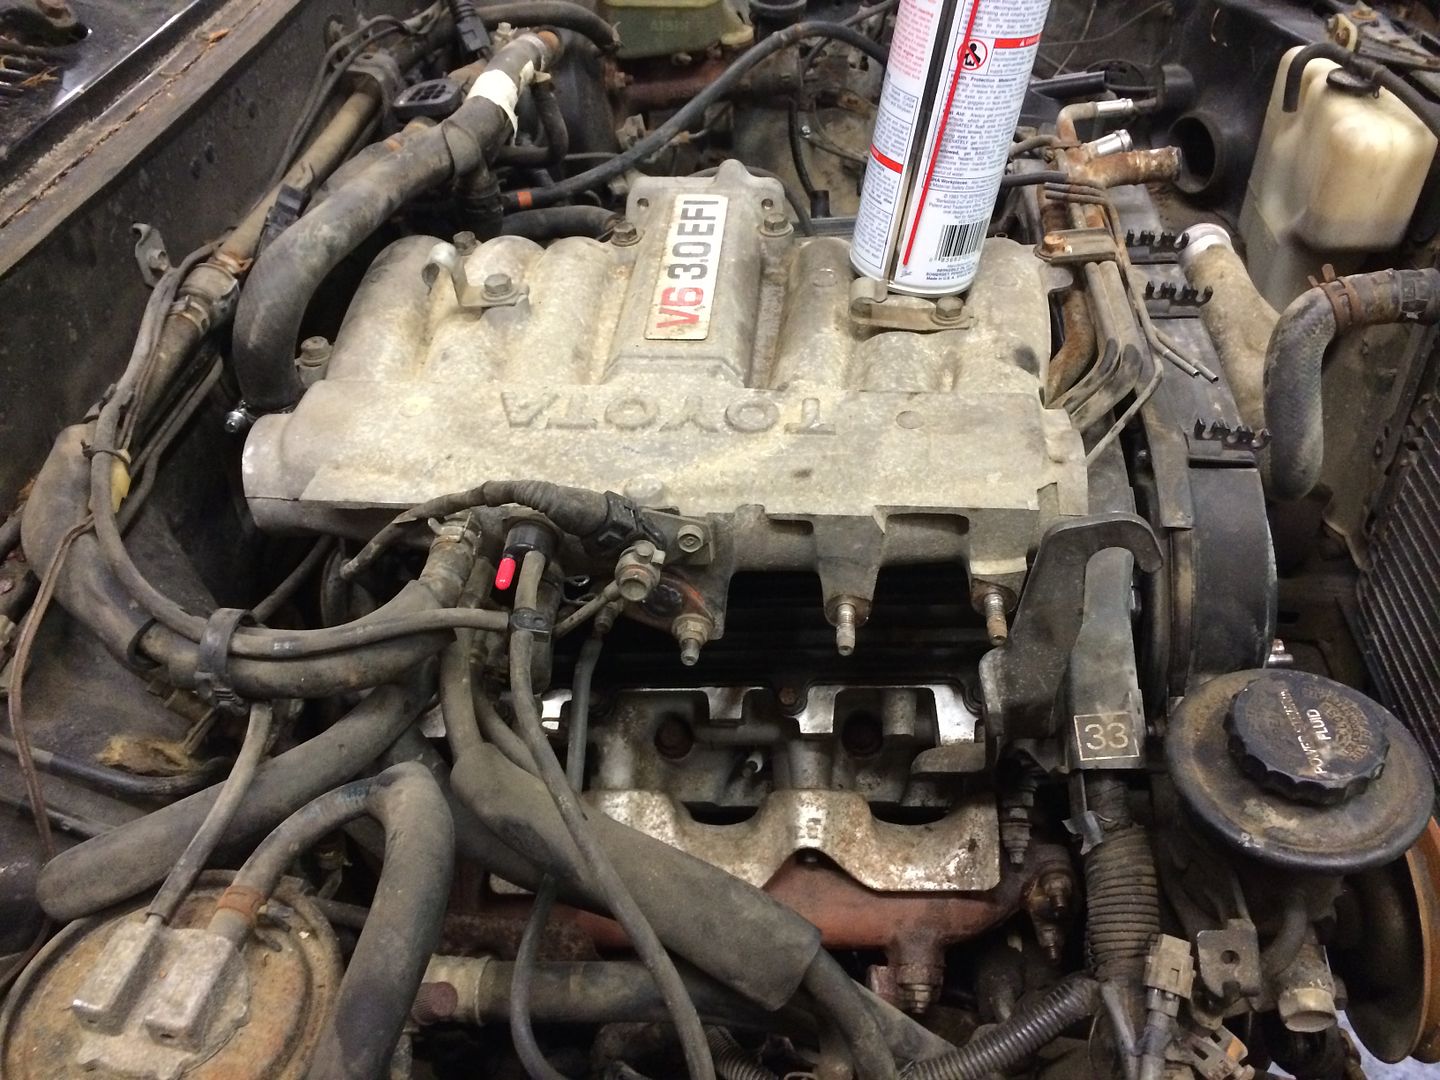
Old engine getting stripped.

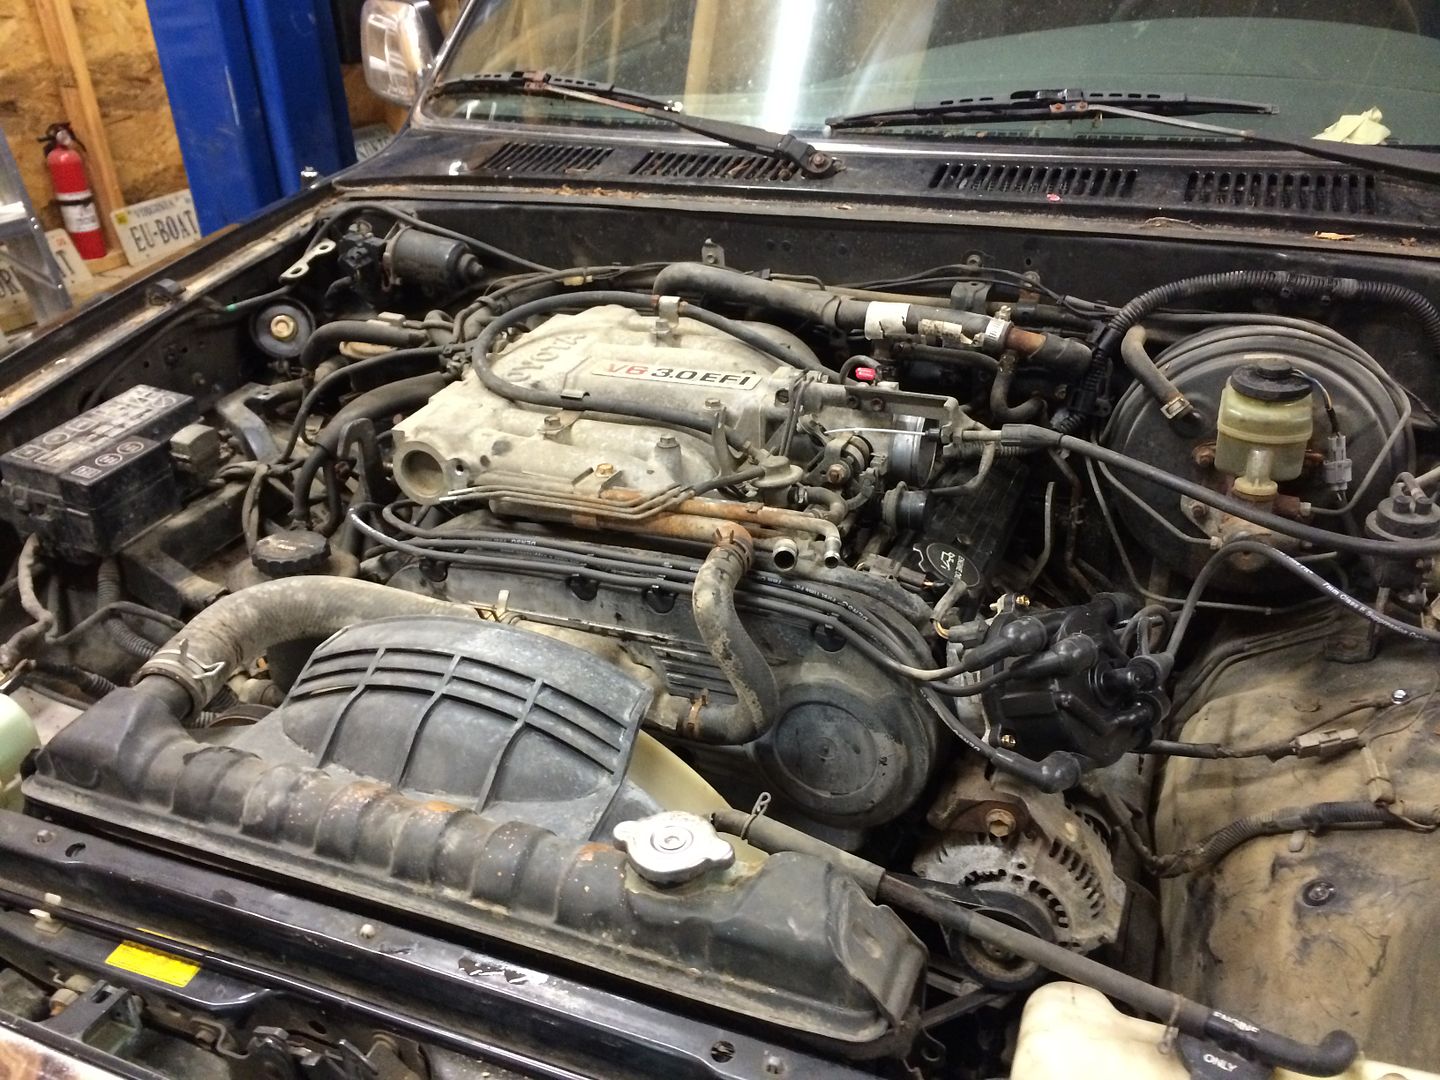
New engine on stand.

Scarp for the scrapyard next week.

Now for reassembly.

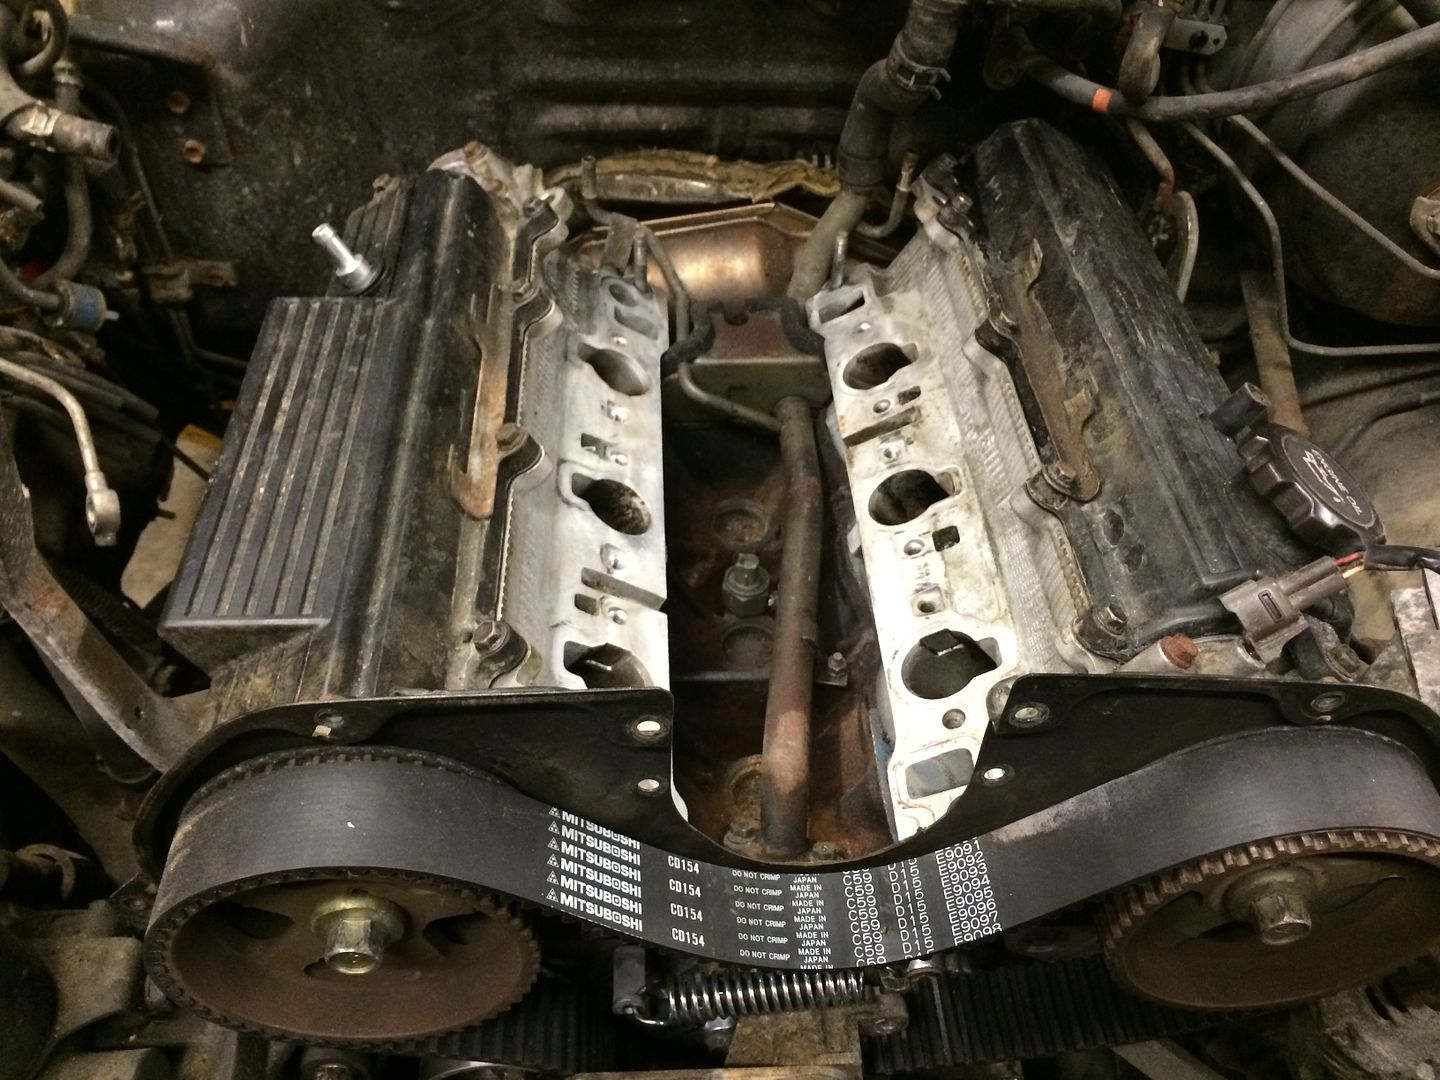
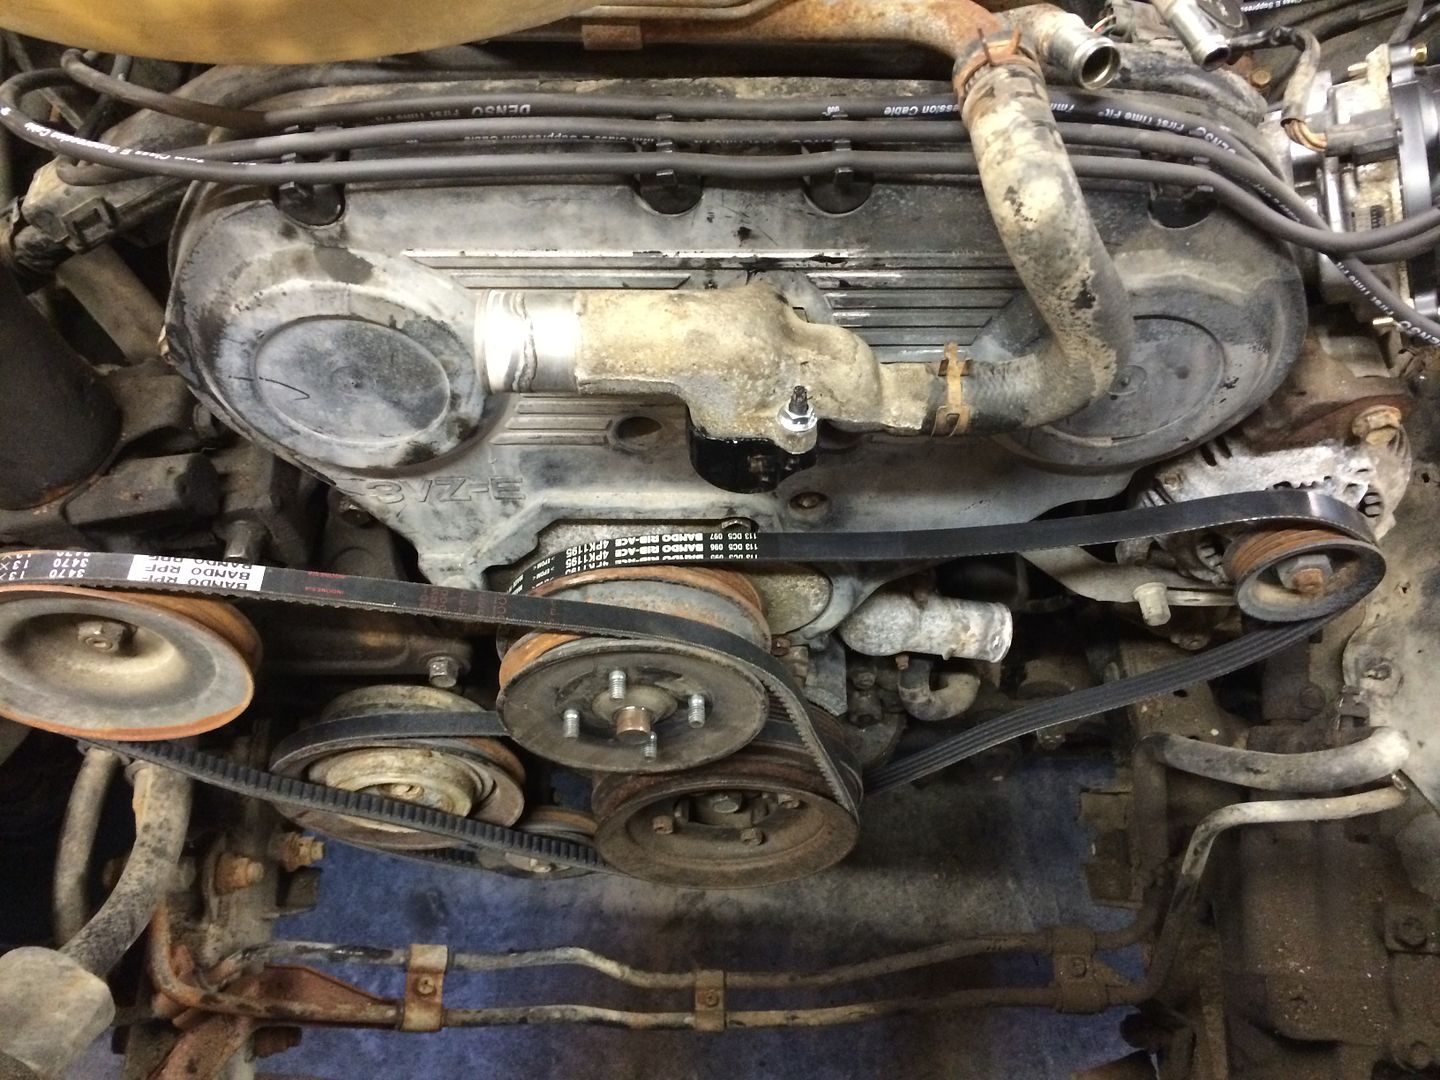
Timing belt and water pump.


Ready to go in tomorrow, after a few more brackets are installed, and the valve covers are resealed.


Toiyabe
Adventurer
A few days update.
Today was the day nothing went as planned. Delays over small parts, local NAPA is retarded. Other parts stores not much better.
New valve cover gaskets. Looks great in there.
Welded up flanges to make block-off plates for EGR and PAIR.
Distributors are different between 1990 and other years. Odd. Installing engine.
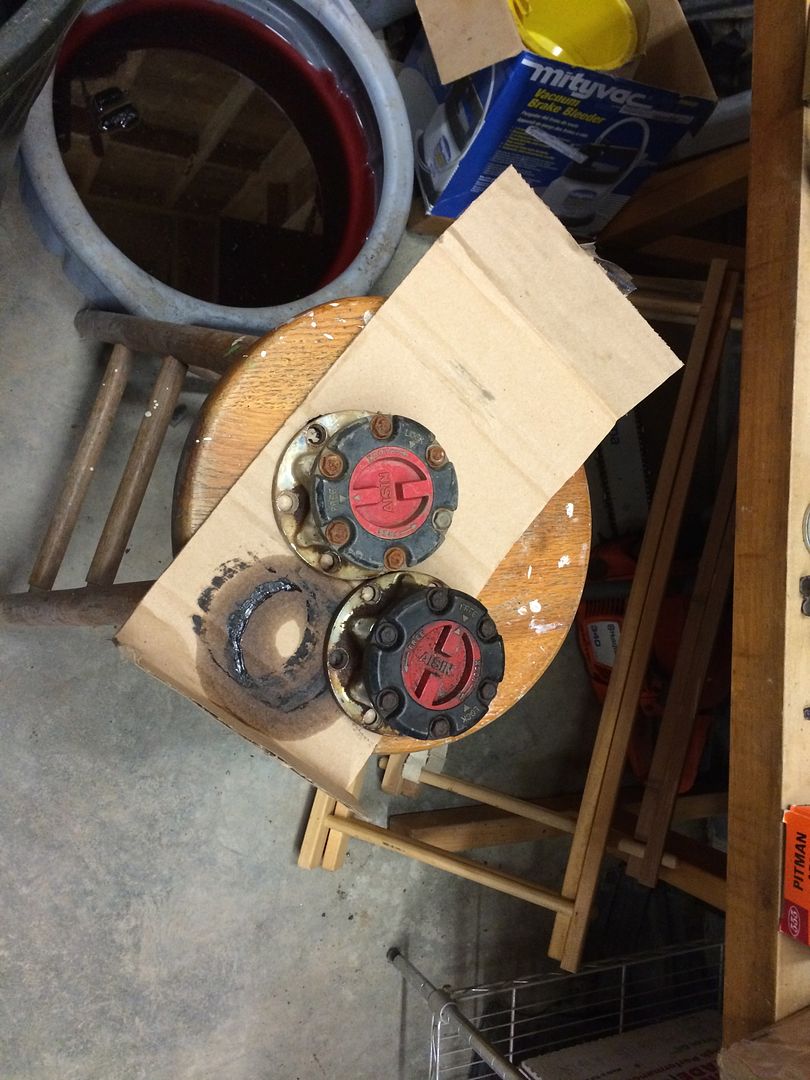
Aisin hubs came today. That'll be a partial project while waiting for parts.
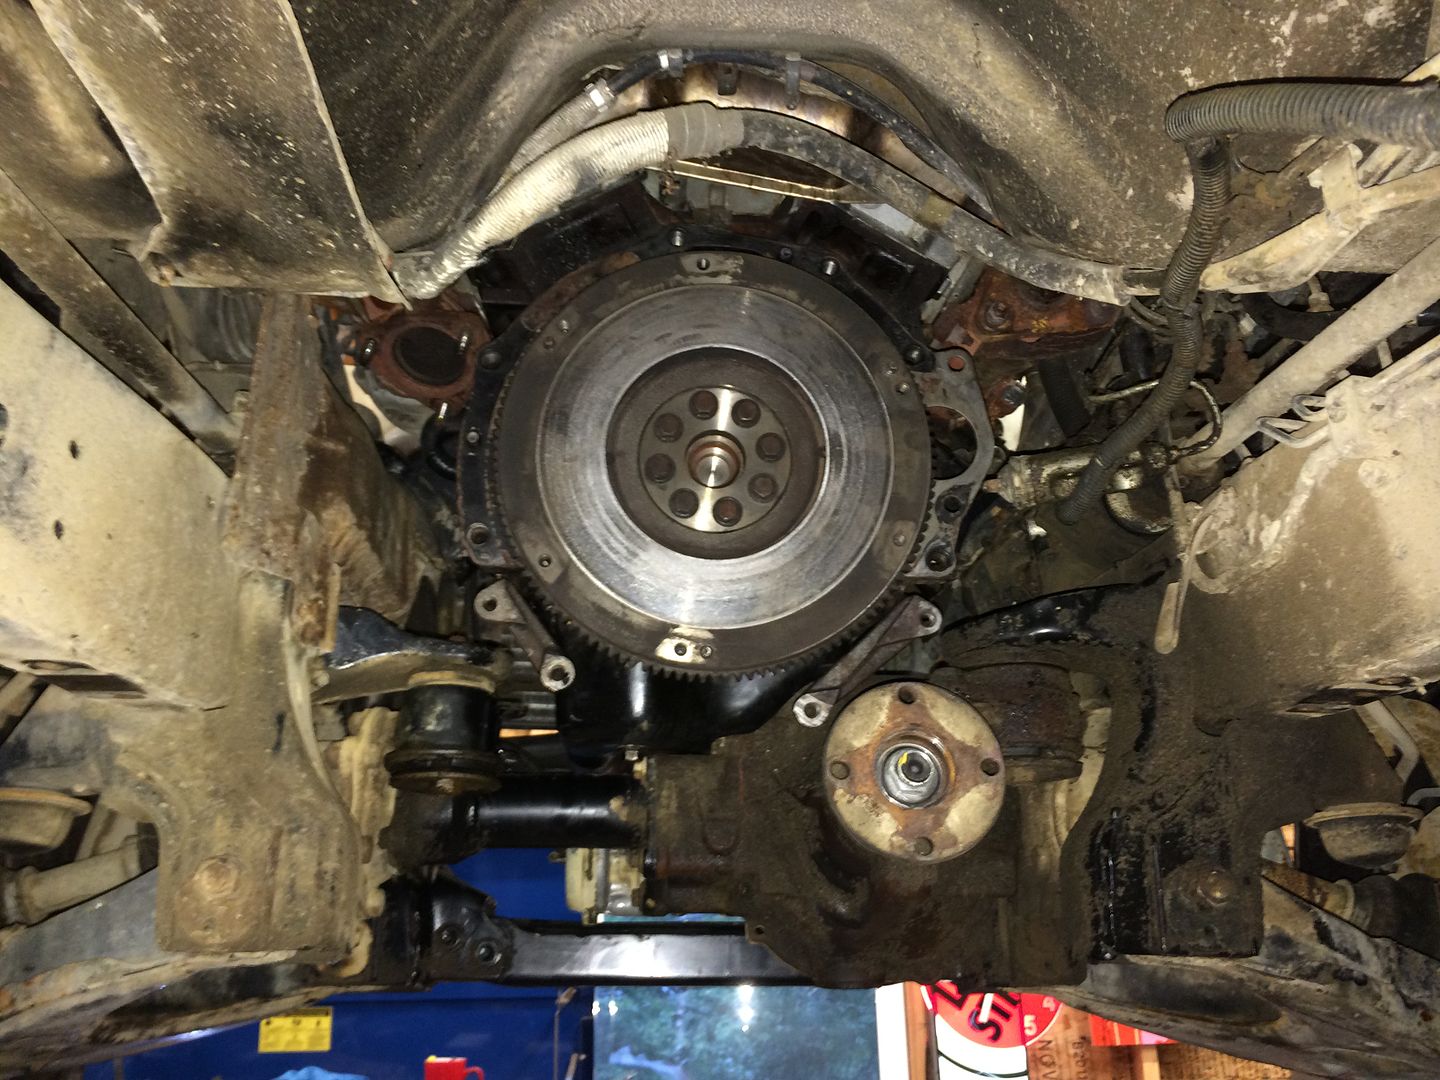
Flywheel installed. Waiting on pilot bearing.
Resealed output flange on transfer case. I have a sneaking suspicion it's been either resealed, or the chain has been replaced. The clutch is also new. Scary on a 48k miles car.
More stupidity.
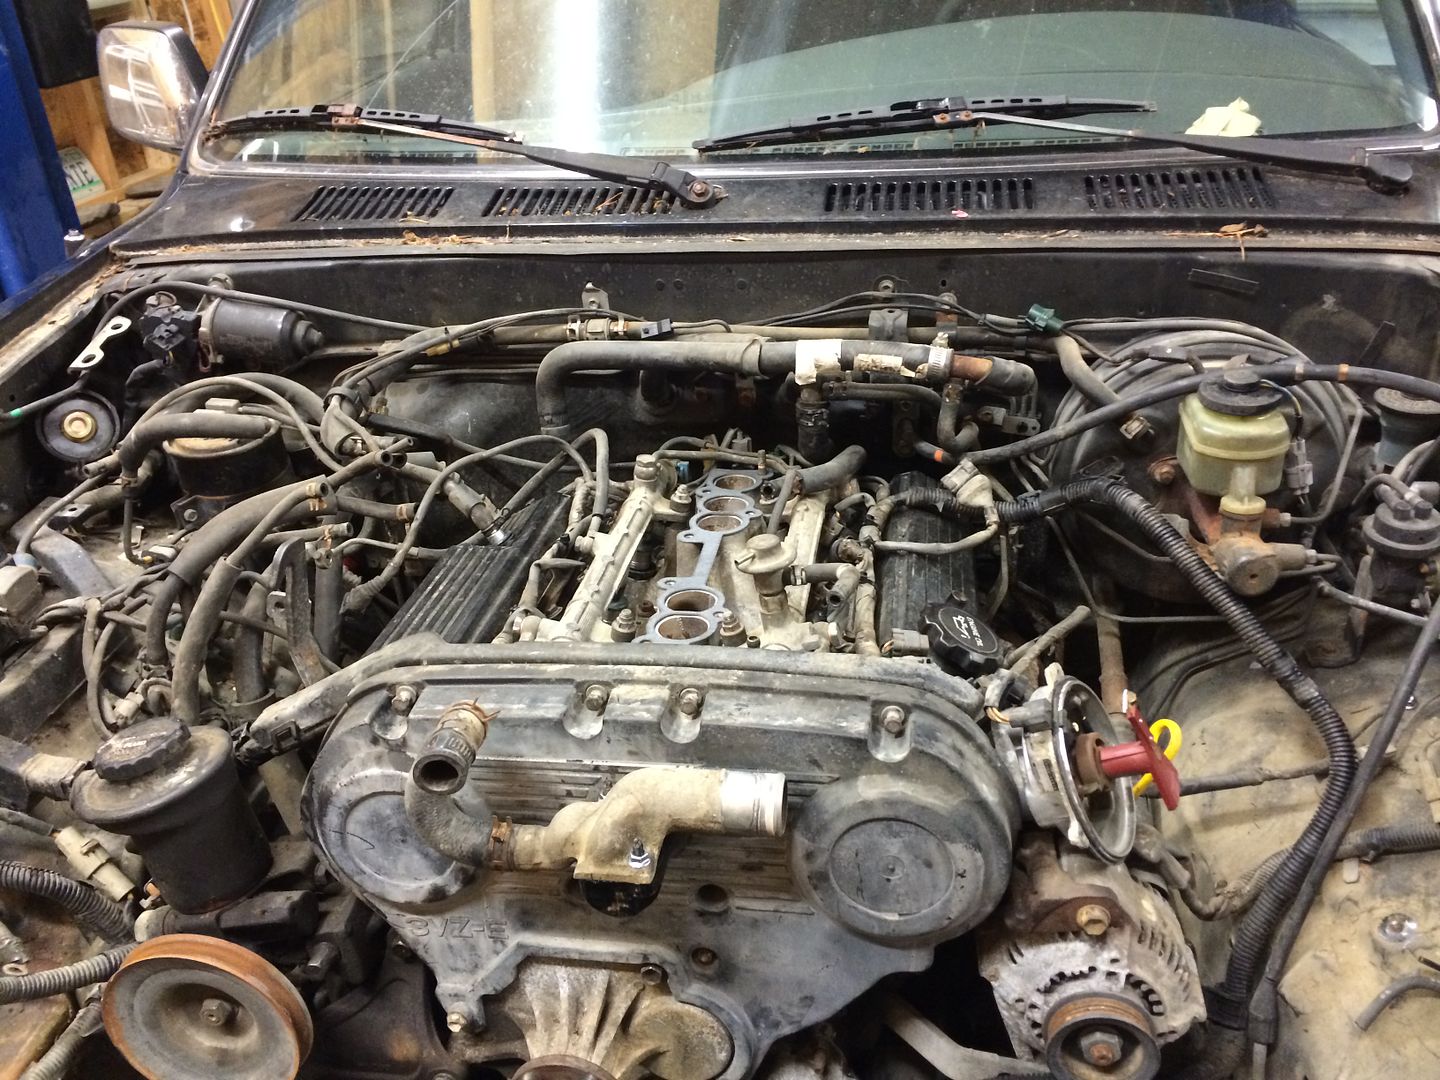
Got all the injectors and the like installed, and was putting the wiring harness in when I noticed some differences in sensors and outlets between the 90 and 92 intakes.
So off the intake has come, ready to go on again tomorrow morning. Getting gaskets this evening.
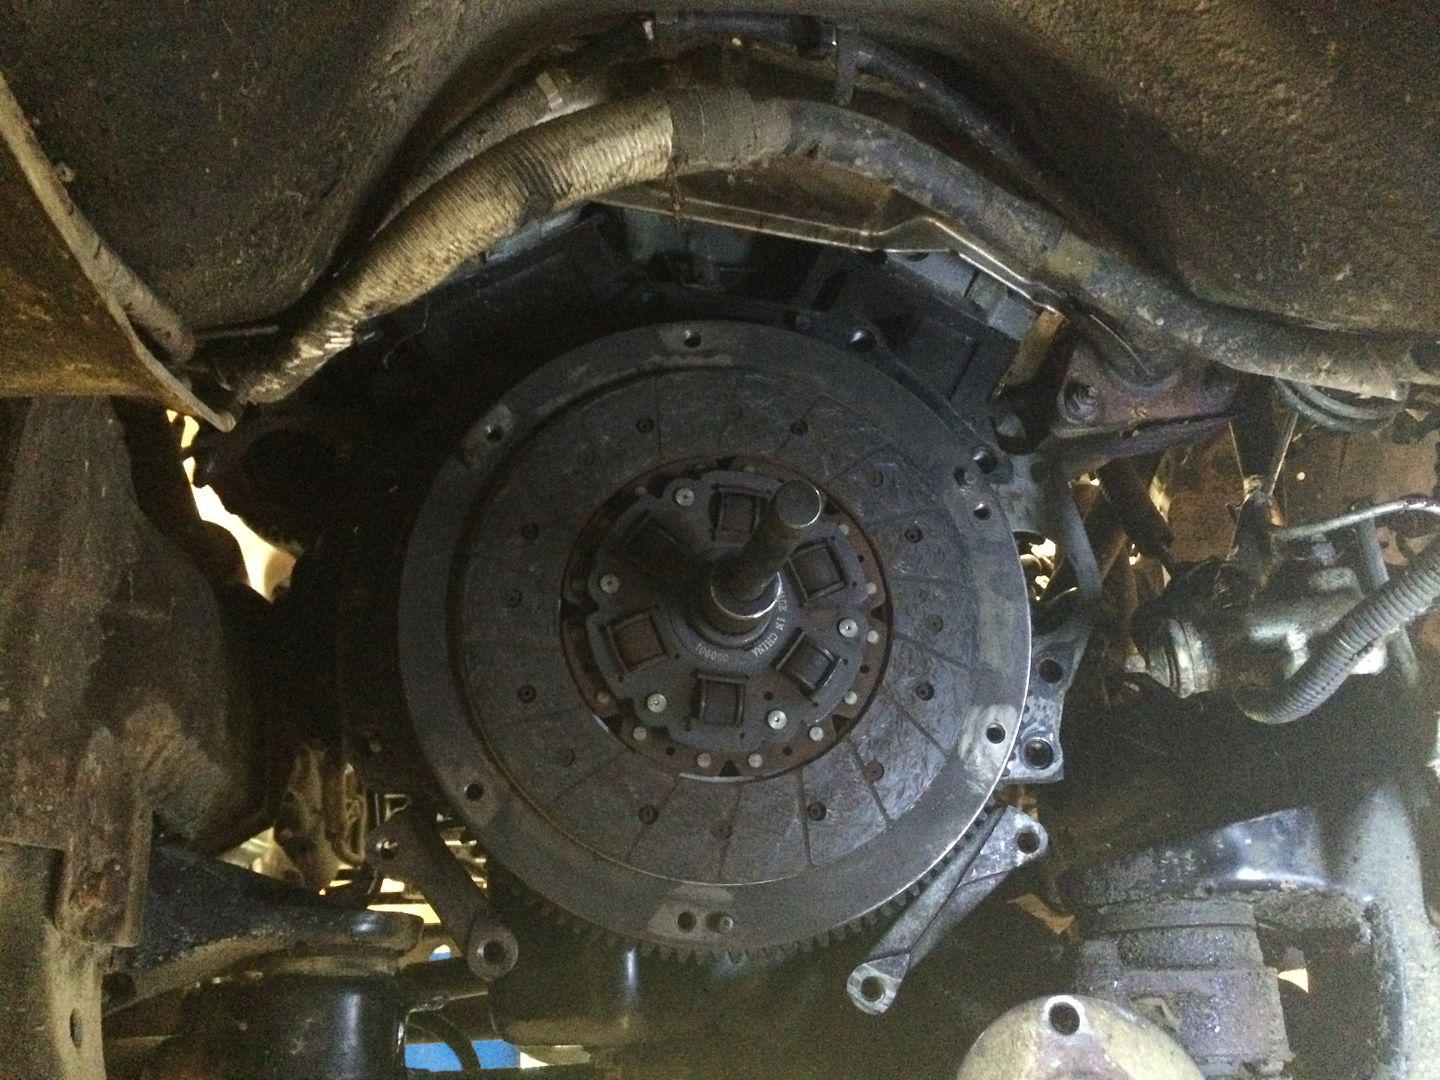
Clutch going on. Yes, it's a cheap China one, it's what was in it. If it dies soon, I'll buy an Aisin or Exedy. They're easy enough to put in.
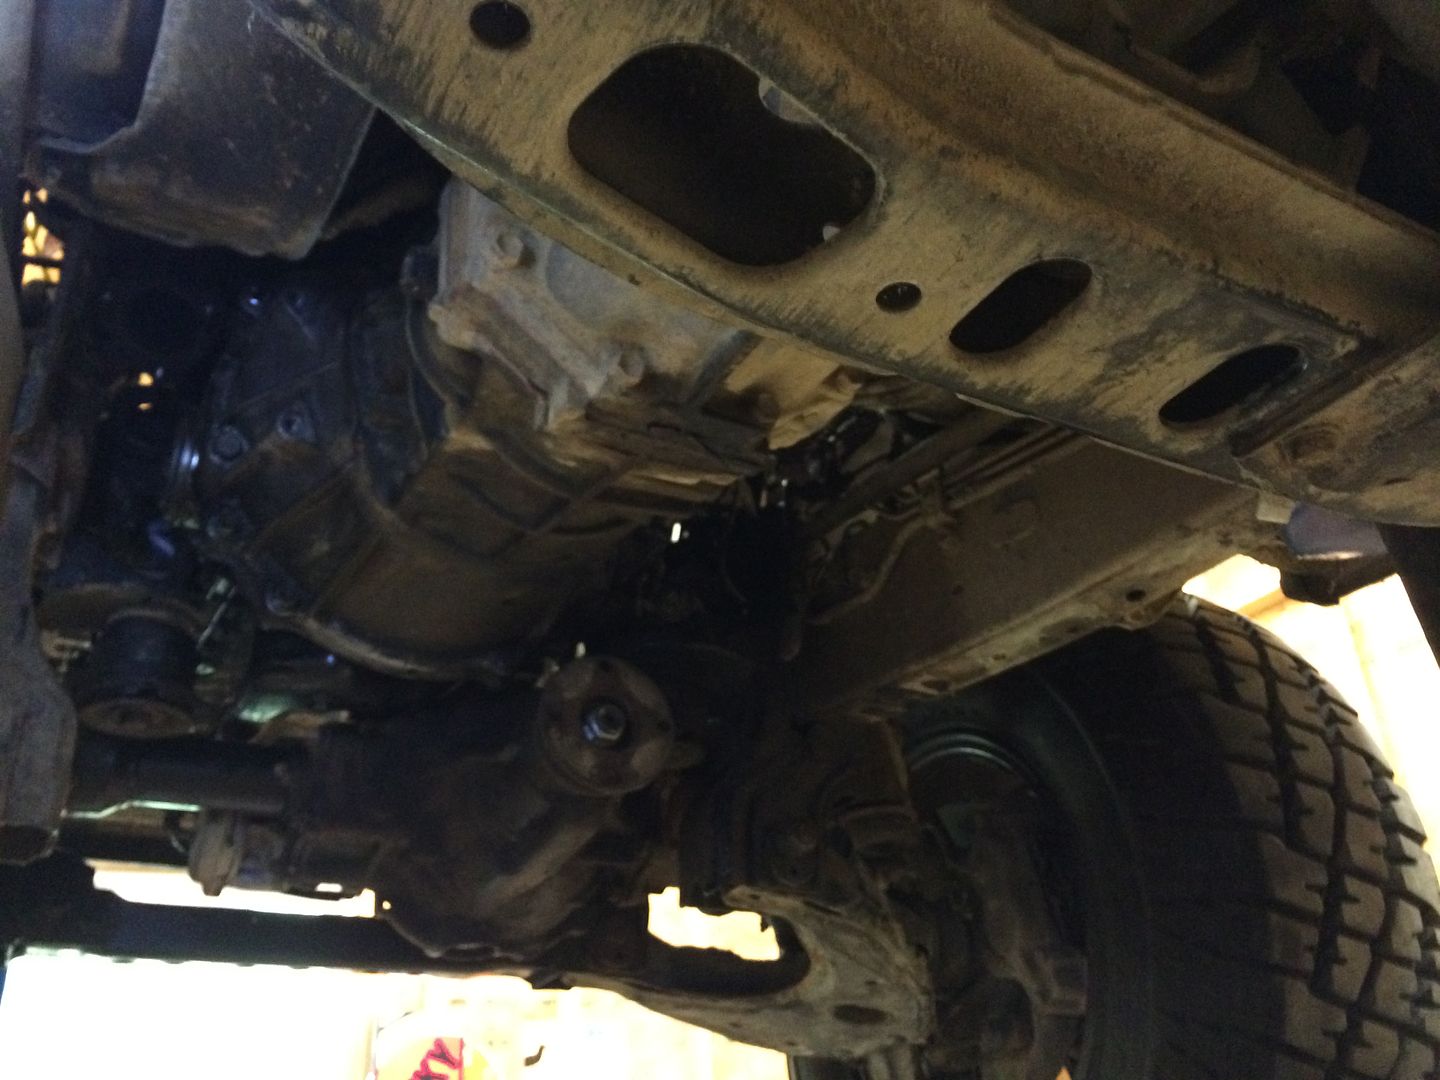
Trans and crossmember in.
Intake manifold off.
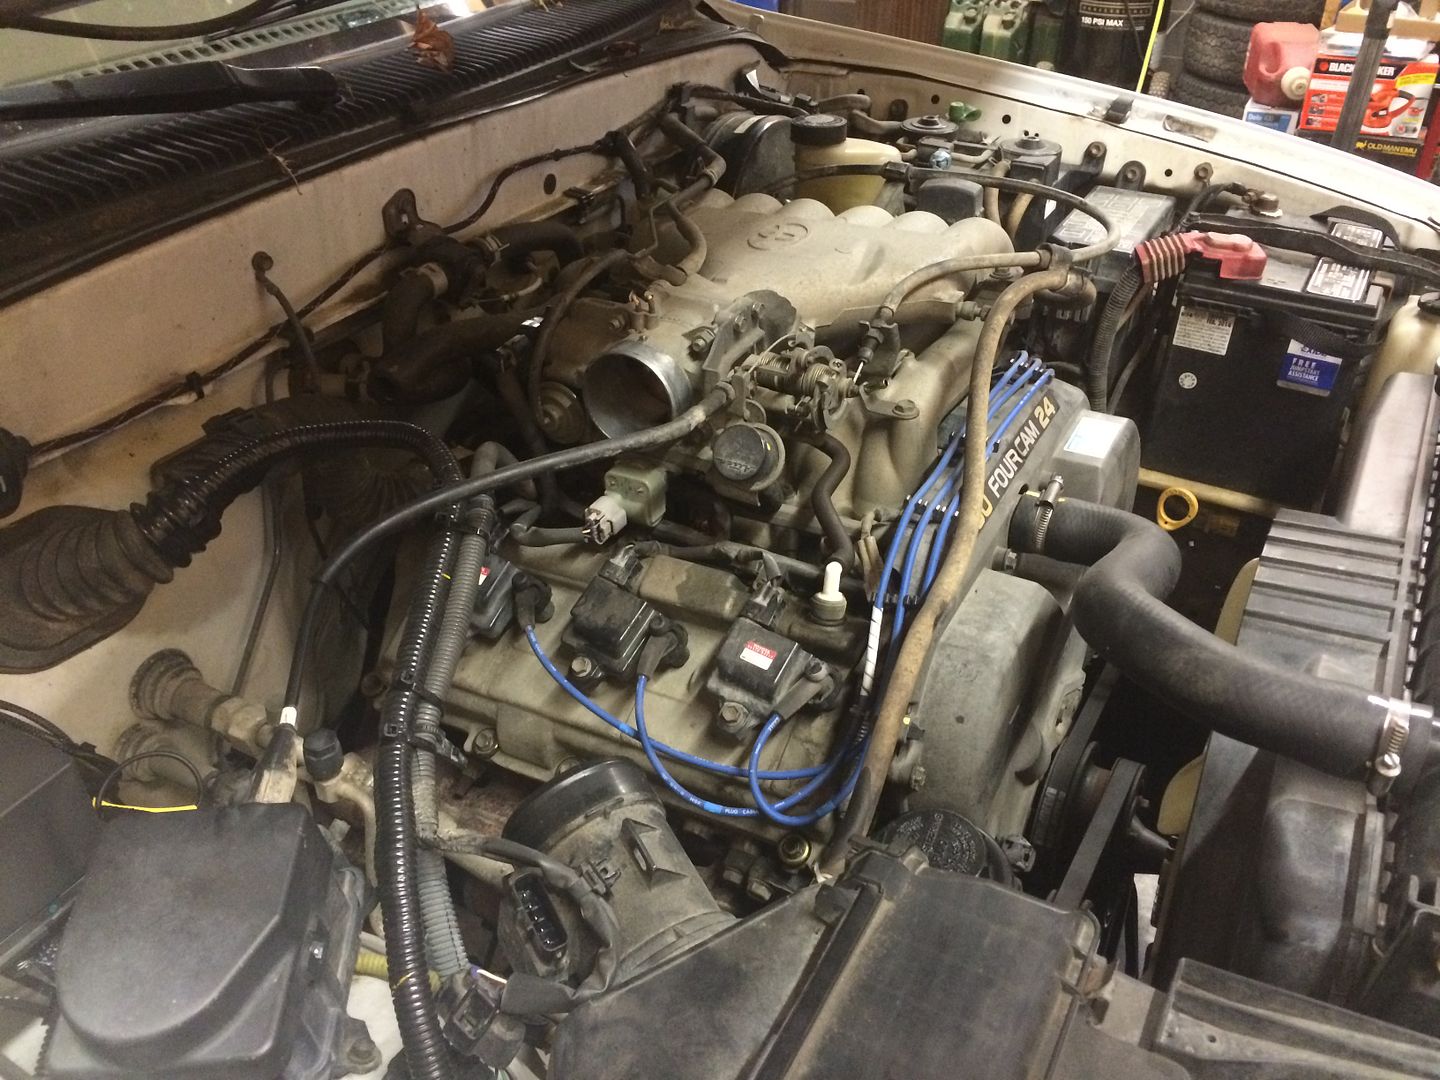
Well it runs!
After a minor leak from a torn hose, and a vacuum leak from a bolt, it runs really, really well.
AC doesn't blow cold. so I'll convert it to R134a.
Plenum and injectors back on.
Downpipe, cat, and tank back in place.
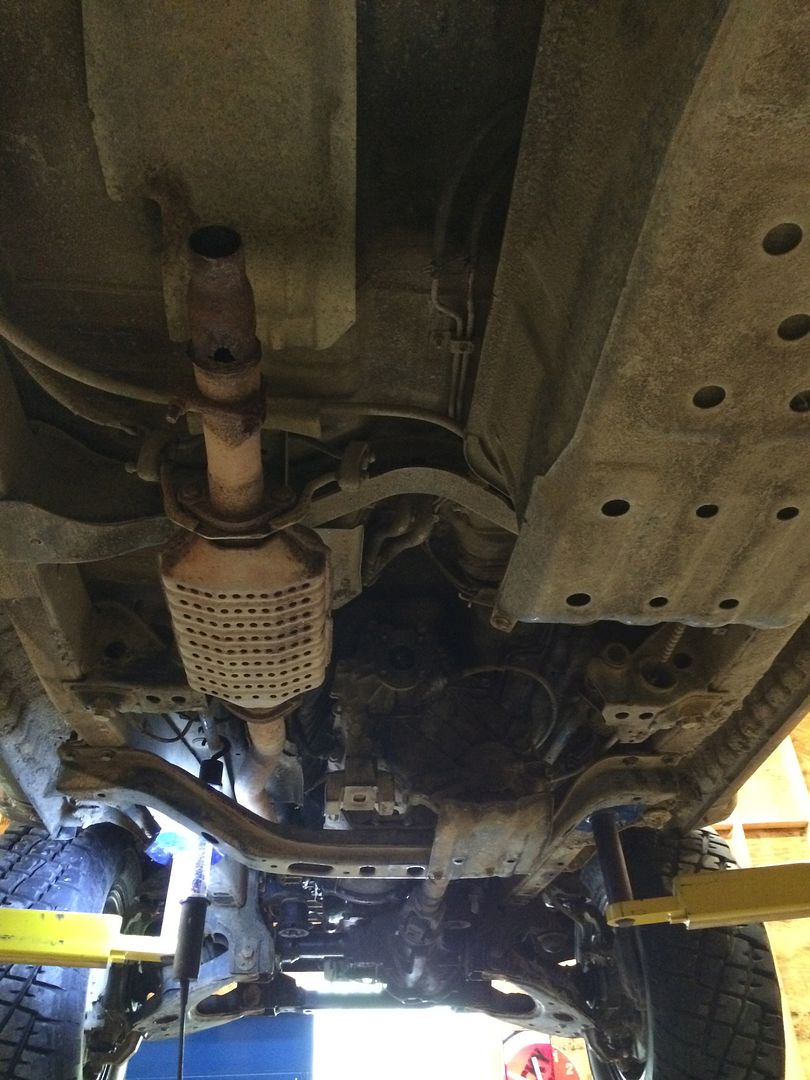
Vacuum and EGR/PAIR delete.
Belt routing.
Final fitting of radiator and cooling lines.
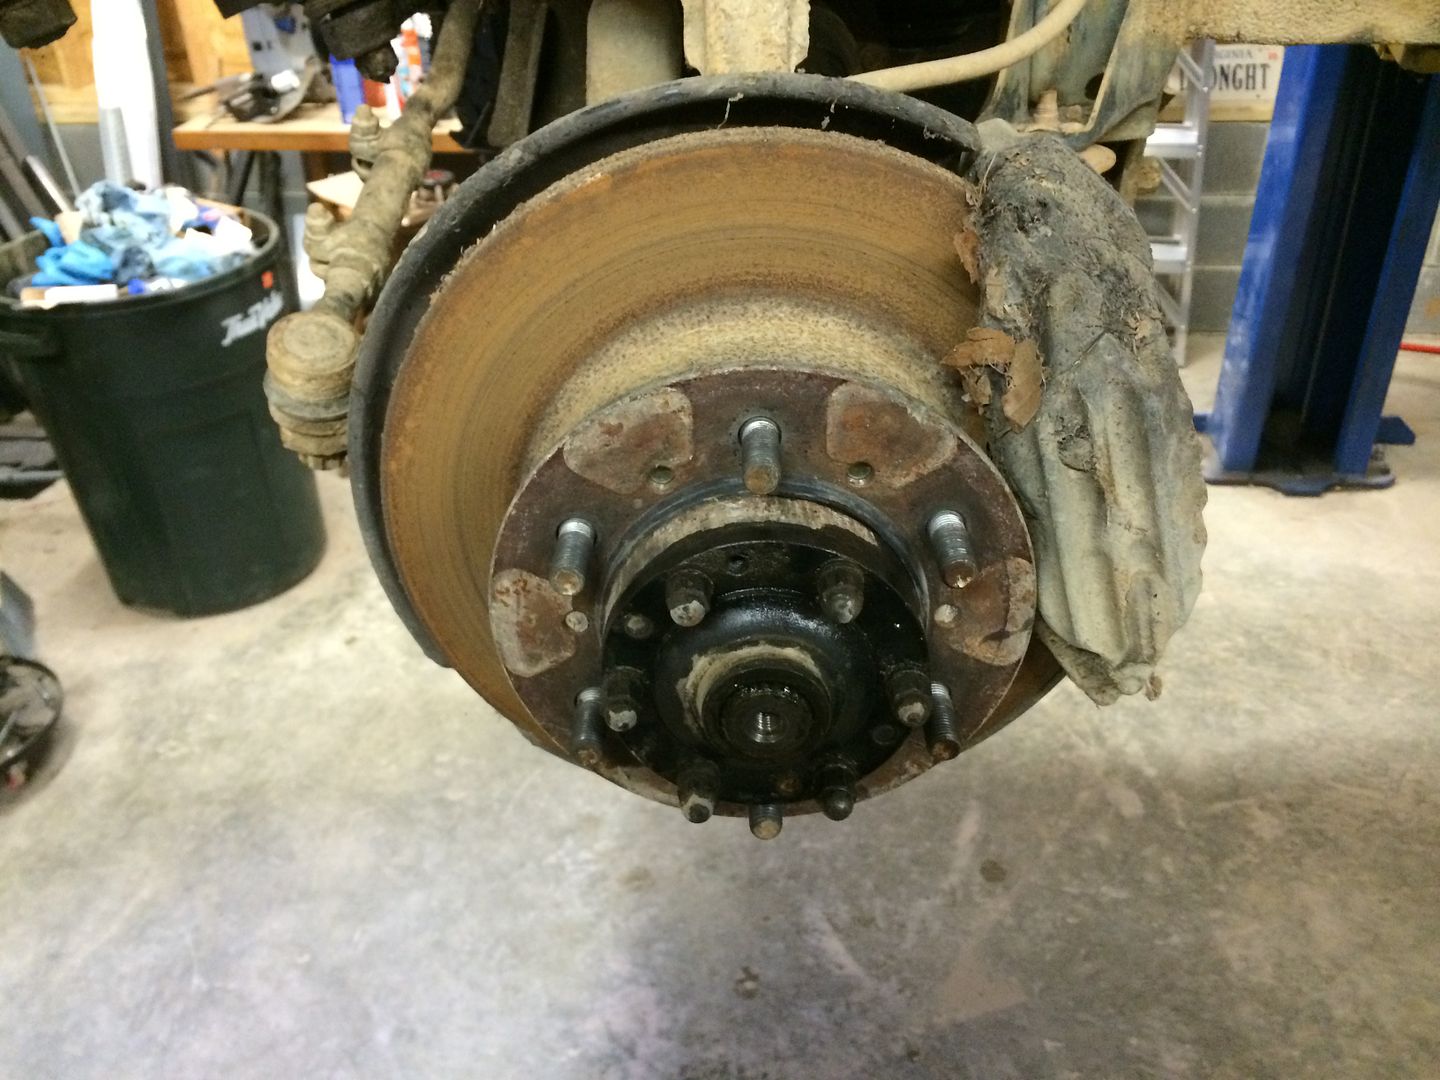
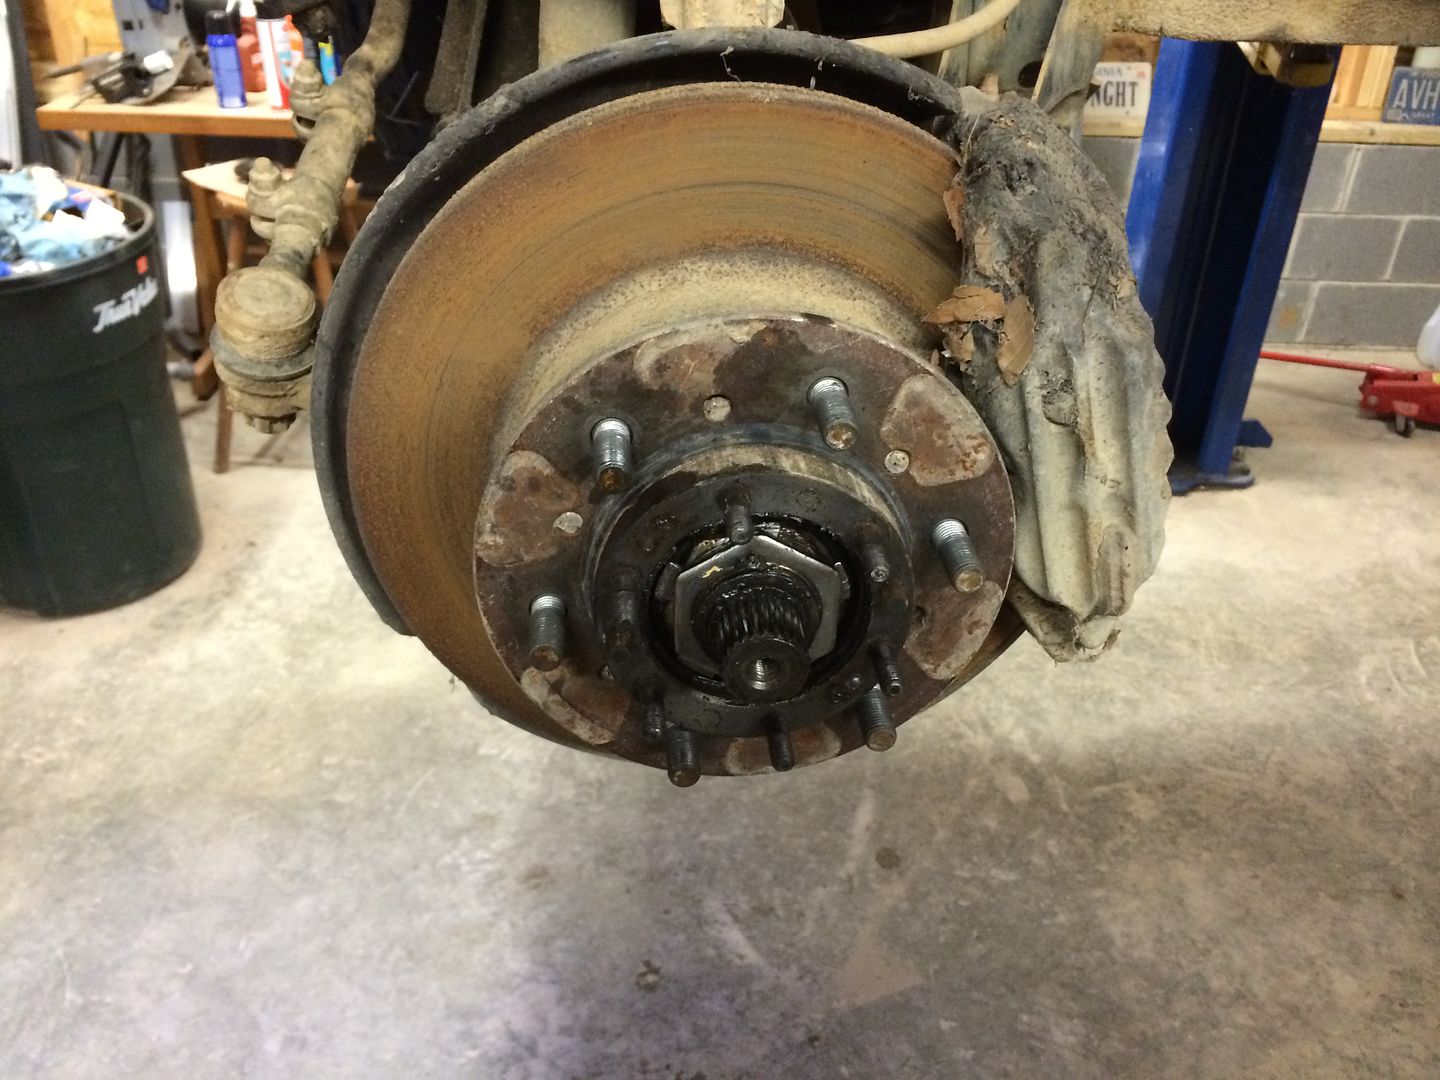
Installation of Aisin hubs.
Bypasses!
Today was the day nothing went as planned. Delays over small parts, local NAPA is retarded. Other parts stores not much better.
New valve cover gaskets. Looks great in there.

Welded up flanges to make block-off plates for EGR and PAIR.

Distributors are different between 1990 and other years. Odd. Installing engine.


Aisin hubs came today. That'll be a partial project while waiting for parts.

Flywheel installed. Waiting on pilot bearing.

Resealed output flange on transfer case. I have a sneaking suspicion it's been either resealed, or the chain has been replaced. The clutch is also new. Scary on a 48k miles car.

More stupidity.
Got all the injectors and the like installed, and was putting the wiring harness in when I noticed some differences in sensors and outlets between the 90 and 92 intakes.
So off the intake has come, ready to go on again tomorrow morning. Getting gaskets this evening.
Clutch going on. Yes, it's a cheap China one, it's what was in it. If it dies soon, I'll buy an Aisin or Exedy. They're easy enough to put in.

Trans and crossmember in.

Intake manifold off.

Well it runs!
After a minor leak from a torn hose, and a vacuum leak from a bolt, it runs really, really well.
AC doesn't blow cold. so I'll convert it to R134a.
Plenum and injectors back on.

Downpipe, cat, and tank back in place.

Vacuum and EGR/PAIR delete.

Belt routing.

Final fitting of radiator and cooling lines.

Installation of Aisin hubs.


Bypasses!

Toiyabe
Adventurer
Big update.
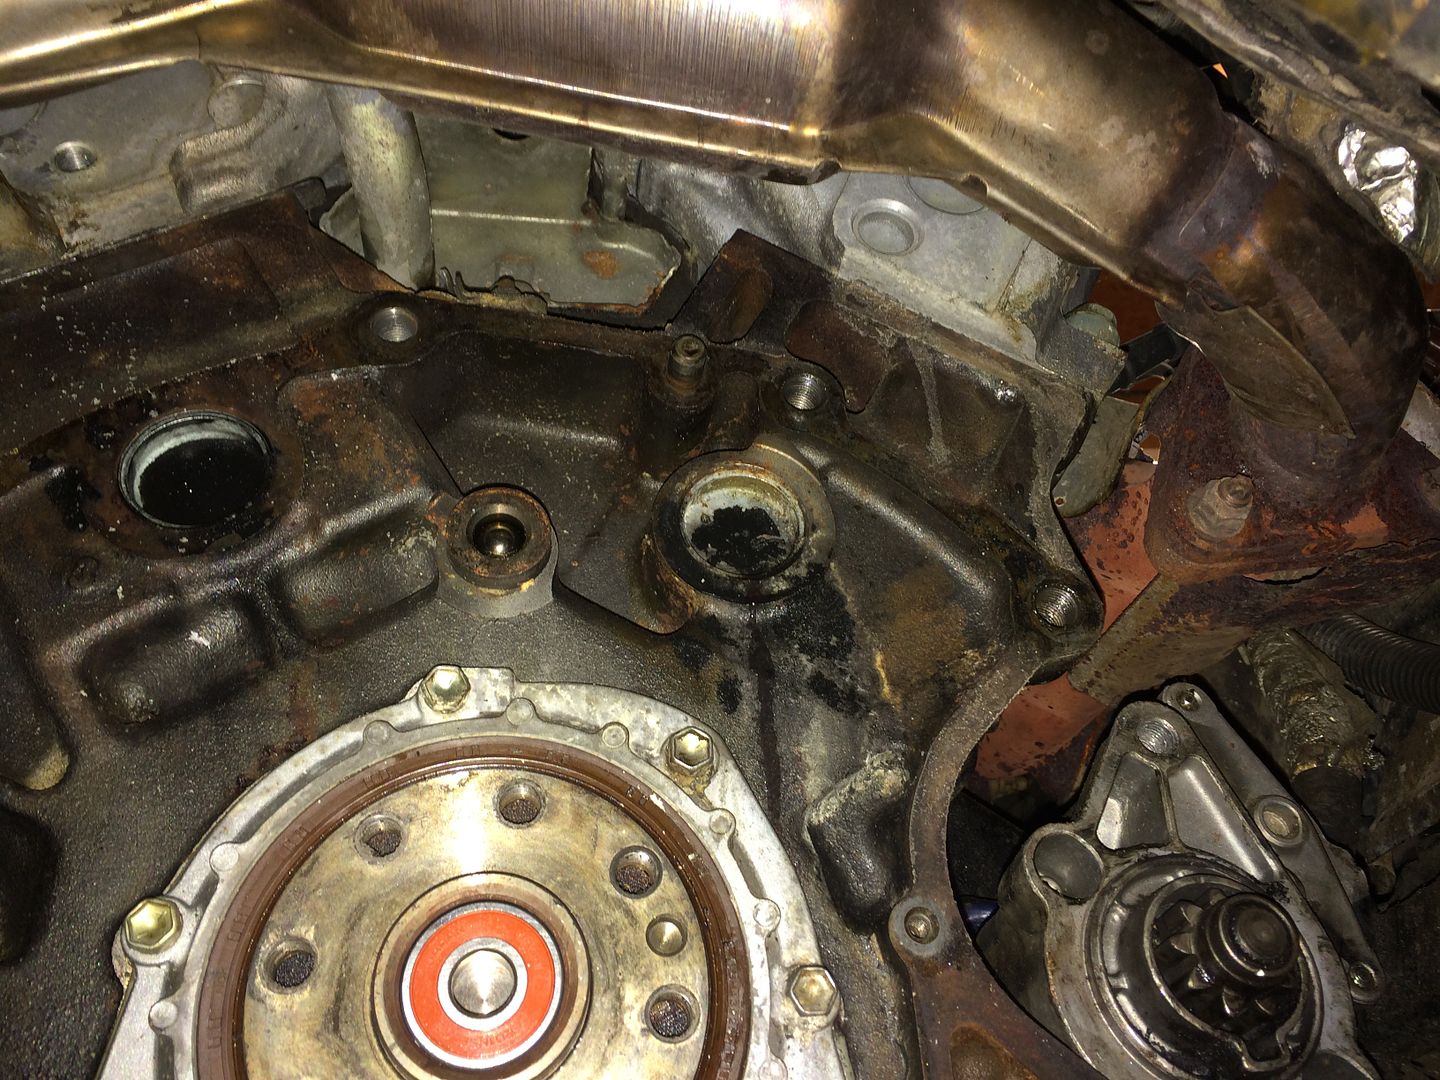
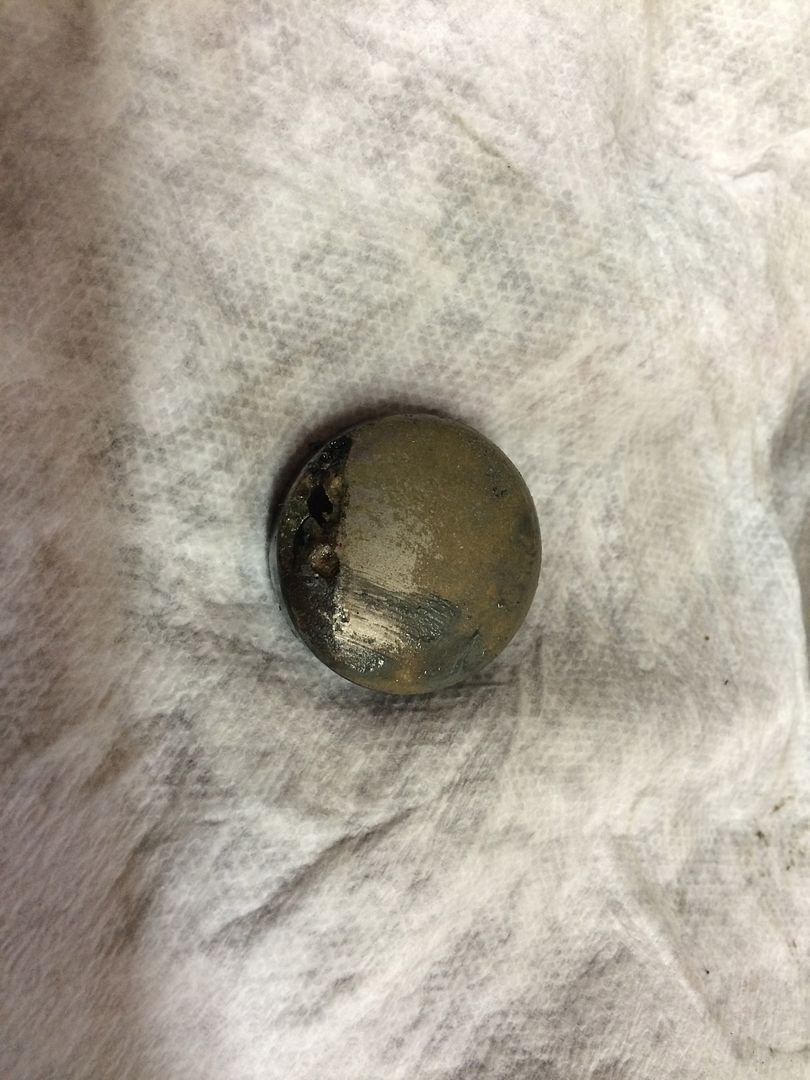
First, it was weeping coolant out of the back, so off came the transmission, again. Freeze plug was weeping, and was corroded. So, I replaced most of them.
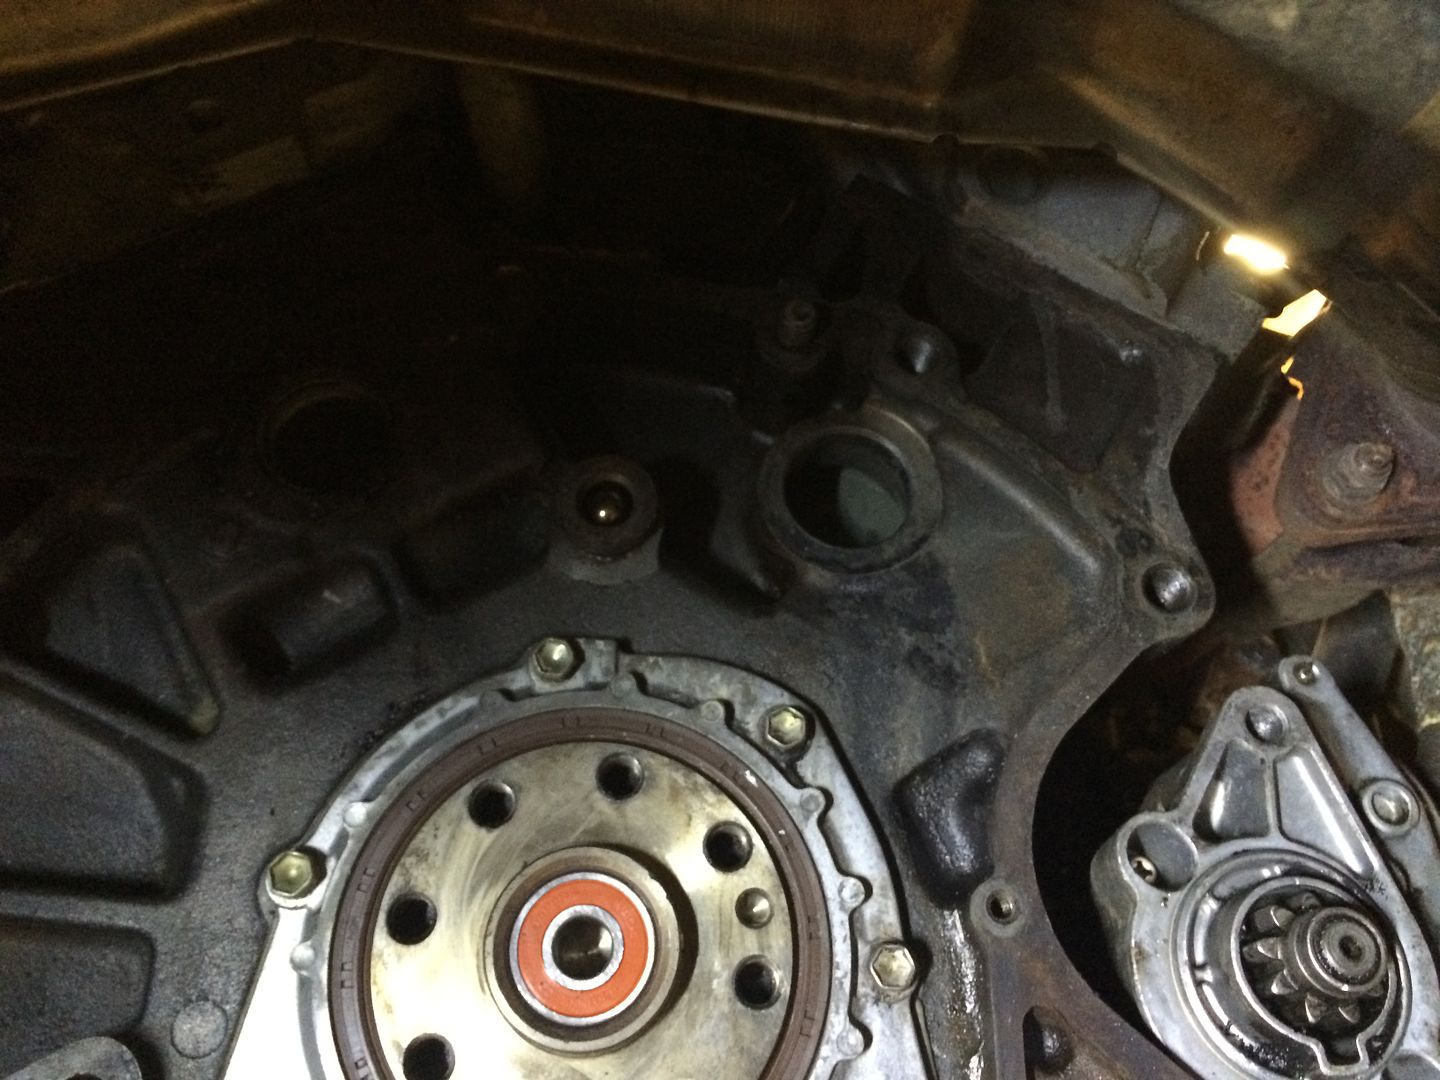
No more coolant leak!
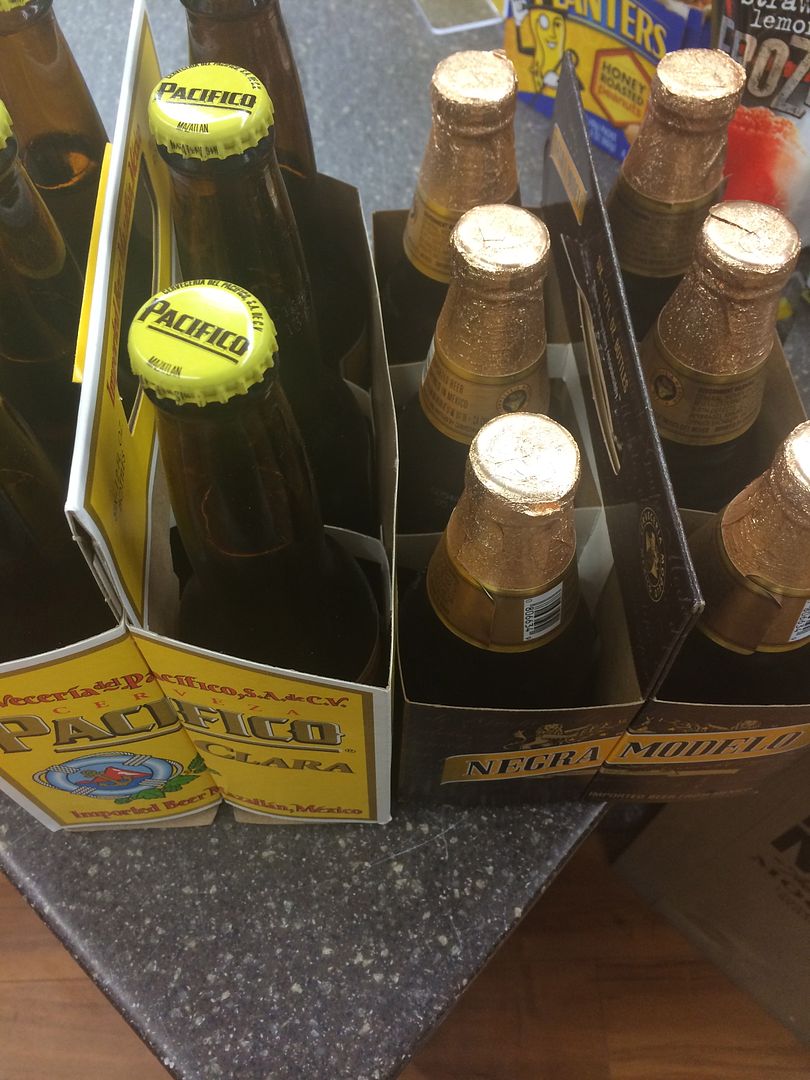
Then for beer.
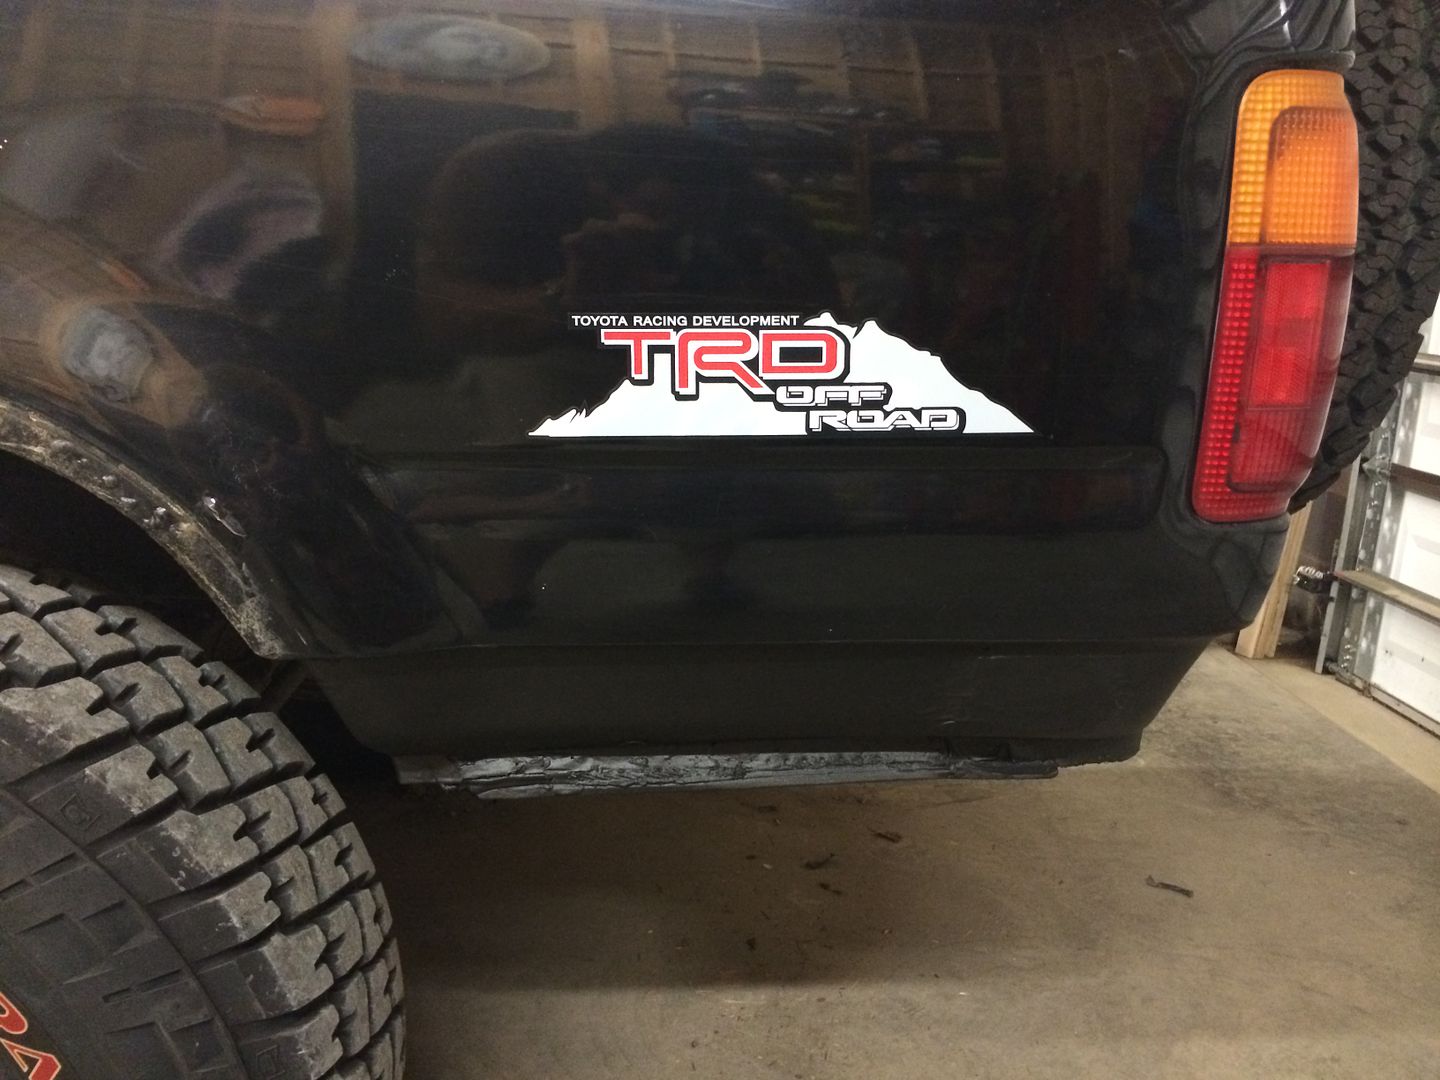
Stickers for giggles. Total poser. More noticeable is the bedlined, and then undercoated lower quarter panels.
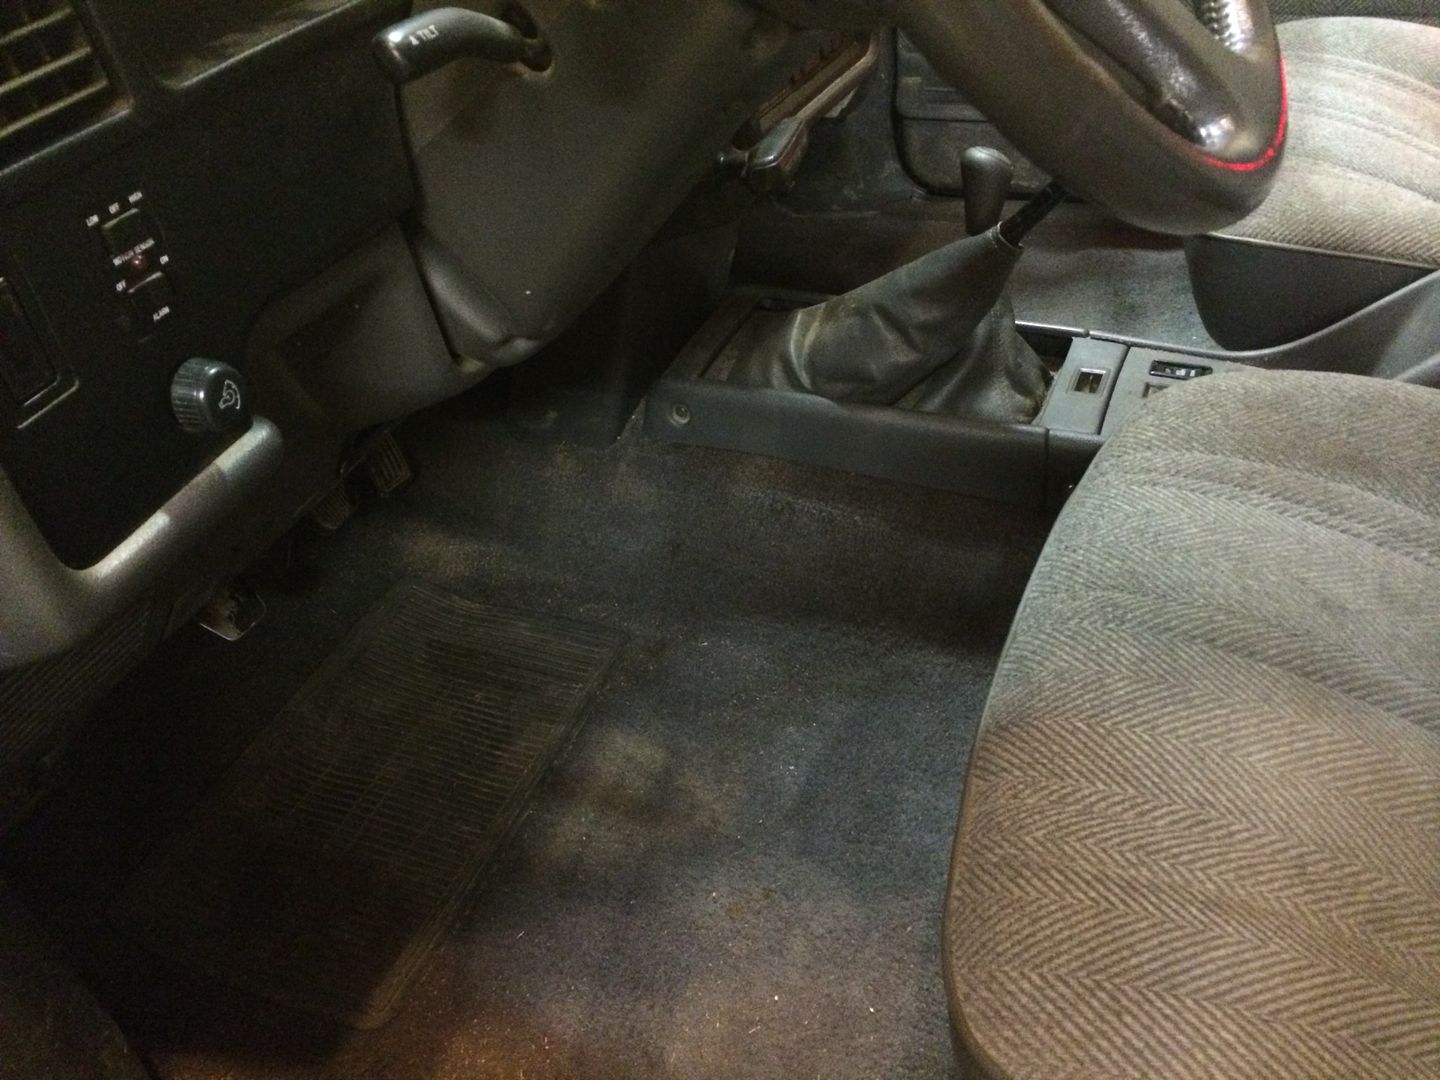
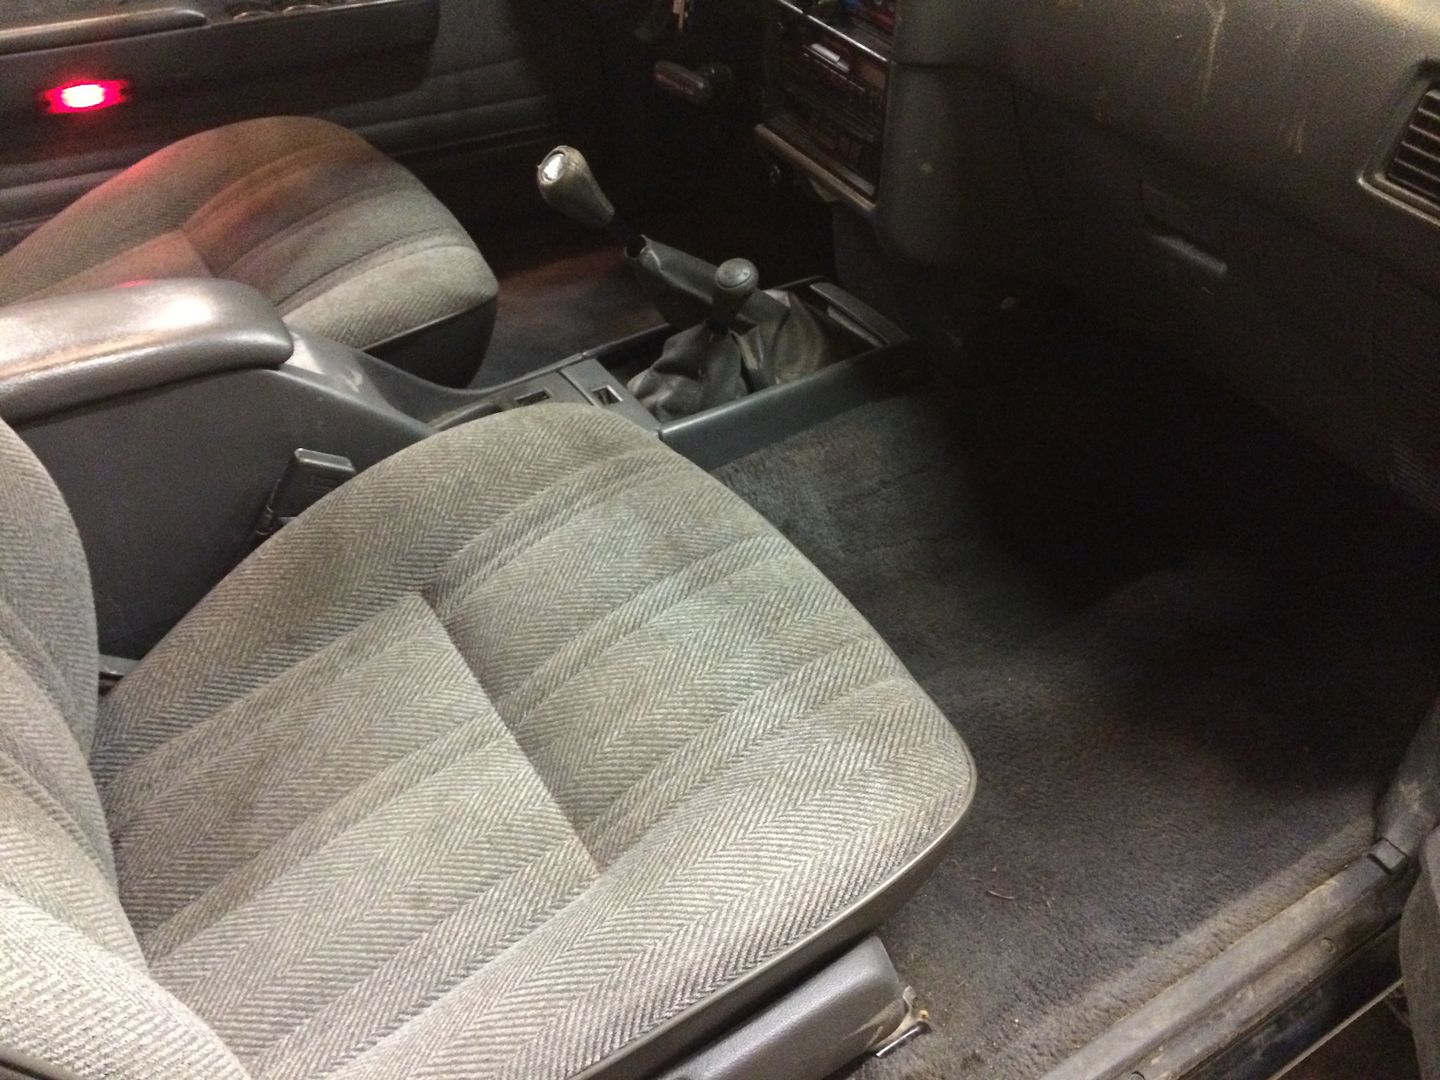
Cleaned up the interior quickly. About 1000% better.

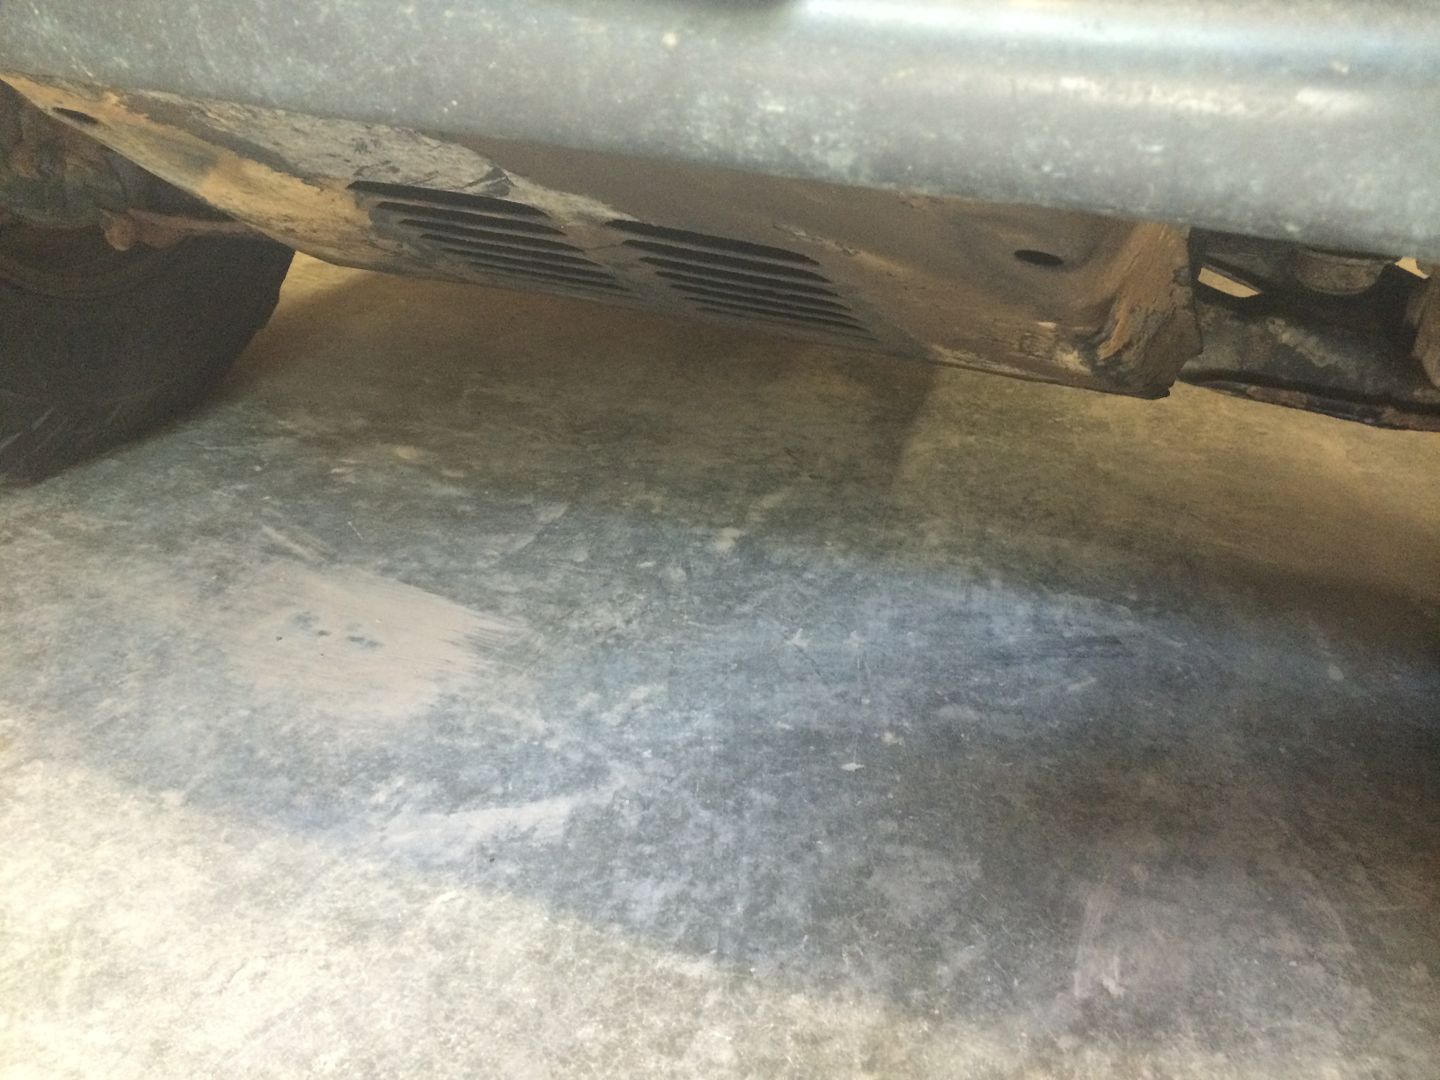
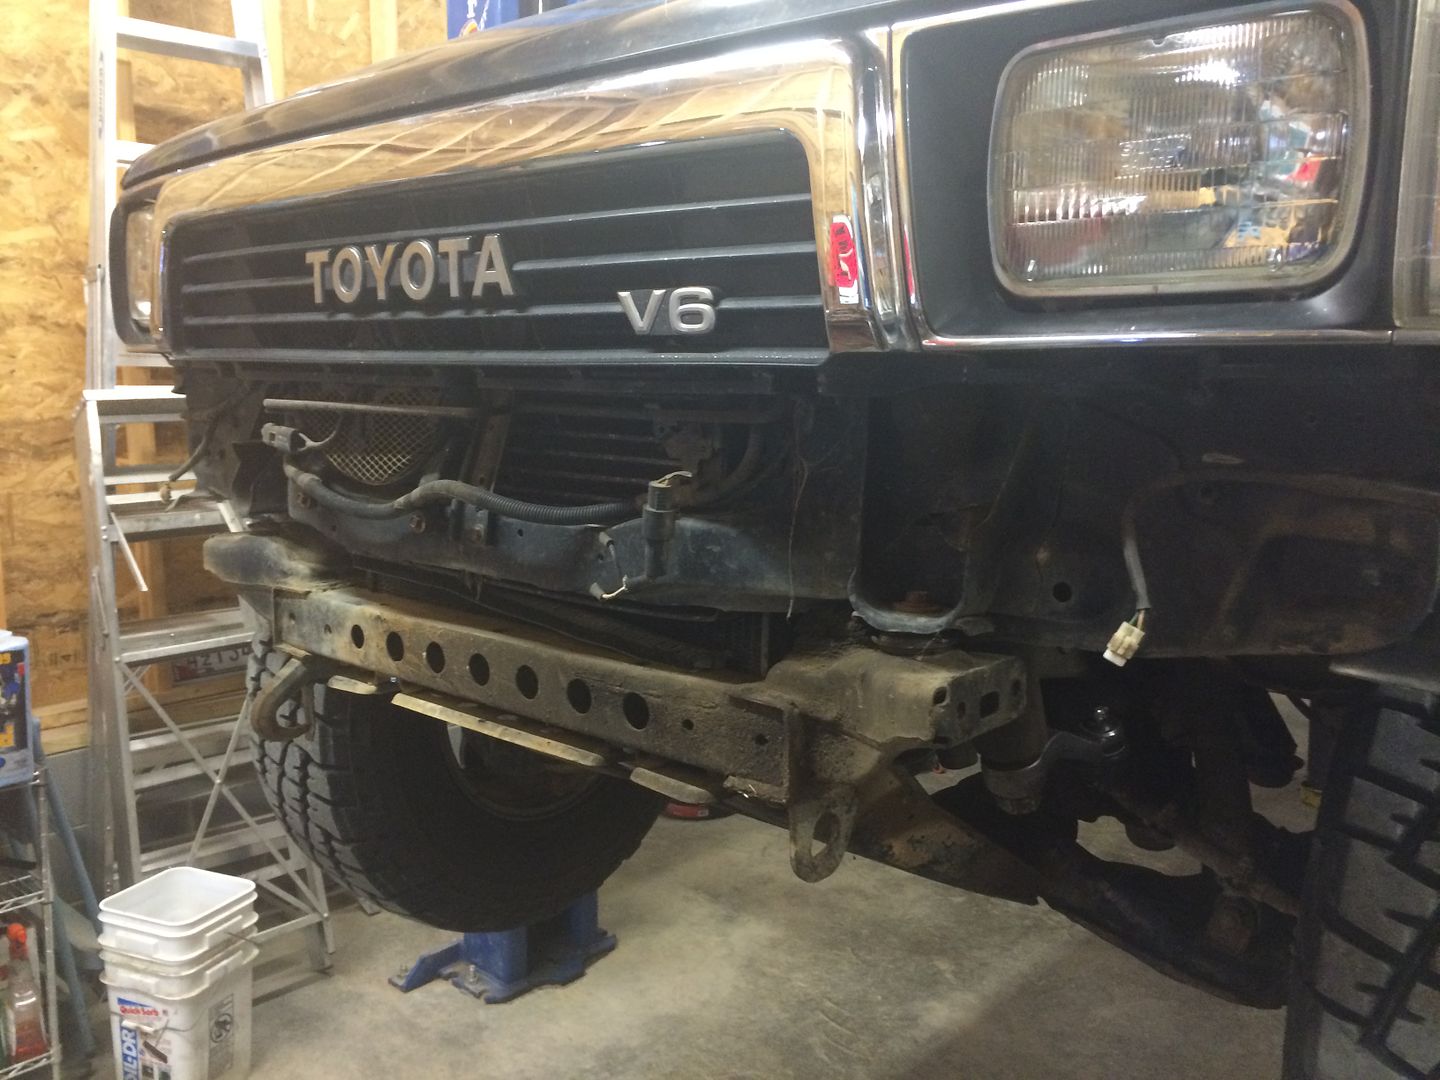
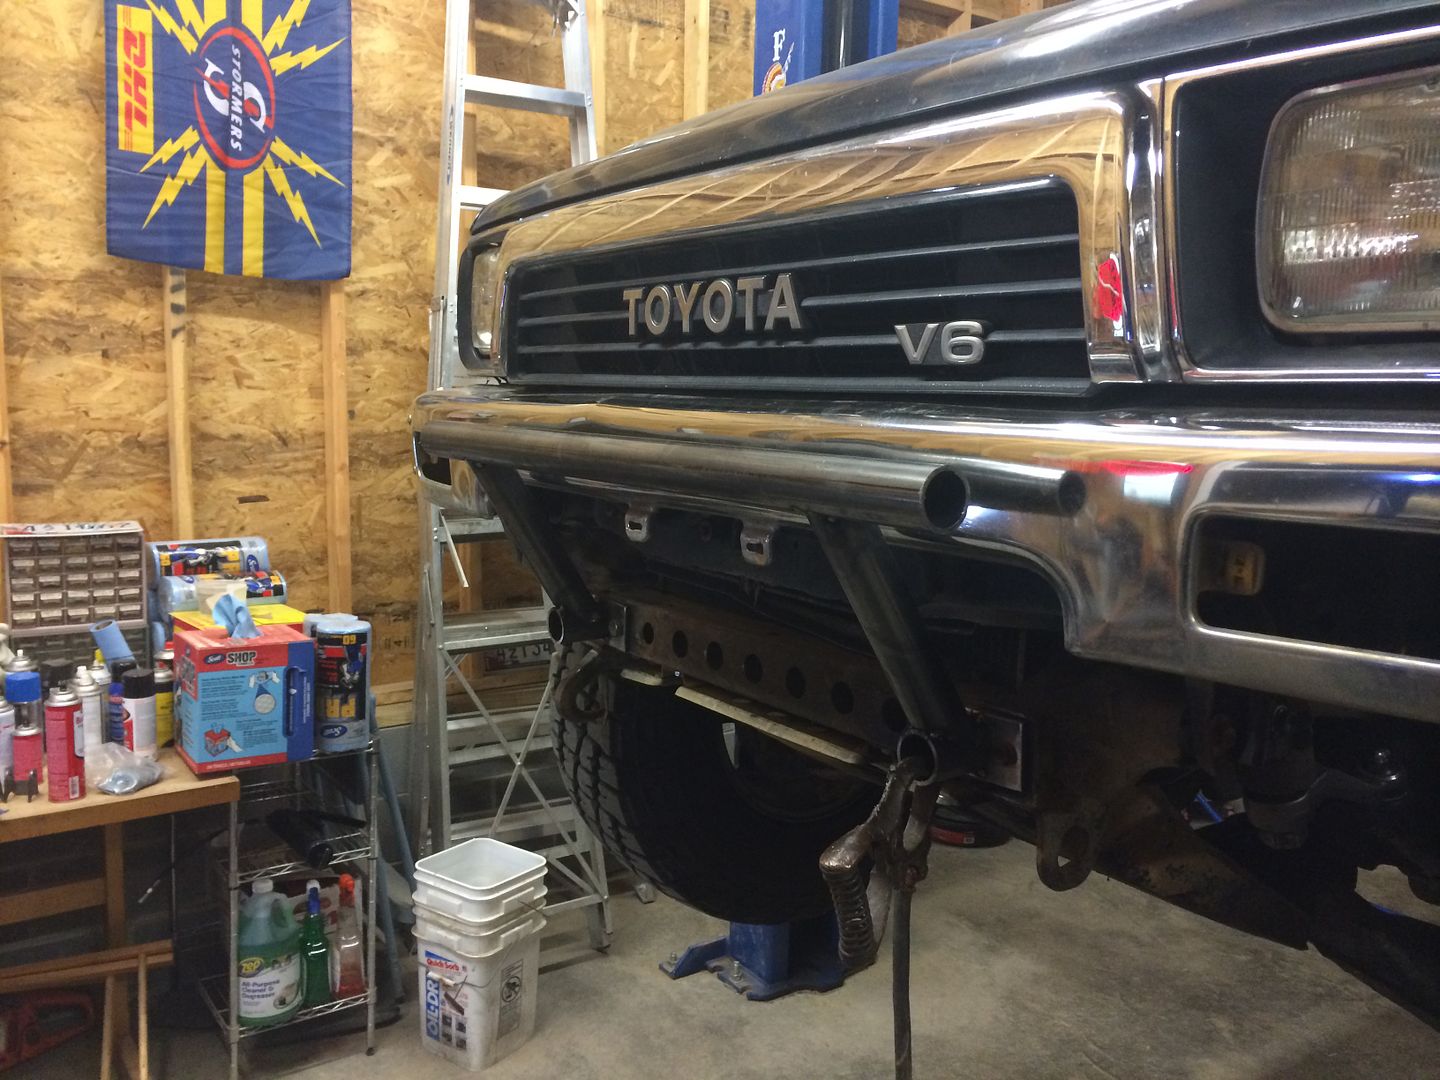
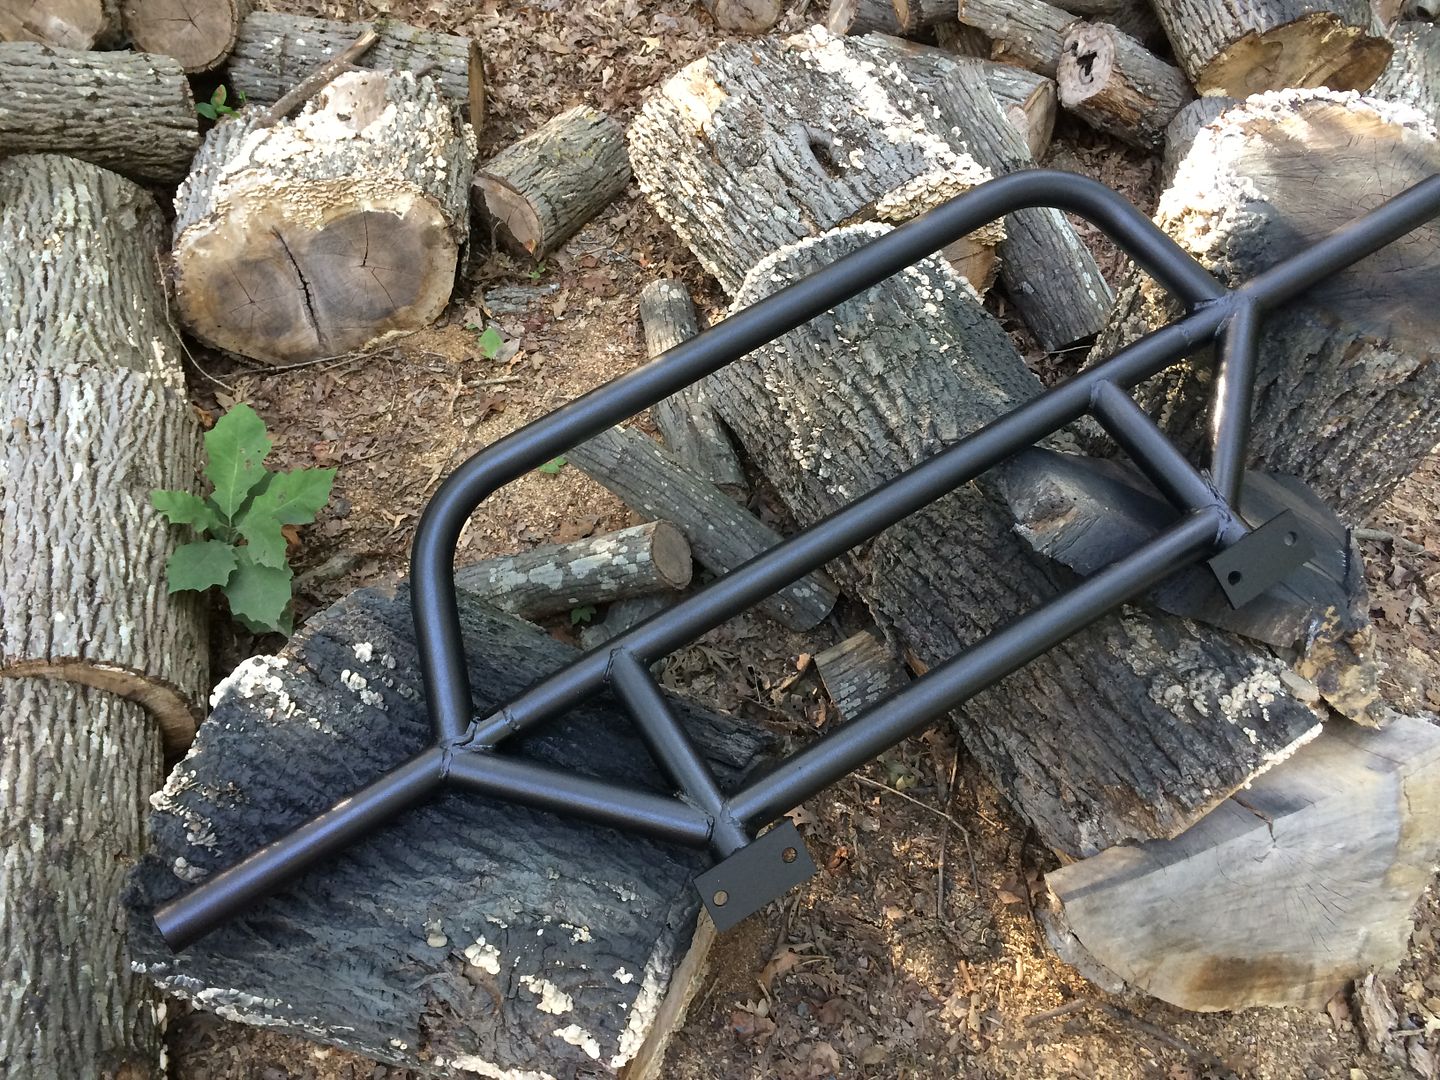
Starting on the bumper. First, removing the old bumper and lower valance, which was beat up.
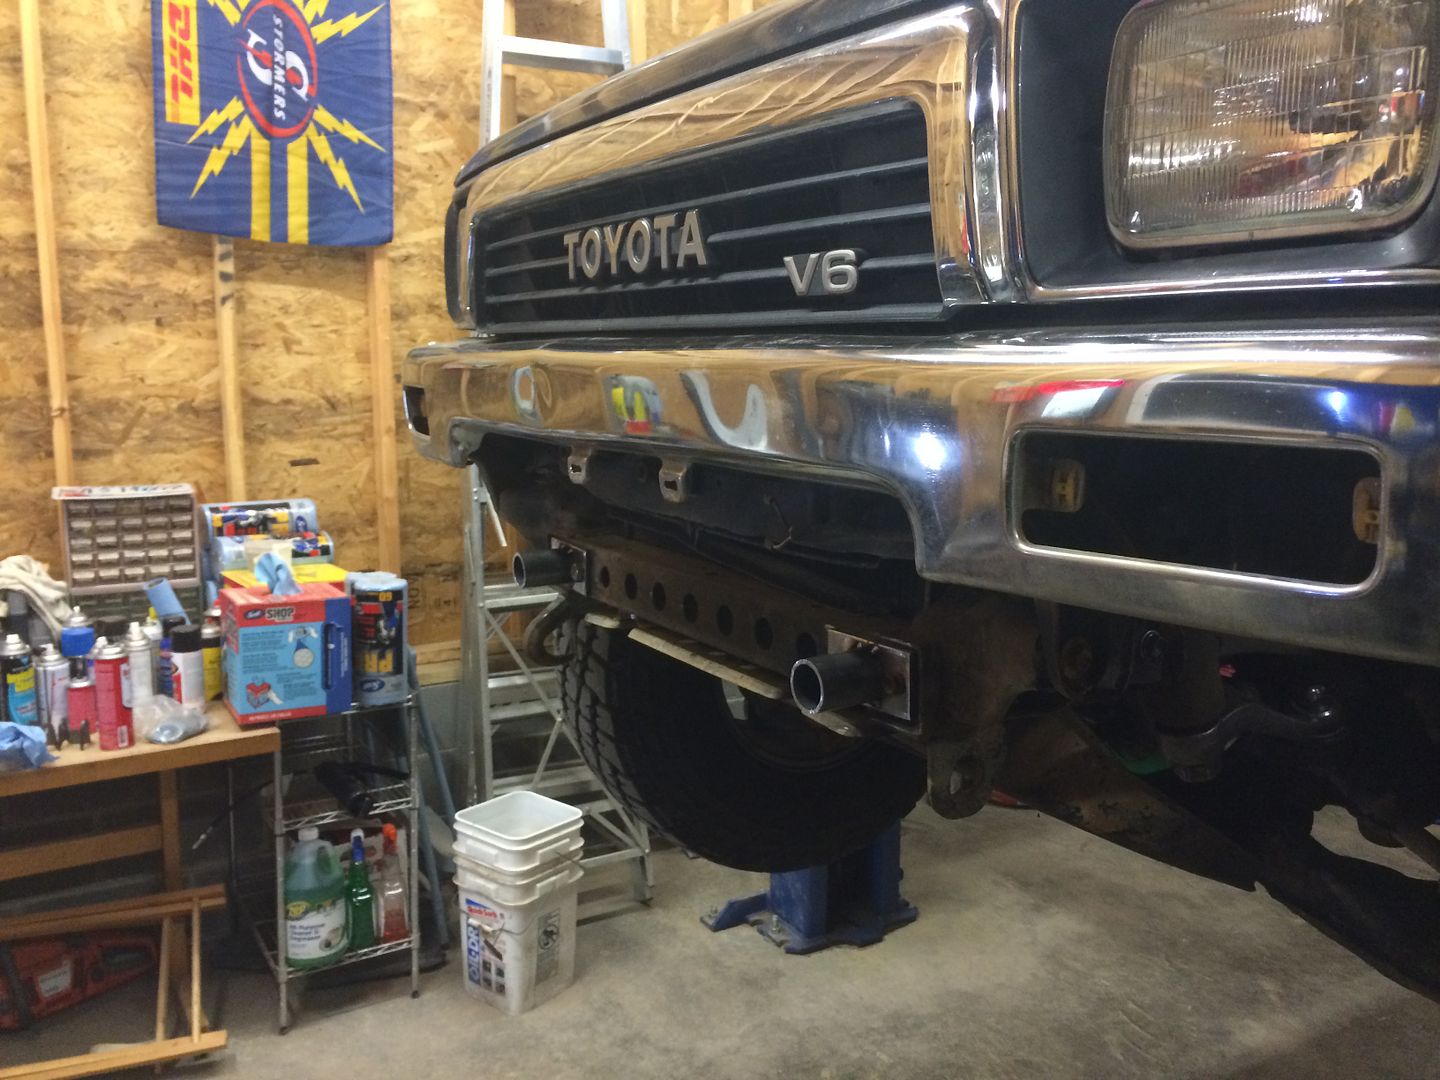
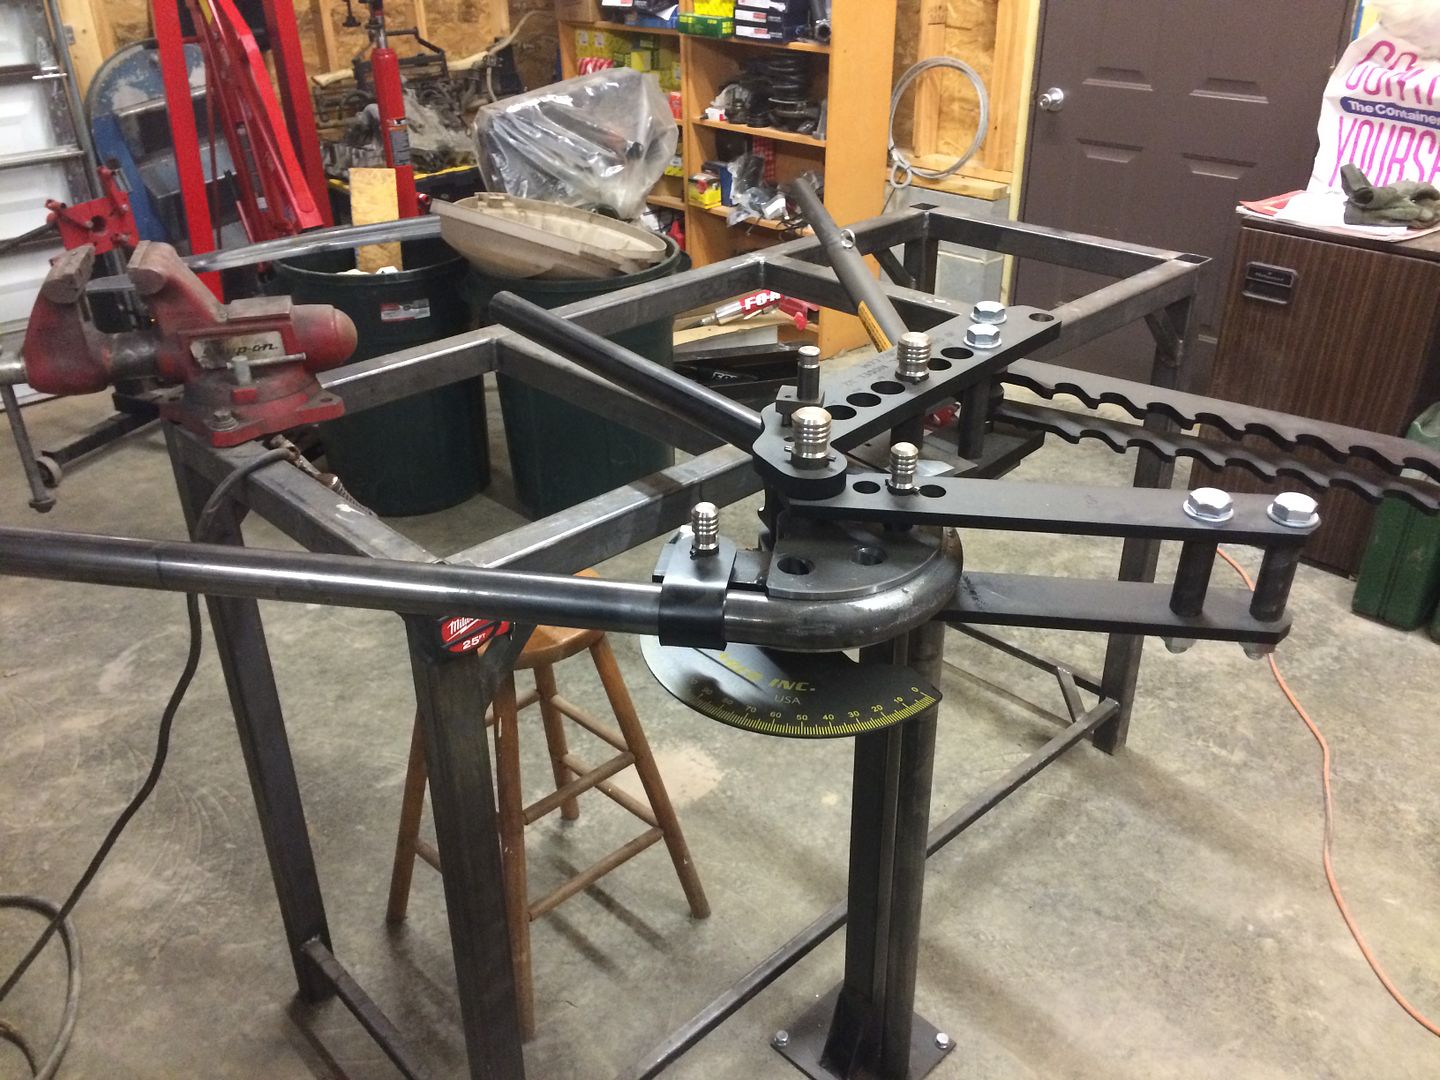
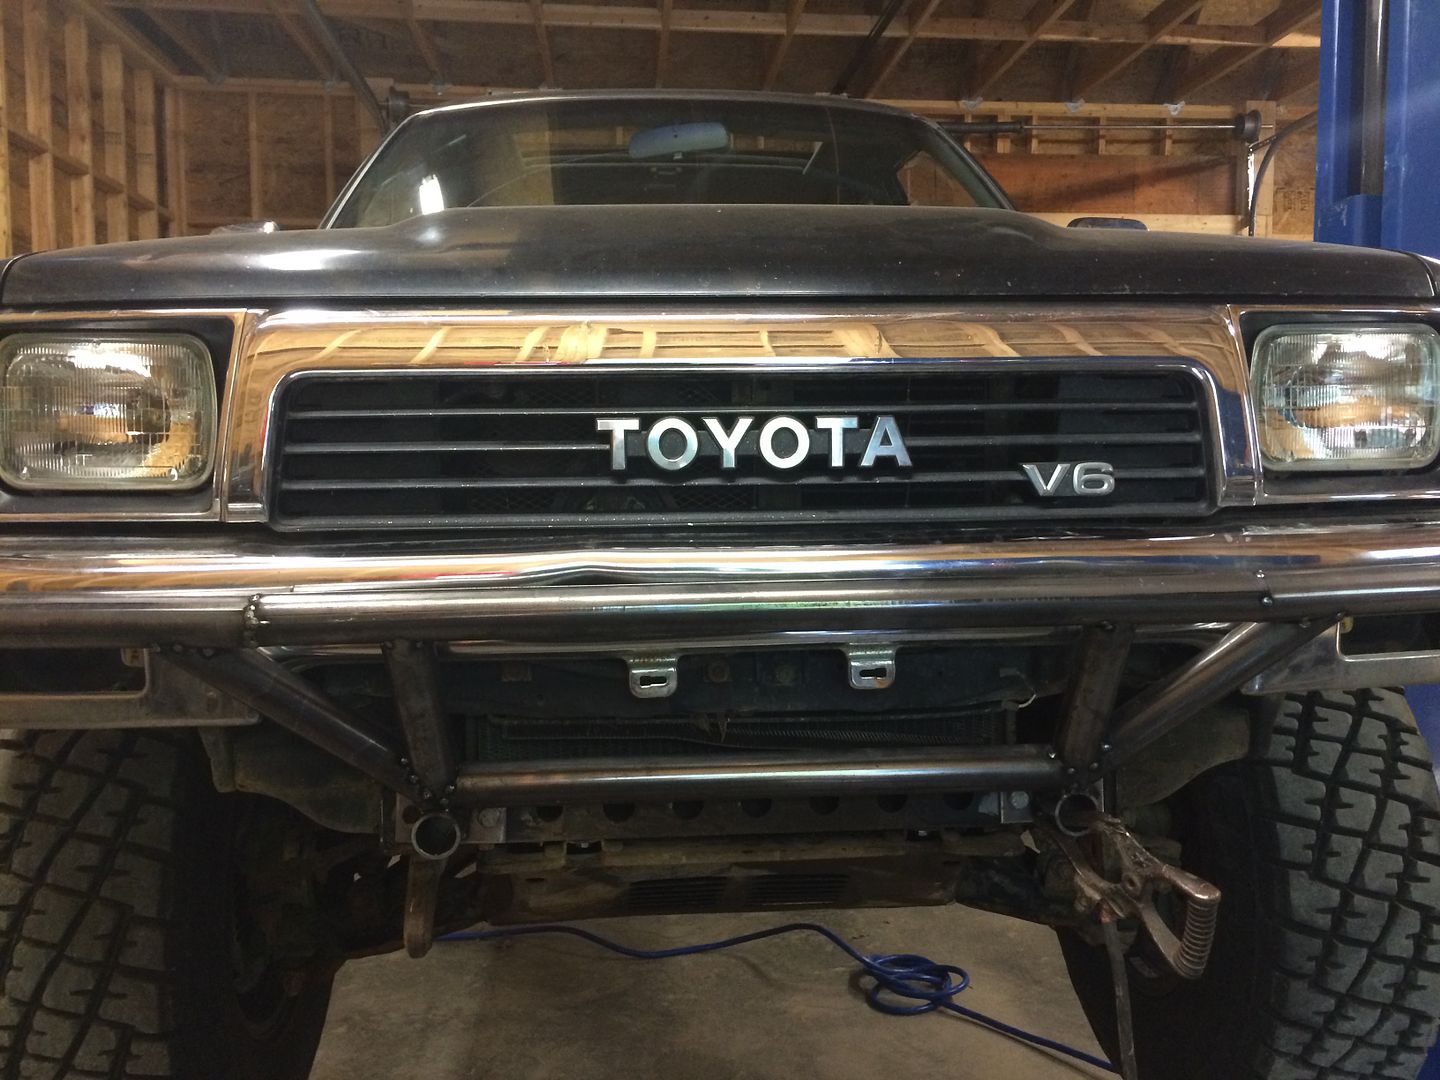
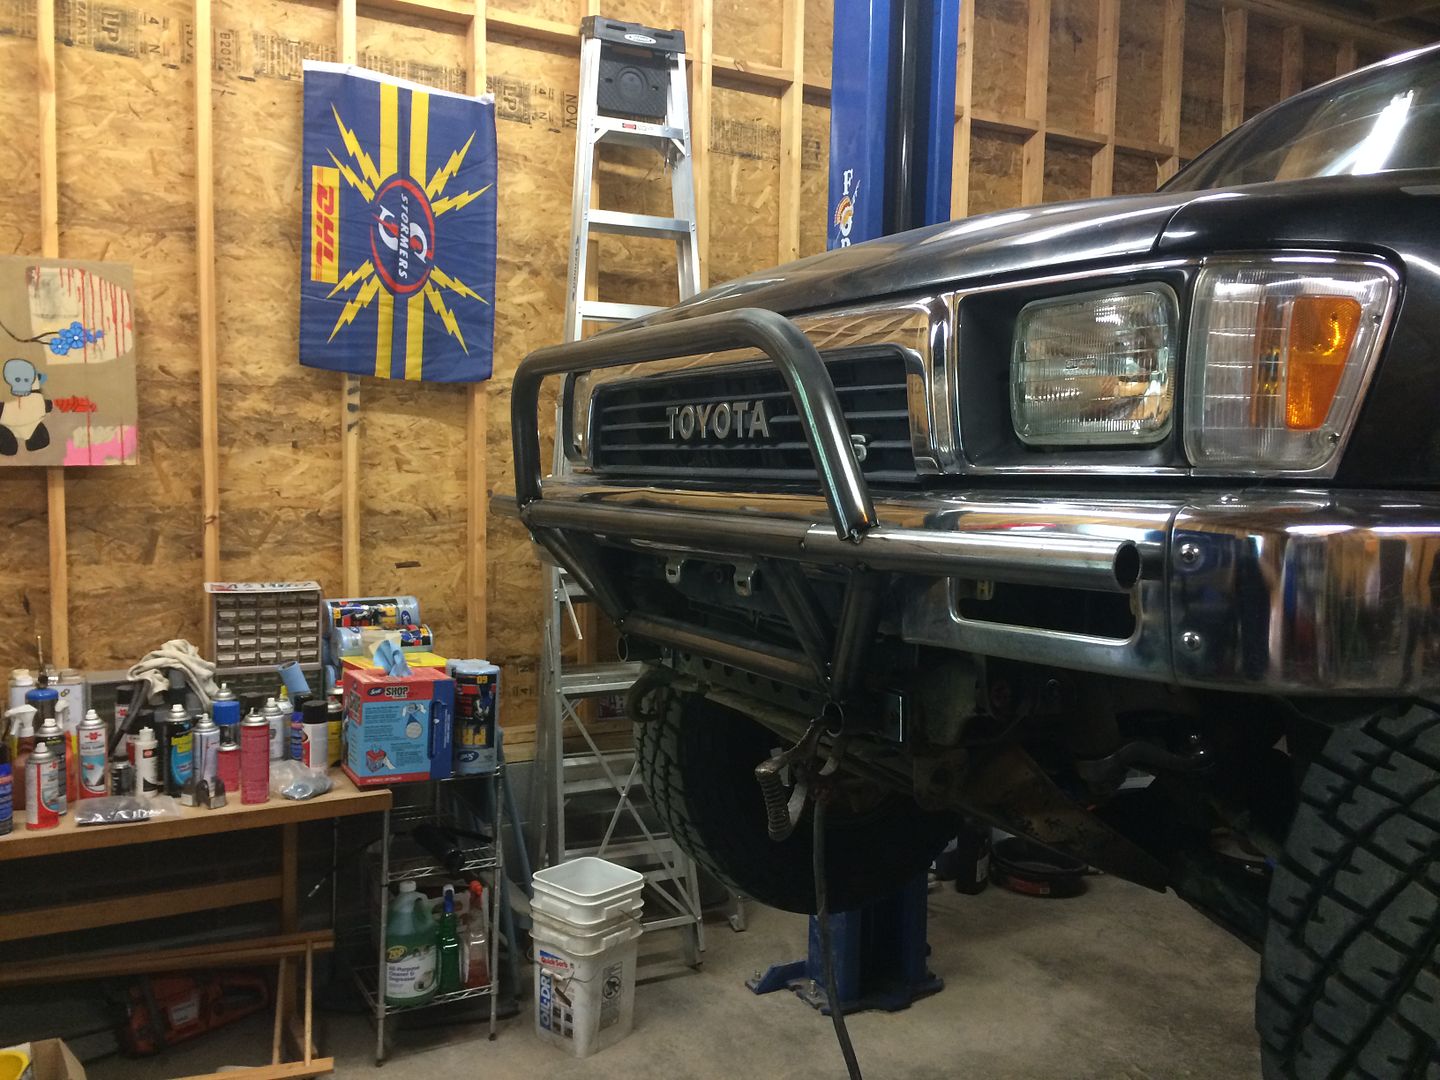
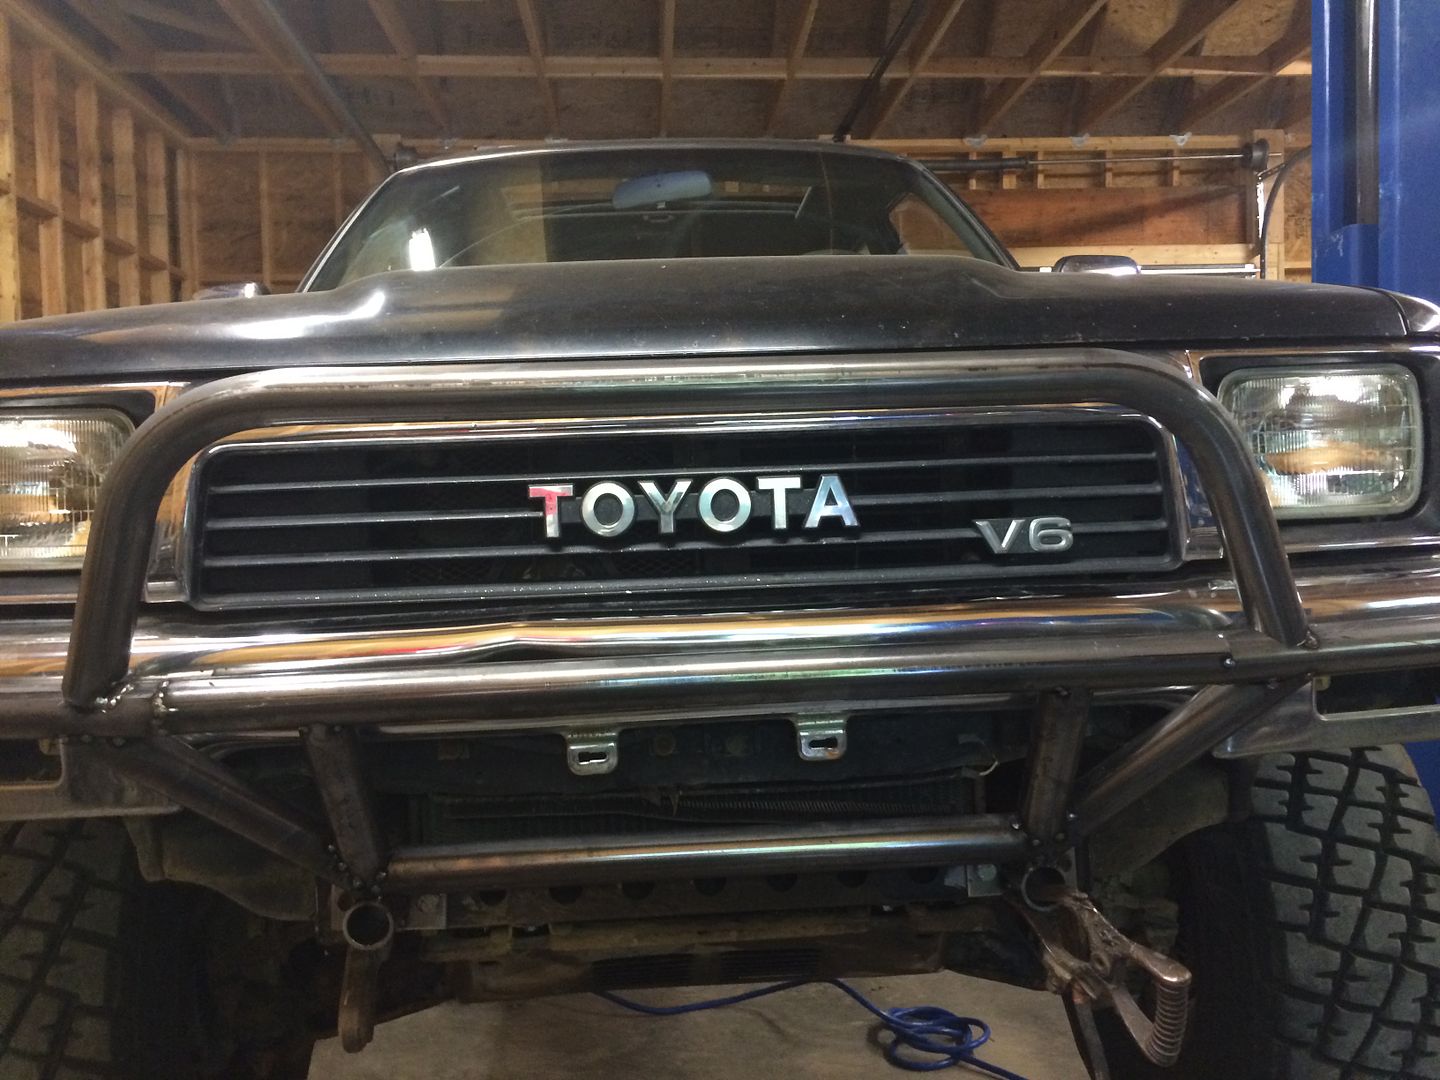
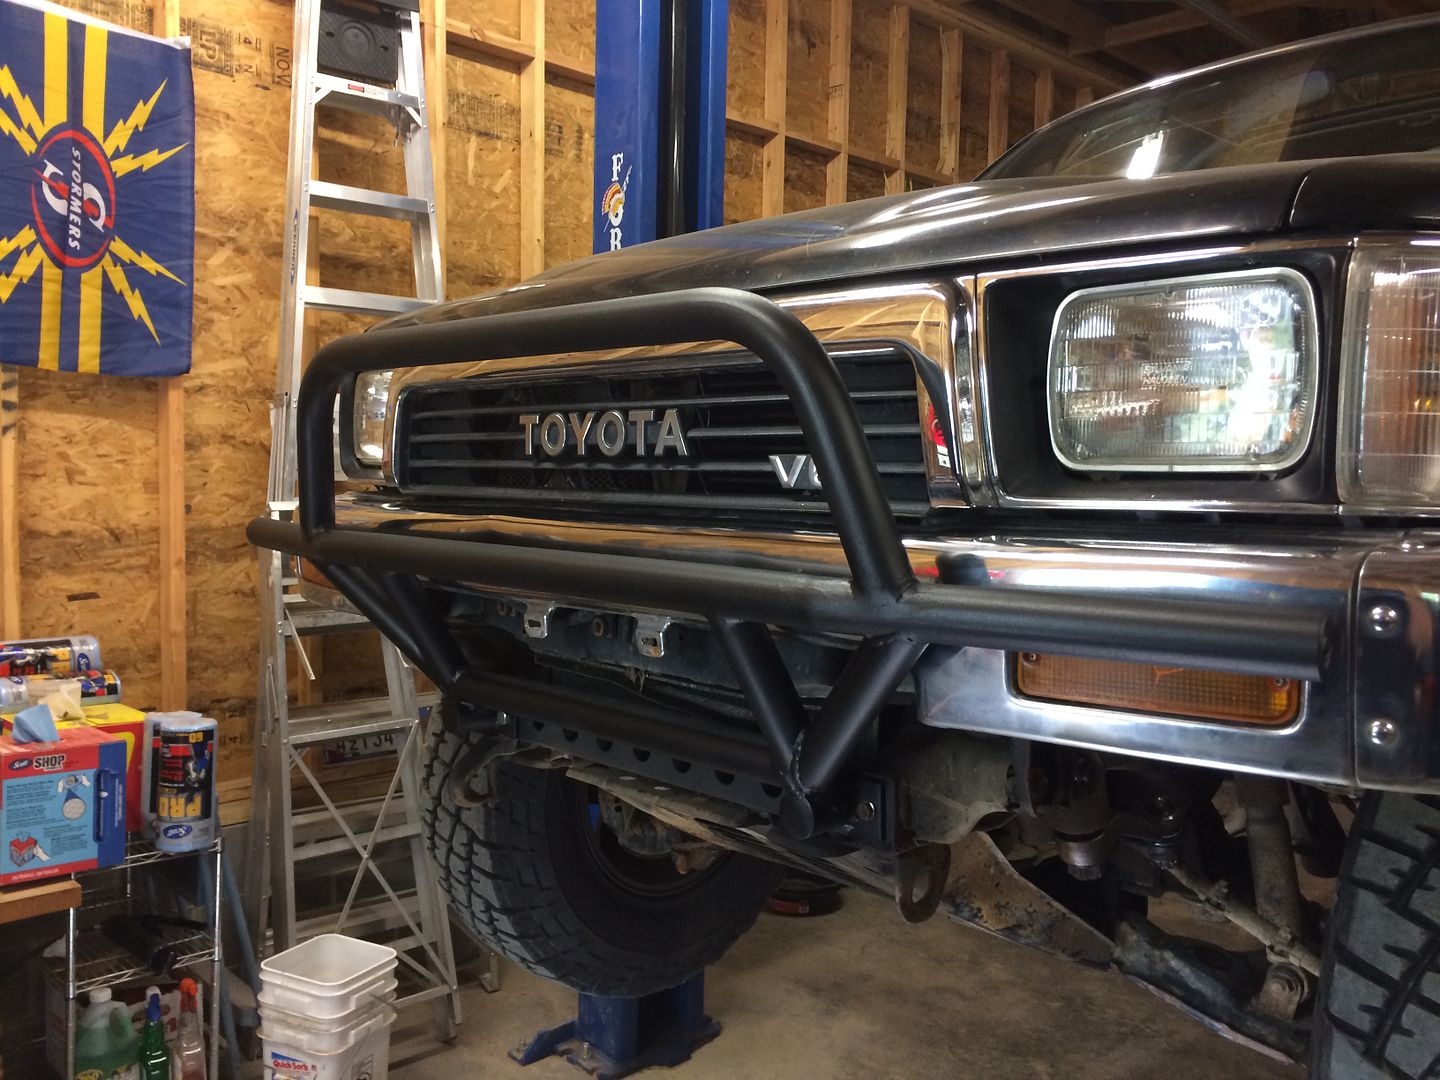
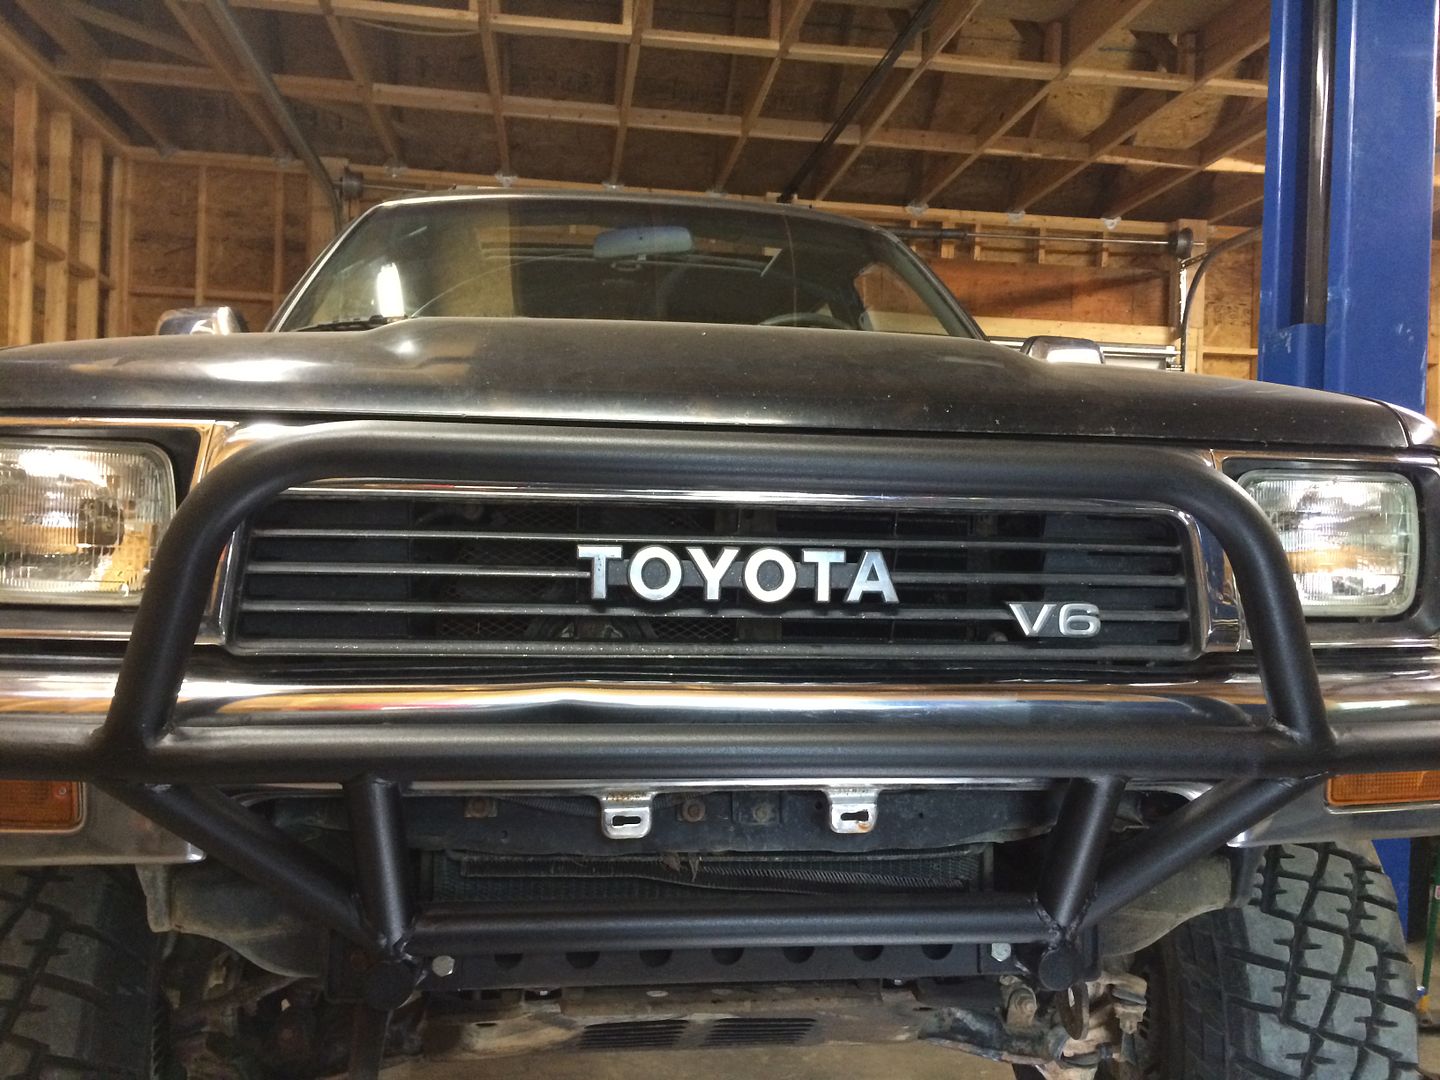
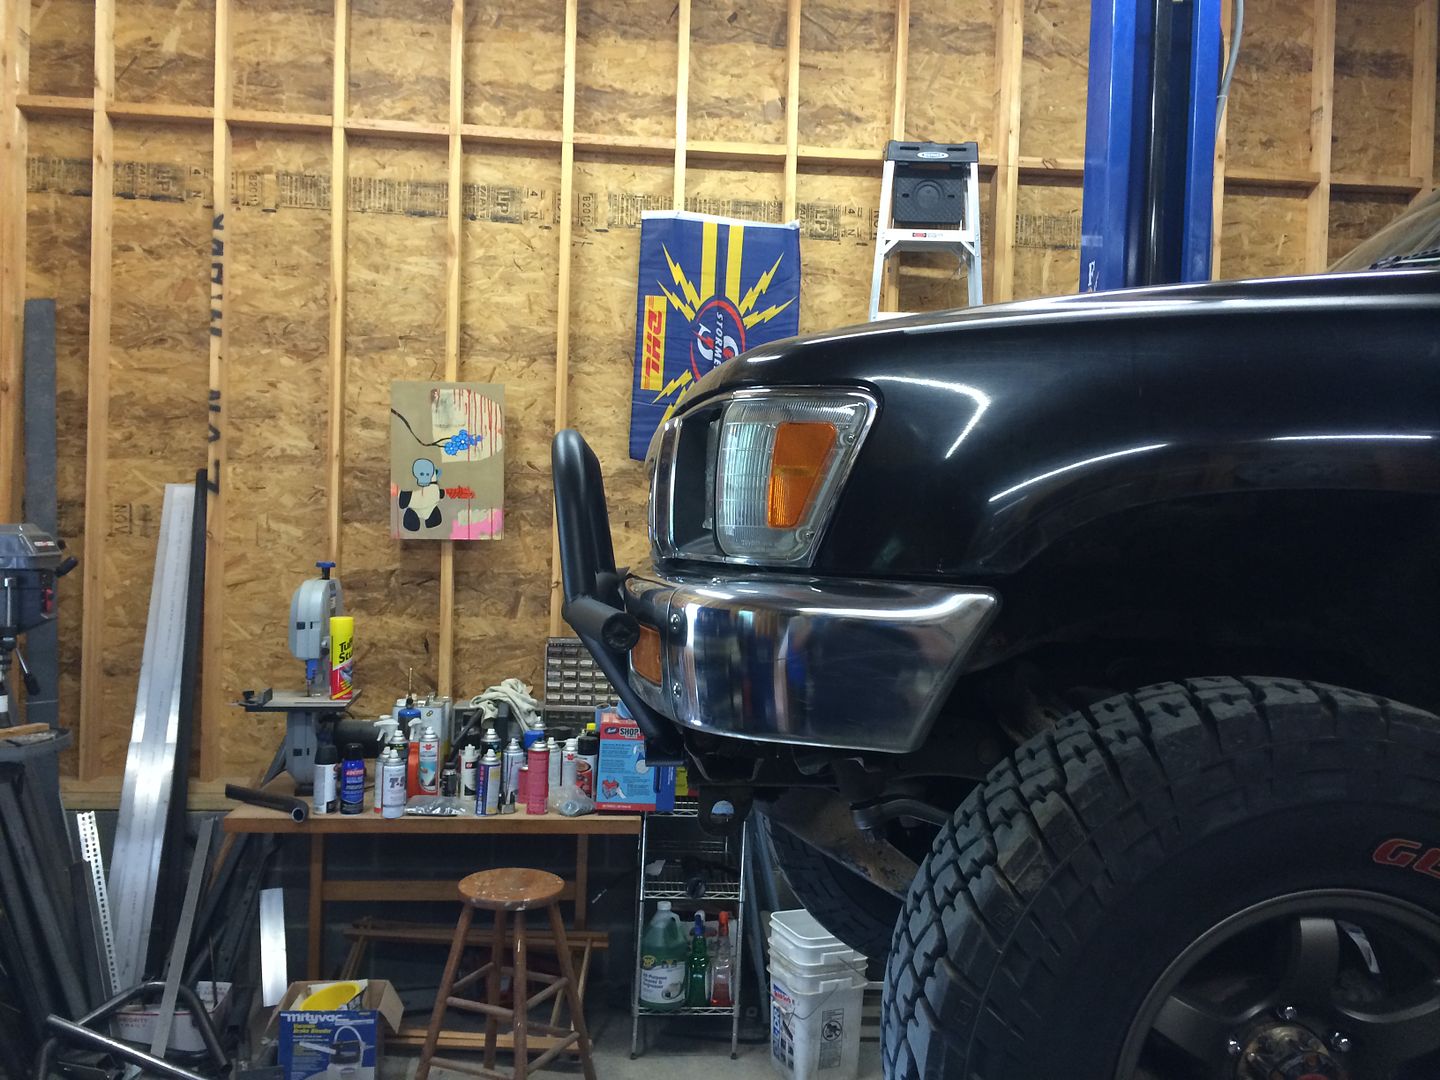
Now for the bumper build.

Oil cooler leak. That sucked.

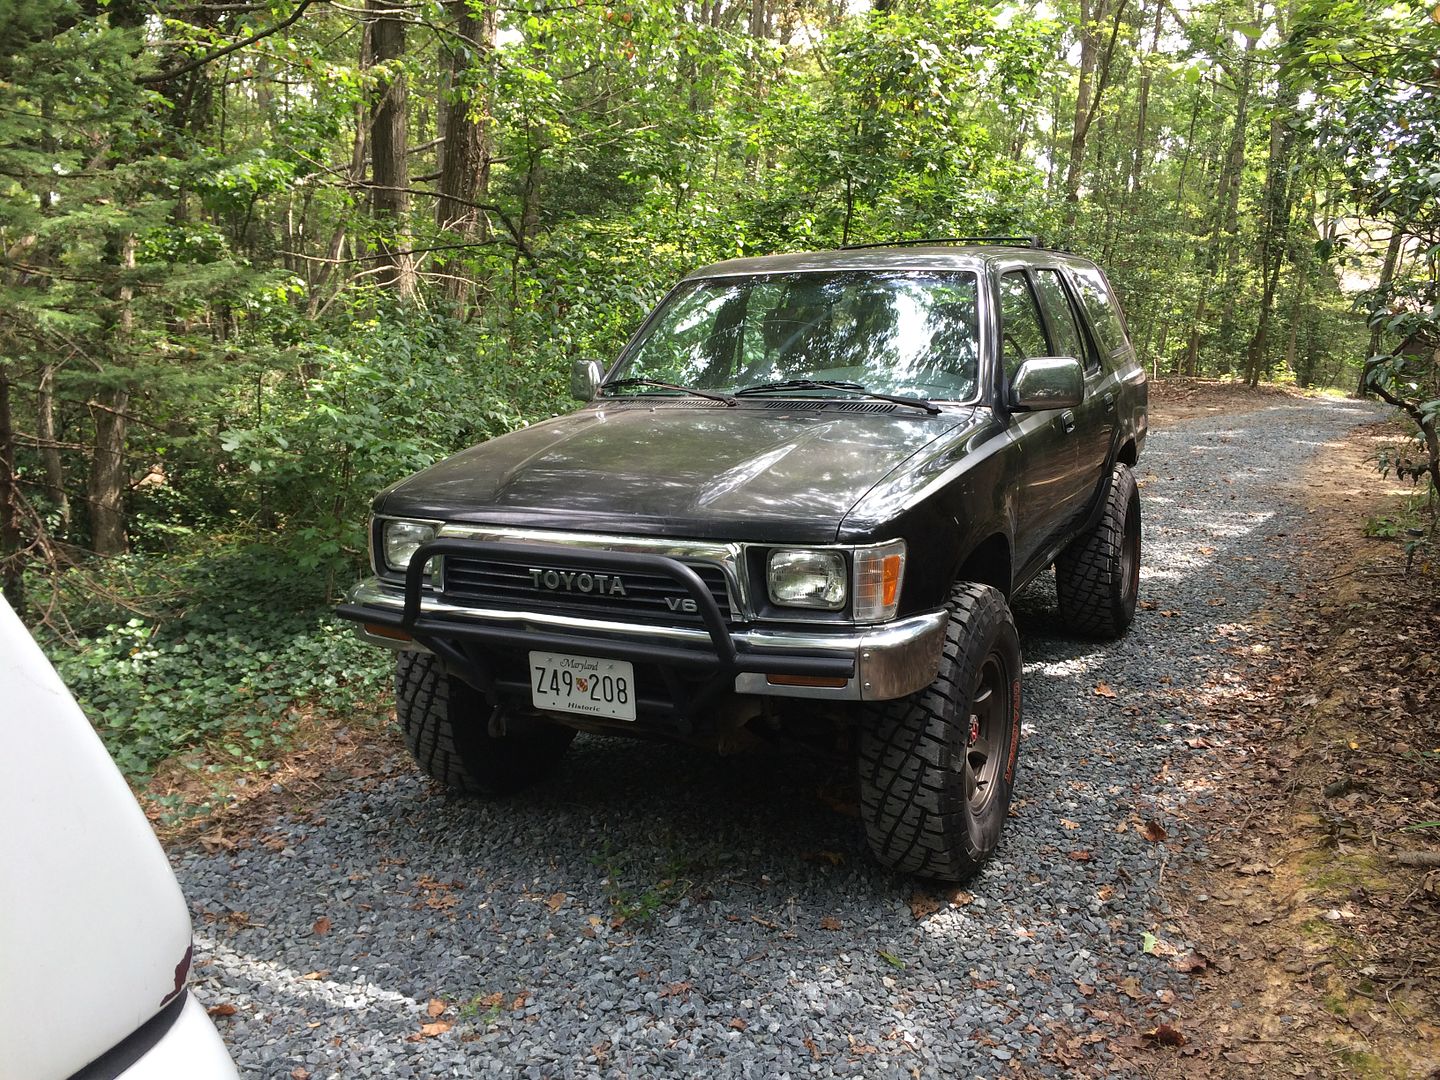
Driving!
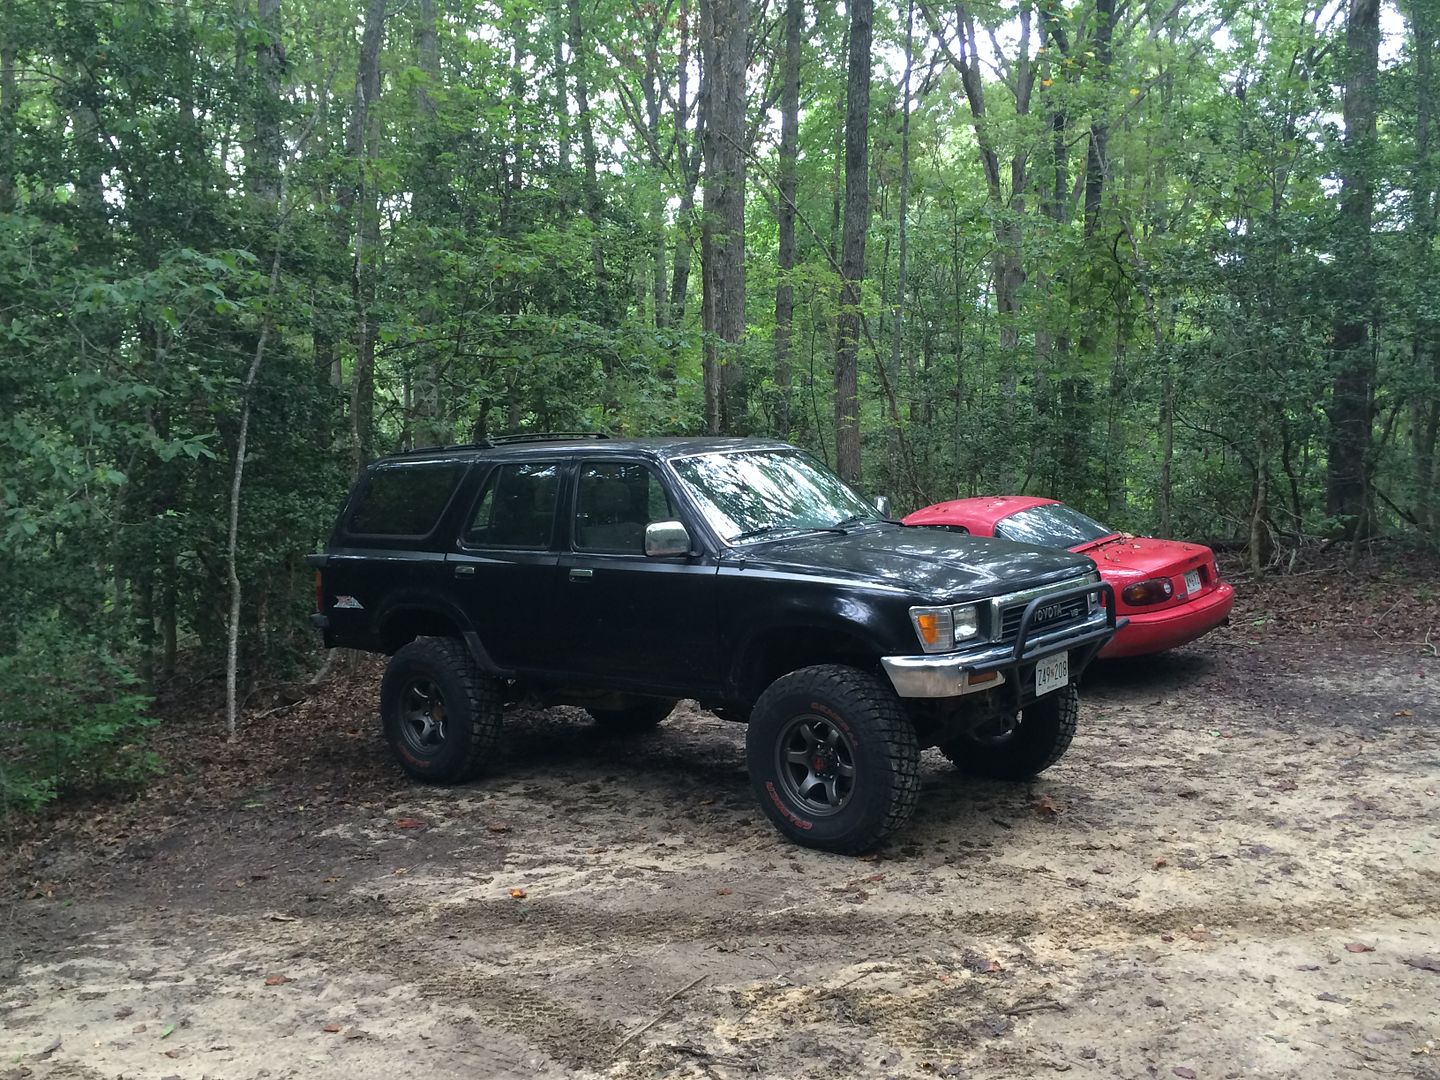
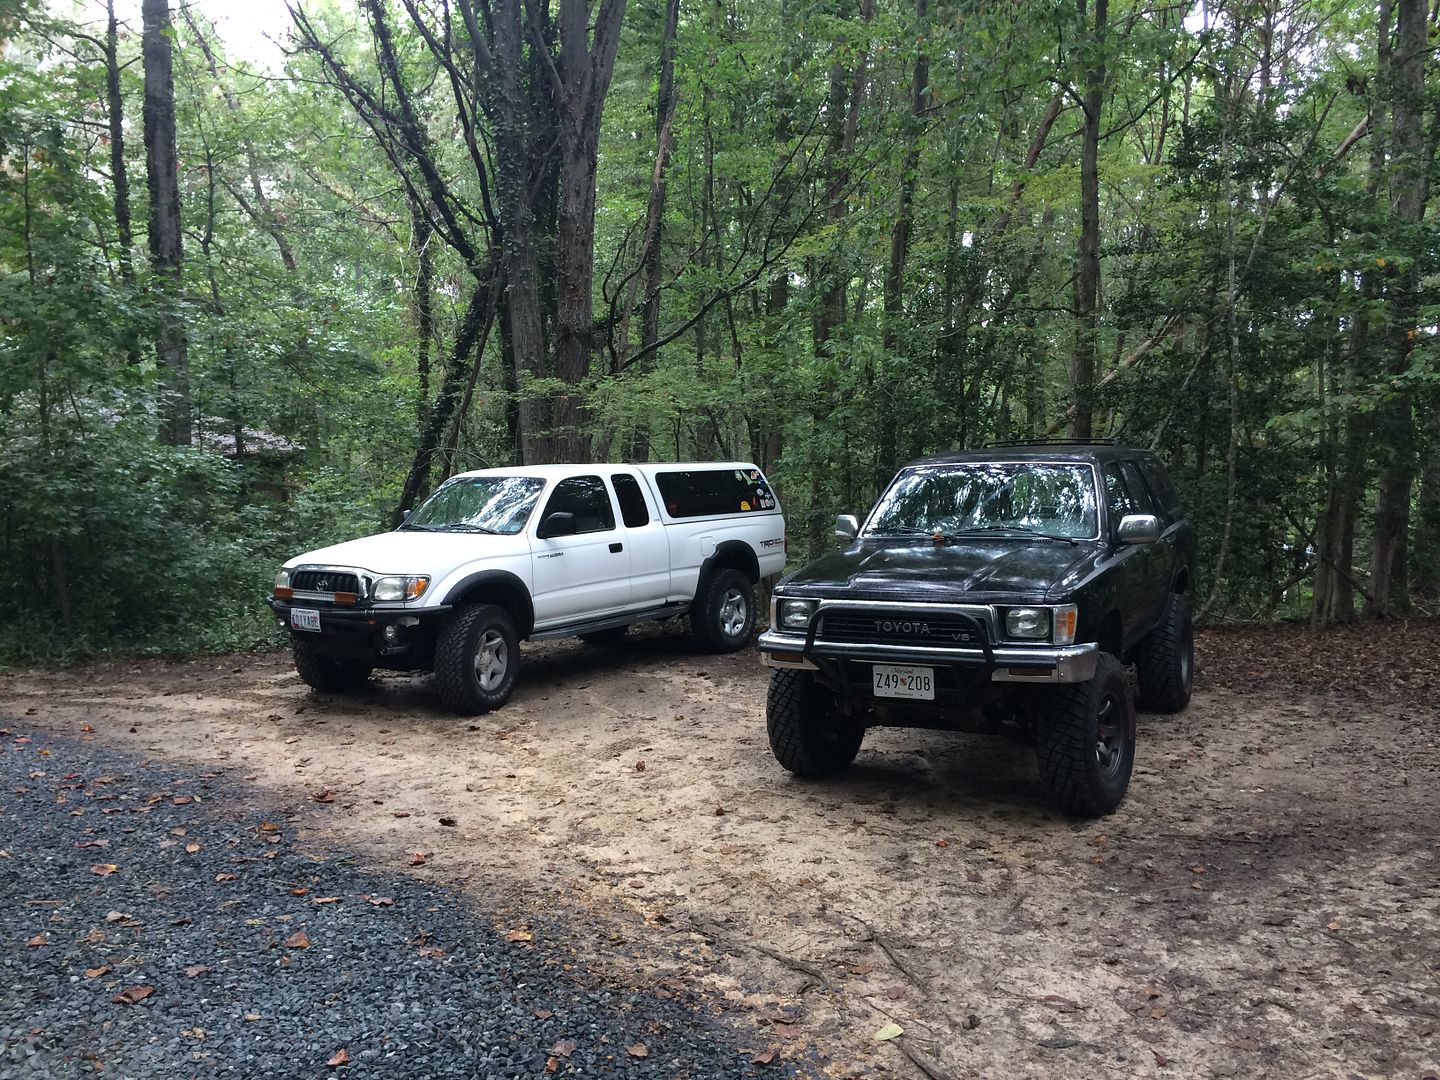
Family shot.
First, it was weeping coolant out of the back, so off came the transmission, again. Freeze plug was weeping, and was corroded. So, I replaced most of them.


No more coolant leak!

Then for beer.

Stickers for giggles. Total poser. More noticeable is the bedlined, and then undercoated lower quarter panels.

Cleaned up the interior quickly. About 1000% better.


Starting on the bumper. First, removing the old bumper and lower valance, which was beat up.

Now for the bumper build.


Oil cooler leak. That sucked.

Driving!

Family shot.

TheSweatyButcher
Adventurer
Great thread.
Sadly makes me realize how lazy I am :sombrero:
Sadly makes me realize how lazy I am :sombrero:
Toiyabe
Adventurer
Been driving the 4Runner as a DD for the past few weeks.
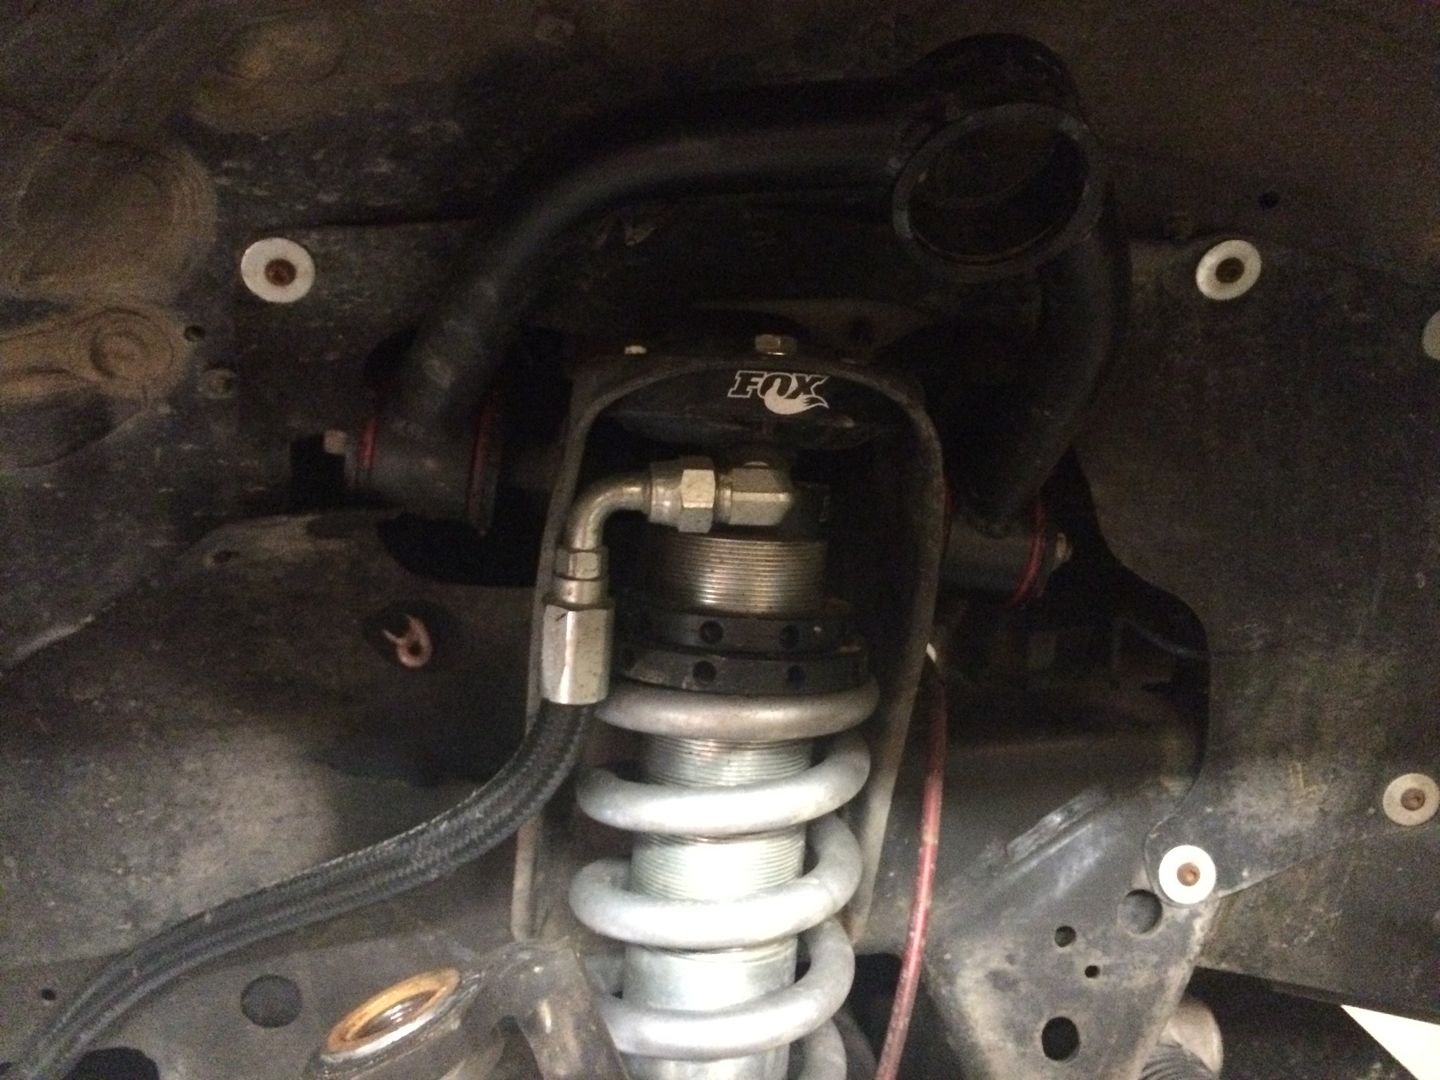
Did a 2" BJ spacer, and OME coils in the back. Replaced most of the steering, and did a good home alignment. Hardest part was unseizing a stuck alignment cam.
Also installed a new Pioneer Pandora/iPhone compatible stereo. Good stuff.
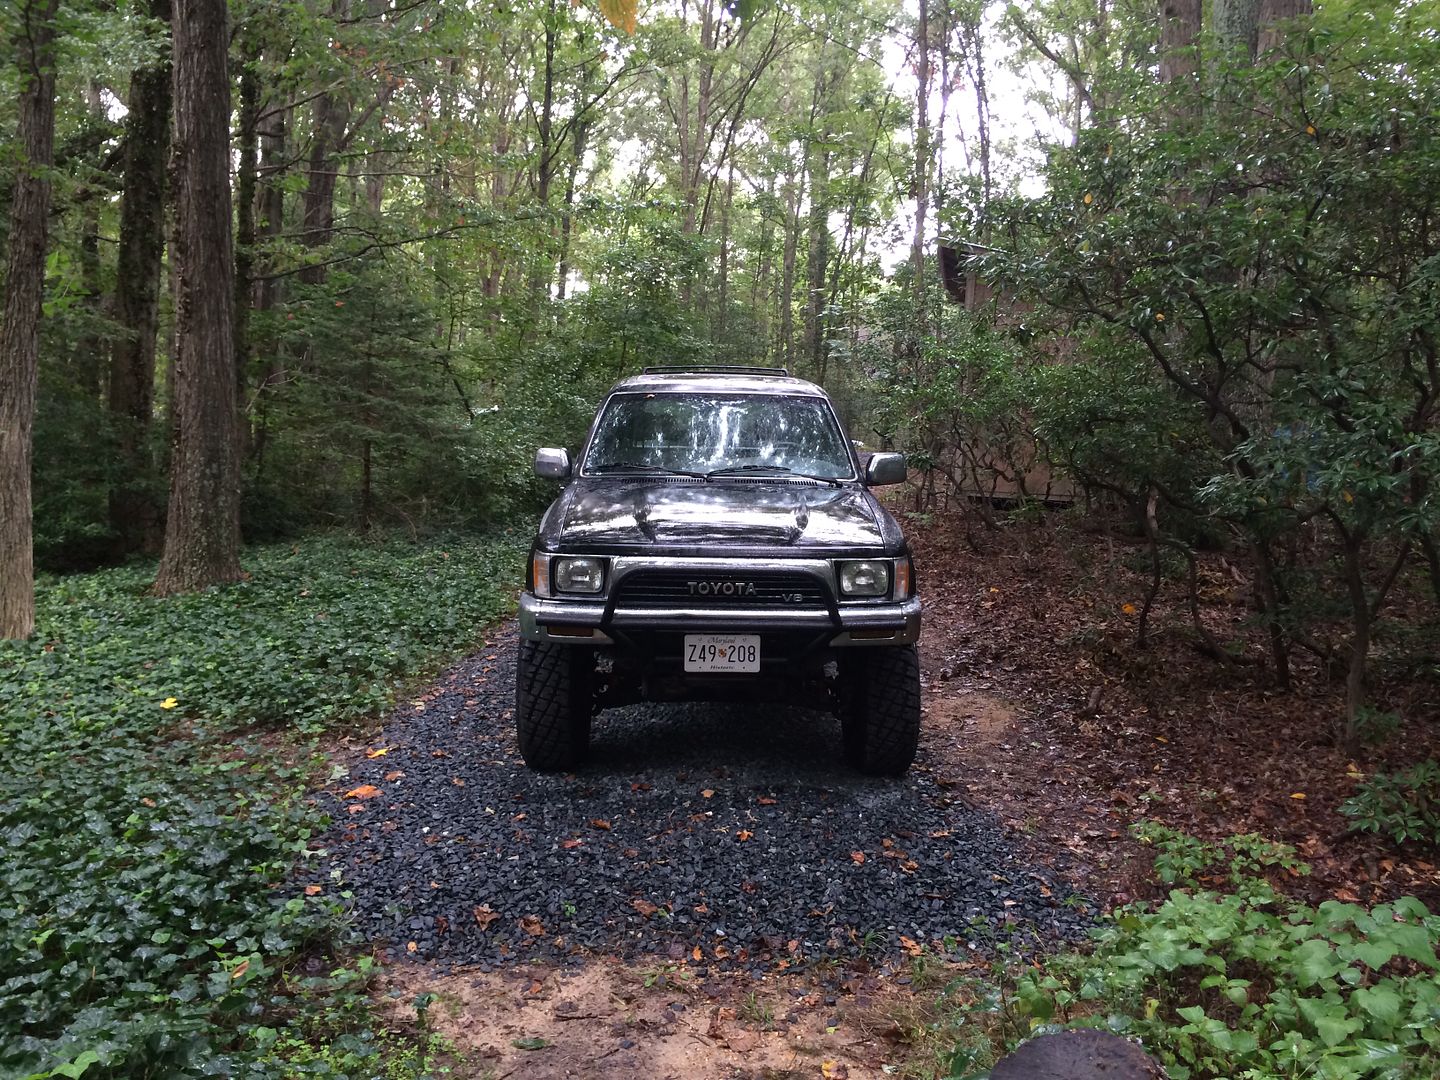
With the lift.
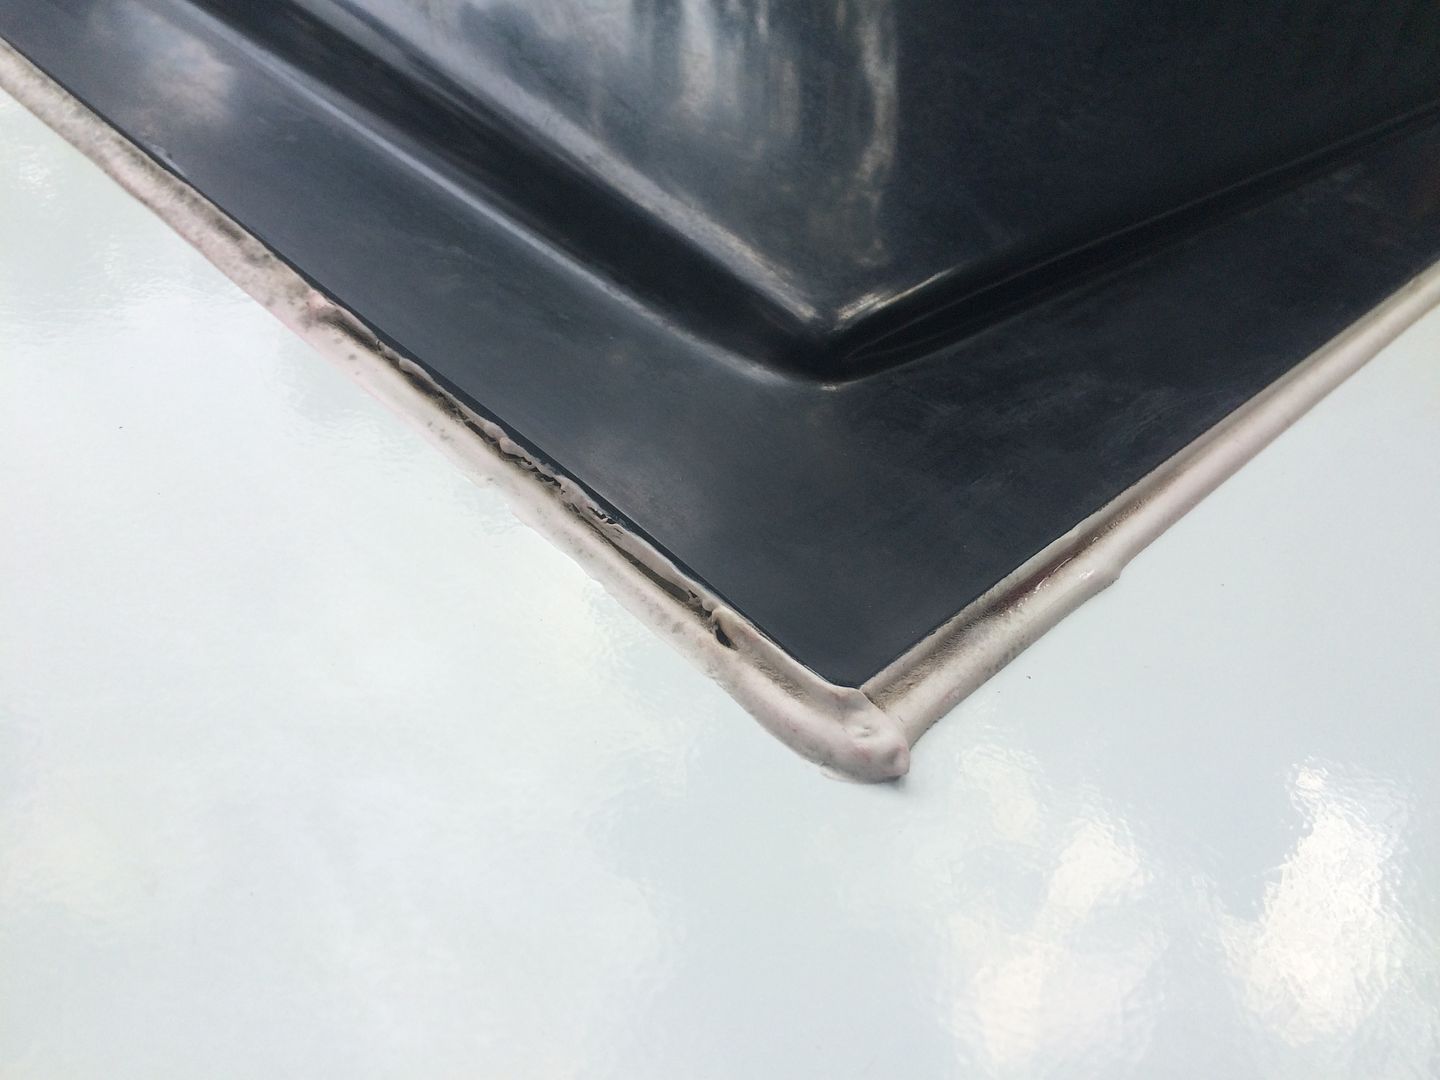
Painted the top of the rear door, which was scratched up. Used Rustoleum Professional undercoating, which is great stuff.

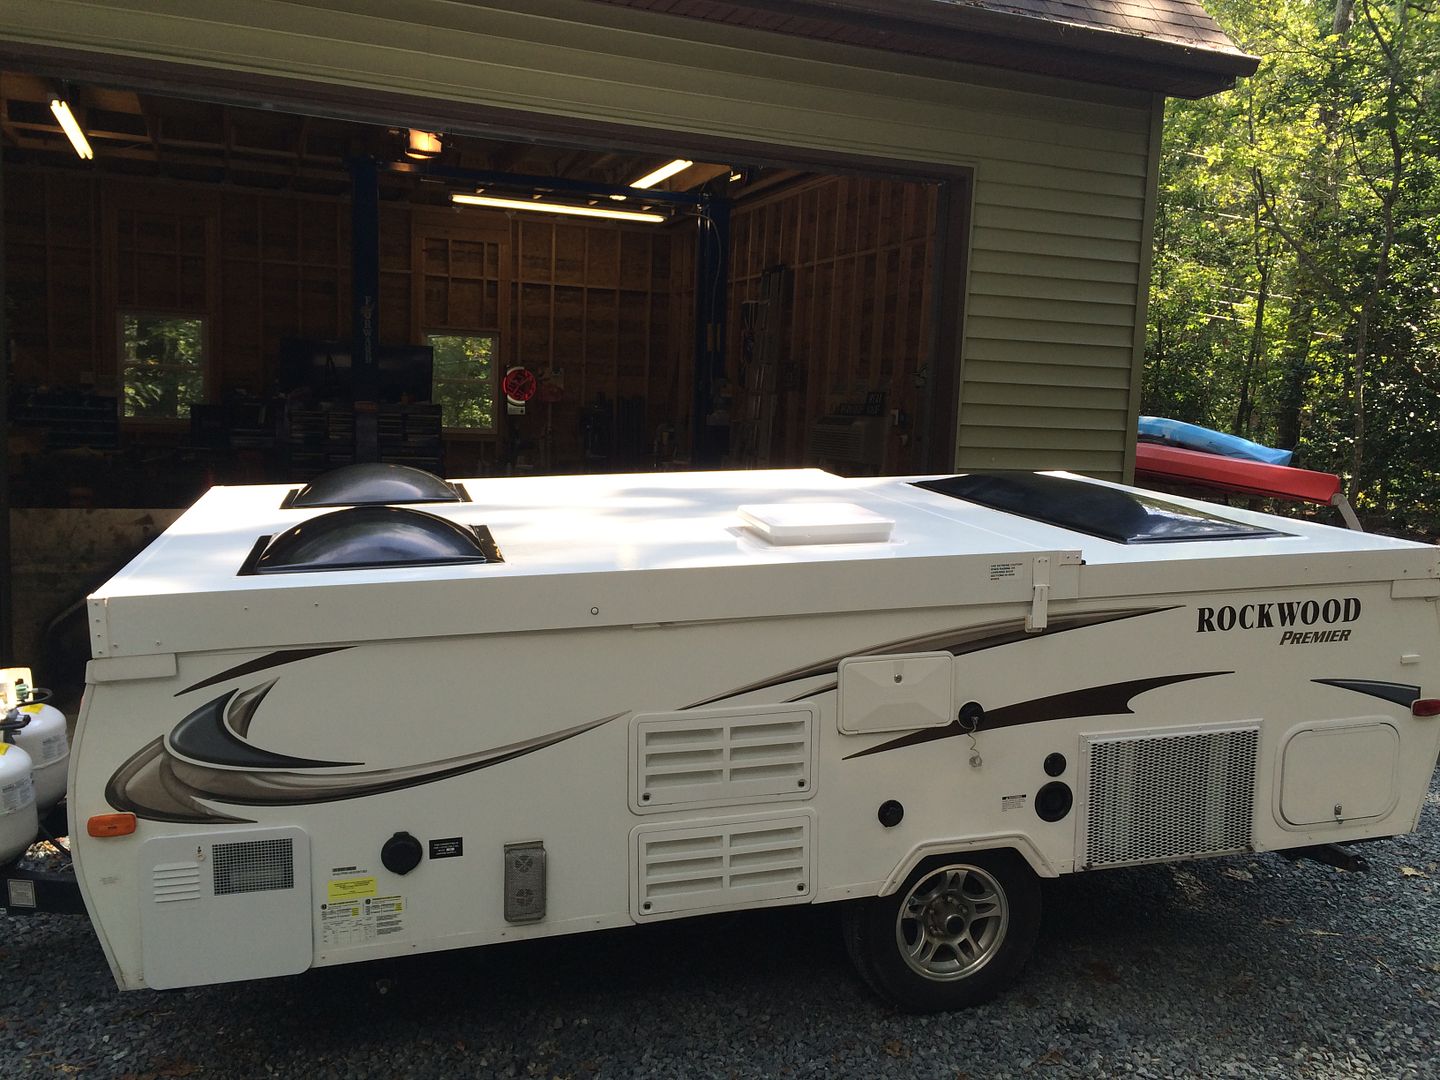
It's small by modern standards.

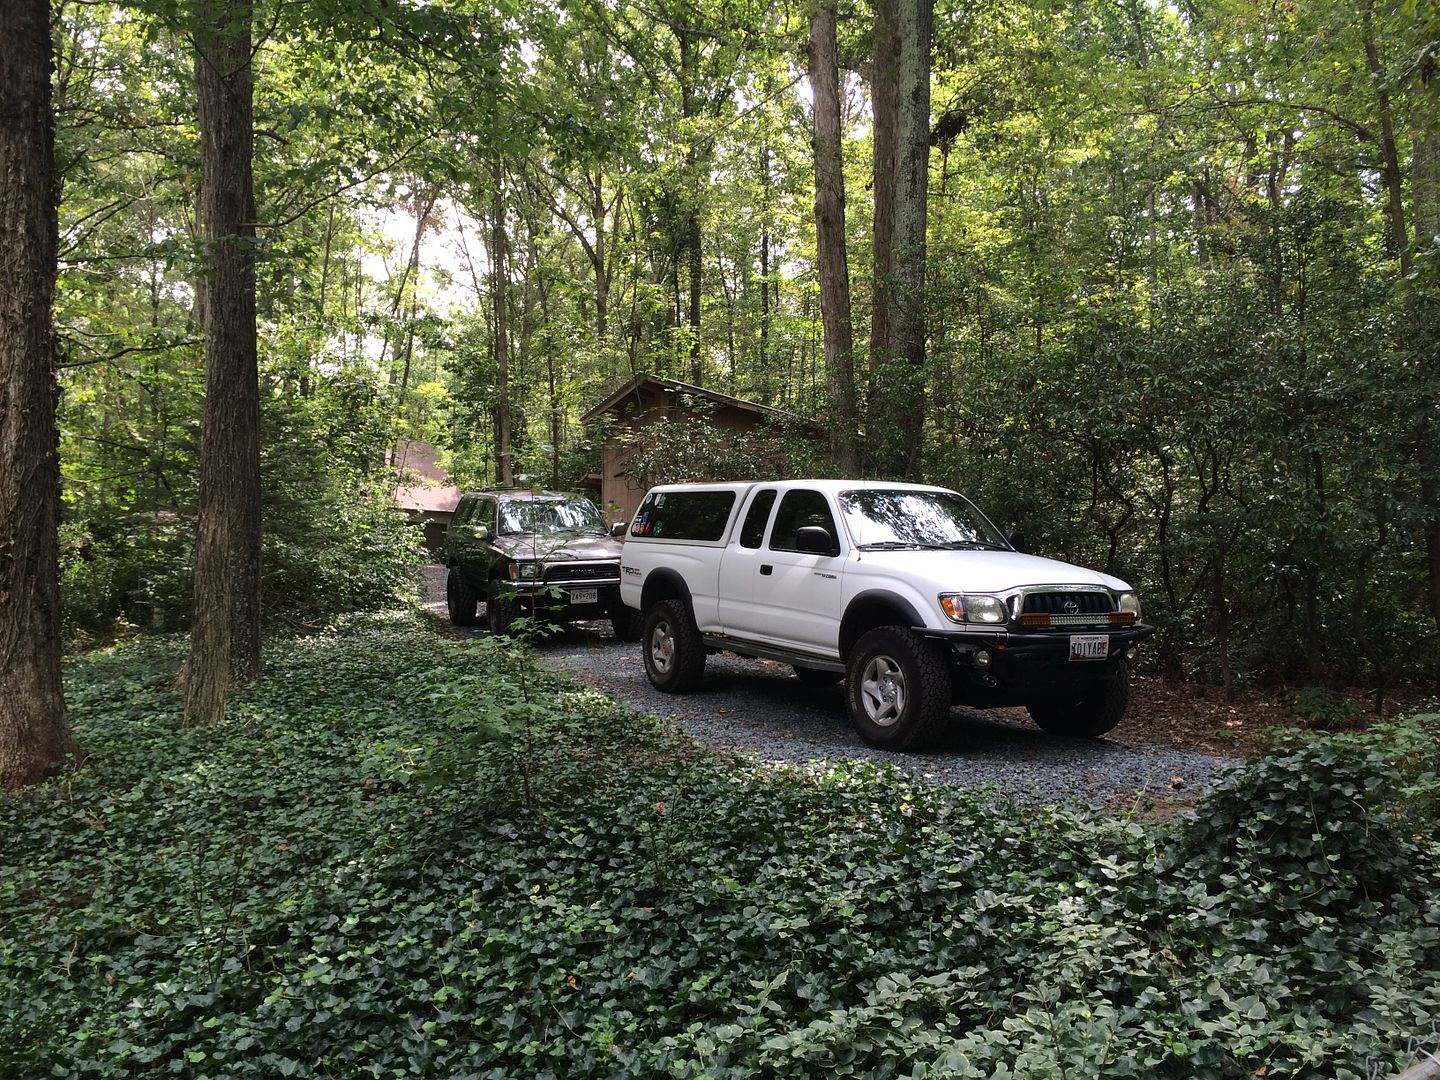
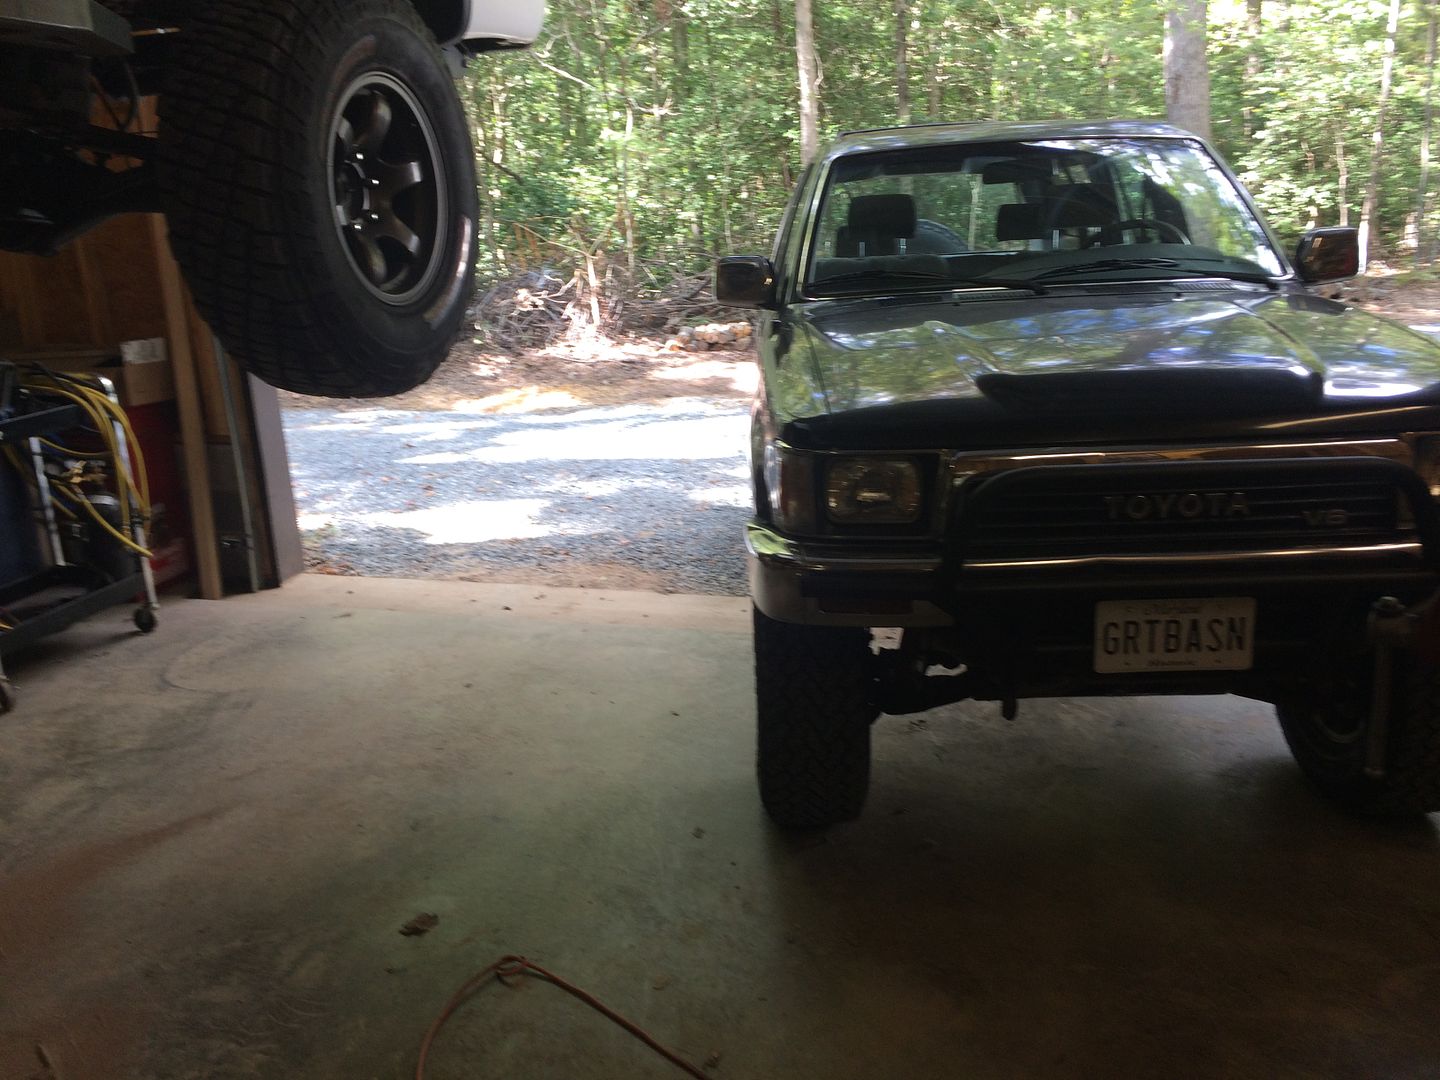
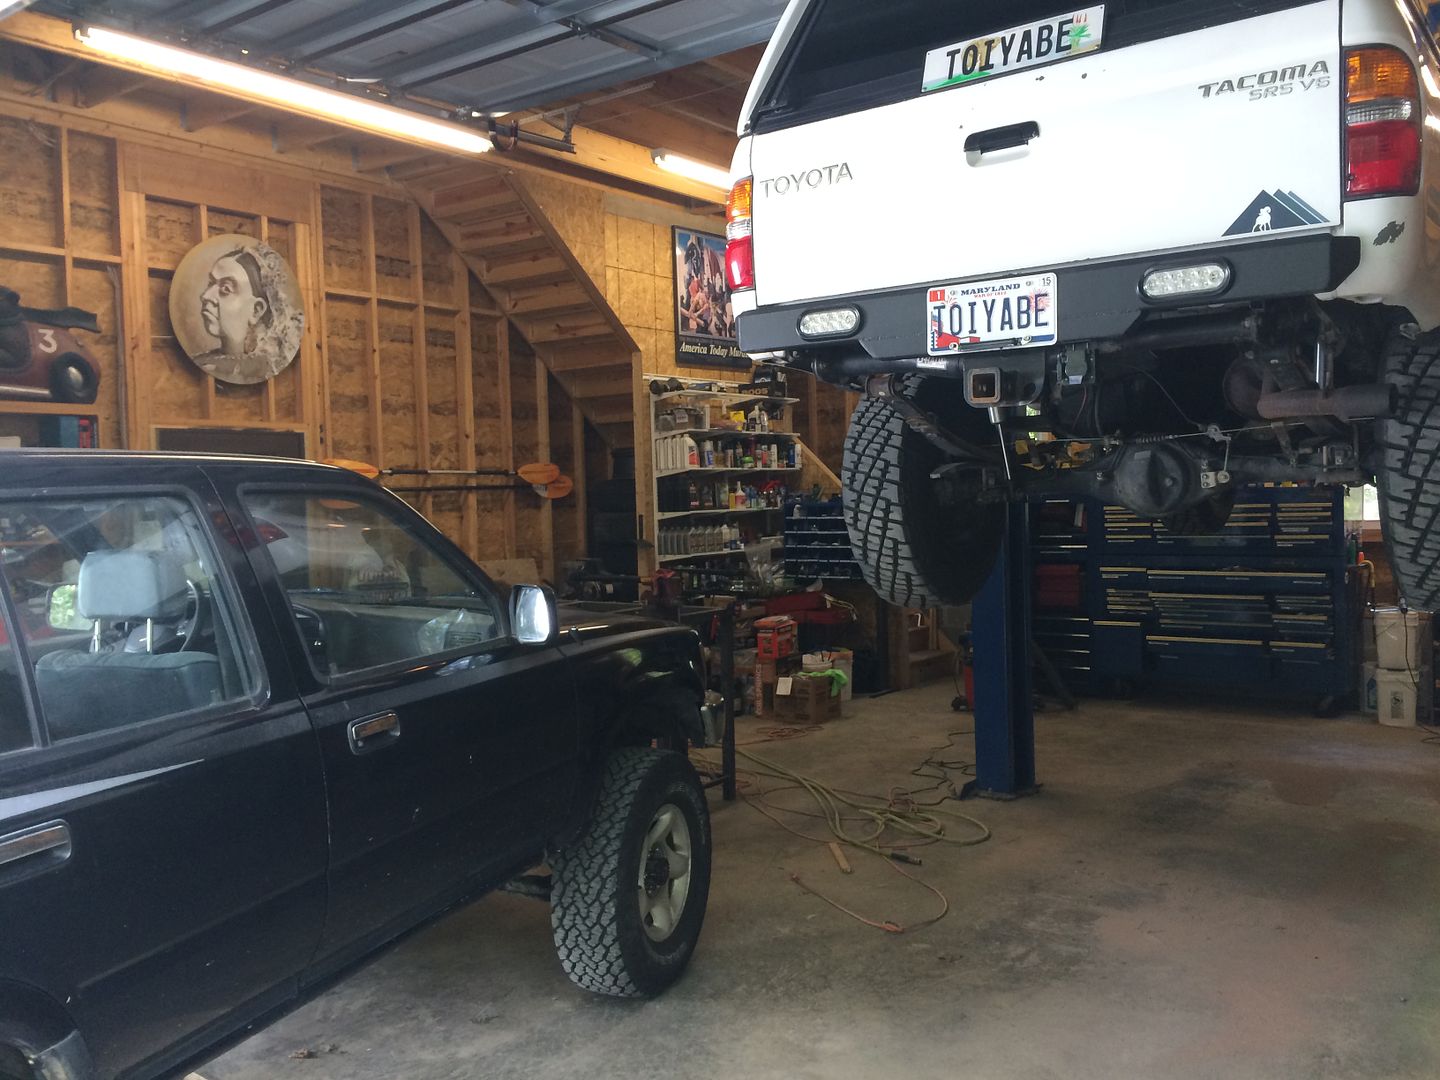
The two trucks together.
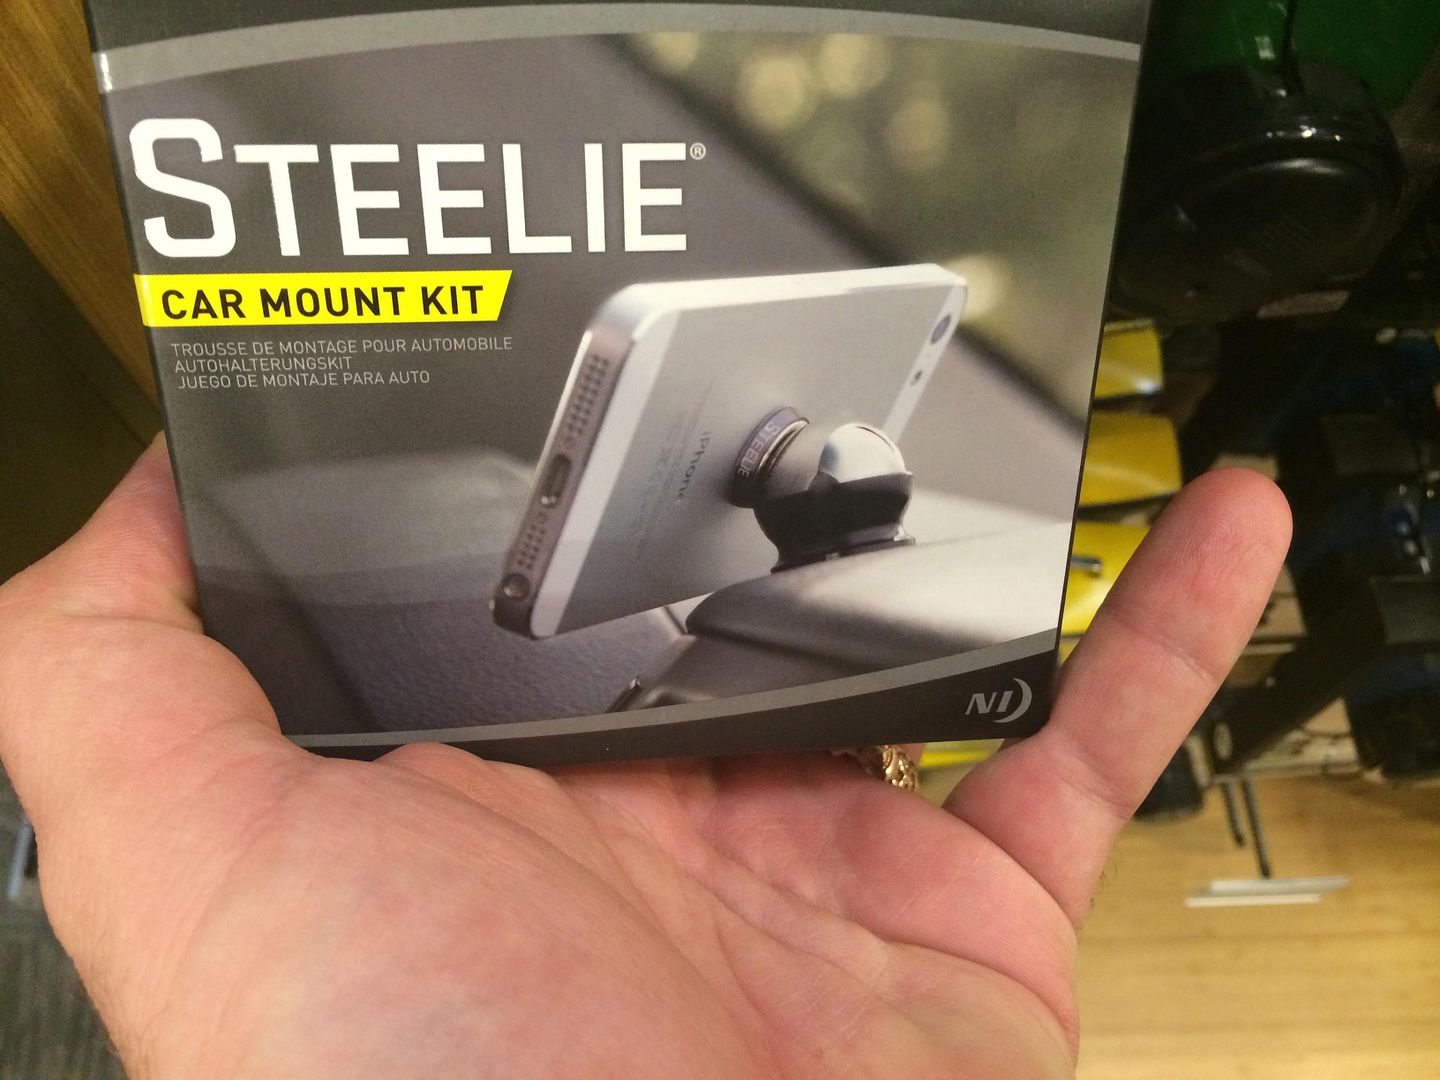
Added these to both trucks. Great stuff - purchased on the advice of a friend.
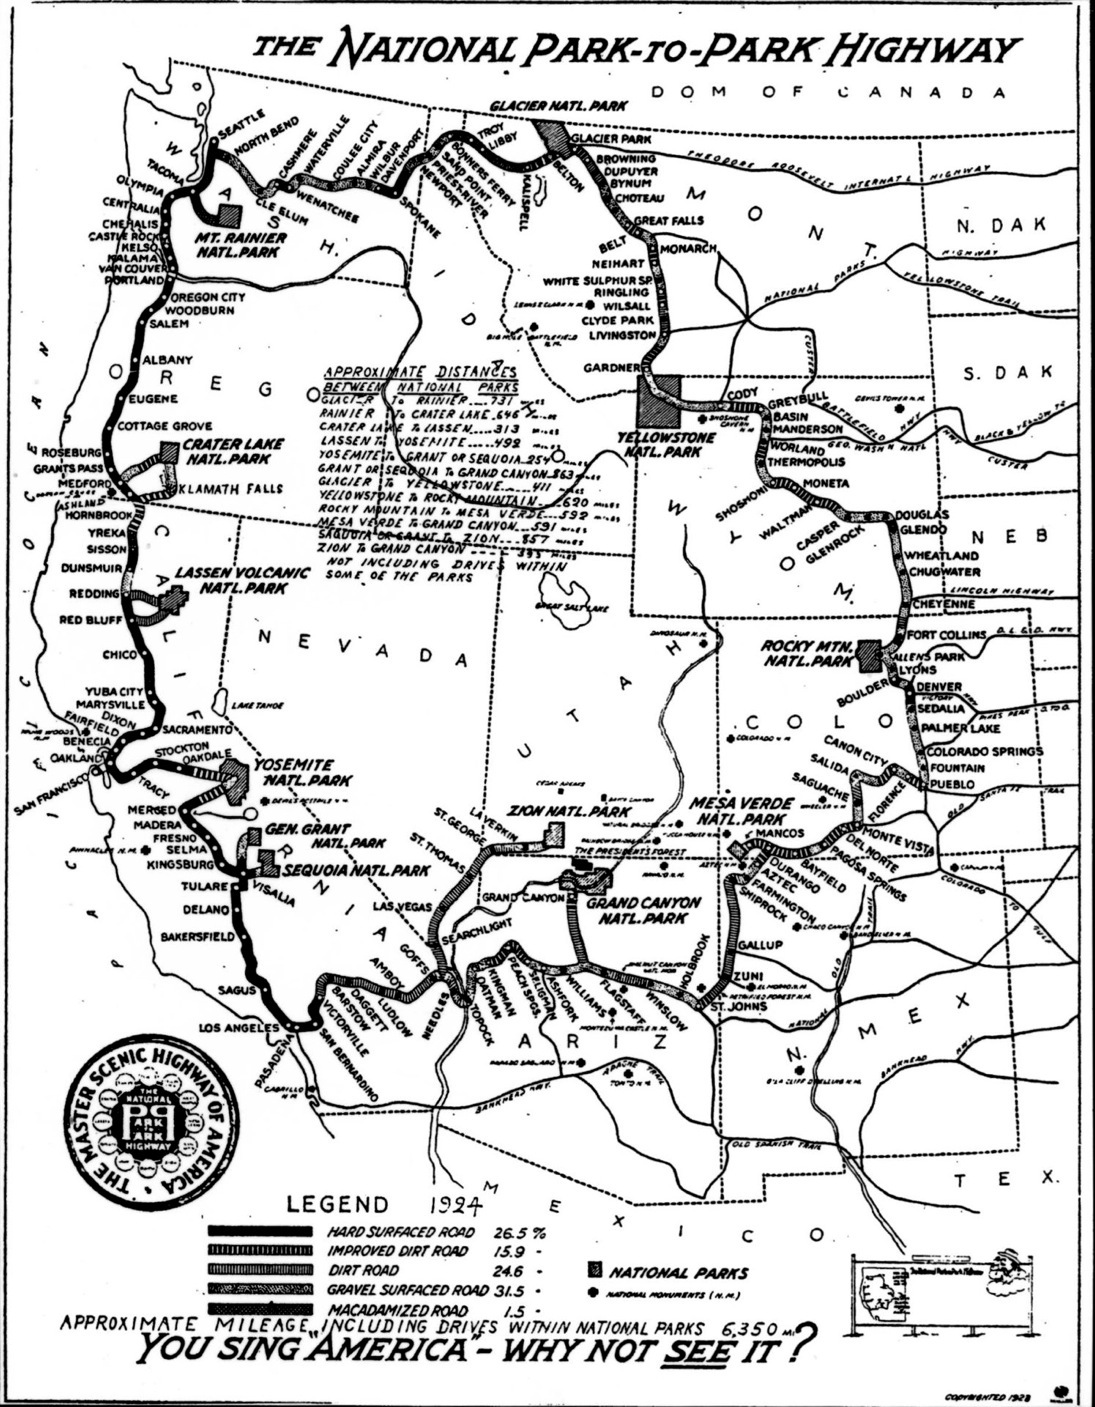
Getting ready for the National Park-To-Park Highway trip. Leave Wednesday.
Here's the tentative route.
Getting the Tacoma ready. Spark plugs.
Finally installed bed lights.
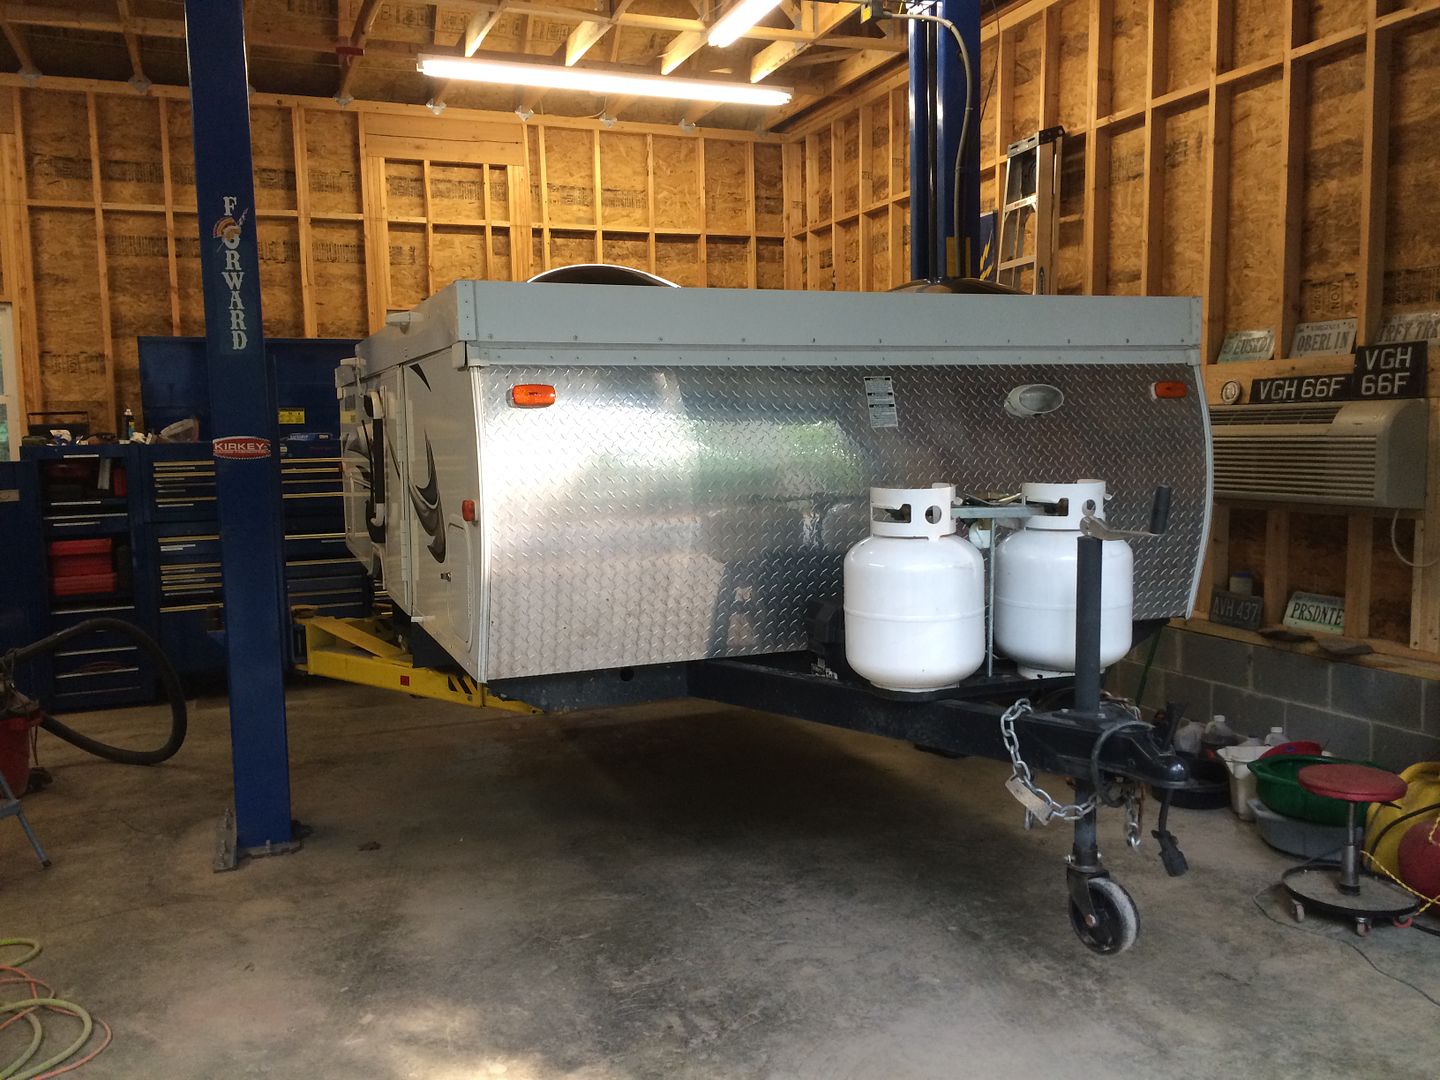
Some caulking on the trailer had dried out, and was a minor leak. So I tried the spray flexible rubber sealant.

Doing wheel bearings and adjusting the brakes. Also cleaning grounds and checking over.
I have some odd play in an UCA, but All Pro has so far exhibited excellent customer service.
Did a 2" BJ spacer, and OME coils in the back. Replaced most of the steering, and did a good home alignment. Hardest part was unseizing a stuck alignment cam.
Also installed a new Pioneer Pandora/iPhone compatible stereo. Good stuff.
With the lift.


Painted the top of the rear door, which was scratched up. Used Rustoleum Professional undercoating, which is great stuff.

It's small by modern standards.

The two trucks together.

Added these to both trucks. Great stuff - purchased on the advice of a friend.

Getting ready for the National Park-To-Park Highway trip. Leave Wednesday.
Here's the tentative route.
Getting the Tacoma ready. Spark plugs.

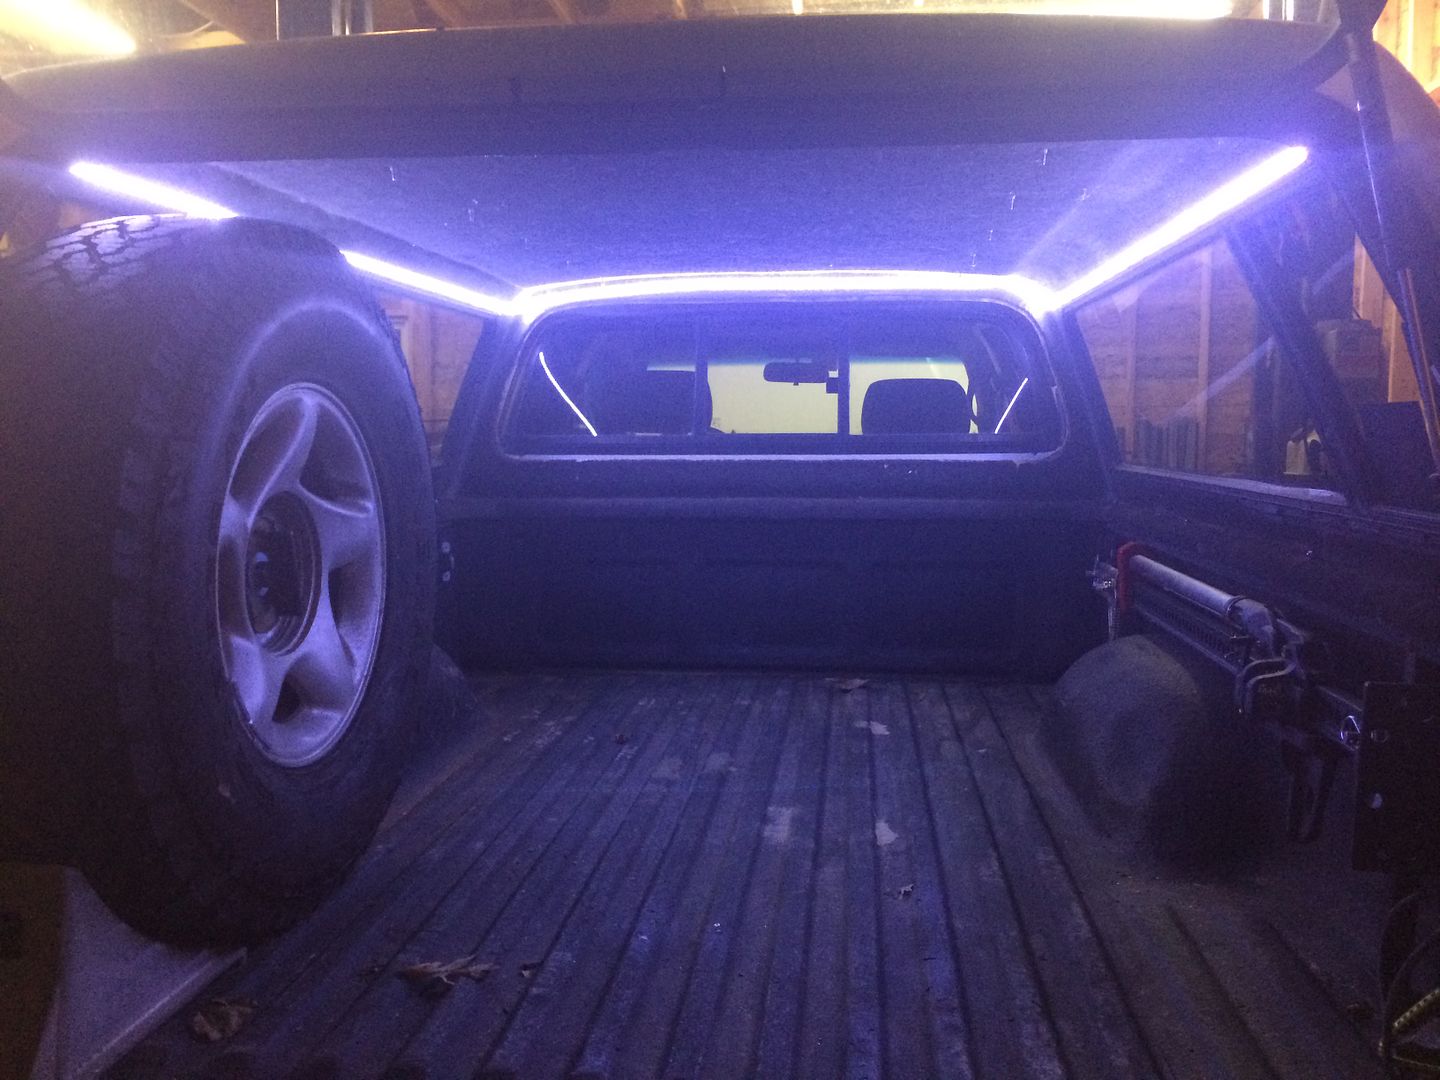
Finally installed bed lights.

Some caulking on the trailer had dried out, and was a minor leak. So I tried the spray flexible rubber sealant.


Doing wheel bearings and adjusting the brakes. Also cleaning grounds and checking over.


I have some odd play in an UCA, but All Pro has so far exhibited excellent customer service.
climber-420
Adventurer
Any write up available on the bed light install? I will need more light in the coming months for my truck bed as I travel to the mtns more.
Toiyabe
Adventurer
Exactly as skygear said.
I bought the stuff off of Amazon, it was 15.99 for a 5m roll delivered.
I peeled the adhesive back, and alcohol prepped the frame above the side windows, and the headliner around front. Planned where to put it, and stuck it on. I used all but the last 12" or so.
I put a Deutsch connector in it so I can take the cap off easily, secured it with foil tape and zip ties, and fed it through the existing hole between the taillights and bed. The ground wire is terminated on a ground point I welded in on the right rear (common for dust lights, bed lights, and trailer brakes), and the power wire goes up to the wire from the switch panel (paranoid fab) which comes off my skygear fusebox. Both excellent products, btw.
The wires are covered in the expandable sleeving for impact and abrasion resistance.
It's great.
Toiyabe
Adventurer
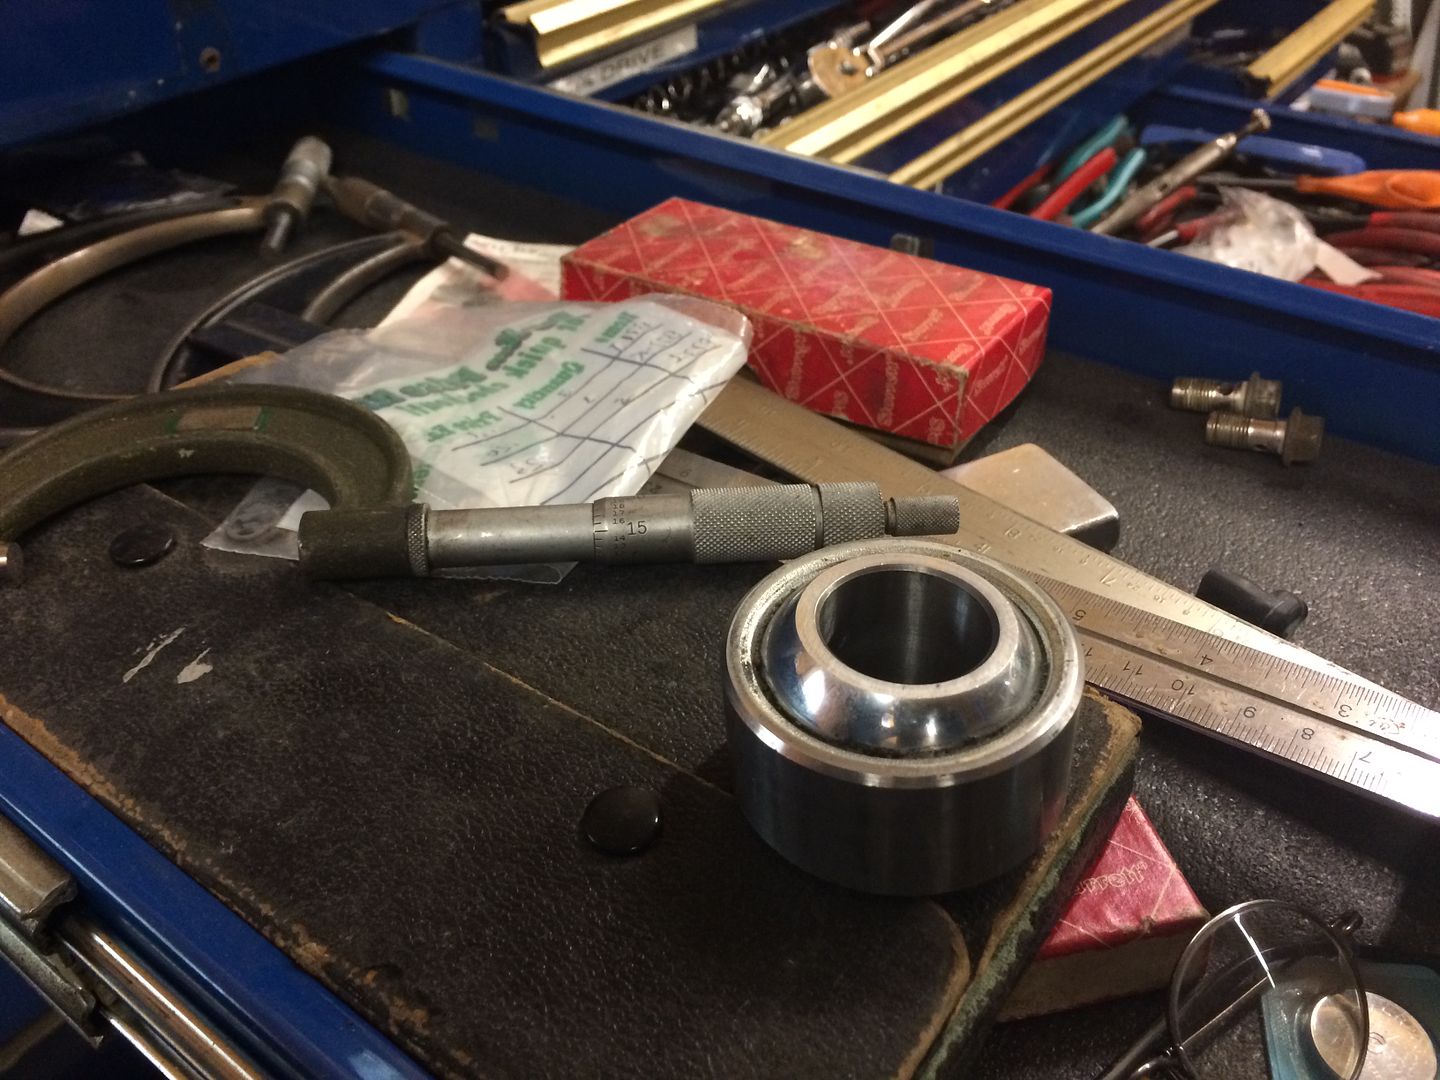
Final prep
So, it appears that the heigh of the spherical bearings from FK used in UCAs is enough to allow a little movement. The difference between the two I received is almost 5 thousands of an inch. The bearing had about 10-12 thousands axial play in the arm, and they overnighted a replacement bearing to me. It increased it, shockingly, by about 5 thousands of an inch. So, they are making me another.
EXCELLENT customer service.
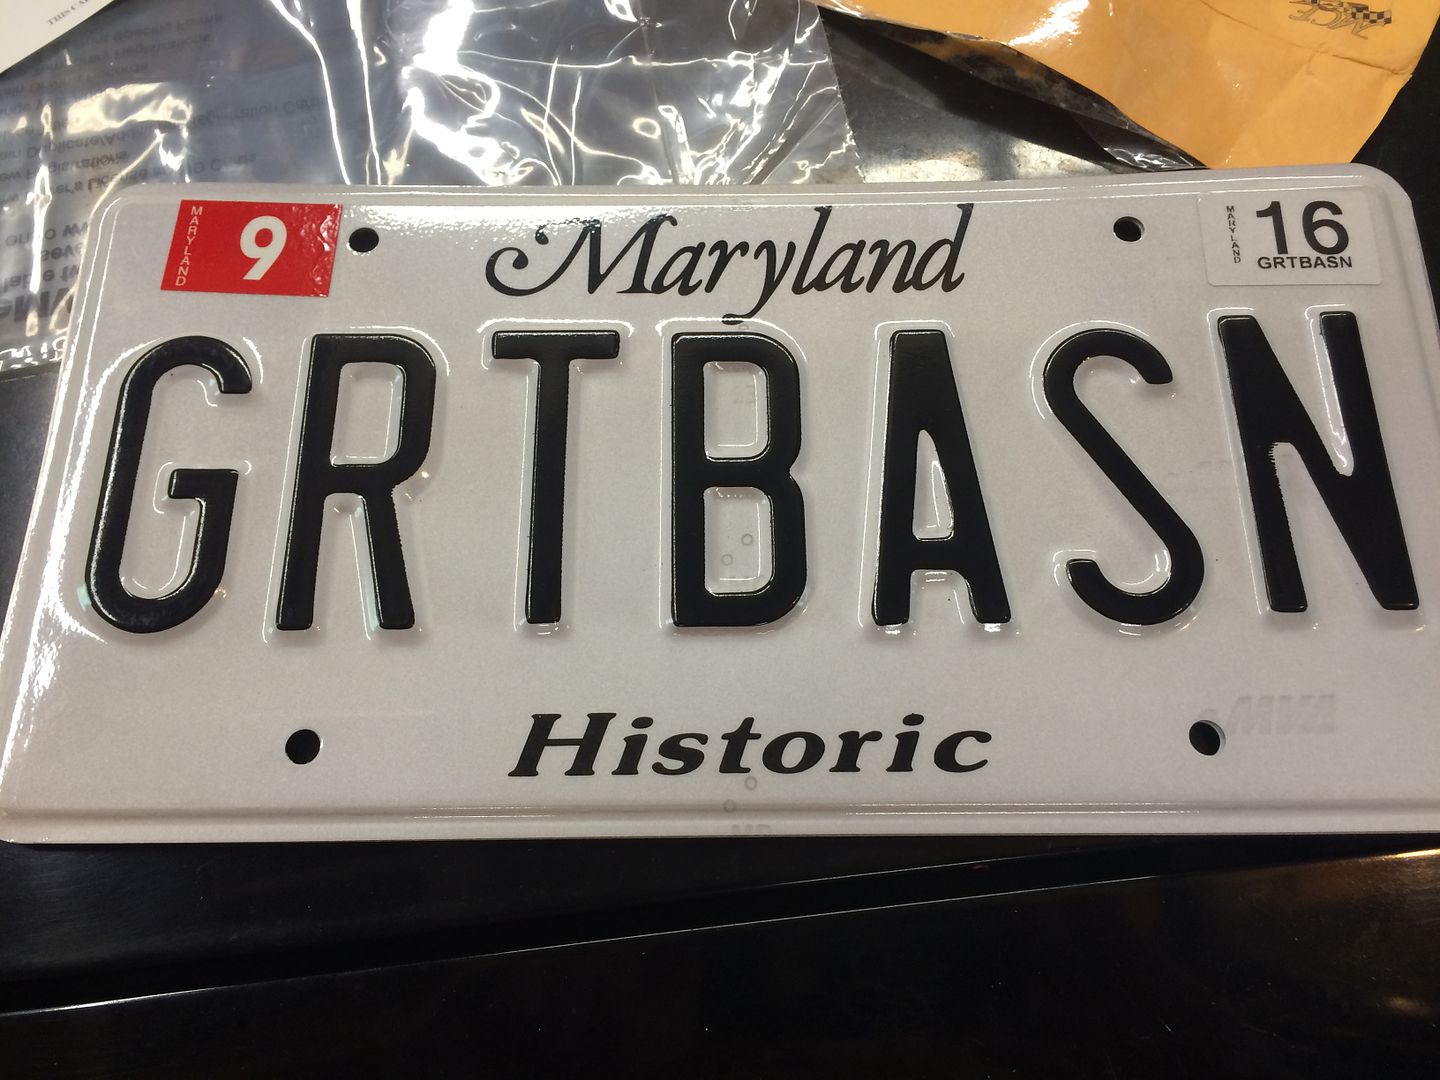
New plates for the 4Runner.
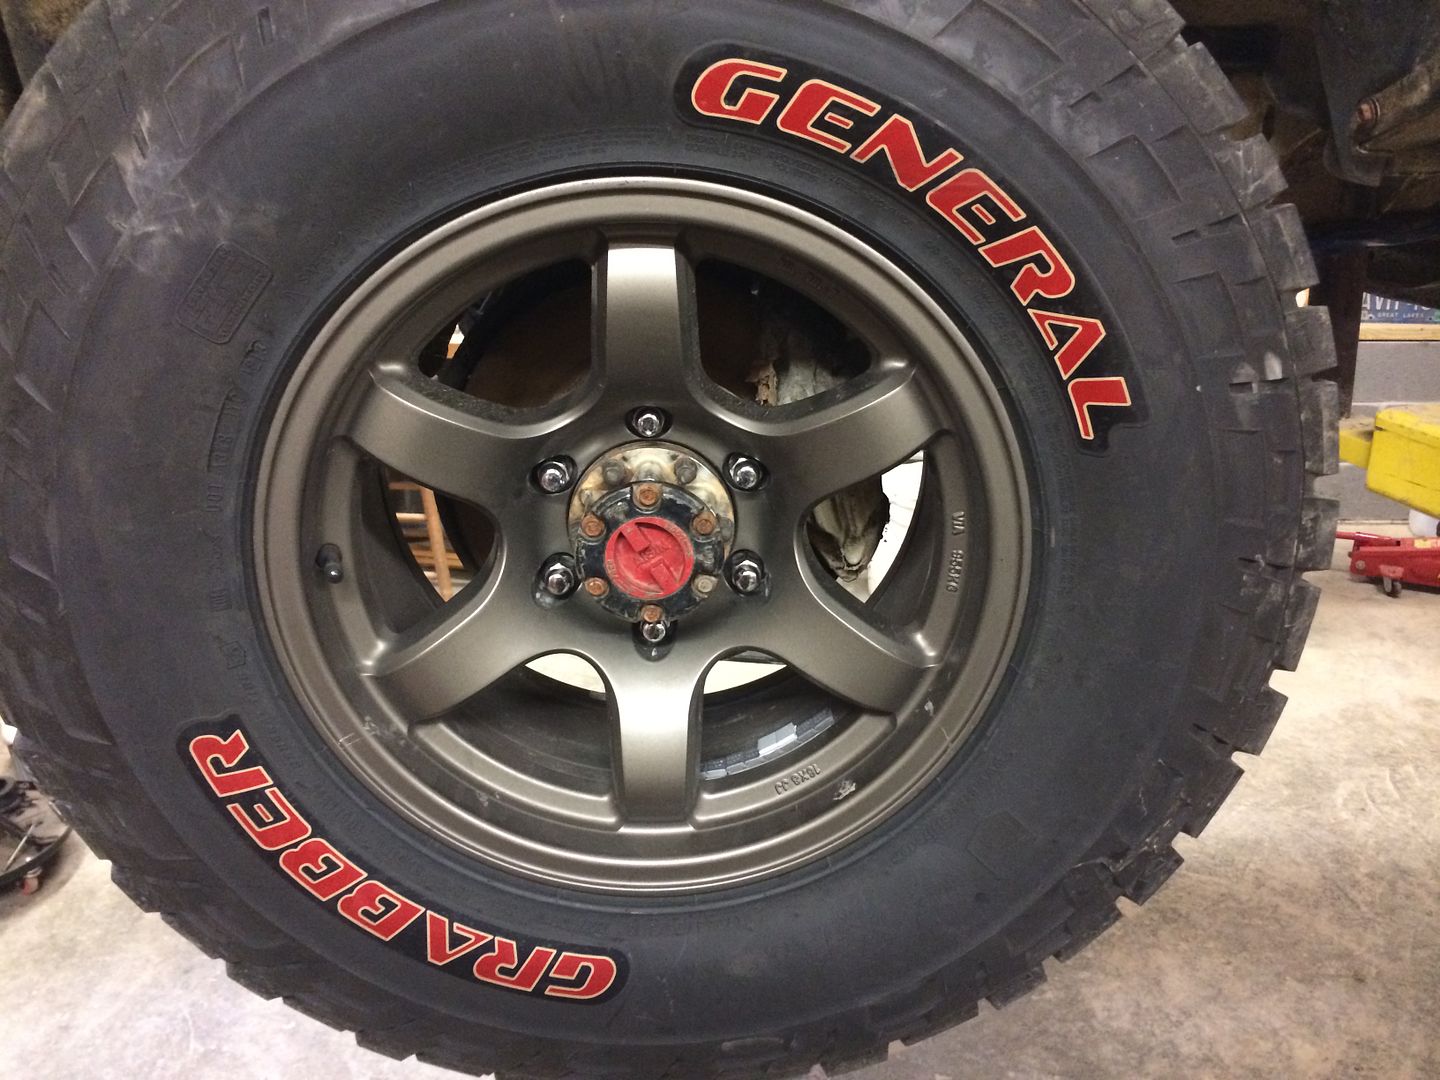
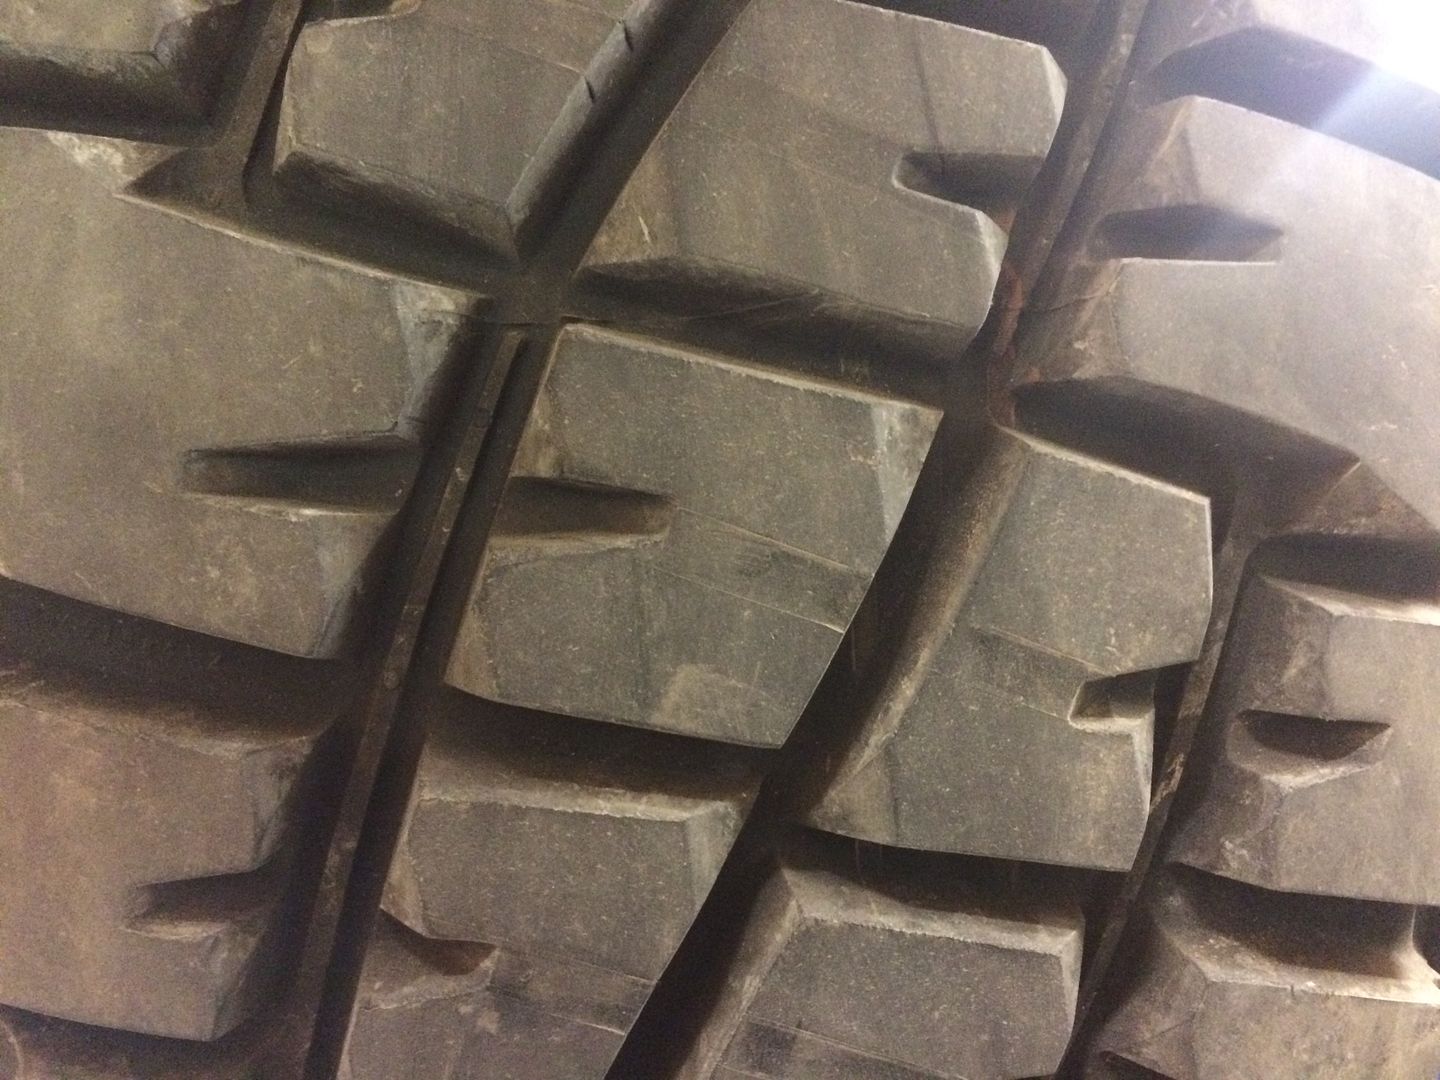
Siping the General red letters for the trip.
Wheels and tires swapped.
So, it appears that the heigh of the spherical bearings from FK used in UCAs is enough to allow a little movement. The difference between the two I received is almost 5 thousands of an inch. The bearing had about 10-12 thousands axial play in the arm, and they overnighted a replacement bearing to me. It increased it, shockingly, by about 5 thousands of an inch. So, they are making me another.
EXCELLENT customer service.


New plates for the 4Runner.

Siping the General red letters for the trip.


Wheels and tires swapped.

