Toiyabe
Adventurer
So, this is a chronicle of the evolution of a vehicle, after a good decade of roaming, and lots of lurking.
Forgive any continuity errors - it's a repost from another forum. Mea Maxima Culpa.
First, some background:
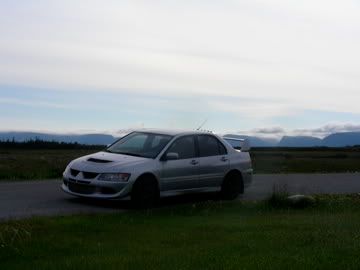
About 7 years ago, maybe 8, I turned to my wife and said "I want to go to Newfoundland." So we packed up the Evo, and drove there. Had a great time, wowed the locals (no Evos in Canada at the time) and really enjoyed it. Stayed in lighthouses, had amazing smoked salmon, etc...
The Evo was our recce/demo vehicle for the shop I owned at the time, and had a bunch of goodies, mostly suspension (RS&SP), and minor engine mods (cams, cam gears, clutch and flywheel, reflash, exhaust).
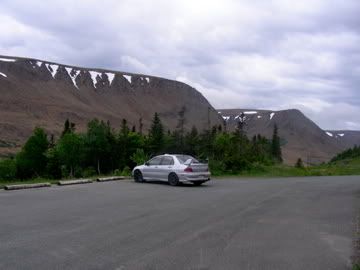
Gros Marne NP:
L'Anse Aux Meadows:
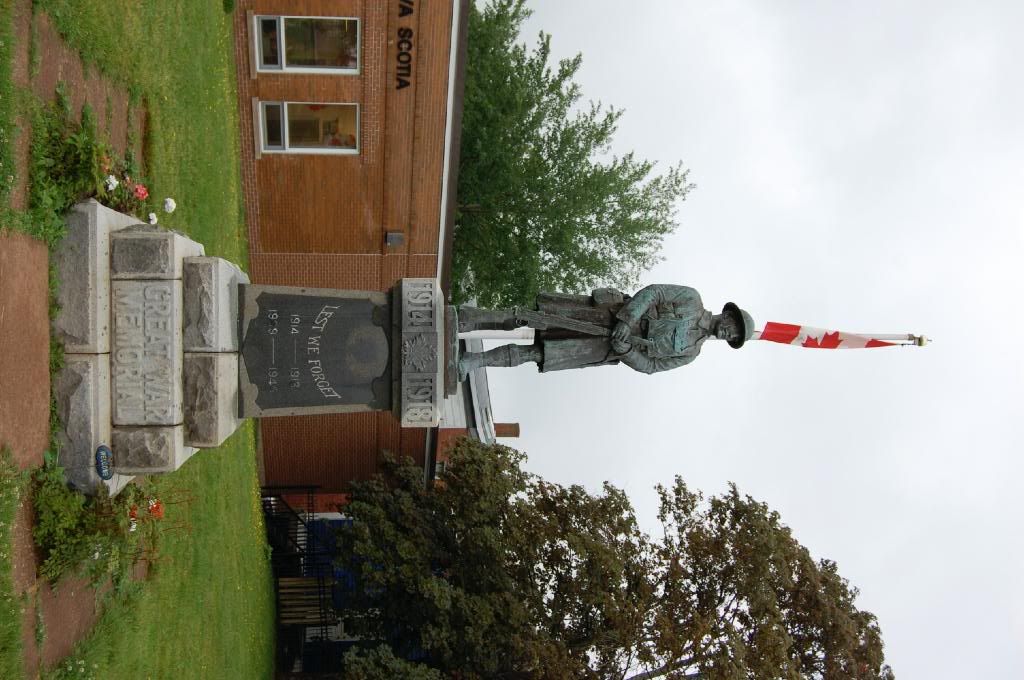
Sherbrooke:
This was fine and dandy, but we gazed across the Strait of Belle Isle, and I said "I want to go to Labrador."
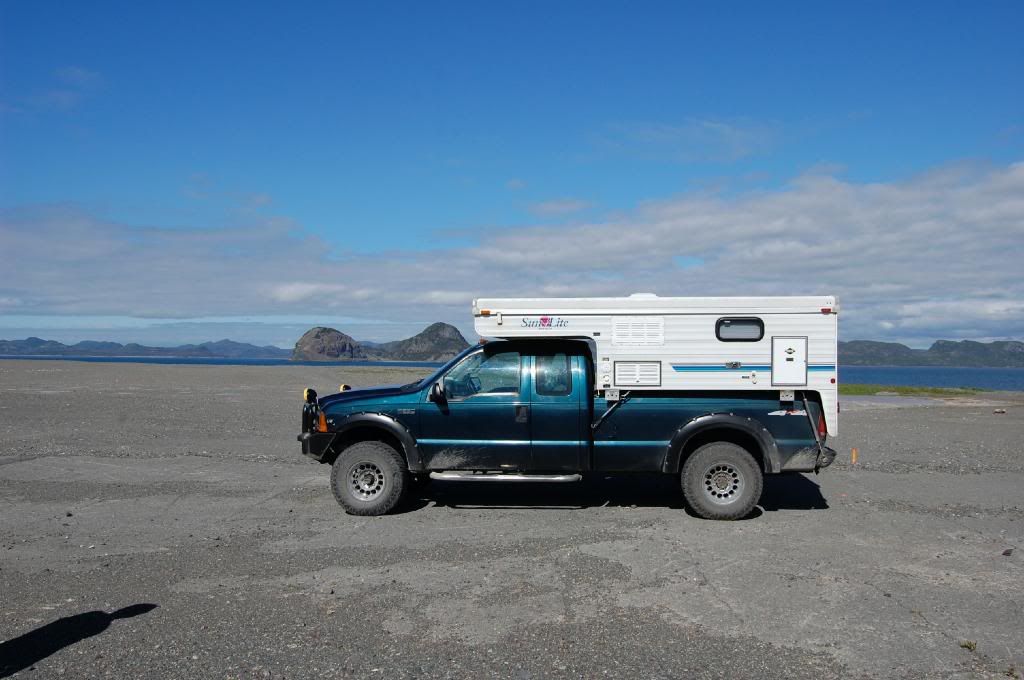
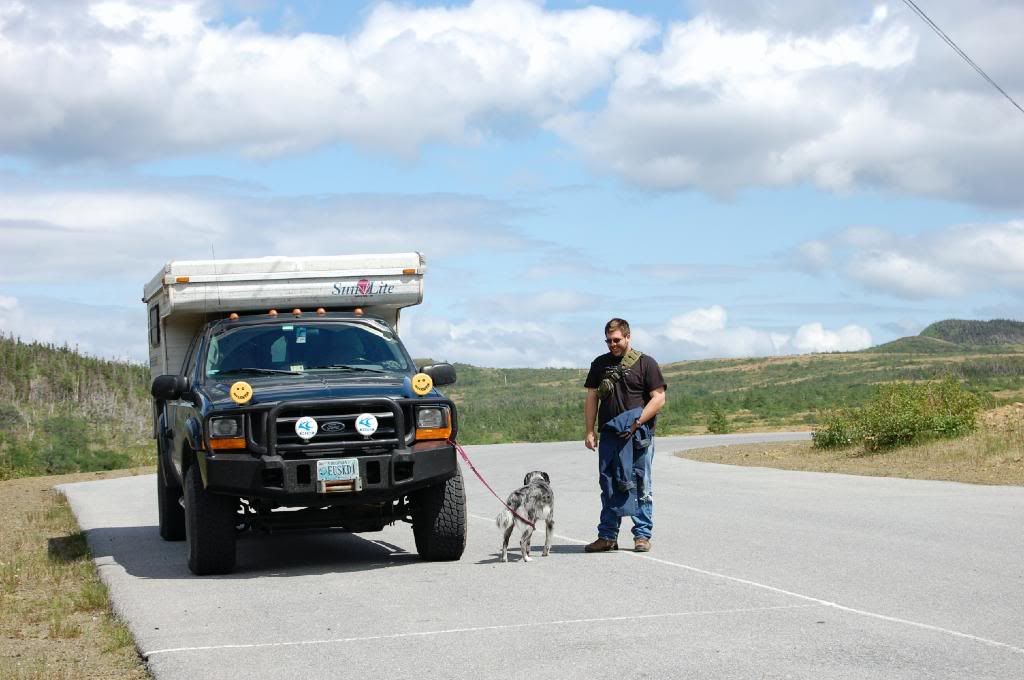
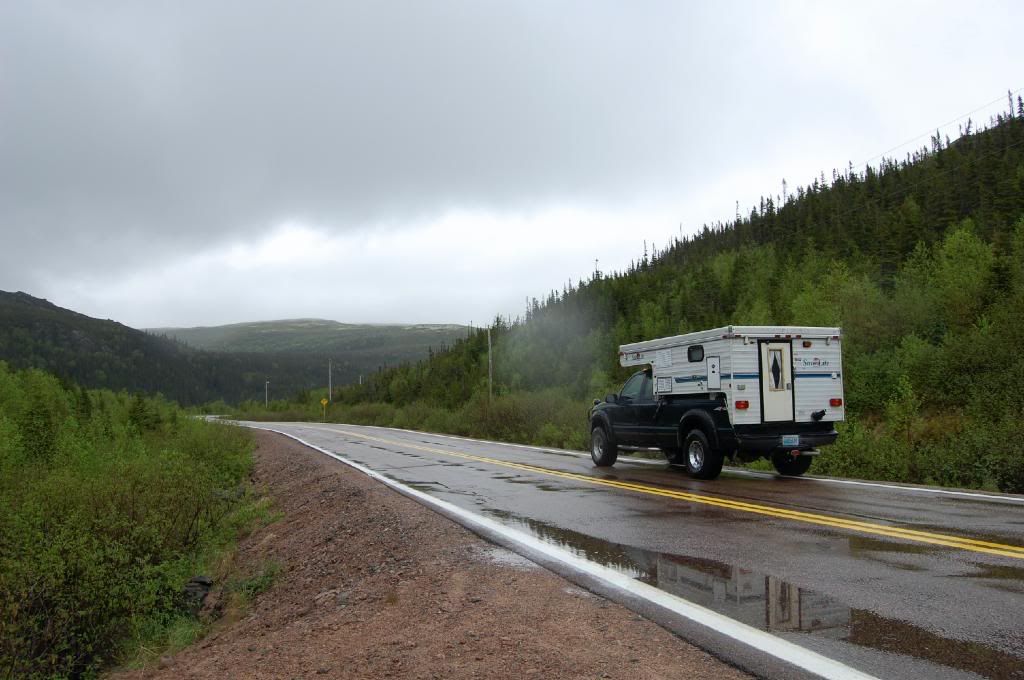
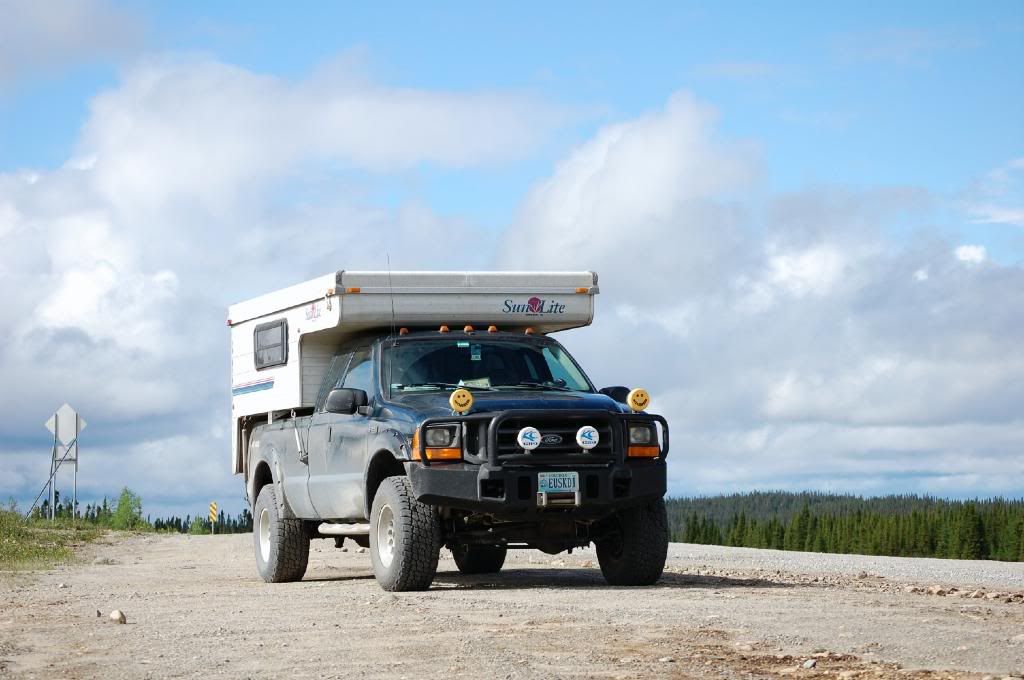
Well, the only way we were going to do that was by camping, so we built a 1999 F250 7.3 4WD Manual. Slide-in camper, leveling kit, big bumper, exhaust, tuner, intake, onboard air, bigger wheels and tires, CB, lights, and a few other things. It had 200kish miles. It worked a treat.
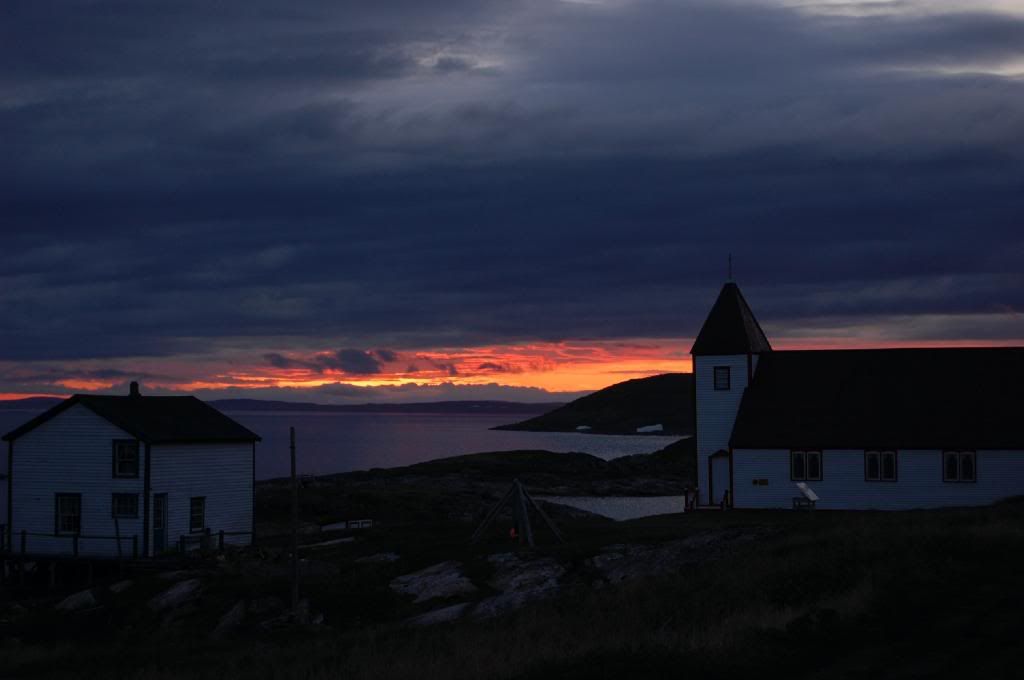
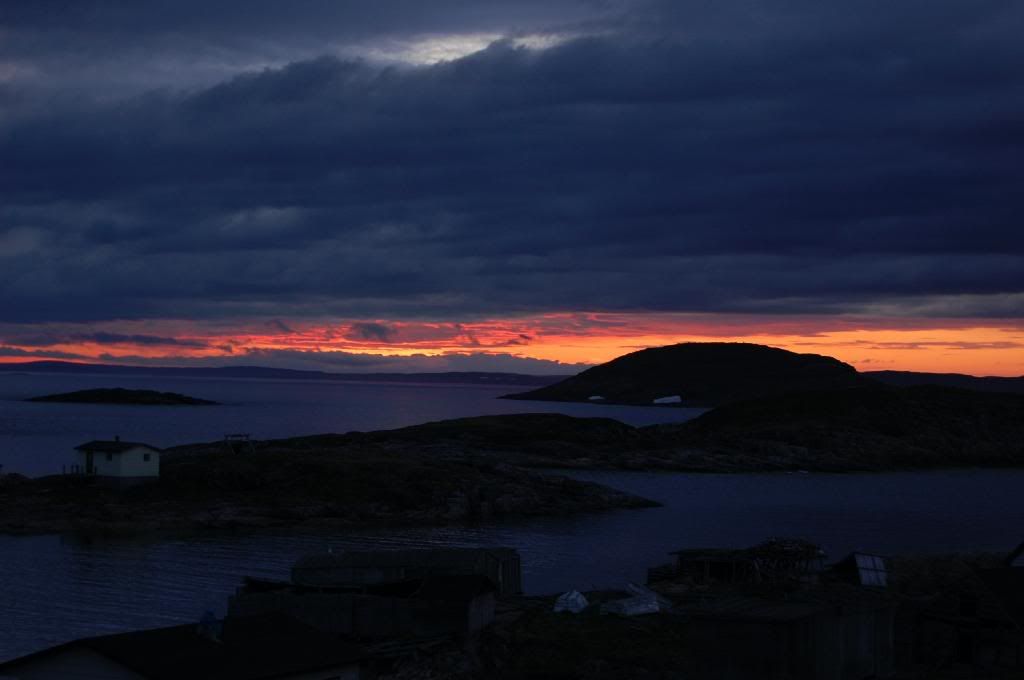
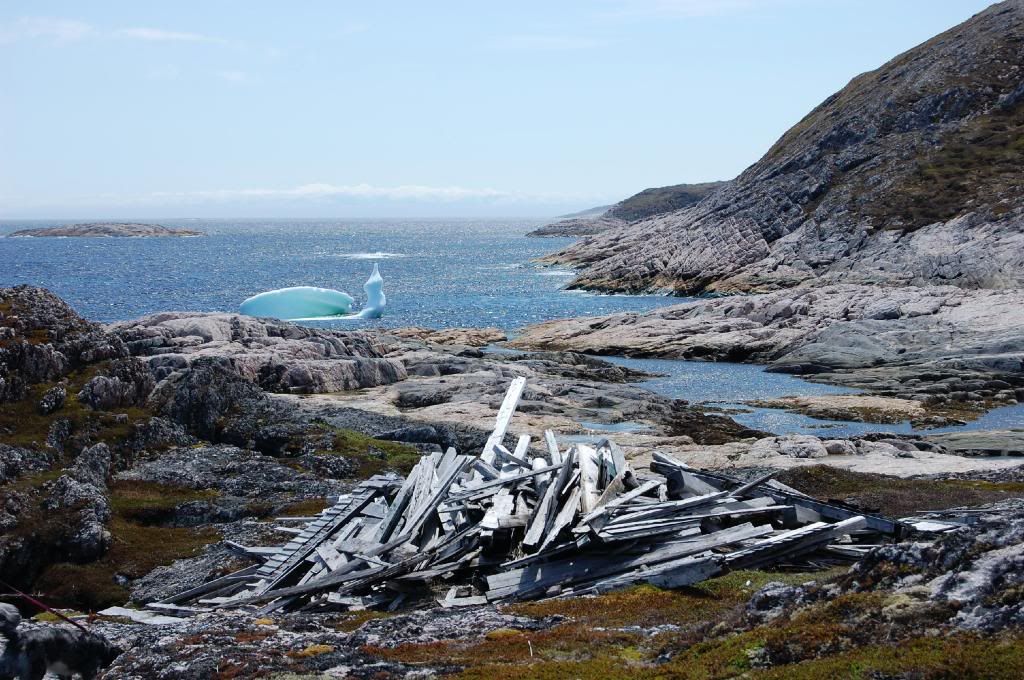
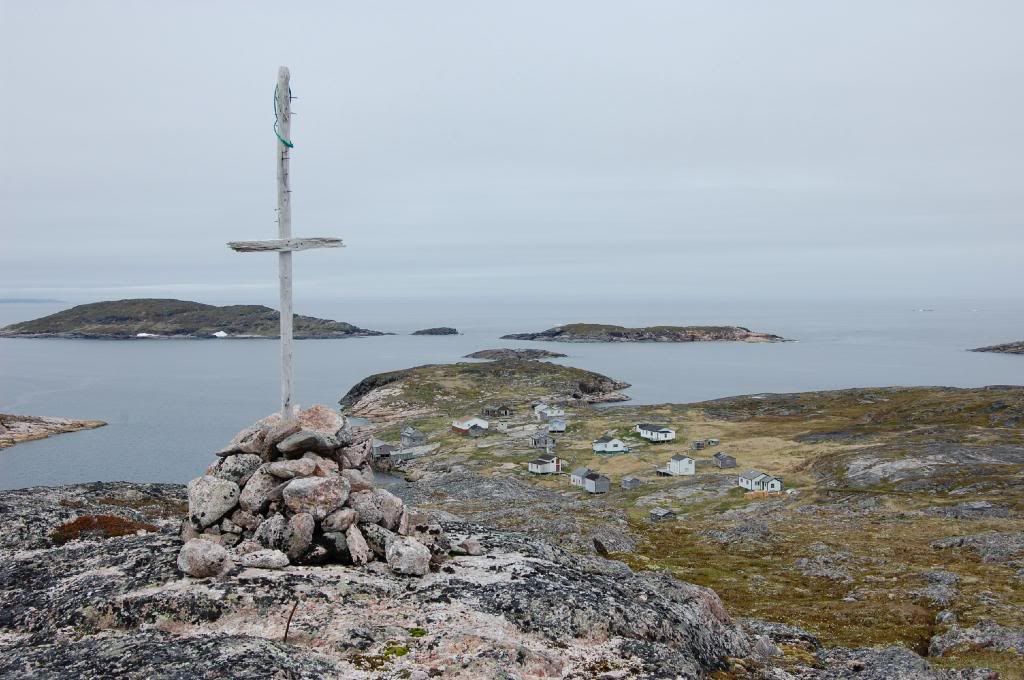
Battle Harbour NP:
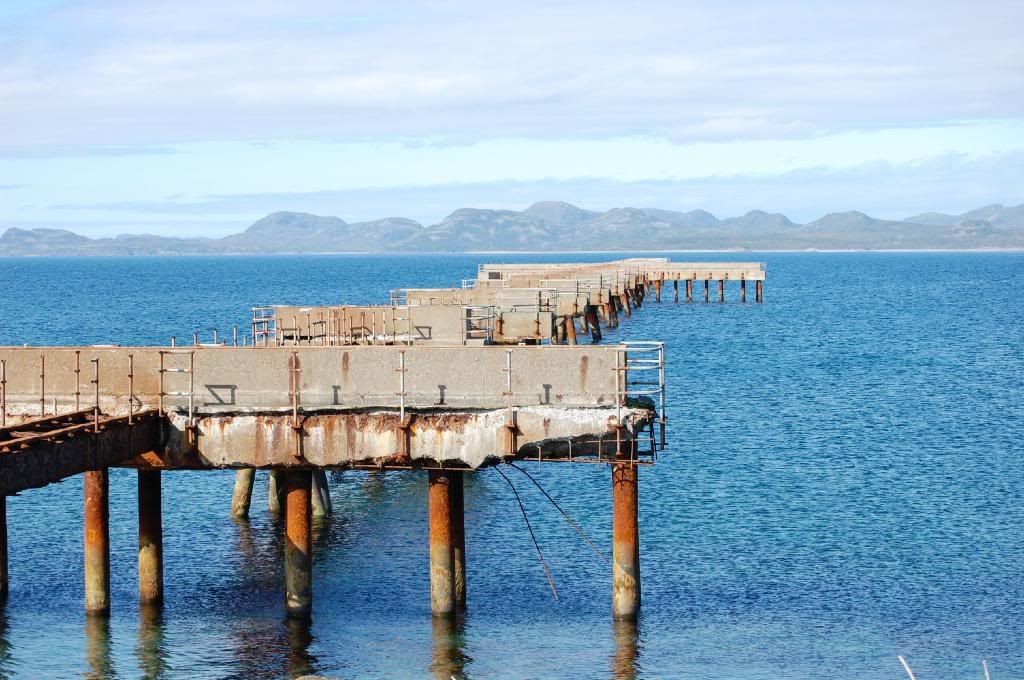
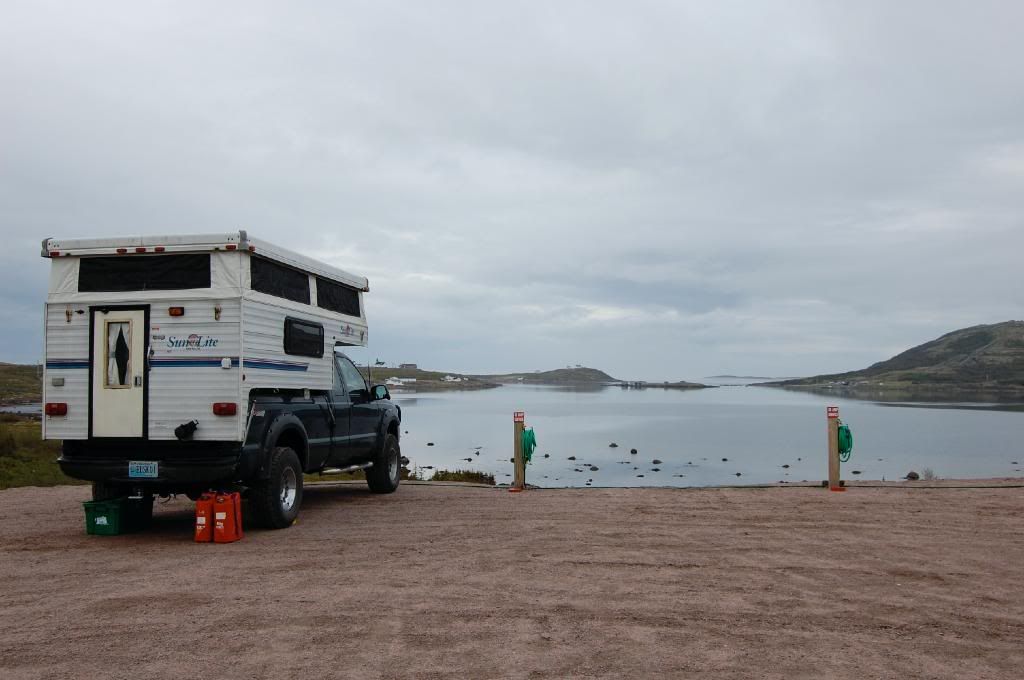
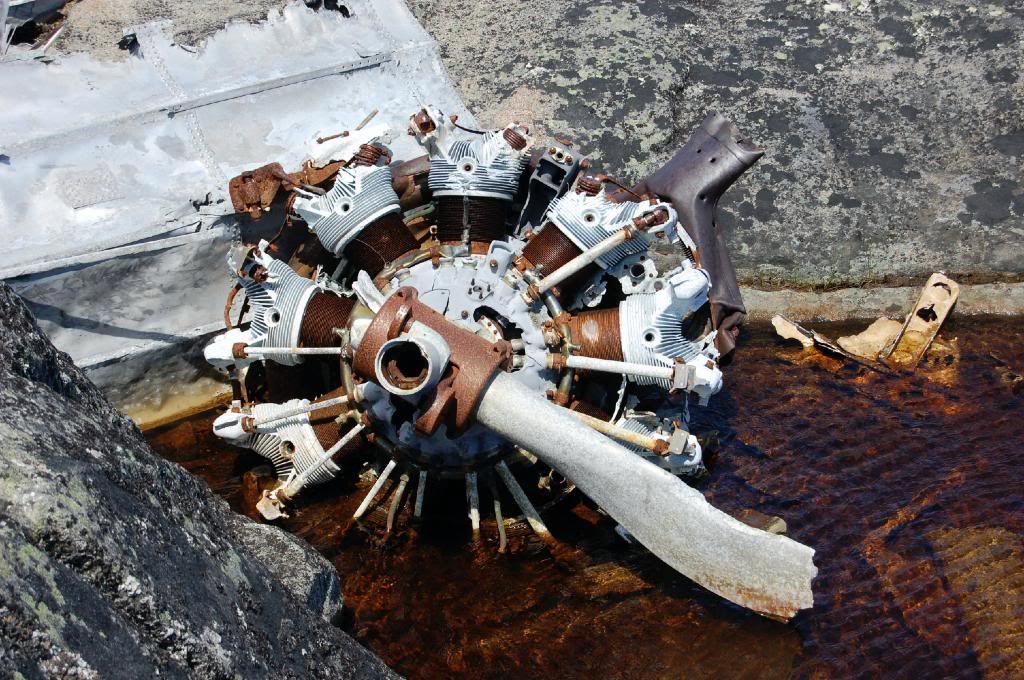
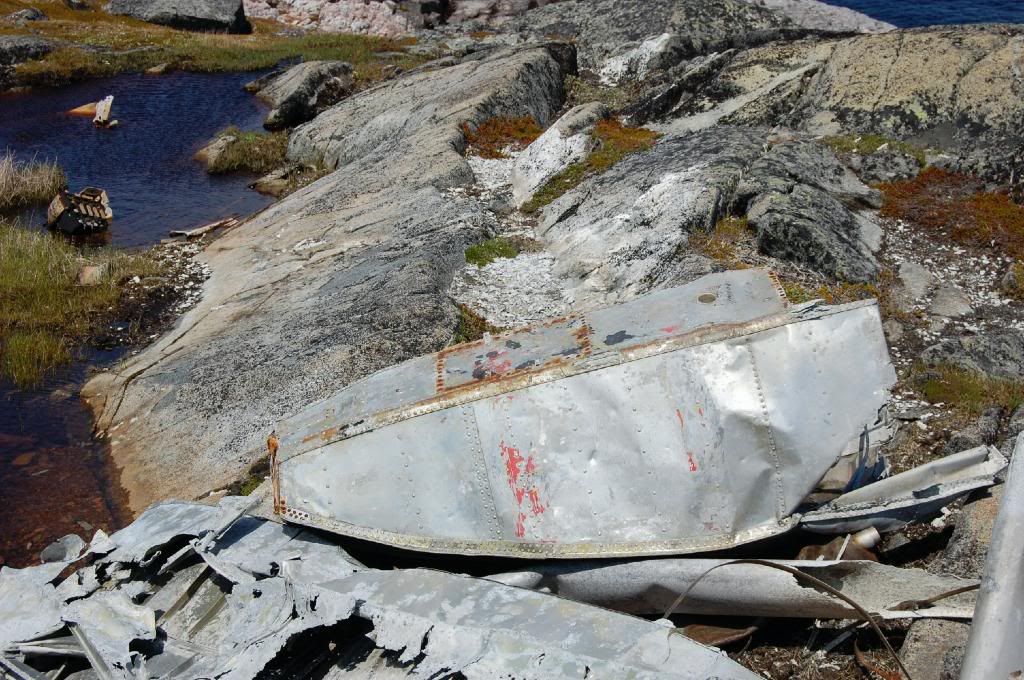
The old NAS at Argentia:
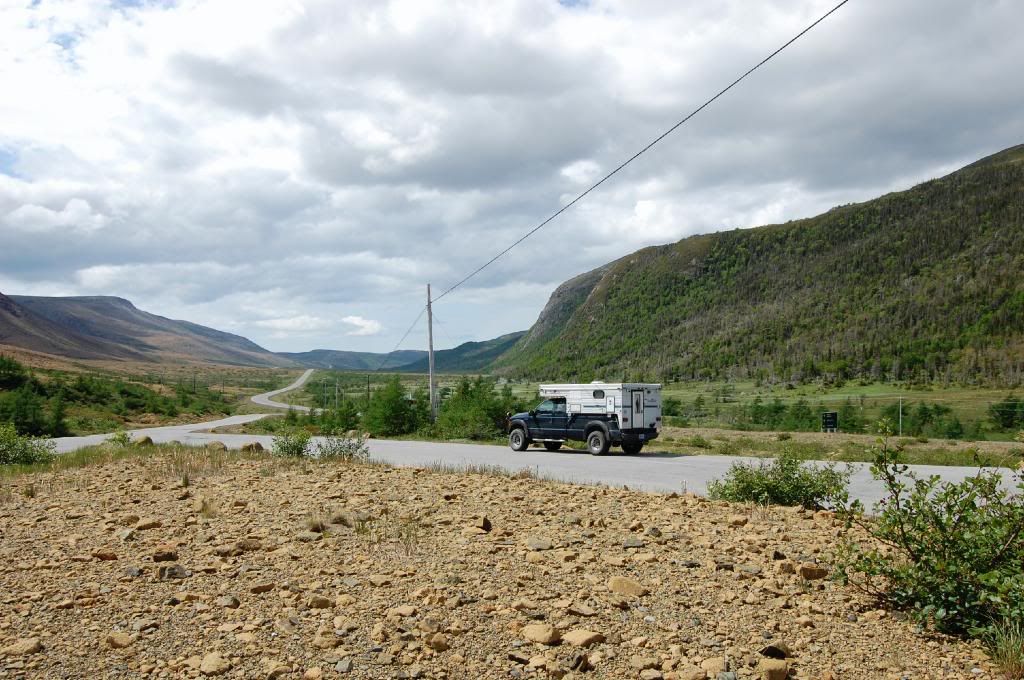
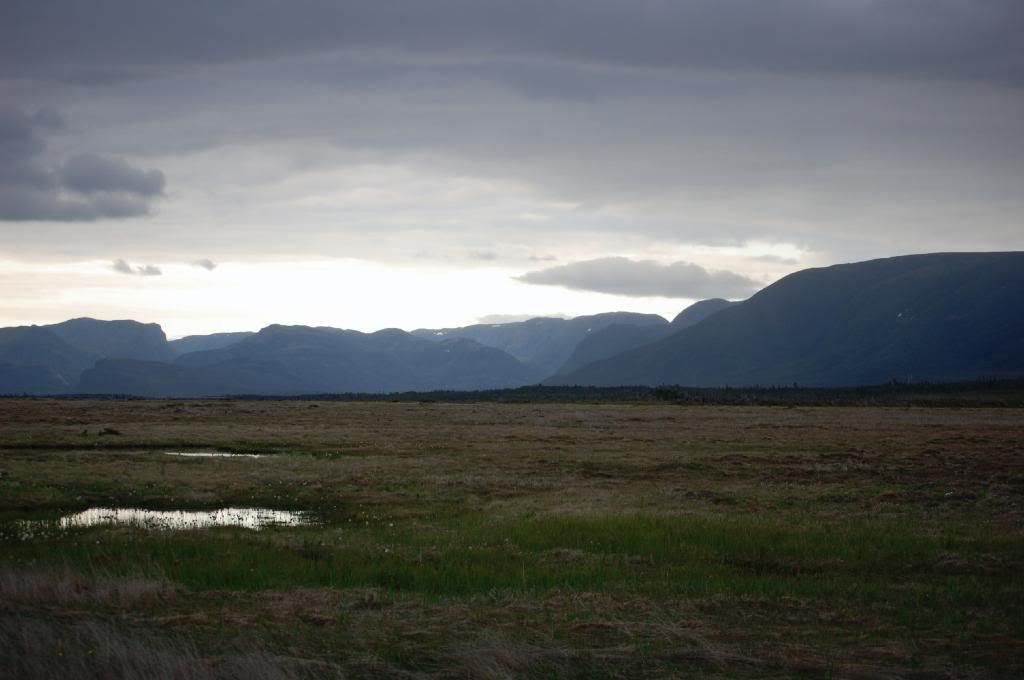
Tablelands NP:
Gros Marne NP:
Pinware River:
Red Bay:
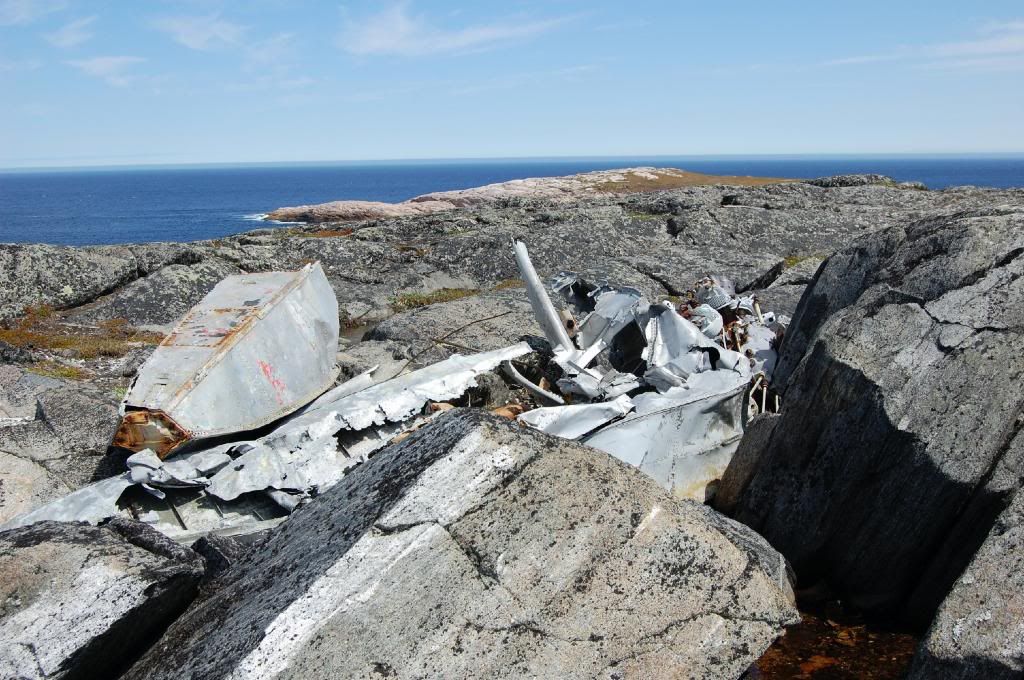
A Beaver:
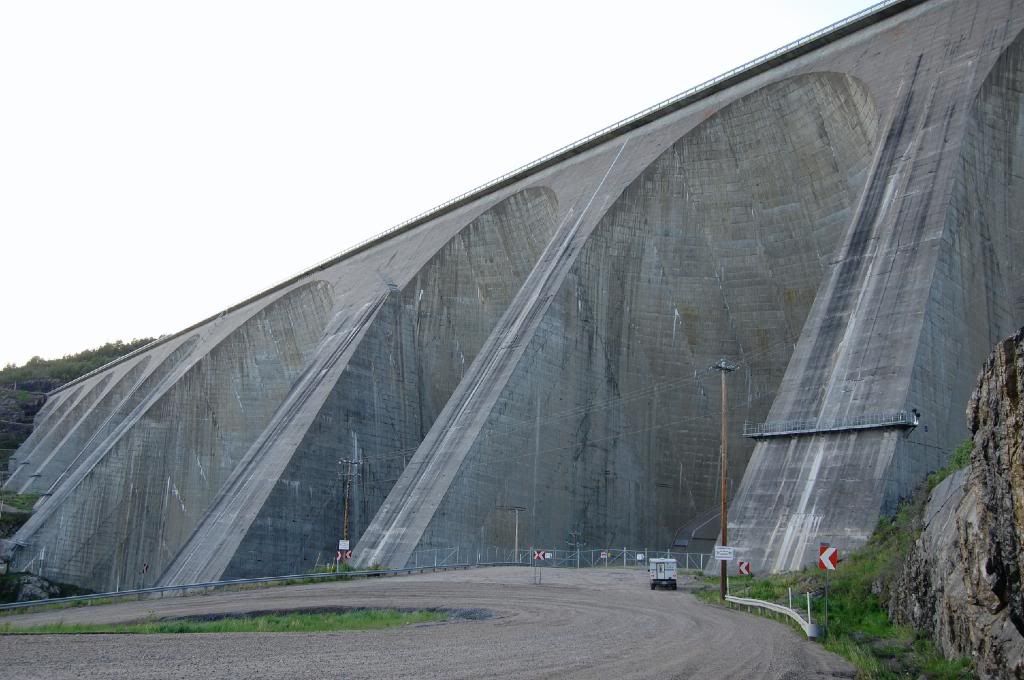
Quebec-Labrador border:
Manac 5:
Forgive any continuity errors - it's a repost from another forum. Mea Maxima Culpa.
First, some background:
About 7 years ago, maybe 8, I turned to my wife and said "I want to go to Newfoundland." So we packed up the Evo, and drove there. Had a great time, wowed the locals (no Evos in Canada at the time) and really enjoyed it. Stayed in lighthouses, had amazing smoked salmon, etc...
The Evo was our recce/demo vehicle for the shop I owned at the time, and had a bunch of goodies, mostly suspension (RS&SP), and minor engine mods (cams, cam gears, clutch and flywheel, reflash, exhaust).
Gros Marne NP:


L'Anse Aux Meadows:

Sherbrooke:

This was fine and dandy, but we gazed across the Strait of Belle Isle, and I said "I want to go to Labrador."
Well, the only way we were going to do that was by camping, so we built a 1999 F250 7.3 4WD Manual. Slide-in camper, leveling kit, big bumper, exhaust, tuner, intake, onboard air, bigger wheels and tires, CB, lights, and a few other things. It had 200kish miles. It worked a treat.
Battle Harbour NP:


The old NAS at Argentia:


Tablelands NP:


Gros Marne NP:

Pinware River:

Red Bay:

A Beaver:


Quebec-Labrador border:

Manac 5:


Last edited:


