mcm4090
Explorer
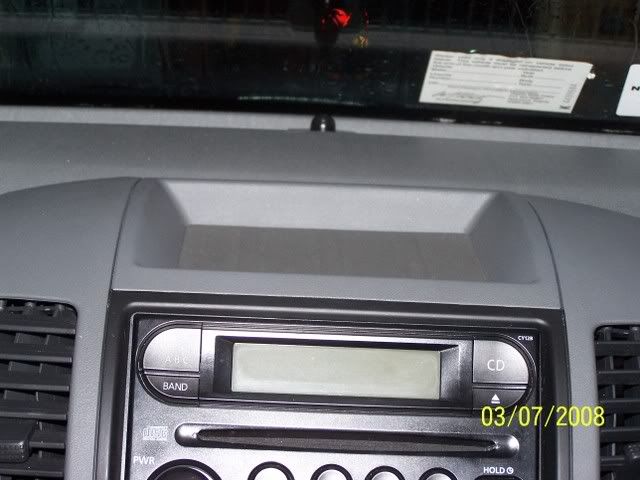
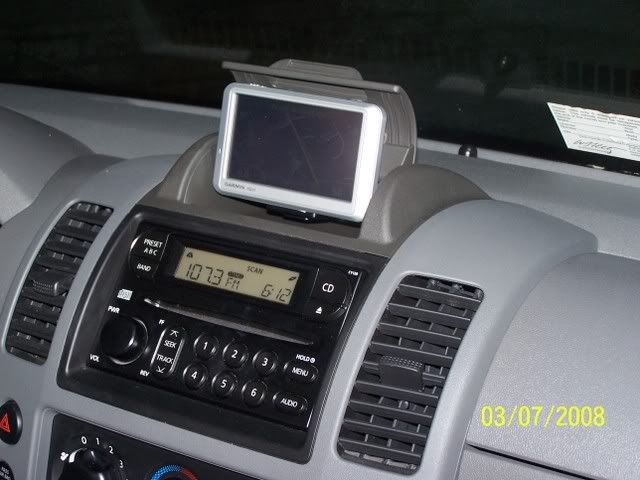
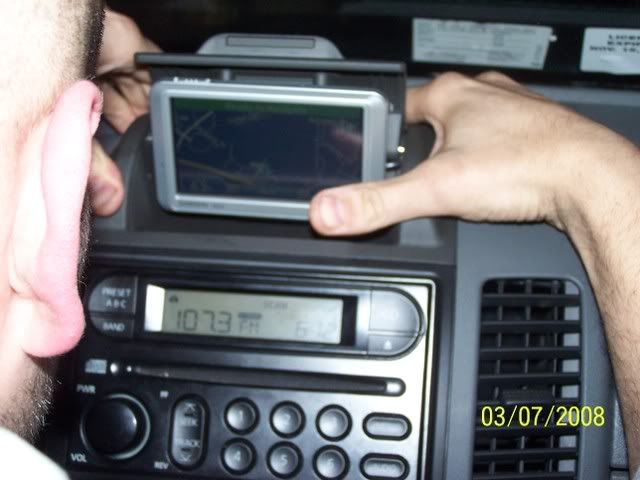
Nissan now offers a Portable navigation docking unit for the 2005 and up Frontiers, Xterra's and Pathfinders. The docking station goes on the dash in place of the top tray above the radio.
You can order the docking station and the Garmin nuvi 750 from The Nismo Shop where they will give you a discount. Great customer service.
http://www.thenismoshop.com/
Pro's
- Power supply is done through the radio so there are no visiable wires.
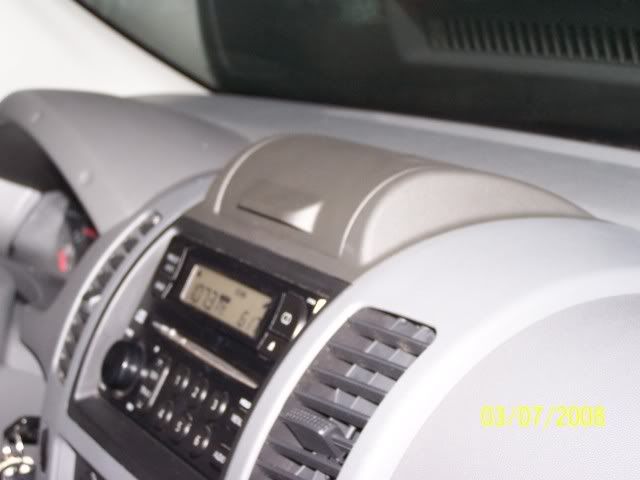
- There is a lid that closes w/ the GPS unit inside making it not visiable
- Easy Installation
Con's
- Limited on the type of Navigation units that can be used.
- At this time it is only available in charcoal (I install this on my wife's Frontier that has a gray interior).
Installation can be done in under 30 minutes.
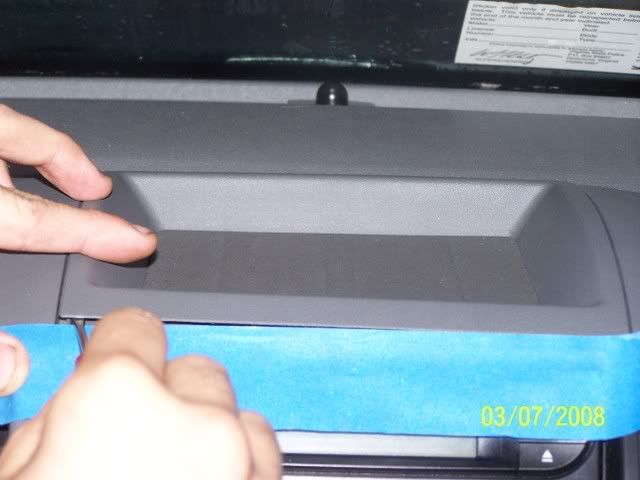
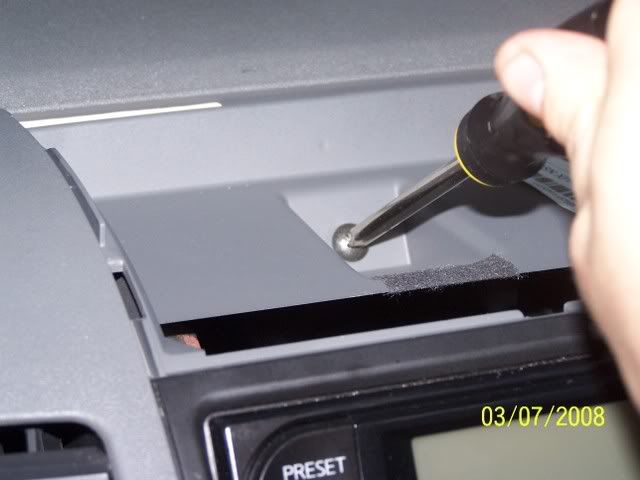
1) First you will need to remove the top tray. Place painters tape on the top lip of the radio to pervent scratches, and use a small flat head screwdriver to gently pry up the top tray.
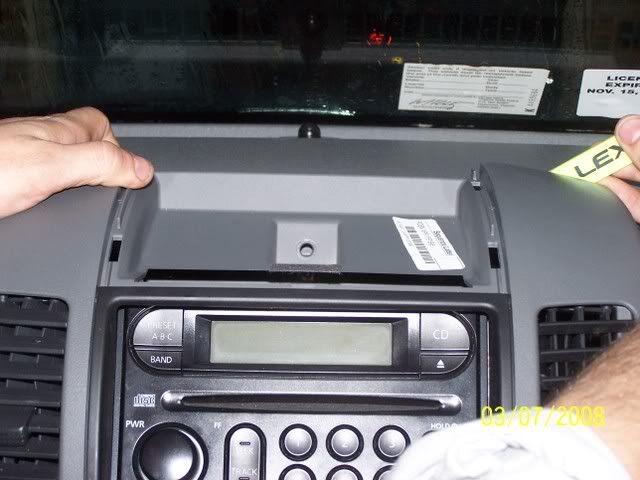
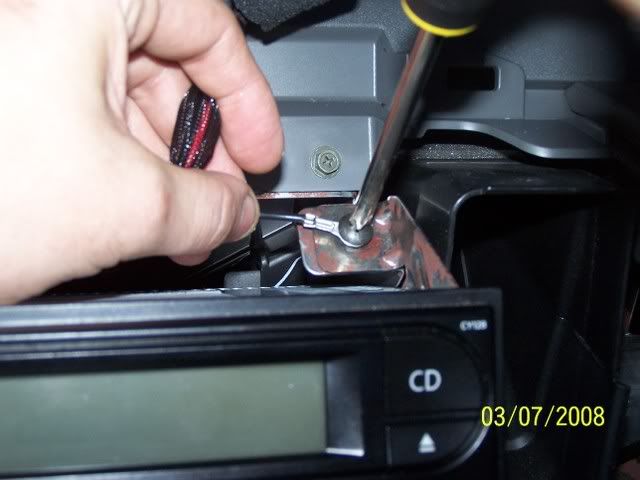
2) Remove one Screw above radio, then pry off radio bezel.
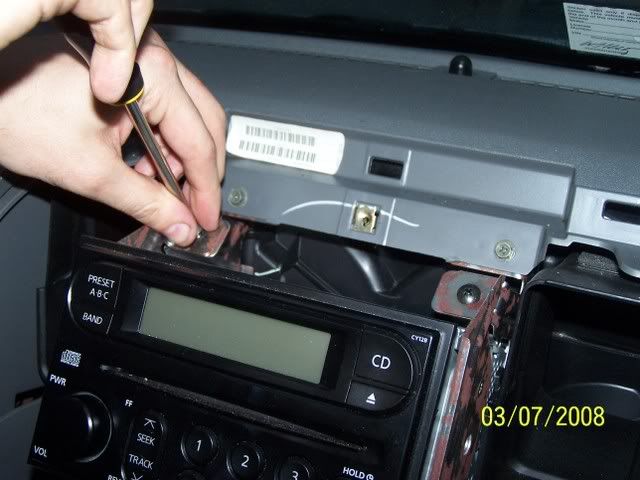
3) Remove 4 screws to remove radio.
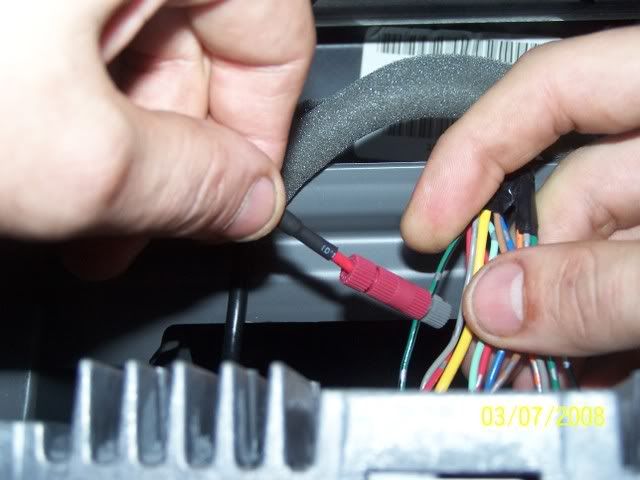
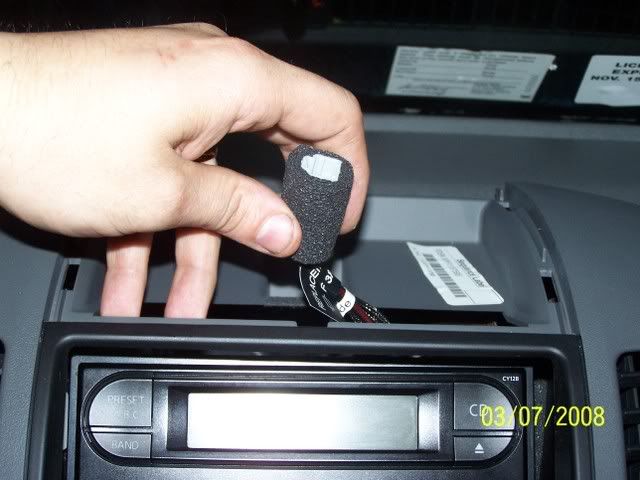
4) Use supplied wire connector to tap into power supply behind radio. Pin 1 (Green with a black tracer)
5) Re-install radio adding ground wire to top mount bracket.
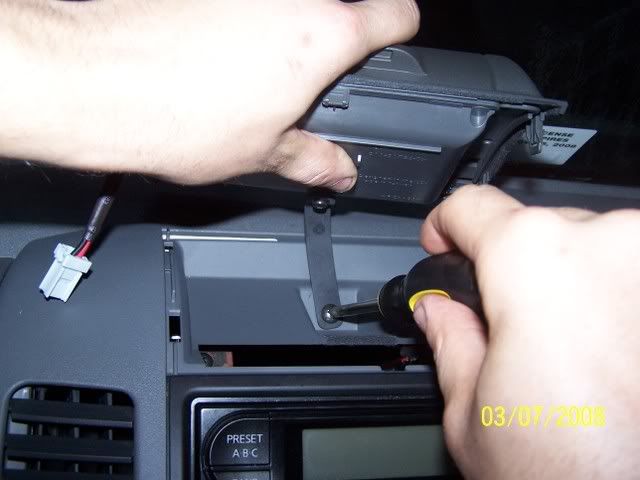
6) Re-install cluster bezel, while pulling docking harness through hole.
7) Install housing assembly strap with housing screw.
8) Connect wiring connector to docking station and secure docking station.
You can order the docking station and the Garmin nuvi 750 from The Nismo Shop where they will give you a discount. Great customer service.
http://www.thenismoshop.com/
Pro's
- Power supply is done through the radio so there are no visiable wires.
- There is a lid that closes w/ the GPS unit inside making it not visiable
- Easy Installation
Con's
- Limited on the type of Navigation units that can be used.
- At this time it is only available in charcoal (I install this on my wife's Frontier that has a gray interior).
Installation can be done in under 30 minutes.
1) First you will need to remove the top tray. Place painters tape on the top lip of the radio to pervent scratches, and use a small flat head screwdriver to gently pry up the top tray.
2) Remove one Screw above radio, then pry off radio bezel.
3) Remove 4 screws to remove radio.
4) Use supplied wire connector to tap into power supply behind radio. Pin 1 (Green with a black tracer)
5) Re-install radio adding ground wire to top mount bracket.
6) Re-install cluster bezel, while pulling docking harness through hole.
7) Install housing assembly strap with housing screw.
8) Connect wiring connector to docking station and secure docking station.