You are using an out of date browser. It may not display this or other websites correctly.
You should upgrade or use an alternative browser.
You should upgrade or use an alternative browser.
Yellow Frontier into Expedition truck
- Thread starter iron dingo
- Start date
iron dingo
Observer
Oh yeah I am used to that this was just a bit deeper than normal scraped knuckles.. as a friend of mine put it "the truck demanded a blood sacrifice all will be well now"
last night I received the first box of parts for the suspension lift... i need the hand to heal up before the rest of the parts come in ;-)
last night I received the first box of parts for the suspension lift... i need the hand to heal up before the rest of the parts come in ;-)
richard310
pew pew
Yikes. Glad to hear your hands are okay. Be careful when underneath! Take precautions (gloves or padding on any impact areas).
Heal fast so you can get those suspension parts installed!
Heal fast so you can get those suspension parts installed!

iron dingo
Observer
nice, when I get to that point I will defiantly check him out
jhughes3281
Observer
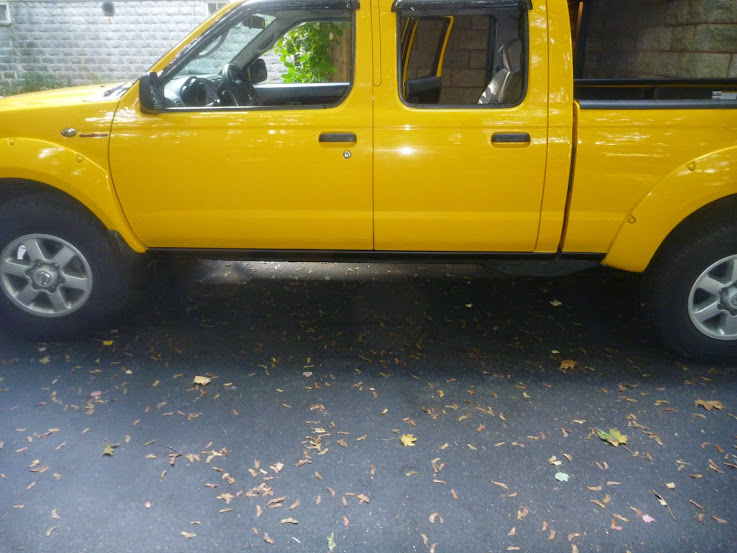
Looking good buddy. Very clean canvas to start with.
iron dingo
Observer
Thanks.
Right now I have the Ducati 2011 Multistrada 1200

and a 2006 Ducati monster (S2R1000).
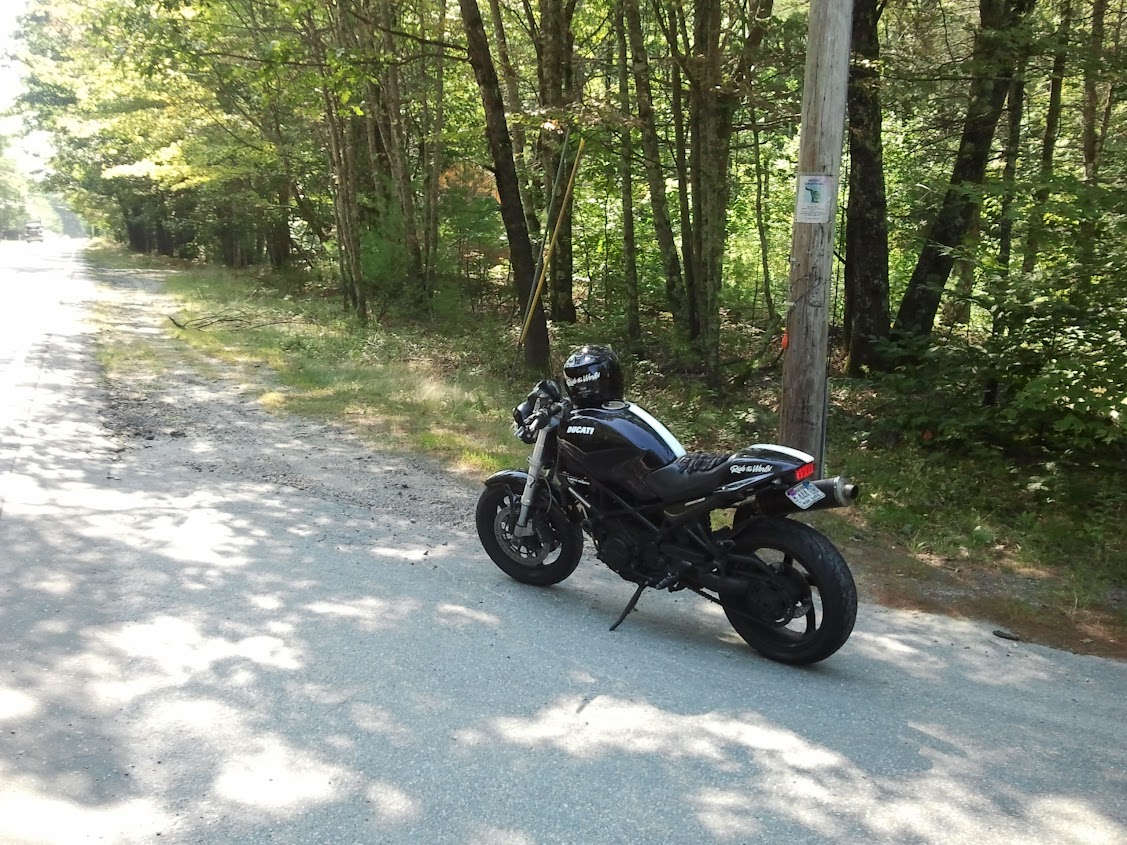
I also have access to ride a couple of mid 70's vintage Rokons.

The monster is my go to bike.
Right now I have the Ducati 2011 Multistrada 1200
and a 2006 Ducati monster (S2R1000).
I also have access to ride a couple of mid 70's vintage Rokons.
The monster is my go to bike.
iron dingo
Observer
update
ok update time.
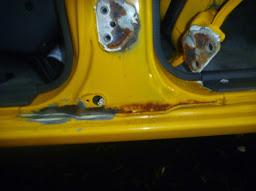
after doing the steering gear I did a the little bit of rust cleanup I needed to and instead of trying to match paint i used bedliner paint.
At the same time i was waiting for paint to dry I put in a little luxury, in the form of seat heaters
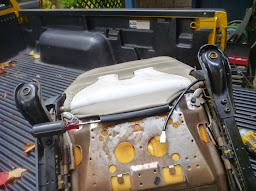
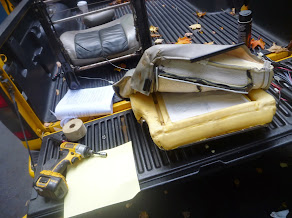
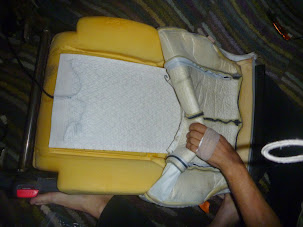
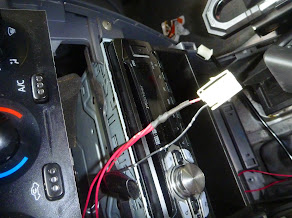
I tied it into the dash power port which is key switched. i think it looks good


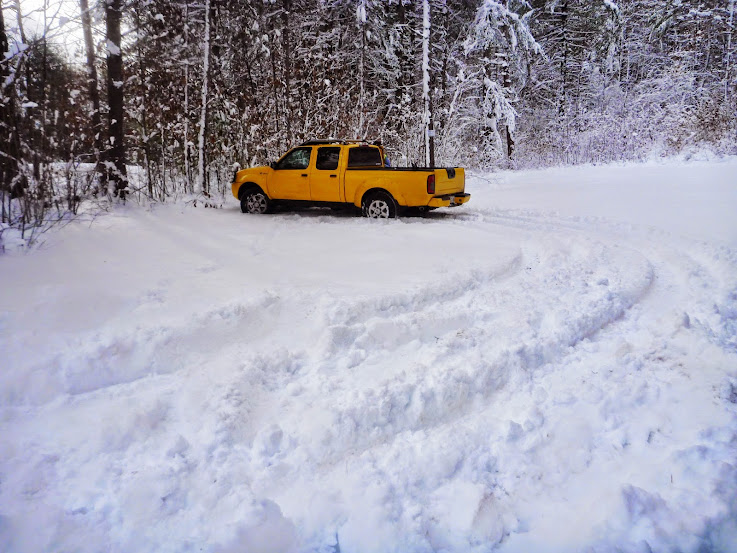
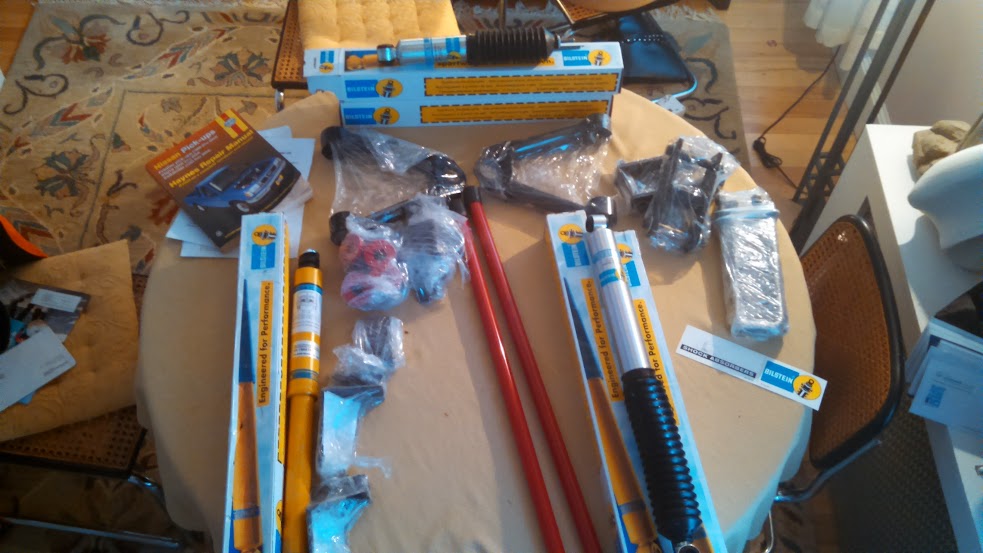
And then I wait. I order new shocks and a lift kit from 4X4PARTS.COM but the Bilstein Shocks I wanted were backordered. so i wait.. mean while i went on a camping trip in the white mountains. with a little icy road travel.
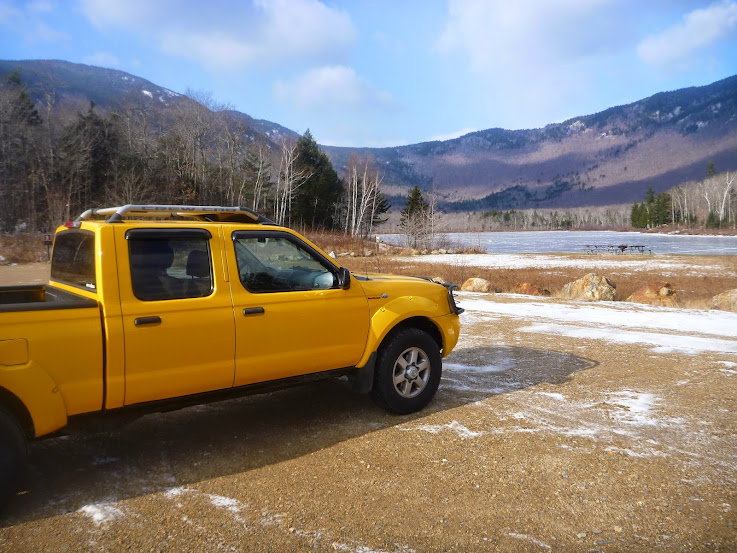
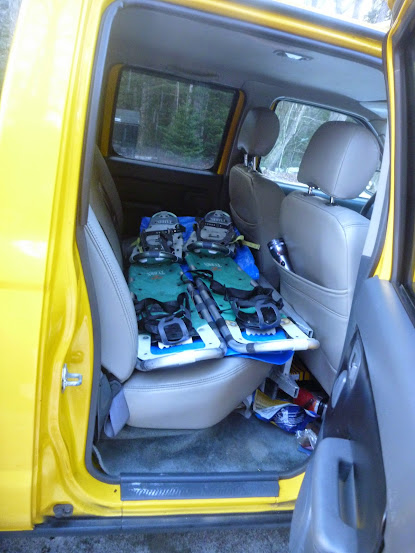
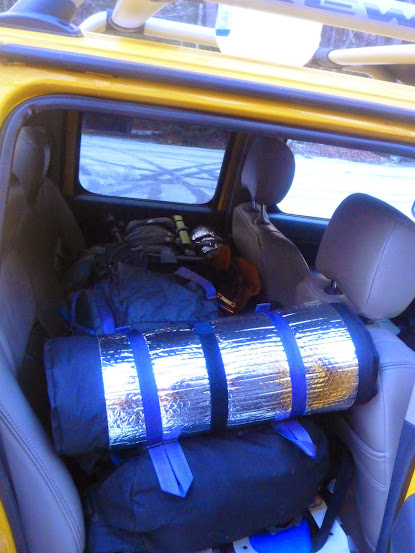
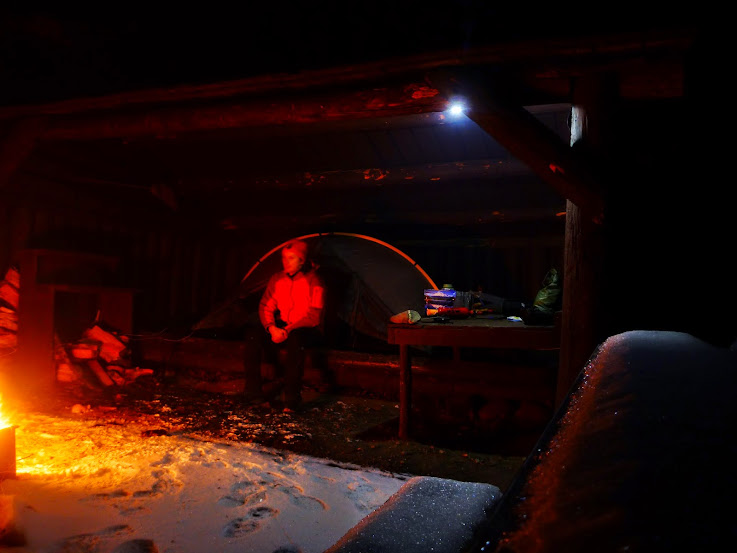
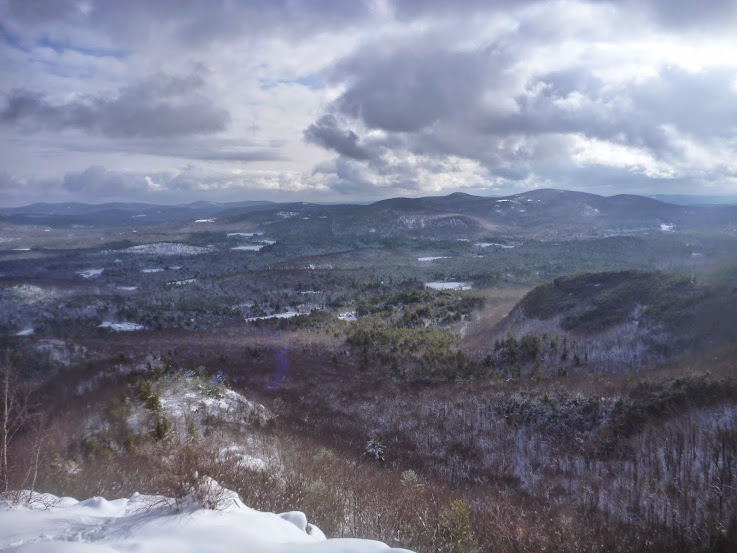
And then for Black Friday I did what any sane person would do I found a snowy mountain and climbed it.
Last Tuesday I got the last of the parts for the lift kit and steering dampener. So I have been working out schedule to get up to the shop in Newfield and put it all on.
I thought I had it worked out for tomorrow but now all my experienced mechanic friends are backing out on me. Legit reasons but disappointing none the less. I am going to go up anyway. I think i should change the differential fluid and transfer case fluid anyway. Also my passenger side windshield wiper gave up so i will investigate that. Who knows maybe i will be able to track down help and get the lift kit on. or just muddle through it myself.
ok update time.
after doing the steering gear I did a the little bit of rust cleanup I needed to and instead of trying to match paint i used bedliner paint.
At the same time i was waiting for paint to dry I put in a little luxury, in the form of seat heaters
I tied it into the dash power port which is key switched. i think it looks good
And then I wait. I order new shocks and a lift kit from 4X4PARTS.COM but the Bilstein Shocks I wanted were backordered. so i wait.. mean while i went on a camping trip in the white mountains. with a little icy road travel.
And then for Black Friday I did what any sane person would do I found a snowy mountain and climbed it.
Last Tuesday I got the last of the parts for the lift kit and steering dampener. So I have been working out schedule to get up to the shop in Newfield and put it all on.
I thought I had it worked out for tomorrow but now all my experienced mechanic friends are backing out on me. Legit reasons but disappointing none the less. I am going to go up anyway. I think i should change the differential fluid and transfer case fluid anyway. Also my passenger side windshield wiper gave up so i will investigate that. Who knows maybe i will be able to track down help and get the lift kit on. or just muddle through it myself.
iron dingo
Observer
quick update,
Sunday, I got out to the shop.
and did some basic stuff
1. changed front diff fluid (it was gray and opaque)
2. started to change rear diff fluid but saw it was clear like honey so just topped it back off and ran with it.
3. changed transfer case fluid it was opaque and grayish purple.
4. pulled the headlight housings and changed the parking light bulbs out for LEDs on was burned out already
5. found that my passenger windshield wiper was loose and stripping out so i tightened it and blue locktighted it till I can get an new wiper arm.
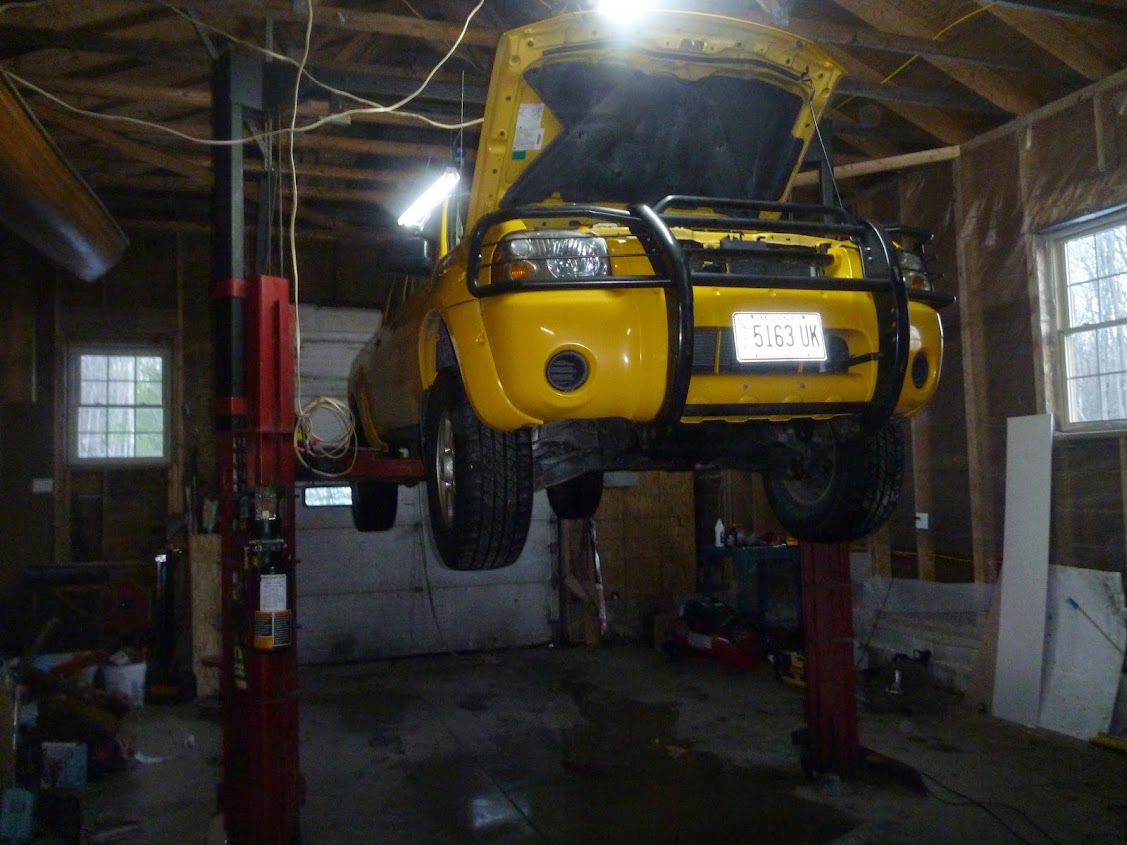
I also started to investigate the suspension since i have no experience with torsion bars.
it sure is nice to have access to a lift at times like these.
Sunday, I got out to the shop.
and did some basic stuff
1. changed front diff fluid (it was gray and opaque)
2. started to change rear diff fluid but saw it was clear like honey so just topped it back off and ran with it.
3. changed transfer case fluid it was opaque and grayish purple.
4. pulled the headlight housings and changed the parking light bulbs out for LEDs on was burned out already
5. found that my passenger windshield wiper was loose and stripping out so i tightened it and blue locktighted it till I can get an new wiper arm.
I also started to investigate the suspension since i have no experience with torsion bars.
it sure is nice to have access to a lift at times like these.
richard310
pew pew
Awesome update. Man it must be nice to have access to a lift like that. Good upgrades too, keep it up ")
The UCA's are doable by yourself. Youtube's got a video of the swap. I'd recommend a Ball Joint Seperator, a heavy sledge/hammer for the seperator, a long breaker bar, and lots of WD-40 if it's stubborn. I was able to do it in about half a day taking my time. You can change the shocks at the same time as it'll be easier to remove the shocks when replacing the UCA. Same with the rear shackles and rear shocks. Good luck!
The UCA's are doable by yourself. Youtube's got a video of the swap. I'd recommend a Ball Joint Seperator, a heavy sledge/hammer for the seperator, a long breaker bar, and lots of WD-40 if it's stubborn. I was able to do it in about half a day taking my time. You can change the shocks at the same time as it'll be easier to remove the shocks when replacing the UCA. Same with the rear shackles and rear shocks. Good luck!
iron dingo
Observer
A buddy of mine has a shop on the edge of Nowheresville that we are setting up to be shared project space. We just got the lift wired in and got gifted a forced hot air furnace, we need to get it hooked up and get OSB on the walls and ceiling so we can finish insulating the shop space. It has been a long slow process but moving faster now that I am helping him out.
I spent last night watching Youtube videos on the UCA's and Torsion bars. I am fairly certain I can do it all. But I have worked out help just in case, also a ride home if I break it and can't finish it in a day ;-)
This is the supercharged V6
I spent last night watching Youtube videos on the UCA's and Torsion bars. I am fairly certain I can do it all. But I have worked out help just in case, also a ride home if I break it and can't finish it in a day ;-)
This is the supercharged V6
Smart:iagree:But I have worked out help just in case, also a ride home if I break it and can't finish it in a day ;-)
iron dingo
Observer
update time.
Well the 2 actual mechanics I had to come help me bailed on me. One due to family stuff and the other cause he was afraid it would be to hard and "did not want to be the one to break my truck" Yeah, i will not be asking him for help with anything again..
So I got to the shop 9:00 with my GF following in her car I got confirmation the night before that Screemin from this forum, who is my boss and hiking buddy would be able to join us about 10:00. I was a bit spooked about having enough time because of the comments from "Mr. too difficult" So i got right into it without taking the good "Before Pictures" and measurements as to the exact before height.
So up on the lift he went.
Plan was to start with the front pull the upper control arms and shocks, swap those out, then swap out the torsion bars and estimate the new height. After that move to the rear and put on the shackles and new shocks in the rear, set the whole rig down to measure and level.
For the past two days I have been hitting every bolt and nut I expect to have to remove with PB Blaster.


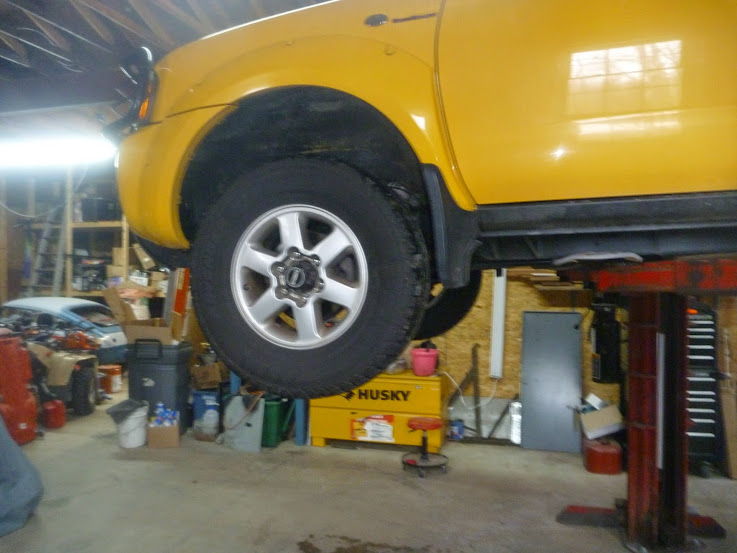
The wheels all came off no problem and I really could see that I need new tires soon.
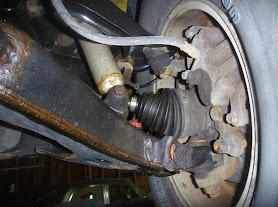
The first control arm, ball joint and shock took a little more time due to having never done it before and not being too sure how to use the rented tools from NAPA.
but my Mousey and I got them off.
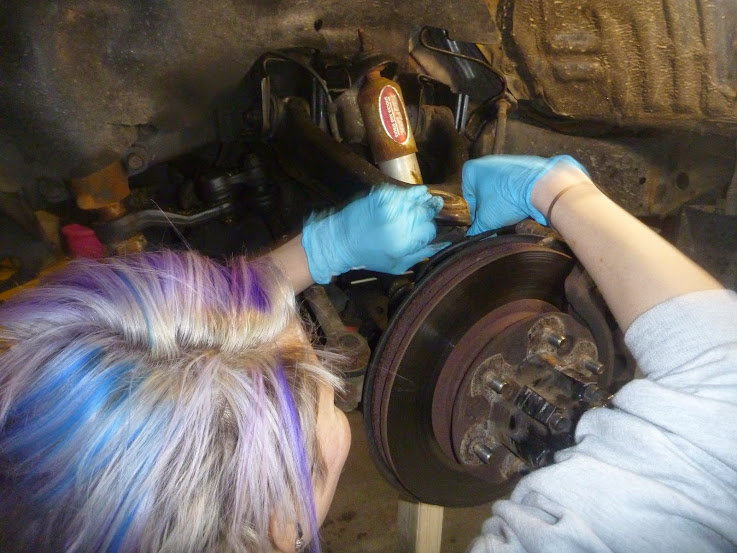

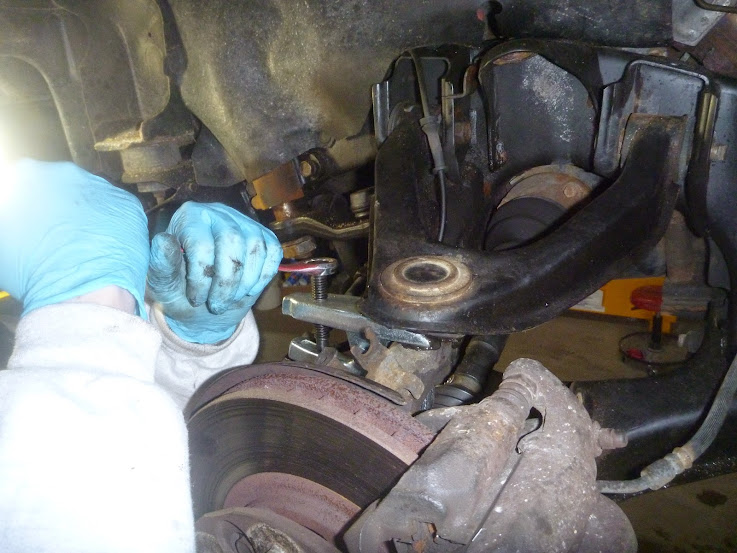
Screemin arrived about the time we were getting the new bits on. And we discovered that in my kit there were no new ball joints. After a lot of searching and looking at photos I took when the packages came in. No, ball joints. The process of Removing the old one kinda wreaked the boot and besides the old ball joint wont fit in the new upper control arm.
Well, it is off I might as well finish off what I can and put the new joints in when I locate them.
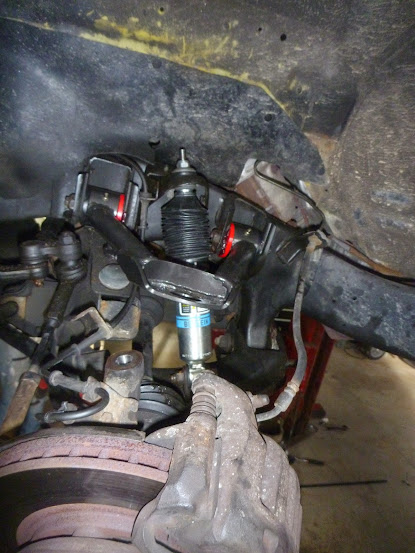
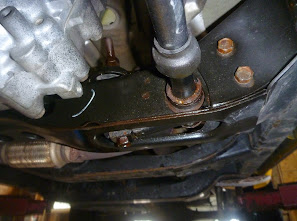
While Mousey moves on to the other front wheel Screemin and I start on the torsion bars. Torsion bars come out no problem well almost
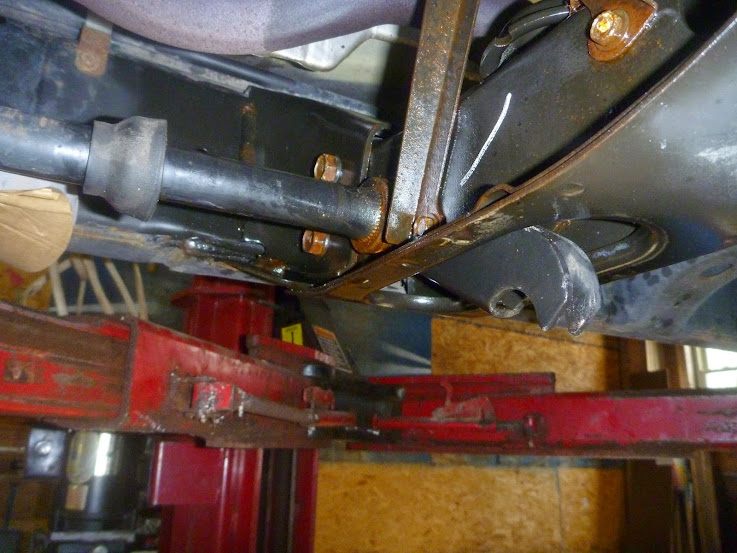
I try soaking the end with PB Blaster to get the retaining plate off while we all work on the passenger wheel.
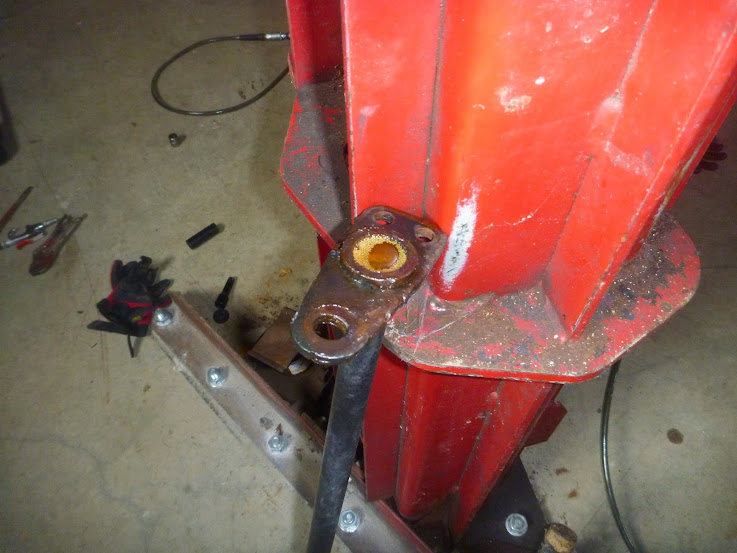
after some banging it still does not come off so I try a little heat...
then some more heat
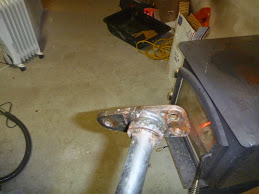
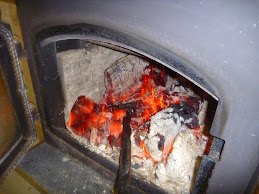

After that heat and a couple of good hits with a hammer and out it comes.
I was able to do the other side with a little less heat.
We got the second side done with little drama and moved on to do the rear.
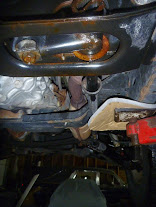
The truck has been fitted with a Cherry bomb dual exhaust that is all welded up and totally in the way, if fact it looks like it is touching the spare tire. Looks like I will be rerouting that
Since I don't have the welder to do that now we cut off the old shackles

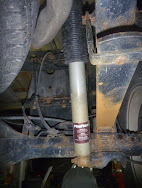
put on the new ones and shocks with a great deal of effort it takes a lot of pushing to get the bushings on the pins. but they go on.
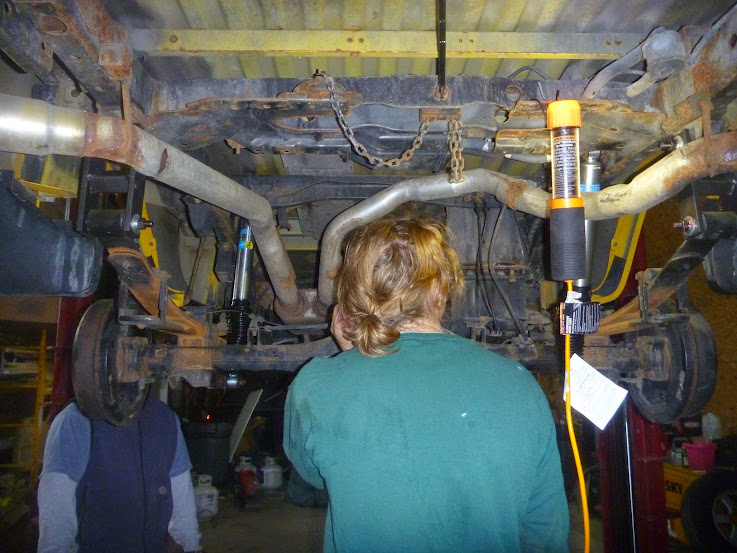
After that we set him down just enough to put weight on the rear suspension to see the lift.
it is tall....

If I had not been missing the ball joints we easily could have finished in under 8 hours.
After a bit of phone time the new ball joints should be here Friday and I will be able to get them on and next week an alignment.
Well the 2 actual mechanics I had to come help me bailed on me. One due to family stuff and the other cause he was afraid it would be to hard and "did not want to be the one to break my truck" Yeah, i will not be asking him for help with anything again..
So I got to the shop 9:00 with my GF following in her car I got confirmation the night before that Screemin from this forum, who is my boss and hiking buddy would be able to join us about 10:00. I was a bit spooked about having enough time because of the comments from "Mr. too difficult" So i got right into it without taking the good "Before Pictures" and measurements as to the exact before height.
So up on the lift he went.
Plan was to start with the front pull the upper control arms and shocks, swap those out, then swap out the torsion bars and estimate the new height. After that move to the rear and put on the shackles and new shocks in the rear, set the whole rig down to measure and level.
For the past two days I have been hitting every bolt and nut I expect to have to remove with PB Blaster.
The wheels all came off no problem and I really could see that I need new tires soon.
The first control arm, ball joint and shock took a little more time due to having never done it before and not being too sure how to use the rented tools from NAPA.
but my Mousey and I got them off.
Screemin arrived about the time we were getting the new bits on. And we discovered that in my kit there were no new ball joints. After a lot of searching and looking at photos I took when the packages came in. No, ball joints. The process of Removing the old one kinda wreaked the boot and besides the old ball joint wont fit in the new upper control arm.
Well, it is off I might as well finish off what I can and put the new joints in when I locate them.
While Mousey moves on to the other front wheel Screemin and I start on the torsion bars. Torsion bars come out no problem well almost
I try soaking the end with PB Blaster to get the retaining plate off while we all work on the passenger wheel.
after some banging it still does not come off so I try a little heat...
then some more heat
After that heat and a couple of good hits with a hammer and out it comes.
I was able to do the other side with a little less heat.
We got the second side done with little drama and moved on to do the rear.
The truck has been fitted with a Cherry bomb dual exhaust that is all welded up and totally in the way, if fact it looks like it is touching the spare tire. Looks like I will be rerouting that
Since I don't have the welder to do that now we cut off the old shackles
put on the new ones and shocks with a great deal of effort it takes a lot of pushing to get the bushings on the pins. but they go on.
After that we set him down just enough to put weight on the rear suspension to see the lift.
it is tall....
If I had not been missing the ball joints we easily could have finished in under 8 hours.
After a bit of phone time the new ball joints should be here Friday and I will be able to get them on and next week an alignment.