Stevemc181
Observer
Hi All,
We bought this NW Pajero Activ back in November 2012, gotta love that new car smell! This is a 3.2Litre DiD Engine variant with Auto Transmission. We are planning a few offroad adventures and have been modding the vehicle within 1 week of buying it, we are nearly complete with our build, but as everyone knows, I don't think you ever stop finding bits and pieces to change/add to our pride and joys.
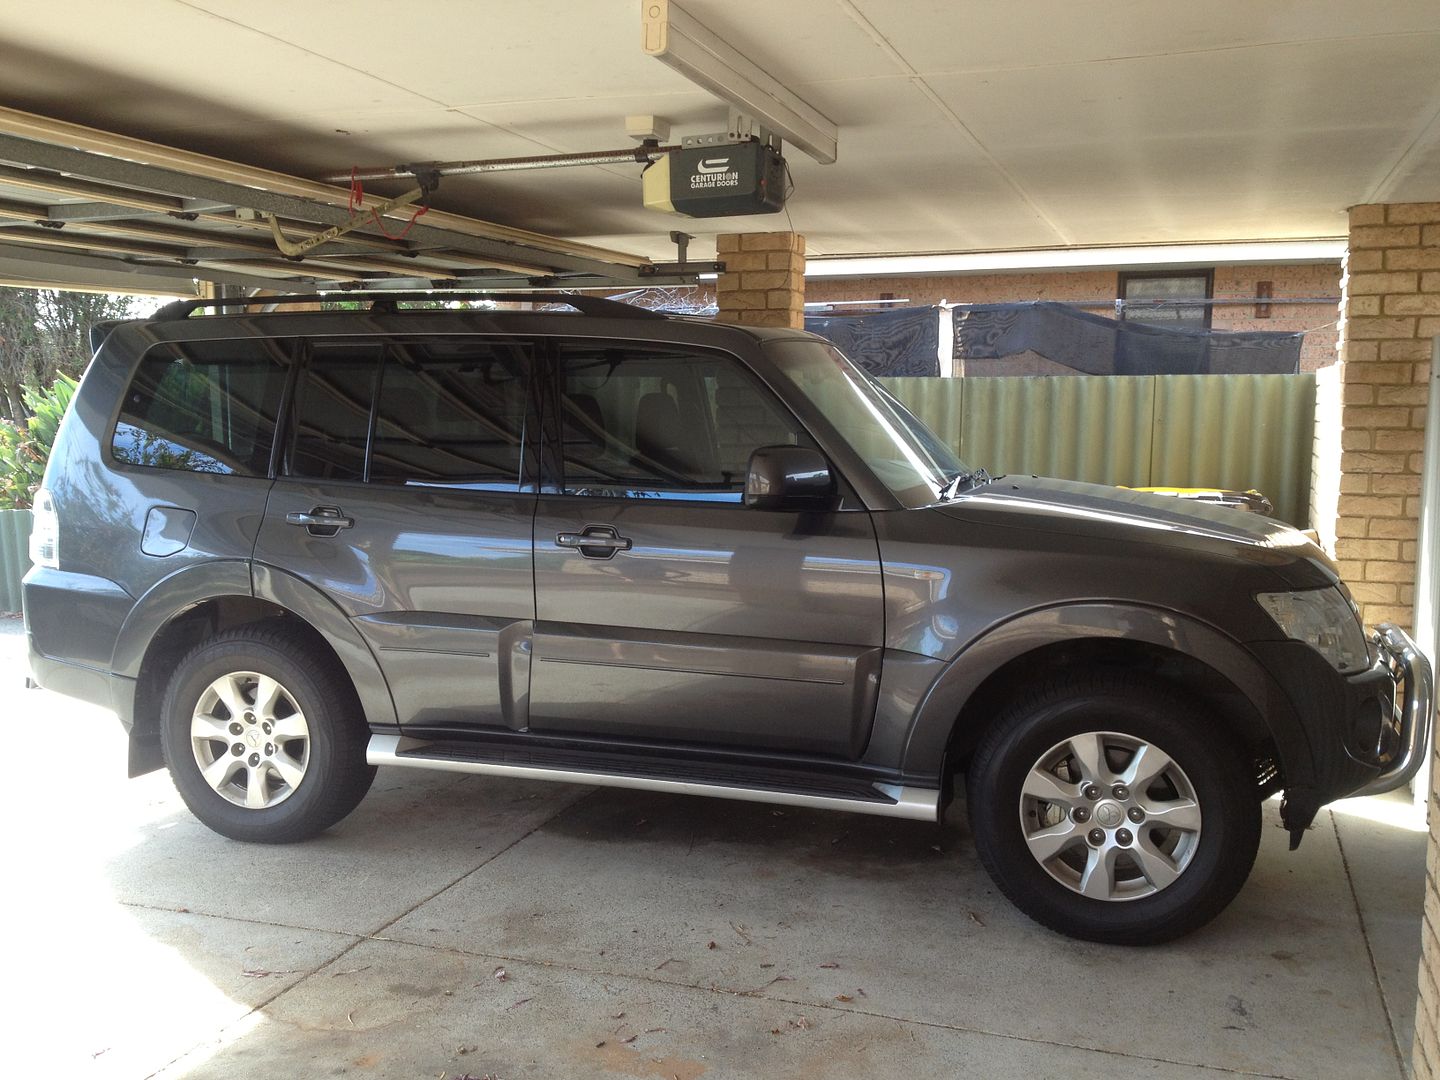
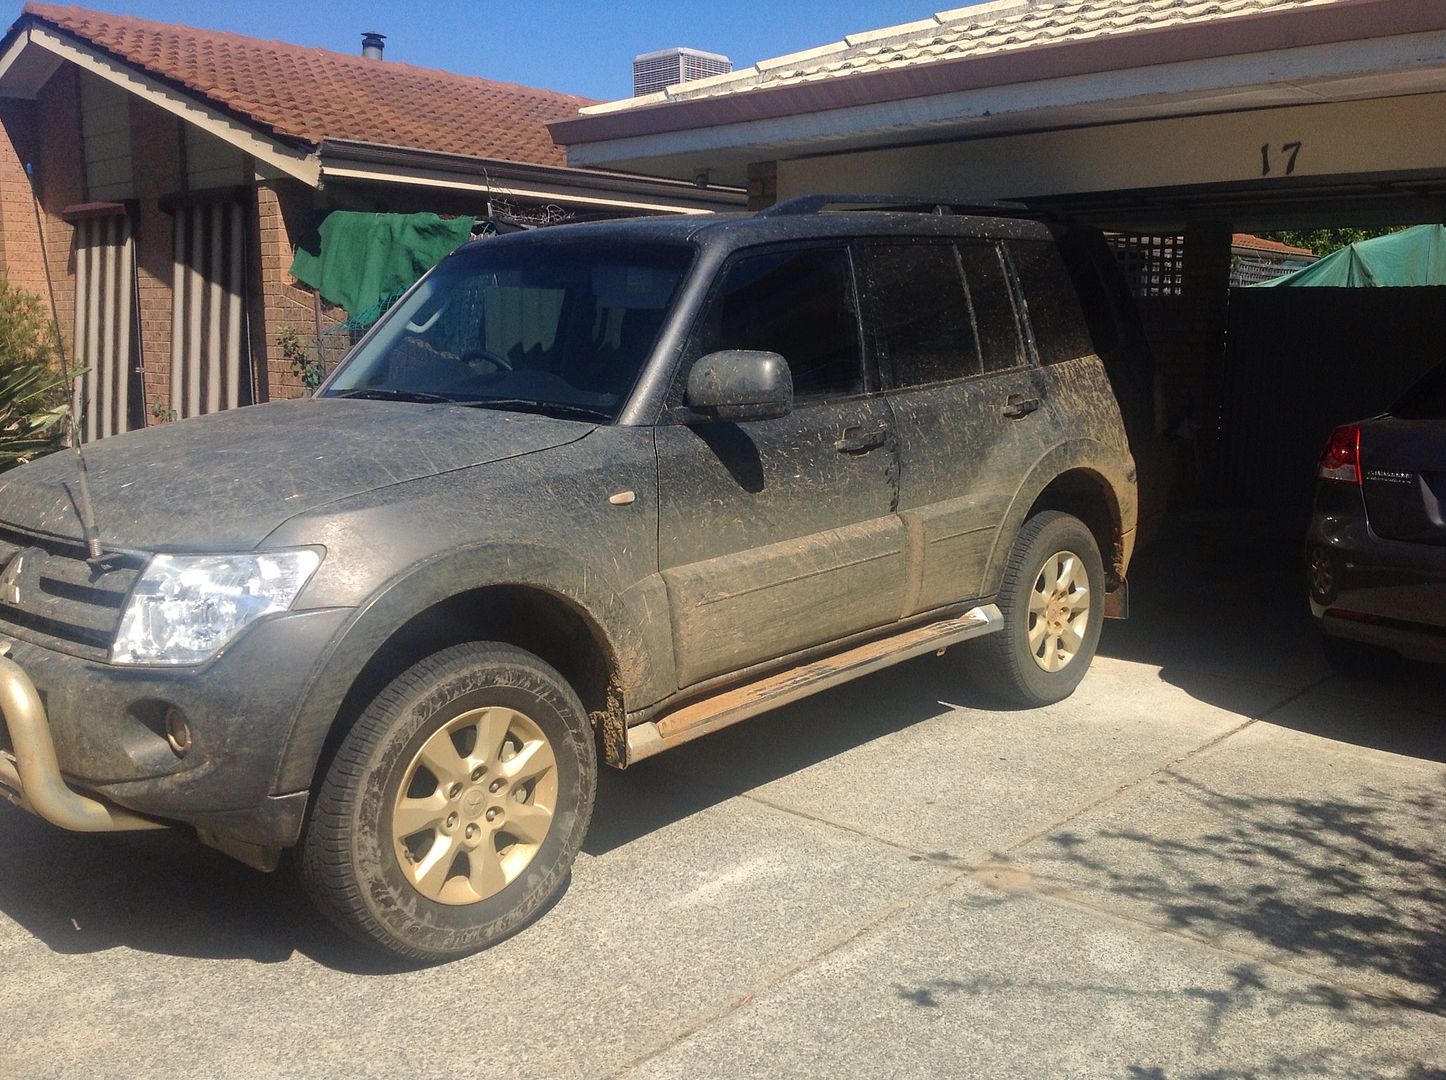
This is the Paj as she came off the showroom floor, standard with a Nudge bar, Tow bar, Rear Factory Diff Lock and Rear Air-conditioning.
We took her offroad on some fairly mild tracks within 3 days of buying her, gotta love those bush scratches on a brand new car! It was pretty evident early on that the ground clearance was woeful and the factory underbody protection is grossly inadequate.
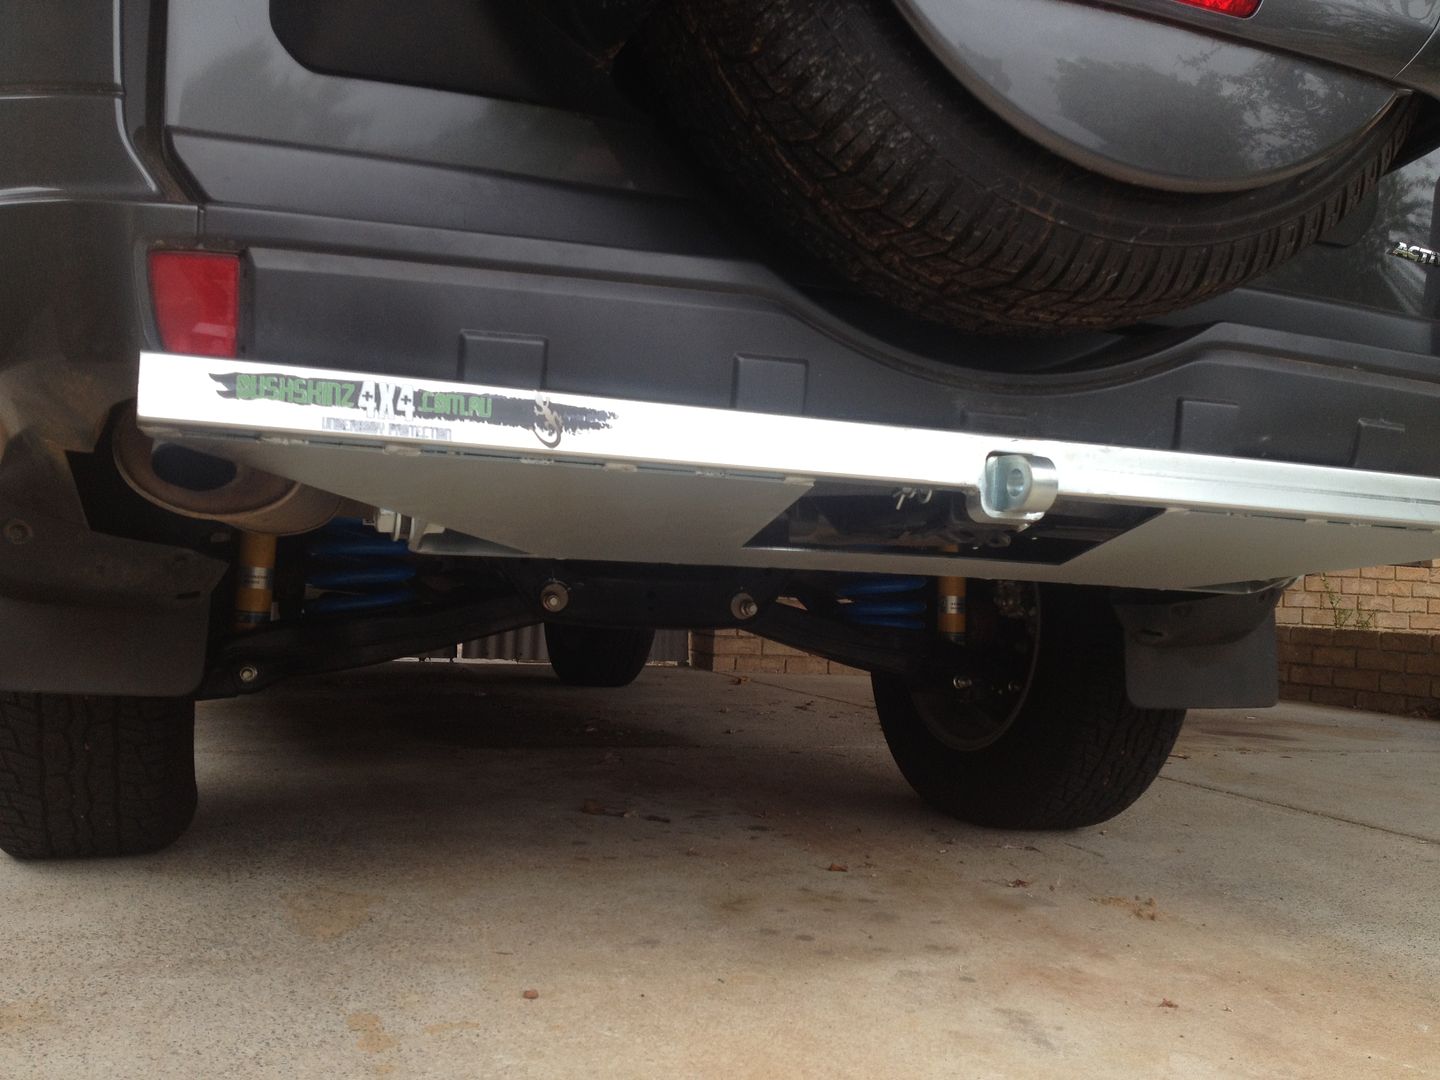
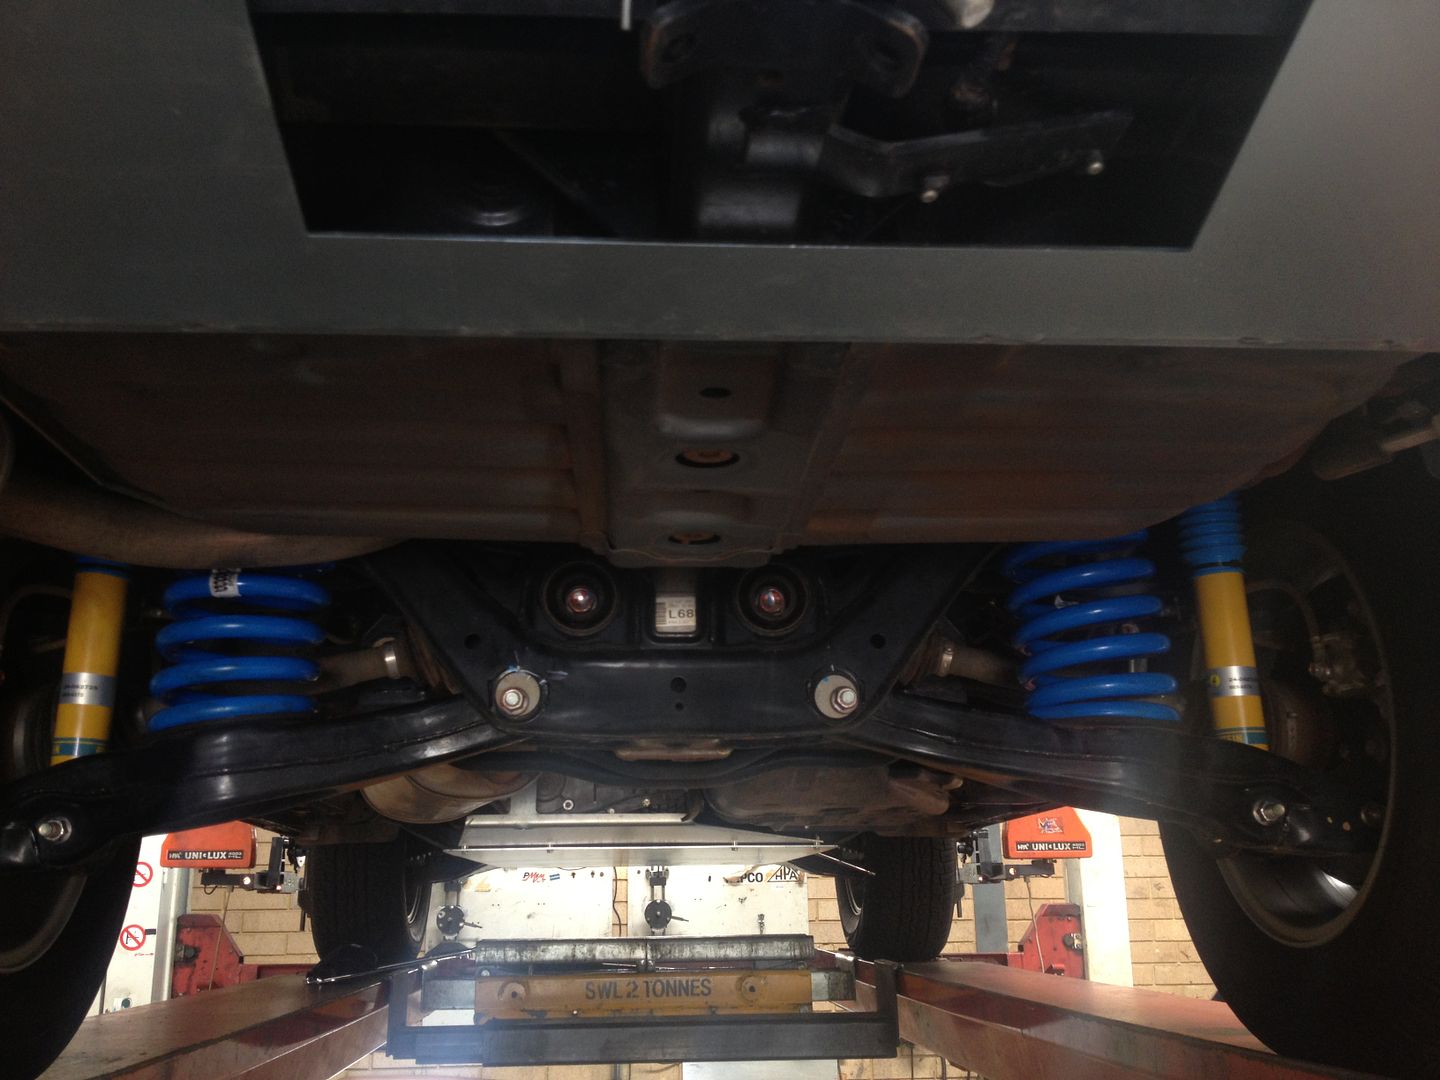
This was her first outing and we did get to pull a Nissan out of a bog hole though, so not all was lost") It was decided in fairly short order that a suspension lift was the first mod to be done. We ordered a set of Lovells 2" Heavy Duty raised springs and a set of Bilstein shocks to suit. At the same time we fitted a set of Bushskinz 4mm Underbody plates, Intercooler/Sump/Transmission protector plates along with a rear bar protector. The standard rear bar on these is like a giant plastic mud scoop and we had already bent it a couple of times dropping into mud holes.
It was decided in fairly short order that a suspension lift was the first mod to be done. We ordered a set of Lovells 2" Heavy Duty raised springs and a set of Bilstein shocks to suit. At the same time we fitted a set of Bushskinz 4mm Underbody plates, Intercooler/Sump/Transmission protector plates along with a rear bar protector. The standard rear bar on these is like a giant plastic mud scoop and we had already bent it a couple of times dropping into mud holes.
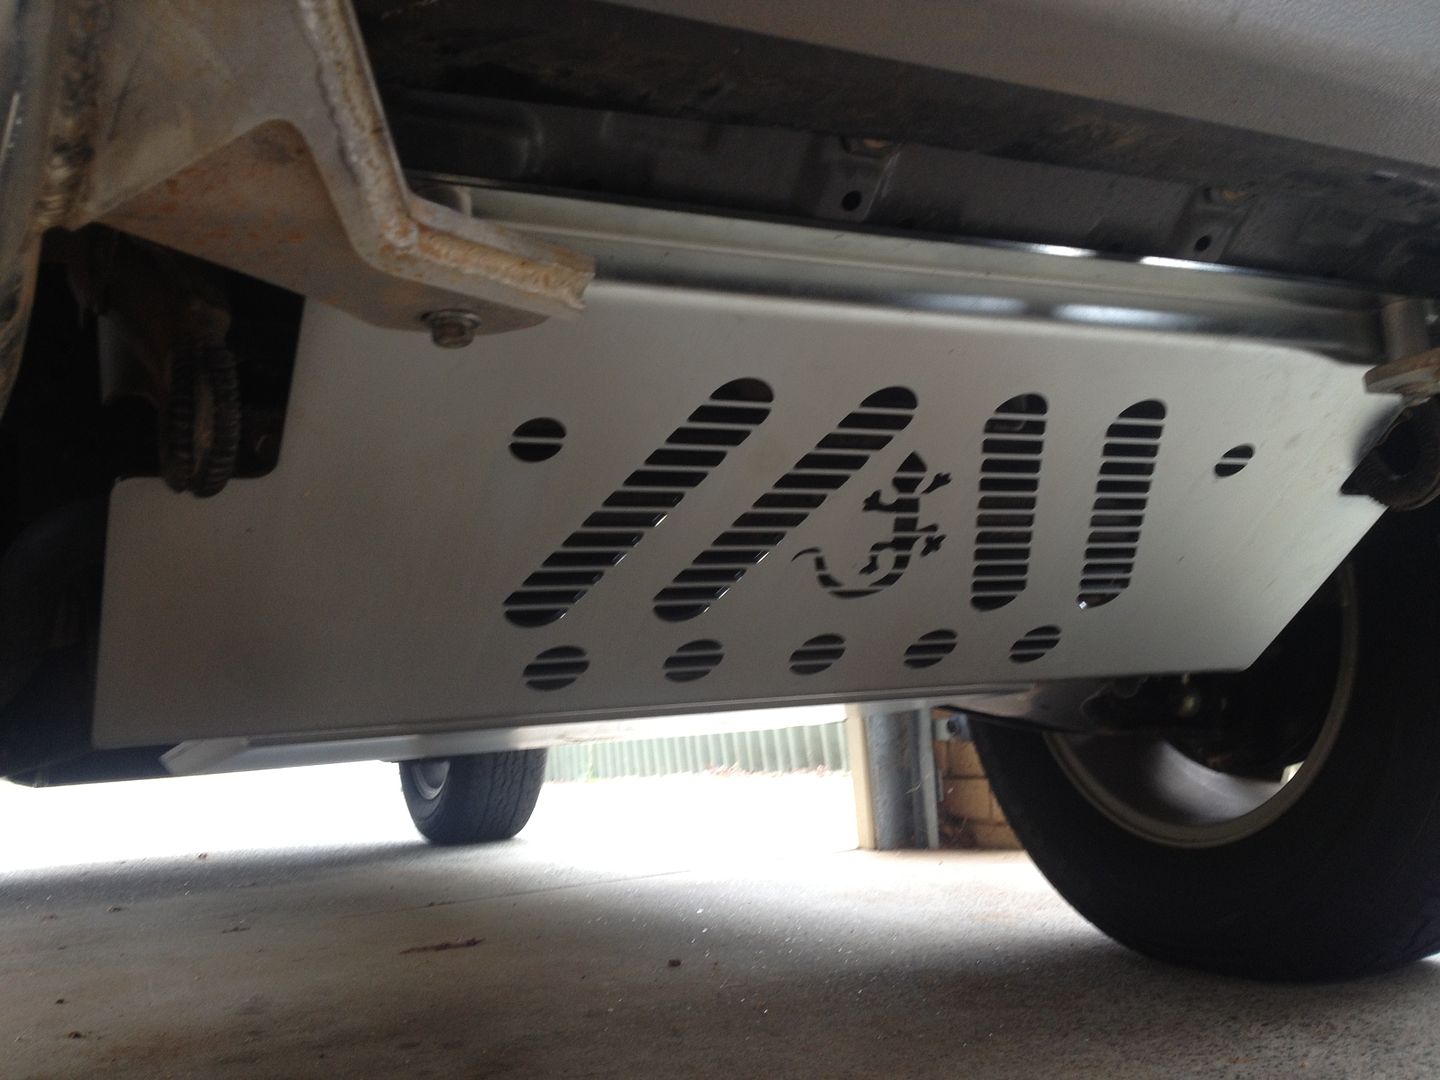
Intercooler Guard:
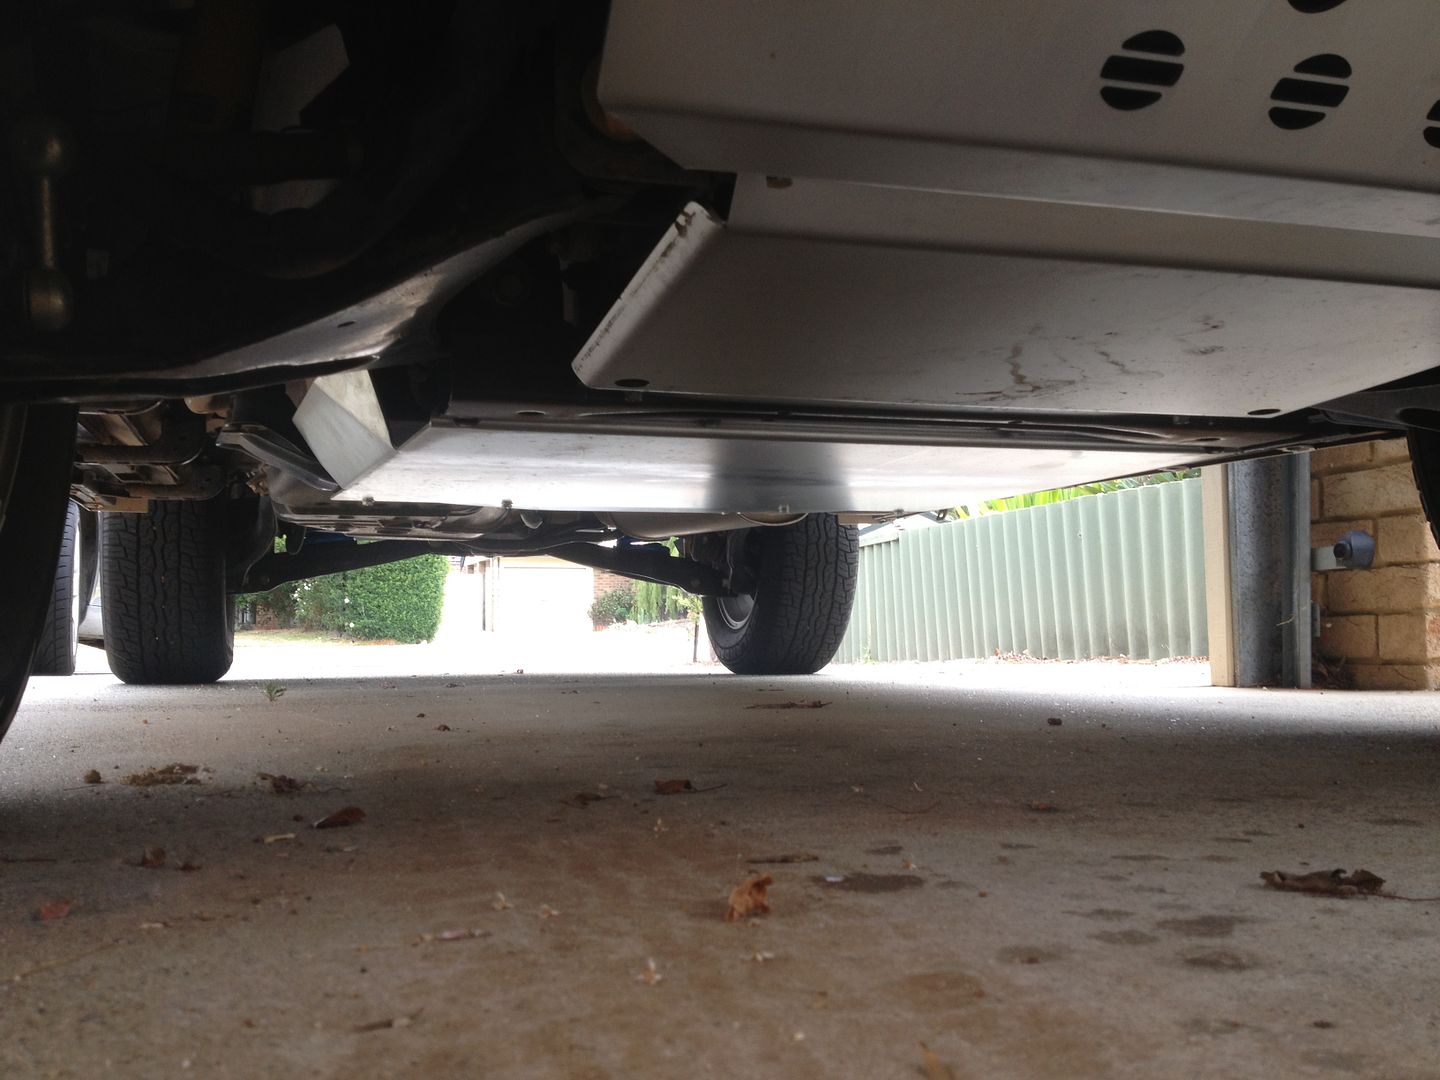
Sump/transmission Guards:
Rear bar Protector: (Not the prettiest looking thing, but does the job well)
The springs and shocks made a hell of difference to the overall ride and feel of the Paj, it cornered far better and the 2" lift is great offroad. I was a bit worried the ride would be harsh with the heavy duty springs, but it was just superior in every way to the factory suspension.
Had to give her a run with the new suspension
I'd also fitted a UHF radio at this stage and just bought an angle bracket to attach the aerial through the grill, this was only a temp solution until further mods were done.

Around this time we headed off on 7500km family trip to Uluru (Ayers rock) and this is when the factory HT rated tyres showed their true colours, we were only on the dirt for around 100km's when we sliced open a sidewall on some rocks, we were towing a camper trailer and had 6 of us in the Paj, so she was pretty heavily loaded. I didn't feel comfortable completing the rest of the trip on these tyres and with hindsight should have changed them pre-trip, but money was tight so we took a chance and lost. The only suitable tyres I could get were Maxxis 700's A/T's but these were not LT rated. Unfortunately in Central Australia your choices are limited.
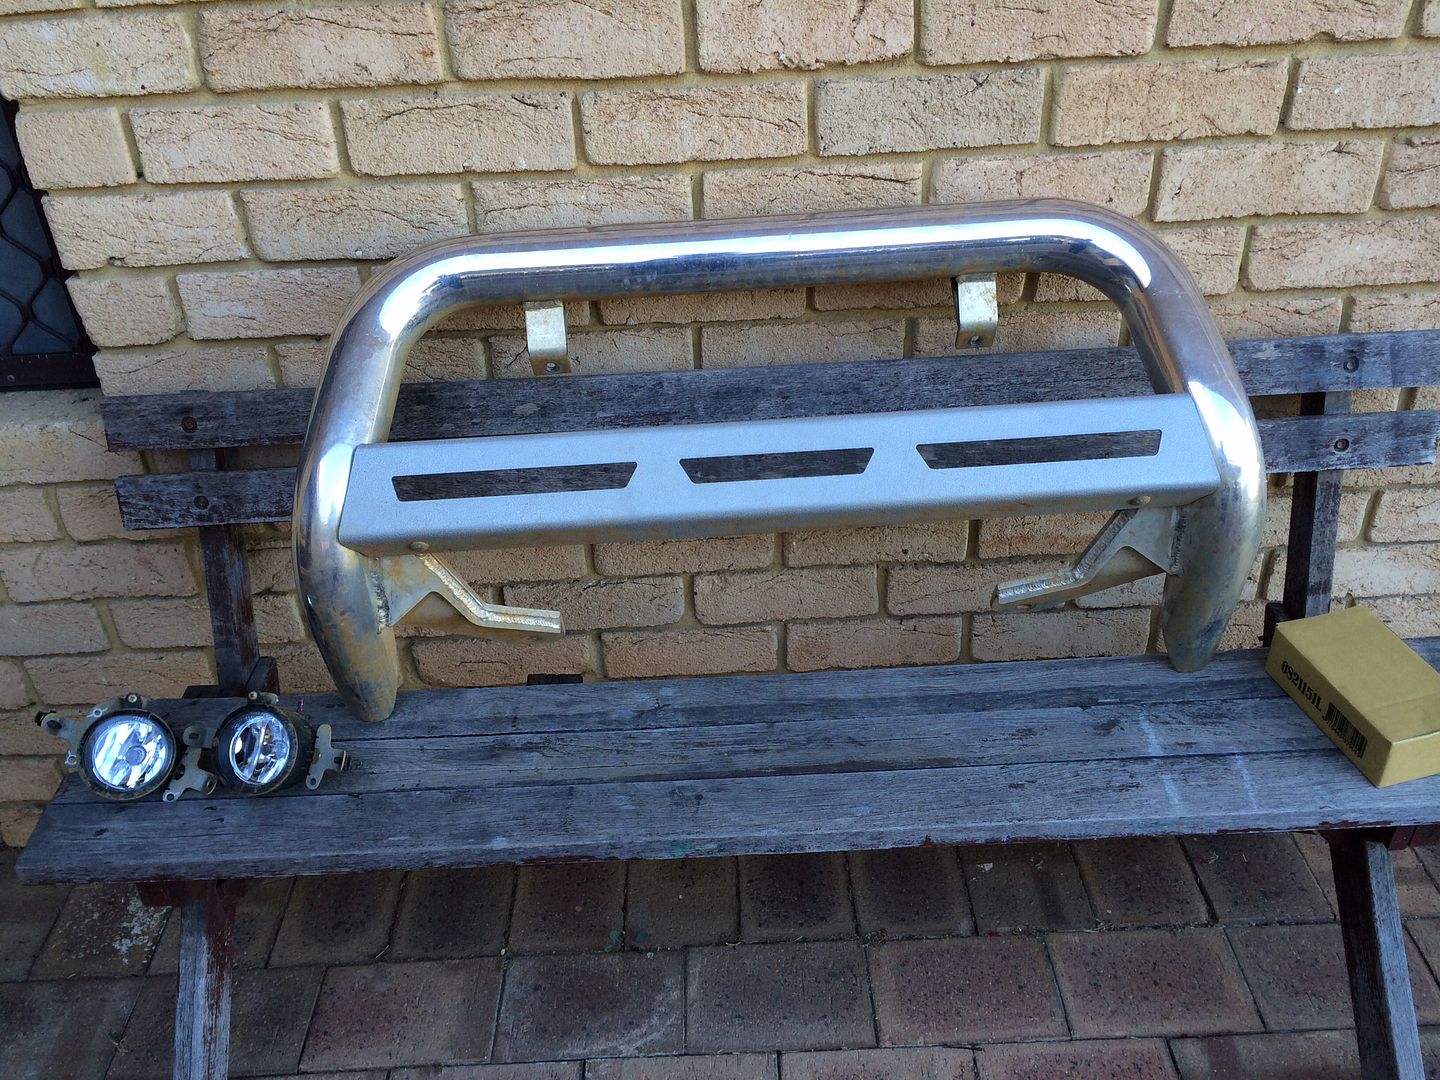
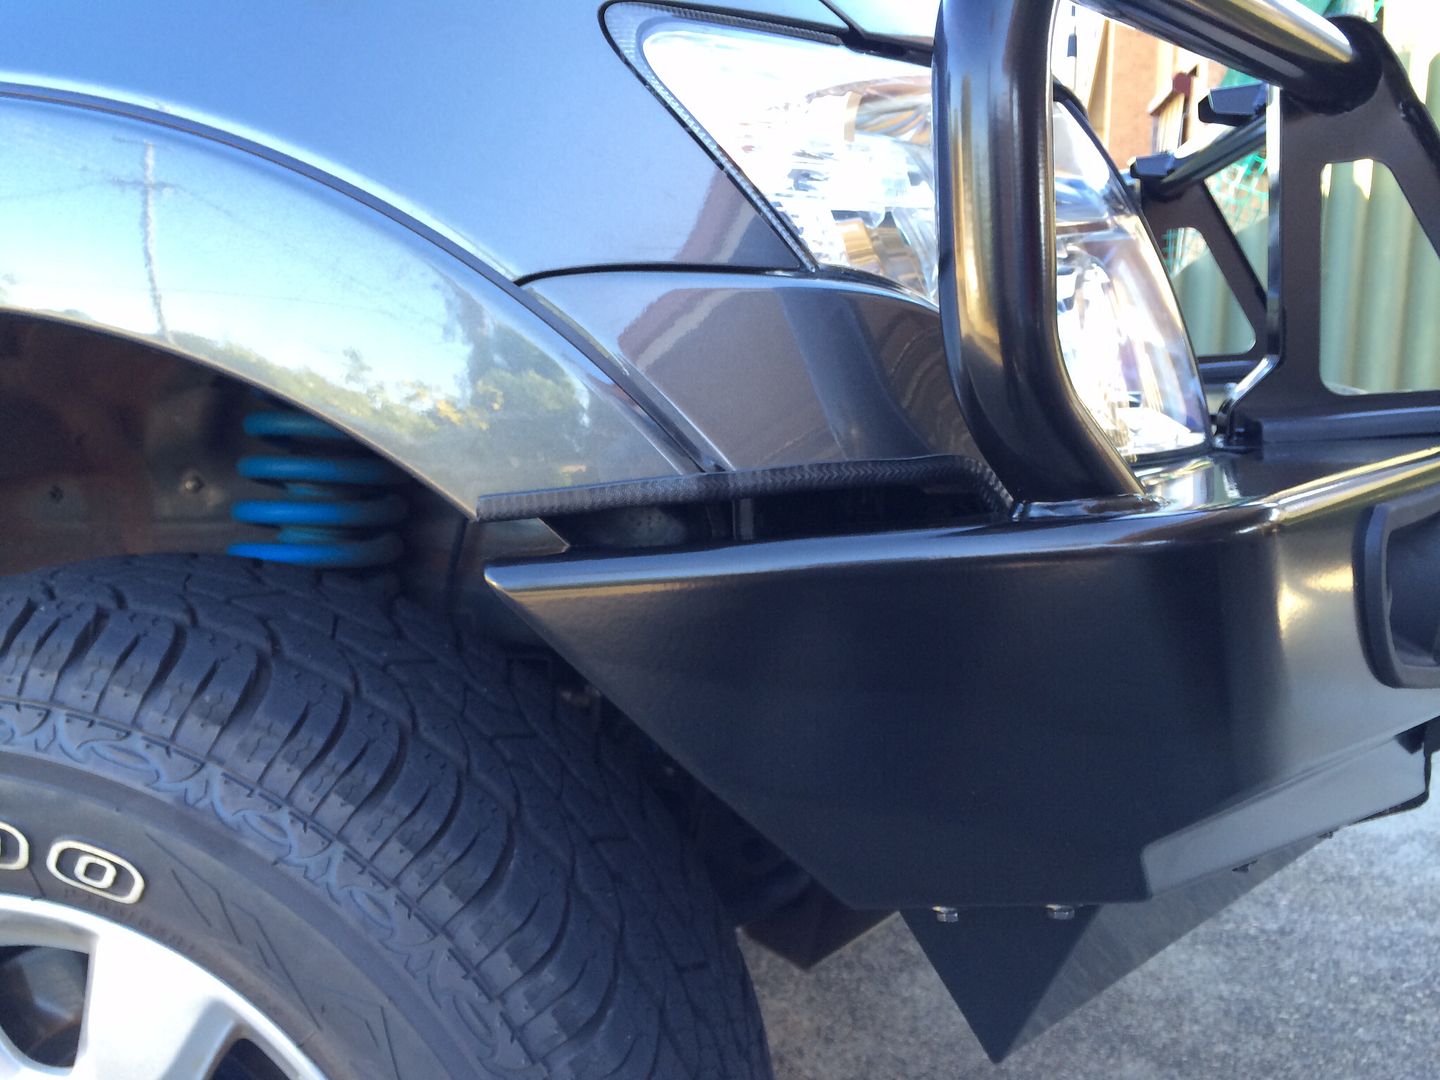
After this trip we continued with the mods, the next was an ARB Deluxe Bullbar:
So out with the old factory Nudge bar:
And in with the new ARB Bullbar:
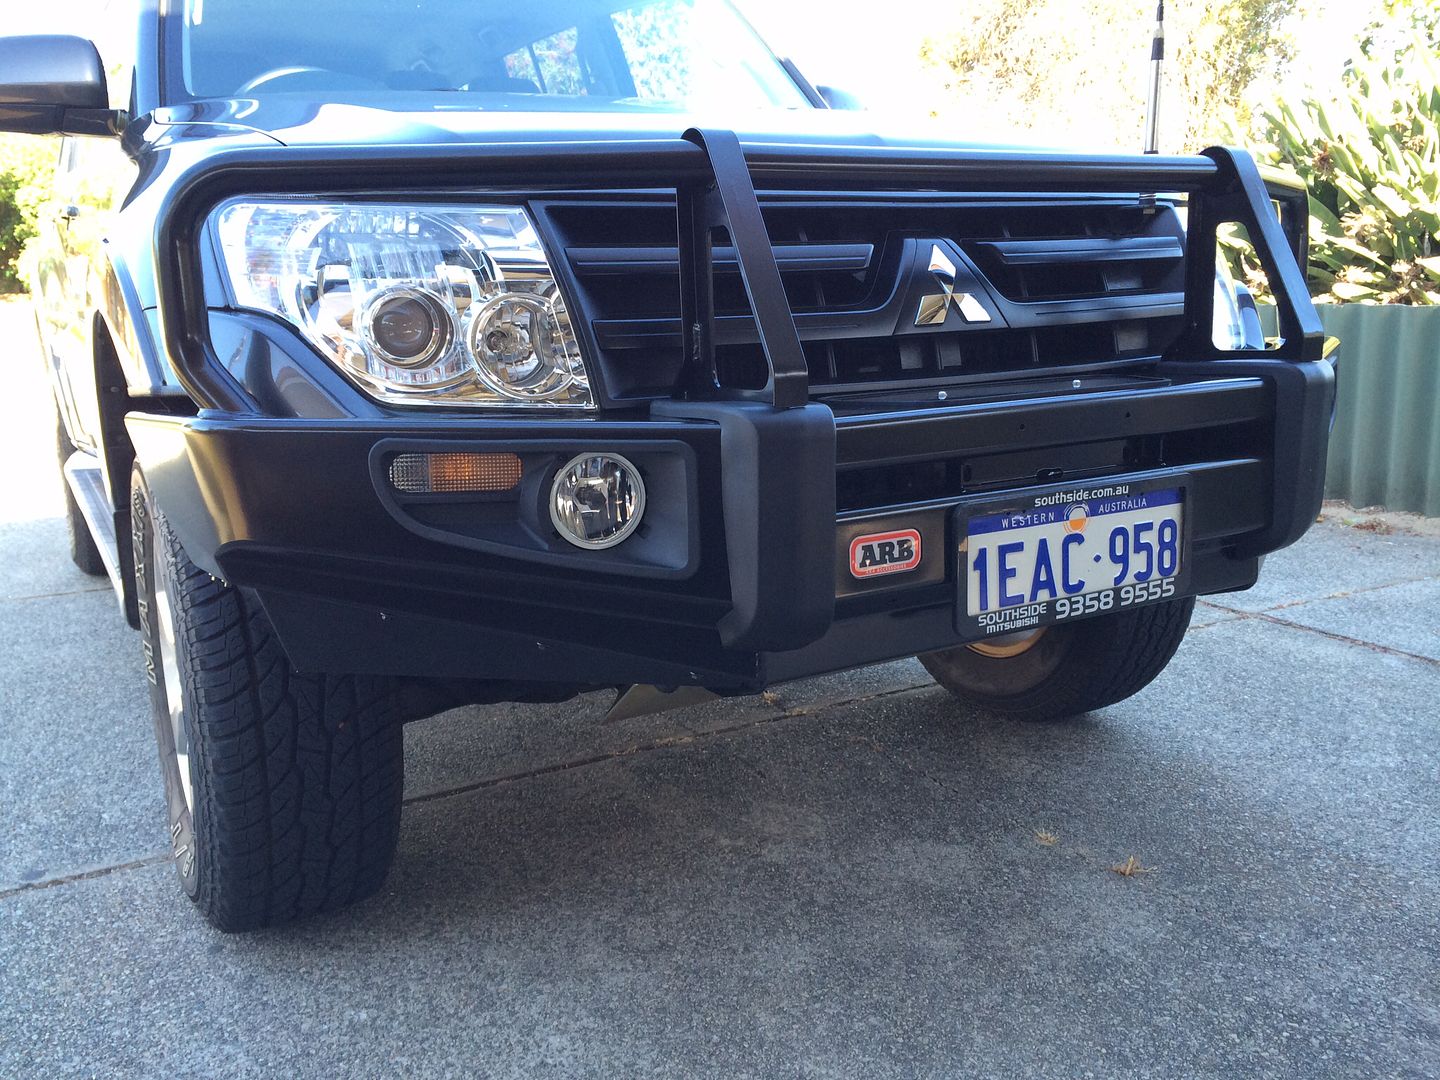
I had read a few horror stories of guys getting really bad fitting jobs with these bars, particularly when it came to getting a nice even cut on the factory guards (fenders), I was happy with the job that ARB did fitting this bar, I did find a spare steel bracket which I am not sure what it was meant for sitting up on top of my airbox though and they also never put the front two bolts for my bash plates back in! Grrrr, seems to be the things with workshops nowadays, you need to double check their work everytime and make sure it's done right!
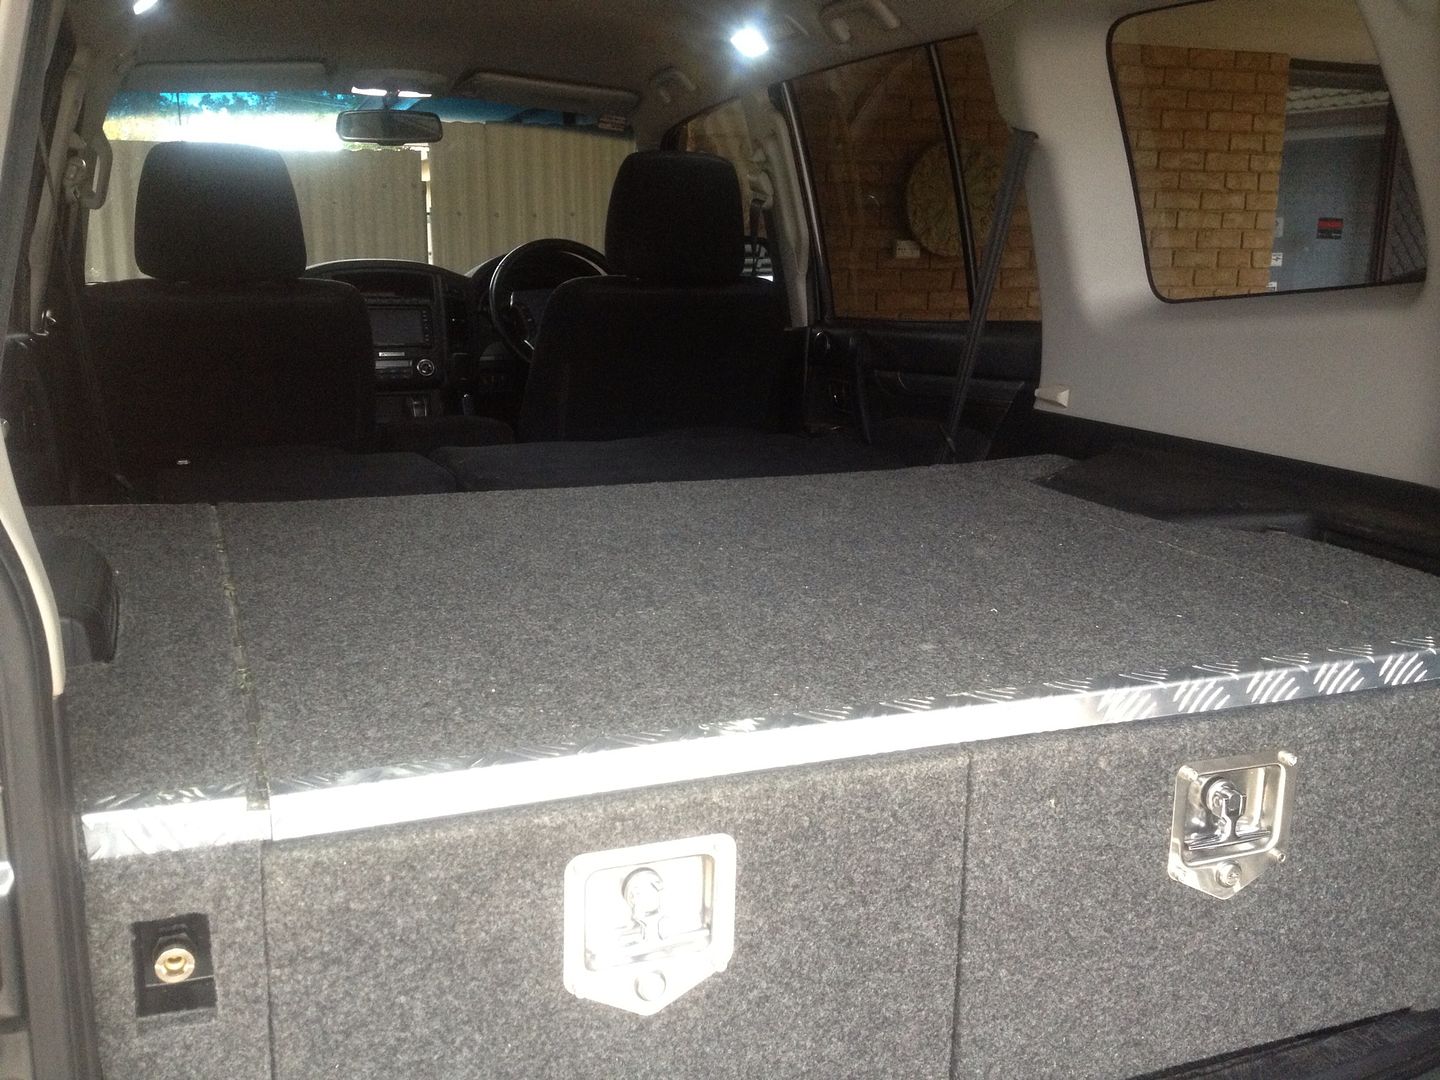
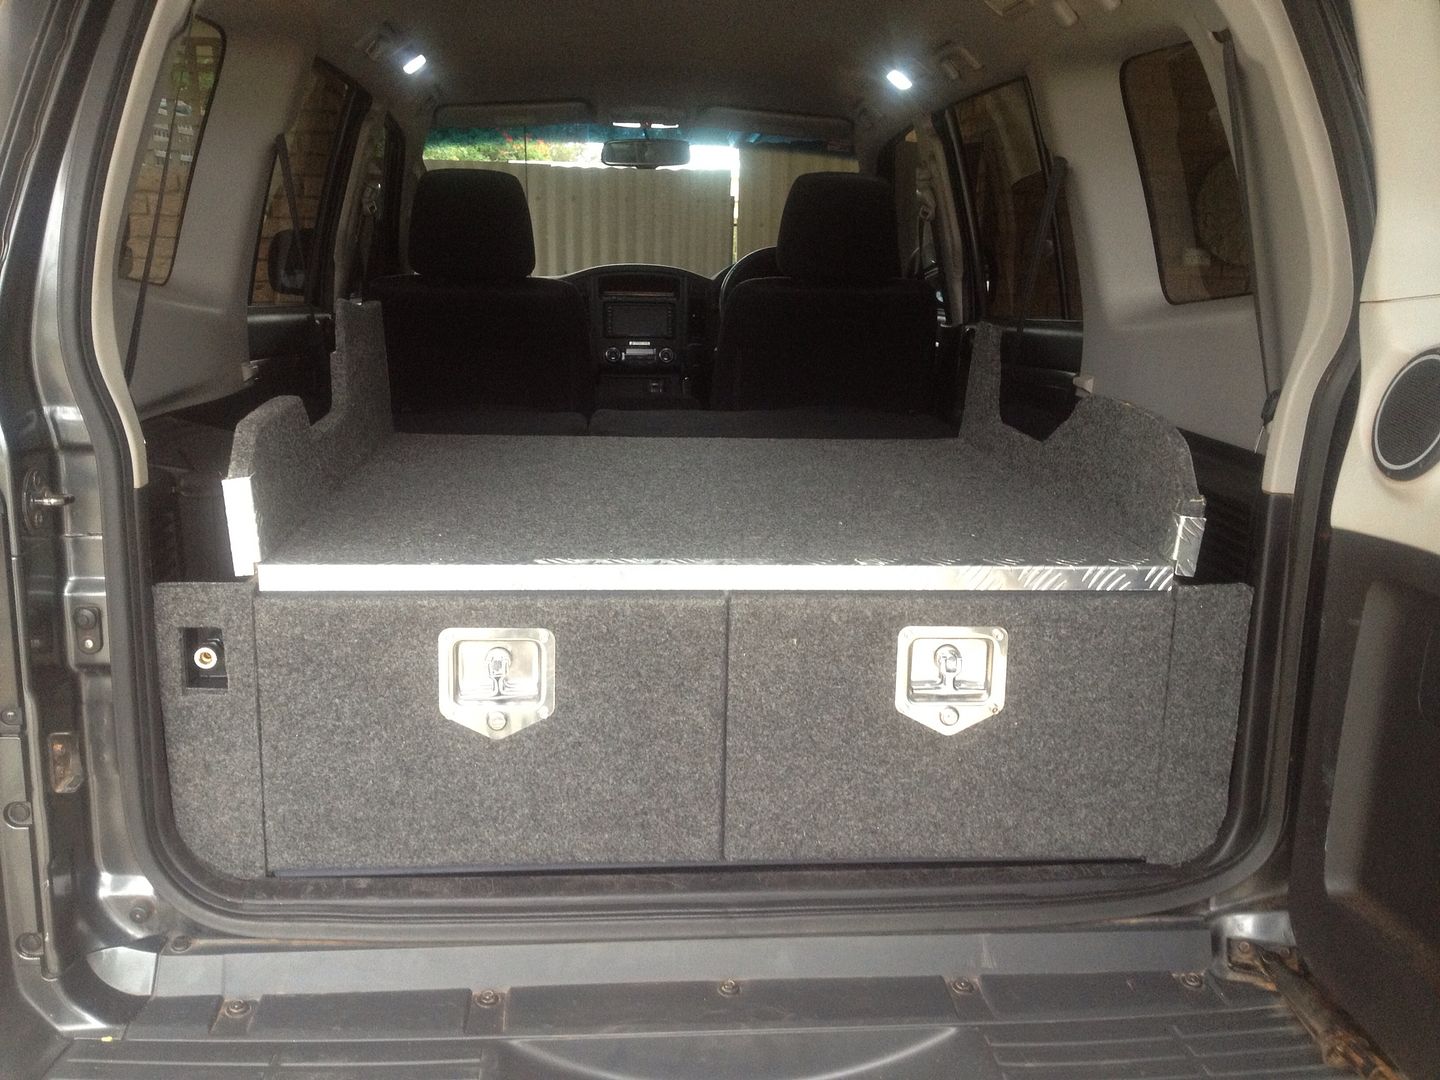
Next Mod on the list was my rear drawer system. I had looked at various build threads and had decided to mount my compressor and dual battery in a cavity at the front of the drawers:
First the drawer system:
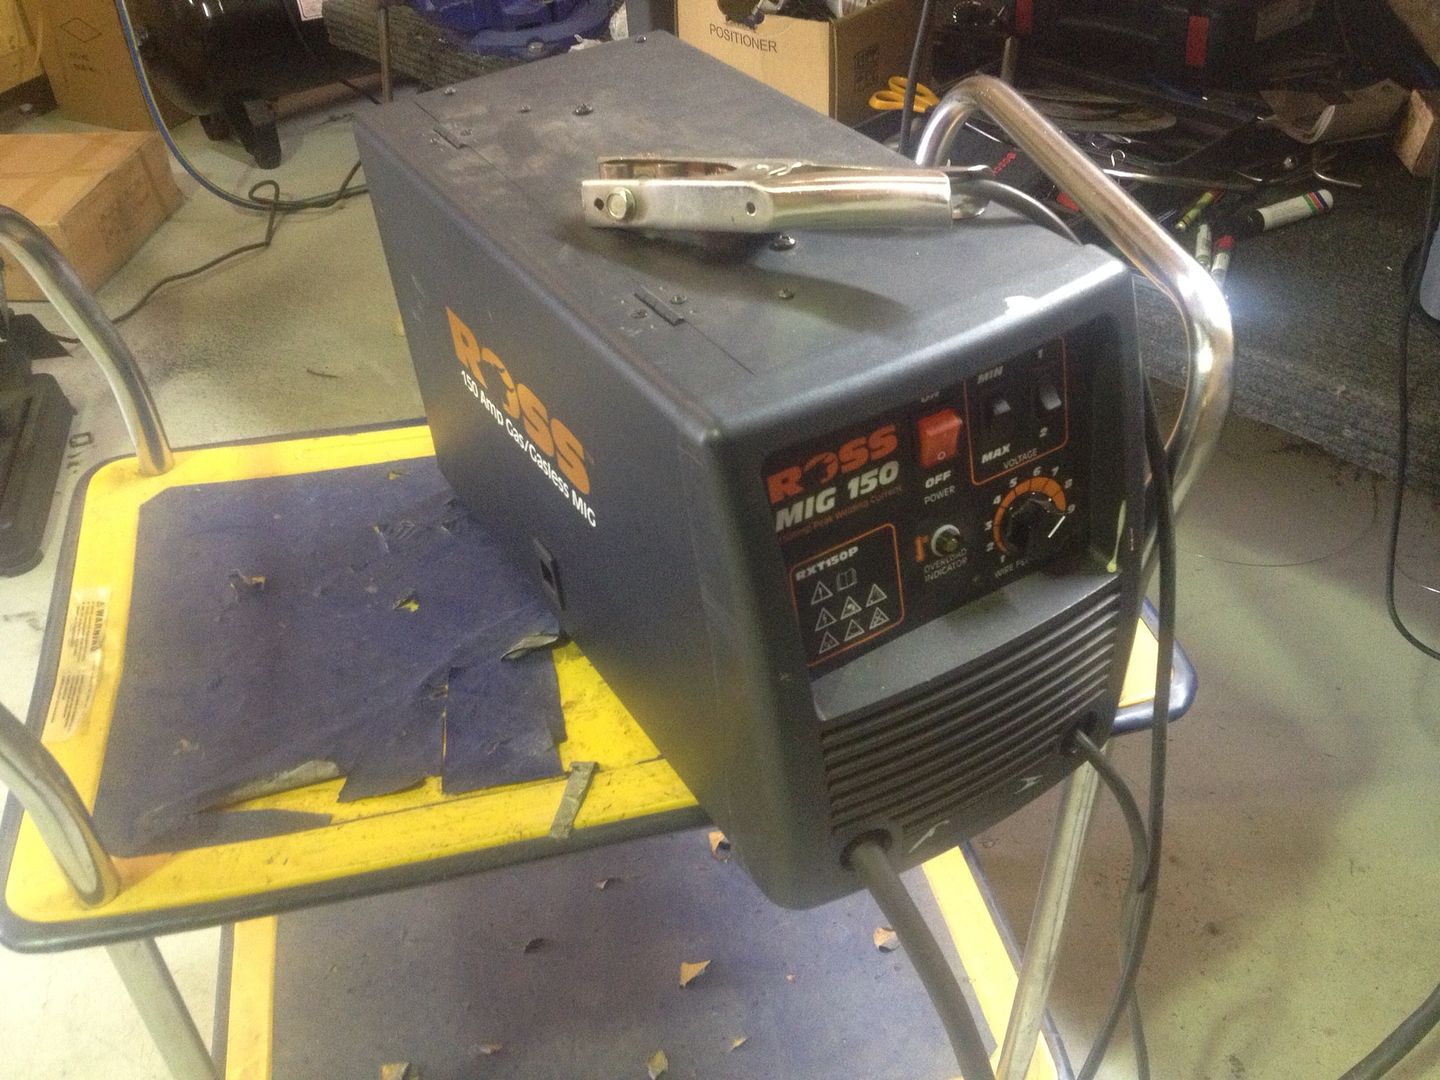
I have been thinking for a while about making my own rear storage drawers and have been browsing the web looking at various options. Armed with some great ideas I decided to buy a small mig welder that came up on Gumtree for $75 and teach myself to weld.
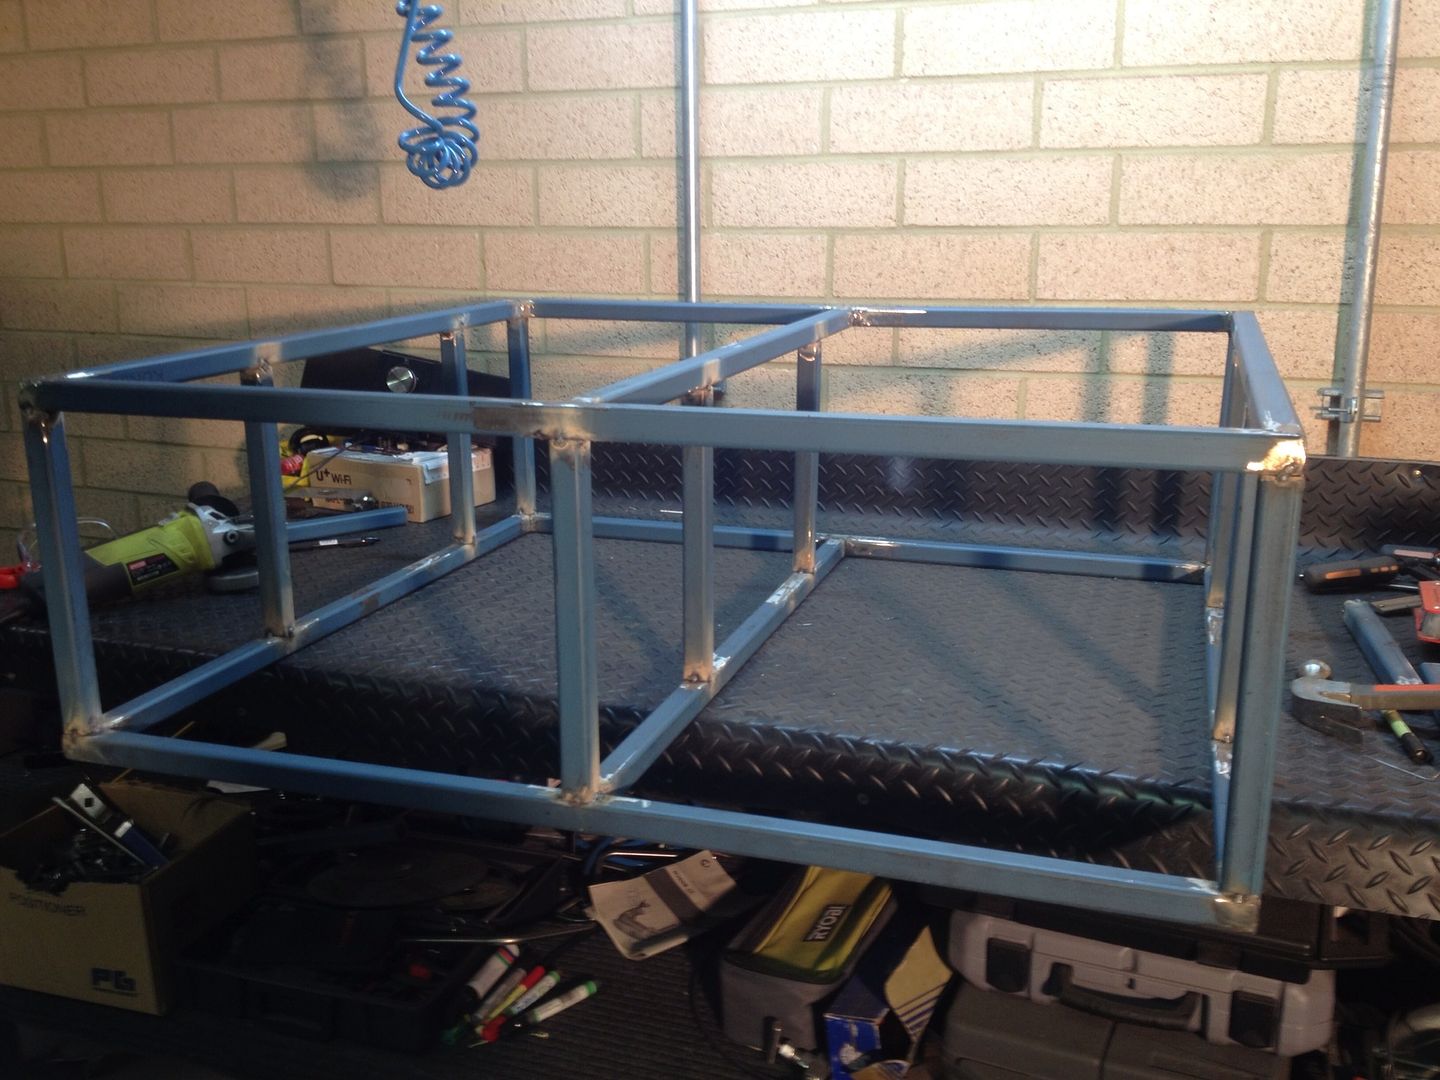
After a lot of burning of holes in pieces of tube while I played with the Mig, I got the hang of it after a few hours and figured I would make a start on the drawers. So with the help of my son we cut up some steel and set about tacking it all together. The steel of choice is 25x25x2.5mm SHS Tube. I went with the 2.5mm thick as it is a bit easier to weld for a novice like myself and is not much heavier than the 1.6 mm stuff.
After a few days of getting to it when we could, we ended up with the basic frame tacked and ready for welding.
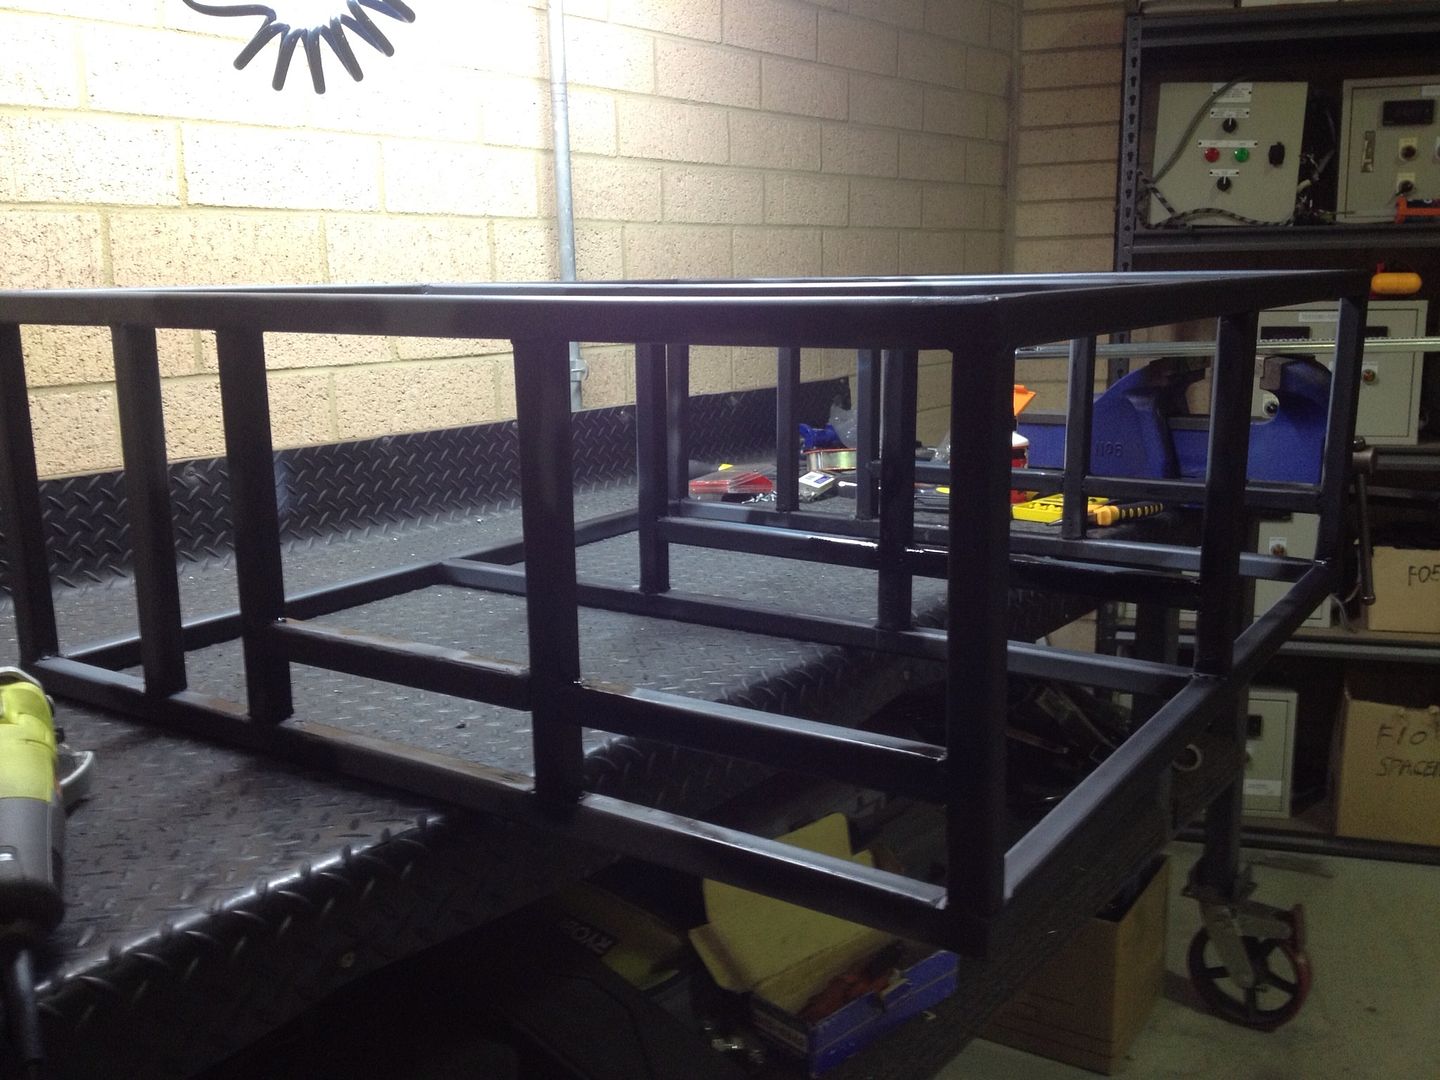
The design evolved as we went, originally I had planned on using aluminium angles on the bottom for the drawers to slide on, but when I tried these I wasn't happy with how they worked so we decided to use 125kg rated draw slides. This required welding in a few more bits of steel to bolt the slides to.
Slides attached and a test fit in the rear of the Paj.

Time to make up the drawers. I used 12 mm Ply for this but am planning on getting a set bent up in Aluminium down the track a bit.
The onto the side wings, these were eventually attached with continuos piano hinges. I really wish I had some better gear to work with! A $20 Bunnings Jig saw makes this sort of stuff hard work! A nice band saw would be so much more accurate for the wings and side inserts.
For holding it all down I removed the front and rear tie down points and drilled through the front of the frame and use 6mm high tensile bolts for the front and attached some removable 100x100 mm L brackets for the rear which also bolt down with 6mm high tensile bolts. I am not quite happy with using M6 and will probably drill these out for M10.
The frame is 890mm deep and the drawers are 690mm, I have left a cavity at the rear of the drawers which is around 180mm, this is where I have mounted the ARB compressor and also have room for a DC-DC charger and distribution block down the track, I am thinking of going down the Lifepo4 path for my dual battery and will mount it in here also.
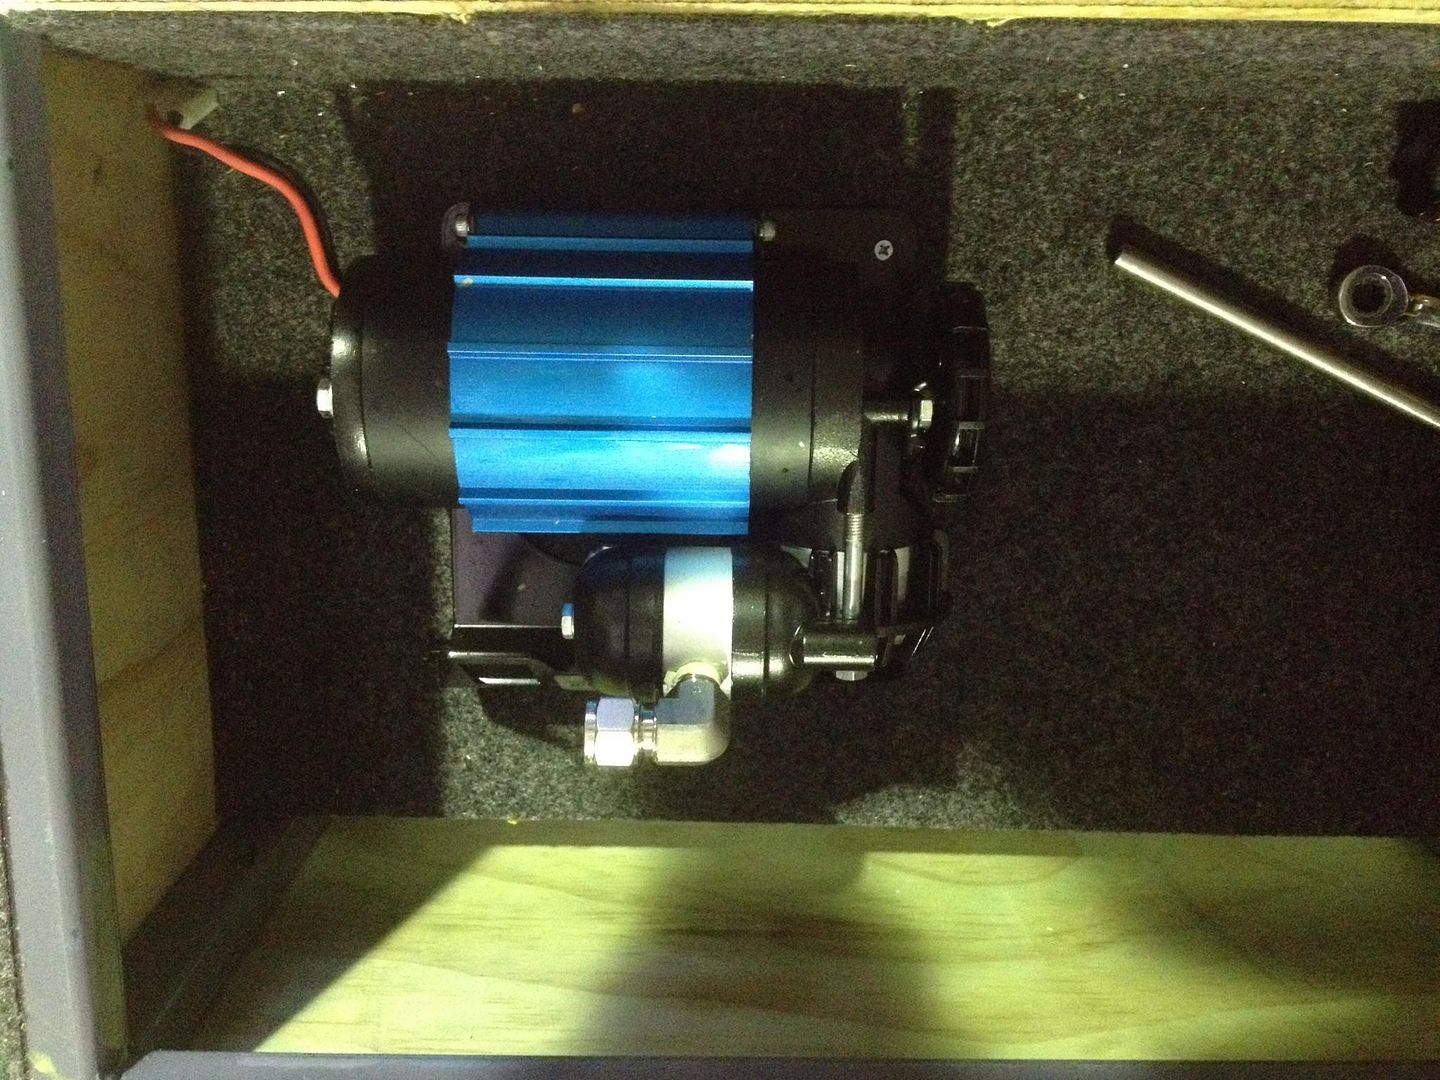
The compressor is bolted in but not plumbed and wired yet. I'll be using 10mm SS316 tube from the compressor to the rear side panel to the quick release fitting I have mounted at the rear. This means I can use the standard ARB hose and reach all tyres as well as the trailer tyres from one point. The compressor switch will be mounted in the dash.
You can see the quick release air connection mounted in a recessed cavity on the drawer side section here:
All up I have spent about $750 on materials but reckon I have wasted maybe $150 worth on stuff ups, but it's all a learning curve. I am reasonably happy with how the drawers have turned out but need to recut the passenger side rear panel as it is a few mm too narrow and also need to trim down the top of the drivers side rear panel as the door trim just hits it when closing. Before I do that I am buying a new jig saw!
The total weight is 69 kg, the rear seat weighs 23 kg so all up I have added 46 kg of weight. I used 12 mm ply all round and 18mm on the top, so I could probably save 10 kg or more using 6mm for the sides and aluminium drawers.
It is not the easiest unit to move in and out and takes about 20 minutes. 6 Bolts in total to remove. Really a 2 man job, but it can be done with one in a pinch.
Next project is to add the 70 Litre Water tank in the Rear Seat Well and 100a/h Lifepo4 Dual battery System, I'll post this up as time allows.
We bought this NW Pajero Activ back in November 2012, gotta love that new car smell! This is a 3.2Litre DiD Engine variant with Auto Transmission. We are planning a few offroad adventures and have been modding the vehicle within 1 week of buying it, we are nearly complete with our build, but as everyone knows, I don't think you ever stop finding bits and pieces to change/add to our pride and joys.
This is the Paj as she came off the showroom floor, standard with a Nudge bar, Tow bar, Rear Factory Diff Lock and Rear Air-conditioning.

We took her offroad on some fairly mild tracks within 3 days of buying her, gotta love those bush scratches on a brand new car! It was pretty evident early on that the ground clearance was woeful and the factory underbody protection is grossly inadequate.
This was her first outing and we did get to pull a Nissan out of a bog hole though, so not all was lost
It was decided in fairly short order that a suspension lift was the first mod to be done. We ordered a set of Lovells 2" Heavy Duty raised springs and a set of Bilstein shocks to suit. At the same time we fitted a set of Bushskinz 4mm Underbody plates, Intercooler/Sump/Transmission protector plates along with a rear bar protector. The standard rear bar on these is like a giant plastic mud scoop and we had already bent it a couple of times dropping into mud holes. Intercooler Guard:

Sump/transmission Guards:

Rear bar Protector: (Not the prettiest looking thing, but does the job well)

The springs and shocks made a hell of difference to the overall ride and feel of the Paj, it cornered far better and the 2" lift is great offroad. I was a bit worried the ride would be harsh with the heavy duty springs, but it was just superior in every way to the factory suspension.

Had to give her a run with the new suspension

I'd also fitted a UHF radio at this stage and just bought an angle bracket to attach the aerial through the grill, this was only a temp solution until further mods were done.

Around this time we headed off on 7500km family trip to Uluru (Ayers rock) and this is when the factory HT rated tyres showed their true colours, we were only on the dirt for around 100km's when we sliced open a sidewall on some rocks, we were towing a camper trailer and had 6 of us in the Paj, so she was pretty heavily loaded. I didn't feel comfortable completing the rest of the trip on these tyres and with hindsight should have changed them pre-trip, but money was tight so we took a chance and lost. The only suitable tyres I could get were Maxxis 700's A/T's but these were not LT rated. Unfortunately in Central Australia your choices are limited.
After this trip we continued with the mods, the next was an ARB Deluxe Bullbar:
So out with the old factory Nudge bar:

And in with the new ARB Bullbar:

I had read a few horror stories of guys getting really bad fitting jobs with these bars, particularly when it came to getting a nice even cut on the factory guards (fenders), I was happy with the job that ARB did fitting this bar, I did find a spare steel bracket which I am not sure what it was meant for sitting up on top of my airbox though and they also never put the front two bolts for my bash plates back in! Grrrr, seems to be the things with workshops nowadays, you need to double check their work everytime and make sure it's done right!

Next Mod on the list was my rear drawer system. I had looked at various build threads and had decided to mount my compressor and dual battery in a cavity at the front of the drawers:
First the drawer system:
I have been thinking for a while about making my own rear storage drawers and have been browsing the web looking at various options. Armed with some great ideas I decided to buy a small mig welder that came up on Gumtree for $75 and teach myself to weld.
After a lot of burning of holes in pieces of tube while I played with the Mig, I got the hang of it after a few hours and figured I would make a start on the drawers. So with the help of my son we cut up some steel and set about tacking it all together. The steel of choice is 25x25x2.5mm SHS Tube. I went with the 2.5mm thick as it is a bit easier to weld for a novice like myself and is not much heavier than the 1.6 mm stuff.
After a few days of getting to it when we could, we ended up with the basic frame tacked and ready for welding.
The design evolved as we went, originally I had planned on using aluminium angles on the bottom for the drawers to slide on, but when I tried these I wasn't happy with how they worked so we decided to use 125kg rated draw slides. This required welding in a few more bits of steel to bolt the slides to.
Slides attached and a test fit in the rear of the Paj.
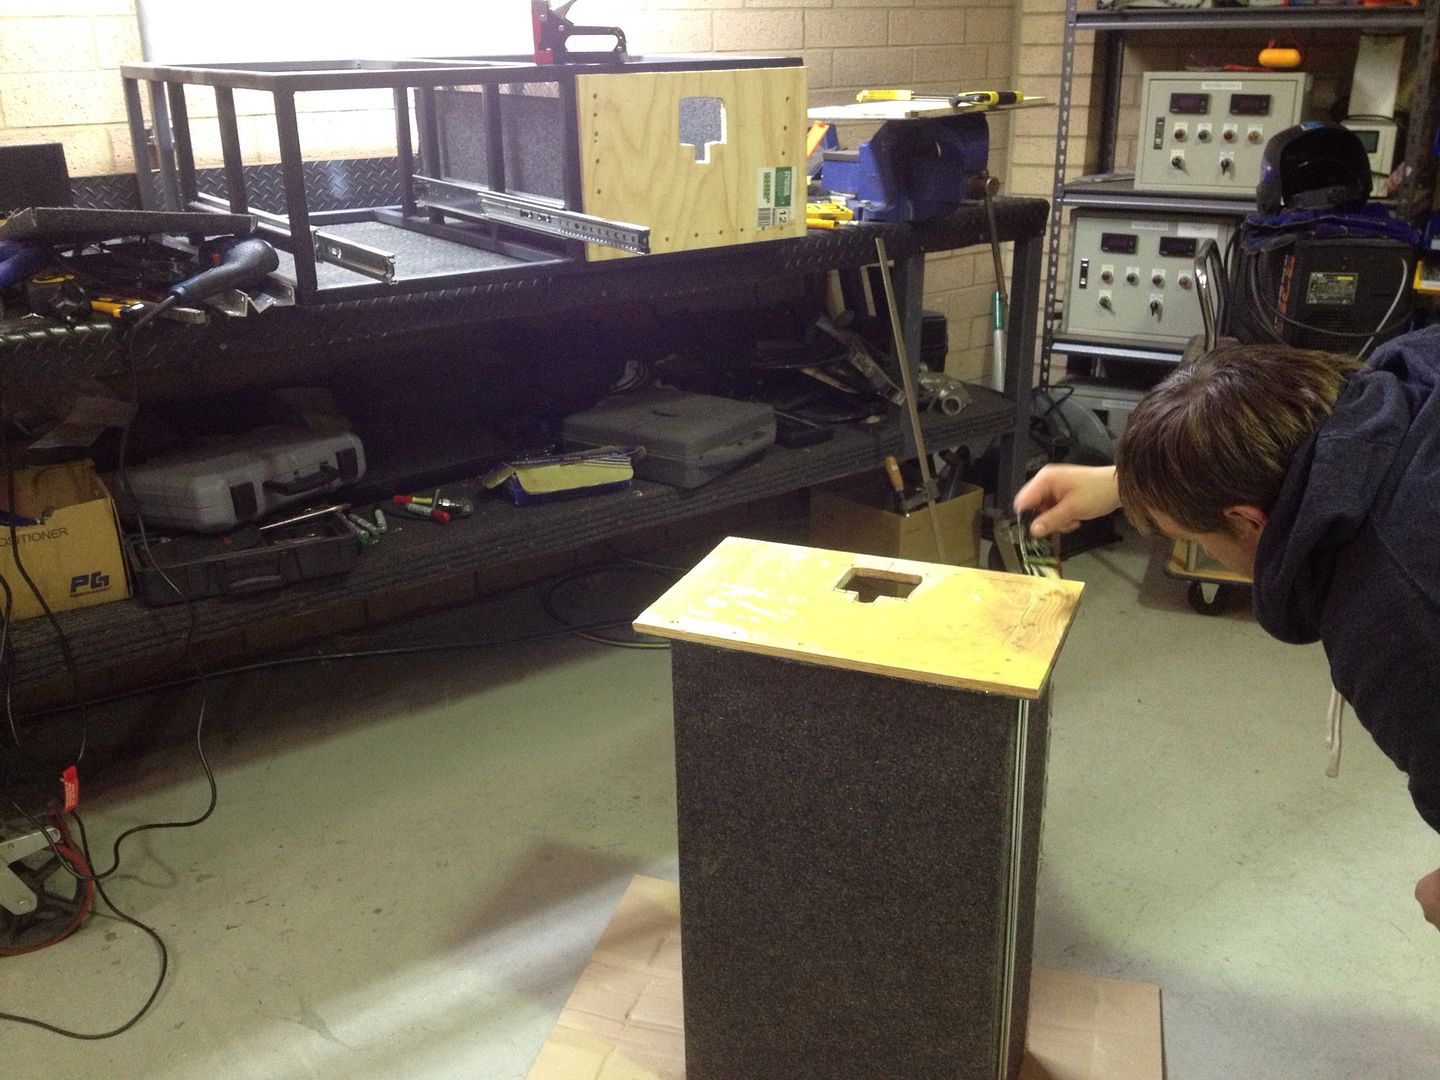
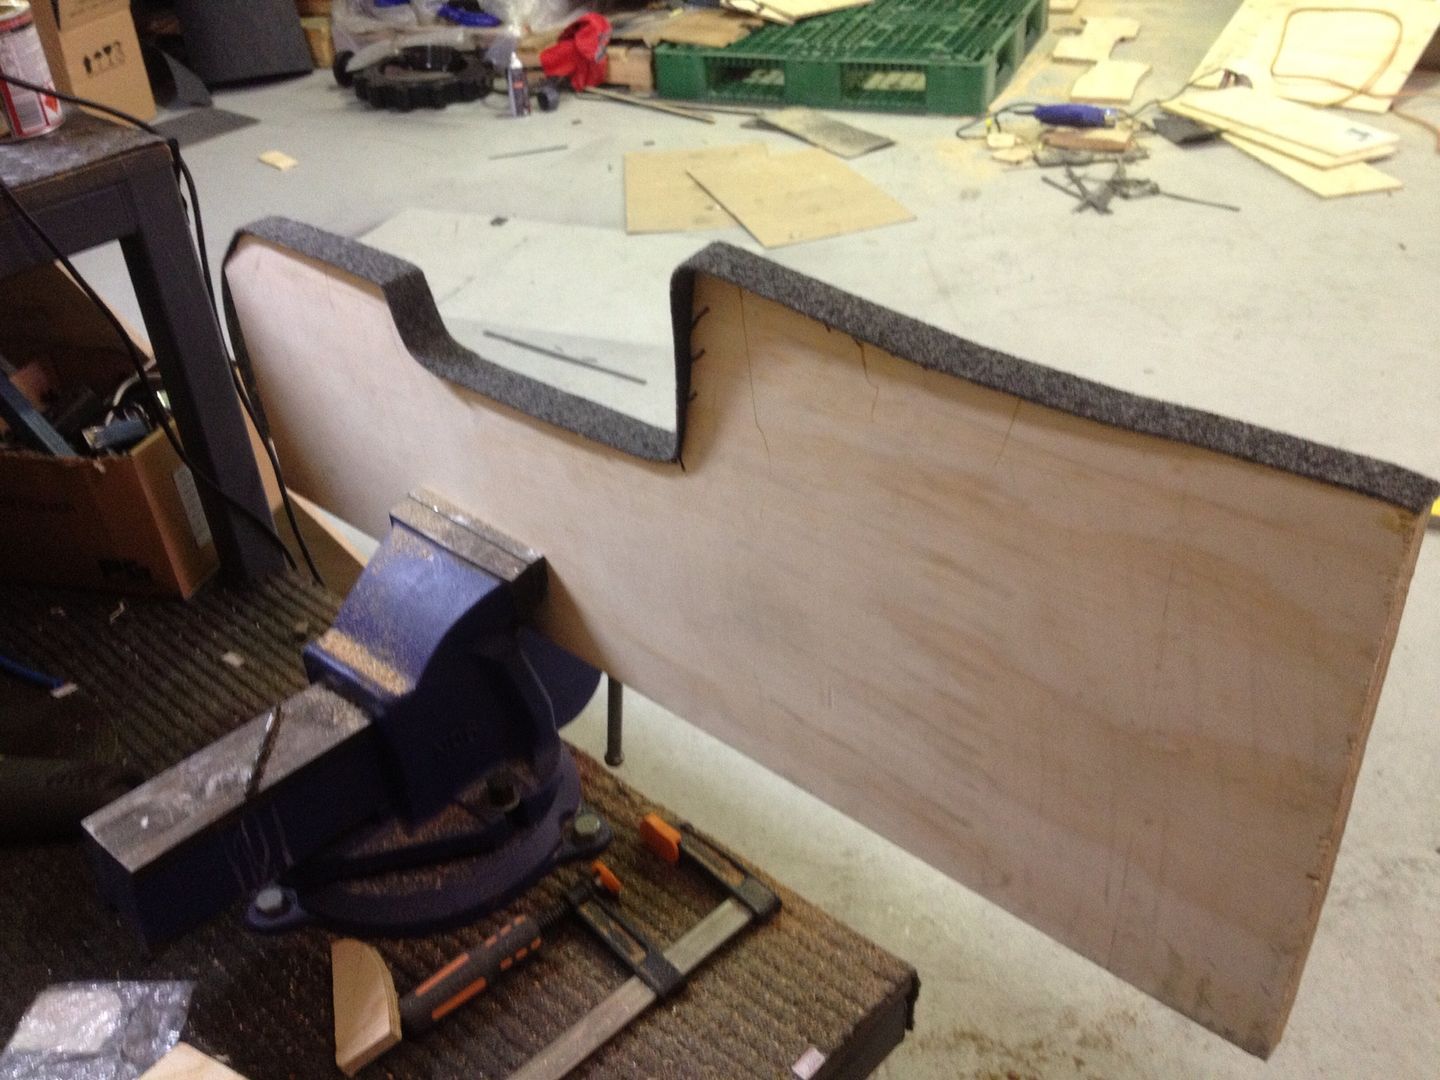
Time to make up the drawers. I used 12 mm Ply for this but am planning on getting a set bent up in Aluminium down the track a bit.
The onto the side wings, these were eventually attached with continuos piano hinges. I really wish I had some better gear to work with! A $20 Bunnings Jig saw makes this sort of stuff hard work! A nice band saw would be so much more accurate for the wings and side inserts.
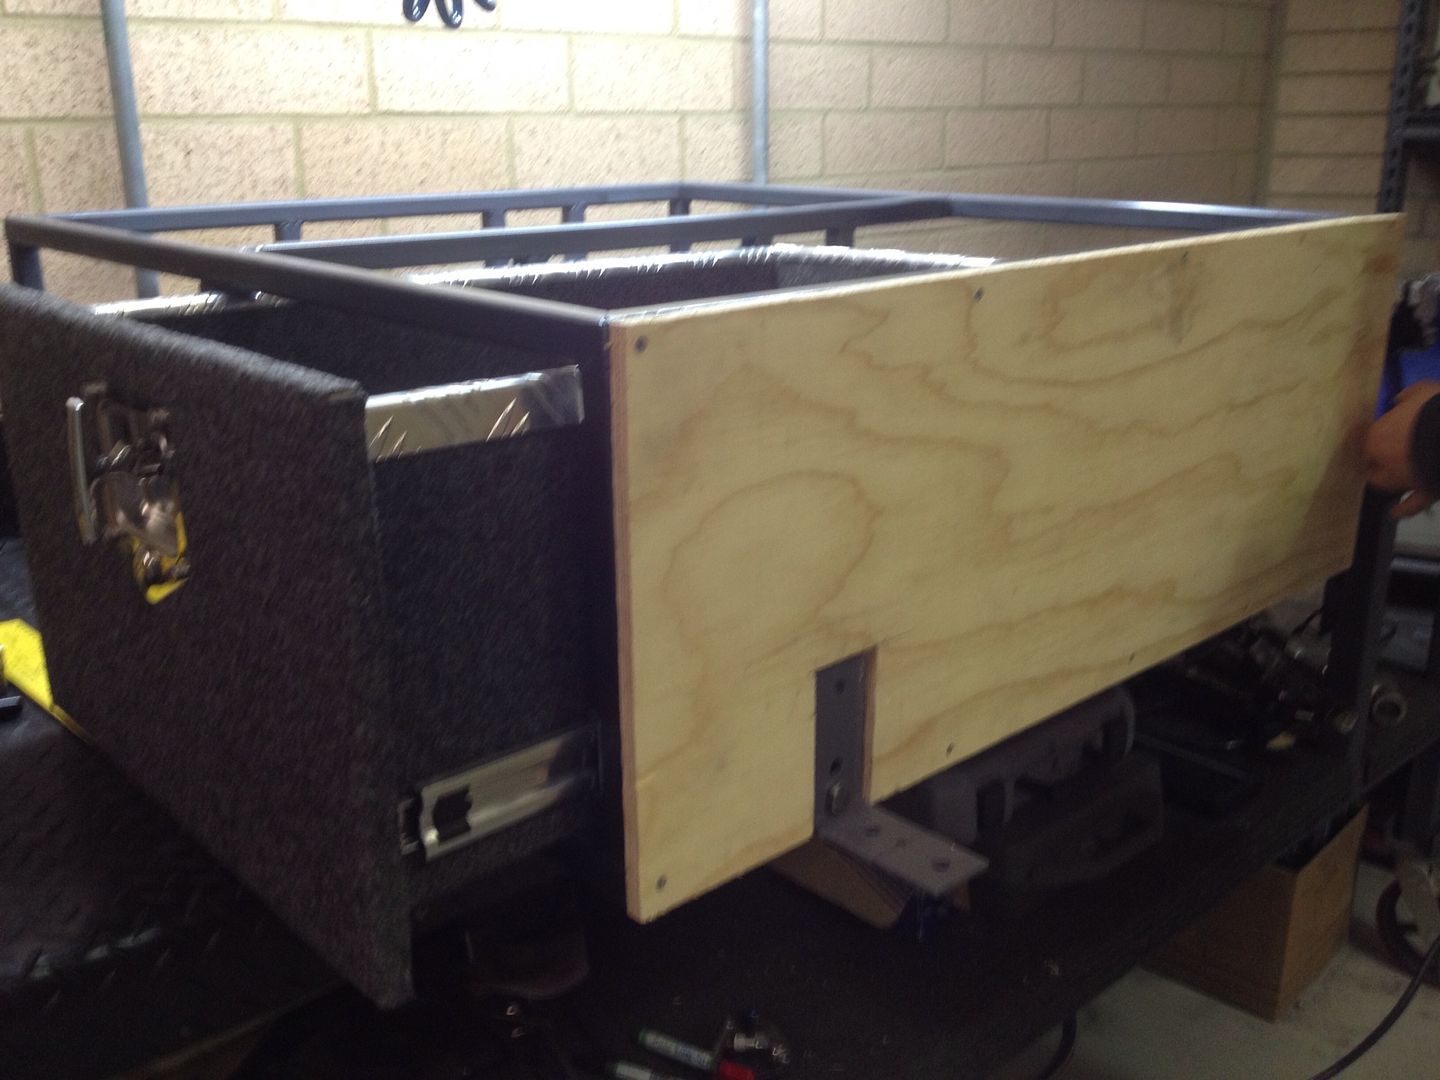
For holding it all down I removed the front and rear tie down points and drilled through the front of the frame and use 6mm high tensile bolts for the front and attached some removable 100x100 mm L brackets for the rear which also bolt down with 6mm high tensile bolts. I am not quite happy with using M6 and will probably drill these out for M10.
The frame is 890mm deep and the drawers are 690mm, I have left a cavity at the rear of the drawers which is around 180mm, this is where I have mounted the ARB compressor and also have room for a DC-DC charger and distribution block down the track, I am thinking of going down the Lifepo4 path for my dual battery and will mount it in here also.
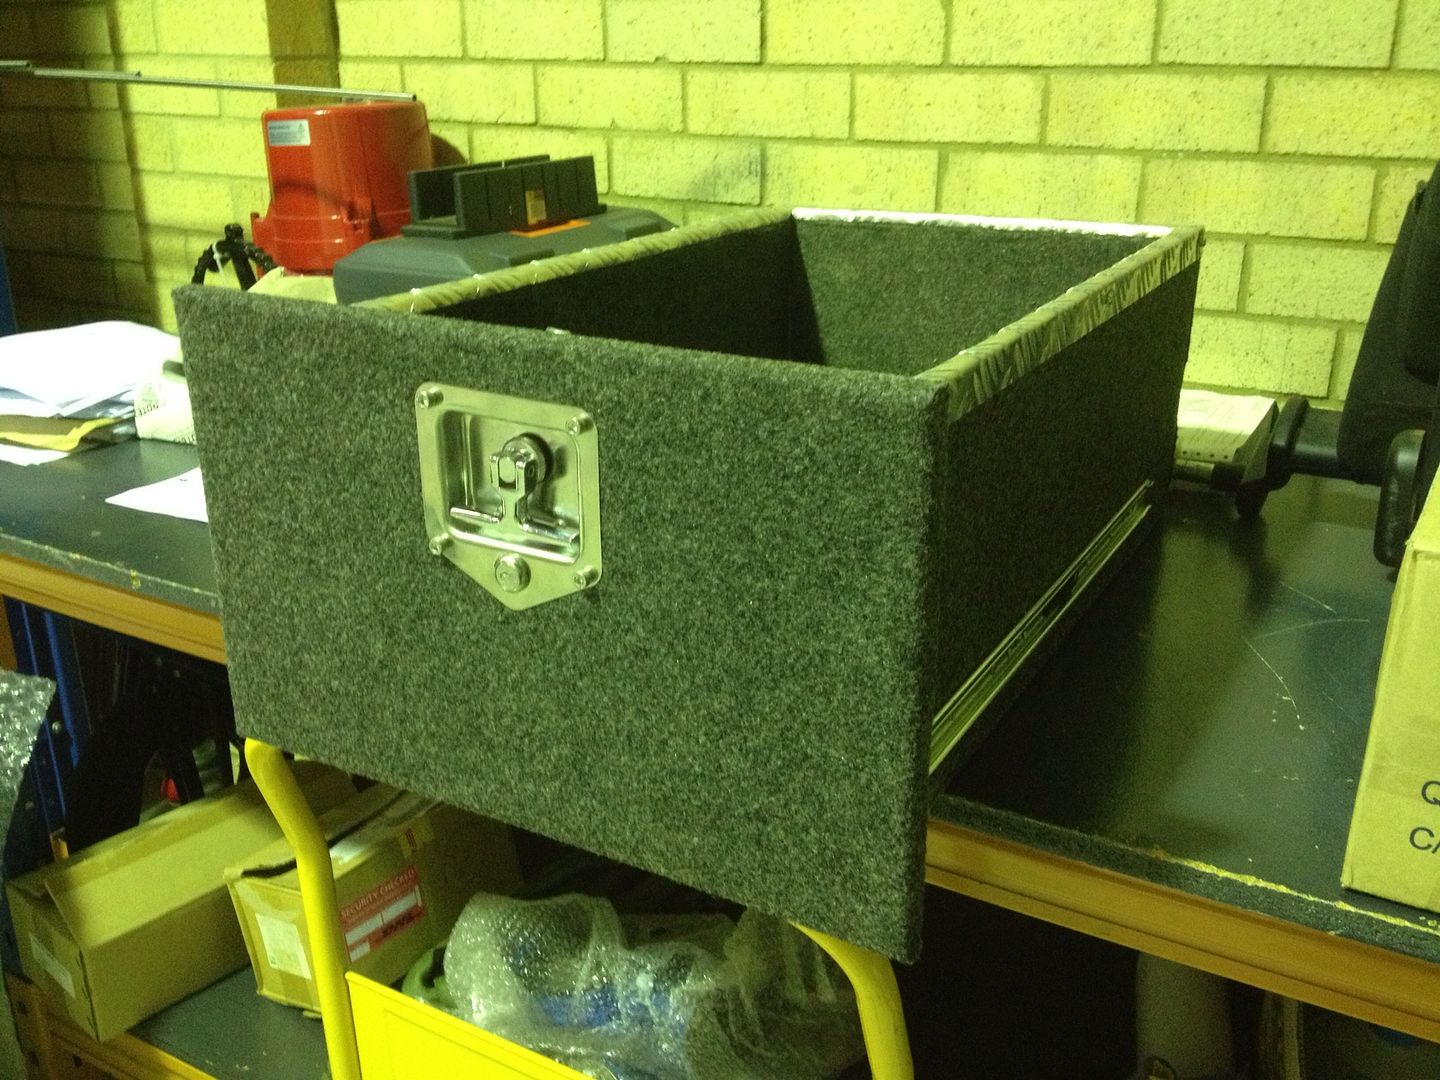
The compressor is bolted in but not plumbed and wired yet. I'll be using 10mm SS316 tube from the compressor to the rear side panel to the quick release fitting I have mounted at the rear. This means I can use the standard ARB hose and reach all tyres as well as the trailer tyres from one point. The compressor switch will be mounted in the dash.
You can see the quick release air connection mounted in a recessed cavity on the drawer side section here:
All up I have spent about $750 on materials but reckon I have wasted maybe $150 worth on stuff ups, but it's all a learning curve. I am reasonably happy with how the drawers have turned out but need to recut the passenger side rear panel as it is a few mm too narrow and also need to trim down the top of the drivers side rear panel as the door trim just hits it when closing. Before I do that I am buying a new jig saw!
The total weight is 69 kg, the rear seat weighs 23 kg so all up I have added 46 kg of weight. I used 12 mm ply all round and 18mm on the top, so I could probably save 10 kg or more using 6mm for the sides and aluminium drawers.
It is not the easiest unit to move in and out and takes about 20 minutes. 6 Bolts in total to remove. Really a 2 man job, but it can be done with one in a pinch.
Next project is to add the 70 Litre Water tank in the Rear Seat Well and 100a/h Lifepo4 Dual battery System, I'll post this up as time allows.
Last edited:


