Craig's Offroad Teardrop Build

dusty122

Adventurer
after causally looking for offroad teardrops and looking at a lot of build pages i finally found one not far from me on Ebay. The previous owner had sold his tow vehicle for a bigger truck and decided he wanted to build an even bigger teardrop. This one is pretty big. It weighs about 1800 pounds and is built very strong. Its got a real queen size memory foam mattress inside and it fits both myself (6'-4") and my girlfriend very well. It was missing the stove/oven and the arb fridge and slide but i have recently purchased those. Im planning on posting my mods as I complete them. We've done several trips putting over 4k miles on the trailer so far and its been awesome.
Here are some Day 1 (for me). The previous owner took a lot of build pics so i will post them soon.
pics
14973666404_0e38b31416_z_d.jpg

15570723346_881d4b110e_z_d.jpg

15591745431_3127182c84_z_d.jpg

15311997489_3a9601feab_z_d.jpg

15408411877_66ab7d1b90_z_d.jpg

15408796230_a18a8e537e_z_d.jpg

15570721626_a06273d103_z_d.jpg

15311929589_9f776efffb_z_d.jpg
 

dusty122

Adventurer
sadly i cant say i built it but I have modified it some and planning on doing a lot more with it to make it my own. I will post some more pictures of the things i have done. Mainly cleaning up and upgrading the electrical and doing small fixes. Im currently working on adding on board air and will post pics of that soon.
 

dusty122

Adventurer
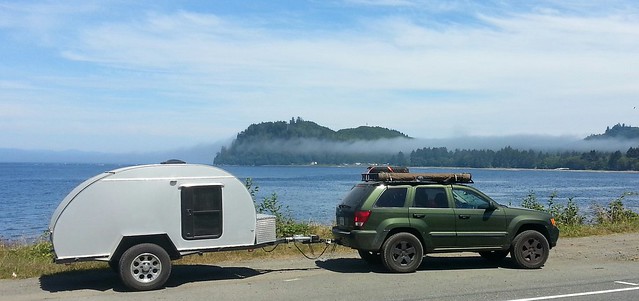
Our first real trip with the trailer was in July. We drove from Los Angeles, to Seattle then to Neah Bay Washington for Toorcamp. Then driving home via the 101 and making a stop off at cape disappointment. Link to press coverage of the event Toorcamp is pretty much a mini burningman for hackers, geeks and engineers. They offer classes in basic to very technical electronics and give talks that range from computer security to low level arial photography. We had a great time at the event and learned a lot from the event and from the trailer. It made me come up with a huge laundry list of items that I want to upgrade/change/fix.

Near Cape Flattery Washington. Canada is off in the distance
14973666484_f8762364a7_z_d.jpg


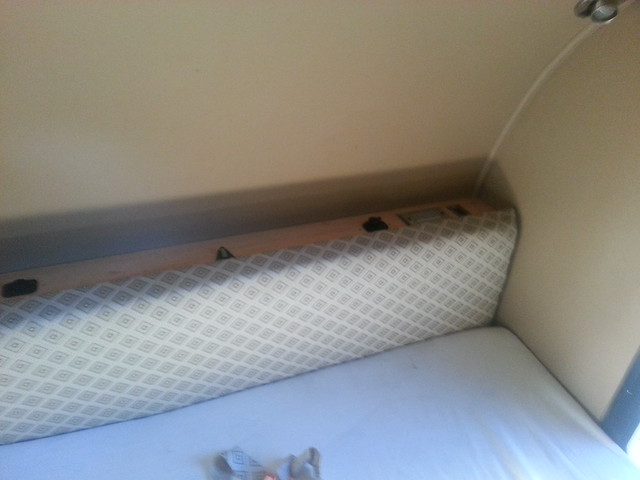
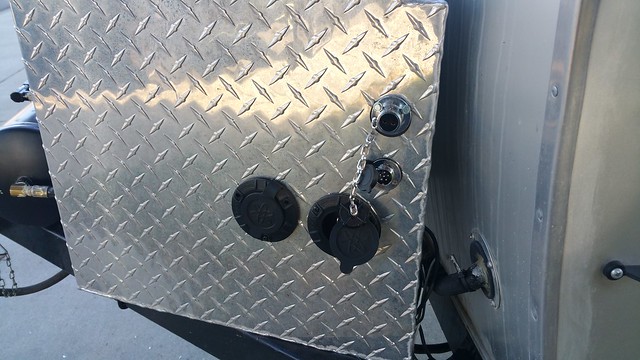
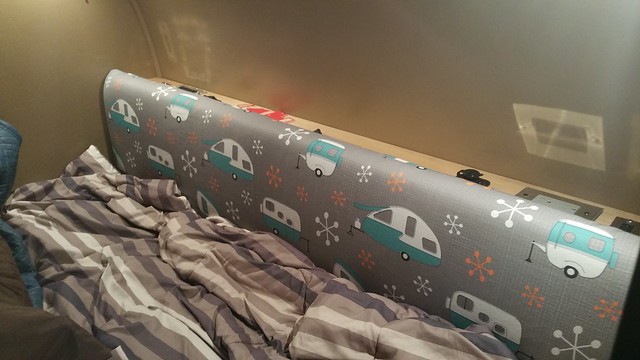
One of the first fixes that i made when i got home was adding some power to the headboard so we could easily charge our phones and power some random electronics and was easily accesilble from both inside and outside of the trailer. Before the only power ports were in the cabinets at the end of the bed. I added a 110v outlet and connected it to the inverter. I also put in 2 cheap 12v accessory plugs that i got off amazon for cheap. They quickly showed me how cheap they were and I pulled them out and replaced them with marine style plugs from Blue sea systems. One is a 12v accessory plug and the other is a 2 usb outlet. They work much better.
15498544832_d4b602f8ea_z_d.jpg


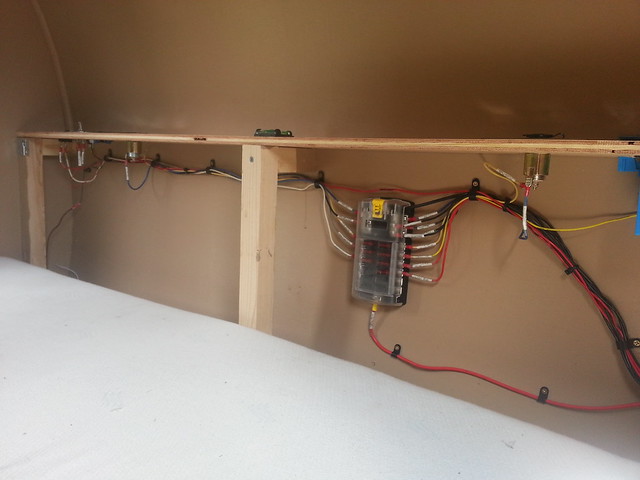
When i went to wire this up it was clear the wiring need to be cleaned up an redone and needed a fuse block. I also added the blue sea systems fuse panel and labeled all the wires with label tape and sealed it with clear heat shrink. I also started drawing out the schematics of all the electrical so i have a reference in the future. Below is the finished product for behind the headboard. This also shows the crappy 12v plugs that i have since removed. I dont have a before pic.
15595246132_0154a0a4a5_z_d.jpg


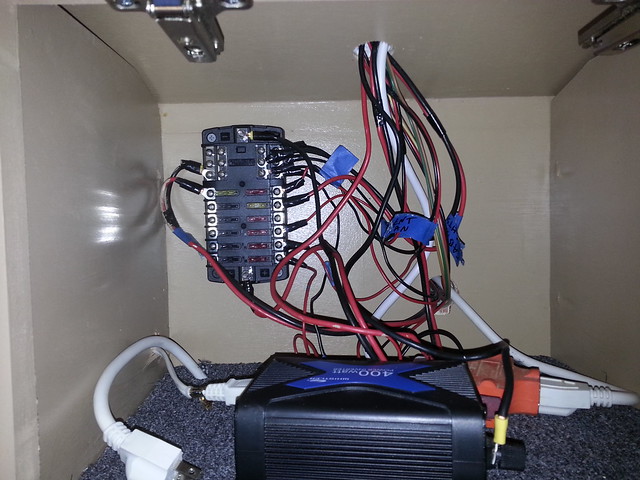
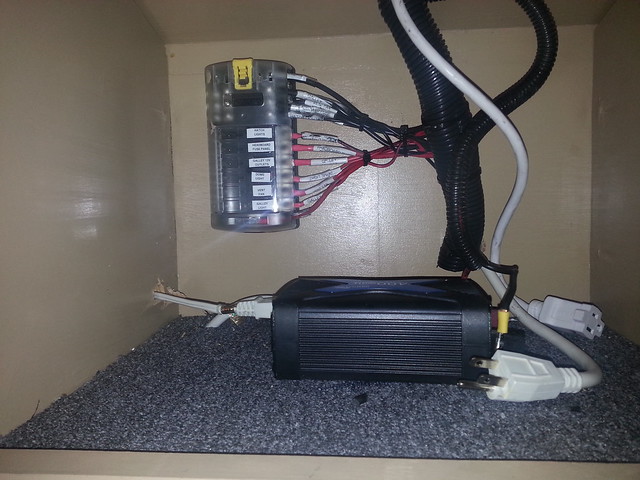
My next step was to cleanup the main existing fuse panel and figure out where the wiring went. The fuse panel is located in one of the upper cabinets at the foot of the bed. Its also where the inverter currently is. I am planning on upgrading and relocating the inverter in the future but its fine where its at now. Before
15407791249_669257e5df_z_d.jpg


After
15595244582_3cc9a6f79b_z_d.jpg


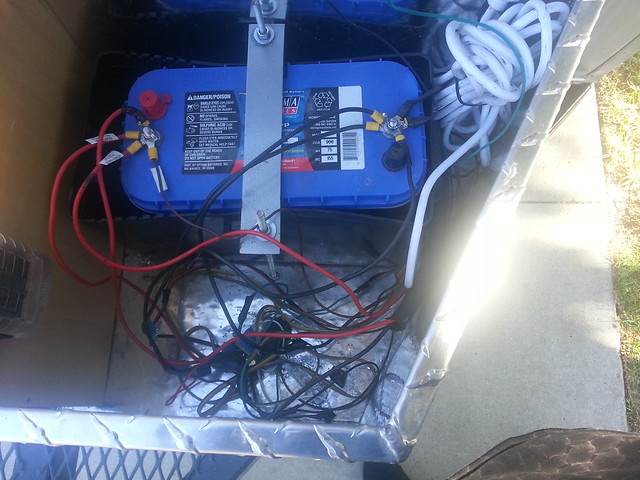
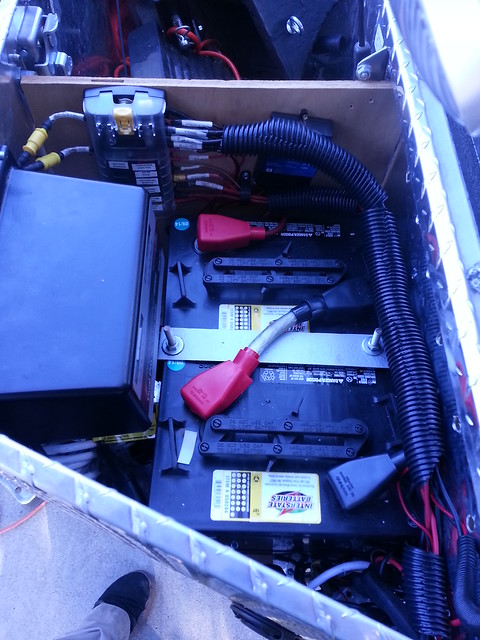
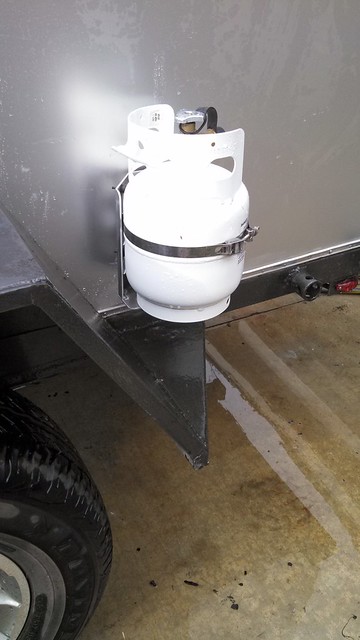
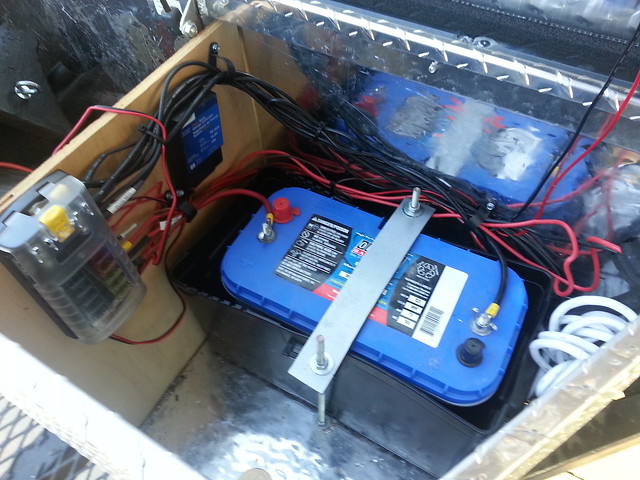
Continuing with the electrical cleanup. The existing battery is located in the tongue box. Most items werent fused or werent fused close enough to the battery so I went about quickly cleaning that up before i upgrade the battery situation. I added another blue sea fuse panel and also installed the solar control panel so i could trickle charge the battery when I store the trailer.
Before
15595246032_e6239203b2_z_d.jpg


After
15407791699_df64ed7196_z_d.jpg


One thing i quickly learned from the Washington trip is that a single battery is not going to cut it for me. I require the inverter to be on all night in order to power my Cpap machine while i sleep. With just basic 12v use during the day and the inverter on all night i was only getting about a night and half worth of power. I decided to upgrade to 2 6v deep cycle golf cart batteries. I also installed an onboard battery charger that I had from another vehicle that I can use to slowly charge the batteries when i have shore power. At that time i cleaned up the wiring better and drilled some holes in the back of the box make sure the batteries were properly vented. The 6v batteries have worked great and give me about 3-4 solid nights off a single charge. I think I will eventually add 2 more to compensate for the onboard air and fridge that are currently getting installed. Id like to be setup so we can go on a 3 day weekend and not need to fire up the generator to re-charge the batteries.
14974257603_9325b764a3_z_d.jpg
 

dusty122

Adventurer
I broke down and bought a fridge as a gift to myself. I went with the same fridge and slide as the original builder of the trailer. Its nice because it bolted right in place. I also figured out why the builder had put large holes between the middle drawer where the water cans are held and the fridge space. The large holes let you reach around the back of the slide so you can secure the rear strap to the fridge. The fridge is an ARB 50qt with the ARB slide and straps.
15459709458_2aa9349272_z_d.jpg

15645854465_465637f7a9_z_d.jpg
 

fireball

Explorer
That looks really nice! Good work on the electrical tidying.

One note about the fridge, might want to check to make sure it is getting enough ventilation. I've got mine in the back of my truck and when a bag got pressed hard against the rear side vent I could notice it cycling much more frequently. I actually saw a TD this weekend where the owner installed a 4" through-wall vent right at the back of the fridge to ensure it was getting good air flow.
 

dusty122

Adventurer
Thanks for the tip. I havent really gotten to use the fridge yet other than bringing some beers to a wrenching party. Theres about a 2 gap on each side and about a 4inch gap at the back so its not directly obstructed but with the galley door closed it doesnt really get any airflow so i will definitly check out about finding something that will help out with that.

Thanks
 

dusty122

Adventurer
I added a few plugs to the side of the tool box so I could connect things to the electrical system without needing to leave the top of the box open.
15646669422_1365edd6d0_z_d.jpg


The 2 Prong one at the top is a "Seachoice Watertight Deck Connector" Im using that plug to direct connect to the 12v outlet on my Honda 1000 watt generator. The one below it is a "6-Pin Waterproof Electrical Deck Plug" its a 6pin but im really only using 2. I just wanted something different so things would get accidentally plugged into the wrong ports. the 6 pin port connects to a small solar panel that im really only using as a trickle charger when its parked too far away from an outlet in storage. The 2 Black are NOCO Genius GCP1 male power plugs. One connects directly to the battery charger in the toolbox and the other is an inverter bypass cable that will let me remove the inverter if on hopefully the very rare occasion we have hookups.
 

dusty122

Adventurer
Did some fun qwerky stuff on the trailer this weekend with my girlfriend. We changed the headboard material and painted the propane tank.

Propane Tank
Before:
15495686821_385a63a1eb_z_d.jpg

After:
15100245334_d31821fa15_z_d.jpg


Headboard. I ordered the fabric from spoonflower.com. It wasn't exactly cheap but its easy to search tons of fabrics and once you get a print you can choose from 20 different material. It was pretty fun trying to decide on the perfect fabric.
Before:
15570721626_a06273d103_z_d.jpg

After:
15534317179_d8f22d5fbe_z_d.jpg
 

dusty122

Adventurer
another small cosmetic change but also functional especially for a tall person like me. Im 6'-4" and galley door tends to be right around 6'-2" or 6' depending on where we stop. It also has some pretty knarly bolts at the end of the door. I ended up replacing the bolts with lower profile jam nuts and cut off the remaining bolt which helped some but the hard metal doesn't react well with my head hitting it. I was in search of something a bit softer to cover the ends of the bolts. What seemed to fit almost perfectly was rubber bar drink mats. I had a couple lying around and bought another on ebay for 10 bucks. Ive already tested it out a few times by accidentally smashing my head into it and it works rather well.

Before:
14974256963_a822dfaae1_z_d.jpg

After:
15535296169_9ffceca802_z_d.jpg
 

Forum statistics

Threads
185,815
Messages
2,878,493
Members
225,378
Latest member
norcalmaier
Top