2014 Express AWD cargo van PNW 4 season camper

86cj

Explorer
I'm using switches from http://www.otrattw.net for all of my electrical upgrades. They sell carling switches with custom covers. They have hundreds of designs and you can customize the text at no extra charge. I've made two orders with them and both were shipped very fast and the packing was excellent. I highly recommend buying from them.

I went with the new contura 14 style covers. I'm trying to keep the dash looking as factory as possible and the 14 looked best to me. If you go to the site you'll see the other styles.

I ordered several sizes of switch holders because I wasn't sure how they'd fit in my dash. I was super happy to find out that if you put two "ends" together as a two switch bracket it will fit in the factory dash perfectly after you remove the switch blank. Take a look

977bee44b6340f863fea35ccf52ad50d.jpg


30c7d18e5e4830c682b787bab3a78de5.jpg


2691e7a29d89fee86792f5ba6b407d8e.jpg


I went with green led back lighting on the bottom and amber led for the top because it's the closest match to the existing dash lighting.

http://youtu.be/-br6_TwrUso


Thanks for the info fits great.................

You really get out and put that Van to use, your build should inspire alot of people who keep asking if the AWD 1500 is enough. If more people could see how easy it is to live on the road in a Van like yours and enjoy attractions that are congested yet still enjoy very remote locations without the poor highway manners of bigger Vans and RV's.....
 

iridewheelies

Adventurer
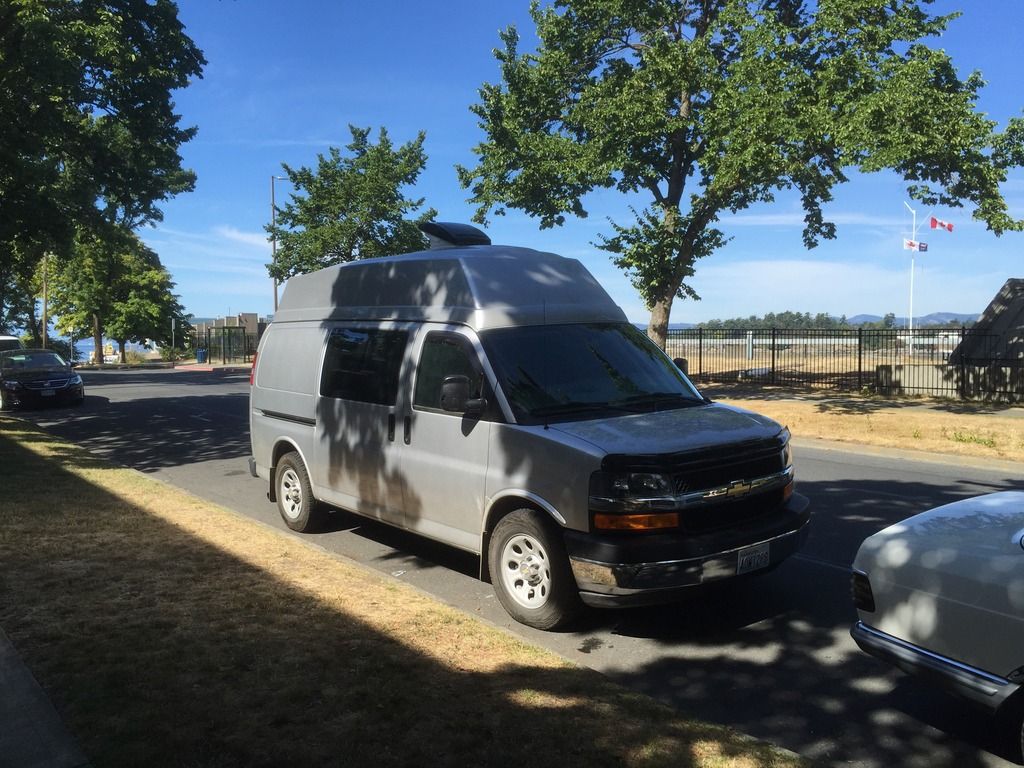
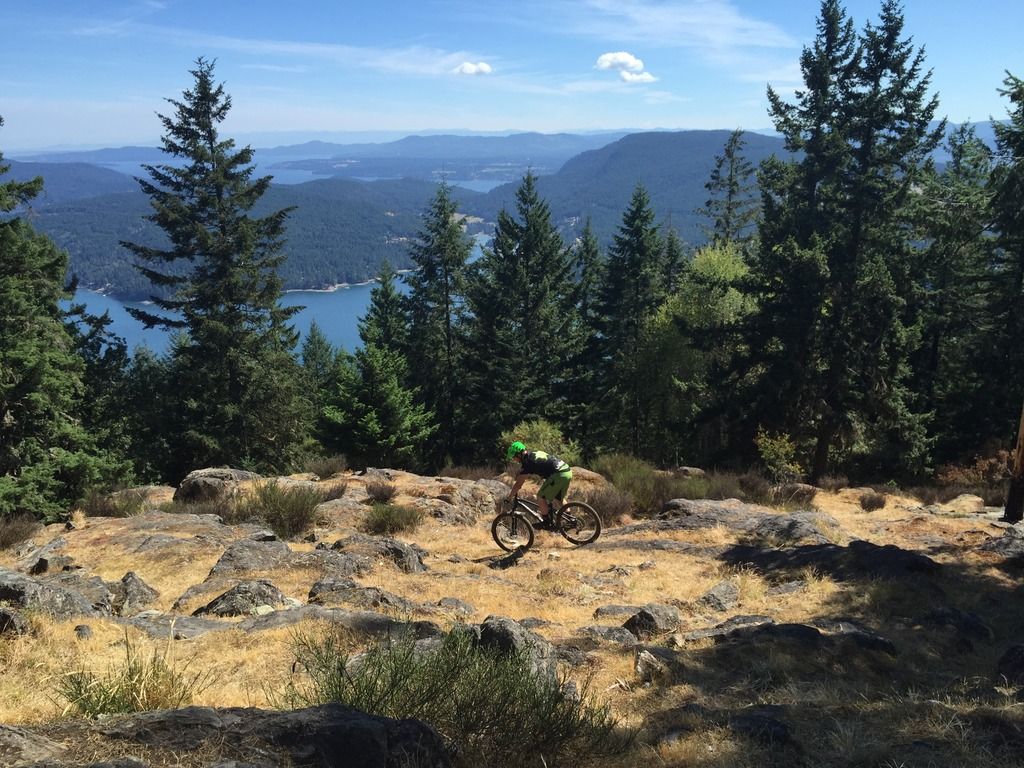
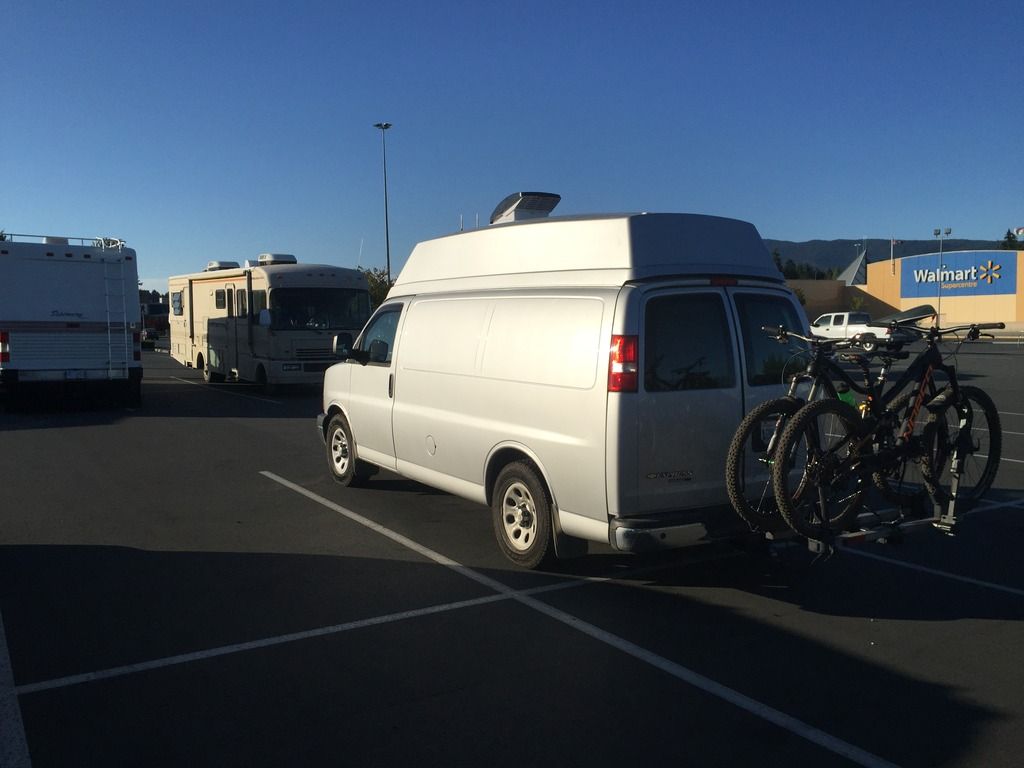
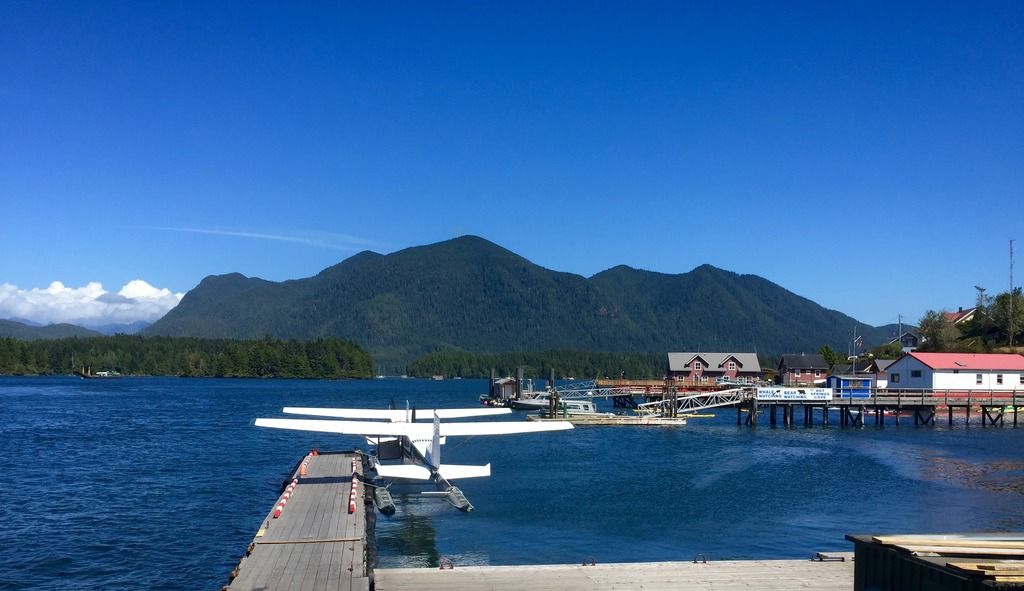
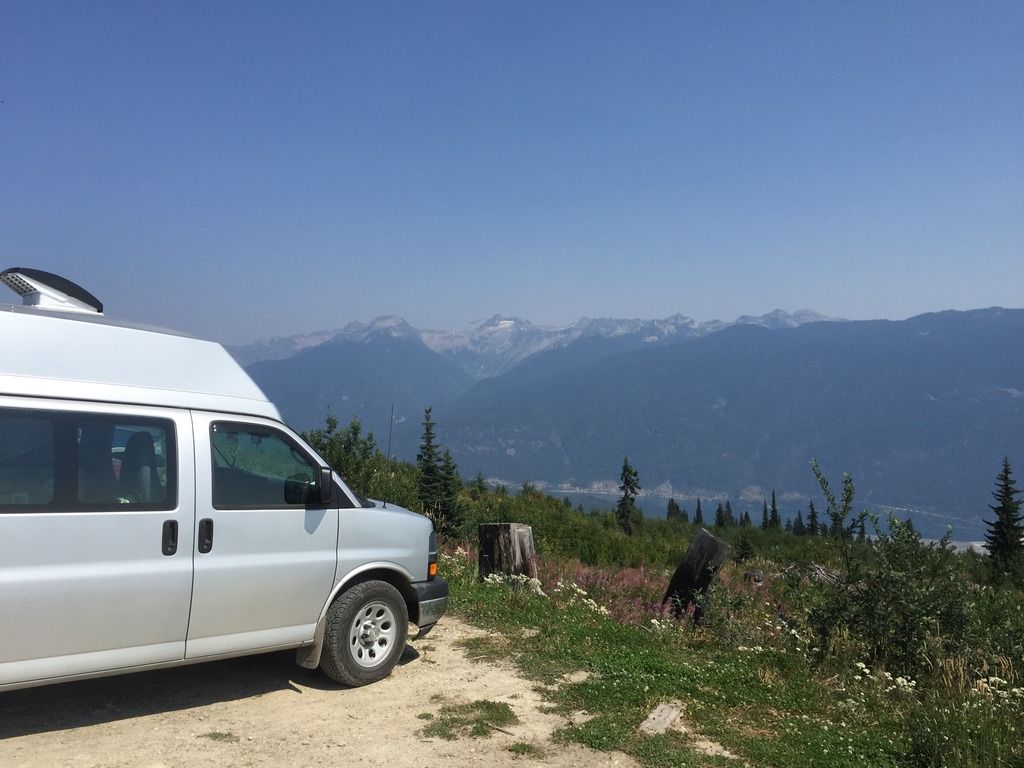
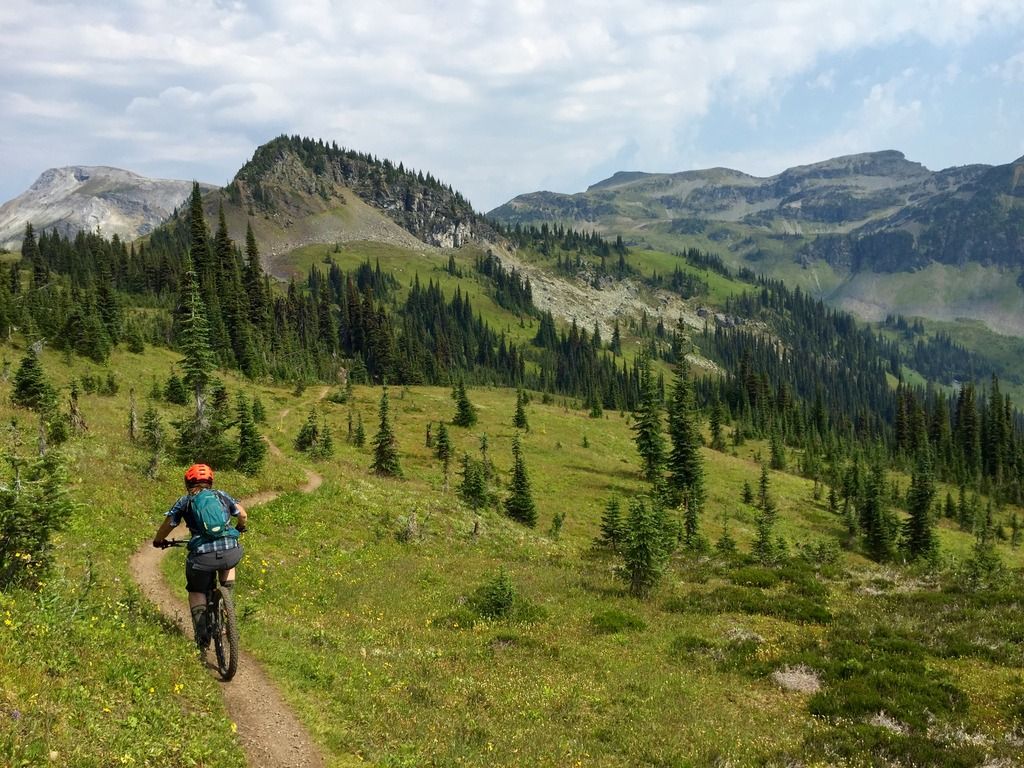
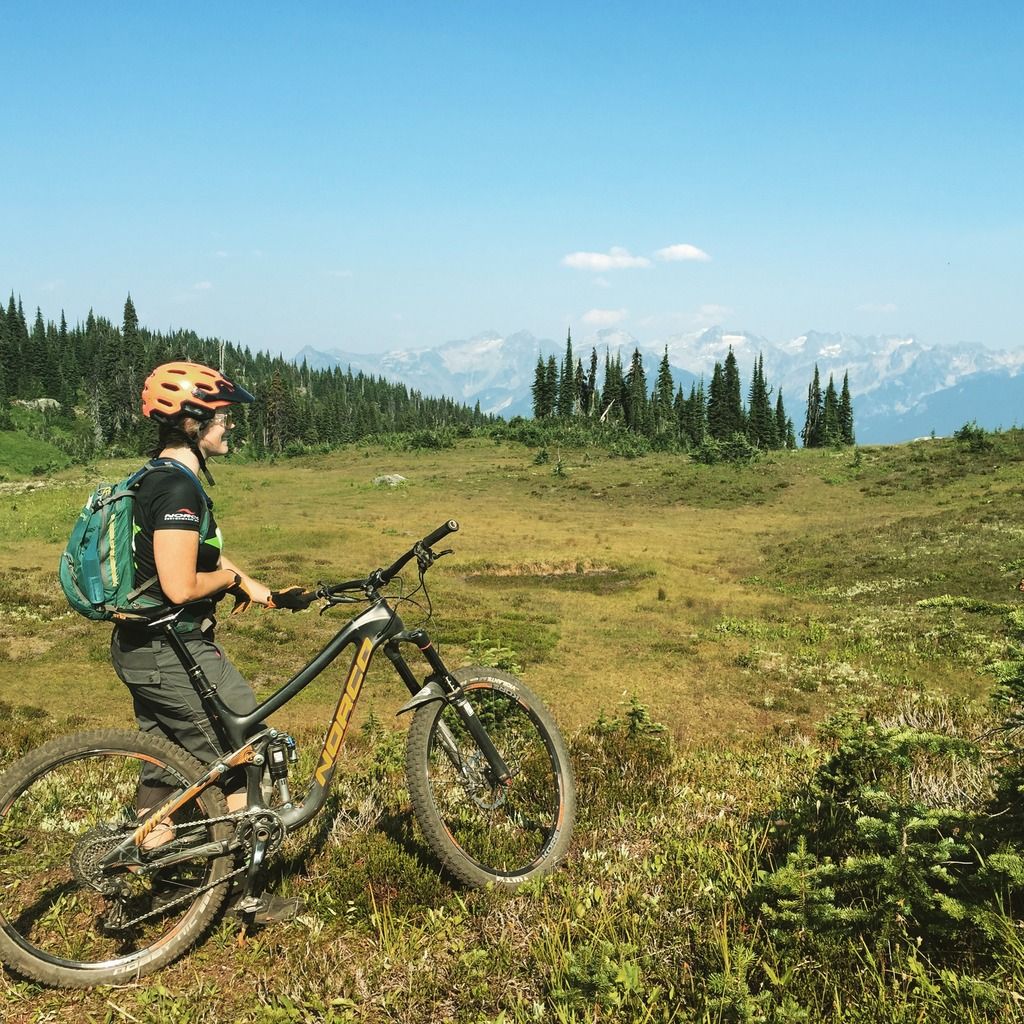
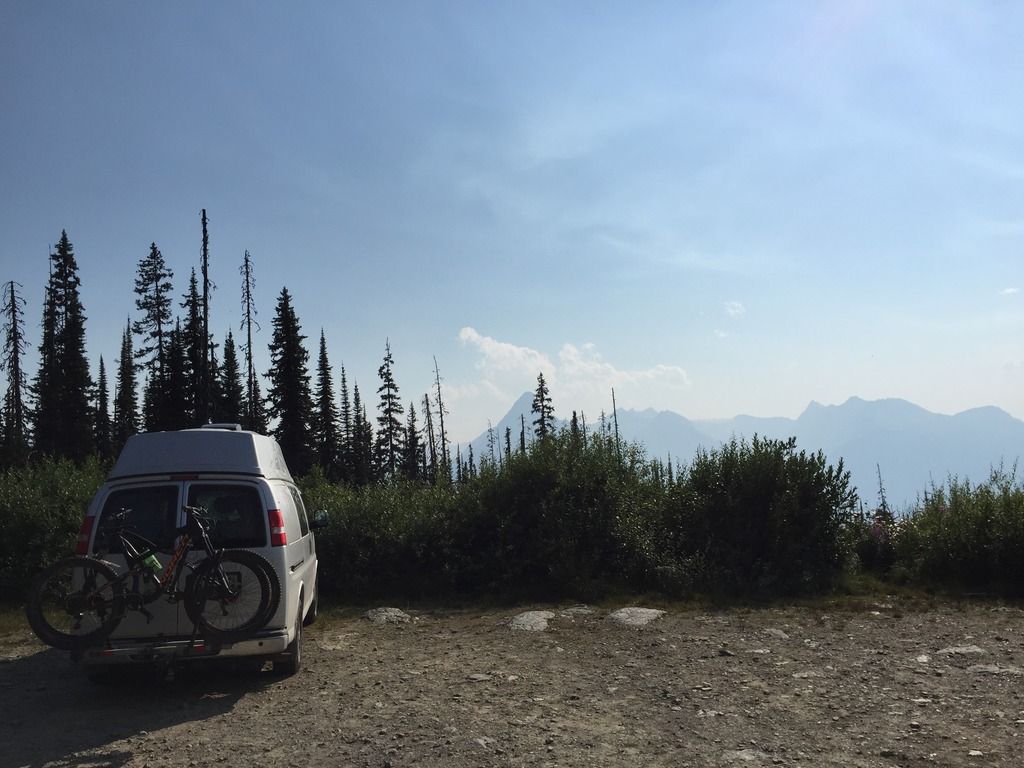
I haven't made any updates for a while because I haven't made any changes to the van. We camped in it all summer and fall. The trip to Canada was amazing. A little more than a week on Vancouver Island and another long week on the mainland. We only paid for camping one time, and it only cost $20. The rest of the time we either camped out in Walmart parking lots or at trailheads. Here are a few pics from our trip.

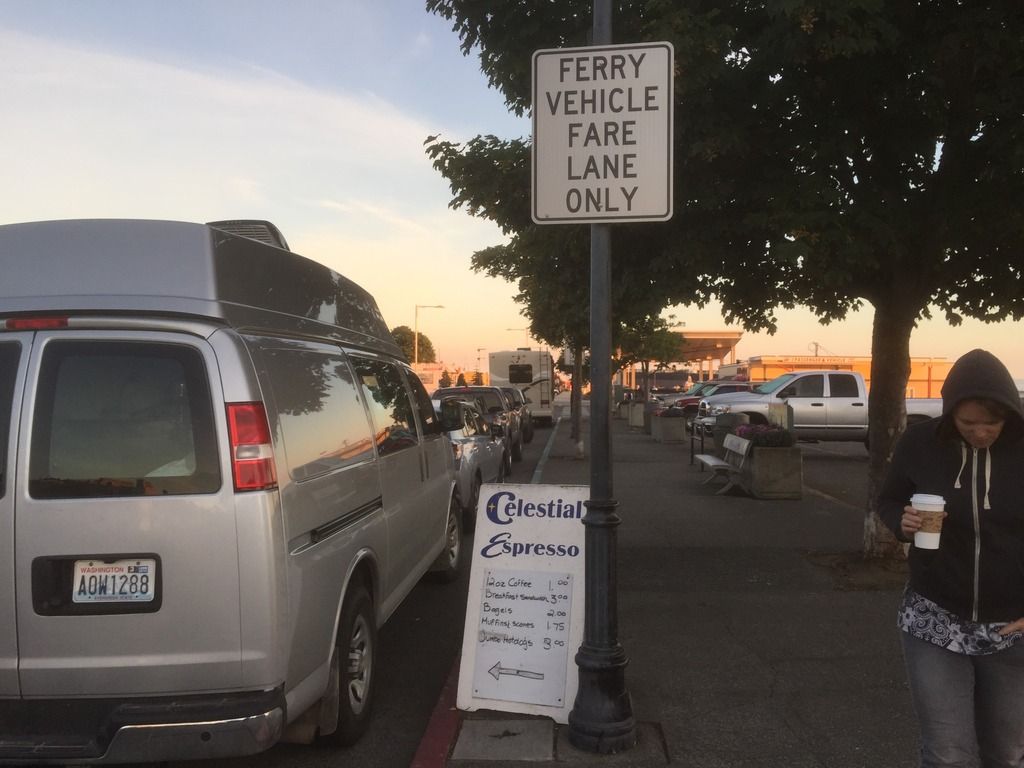
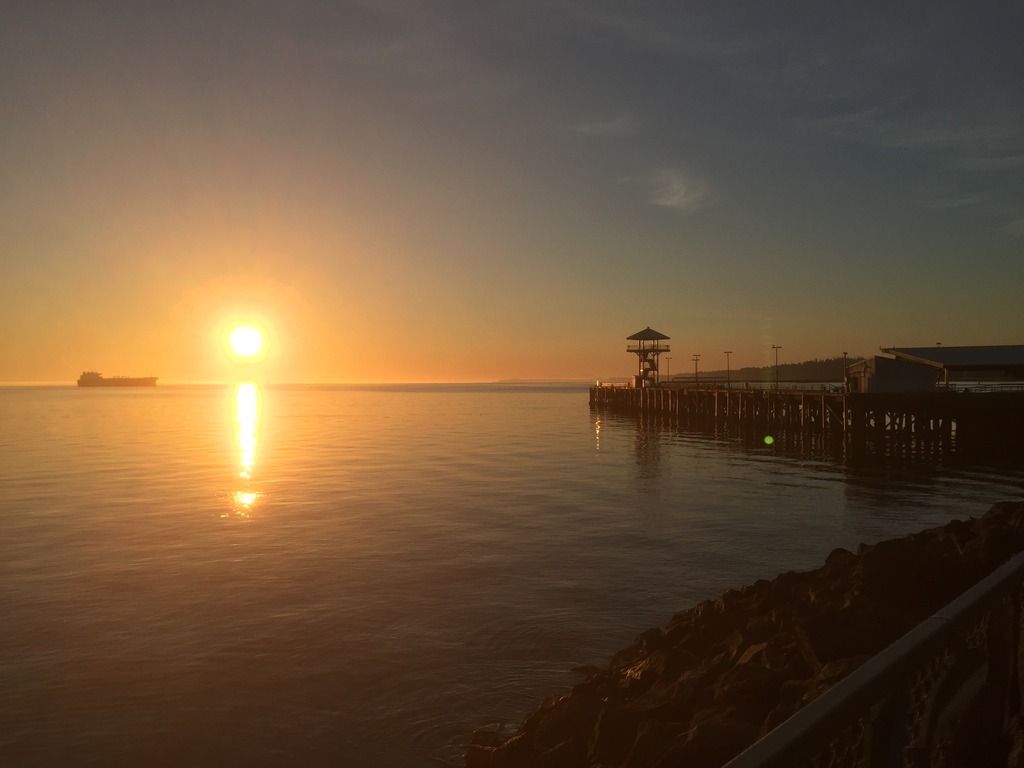
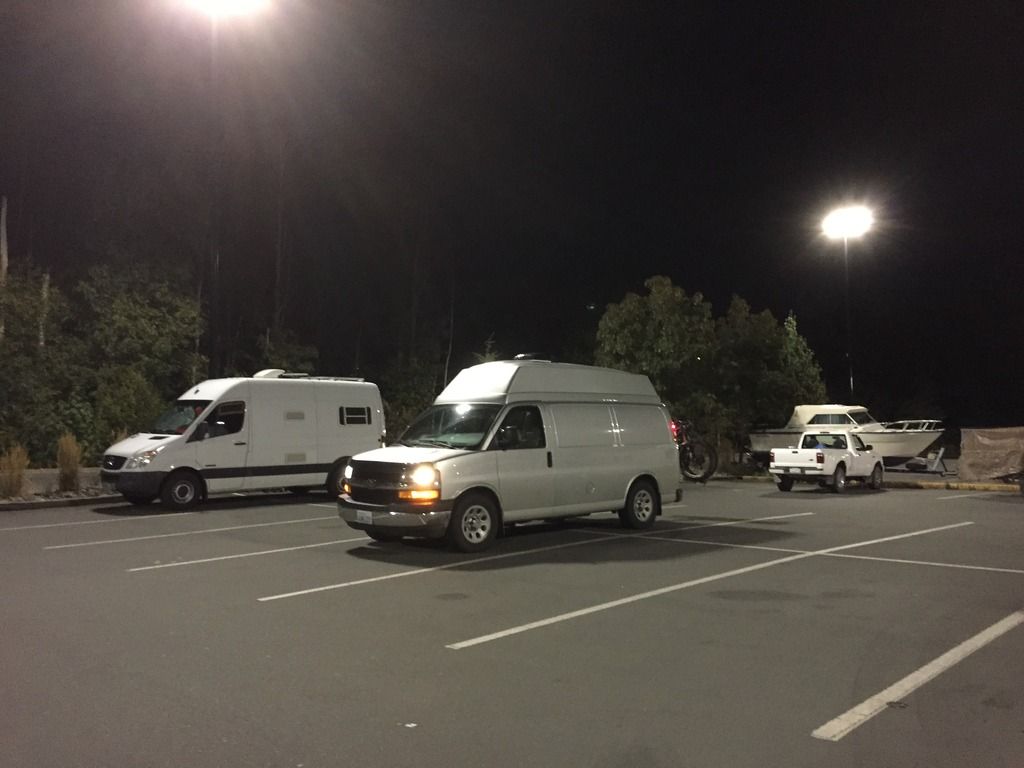
We parked near the terminal so we could get up early to catch the first ferry to Victoria.


Here we are parked in Victoria with the black out curtains up in Stealth Mode


Found some great riding around the south side of the island.


We ended up staying at Walmart overnight a few times. It's free, there's a bathroom and you can get supplies. I can't complain!


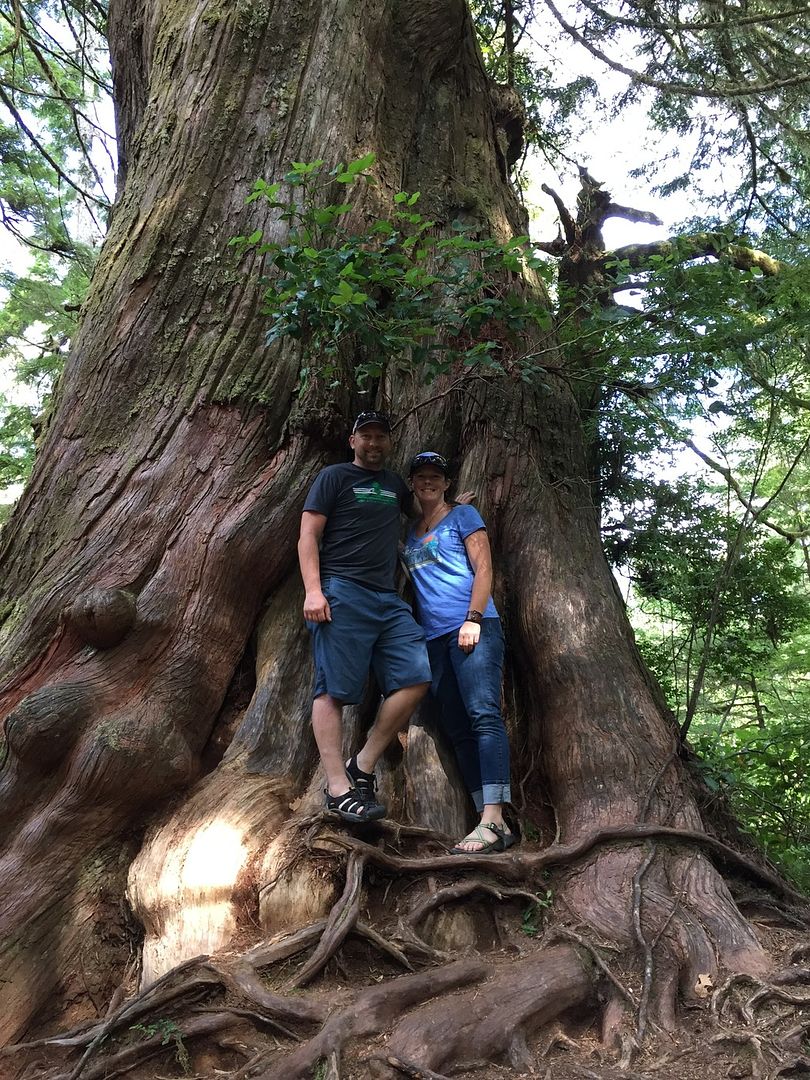
Drove out to Tofino. No surfing but we did take a boat over to one of the islands for a hike.


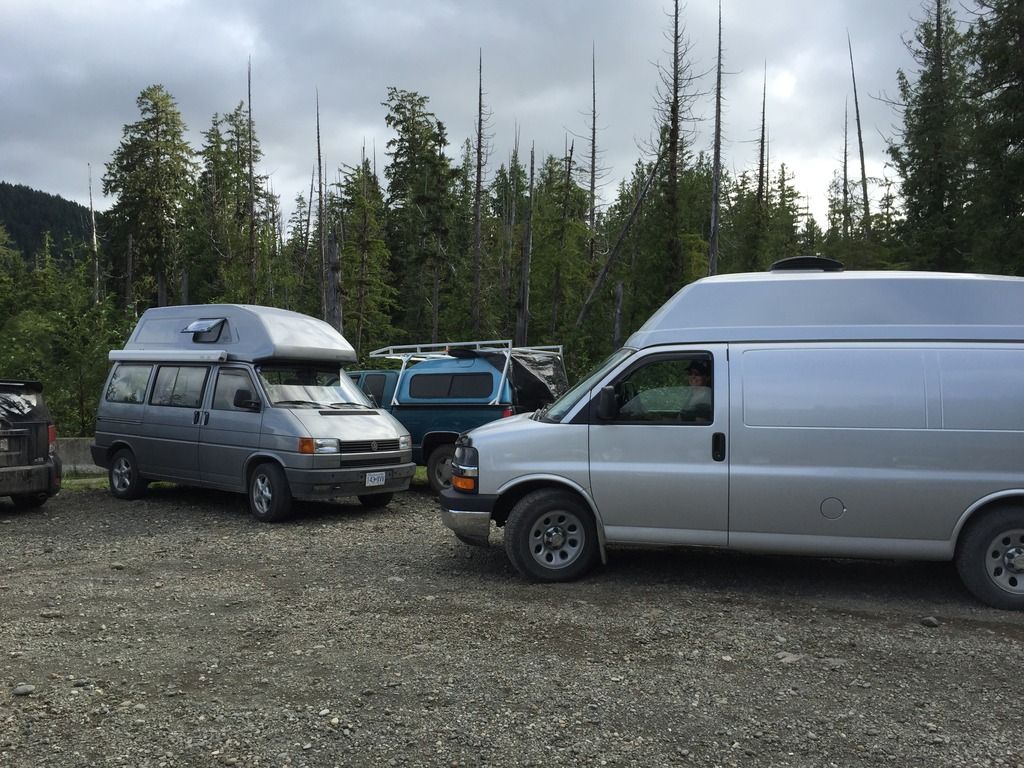
Next we drove all the way north to Cape Scott Provincal Park. Check out this Eurovan.


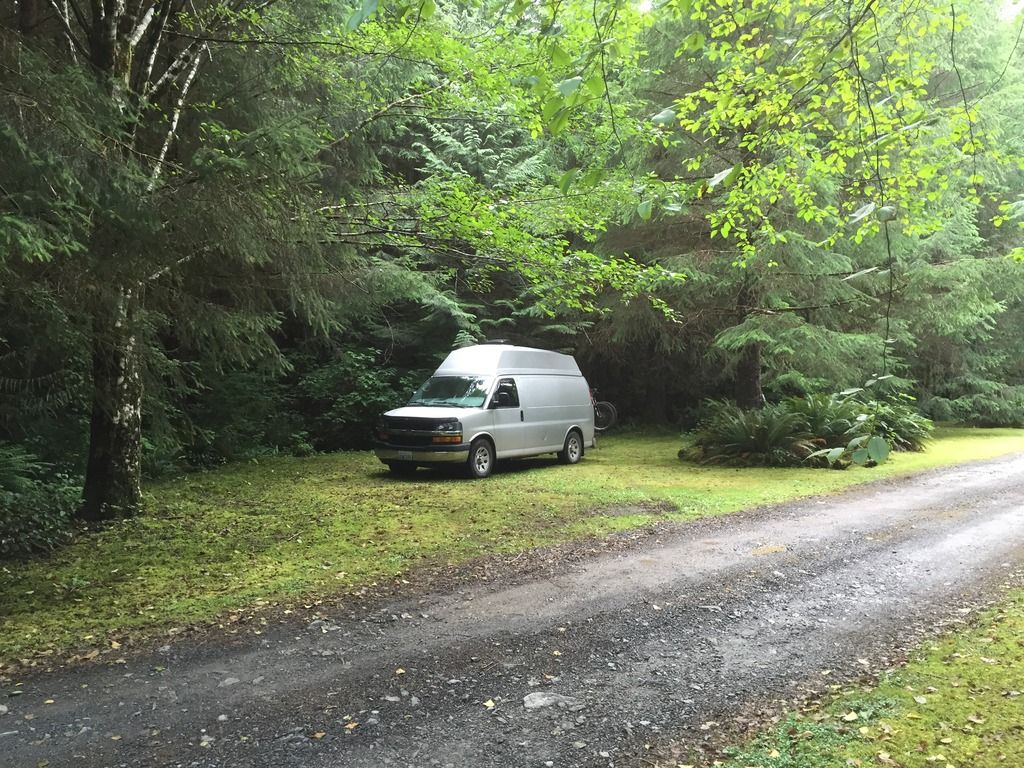
This was the only camp spot we paid for on the trip. $20 to camp at San Joseph Bay.


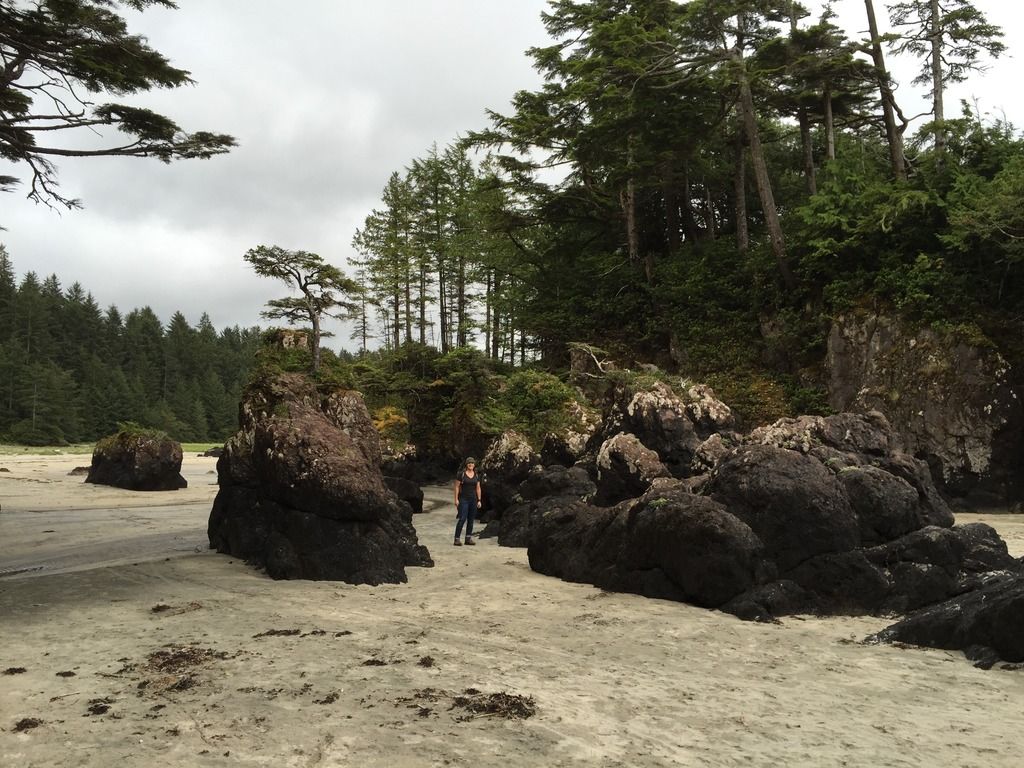
Hiked out to the beach


Camped at walmart again on our last night on the Island


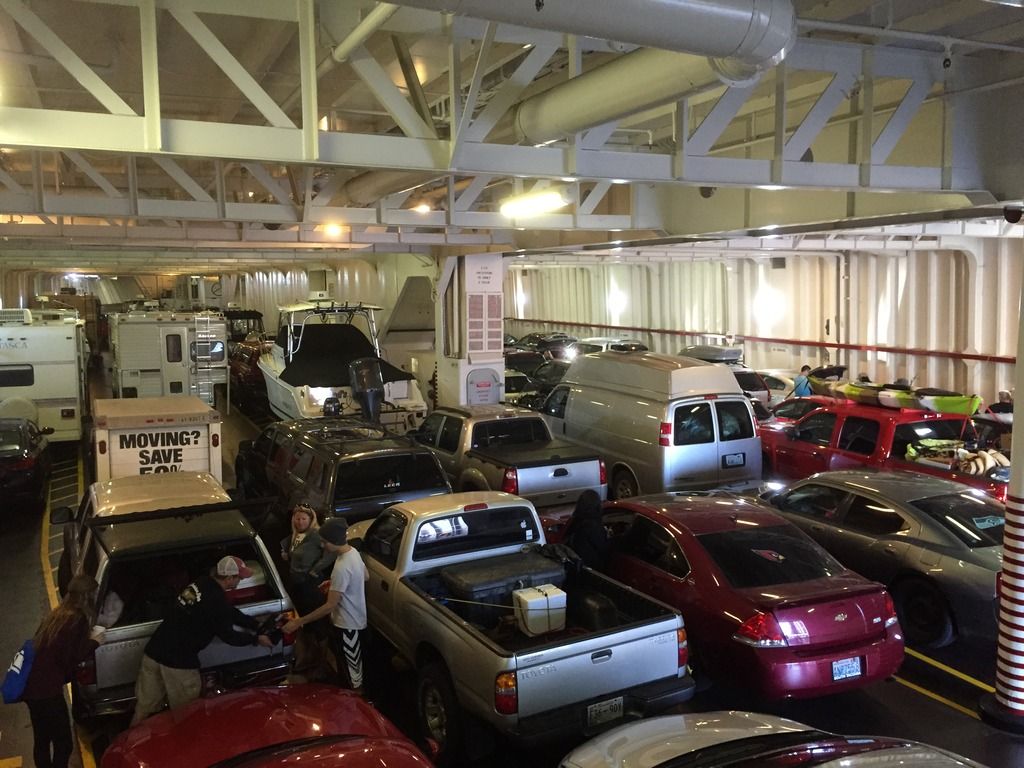
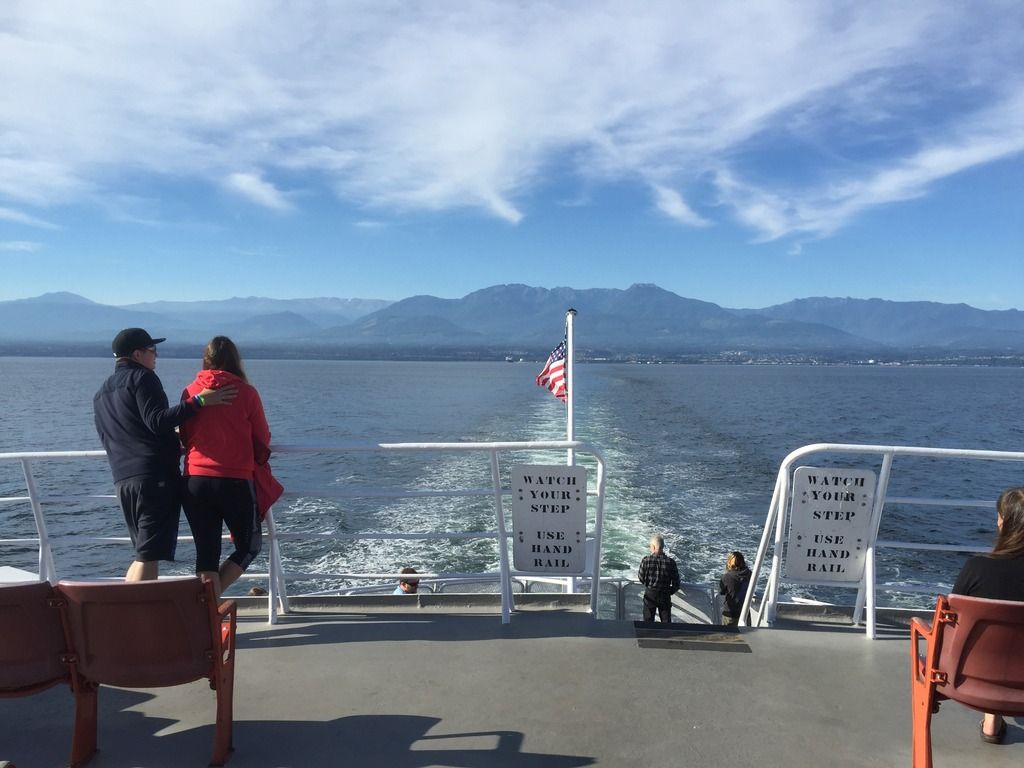
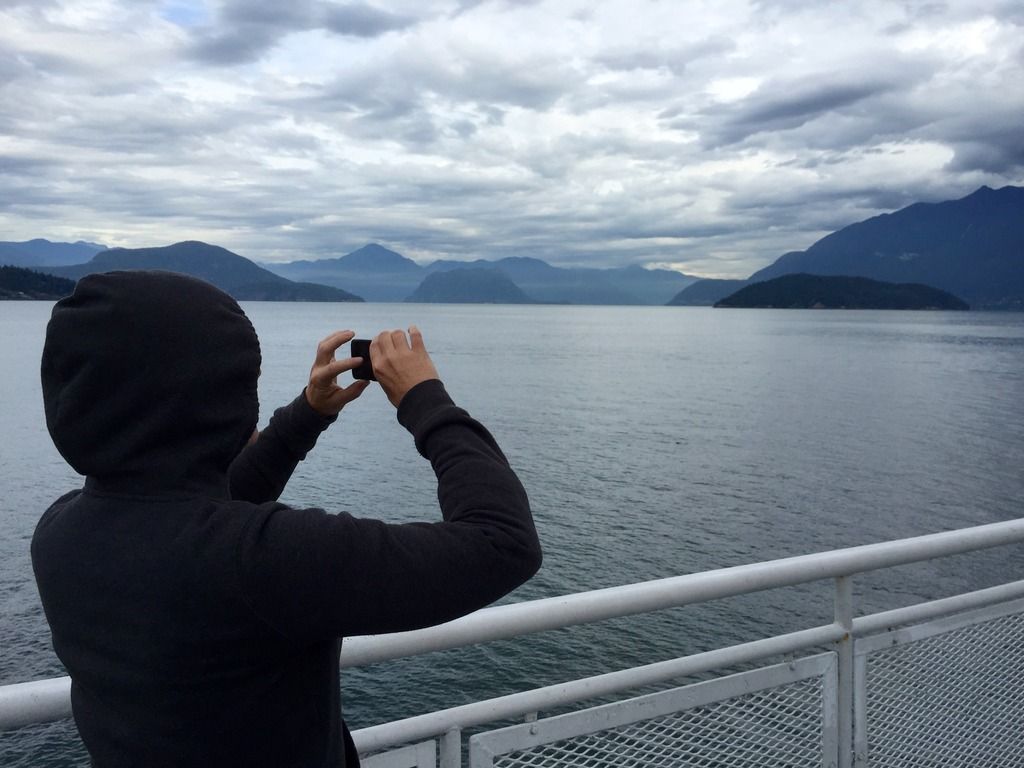
Awesome ferry ride from Nanaimo to Horseshoe Bay.


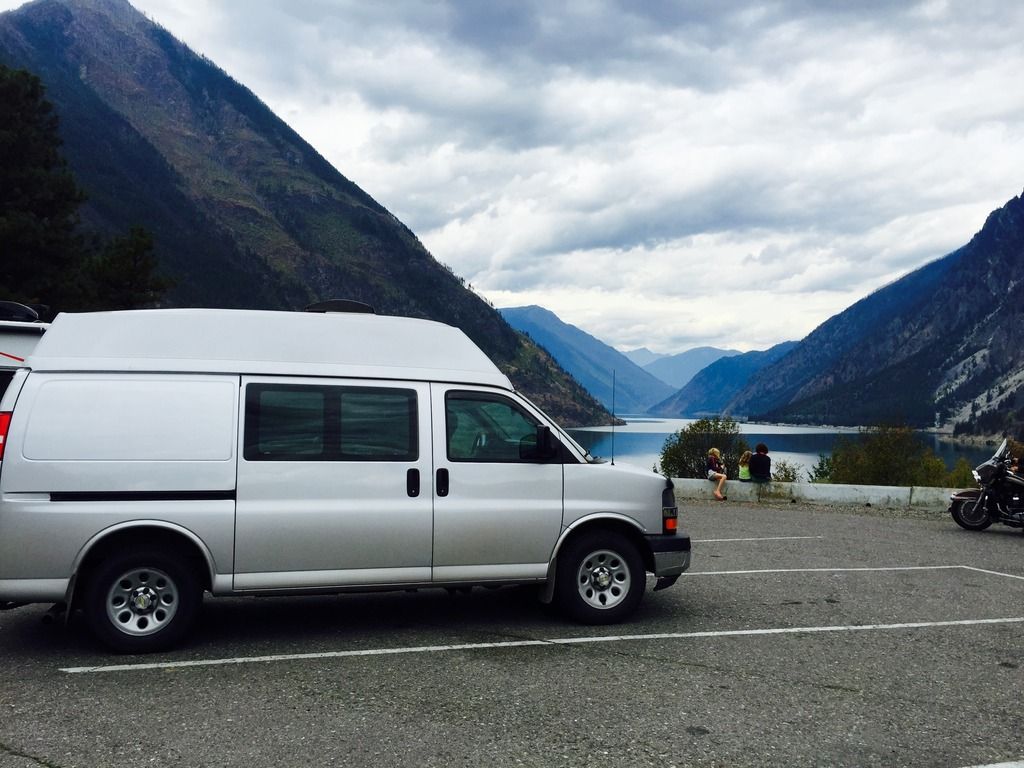
Nice drive up to Willams Lake. This is Seton Lake.


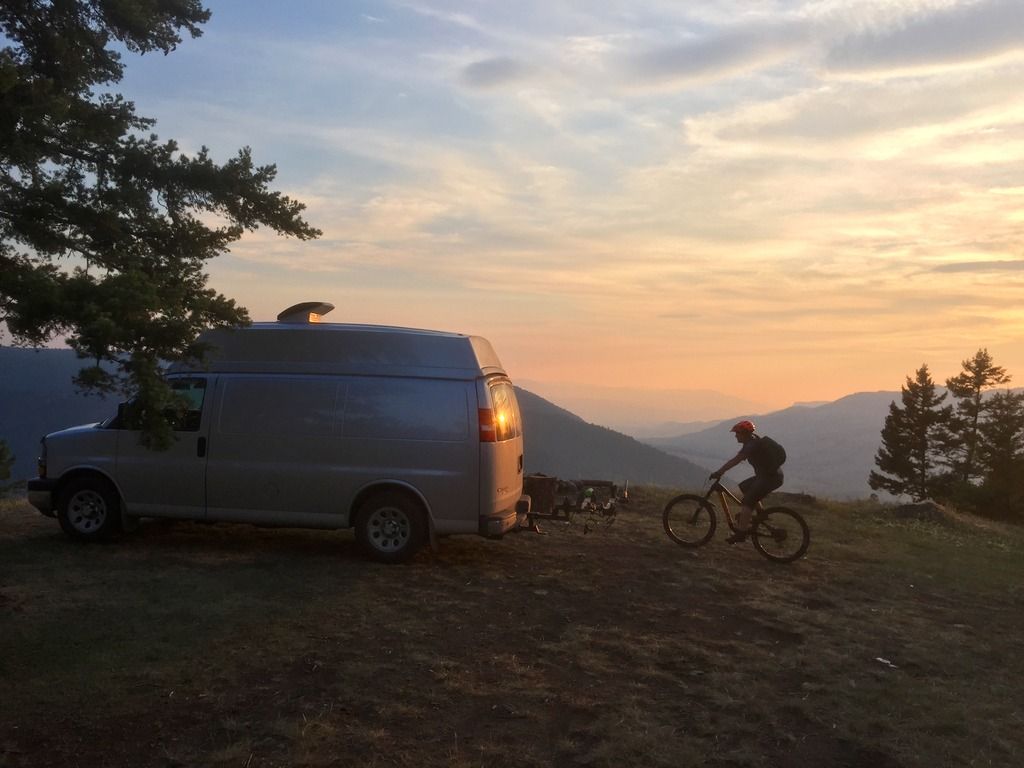
This was the best campsite of the trip. Looking down the valley to Kamloops.


We headed over to Revelstoke for some mind blowing Mountain Bike trails.


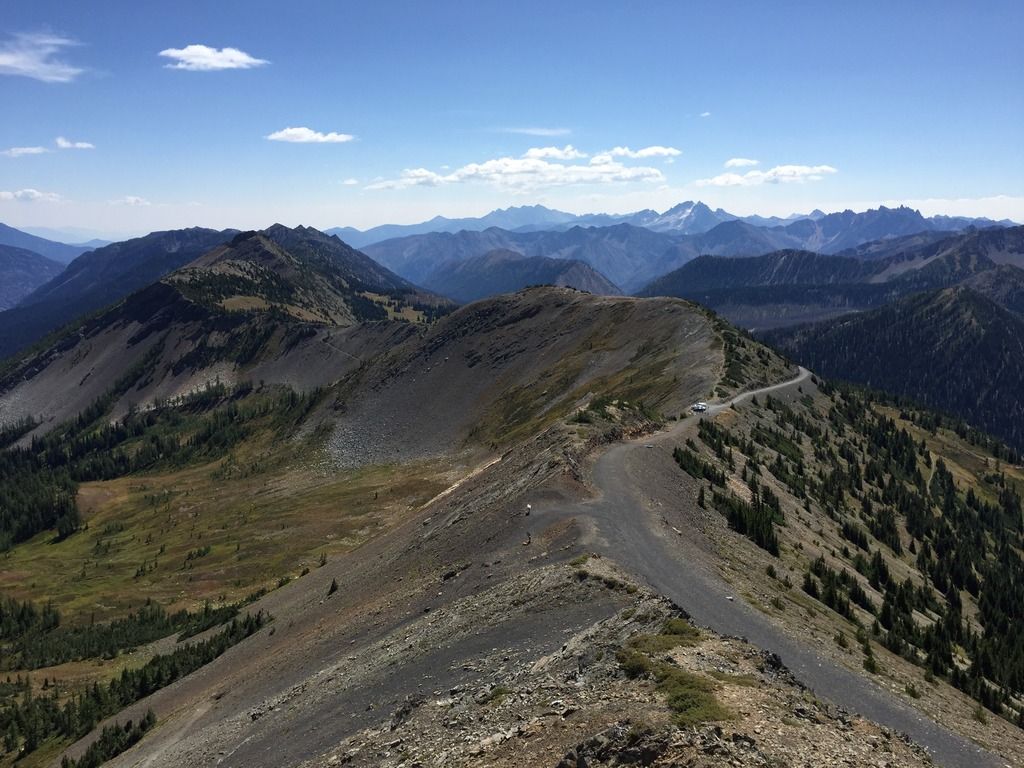
On the way home we drove all the way up Harts Pass to the highest road in Washington. Here is a photo of my van in the highest parking spot in the state.


iridewheelies

Adventurer
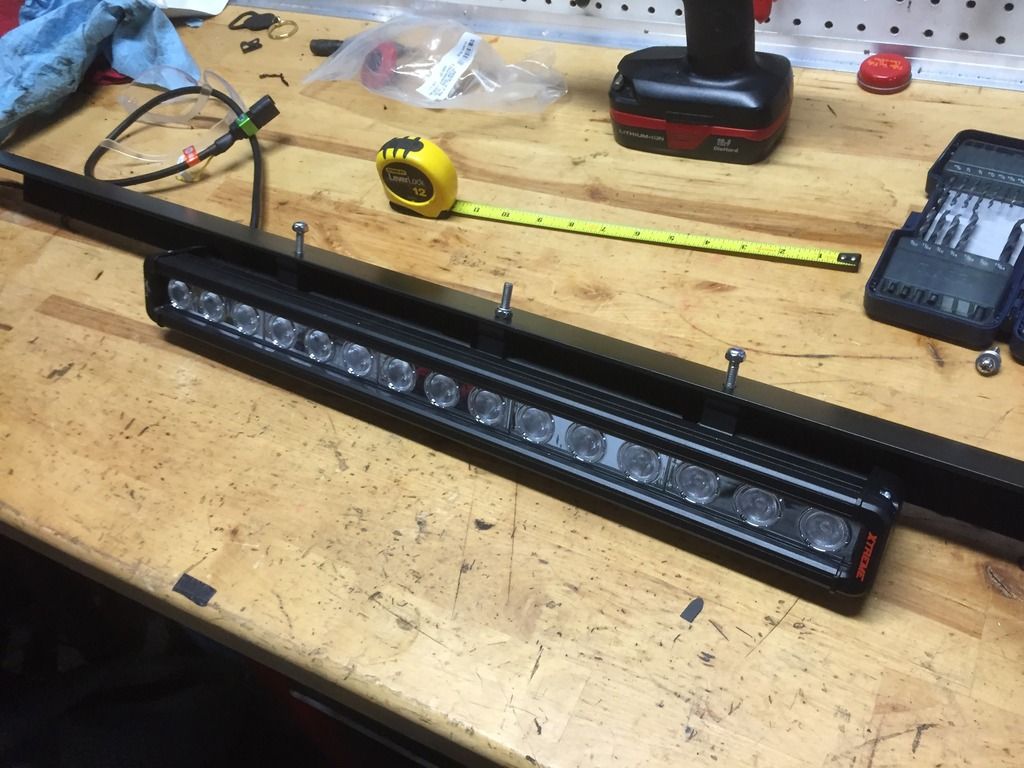
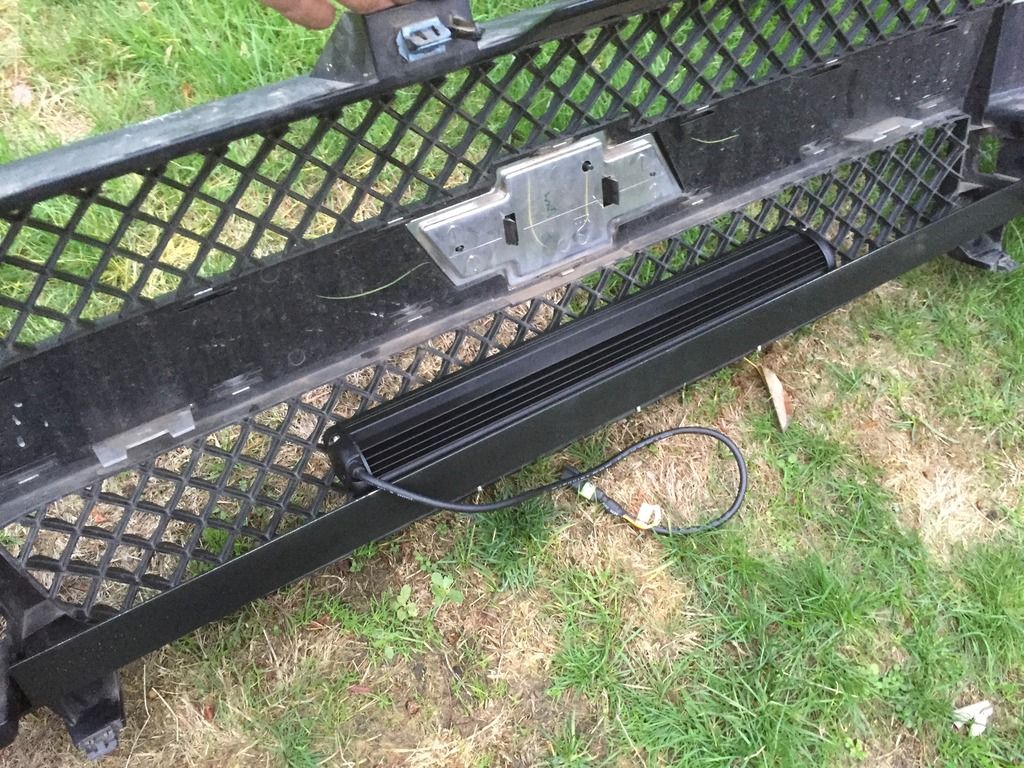
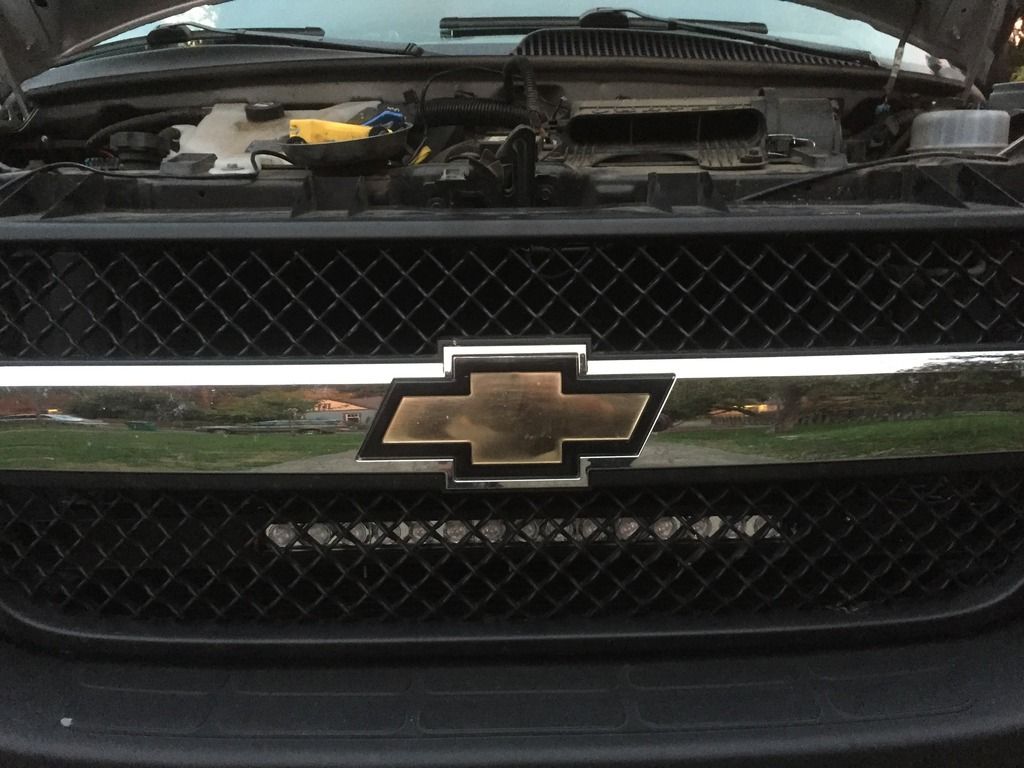
I added a LED light bar behind the grille. Used an aluminum angle bar to make the support. I tried to keep it out of sight to preserve the "stealth" look of my van. Painted everything with a low gloss black.


iridewheelies

Adventurer
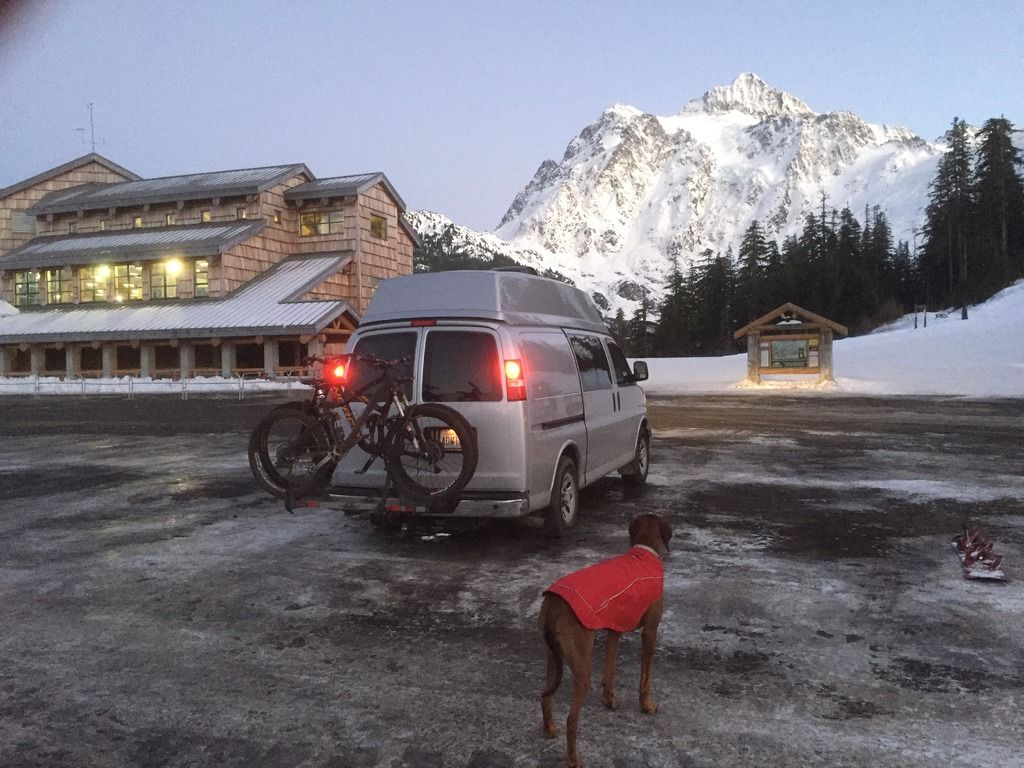
We camped overnight up at Mt. Baker for Thanksgiving. I still haven't insulated the top or finished my Webasto install so we had to use the Mr. Heater buddy to keep warm when we weren't sleeping. Condensation was an issue.


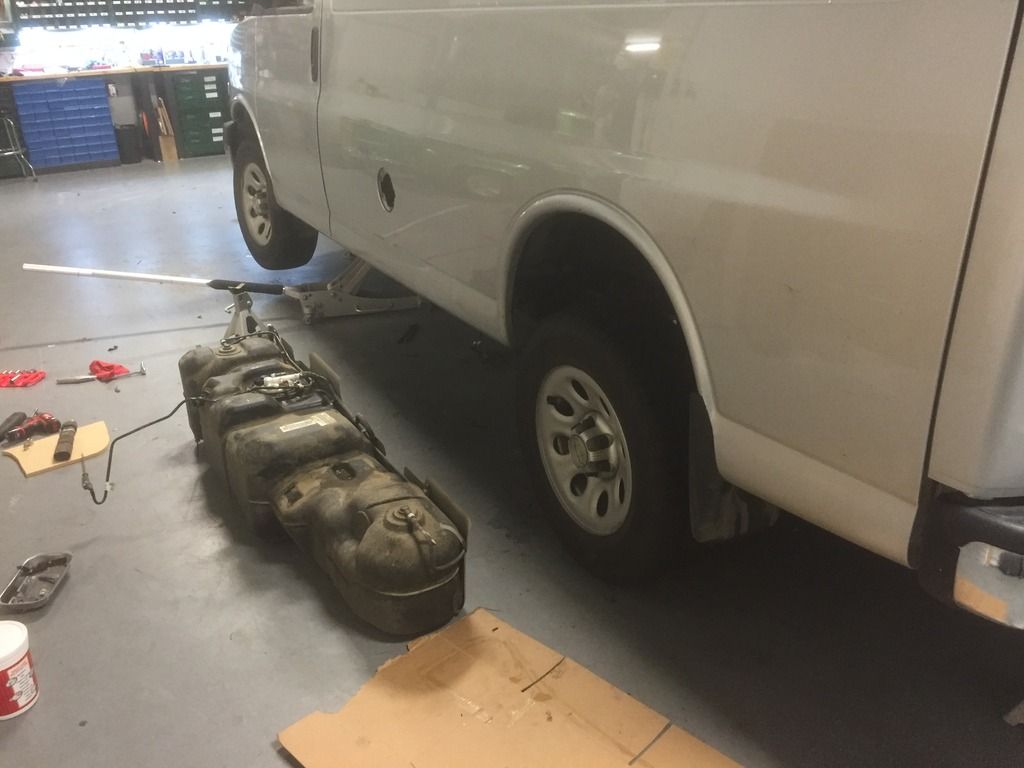
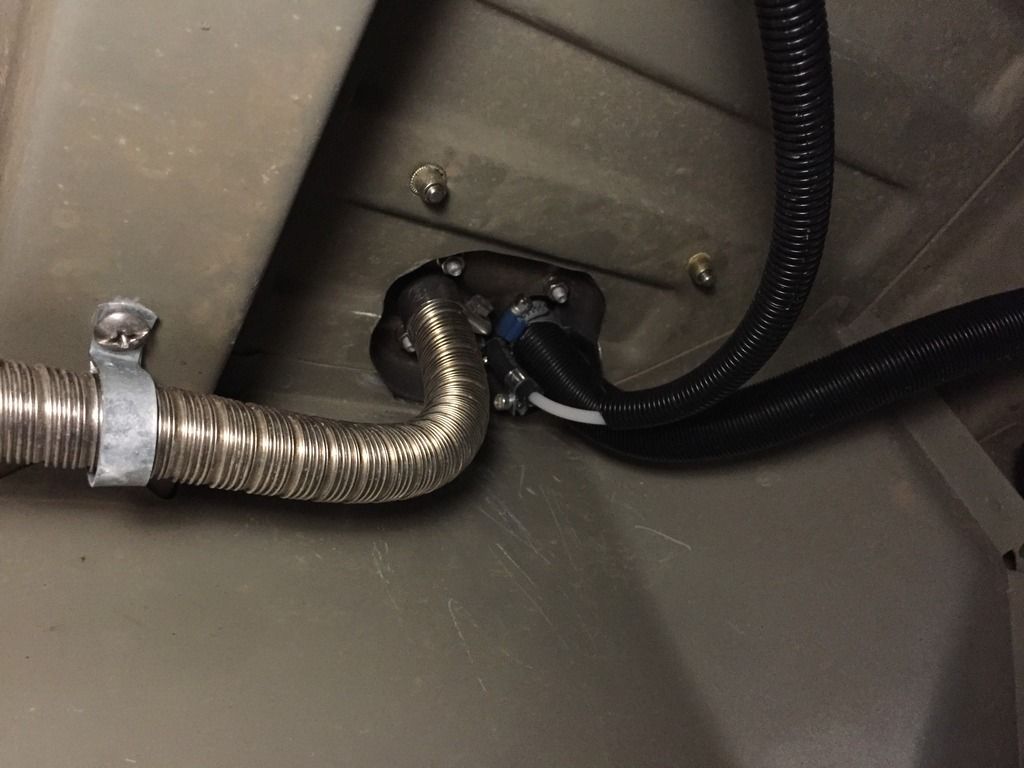
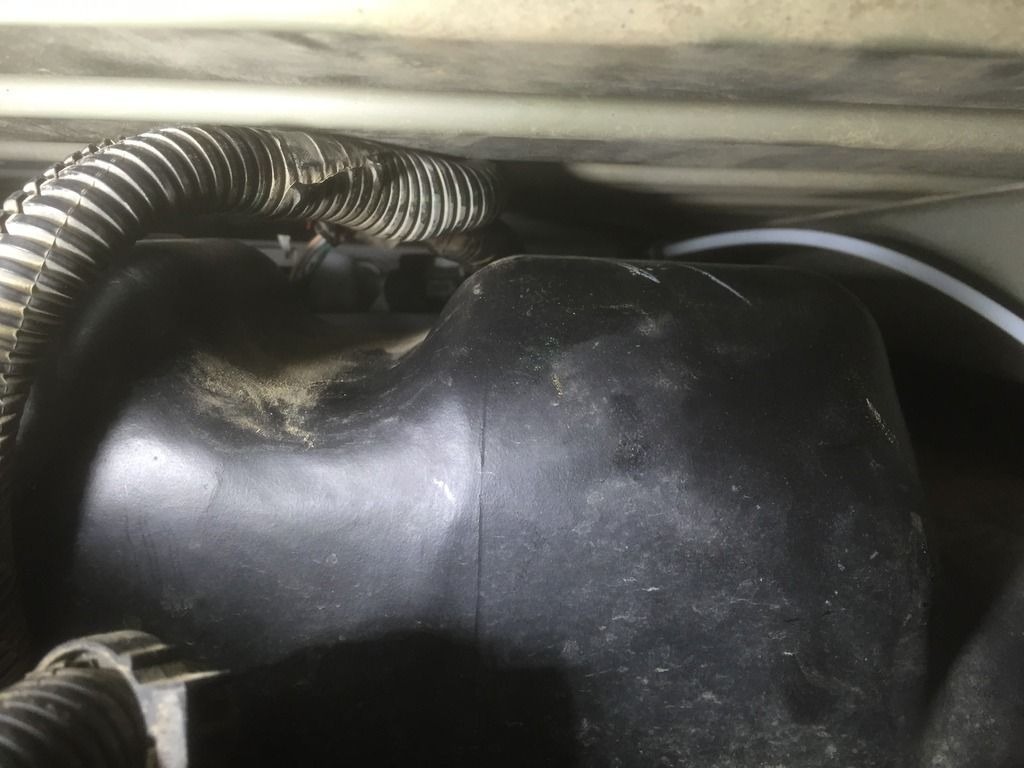
That was the last time we deal with that. I pulled the gas tank on Sunday to install the pickup tube for the Webasto. Having never pulled a gas tank from an American car before and finding no video or written tutorials, it took me a lot longer than it should of. All's well that ends well though, it went back together great and I'm seeing no check engine lights or puddles of gasoline under the van.

First I dropped the tank.


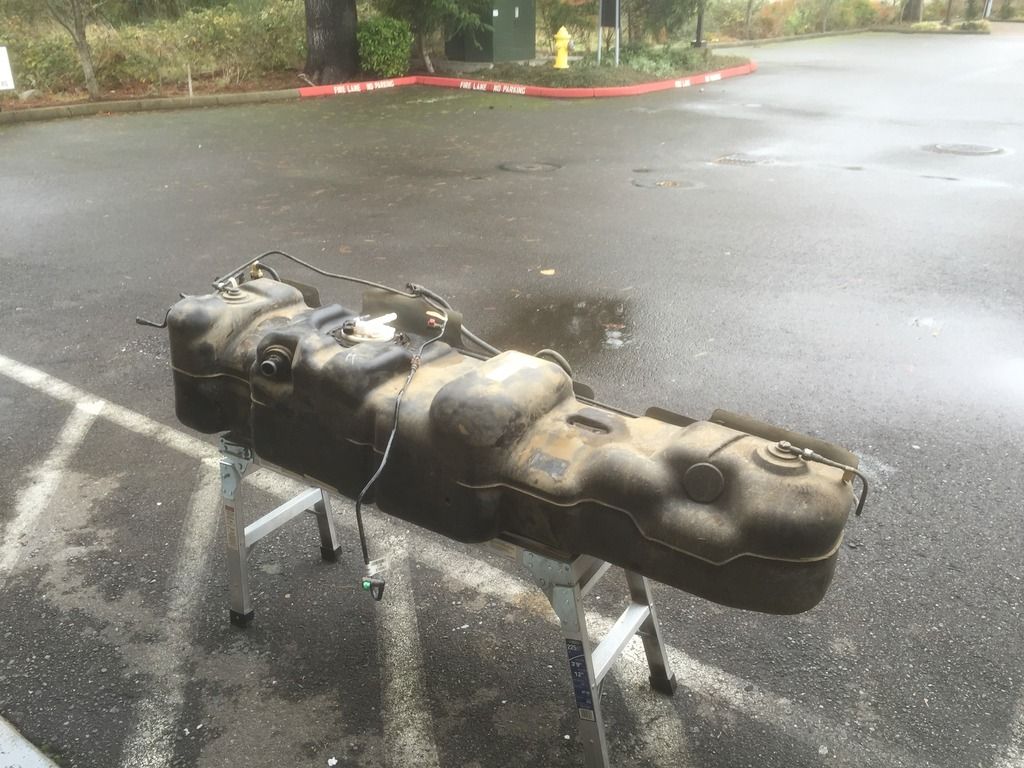
Then moved it outside so I didn't accidentally burn my brother's shop down.


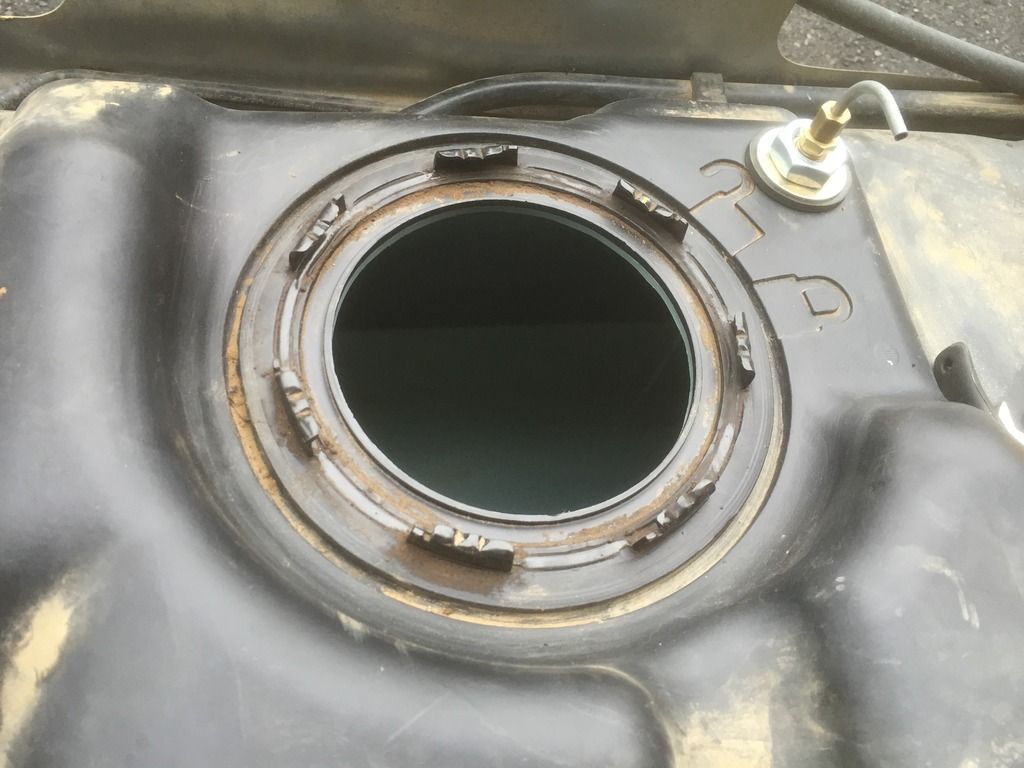
Drilled a hole with a 3/4" hole saw, cleaned it up and installed the tap.


Put the tank back up into the van. I couldn't get a good shot of the fuel tap once it was back in the van. Not much room up there.


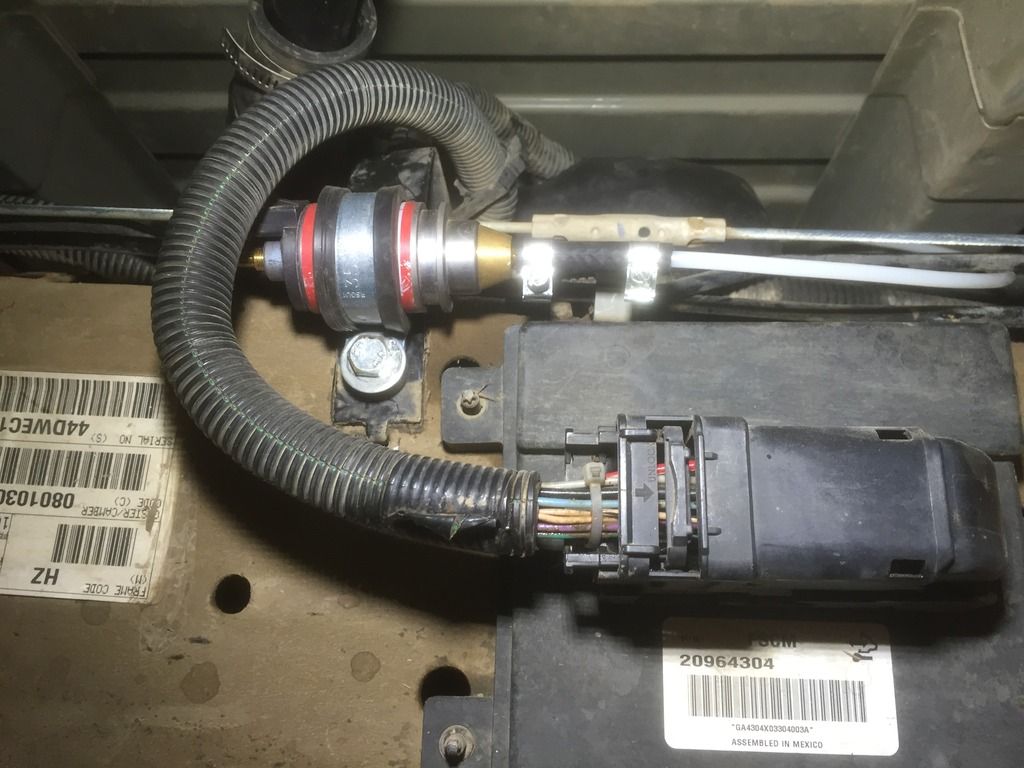
I put the pump on the frame rail


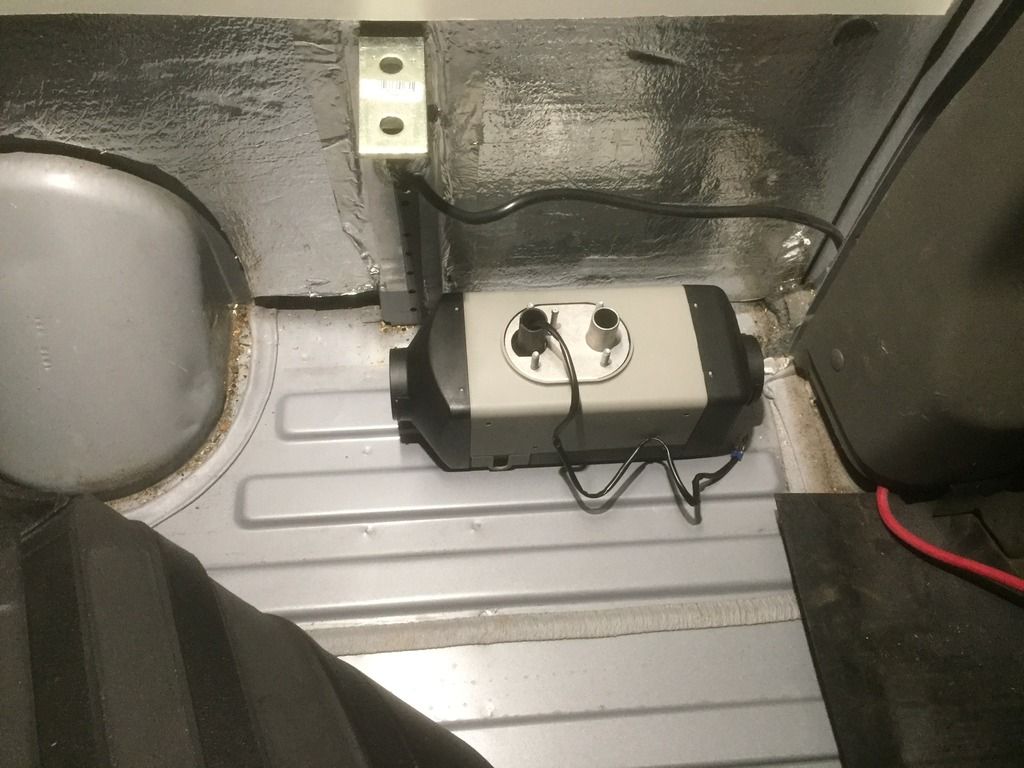
This is where the webasto will go


Plenty of room


Hoping to finish it this week.
 

TeleSteve

Adventurer
Nice work on everything. Looks like you have been getting some good use out of it.
I installed the Webasto pickup in the exact location. I just happened to use a step bit to drill the whole in the tank and to my surprise all the plastic came off in one long string and no debris was left on the rag I was holding under the hole.
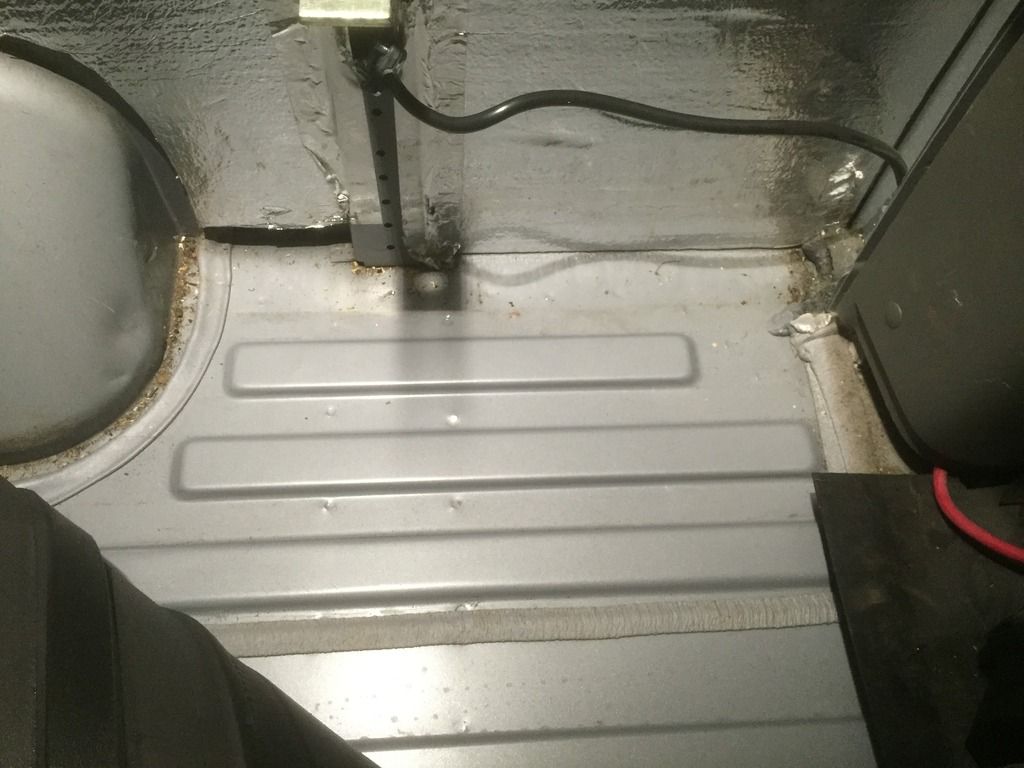
Great solution with the adapter plate to mate the heater to the corrugated floor.
I am curious what mud flaps you are using?
 

iridewheelies

Adventurer
Thanks TeleSteve! Your post was the inspiration for me to finally drop the tank and go for it.

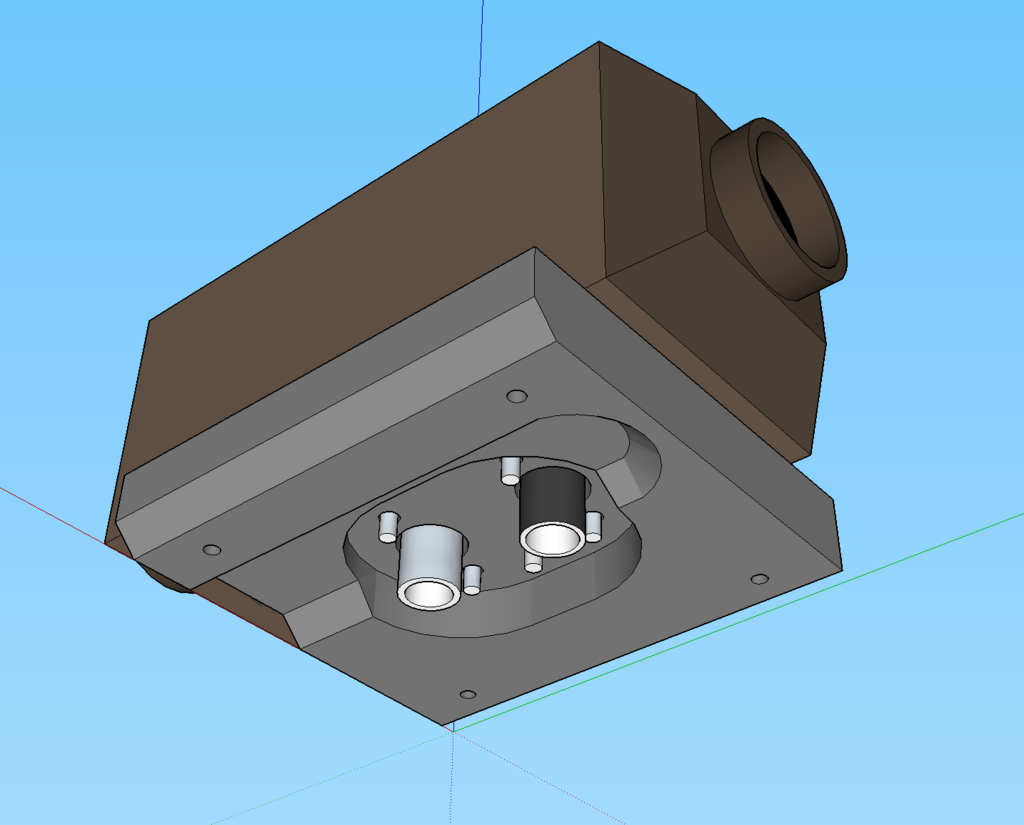
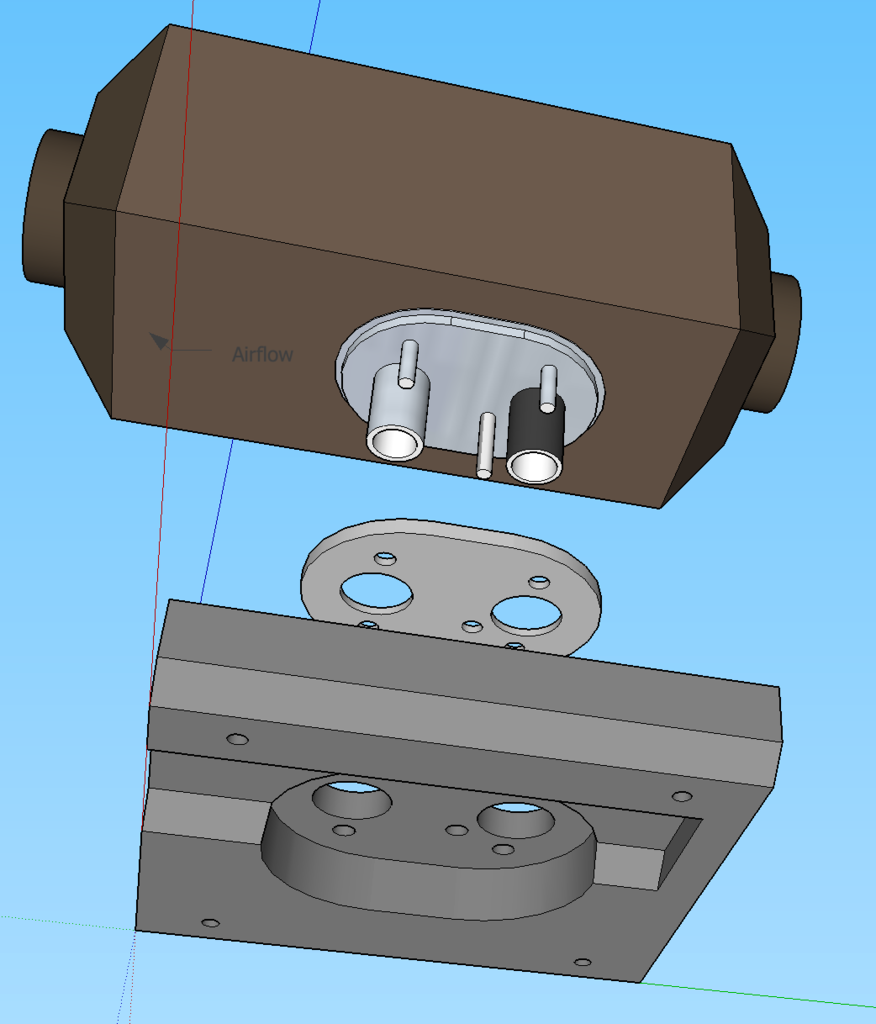
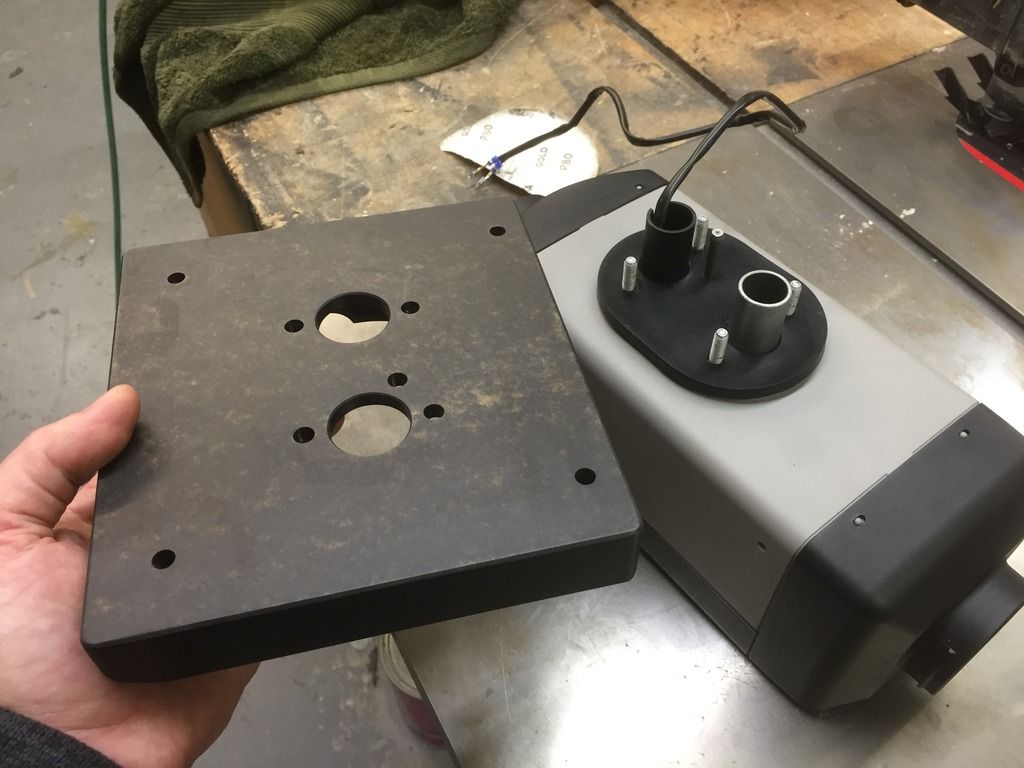
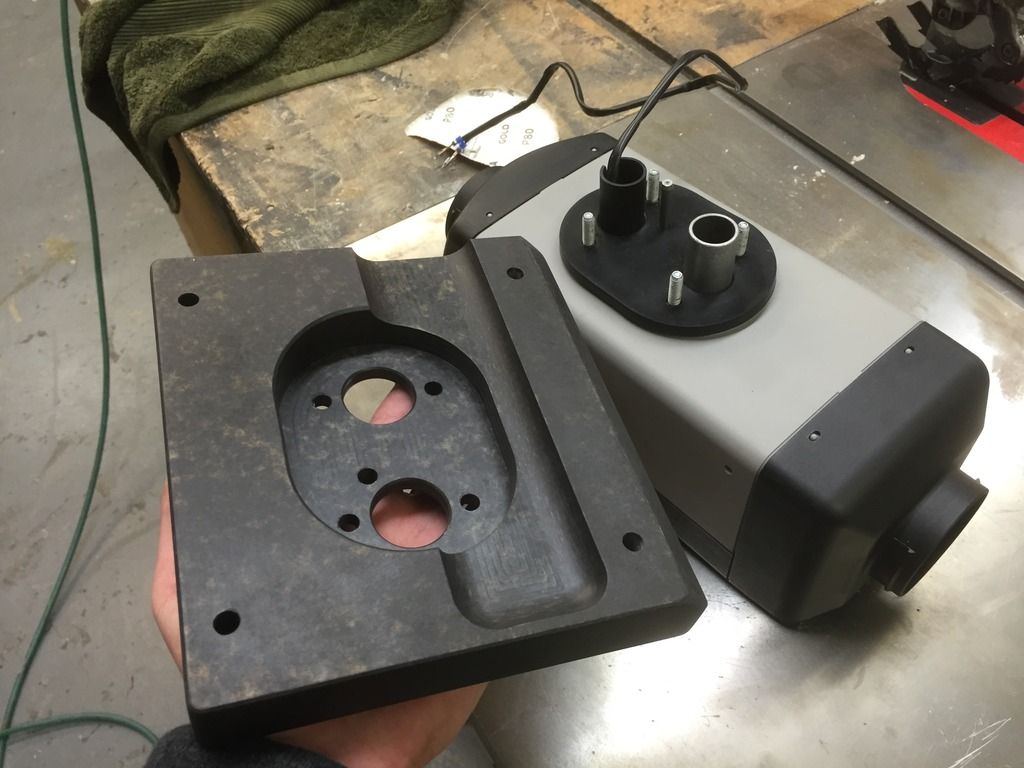
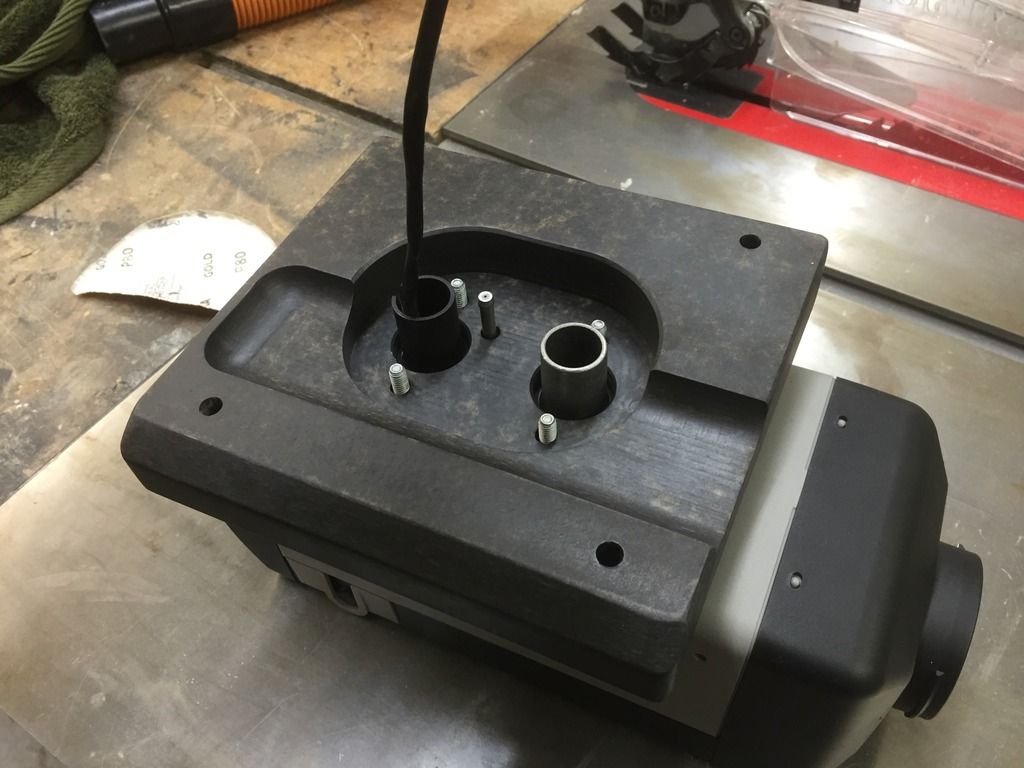
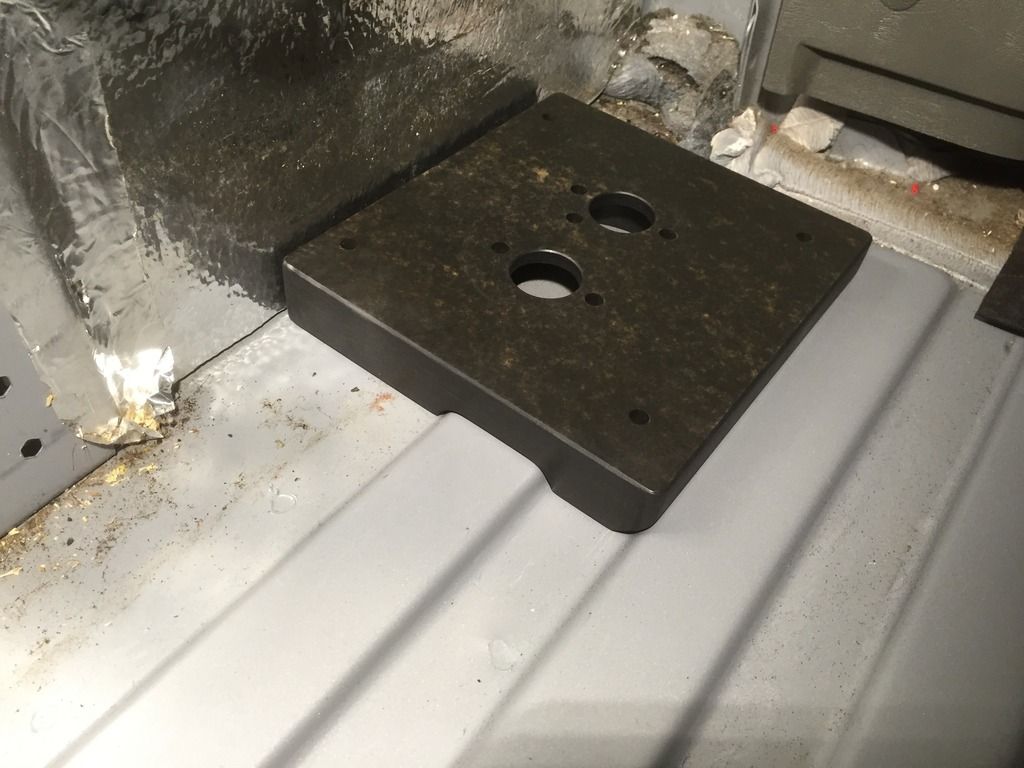
The adapter plate came out great


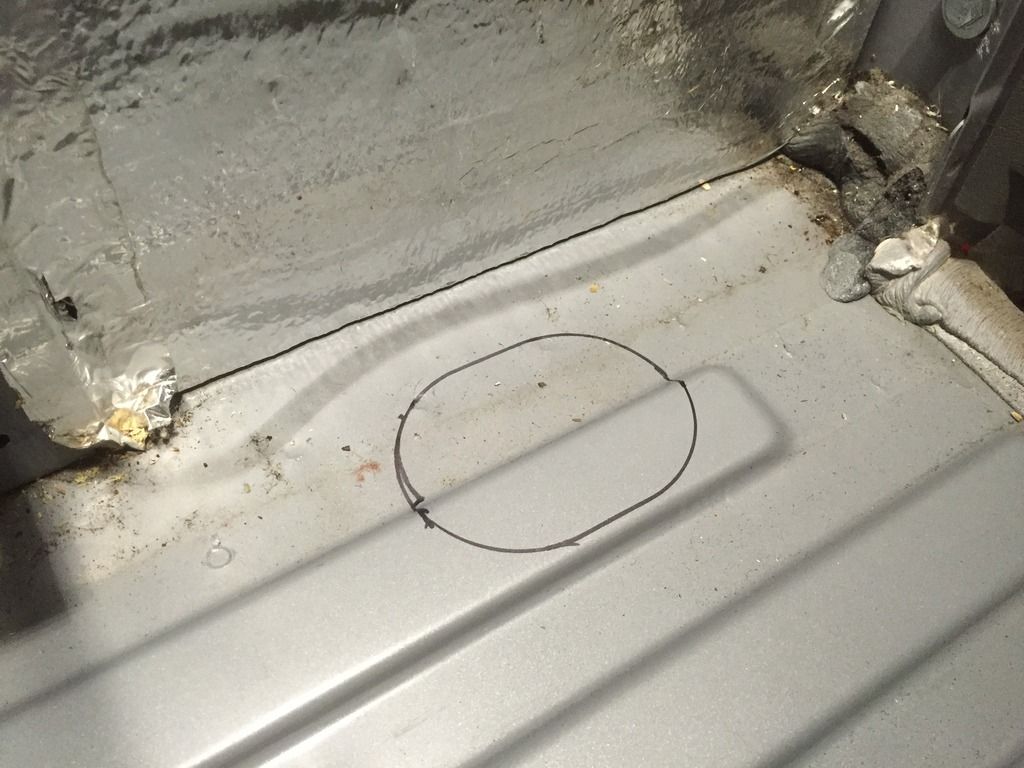
I marked the hole by tracing the gasket


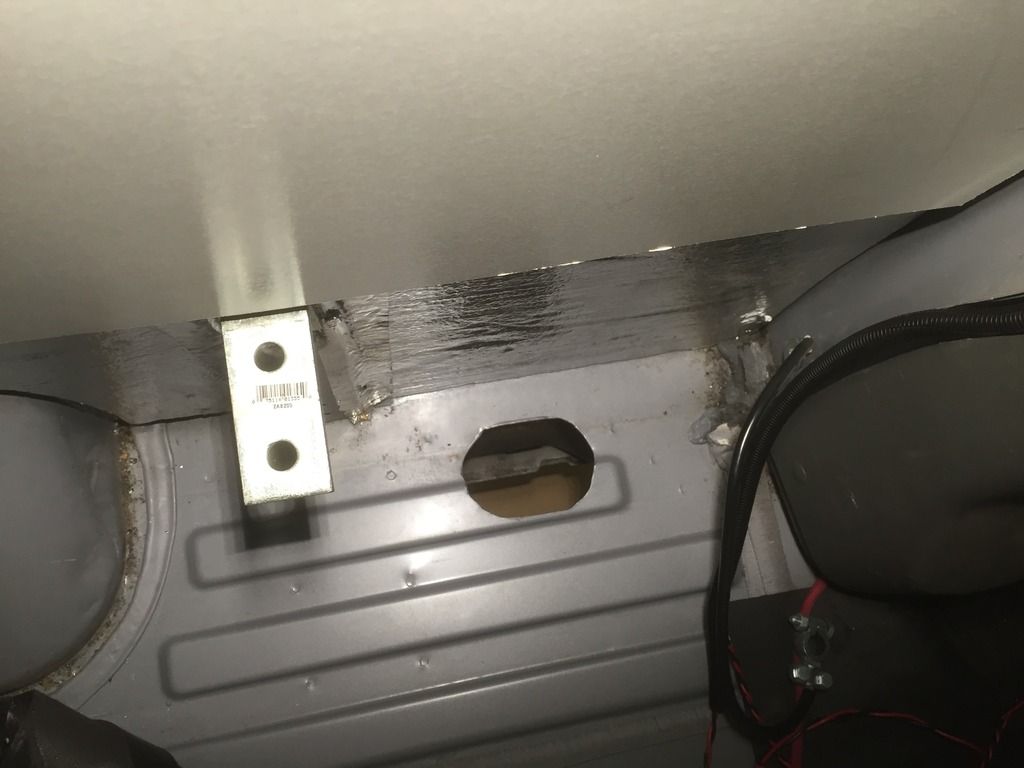
Cut it out with a step bit, my hackzall and a air nibbler.


The hole could have been better but it's close enough. It fits great on the top.


I put some riv nuts in to hold the plate down.


I still have to figure out how to seal it, I might make a gasket, I might use some silicone or something.
 
Last edited:

iridewheelies

Adventurer
I finished the webasto and put everything back together in time to enjoy some of this awesome early season powder.

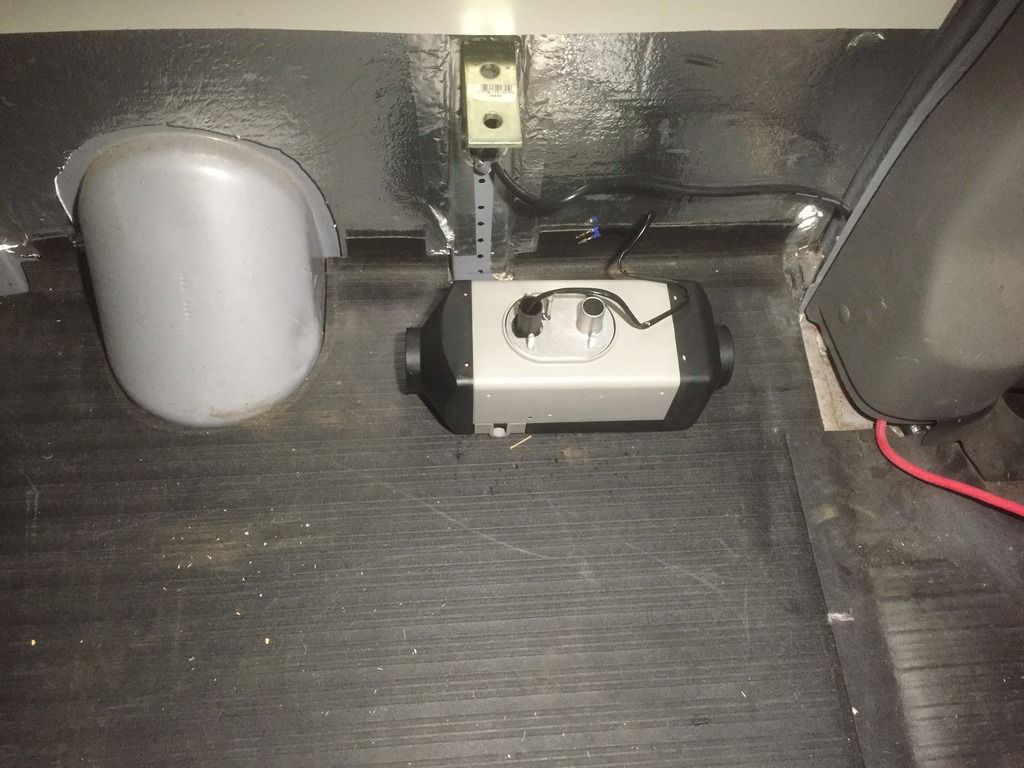
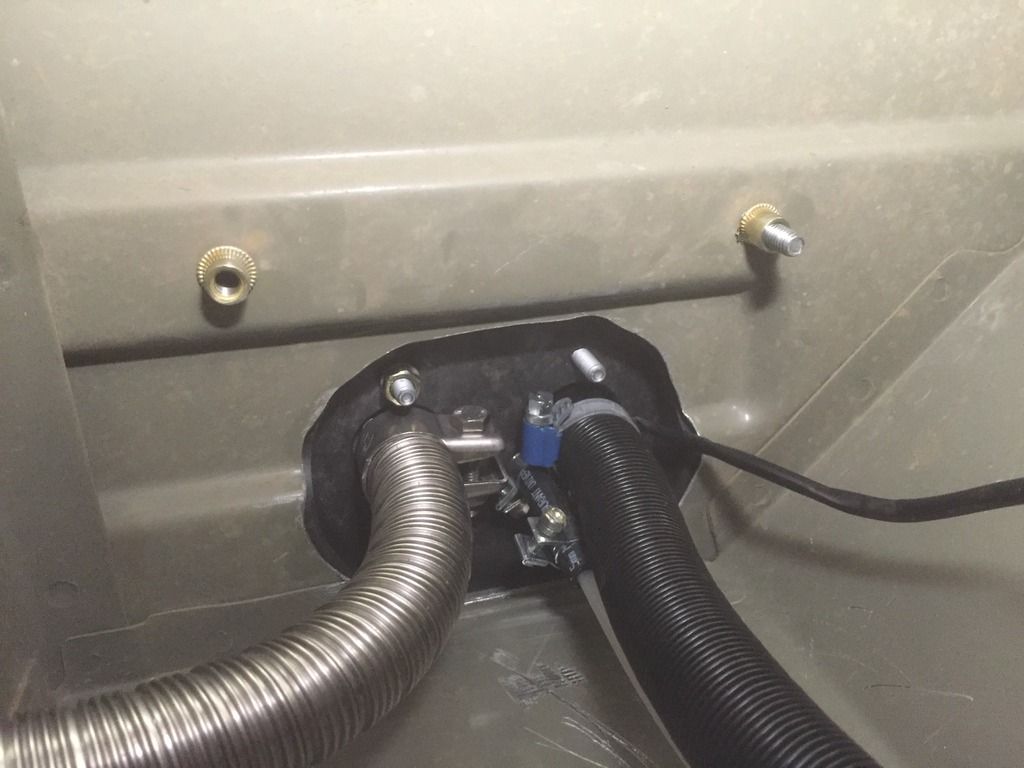
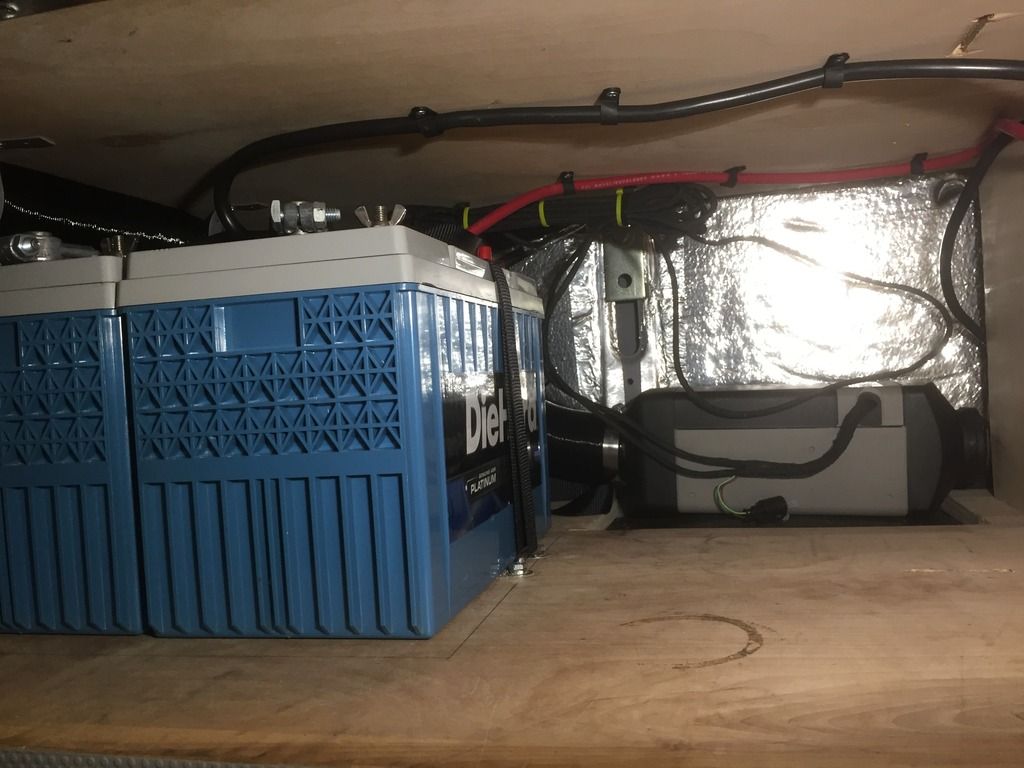
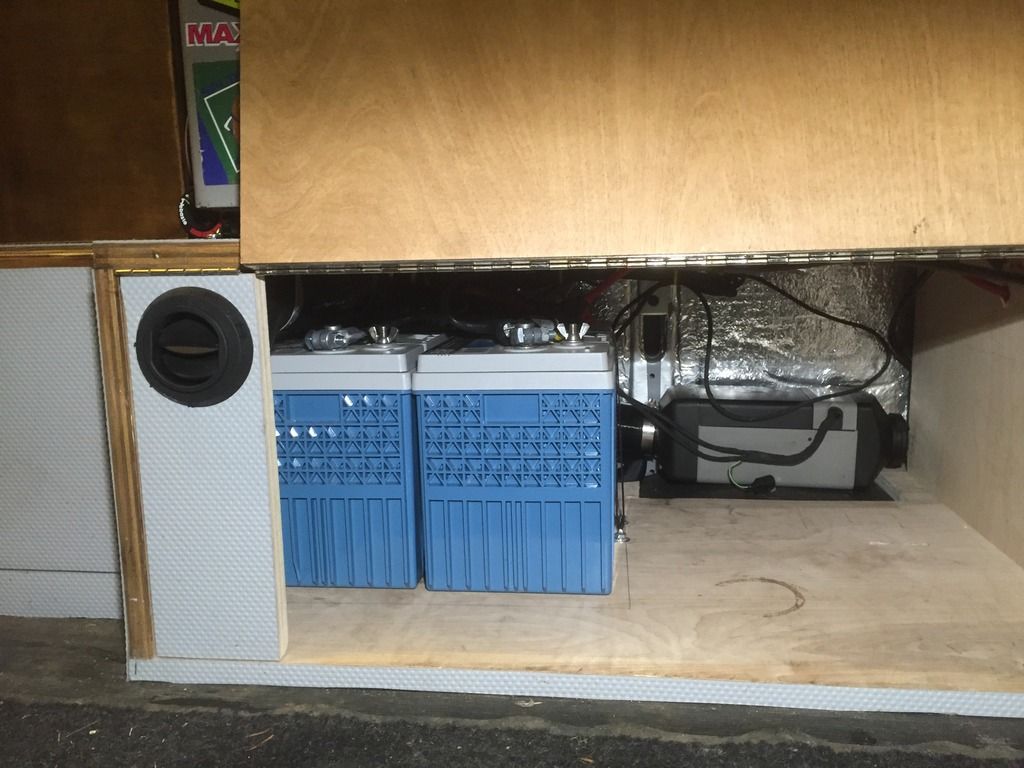
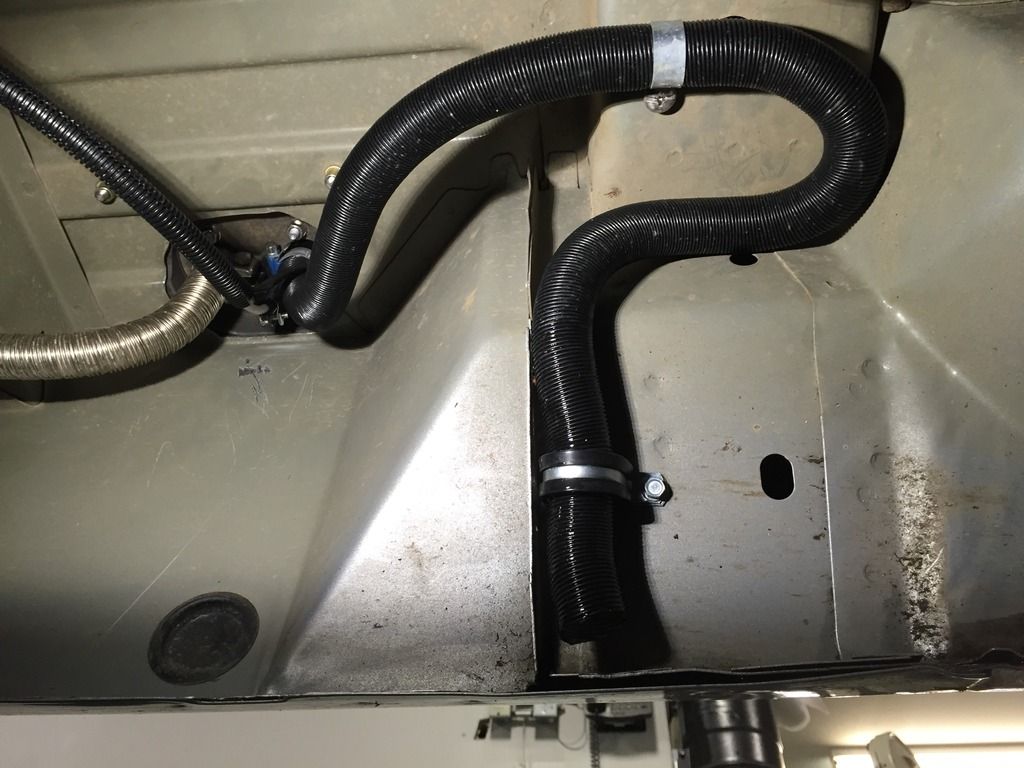
Here's how it looks inside the cabinet


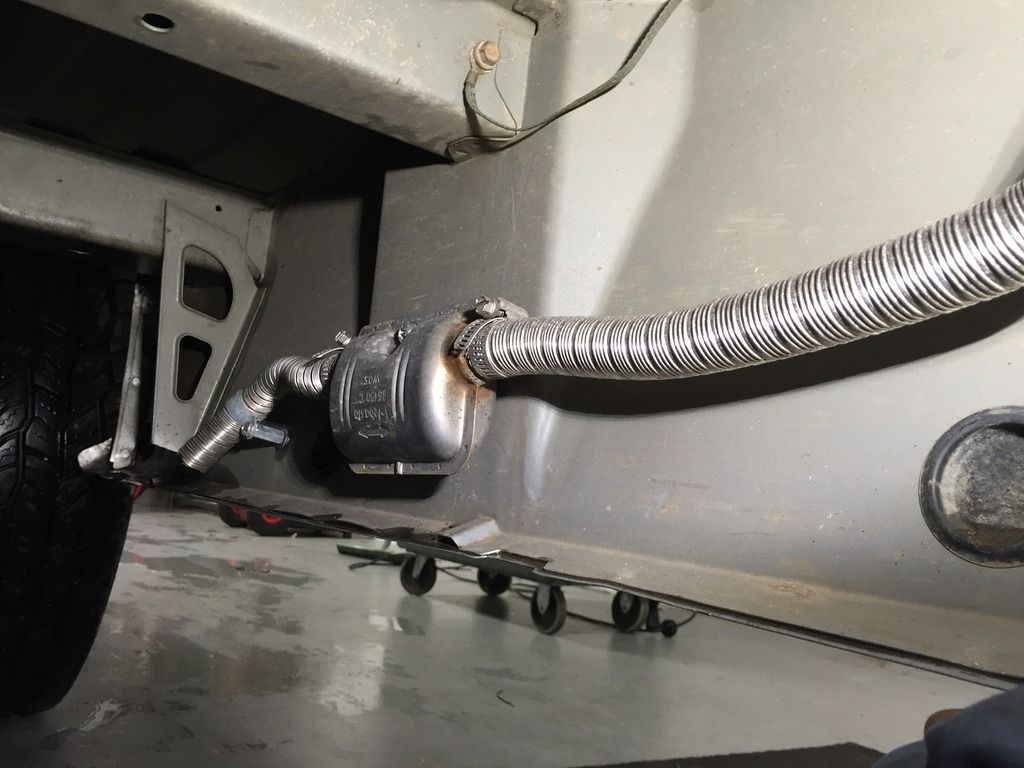
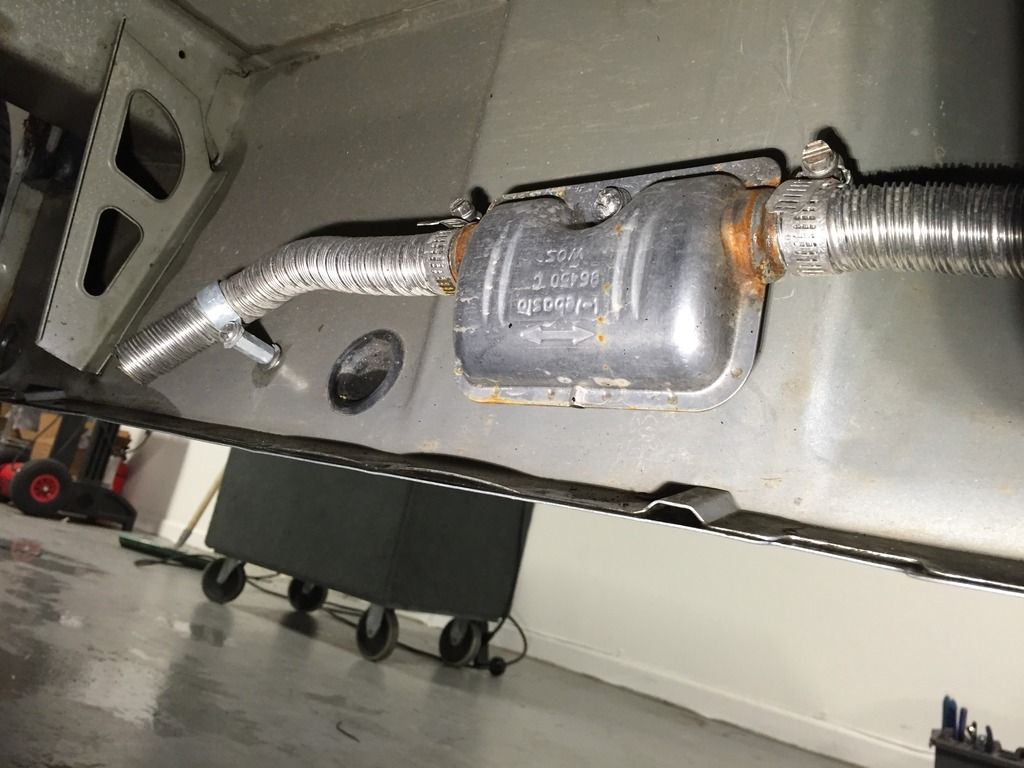
I routed the exhaust and intakes like this -


It fired up right away and ran great all night on an overnight trip to Snoqualmie pass we stayed at the Alpental upper lot which is around 3500'.


iridewheelies

Adventurer
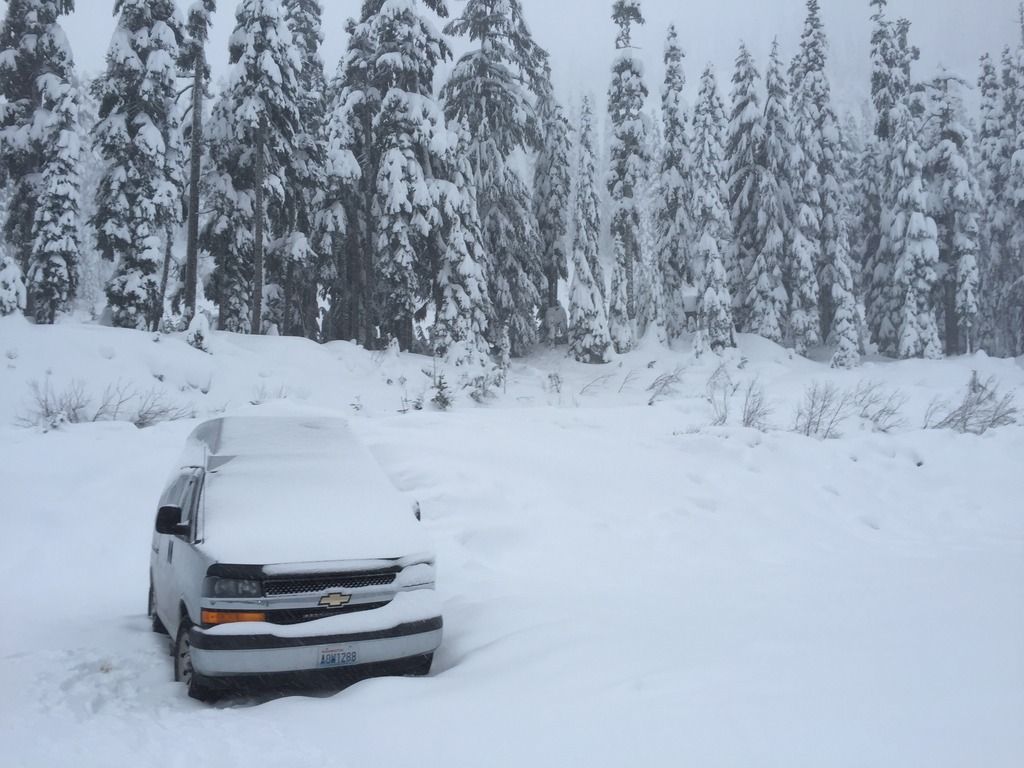
We spent two days and one night at the rv lot at White Pass, which is around 4600', with the webasto running great. On the second night it stopped working. We decided to drive home and fix it the next day then go back up. Of course, when we got home it fired right up and ran perfectly for several hours. I used this procedure to program it for operation at high altitude.


Changing the Webasto heater for high elevations (5,000ft and MORE) using the Stock Dial Thermostat
*********************************************************************

Post from the Sprinter Forum:

Quote:
OK Folks, just got off of the phone with Webasto tech support. The Air Top 2000 ST can be manually adjusted for high altitude by the end user. It involves reducing the fuel supply as well, but does not need any other parts. It will keep your combustion chamber from coking up at low oxygen/high altitude levels and will also make for easier starting at high altitudes.

According to Webasto tech support here is the procedure:

the main wiring harness that comes out of the heater case itself has a diagnostic pigtail of 2 wires, one brown and one green. This diagnostic pigtail is what the techs use for programming the system.

1: Connect the brown wire to ground.
2: Turn the heater control knob to 12:00 (or even 1:00 if you are at very high altitude 10,000ft plus)
3: After a few moments, the LED on the heater control knob will begin to flash.
4: Turn the heater control knob to 9:00 (or even 8:00 if you are at very high altitude 10,000ft plus)
5: Keep the heater running with the control knob set to 9:00 for 3 minutes.
6: While the heater is running, remove the brown wire from ground.

Now the fuel pump should be set to deliver less fuel, thereby creating a better combustion mixture for high altitude and less oxygen.

The tech said you can change it back when at sea level, but also said it was unnecessary, as the reduced fuel will not cause damage at sea level, just a lower heat output by 100-200 BTU/ hour at the maximum setting. He said that running it lean at sea level will also help to keep the combustion chamber clean. The Webasto Air Top 2000 ST has a max BTU/h of 7000 so you are only losing at most 3%, and you are also reducing your fuel use, albeit marginally. Also, the system has Stepless temperature control, so you can feel free to turn it up 3% to regain your "lost" output all the way up to 97% output.


I too spoke to a Webasto tech yesterday and he confirmed the process mentioned above that was dated back to 2010 but one thing he mentioned was if at very high altitudes he'd recommend starting at 1:00 for Step 2 and ending at 8:00 for Step 4 & 5.

I asked the tech is there any tell tale sign the change worked and he said that a stock Webasto heater fuel pump will pulsate once every 1.1 seconds. After the hard set adjustment for a higher altitude the fuel pump pulsations will get further apart... 1.3 seconds or more. So I think its best to check the fuel pump pulsations before the hard set. then make the hard set. then check fuel pump pulsations again. Just to verify the settings took.


*********************************************************************
Changing the Webasto heater back for normal elevations (5,000ft and LESS) using the Stock Dial Thermostat
*********************************************************************

According to Webasto tech support here is the procedure:

the main wiring harness that comes out of the heater case itself has a diagnostic pigtail of 2 wires, one brown and one green. This diagnostic pigtail is what the techs use for programming the system.

1: Connect the brown wire to ground.
2: Turn the heater control knob to 9:00
3: After a few moments, the LED on the heater control knob will begin to flash.
4: Turn the heater control knob to 12:00
5: Keep the heater running with the control knob set to 12:00 for 3 minutes.
6: While the heater is running, remove the brown wire from ground.

Now the fuel pump should be set to deliver the stock amount of fuel, thereby creating a better combustion mixture for low altitudes and more oxygen.
 

iridewheelies

Adventurer
We drove back up to white pass in the morning. The webasto fired up with no problems and ran all day while we were skiing. Once we were back in the van around 5pm it shut down giving error code 1 - no start.

*************************************
NOTE:
The error code is output if the heater is fitted with a control element after an error has occurred by the switch-on indicator/error code indicator flash- ing. After 5 seconds of fast flashing, the error code will be output by a se- quence of long flash pulses, the number of flashes is shown in the table below.
If the heater is fitted with a combination timer, an error message will ap- pear on the display of the timer after a fault occurs: If the control element is used the error number is indicated by the indicator light flashing:
F00 Control unit error / incorrect data set / customer bus defective
F01 No start (no flame formation)
F02 Flame failure (repeated >3)
F03 Undervoltage or overvoltage
F04 Premature flame recognition
F05 Flame monitor (petrol heater) interrupt or short circuit
F06 Temperature sensor interrupt or short-circuit
F07 Metering pump interrupt or short circuit
F08 Fan motor interrupt or short circuit overload or blocked
F09 Glow plug interrupt or short circuit
F10 Overheating
F11 Overheating sensor interrupt or short circuit
F12 Heater lock-out
F14 Overheating sensor incorrect position
F15 Setpoint generator interrupt
 
Last edited:

iridewheelies

Adventurer
We drove down to Packwood, around 1050', and tried it again. It fired right up. We then drove back up to white pass without shutting it down. It ran fine until 11:30pm then shut down again and wouldn't restart, showing error code #1 again. It was a cold night.

We drove down to Yakima this morning which is about 1050'. It fired right up. It running fine as I type this.

I'm not sure what to do now. I need this thing to work at 5000'. I think I'll try the high altitude program again but I'm not very optimistic.

Any suggestions?
 
Last edited:

Petrolburner

Explorer
I feel your pain. I put a digital thermostat in my camper right before a camping trip at Christmas Valley in the snow. It worked fine at home. Got to Christmas Valley, partied hard around a fire and then went to turn on the furnace to go to bed at 2 AM. Thermostat clicked on and said "Heat On" Furnace didn't light up. ******. Removed the thermostat and twisted the wires together. Furnace ran all night on full blast, woke up at 8 AM with the door wide open and still nice and toasty inside. I've not found any problems with either component and put it all back together. I've heard that my style furnace is sometimes slow to start up when really cold out. Lesson learned? Maybe. I unfortunately can't help you with the Webasto, but as a backup maybe consider carrying one of the Mr. Buddy little heaters until the system proves reliable so you don't shiver all night or have to drive home in the middle of the night. They're under $100 and useful in other areas. Unfortunately, even on low, the little 1 pound tanks don't last long at all. I just bought an adapter hose so I can run a 20 pound tank. I borrowed one of those propane canister refilling adapters but I'm only able to get the little cannisters half full. They really don't last long then.
You have an awesome van and I hope you get it sorted for high altitude. I can see installing one of these in my Motovan or some other rig in the future.
 

Forum statistics

Threads
185,912
Messages
2,879,548
Members
225,497
Latest member
WonaWarrior
Top