You are using an out of date browser. It may not display this or other websites correctly.
You should upgrade or use an alternative browser.
You should upgrade or use an alternative browser.
Box Rocket 1995 FZJ80 Build
- Thread starter Box Rocket
- Start date
Box Rocket
Well-known member
I built it. It's definitely not perfect but it will do the job.Nice lid on the trailer. Did you fab that yourself or is that from a vendor?
Box Rocket
Well-known member
Thank you!Another great build!
GhostRiver
New member
This is the unit I'm using.
http://www.farenheitusa.com/elite/ceil-mount-CM-103D.html
How has this unit held up for you? I would love to put something like this in mine for the kids but have read some negative reviews about the longevity of them. I wouldn't mind taking a risk on one but if it fails its kind of a large eyesore.
Box Rocket
Well-known member
The unit has worked very well so far. Even with all the pounding of rough roads at high speeds it's worked great and never skipped.How has this unit held up for you? I would love to put something like this in mine for the kids but have read some negative reviews about the longevity of them. I wouldn't mind taking a risk on one but if it fails its kind of a large eyesore.
Box Rocket
Well-known member
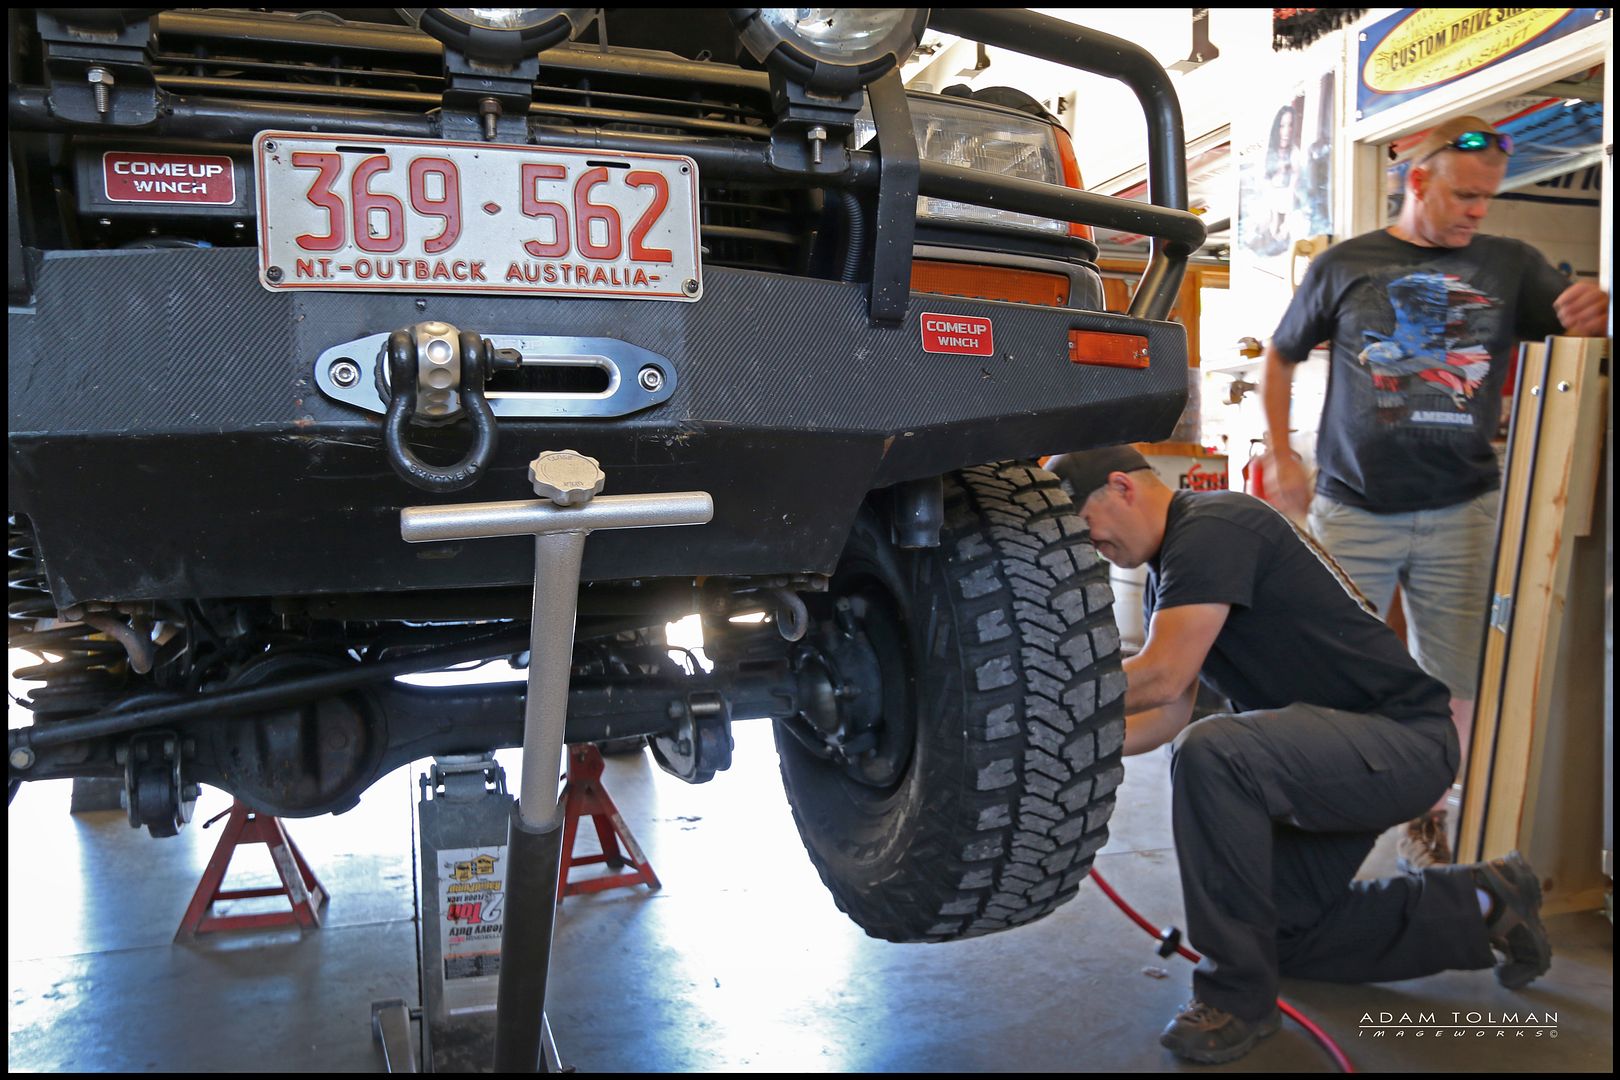
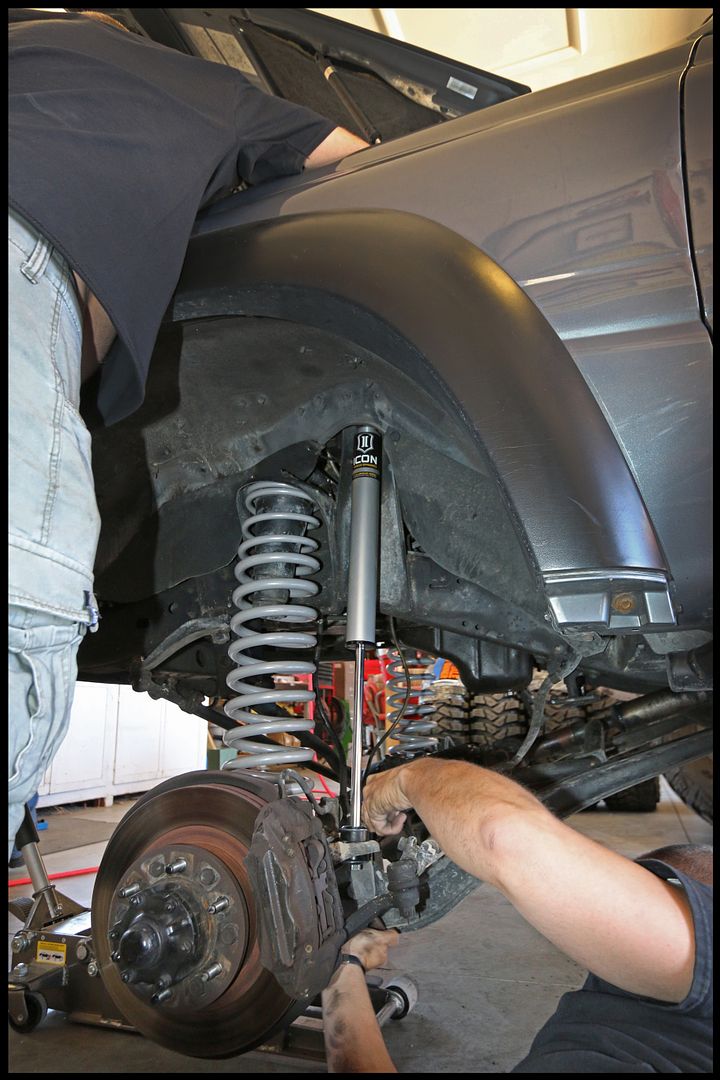
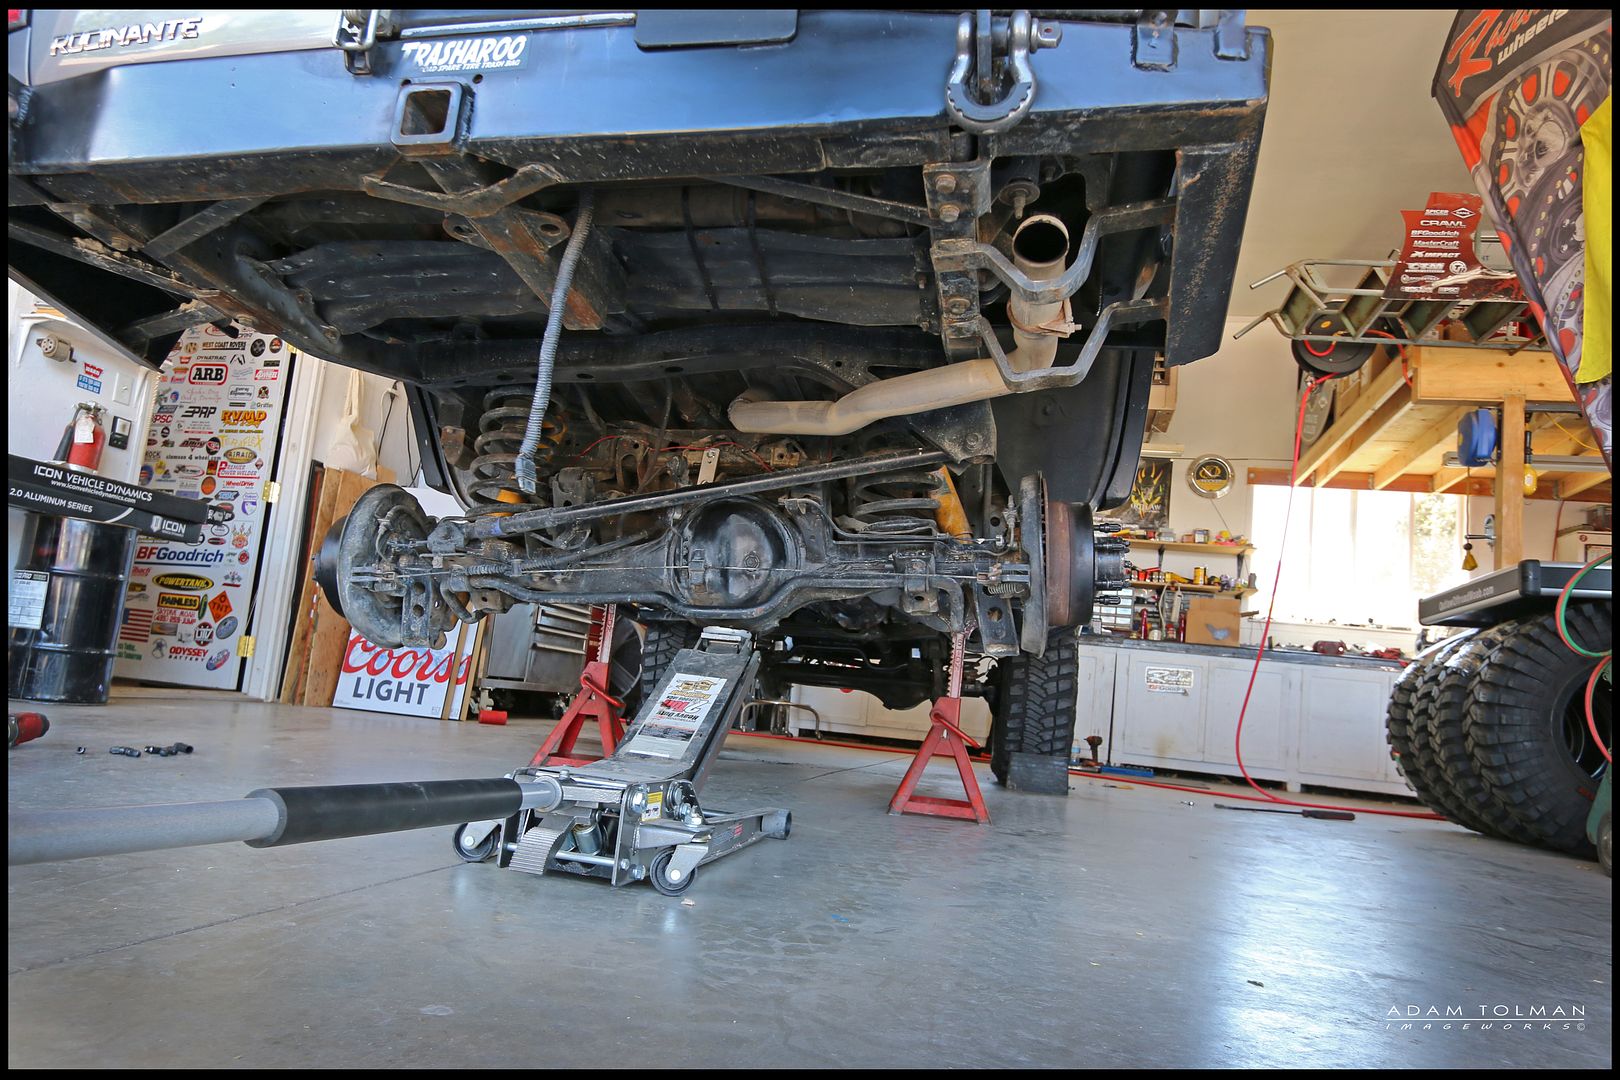
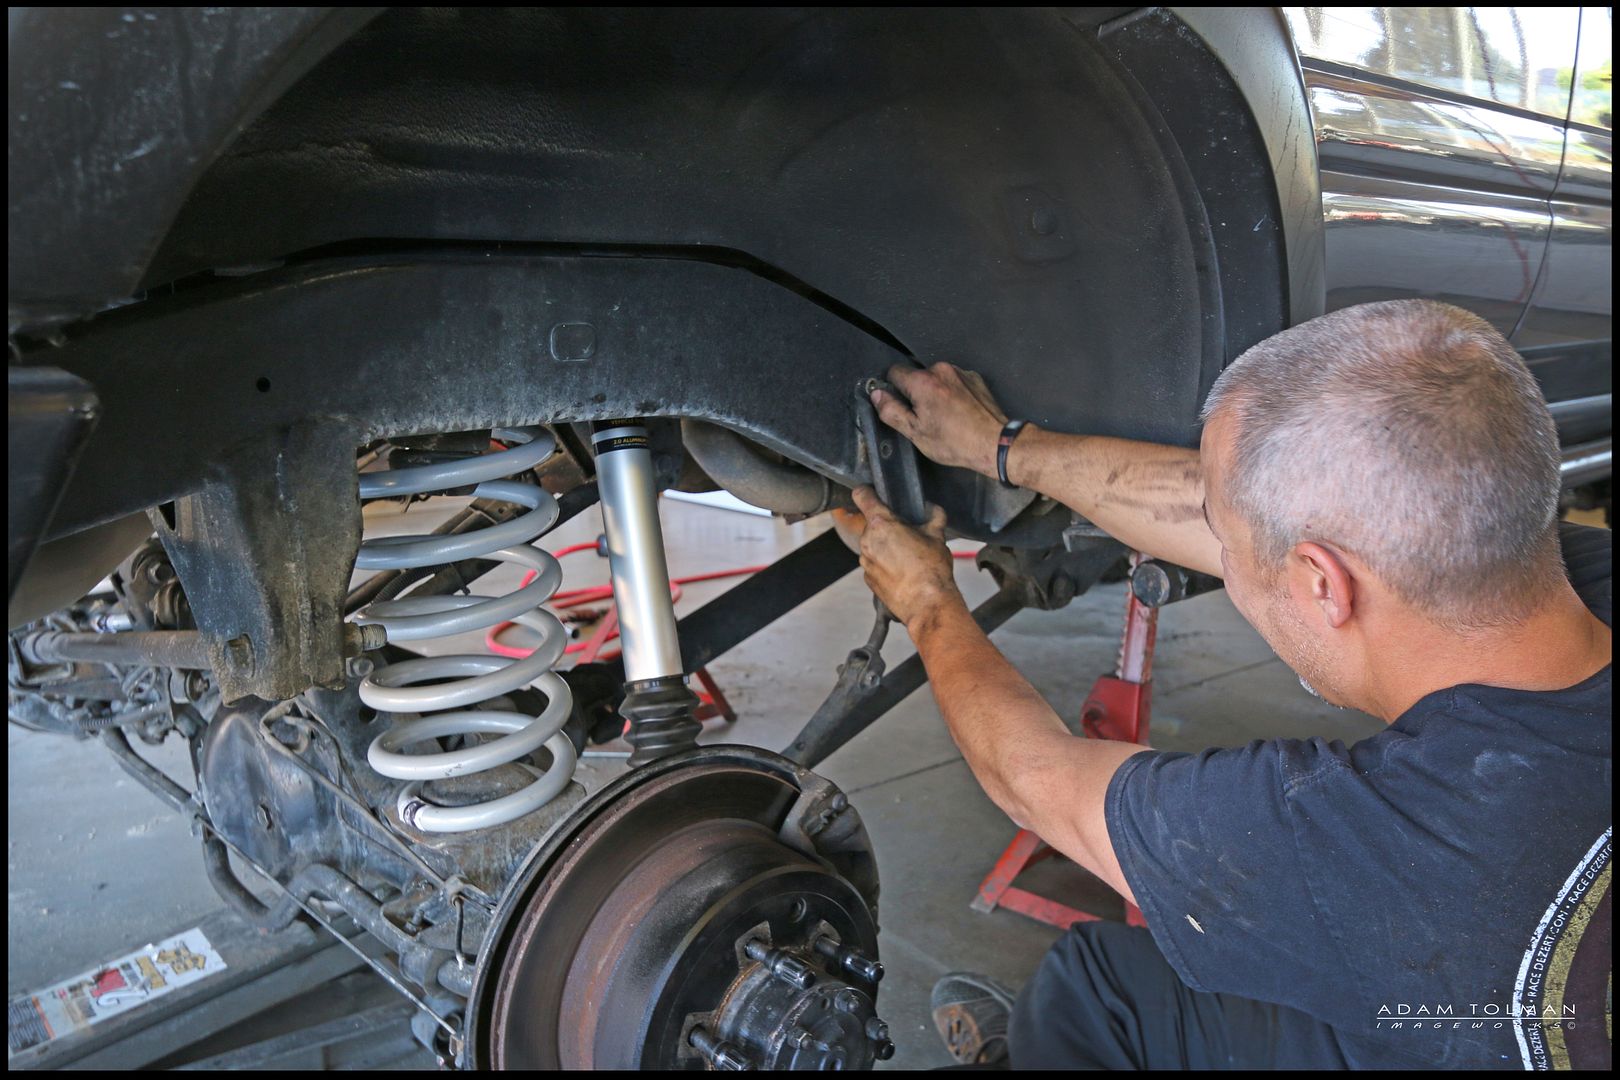
How about an update? A few weeks ago I was able to get my hands on some Autocraft Slinky Long Travel suspension. It was just in time for Cruise Moab, literally. I drove to Moab with my OME suspension and met Darren from Autocraft and Justin from Redline Land Cruisers at Grandpas Garage in Moab and we did the install just in time to make tech inspection.
I will be writing an article for TCT magazine to give a review of the suspension but it will be less focused on the actual install, and rather the performance and comparison of the suspension to my old OME stuff etc. So here's a few pics from the install. Overall, it's a very straight forward installation. My installation didn't require a few steps such as some kind of caster correction and extended brake lines. I already had those, as well as adjustable track bars (panhards). This resulted in just a swap of the coils, shocks and swaybar spacers and bumpstops.
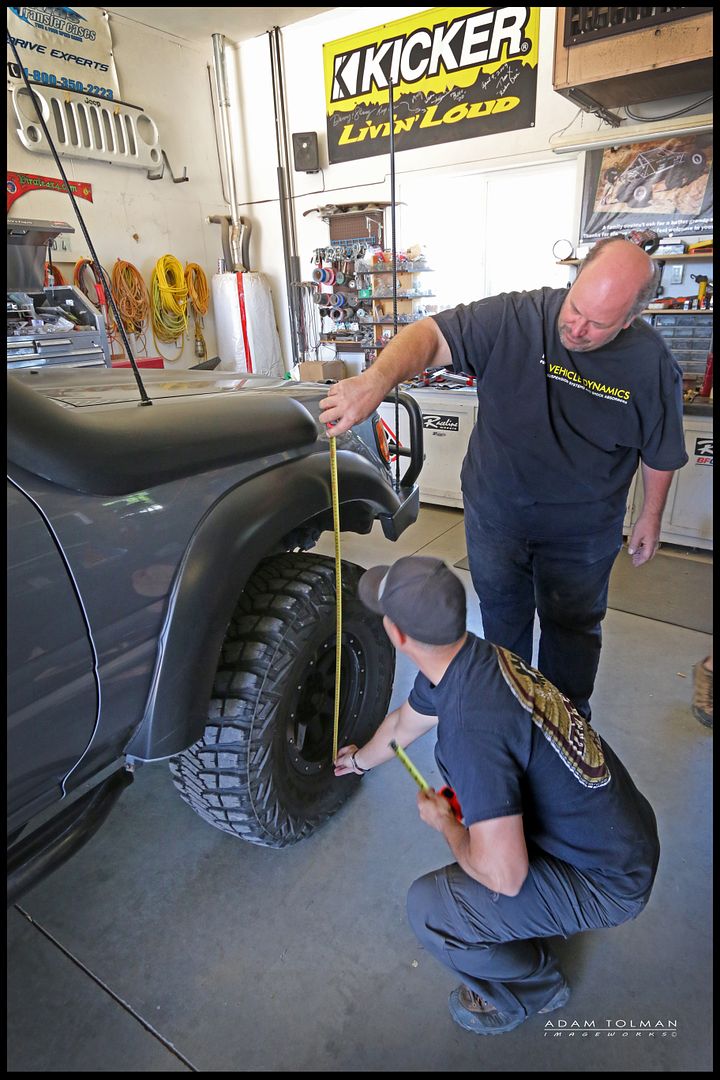
Remember to loosen the track bars and control arms, once it's up on jackstands, just enough to allow free movement of the suspension. Retighten them once the truck is back on the ground on it's own weight.
Getting before measurements.
Old stuff. OME J coil + 2" coil spacer


Here's all the new stuff. After taking before measurements and knowing with the goal was for new ride height and load capacity we chose the set of Slinkys that would best meet the goals. I ended up using 75mm Heavy rate Slinkys on all 4 corners.
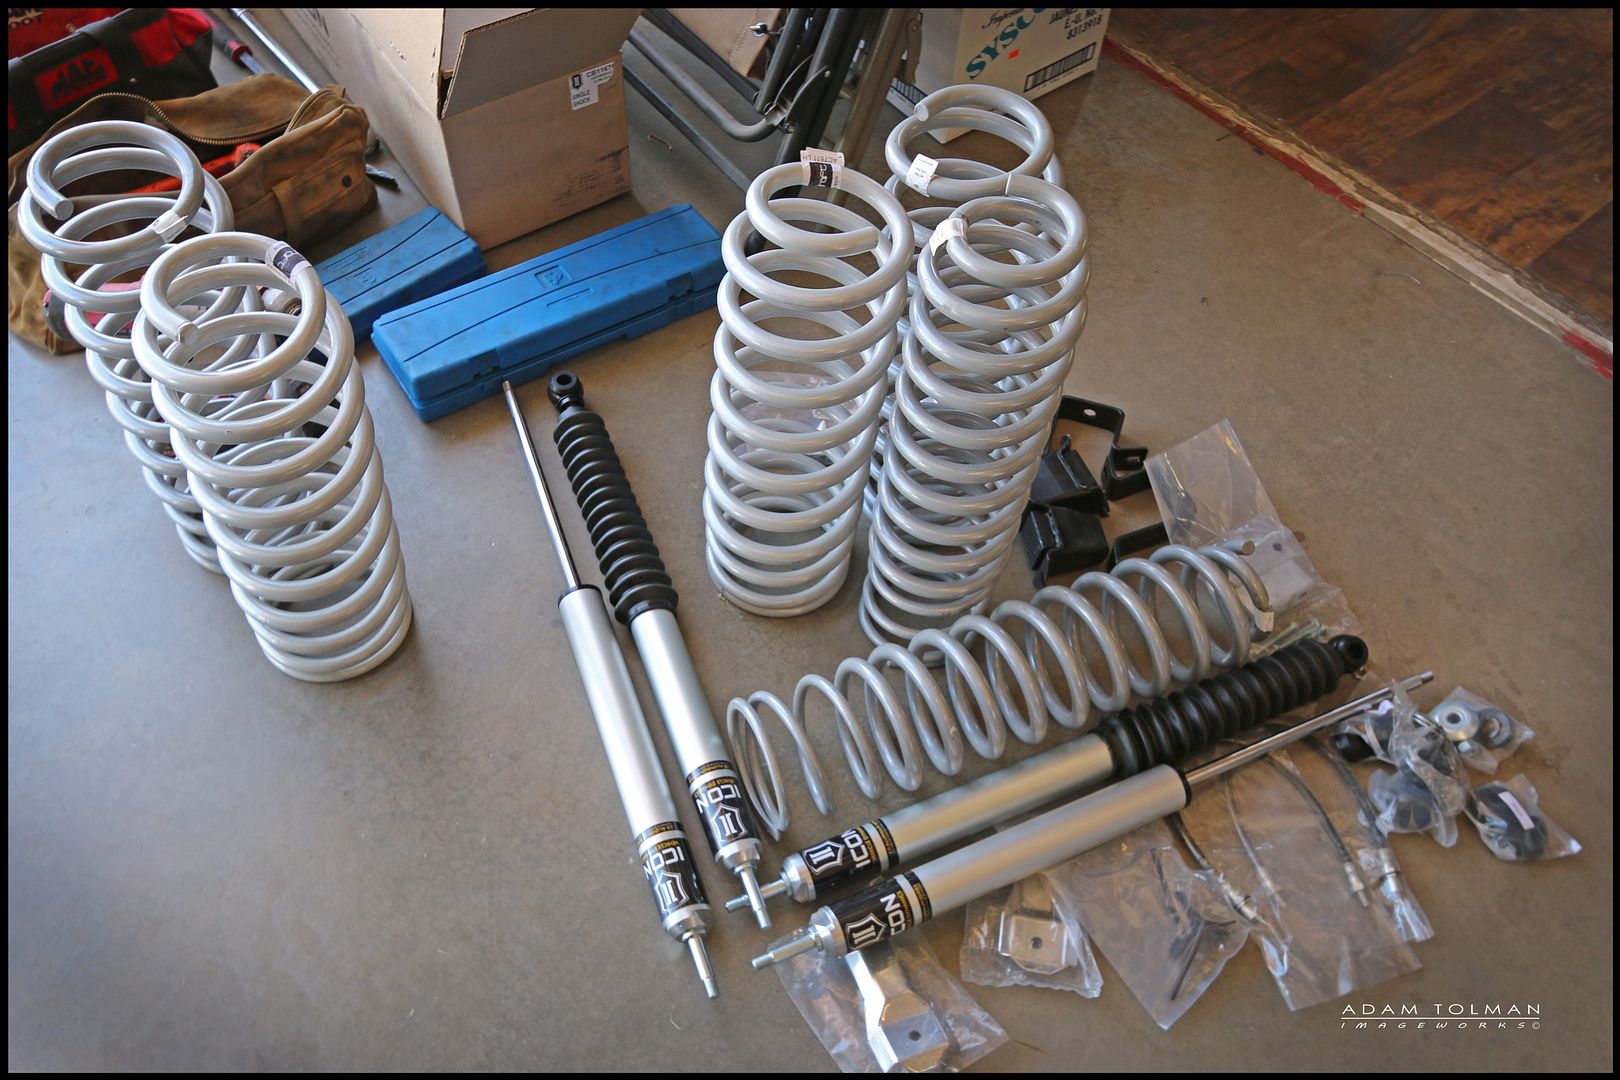
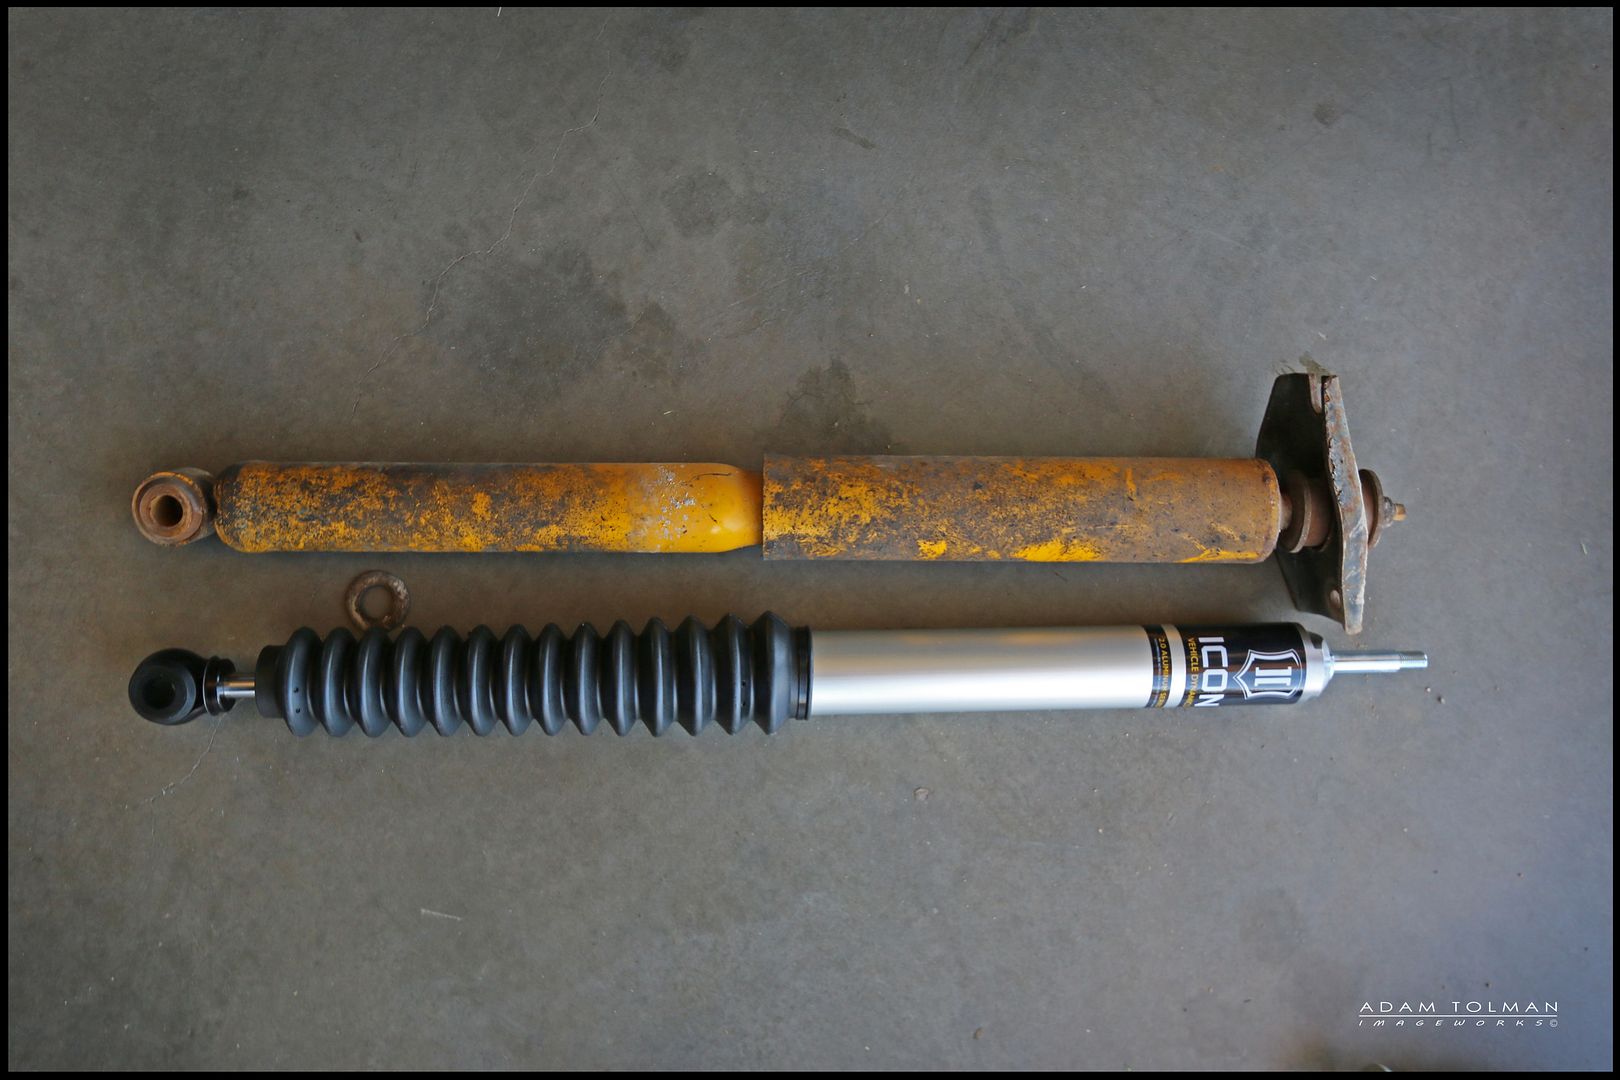
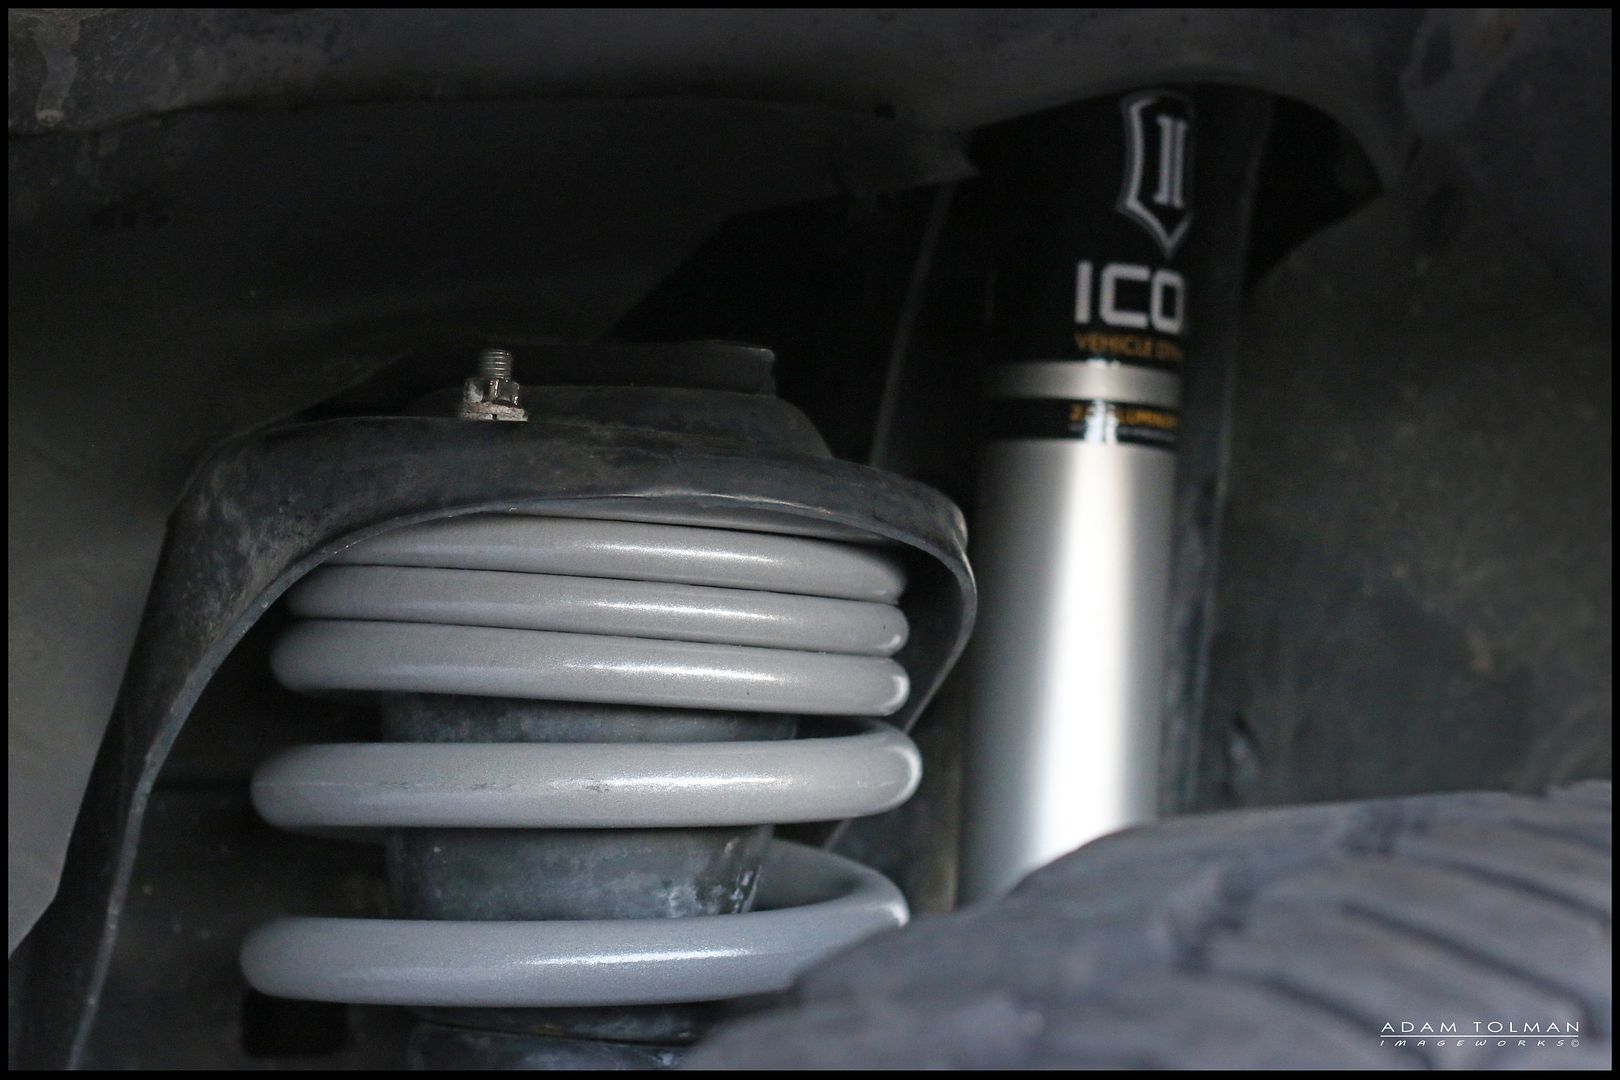
OME L shocks compared to the new Autocraft spec ICON 2.0 shock.
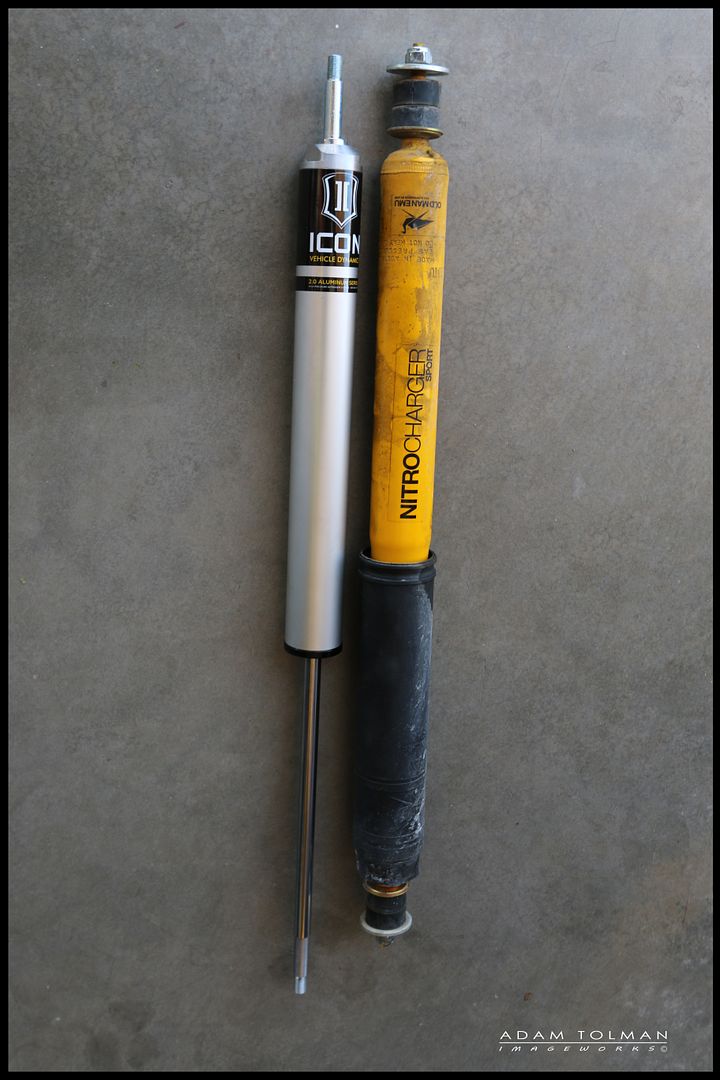
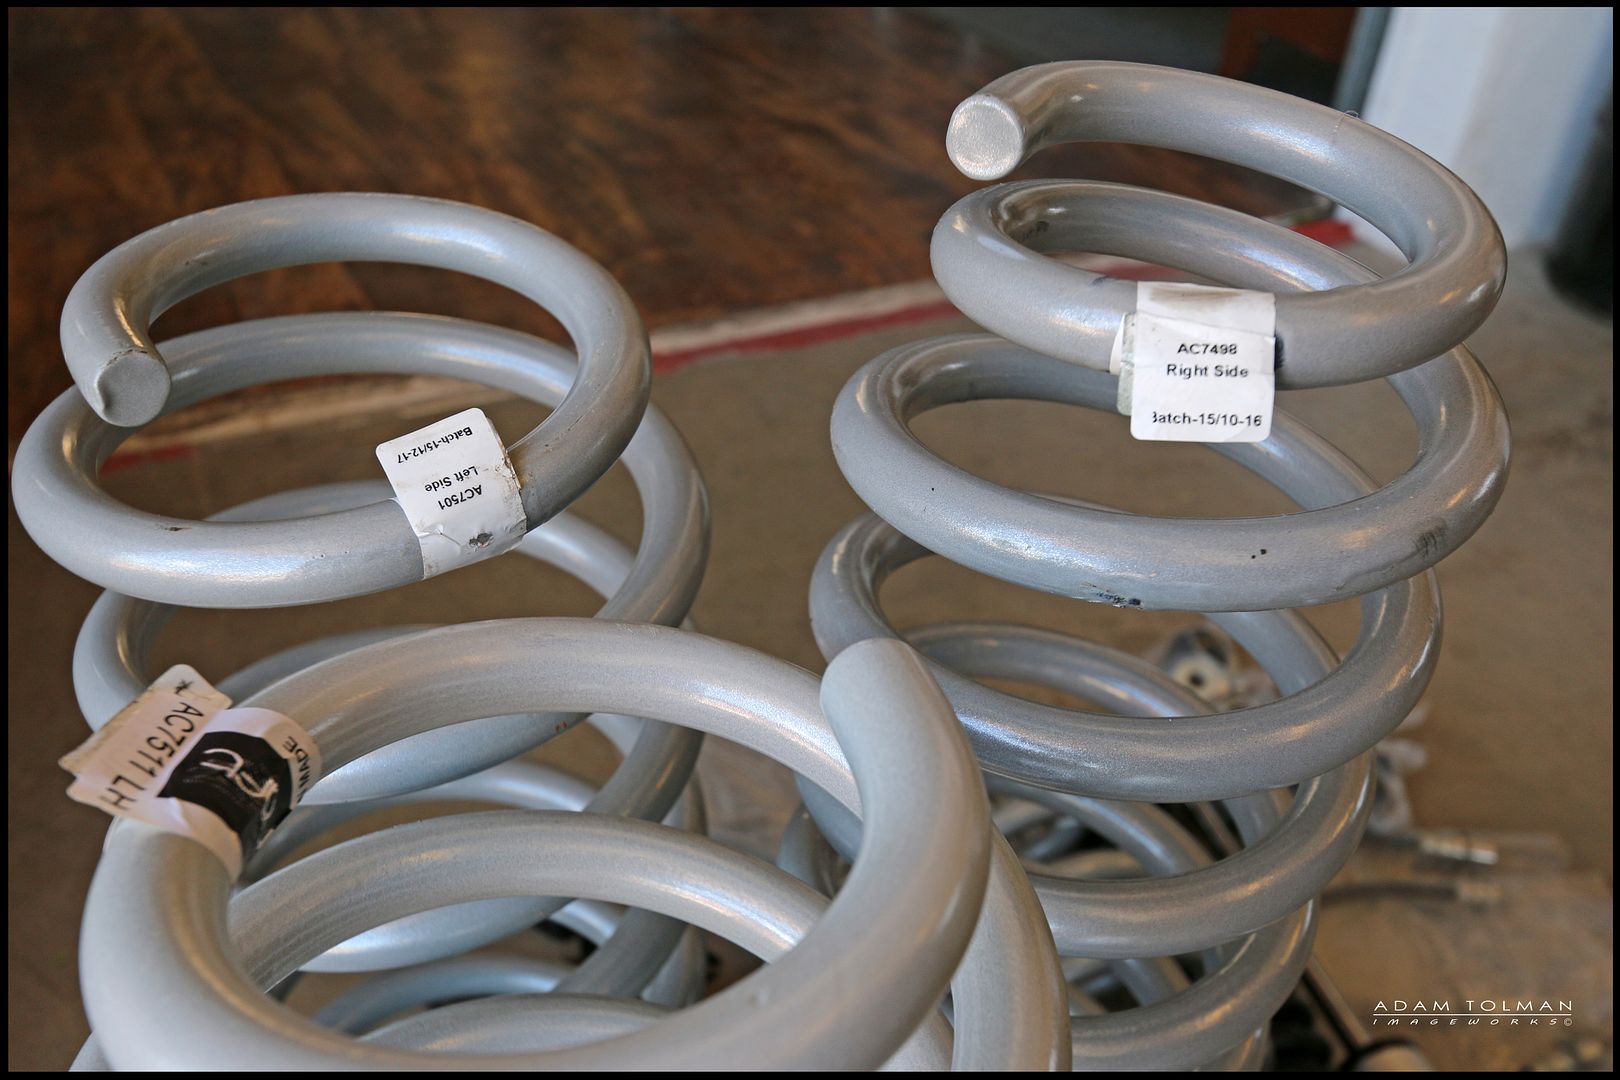
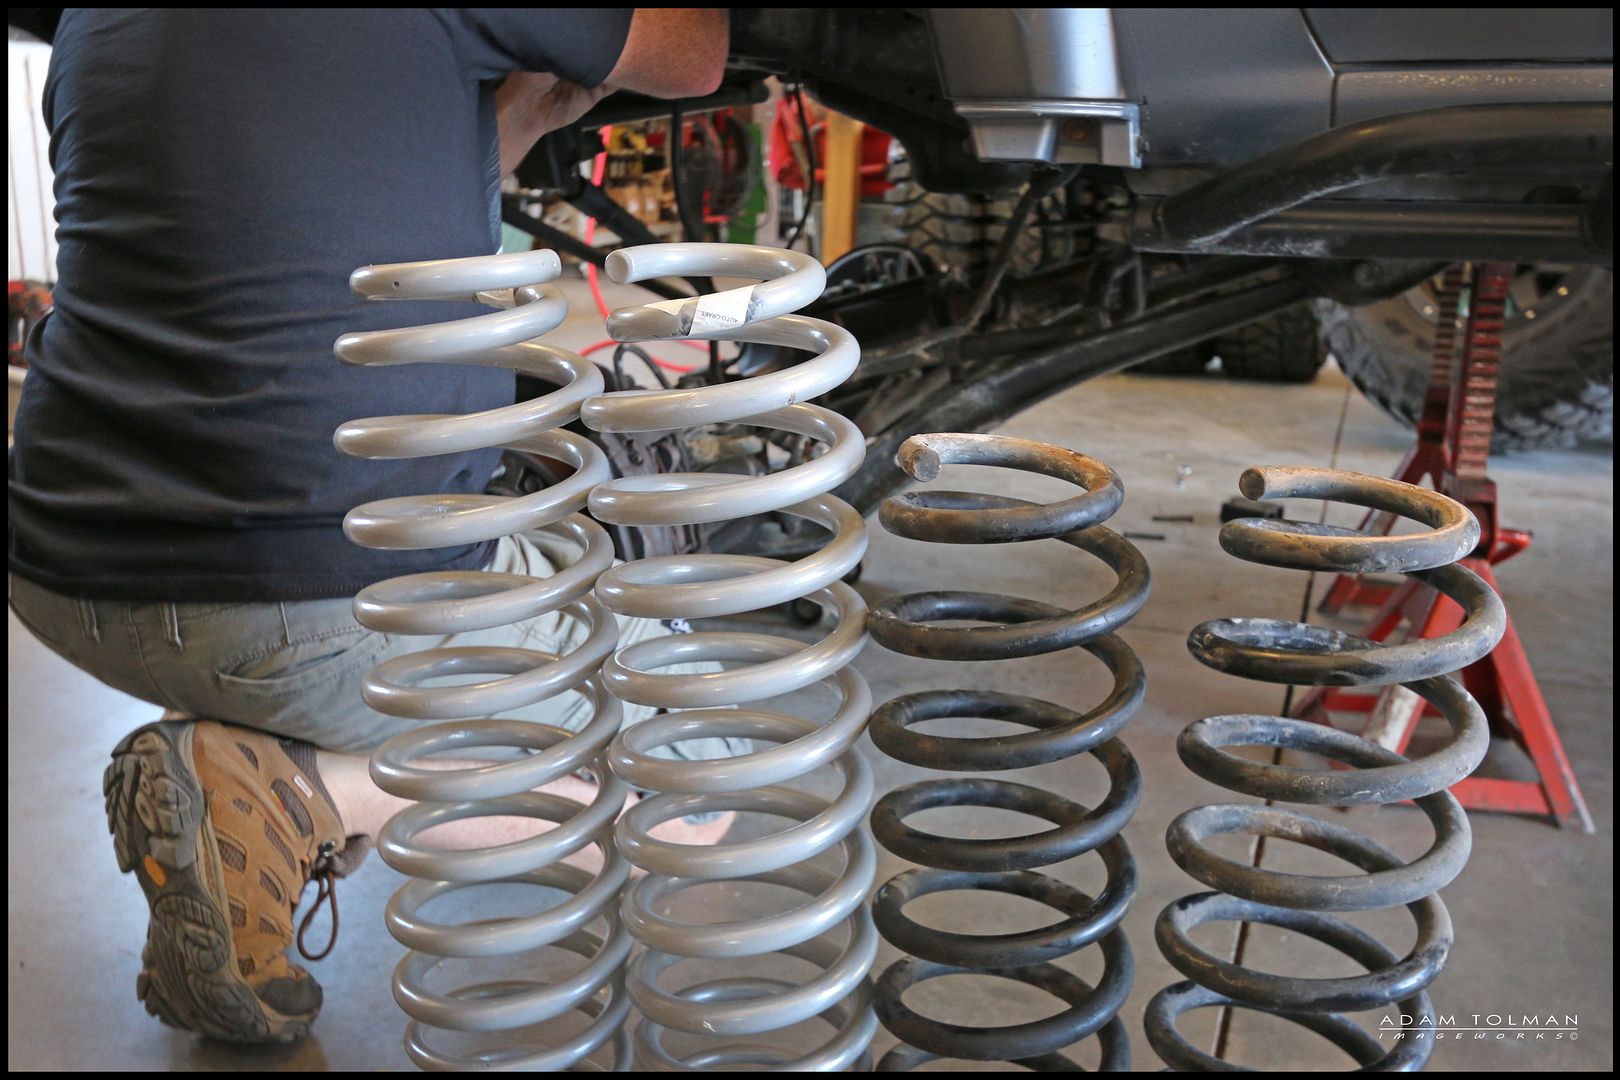
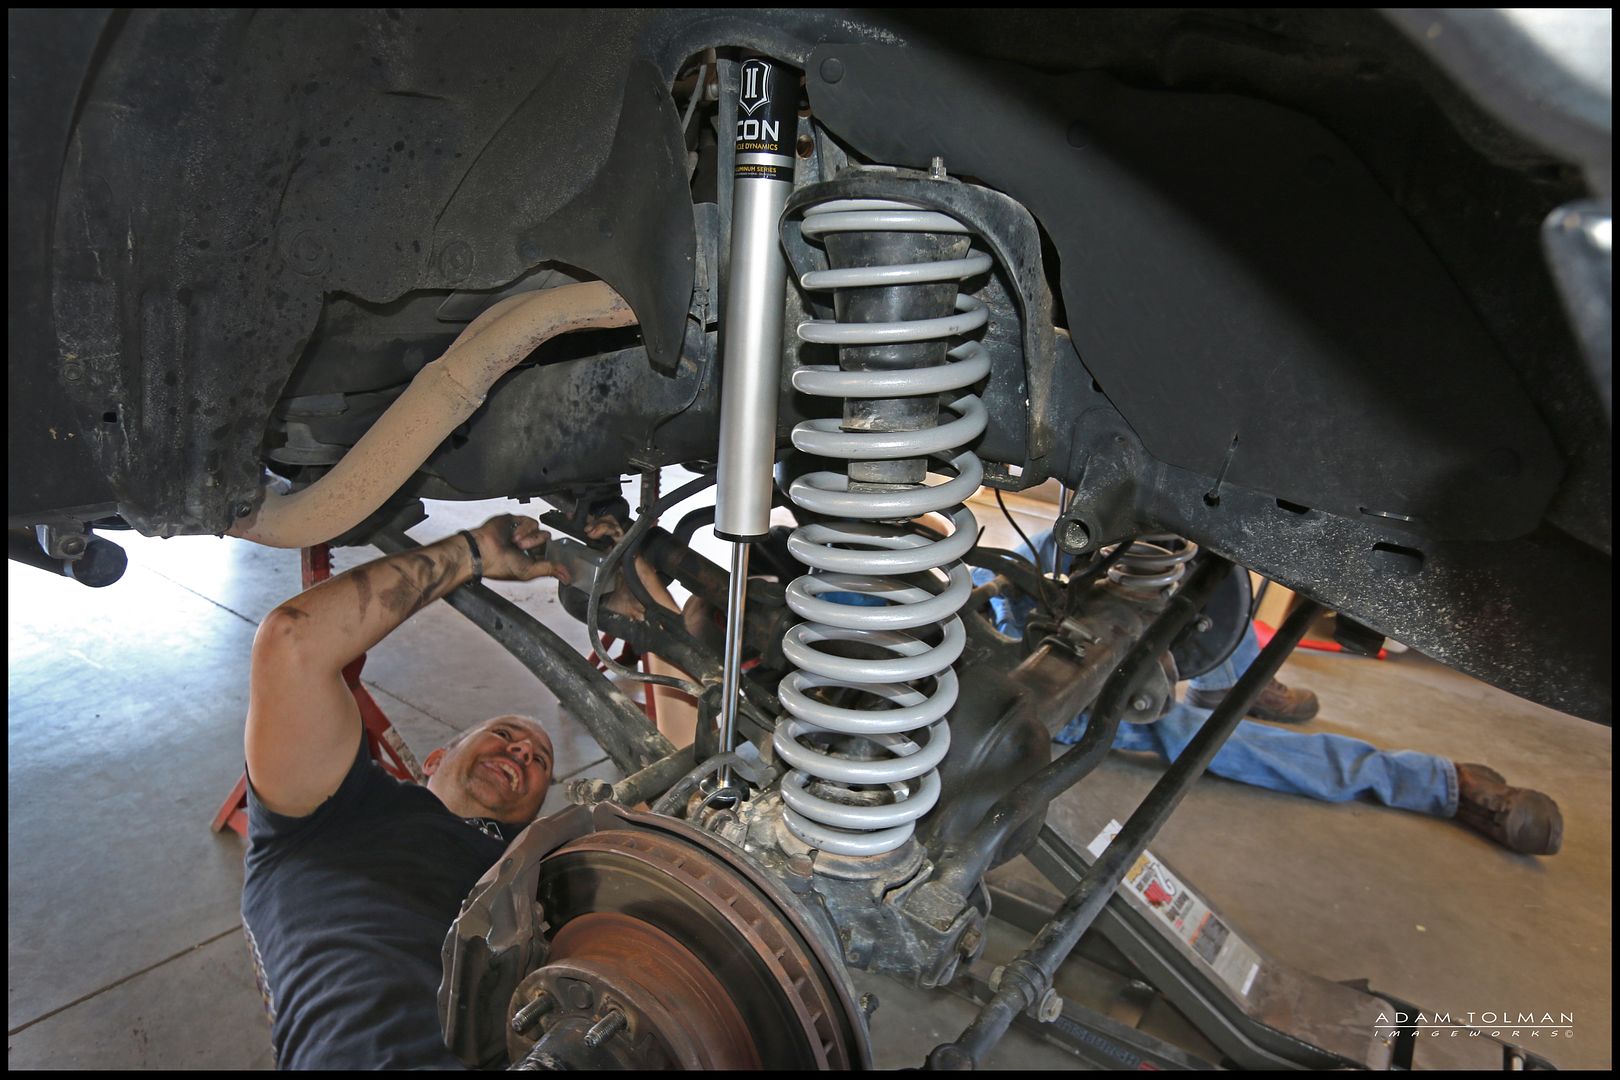
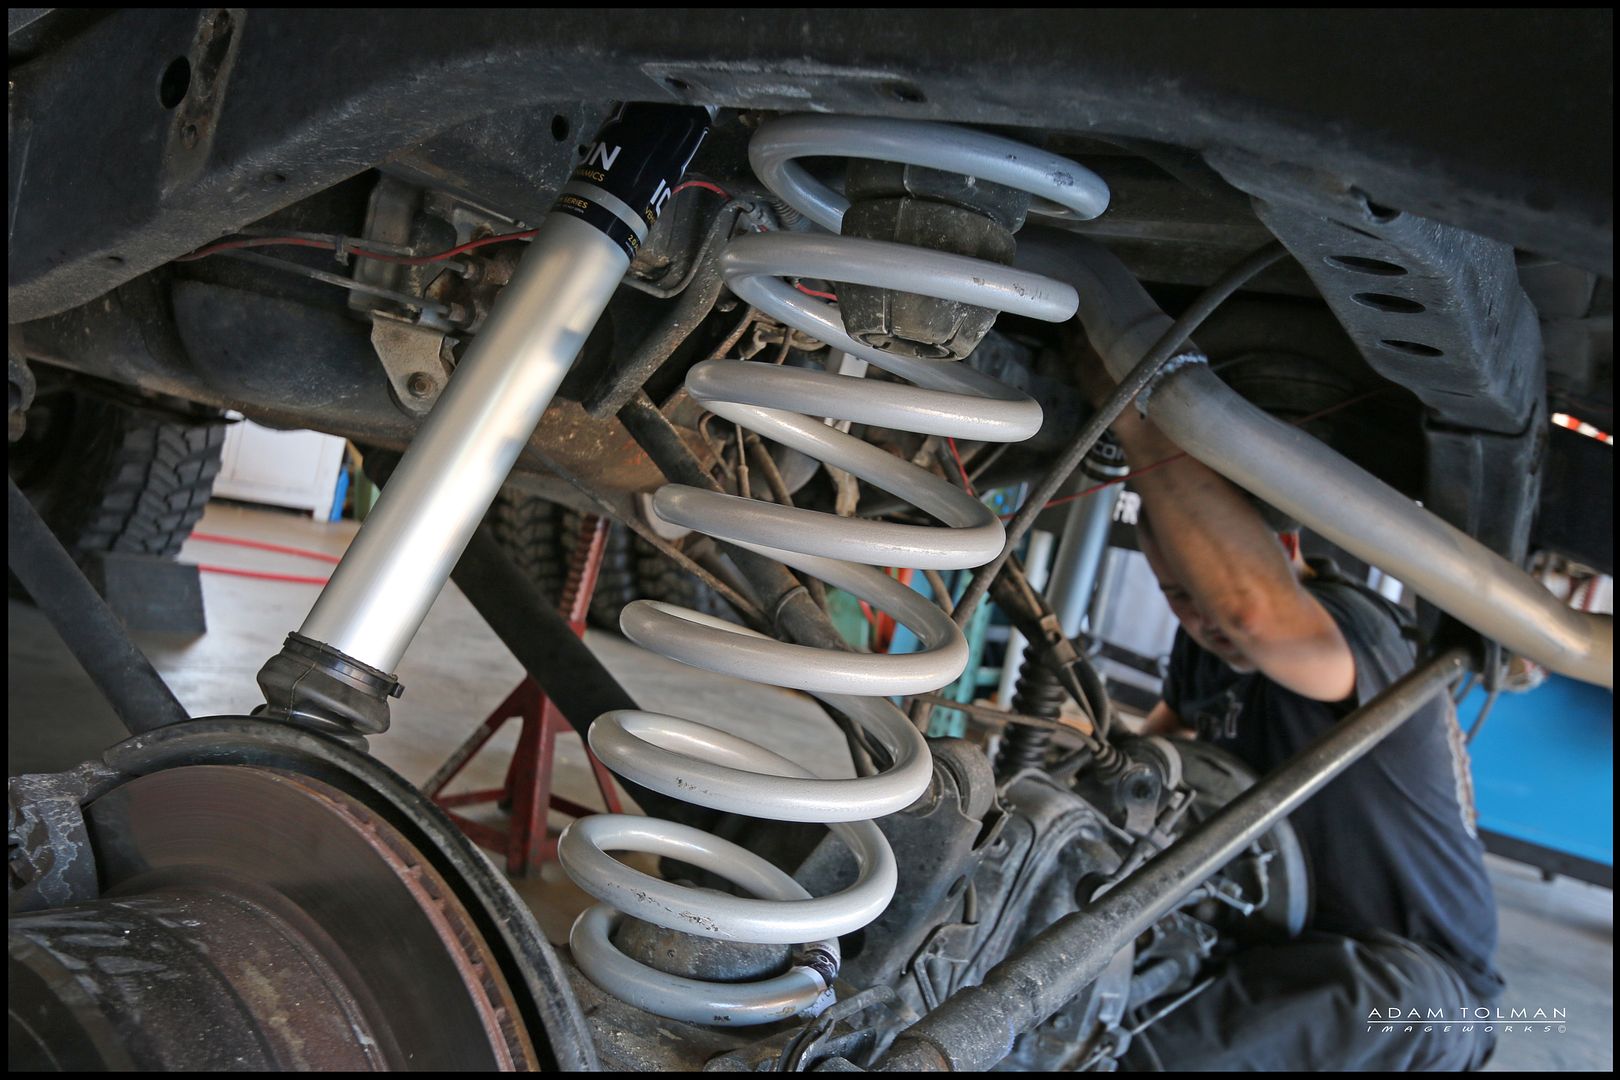
Front coil comparison. Front OME J coil on the left, Slinky 75mm heavy on the right. Note: I lost a good 2+" of ride height with the new setup, but gained about 6" of travel. Lots more droop available with the Slinkys.
Both set of front coils
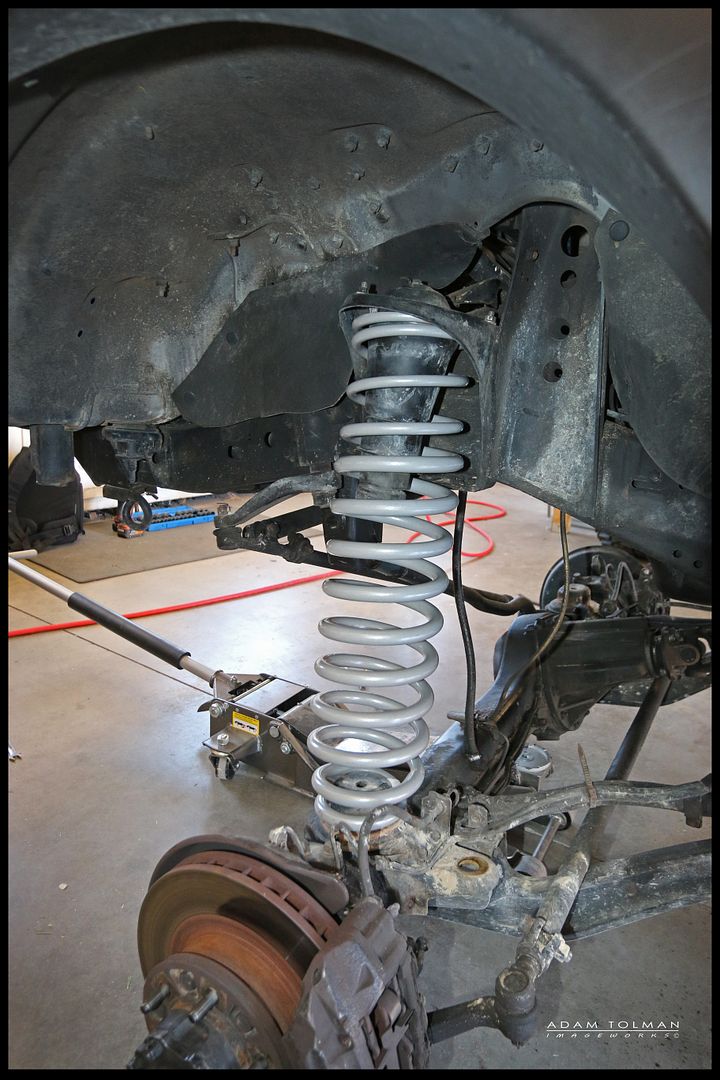
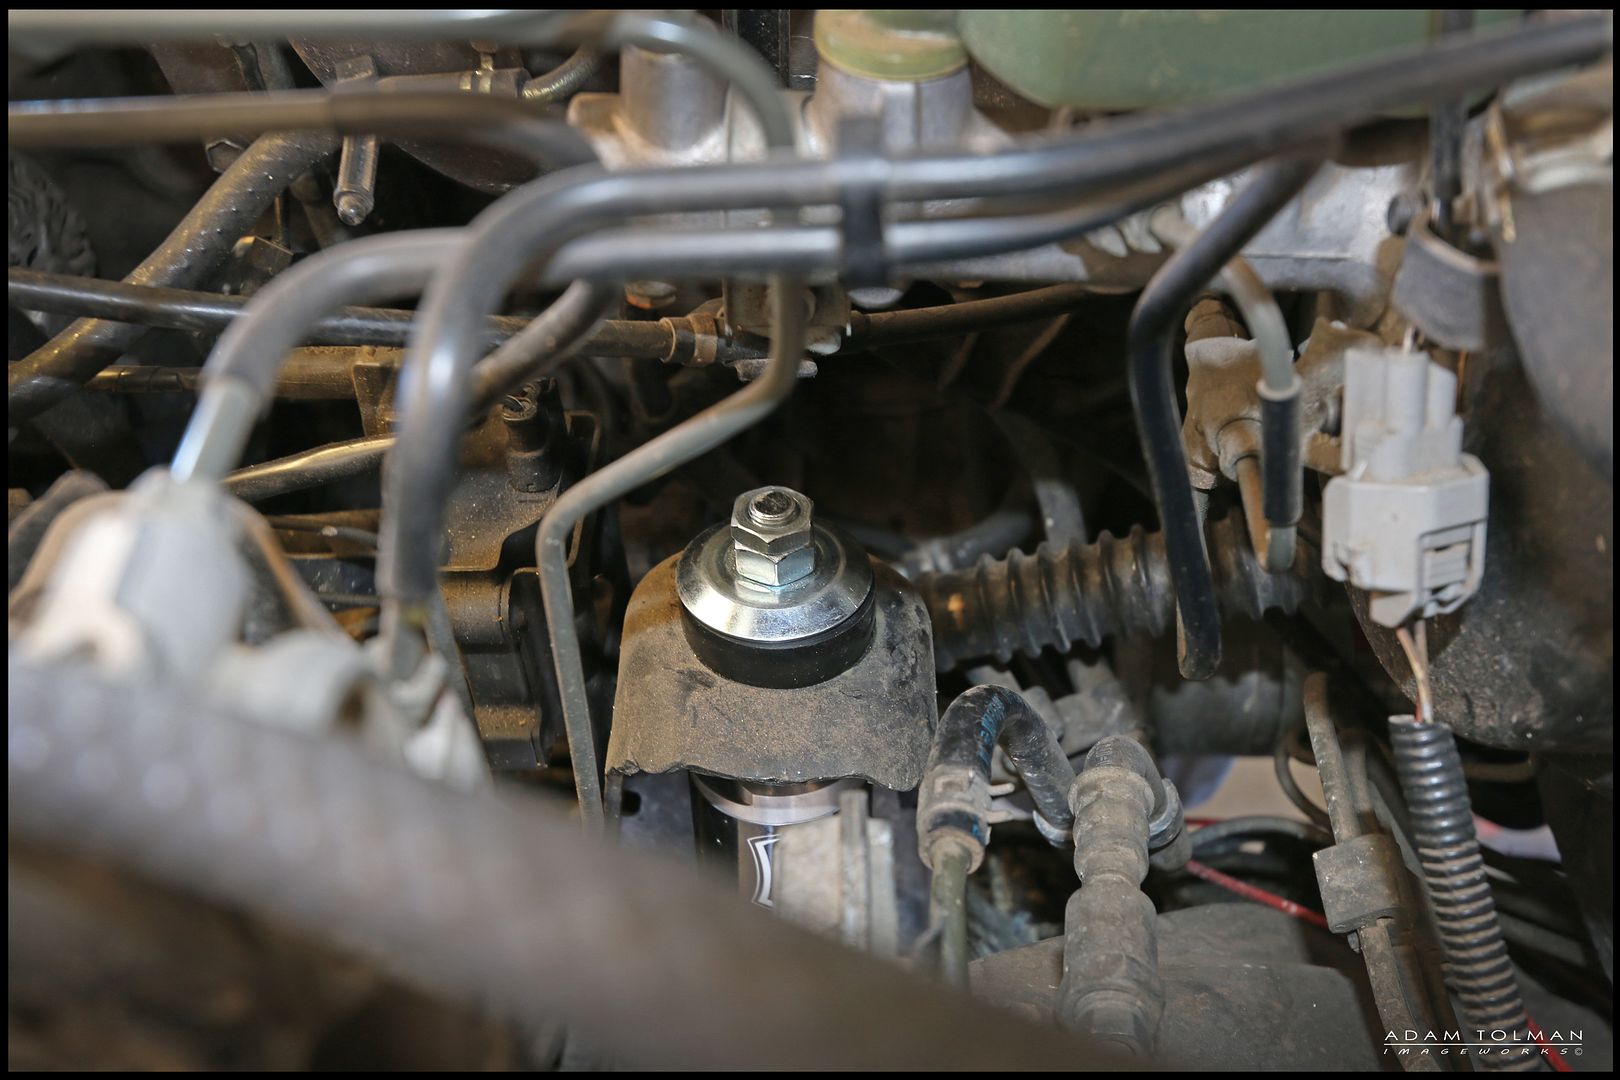
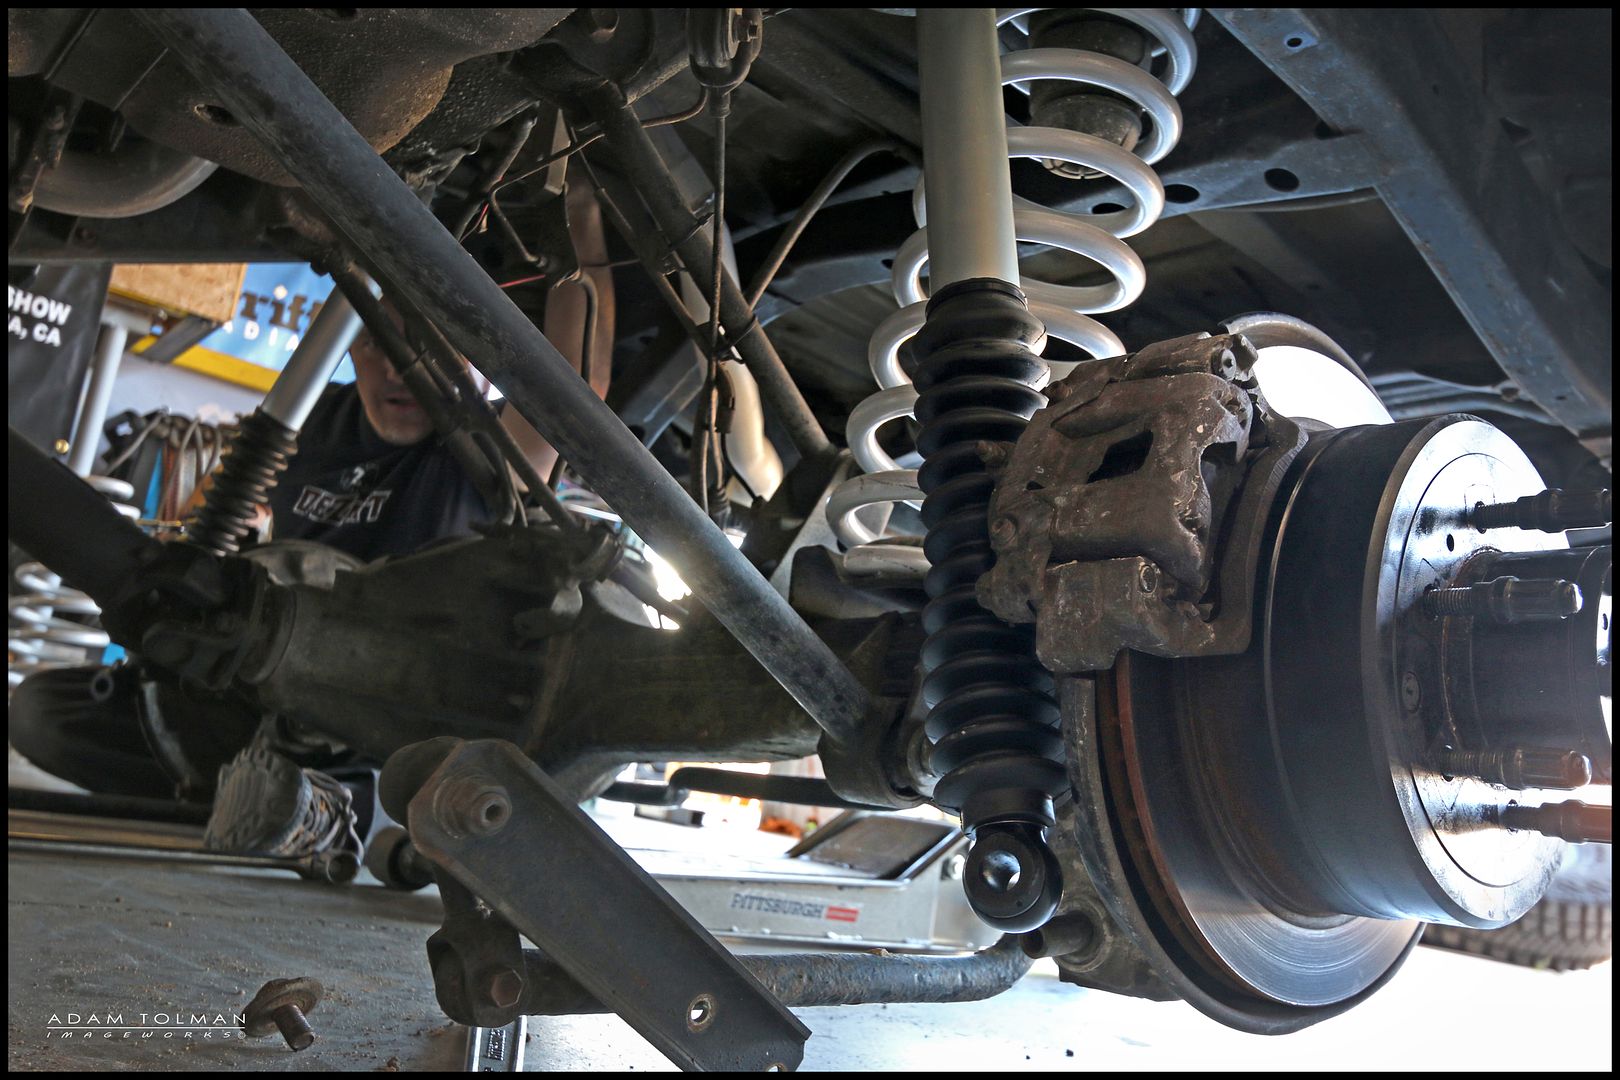
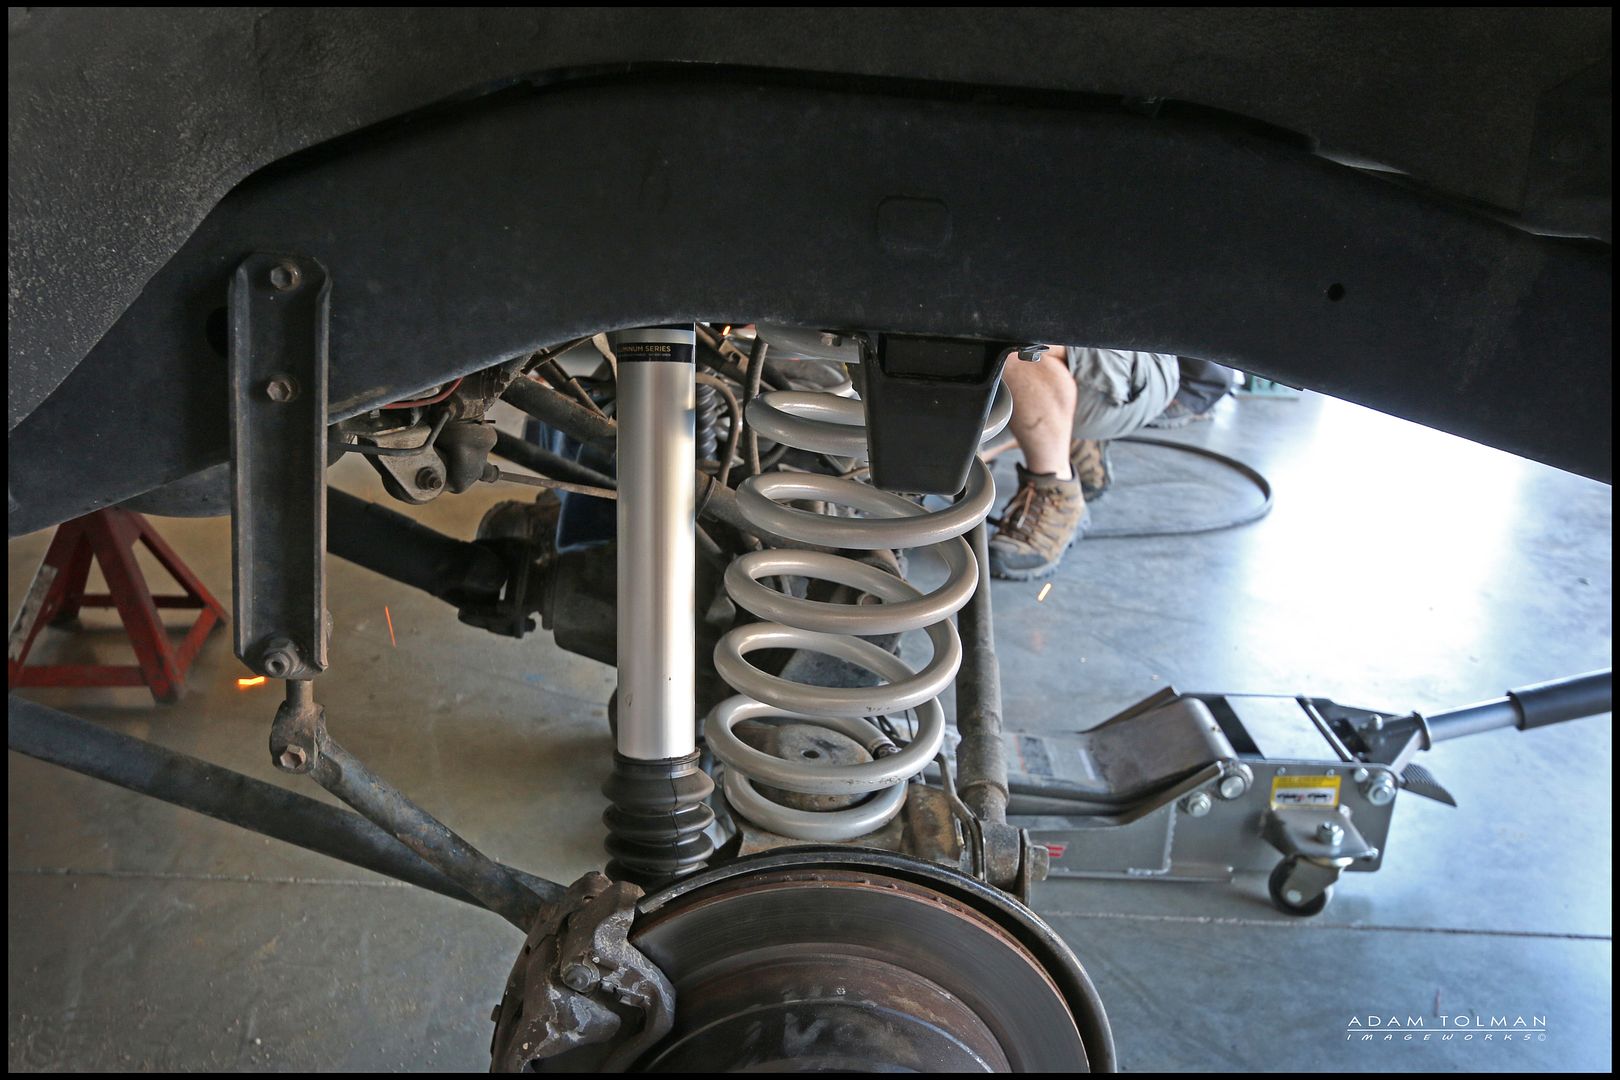
Fitting the front shocks
A couple notes, the shocks come with a pair of nuts for each end of the shock. One larger nut and a jam nut. Tighten then enough that there are two threads left exposed after the jam nut is on.
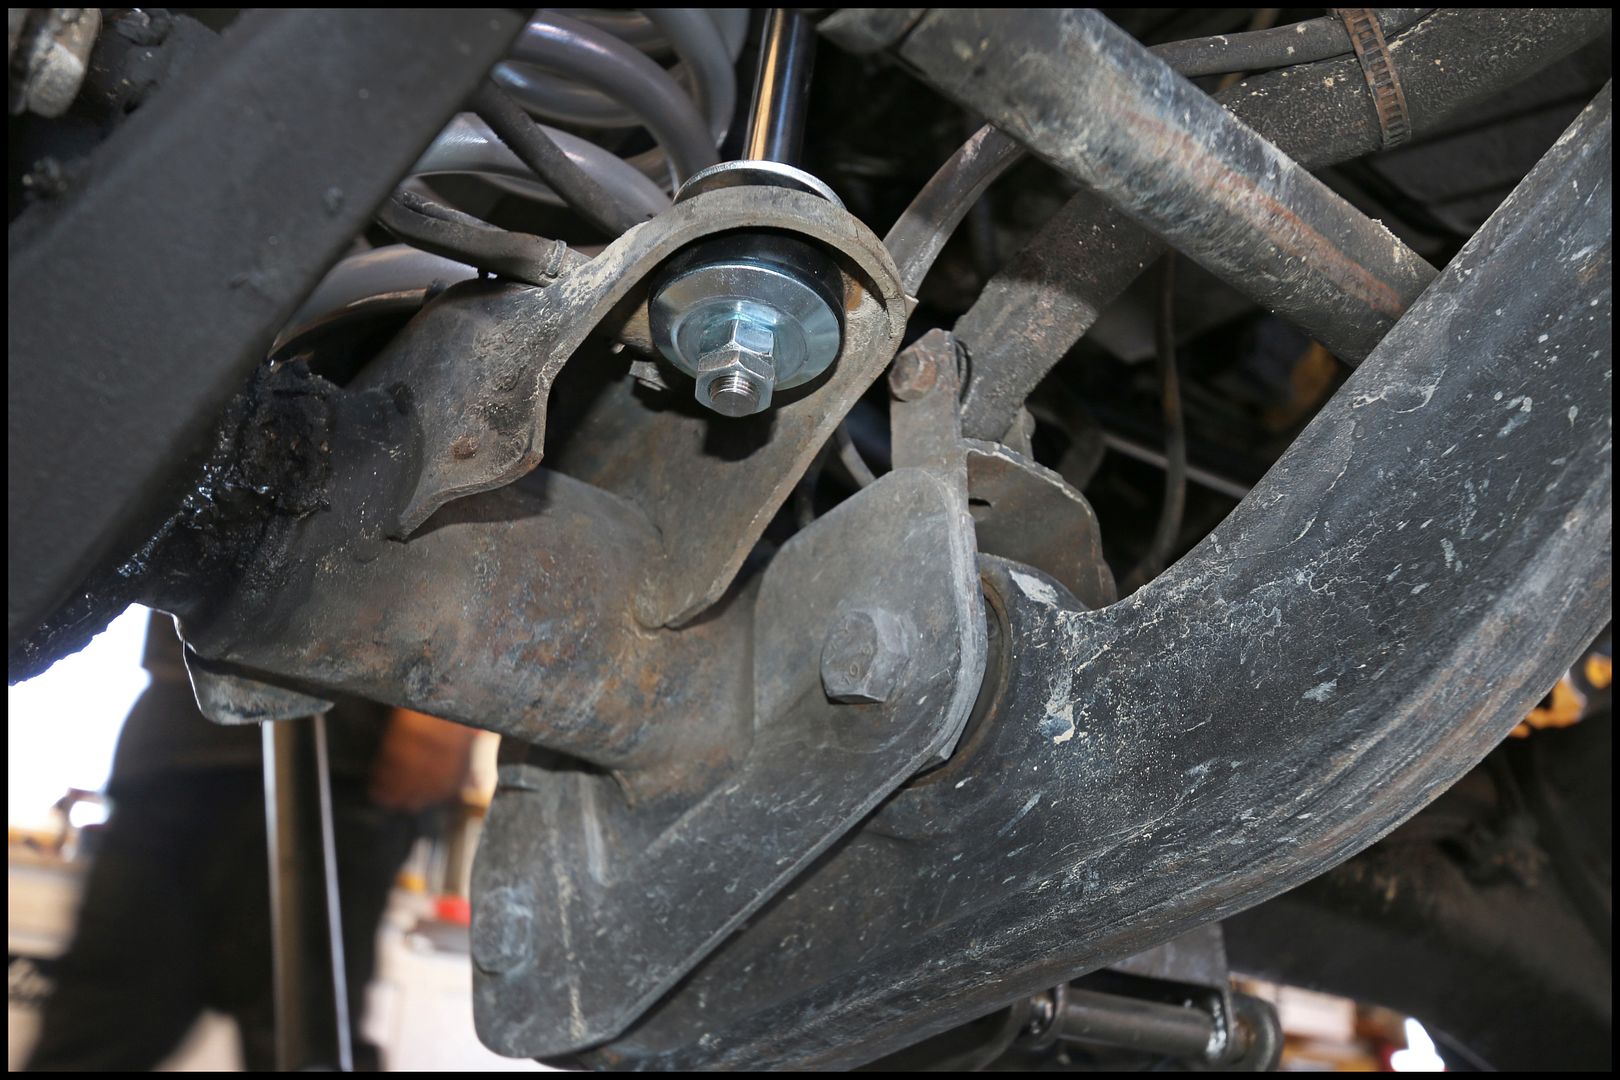
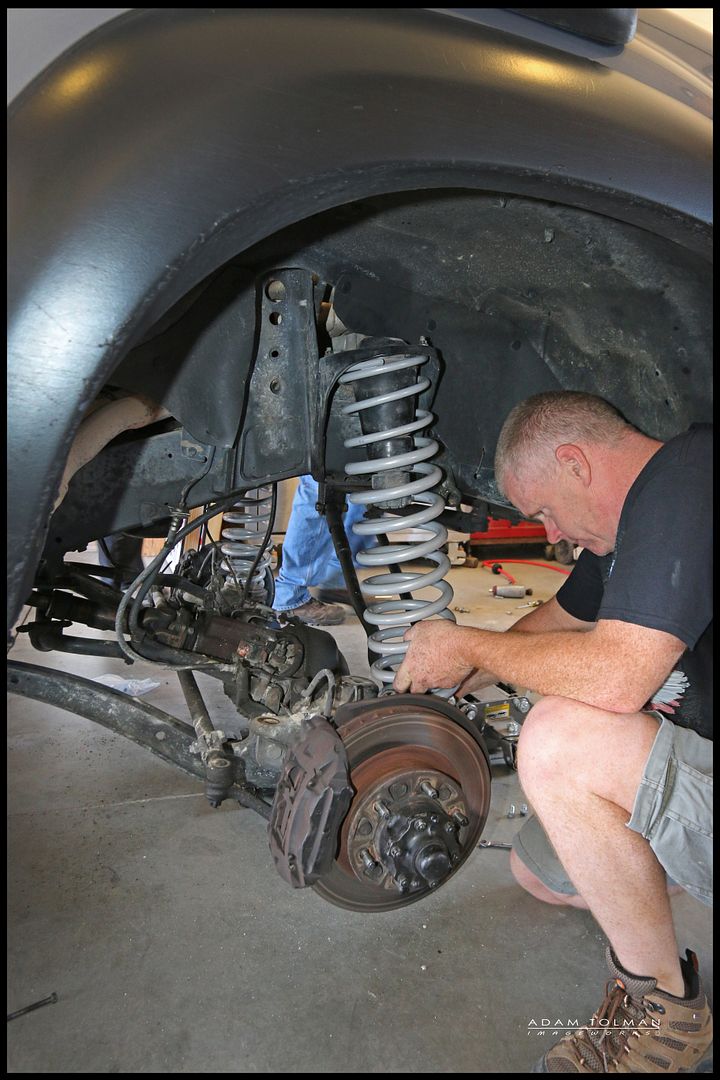
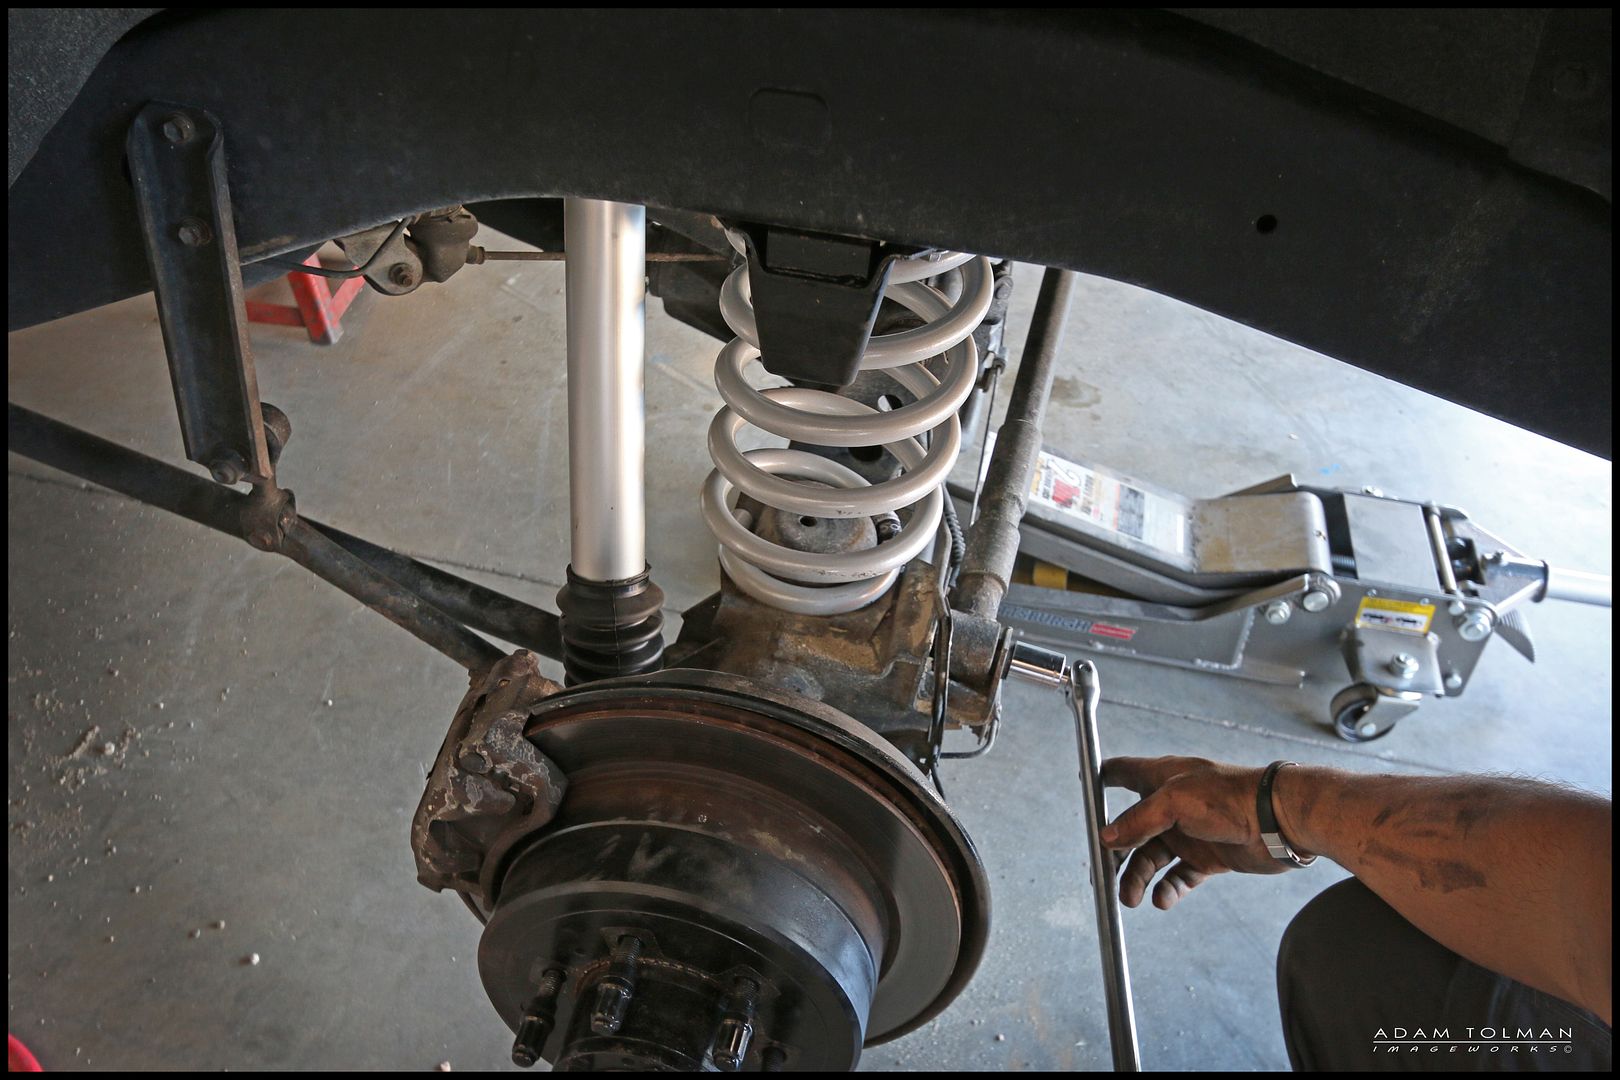
other side
I will be writing an article for TCT magazine to give a review of the suspension but it will be less focused on the actual install, and rather the performance and comparison of the suspension to my old OME stuff etc. So here's a few pics from the install. Overall, it's a very straight forward installation. My installation didn't require a few steps such as some kind of caster correction and extended brake lines. I already had those, as well as adjustable track bars (panhards). This resulted in just a swap of the coils, shocks and swaybar spacers and bumpstops.
Remember to loosen the track bars and control arms, once it's up on jackstands, just enough to allow free movement of the suspension. Retighten them once the truck is back on the ground on it's own weight.
Getting before measurements.


Old stuff. OME J coil + 2" coil spacer


Here's all the new stuff. After taking before measurements and knowing with the goal was for new ride height and load capacity we chose the set of Slinkys that would best meet the goals. I ended up using 75mm Heavy rate Slinkys on all 4 corners.


OME L shocks compared to the new Autocraft spec ICON 2.0 shock.

Front coil comparison. Front OME J coil on the left, Slinky 75mm heavy on the right. Note: I lost a good 2+" of ride height with the new setup, but gained about 6" of travel. Lots more droop available with the Slinkys.
Both set of front coils


Fitting the front shocks

A couple notes, the shocks come with a pair of nuts for each end of the shock. One larger nut and a jam nut. Tighten then enough that there are two threads left exposed after the jam nut is on.


other side

Box Rocket
Well-known member
rear end coming apart
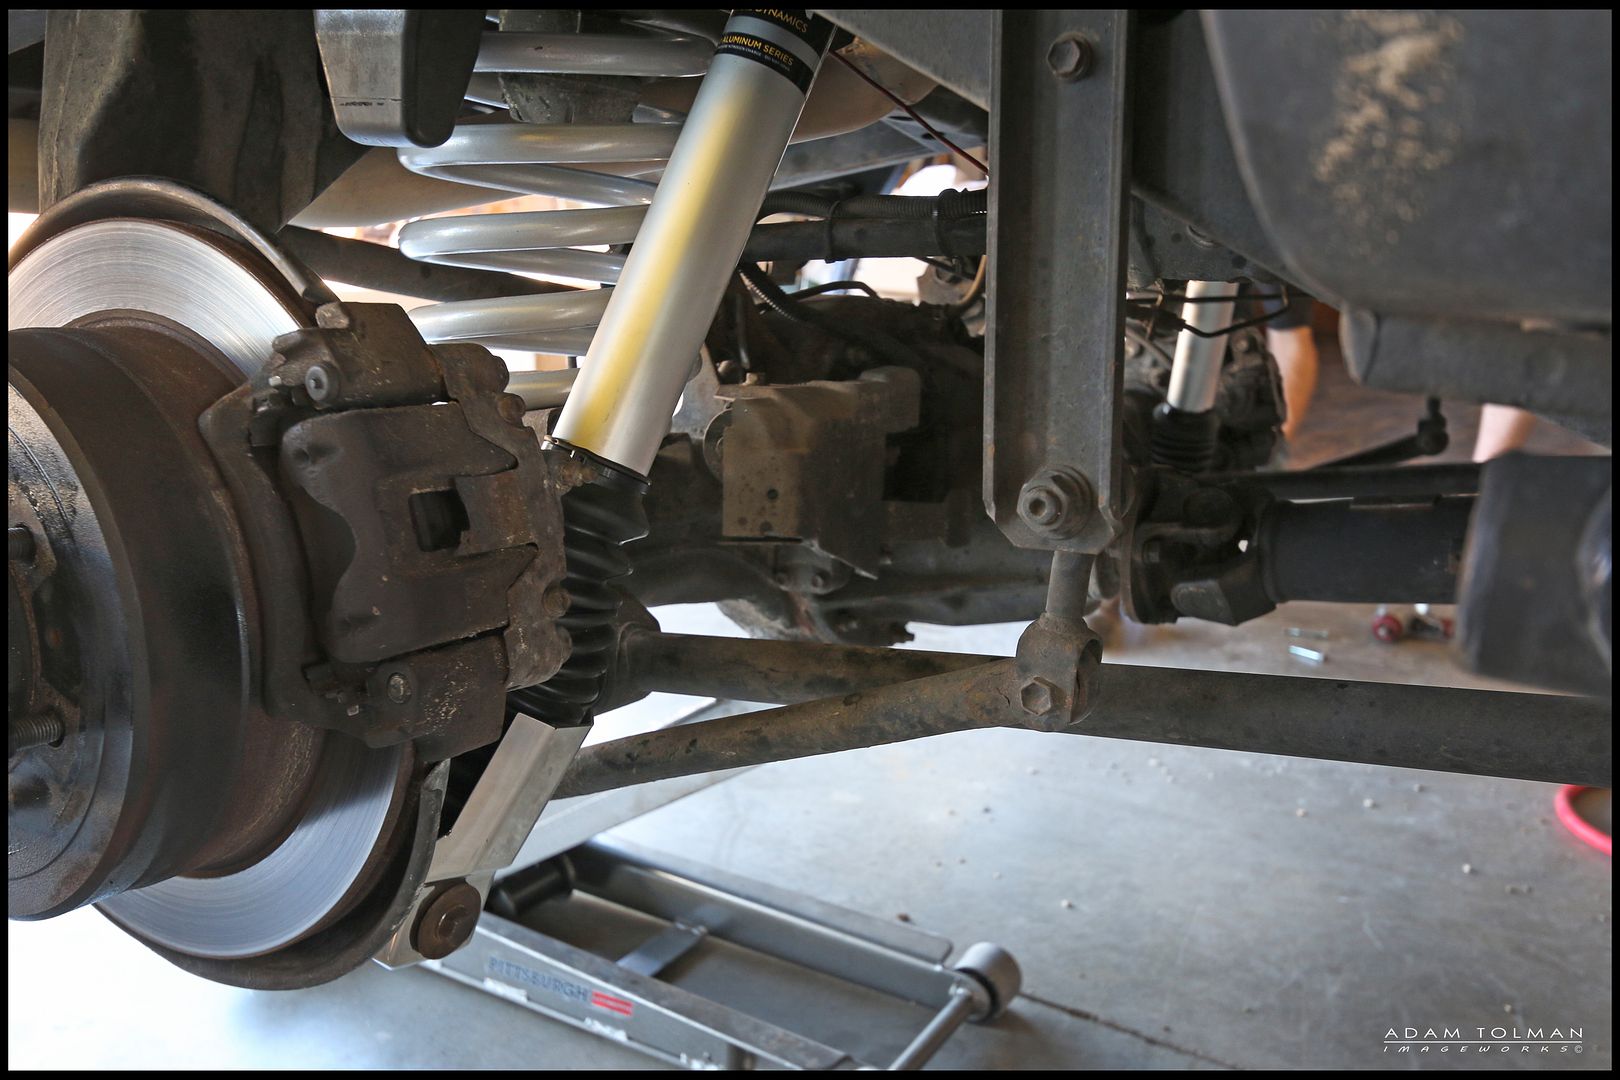
rear shock comparison. Rear shocks include a shock boot as well as a stone guard.
Sway bar removed and trackbar loose
installed
reattach sway bar
new longer rear bumpstops
with the weight off the jackstands, retighten the track bar
notice the lower stone guard for the rear shocks.
with weight back on the front, the top few winds of the front coils will settle like this. Normal.
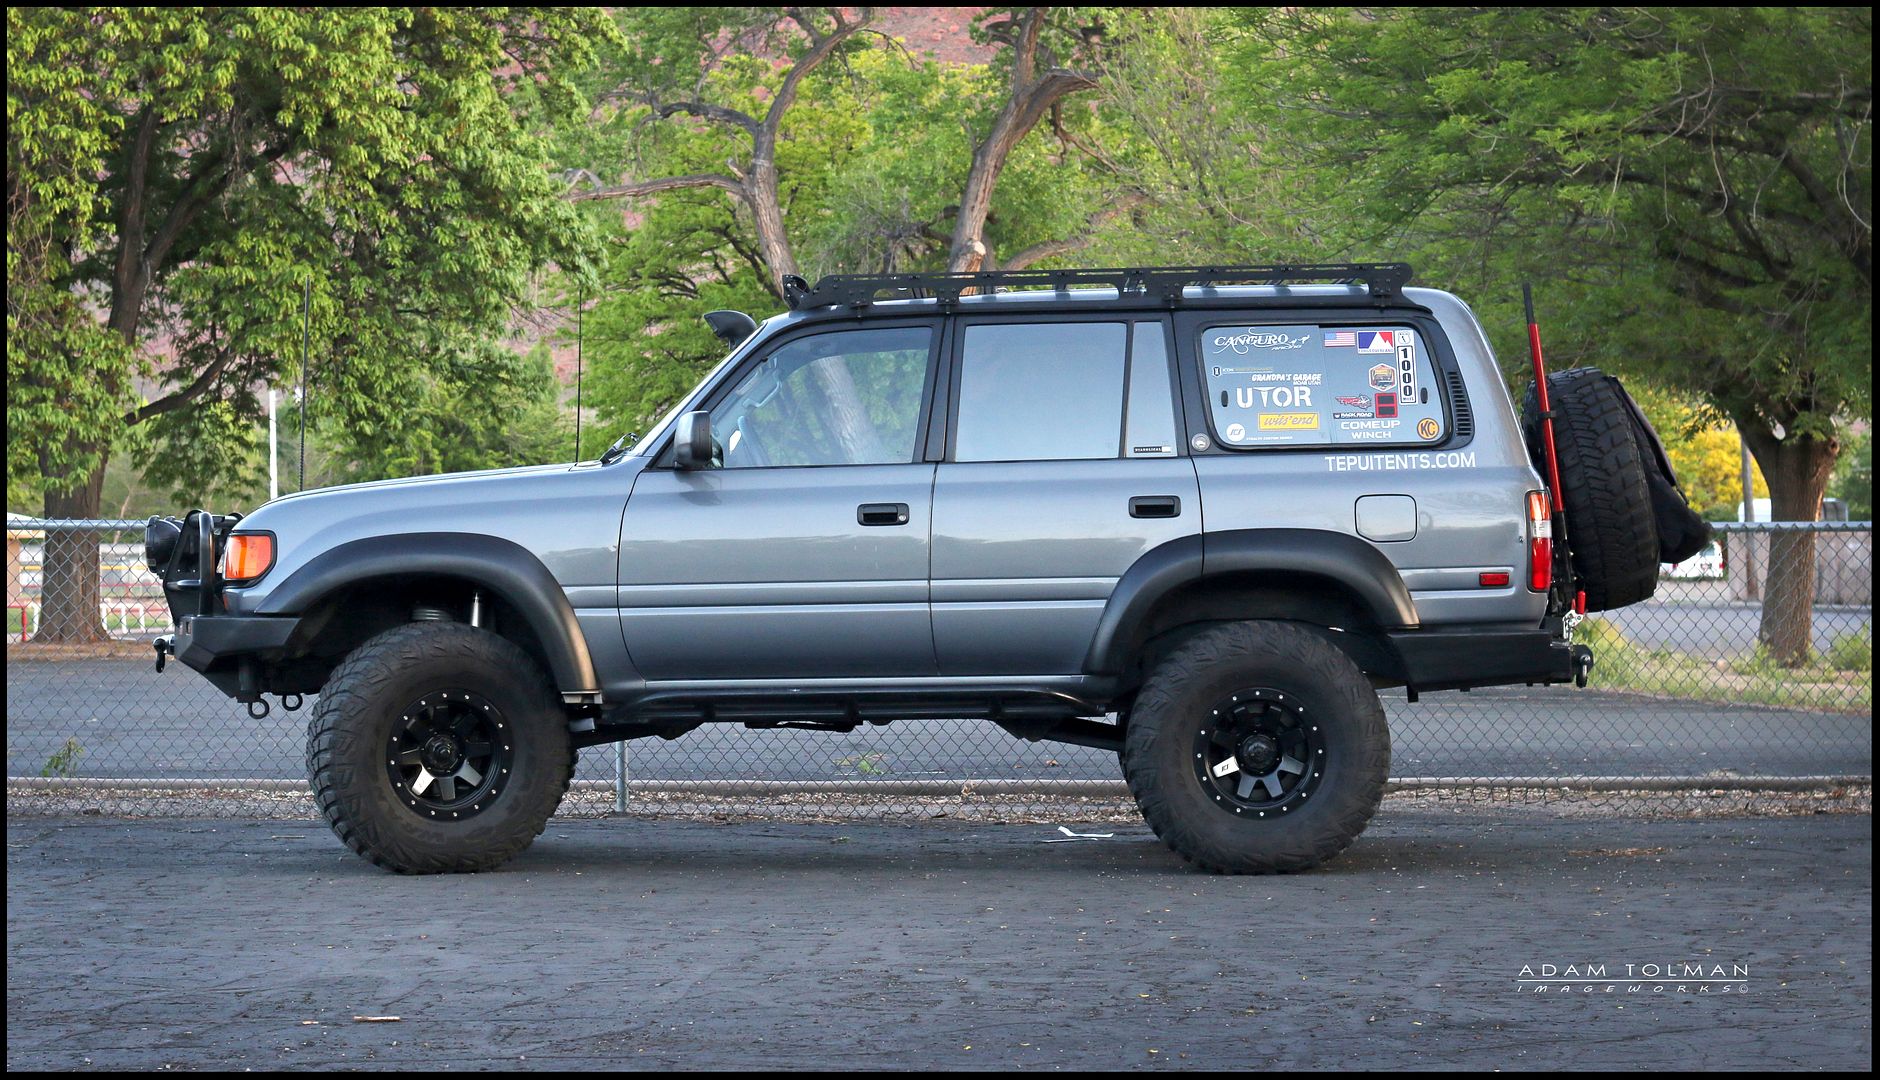
final ride height with 35" tires.

rear shock comparison. Rear shocks include a shock boot as well as a stone guard.

Sway bar removed and trackbar loose

installed

reattach sway bar

new longer rear bumpstops

with the weight off the jackstands, retighten the track bar

notice the lower stone guard for the rear shocks.

with weight back on the front, the top few winds of the front coils will settle like this. Normal.

final ride height with 35" tires.

Box Rocket
Well-known member
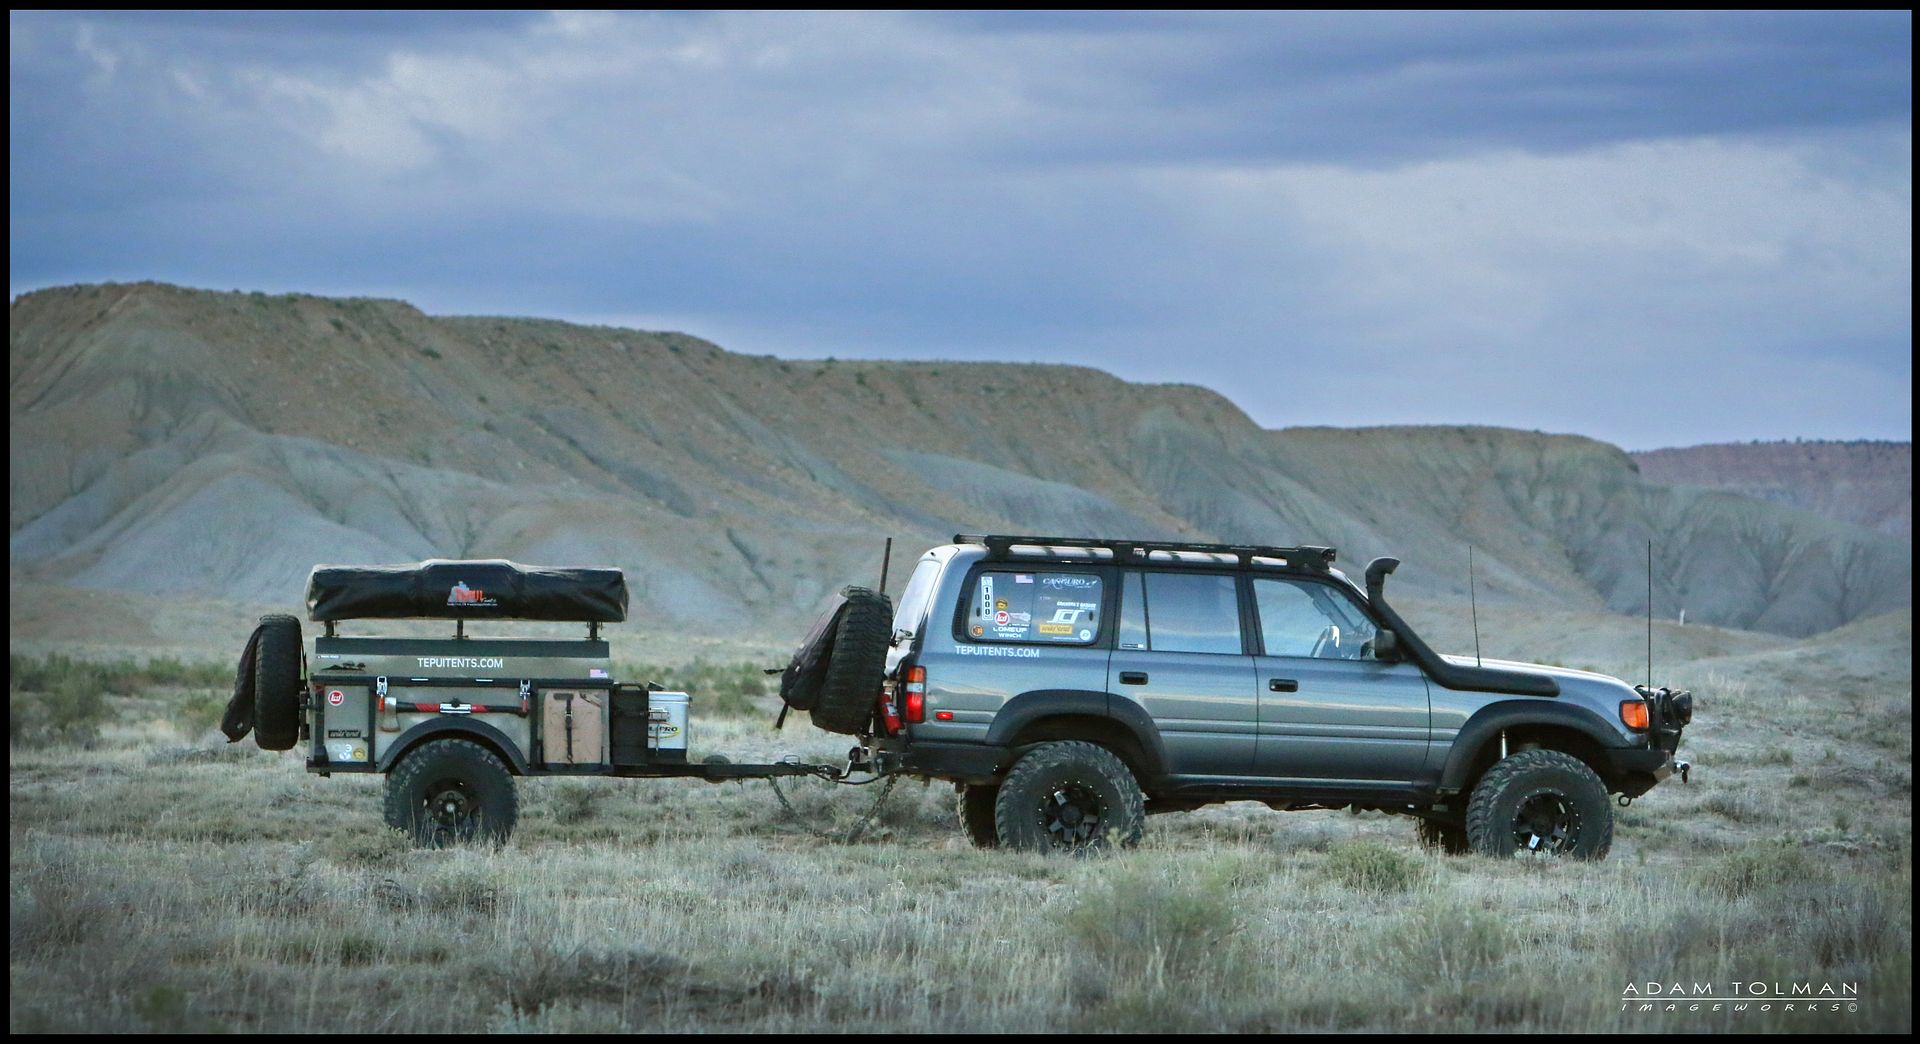
For anyone curious about the new suspension sagging with load, here's my truck fully loaded with fridge, 20lb CO2, full tools and spare parts including a rear 3rd and axle shafts. Pulling the trailer with more camping gear and all the old suspension as well as my Tepui display stuff. Still sitting very level.

Box Rocket
Well-known member
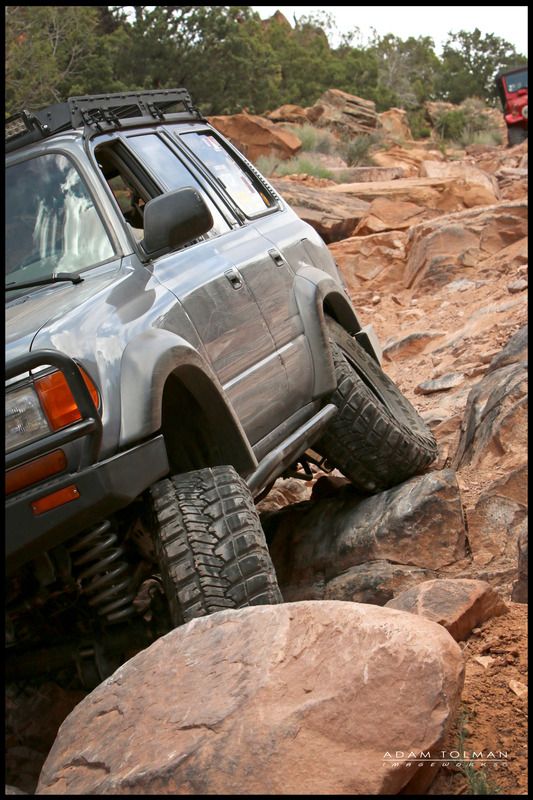
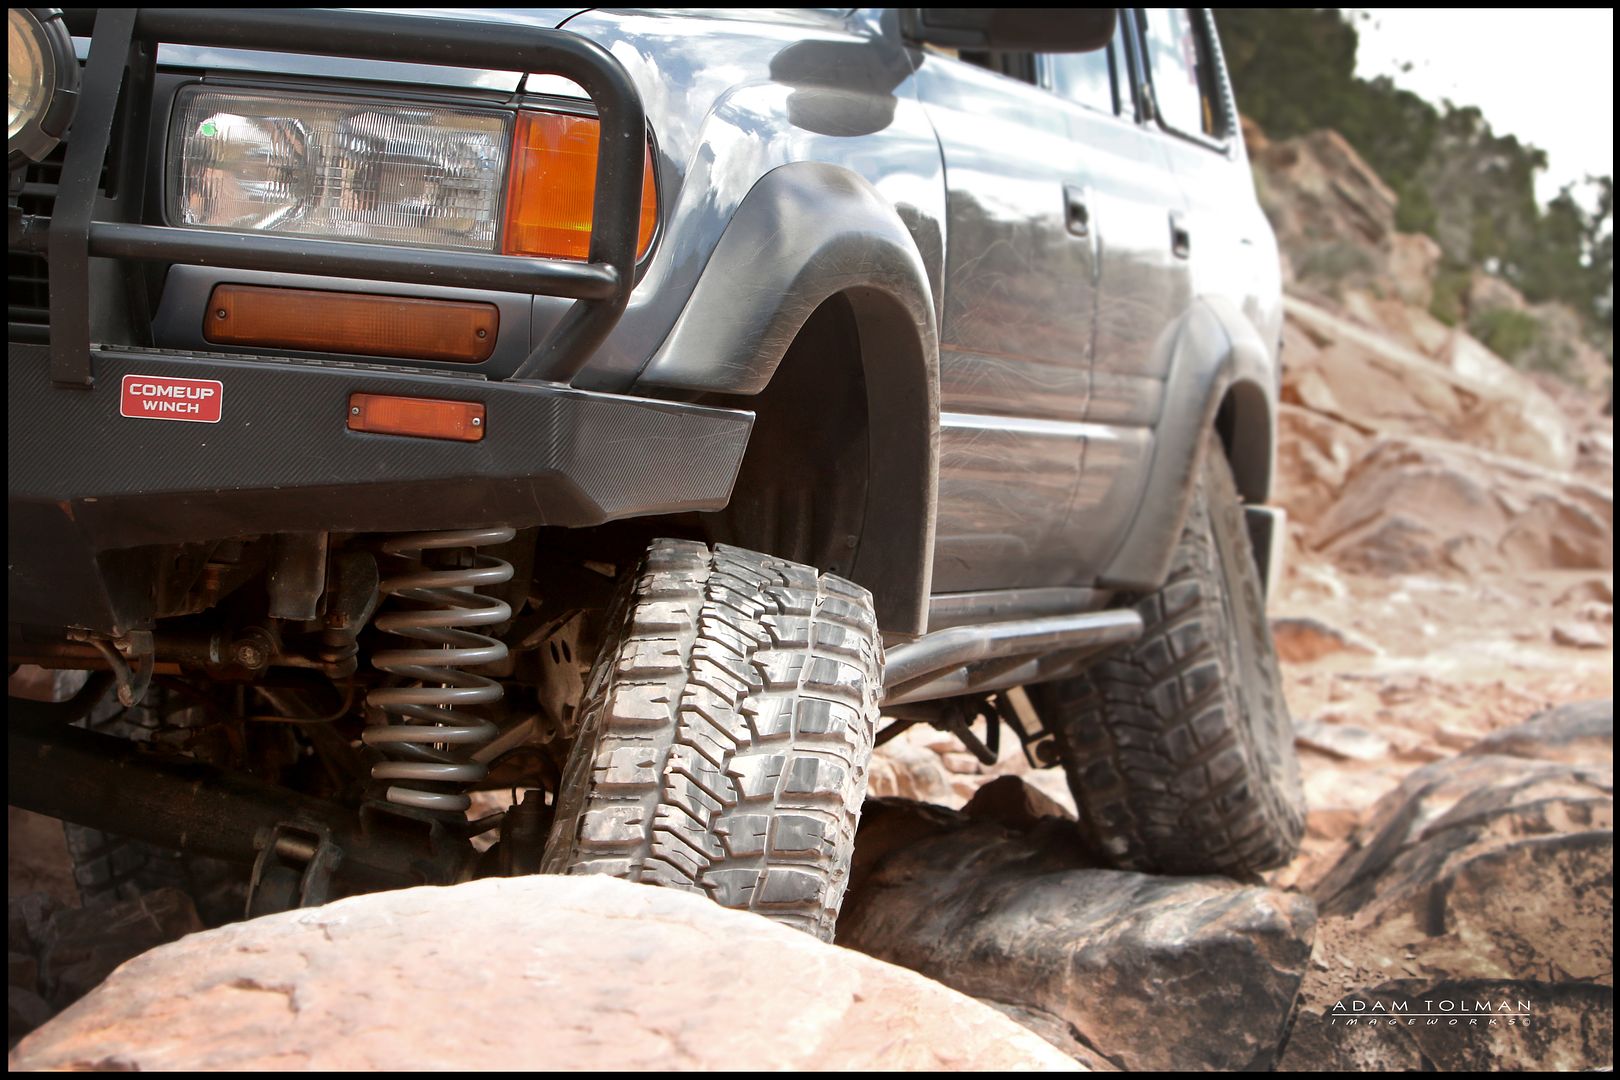
Now we need the crazy flex update photos")
haha. I will work on getting more, but this is the best I've got at the moment.

.

bamaexplorer
Observer
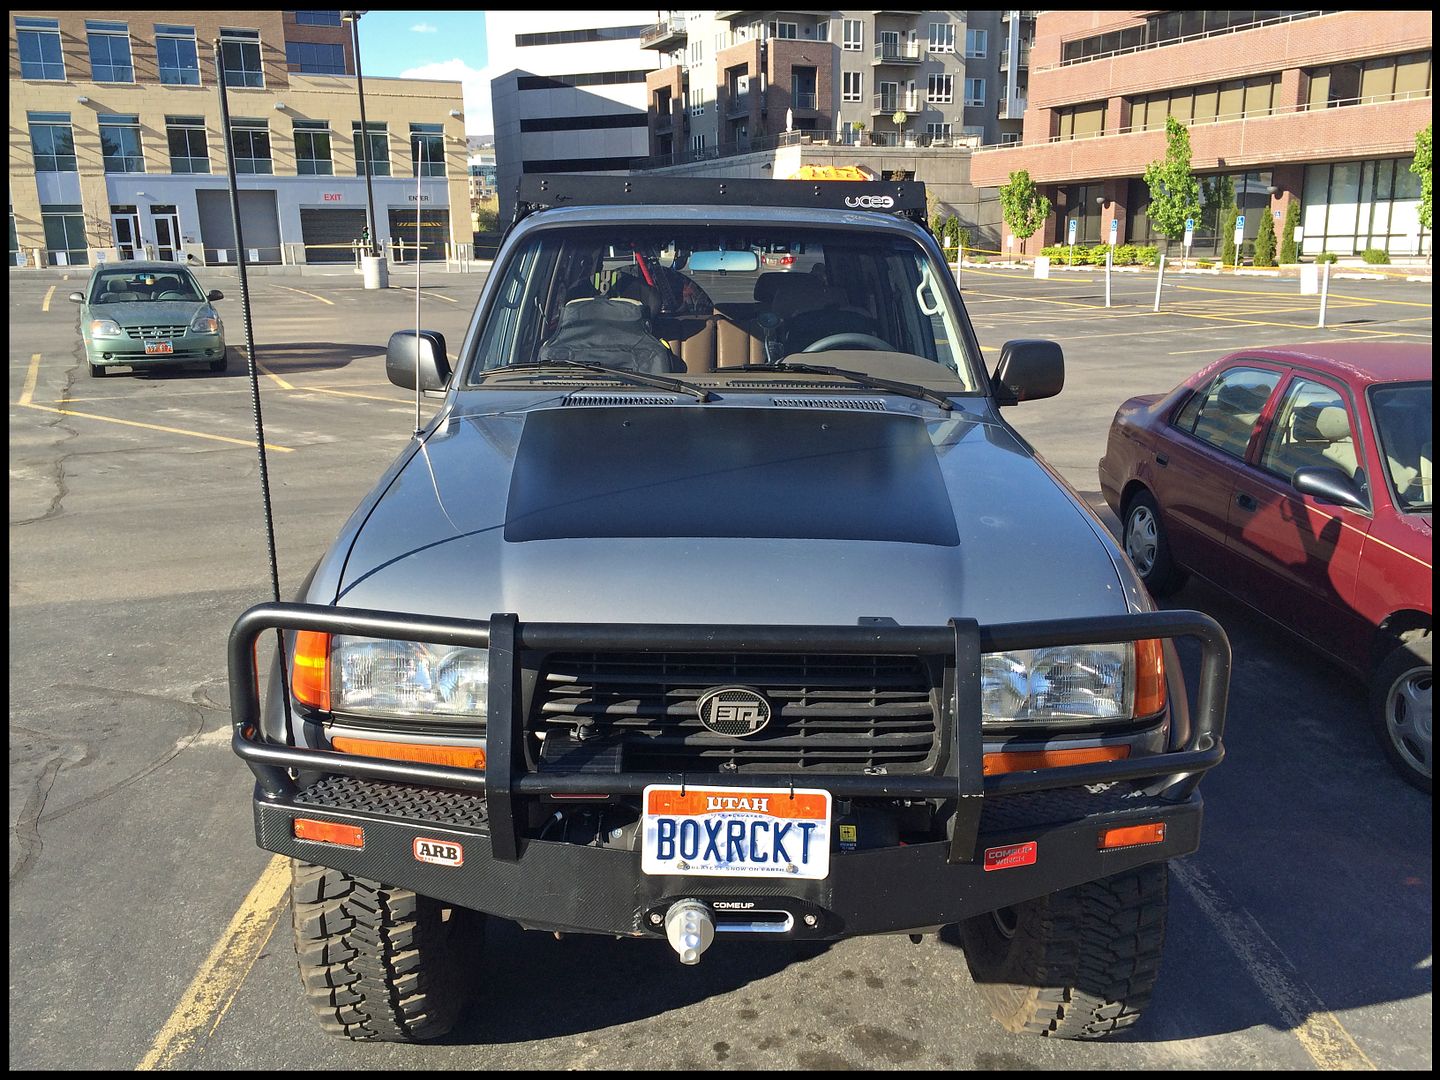
I'm still waiting for a full repaint of my peeling hood. In the meantime, I sprayed the center with Plastidip a couple weeks ago. Without a good quality sprayer it's tough to get a good finish with plastidip. I peeled it off and did a little more permanent job with some Rustoleum Satin Black. Looks much better, than the plastidip and the badly peeling clearcoat. Eventually the hood or possible the whole truck will get repainted.

Was that rustoleum spray paint in satin black. Ive got a spot like that i have to cover. Tryed Plastidip. Hated the way it came out.
Box Rocket
Well-known member
Was that rustoleum spray paint in satin black. Ive got a spot like that i have to cover. Tryed Plastidip. Hated the way it came out.
Yes, Rustoleum Satin Black. Plasti-dip will look like trash on a large area like this if you're using the rattle cans. The only way to get plasti-dip to look ok on a large area is to use a real spray gun.
haha. I will work on getting more, but this is the best I've got at the moment.
.
Jeez...
And you say it gives a lower COG, that is win win.
Last edited: