87Warrior
GP'er
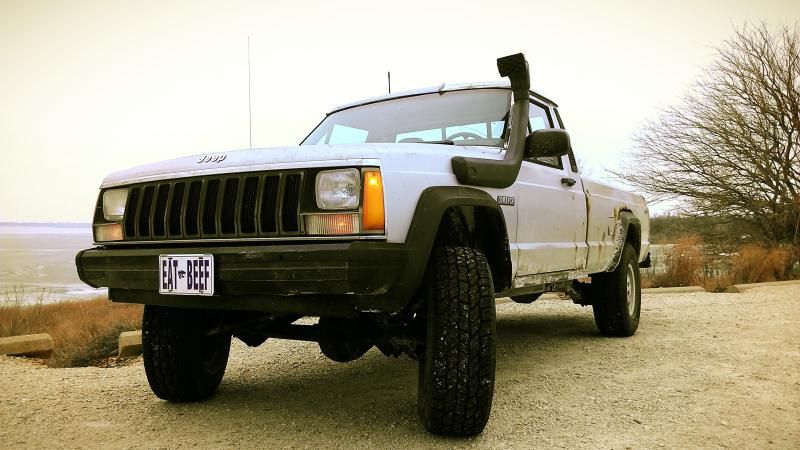
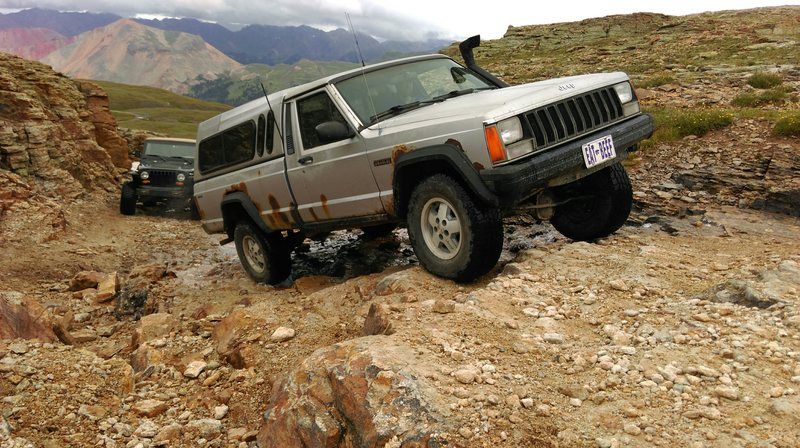
Welcome to the build thread, or write up if you will, of my 1986 Jeep Comanche Custom. When I drove half way through Iowa on December 3rd, 2011 to take a look at this “destined for scrap” truck, I never imagined I would be here, at Expedition Portal creating a post for it. The poor truck had been sitting, untouched since 2004 and was sporting a completely mismatched set of wheels with flat tires. There was a transmission and transfercase sitting in the bed, the faded blue interior had that putrid moldy fabric smell and it was clear the truck was doing it’s Jeeply duty by rusting away.
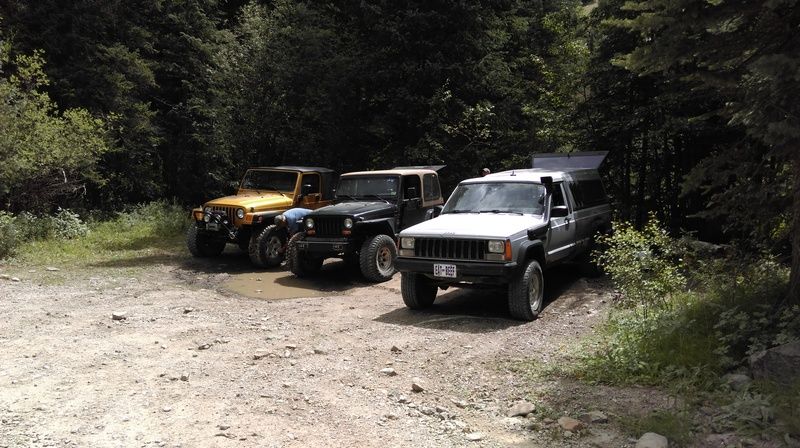
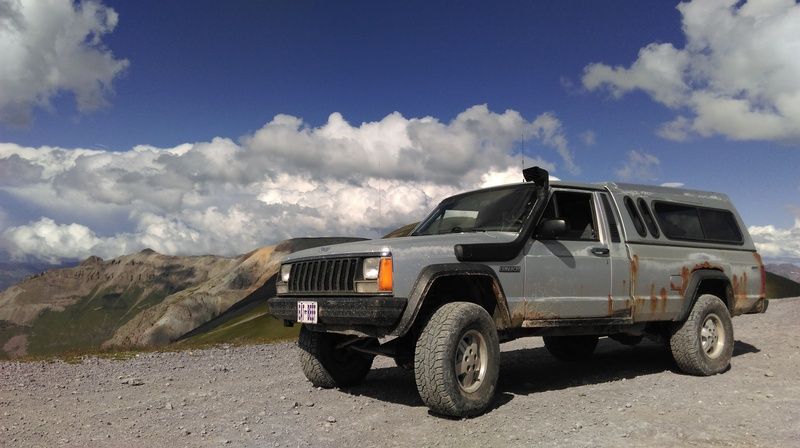
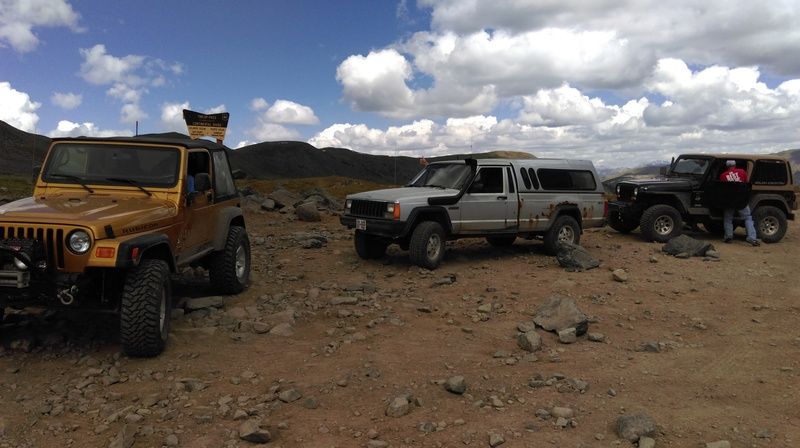
This is what I brought home:
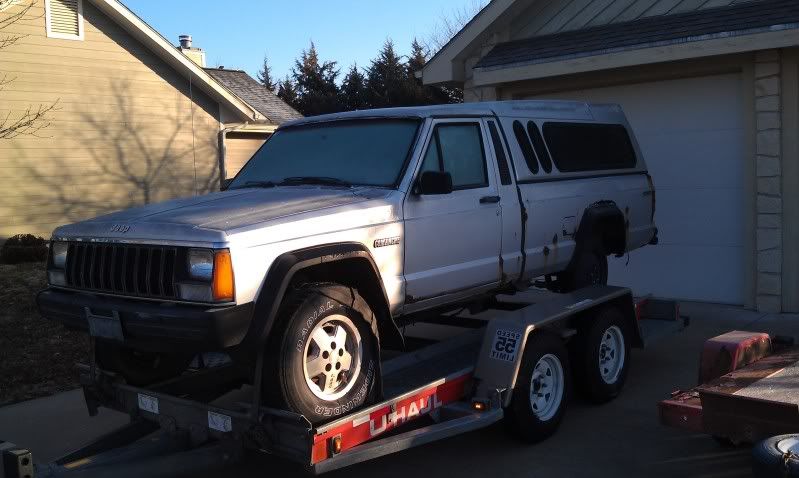
You might be asking yourself why anybody would waste a day driving 14 hours to retrieve a rusty Jeep. Sometime I ask myself that same question. The truck was advertised as having a solid frame and good long bed cap, which to my surprise, it did. What I paid for the entire truck is usually the going rate for a hard to find long bed cap.
What exactly did this truck come with?
The truck now sports the following
Engine:
Transmission:
Front Axle:
Rear Axle:
Suspension:
Body:
Tires:
Interior:
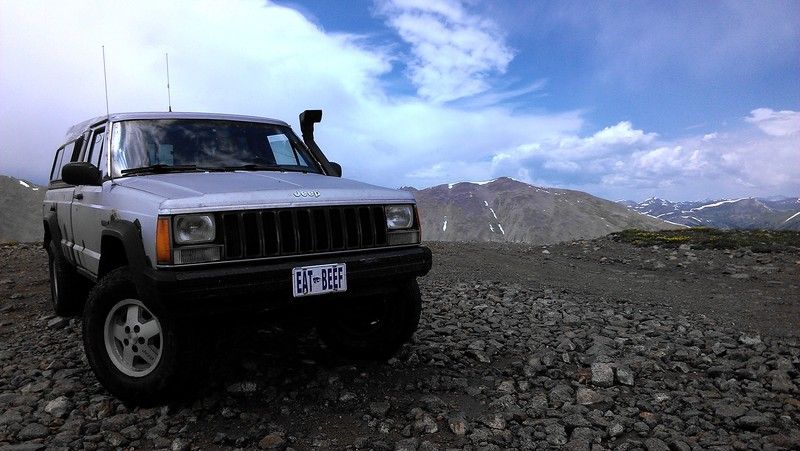
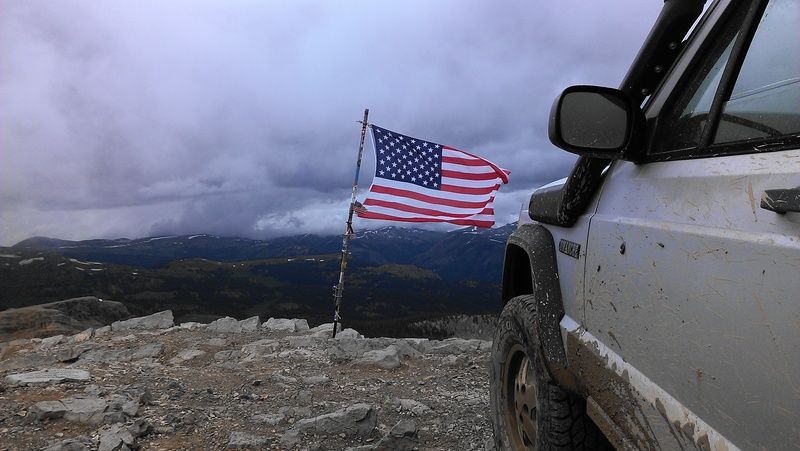
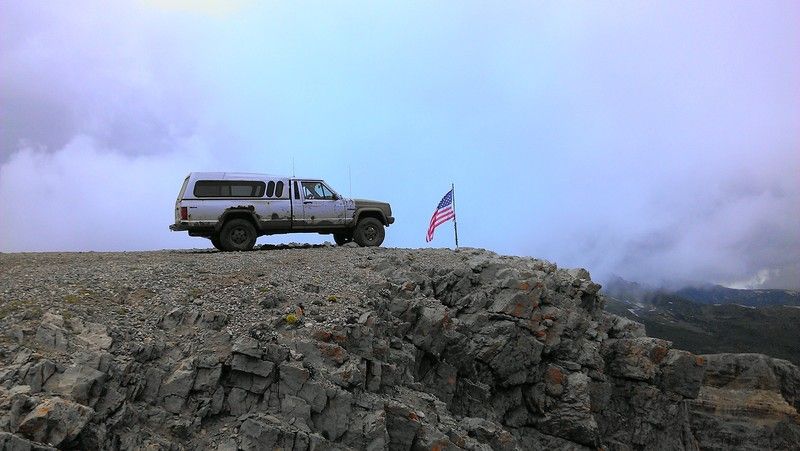
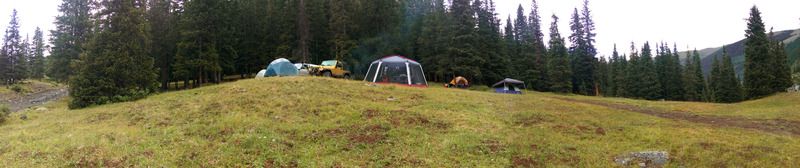
I am sure you are thinking ‘big deal’ at this point. Afterall, what does this have to do with expedition or adventure travel? That is why I am here at Expo. The truck maybe ugly, but it is rock solid, extremely comfortable and is a great base to start experimenting with overland gear. Let me explain. I am also building a 1992 Comanche from the ground up. It is a dream of mine to drive the ‘92 to and through Alaska, taking as much dirt as possible. This ‘86 will be used as a test mule for overland gear in an effort to fine tune it and find weaknesses before the big trip. Any and all projects devoted to surviving off the grid will need to be removeable and able to be installed on the ‘92 with minimal effort.
My intention is to equip the truck with basic overland gear, starting with the truck cap. It needs new struts, gaskets and seals. The cap will be topped off with LED lights: interior, porch, and yard. Powering the lights will be a single house battery charged via solar and possibly the $50 Isolator. I would like to develop light weight gear storage solutions in the bed of the truck and explore sleeping options under the cap.
This is what I brought home:
You might be asking yourself why anybody would waste a day driving 14 hours to retrieve a rusty Jeep. Sometime I ask myself that same question. The truck was advertised as having a solid frame and good long bed cap, which to my surprise, it did. What I paid for the entire truck is usually the going rate for a hard to find long bed cap.
What exactly did this truck come with?
- 2.5L throttle body injection, 165K miles
- Dana 30 front axle, 3.55 gears with CAD
- Dana 35 rear axle, 3.55 gears
- AX5 transmission I believe this was sourced from a YJ due to the transfer case linkage setup
- NP207 transfer case
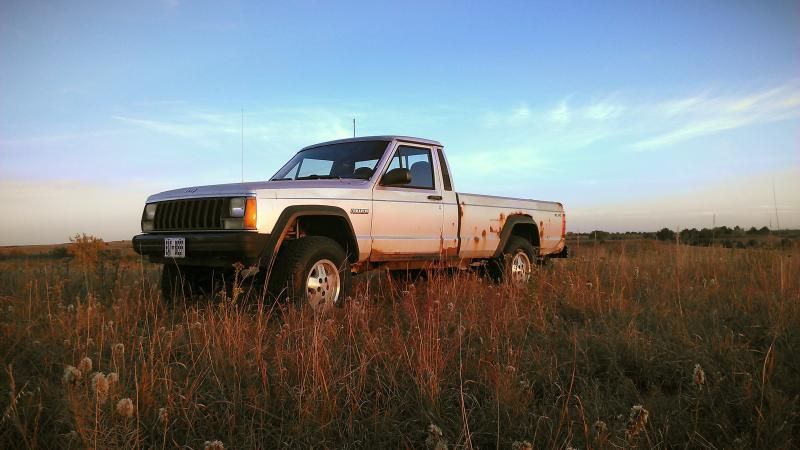
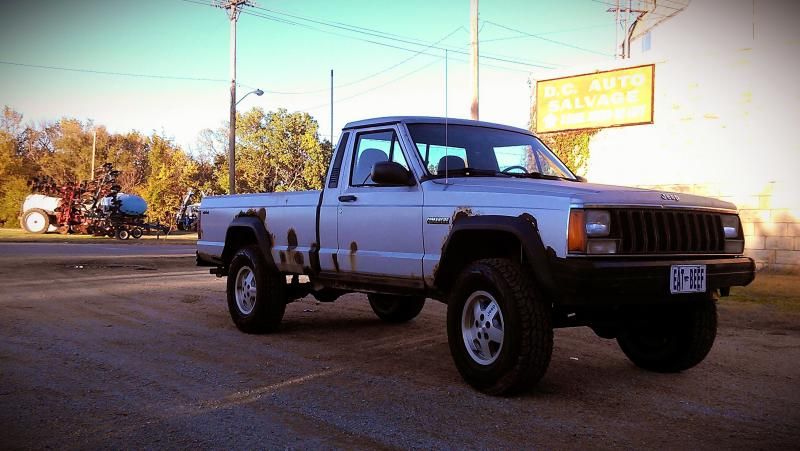
The truck now sports the following
Engine:
Stock 2.5L with aluminum valve cover swap, EGR elimination, rerouted and rebuilt vacuum lines
New radiator, Mopar thermostat, radiator hoses, heater hoses, Oxygen sensor, IAT sensor and Crankshaft position sensor.
New radiator, Mopar thermostat, radiator hoses, heater hoses, Oxygen sensor, IAT sensor and Crankshaft position sensor.
Transmission:
YJ AX5 with resurfaced flywheel (the 2.5 does not have a curved surface like the 4.0), LUK clutch, 94 XJ external slave cylinder bellhousing, Mopar release bearing, with a NAPA master cylinder.
Front Axle:
1993 Dana 30, 4.10 gears rebuilt with Spicer ball joints, NAPA wheel bearings, new rotors/calipers/pads, Chevy 1500 brake lines and new V8 ZJ tie rod and draglink.
Rear Axle:
1998 Ford Explorer 8.8, 4.10 gears and limited slip with RuffStuff swap kit, NAPA rotor, loaded Centric caliper, Dorman brake lines, SpiderTrax wheel spacer and a Spicer companion flange.
Suspension:
The front suspension utilizes the factory control arms with new Moog bushings, a set of used RE 3.5” TJ coil springs, Monroe YJ shocks, JKS swaybar disconnects and a used RE 1600 trackbar with Moog tie rod end at the frame.
The rear suspension maintains the factory leaf springs that have been rebuilt with an extra MJ main leaf, Bilstein 5125 shocks and Chevy drop shackles.
The rear suspension maintains the factory leaf springs that have been rebuilt with an extra MJ main leaf, Bilstein 5125 shocks and Chevy drop shackles.
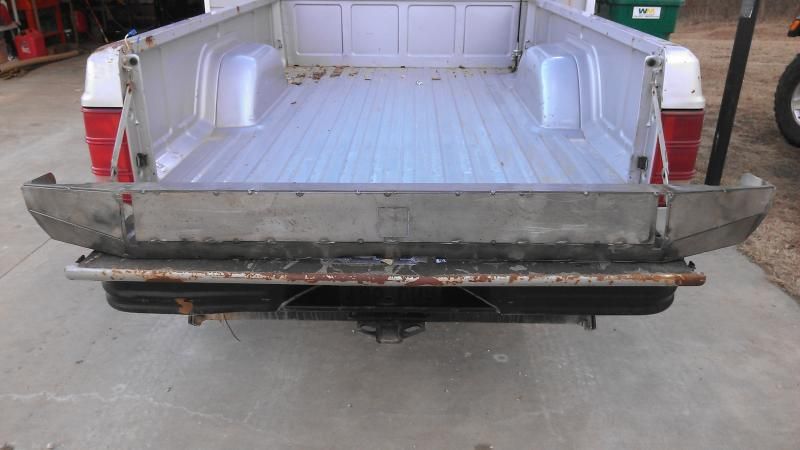
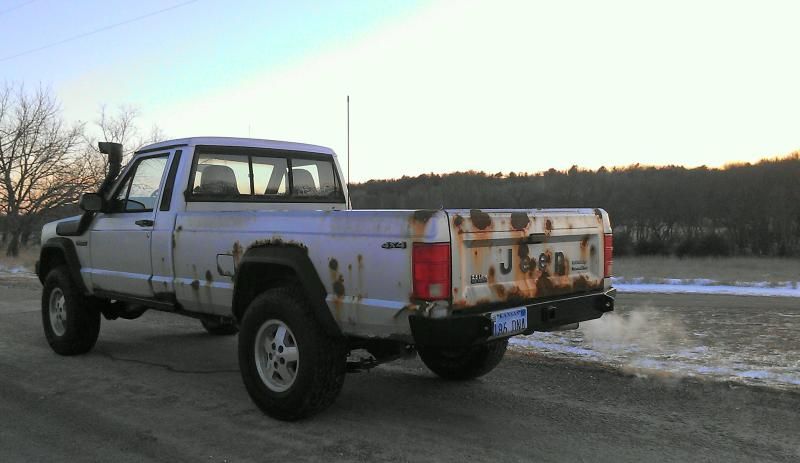
Body:
The rockers were disappearing due to rust so they were replaced with ¼” 2x4 box. I installed a Fey rear bumper and a Valley 2” hitch.
Tires:
Cooper Discoverer AT3, 265/75R15 on stock Jeep wheels
Interior:
Since the interior of the truck was subpar, I removed the failing bench seat and carpet then replaced them with a set of seats and center console from a 1999 XJ.
I am sure you are thinking ‘big deal’ at this point. Afterall, what does this have to do with expedition or adventure travel? That is why I am here at Expo. The truck maybe ugly, but it is rock solid, extremely comfortable and is a great base to start experimenting with overland gear. Let me explain. I am also building a 1992 Comanche from the ground up. It is a dream of mine to drive the ‘92 to and through Alaska, taking as much dirt as possible. This ‘86 will be used as a test mule for overland gear in an effort to fine tune it and find weaknesses before the big trip. Any and all projects devoted to surviving off the grid will need to be removeable and able to be installed on the ‘92 with minimal effort.
My intention is to equip the truck with basic overland gear, starting with the truck cap. It needs new struts, gaskets and seals. The cap will be topped off with LED lights: interior, porch, and yard. Powering the lights will be a single house battery charged via solar and possibly the $50 Isolator. I would like to develop light weight gear storage solutions in the bed of the truck and explore sleeping options under the cap.
Last edited:
")