2003 Mitsubushi FG Overland Camper Renovation

PaulJensen

Custom Builder
12

P1100843.JPG

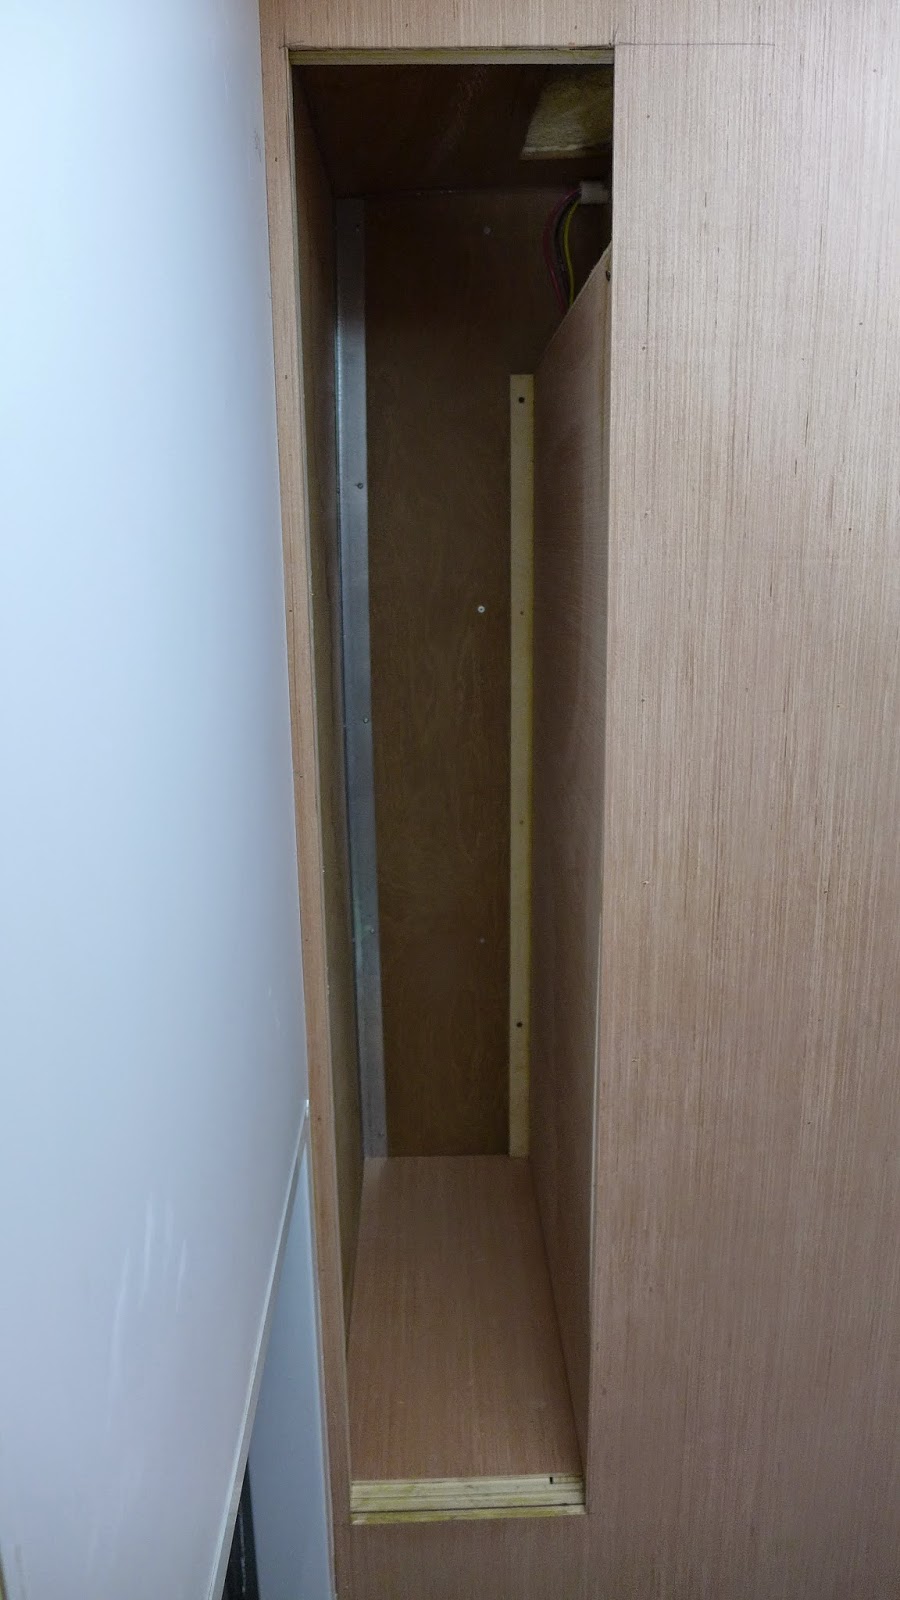
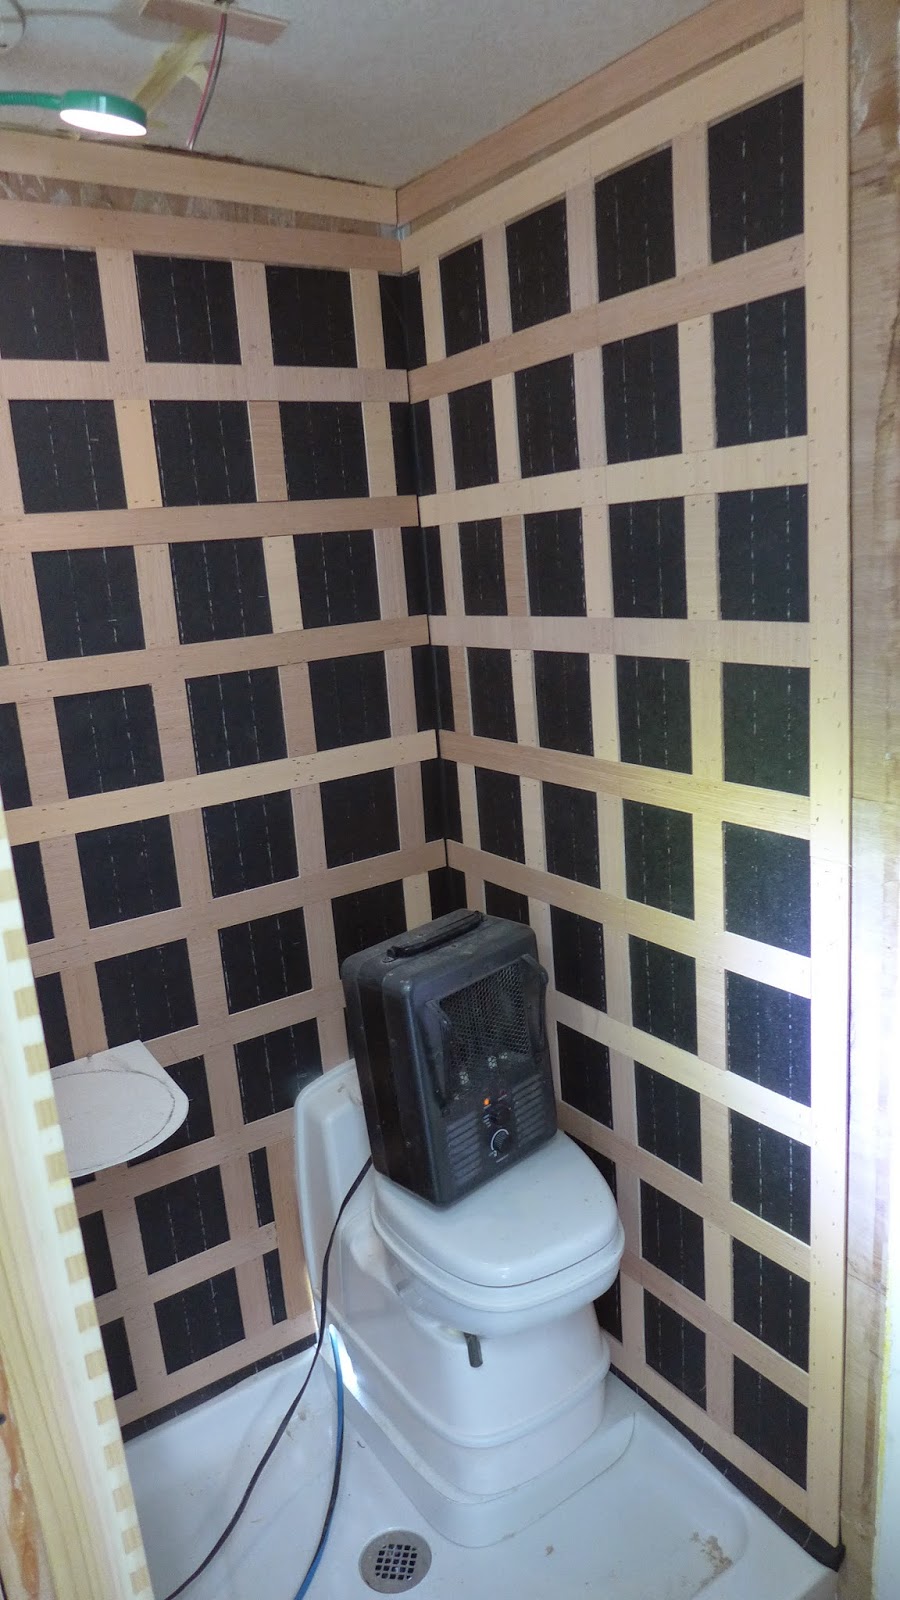
(above) Behind the shower, a narrow cabinet...

P1100842.JPG

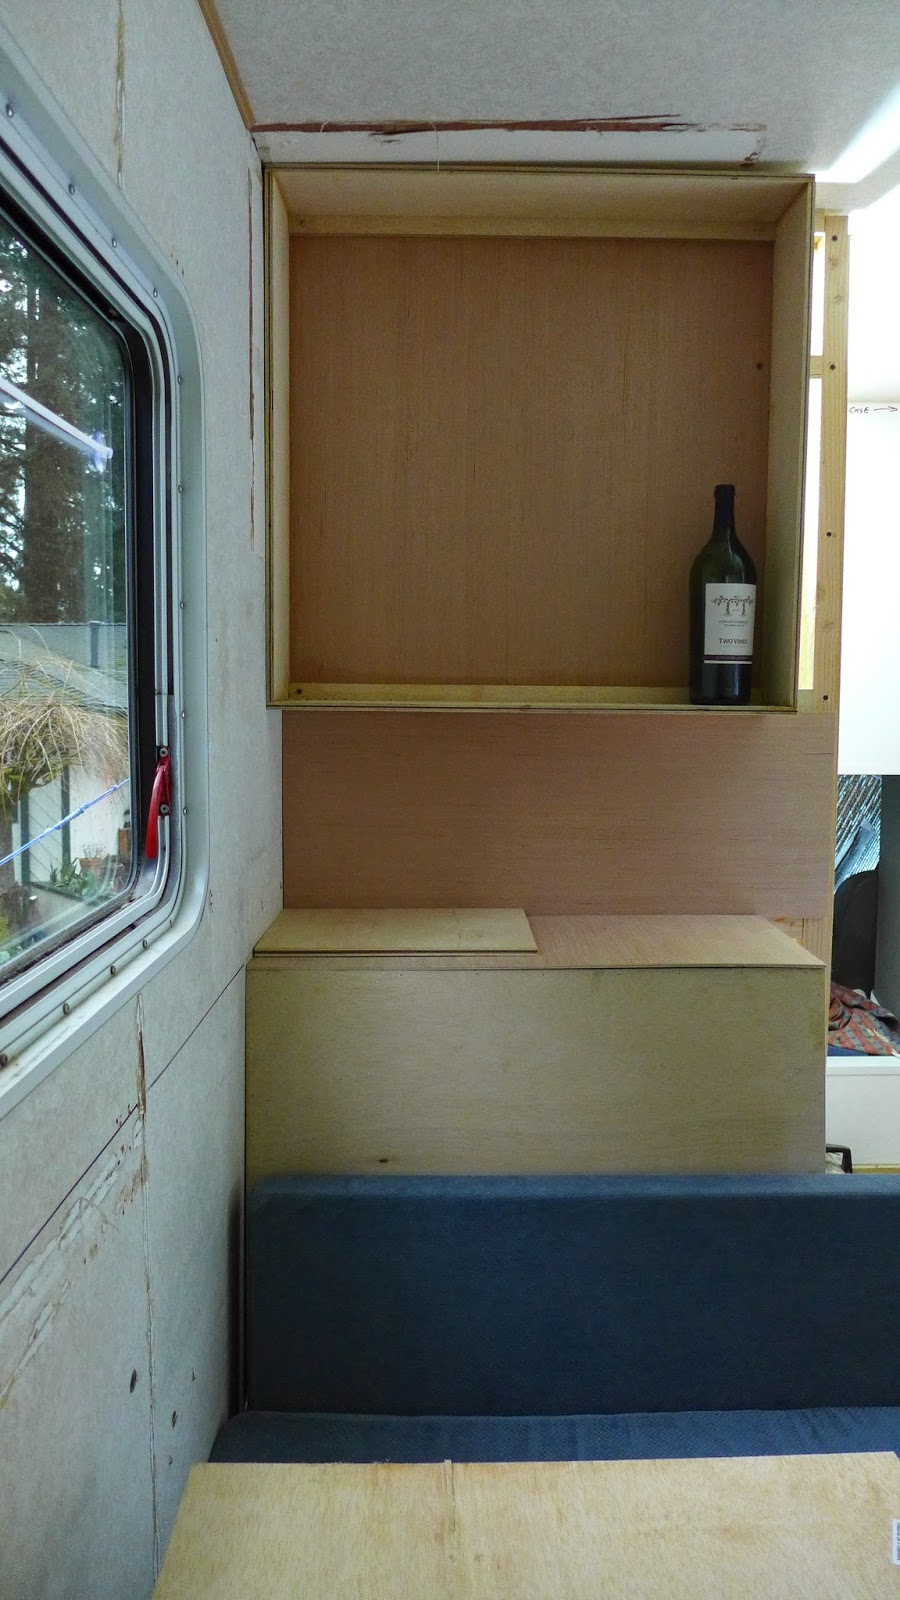
(above) Ken casually mentioned that a wine storage area would be nice...There you have it...

P1100836.JPG

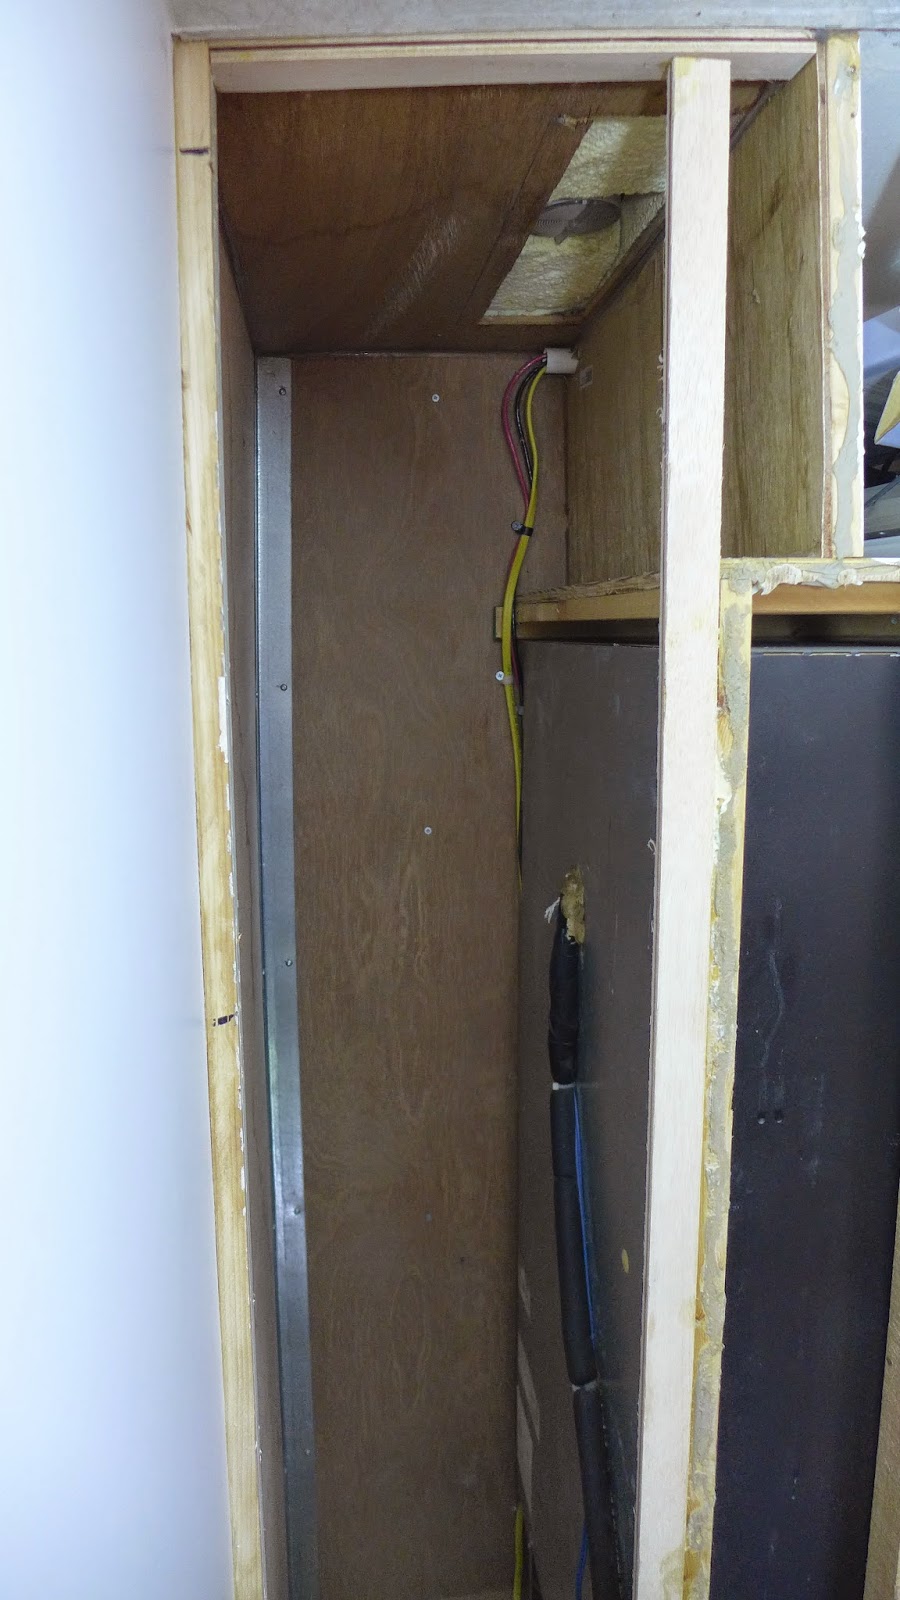
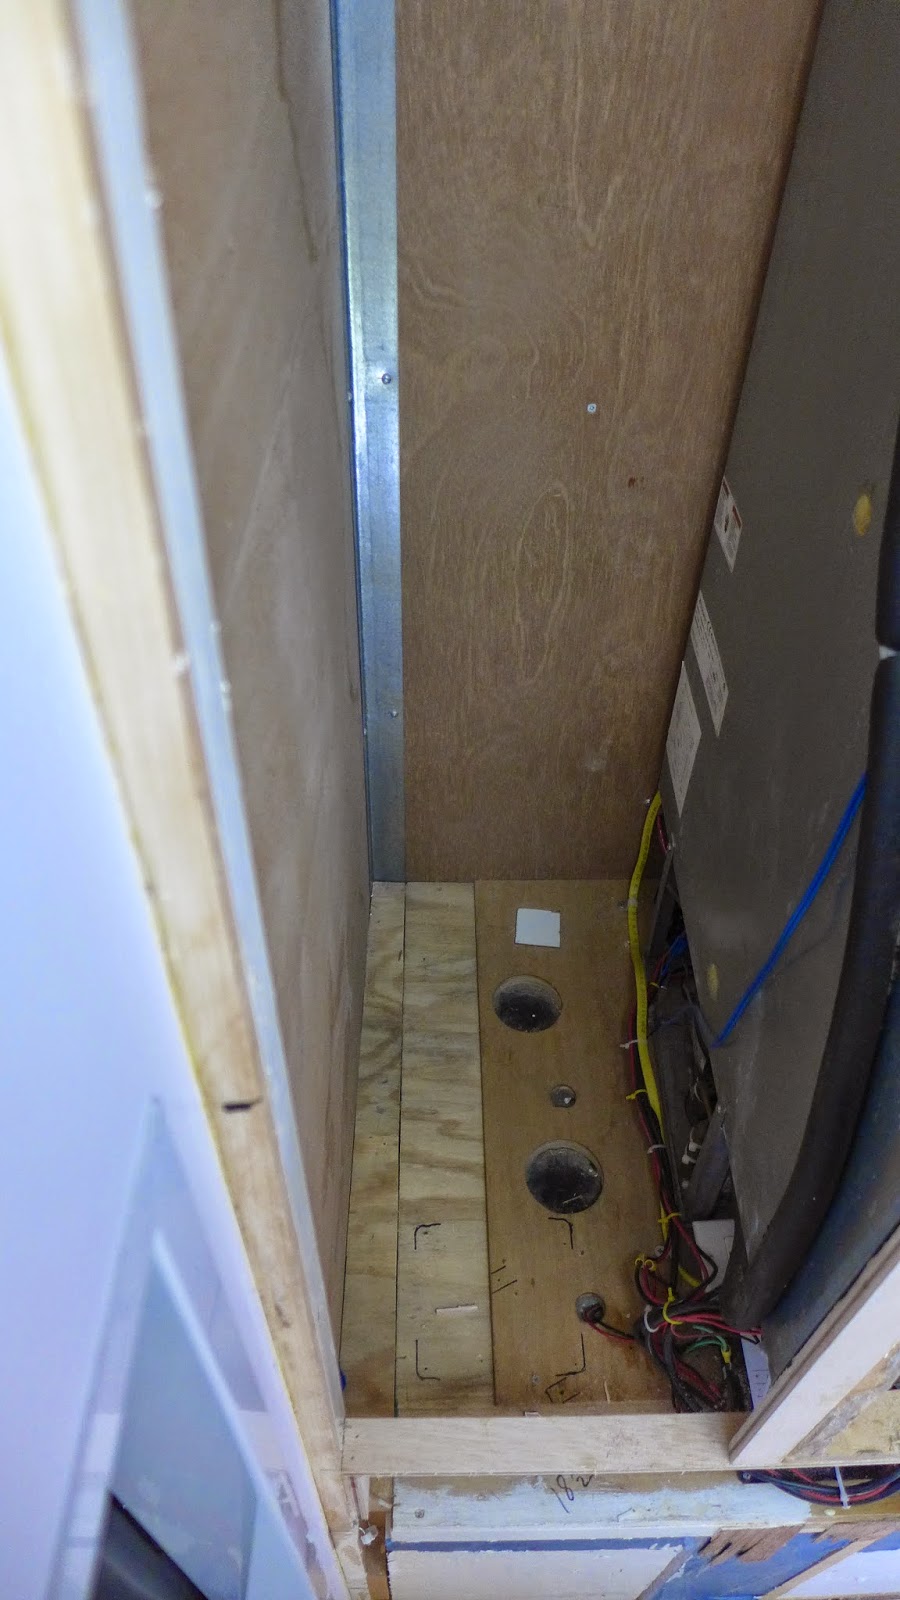
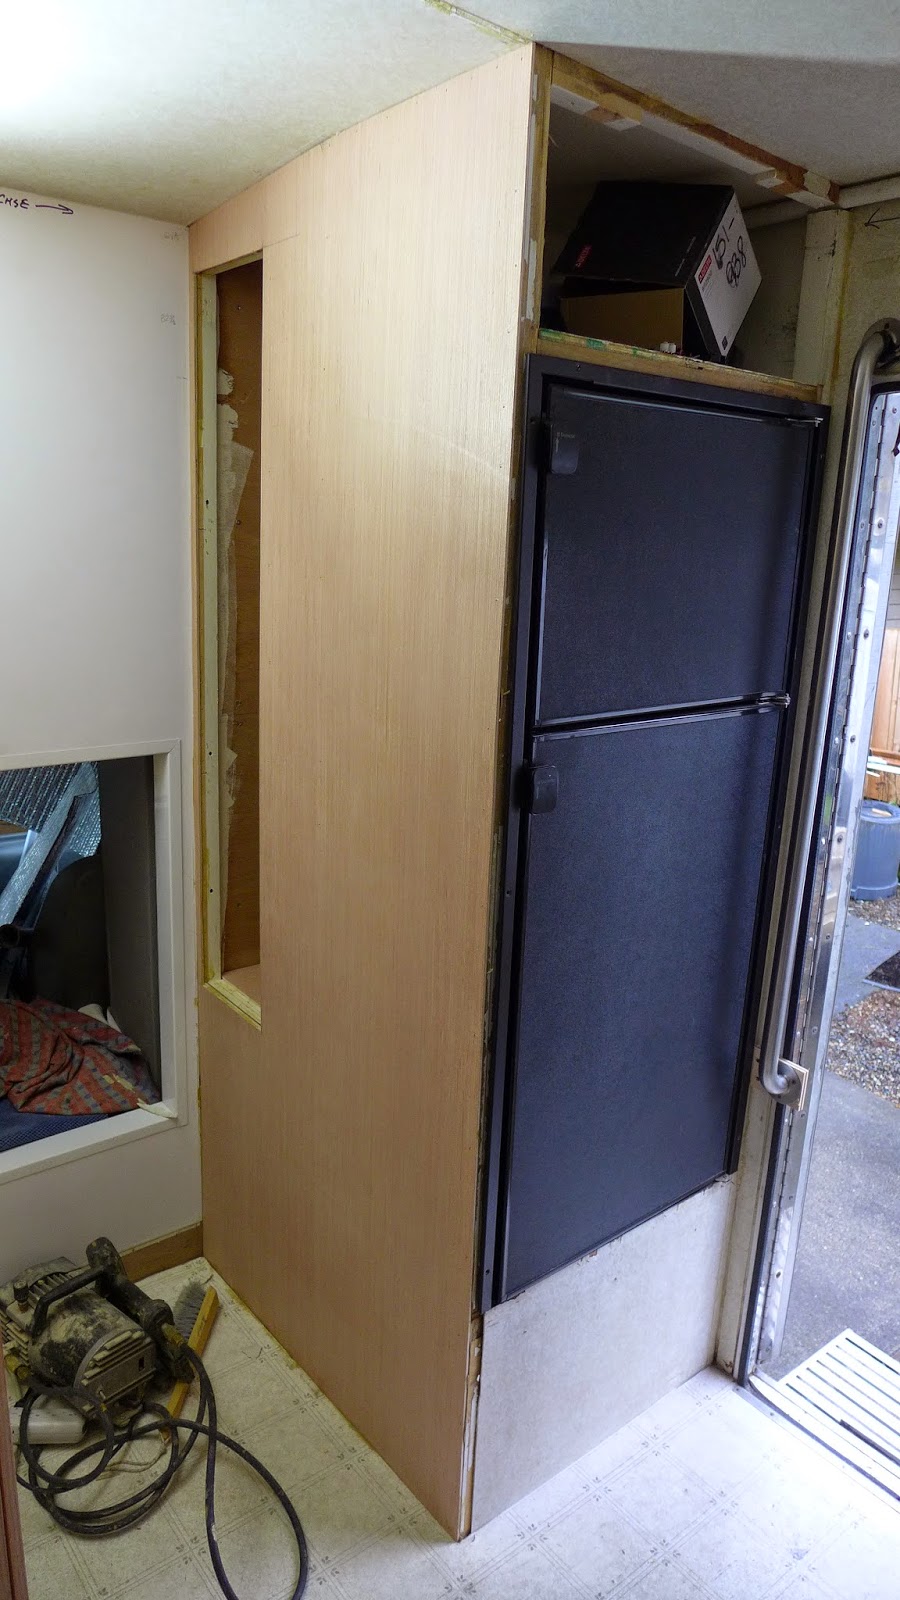
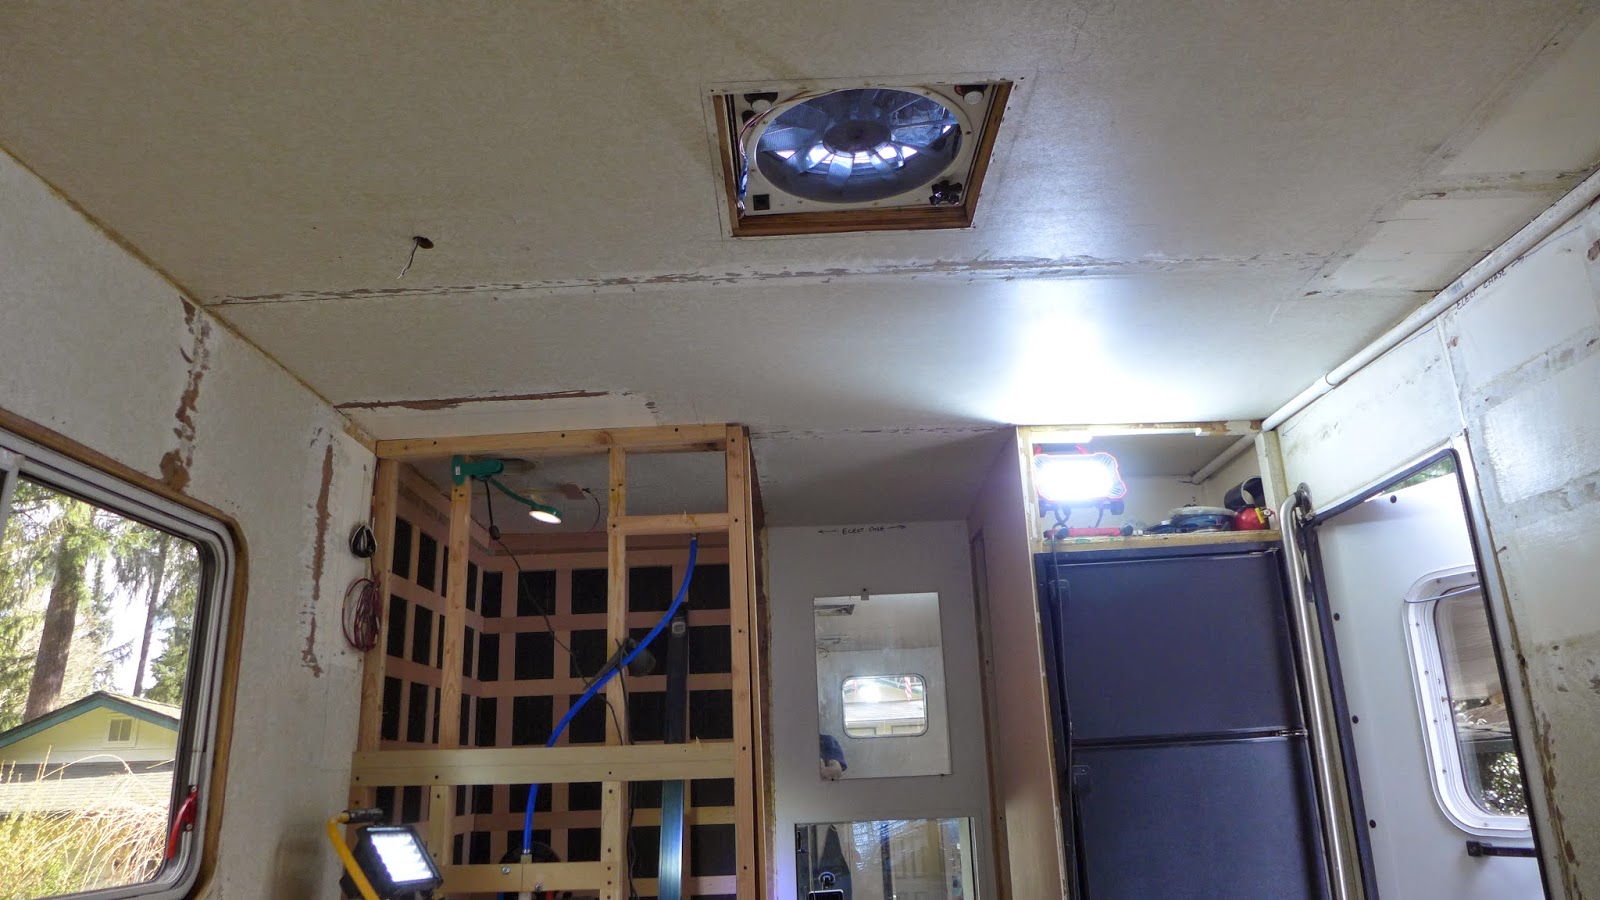
(above) Behind the refrigerator was unused space...

P1100837.JPG

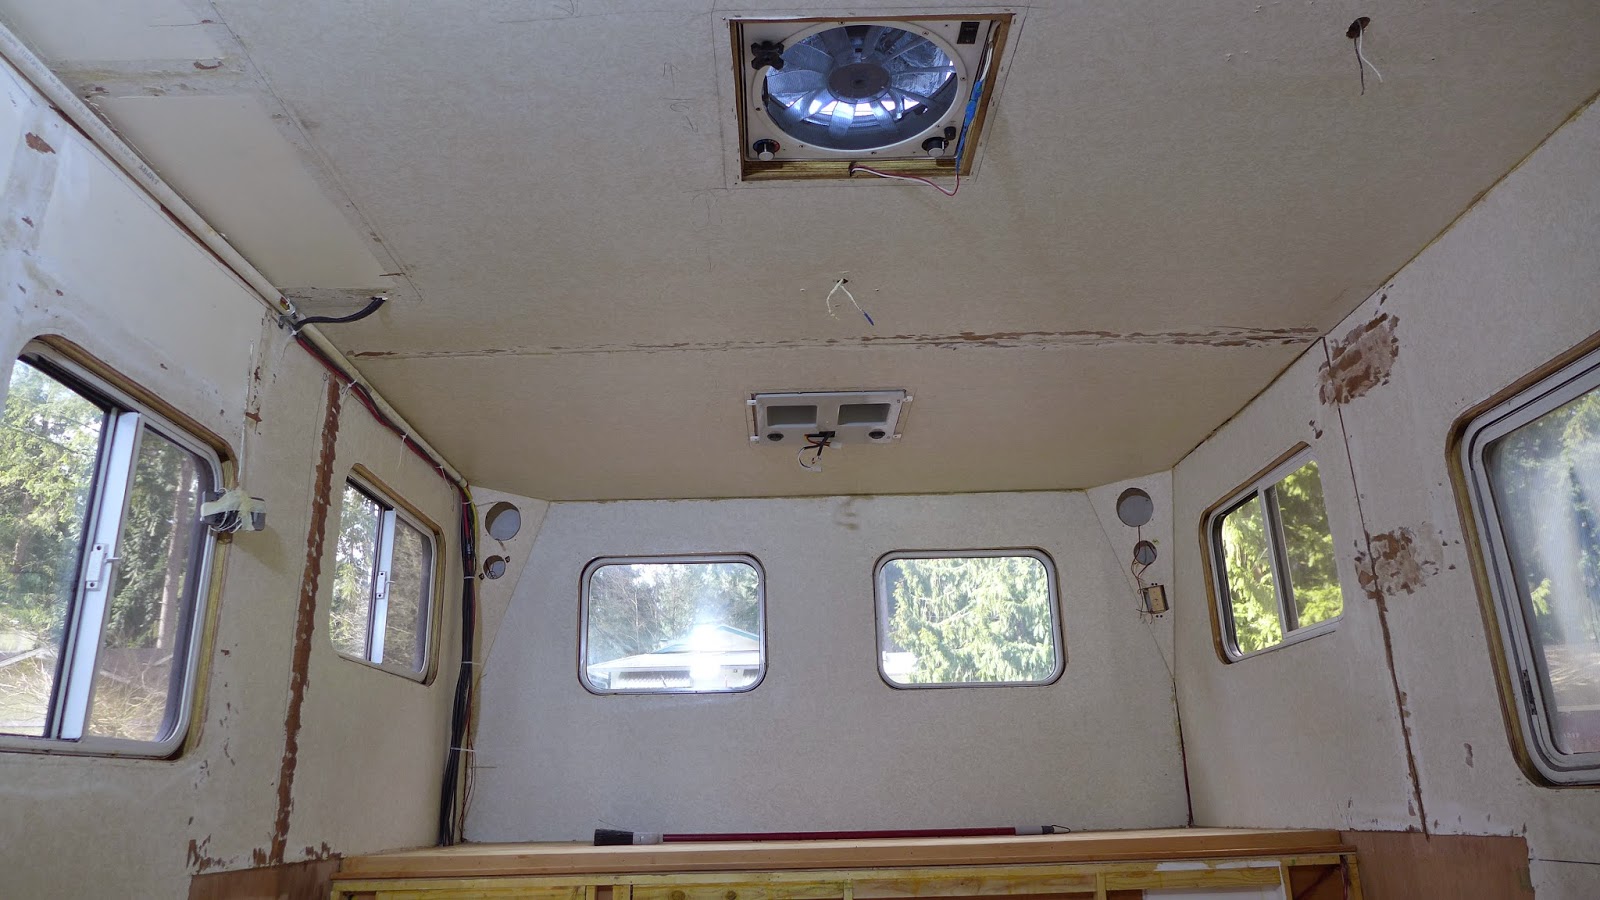
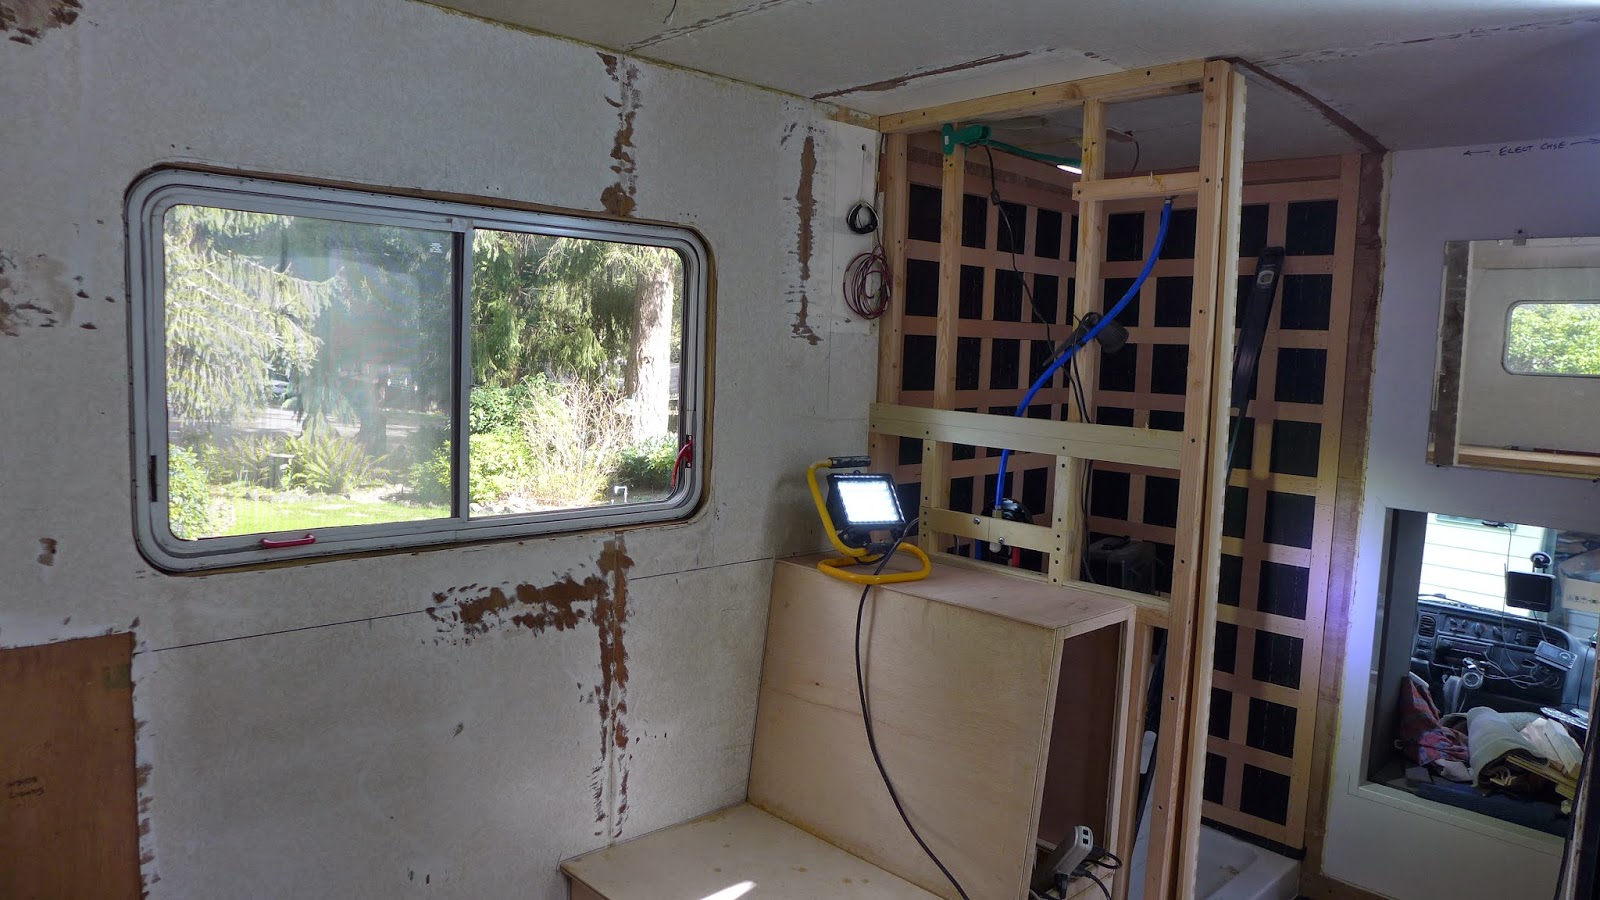
(above) With the rats nest of original electrical work now cleaned up, it has potential for either a clothes closet or pantry or both...

P1100838.JPG

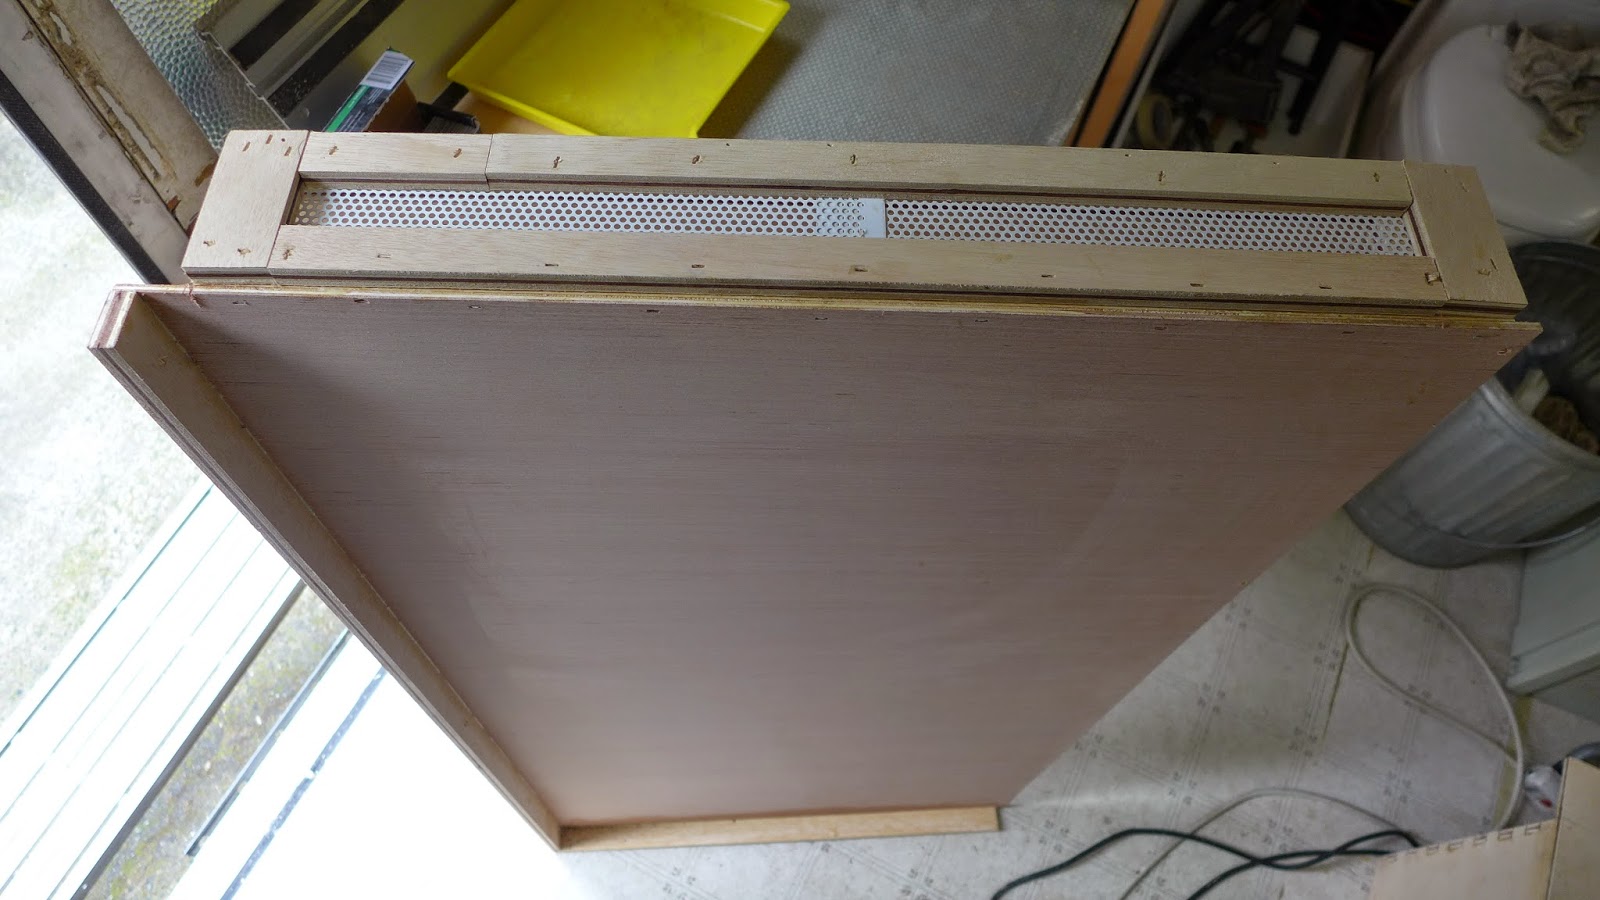
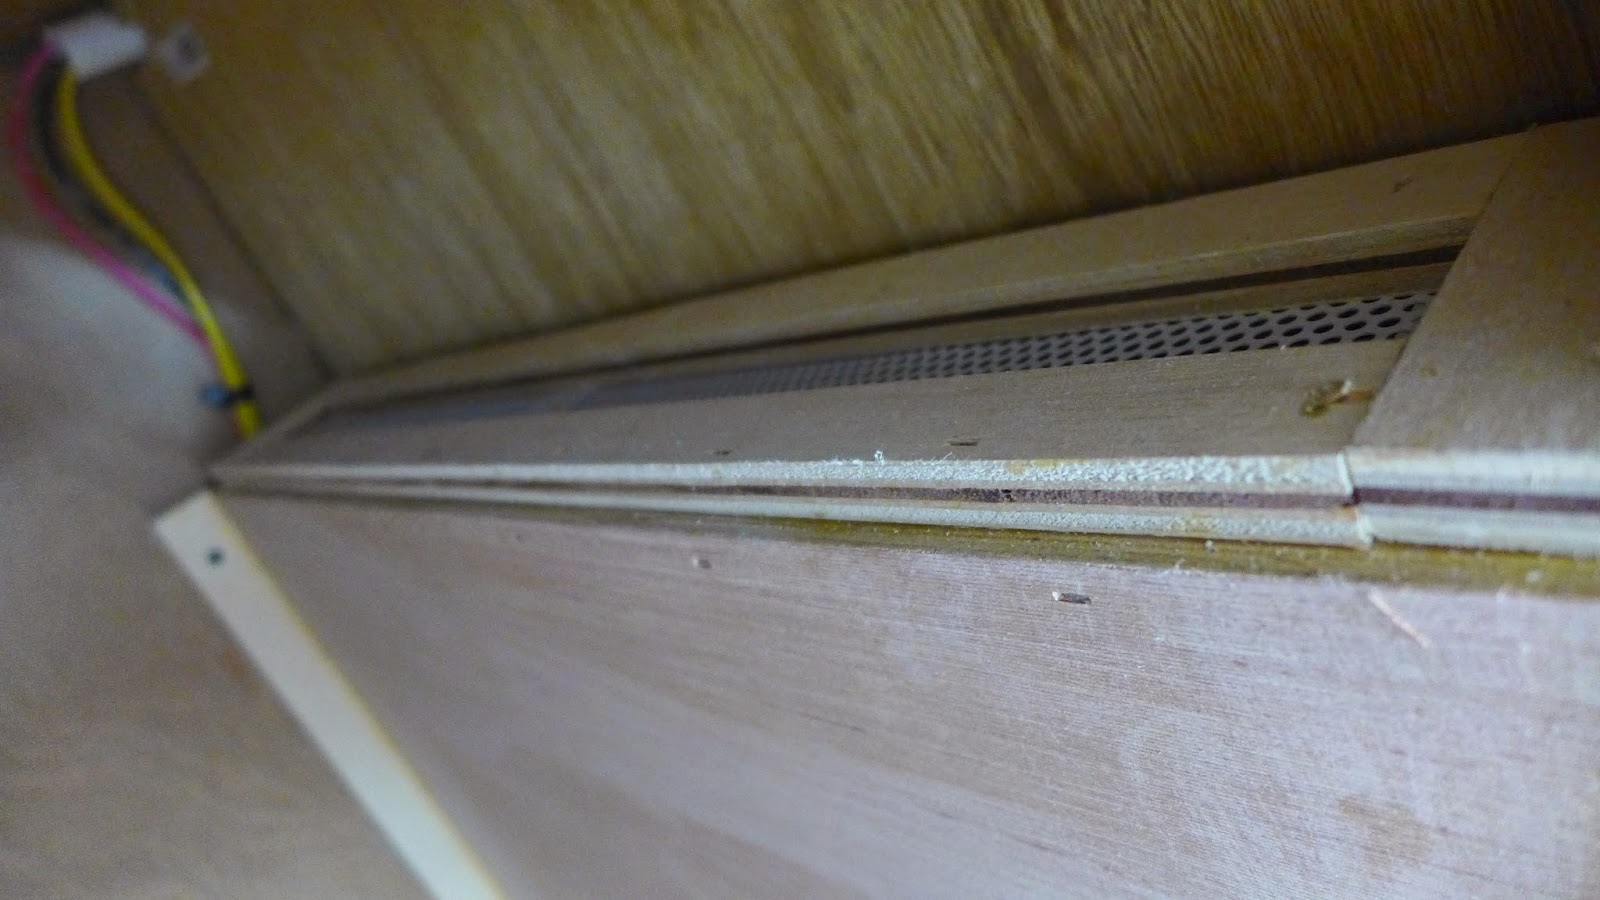
(above) A removable wall panel was built from 1/4" ply, and a vent system for fridge ventilation was added at the top...

P1100839.JPG

(above) 1/4" plywood was glued and nailed over the cabinet framing...

P1100840.JPG

(above) Panel installed, temporarily, and a removable bottom panel is dropped in place...

P1100841.JPG

(above) Stuck the camera in, up high to get this view of the venting...

P1100844.JPG

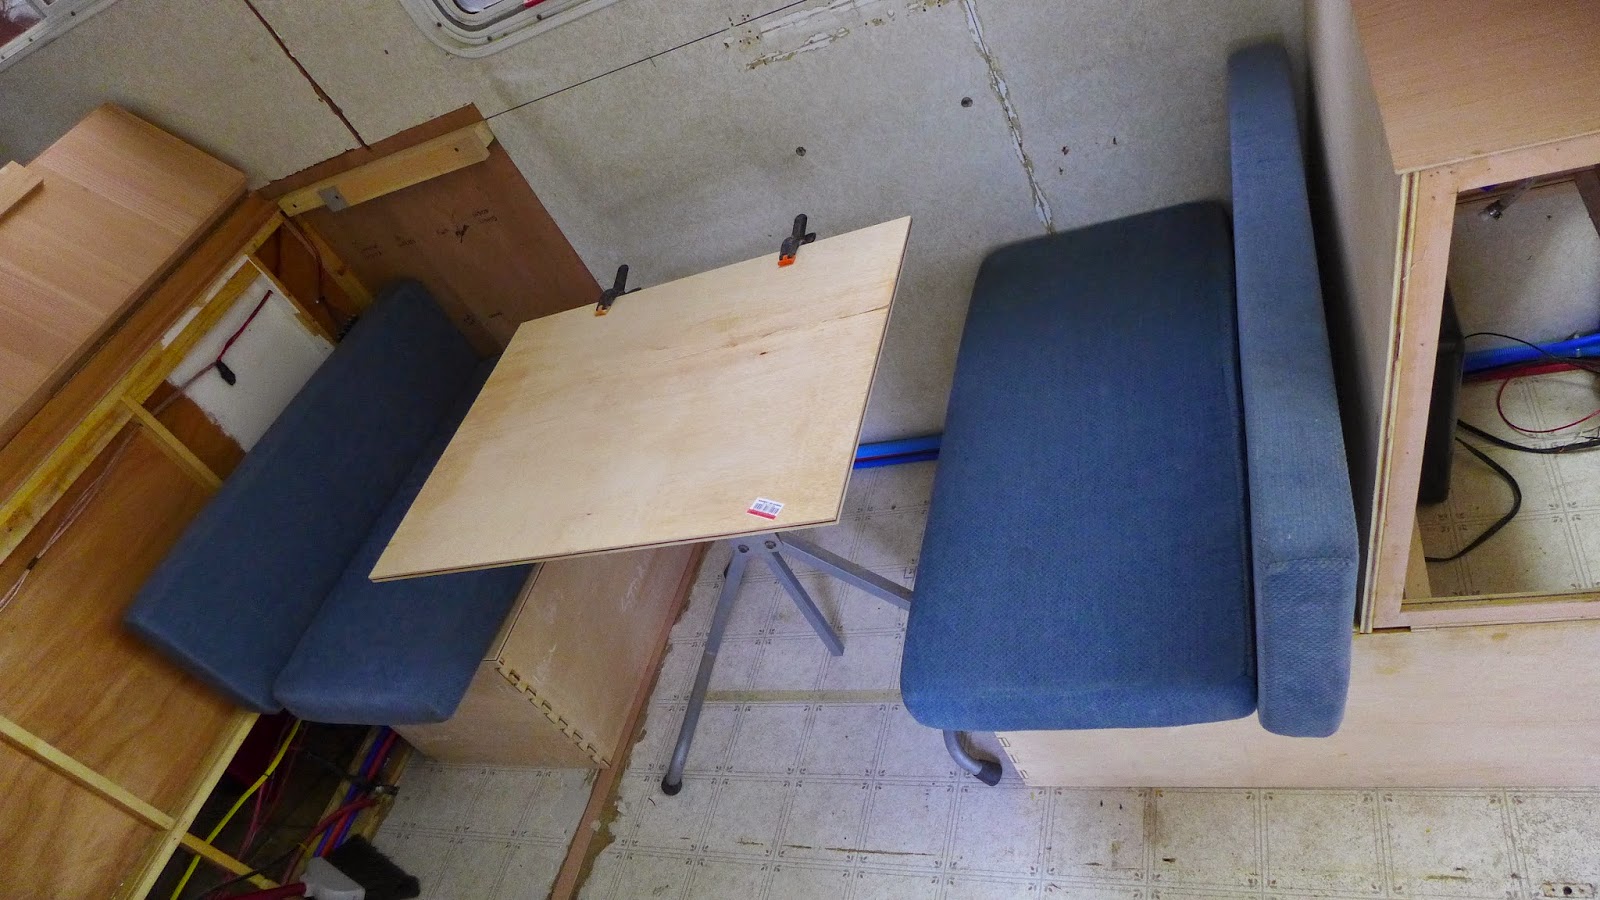
(above) The nosing on the bench seats was trimmed back to 1" and the rear seat moved forward a few inches...Still needs refinement...

Getting this basic cabinetry done really defines the space... Now the cabin can be evaluated for what gets stored where, and how those storage spaces are accessed...

Friday, Ken and Anne will be here and we will review the space and decide how their needs can best be built into the cabin...Looking forward to it...

This is back to being fun again...Plumbing and electrical, not as much...
 

GR8ADV

Explorer
Yes we are very much looking fwd to seeing it up close and personal.
.
Paul is building in some very nice features. Some of which go unnoticed. The previously unused space behind the fridge is now a closet to hang jackets, place bathroom towels and store shoes. Where to put that stuff seems simple, but in many designs there is nothing to account for the need and shoes/slippers/sandals end up scatted, and jackets end up laying over a chair, thrown on the bed, or hanging on a hook somewhere. I might have to get Paul a shirt that says "no space goes underutilized" .
.
Another piece from the previous design I am thankful we were able to keep is the small horizontal surface behind the seat on the shower wall. It is so simple yet has proven to be an outstanding flat surface to give things a temporary home. Most designs limit horizontal surfaces to the kitchen counter and the dining table which need to be cleared of clutter prior to using them for their intended purpose. Such a simple idea that goes a long way to the usefulness of the space.
 

dlh62c

Explorer
GR8ADV

I don't see a porch light on the exterior near the door. Do you plan to add one?
 
Last edited:

whatcharterboat

Supporting Sponsor, Overland Certified OC0018
Hi Paul

Looking good. Fridge vent is a great idea. Better if you can pull the air (hitting the fridge condenser) in from outside of the cabinet..... Maybe a vent low with a Flexi duct sealed onto the condensor ..... Then the condensor fan forces the ventilation through the cabinet. Far more efficient.

Hey... OT I know but I'm hoping to start a new hollow 9'2" in Paulownia soon. Looked at some of the stuff on your website... legendary. Love your work. If you ever get over for the Noosa Surfing Festival drop in and say hi.

Kind regards
John
 
Last edited:

westyss

Explorer
This is coming along great, just caught up with the progress after a little vacation in the sun.

John started to comment on what I was going to say and that is about the fridge venting. It look to me like a nova cool fridge and is a bit bigger than mine and what I know about them is they do require considerable venting.

Correct me if I am wrong or cant see it but the install of the fridge needs a certain venting arrangement that is integral to proper function and use. That is it needs to be built to act like a chimney so that there is a certain amount (and not too much ) space behind the fridge to draw air in at the bottom somewhere, like John said maybe from outside of the cabinet and then vent out the top as you have done using convection or hot air rising effect whatever that is called. A fan can help increase the flow but is not really needed if the chimney effect works efficiently.

So with that said I believe the design needs two free flow items, one an intake low down at the base of the fridge at the compressor area, it should be if I remember right somewhere in the 14 square inch range, the second is the top vent which I see is there but might not be of sufficient flow rate and size of 14 square inches or more and needs to be able to flow out of the cabinet or have enough venting in the cabinet itself. Maybe simply removing the grating would increase it enough.

I did notice that there were a couple of holes at the base of the cabinet before the plywood base was laid down and the might have been the intake air? You can get onto the Nova Cool web site to have a look at the install requirements for a better description of it. Talking to the factory guys they stress the importance of this venting and again sorry if this is already in place but I cant see it in the images.

Looking forward to more!
 

GR8ADV

Explorer
Yes adequate venting is a key. I believe paul is planning to add an intake at the bottom and there is an existing fan in place on the roof that pulls air to assist the convection. I am not sure of the size requirement of the exit vent so that is something good to look research.
 

whatcharterboat

Supporting Sponsor, Overland Certified OC0018
Hi Yves and Ken

You're sort of on the right track but just missing what I'm saying.

A high vent and a low vent will of course allow natural convection as the air in the cabinet heats up. Adding a fan will assist the flow of air in the cabinet but adds complexity , noise and power load (although minimal). In both cases the condensor fan is still breathing and recirculating warmed air in the cabinet......albeit improved by the additional venting.

The proper fridge vent kits available here have a square to round adaptor that screws to a Danfoss condensor, a length of Flexi duct and a vent that the duct seals to. The vent usually fastens to the skirt of the galley cabinets. Then the condensor can only breathe cool external air and the condensor fan forces the convection.

I'll try to find some pics .

Kind regards to both of you.
John
 
Last edited:

GR8ADV

Explorer
O
Hi Yves and Ken

You're sort of on the right track but just missing what I'm saying.

A high vent and a low vent will of course allow natural convection as the air in the cabinet heats up. Adding a fan will assist the flow of air in the cabinet but adds complexity , noise and power load (although minimal). In both cases the condensor fan is still breathing and recirculating warmed air in the cabinet......albeit improved by the additional venting.

The proper fridge vent kits available here have a square to round adaptor that screws to a Danfoss condensor, a length of Flexi duct and a vent that the duct seals to. The vent usually fastens to the skirt of the galley cabinets. Then the condensor can only breathe cool external air and the condensor fan forces the convection.

I'll try to find some pics .

Kind regards to both of you.
John
Pics might help me. My simple engineering mind says put a large inlet vent on the bottom and a fan to pull air out the top seems sufficient. But the one thing I have learned is that I have a lot more to learn. i think that exit vent as shown runs the full with. So I would guess it has an overall dimension somewhere around 20 sq inches.
 

garybo

Adventurer
The old frig install had a small blinking LED trouble light wired to the proper connections on the frig to blink a trouble code when a malfunction occurs, ie, overheating, low voltage, etc. It would be helpful to re-install this wiring/ light to a wall making it easily visible while in the frig area.
 

PaulJensen

Custom Builder
13

Ken took the time last Friday to help decide how the space would be best utilized according to their needs... I would likely divide things up differently in some instances, but overall the plan will be most excellent...


P1100845.JPG

(above)With the spatial decisions made, the interior was stripped out for wall and ceiling prep...

P1100846.JPG

(above) A big empty canvas...

P1100847.JPG

(above) Looks like some bathroom remodels I've done...

P1100848.JPG

(above) Existing seam edges were hit with a 24 grit disc on a battery powered grinder...

P1100849.JPG

(above) Next the walls and ceiling got a scrub-down with hot water and TSP...

P1100850.JPG

(above) Back in the shower, the wall prep is ready for covering...Still finalizing the wall design...Likely to be fiberglassed wood, like a surfboard...

P1100851.JPG

(above) In the dead-space corner of the shower there will be a cold water faucet and basin...A mock-up is tacked to the wall...

P1100852.JPG

(above) FRP covers a plywood toilet base... The edges now are rough and will be evened out before it's done...It looks a lot better in person than the picture suggests...

P1100853.JPG

(above) Ceiling and wall prep continues... All the plywood edges were nail-gun stapled tight...Over the bed was a ceiling plywood bubble the got blasted with staples...Multiple coats of Bondo cover the rough and low spots...Nasty stuff...

The wiring for the switched ceiling light was moved to over the table...

P1100854.JPG

(above) With a solid foundation, the rest of the work will at least be secure... Hope it looks OK too...
 

GR8ADV

Explorer
The old frig install had a small blinking LED trouble light wired to the proper connections on the frig to blink a trouble code when a malfunction occurs, ie, overheating, low voltage, etc. It would be helpful to re-install this wiring/ light to a wall making it easily visible while in the frig area.

I did not know that light was a diagnostic for the fridge. Good catch. Thanks Gary.
 

GR8ADV

Explorer
How can I have paul do this without paying homage to his incredible surfboards. You can see them on his website, but you won't be able to touch them. Sounds silly but it is impossible to look at them in person without rubbing your hands over them and smiling.

image.jpg
 

PaulJensen

Custom Builder
I did not know that light was a diagnostic for the fridge. Good catch. Thanks Gary.

Wish I knew that before cleaning up the wiring tangle that was down there... Any idea on where to find out how to re-connect that, if it's that important...???...

There was so much wrongly wired circuits throughout the rear cabin... Dangerous things like black wires for grounds, white wires that were hot, way too many splices, etc...
 

Forum statistics

Threads
185,840
Messages
2,878,754
Members
225,393
Latest member
jgrillz94
Top