2003 Mitsubushi FG Overland Camper Renovation

PaulJensen

Custom Builder
how about VOCs? in an enclosed space with, i assume, some type of heater cranking, will there be any nasal or eye irritation?

The VOC listed on the can is <270 g/liter...

It also says something about it being safe for children to lick... Never seen that before...

I used it extensively on a futuristic house for some very rich, very Eco-aware individuals with chemically sensitive children...

Kind of pricey, but it is good stuff...

It cures out pretty fast, so by the time Ken and Ann use it, it should be stabilized...
 

PaulJensen

Custom Builder
25

P1100936.JPG

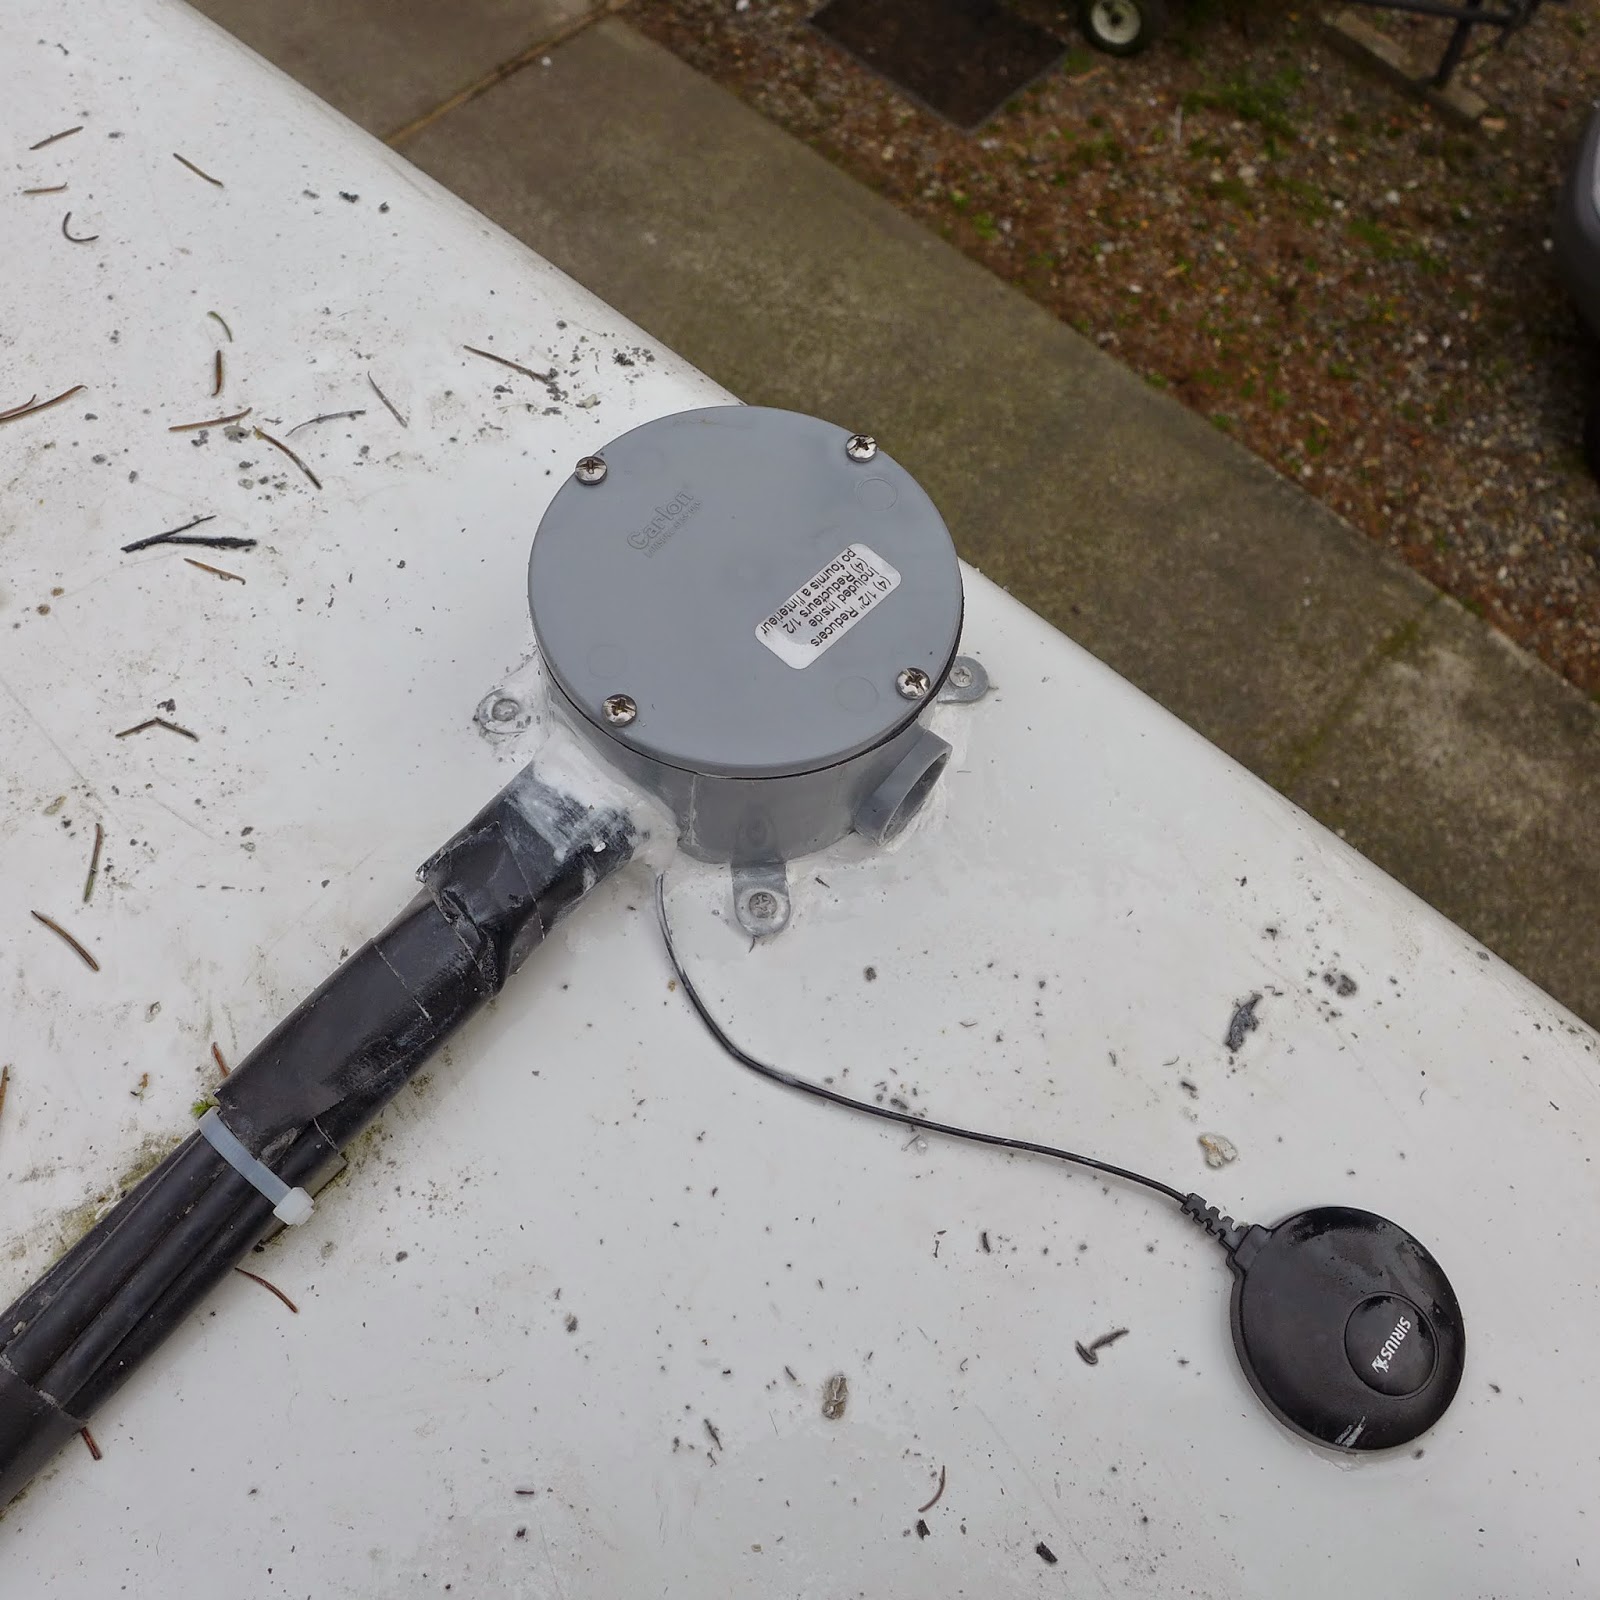
(above) The antenna for the satellite radio needed to have the cord go through the roof...The old junction box for the swamp cooler lines was cracked and held together with caulking... It was leaking a little... A stronger and UV resistant box replaced it...

P1100937.JPG
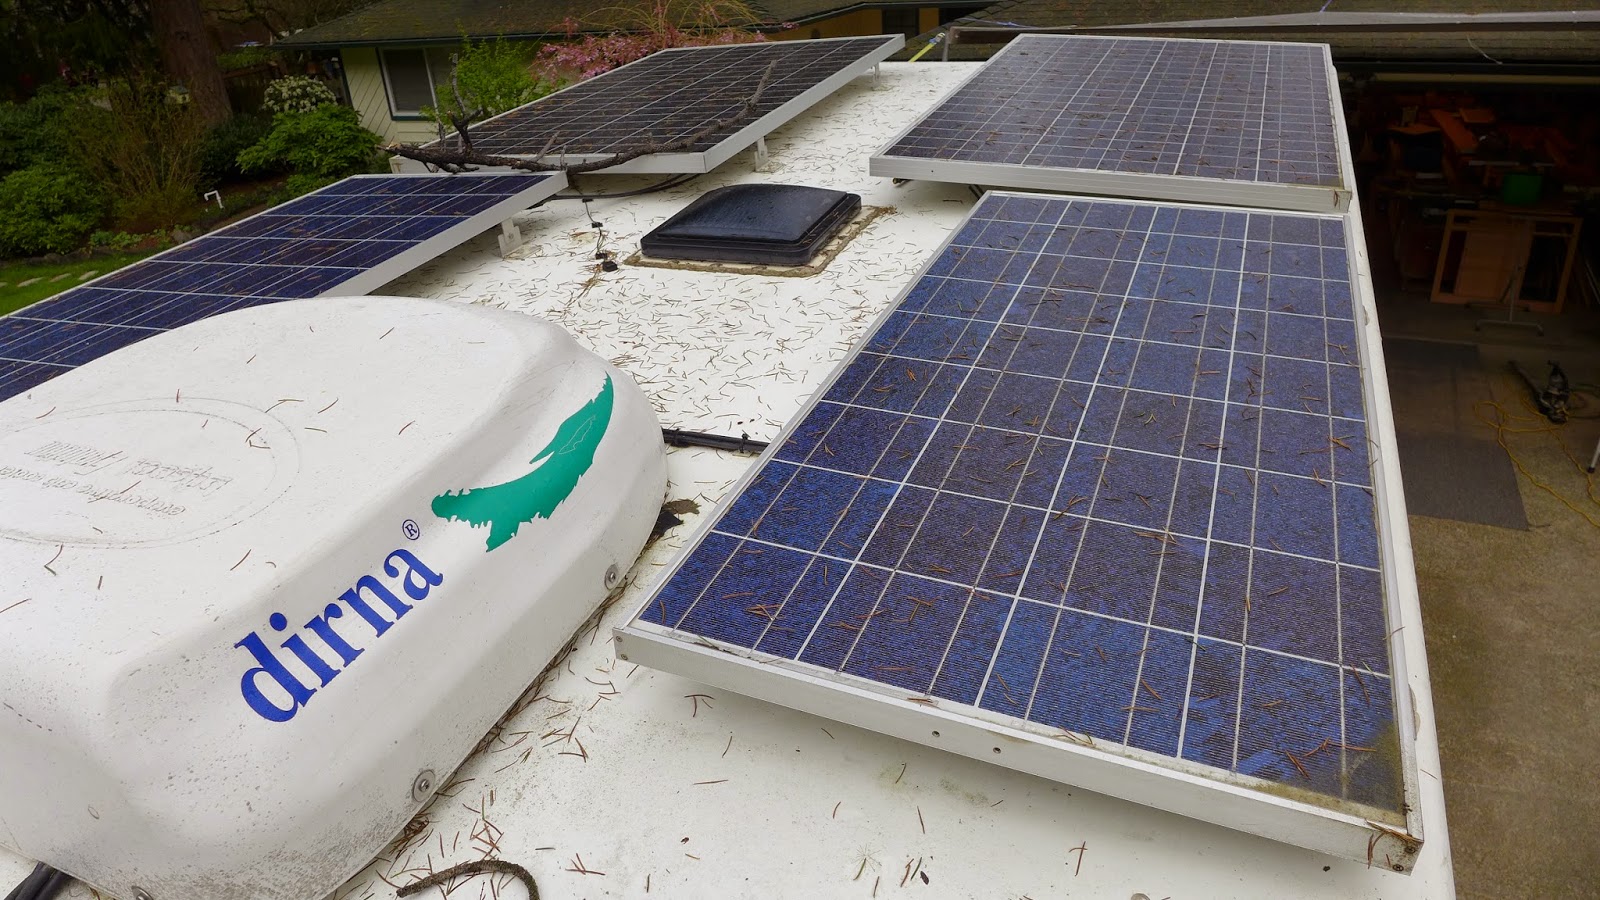
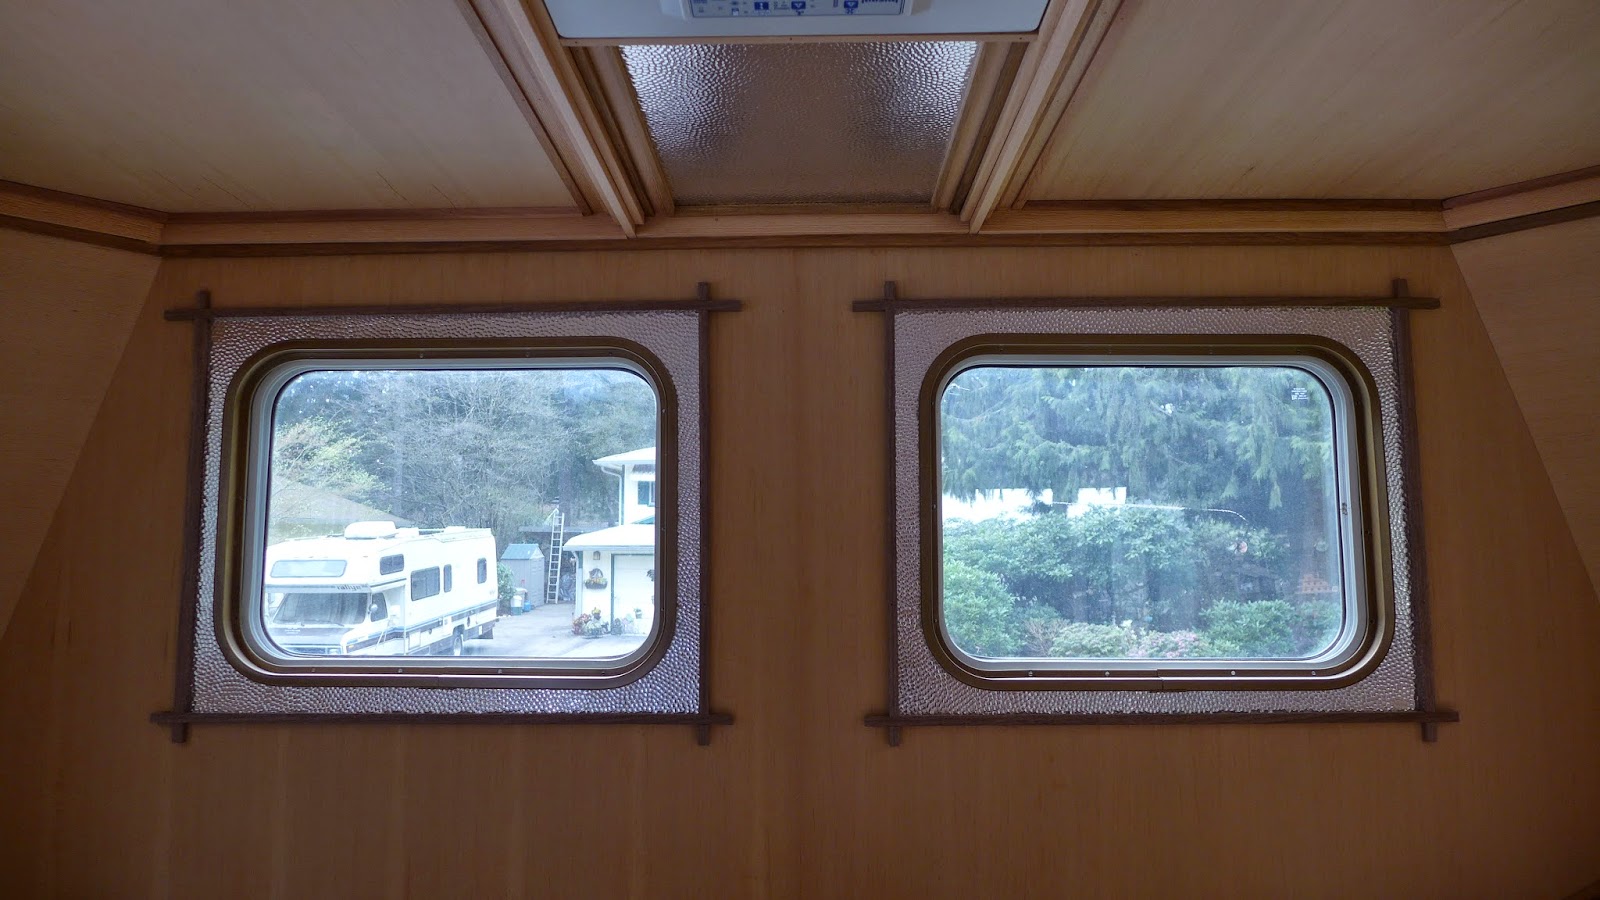
(above) As long as I was up there, I took a couple photos of the view from the back end...

P1100940.JPG

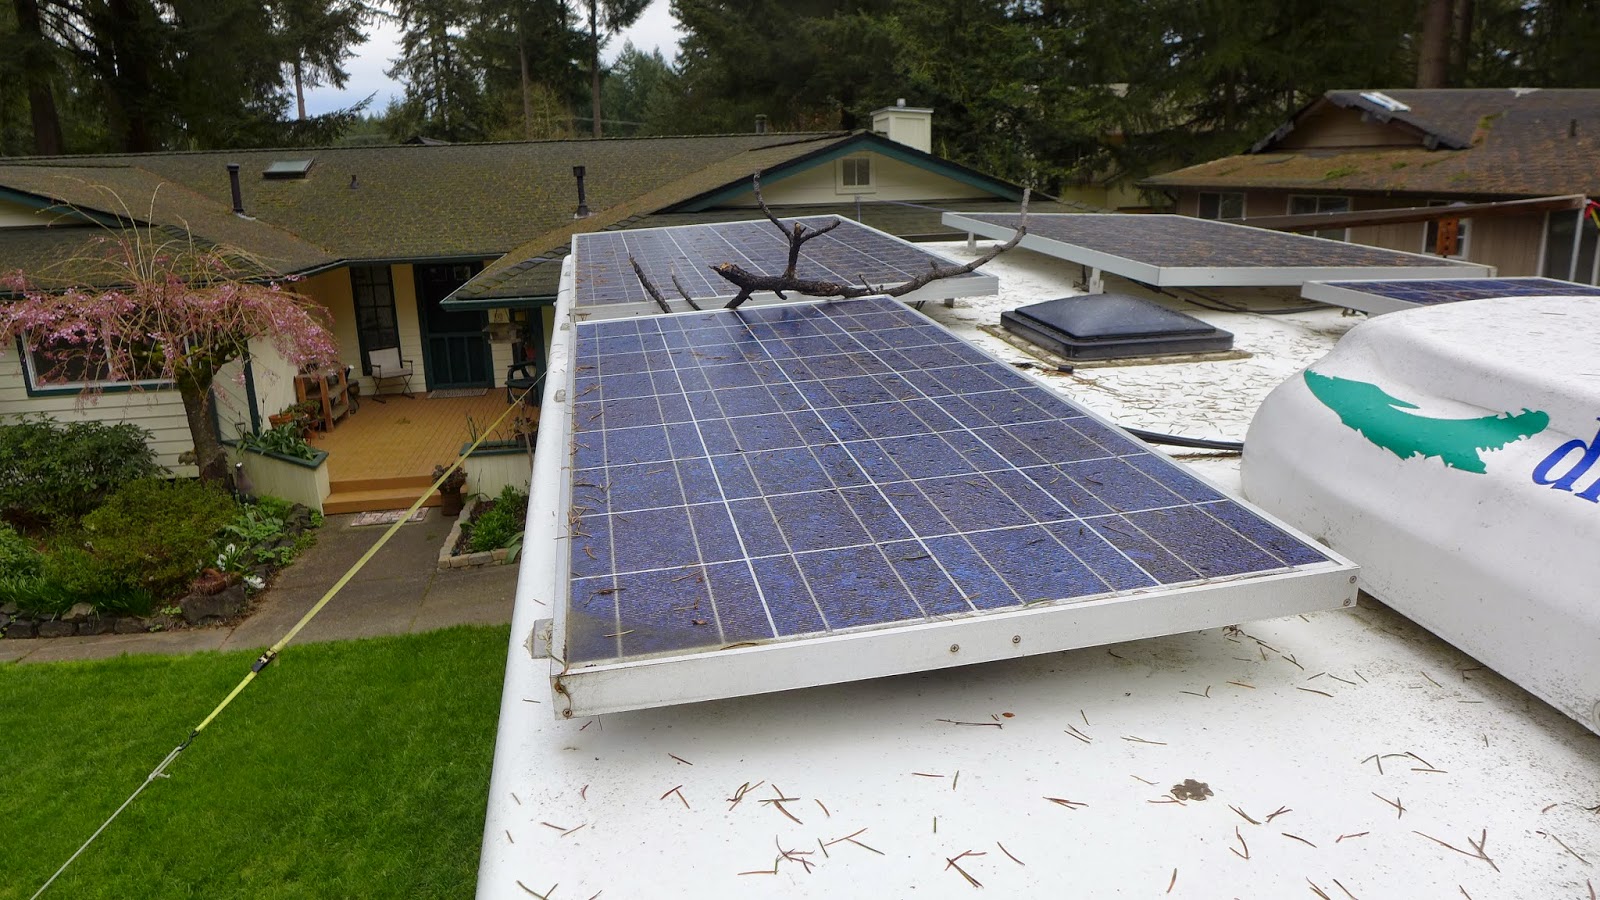
(above) Needs streamlining...

P1100942.JPG

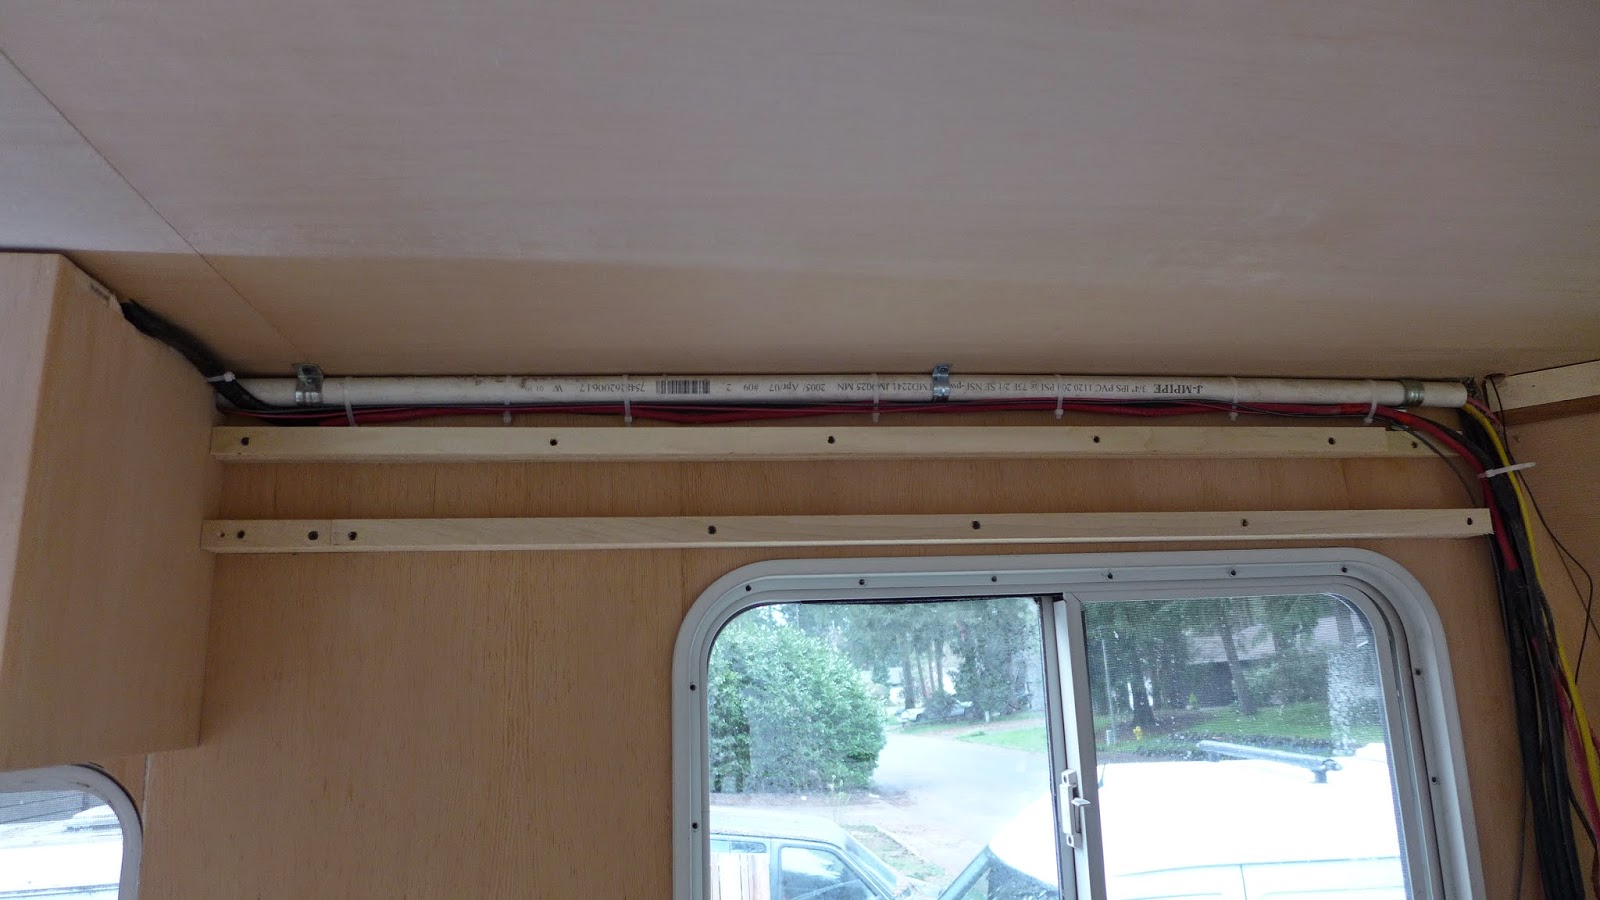
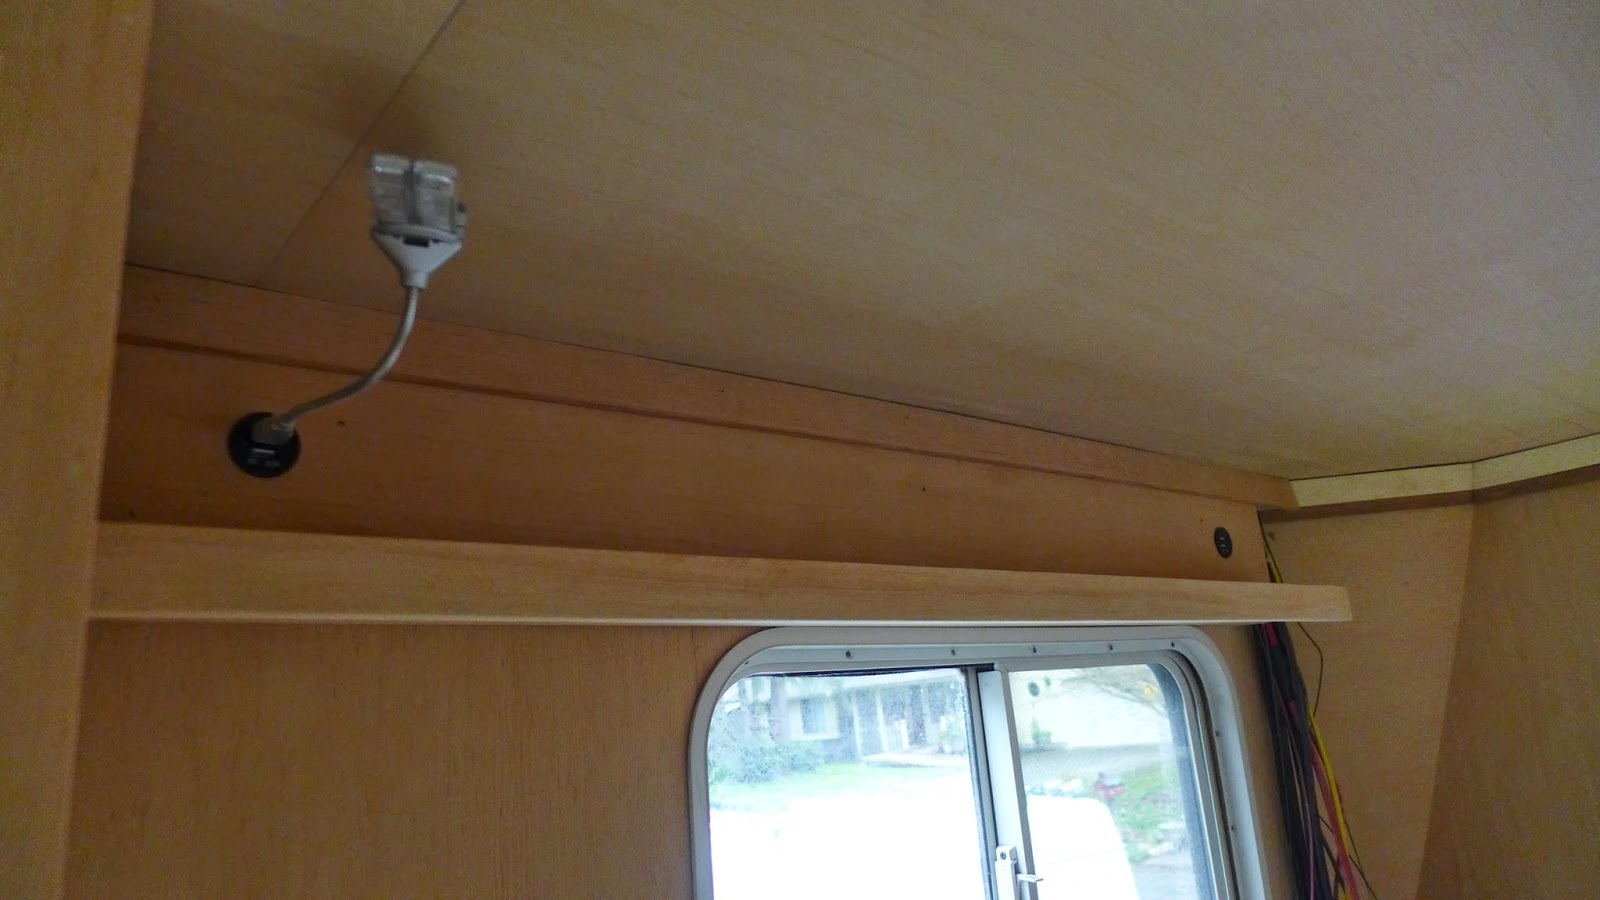
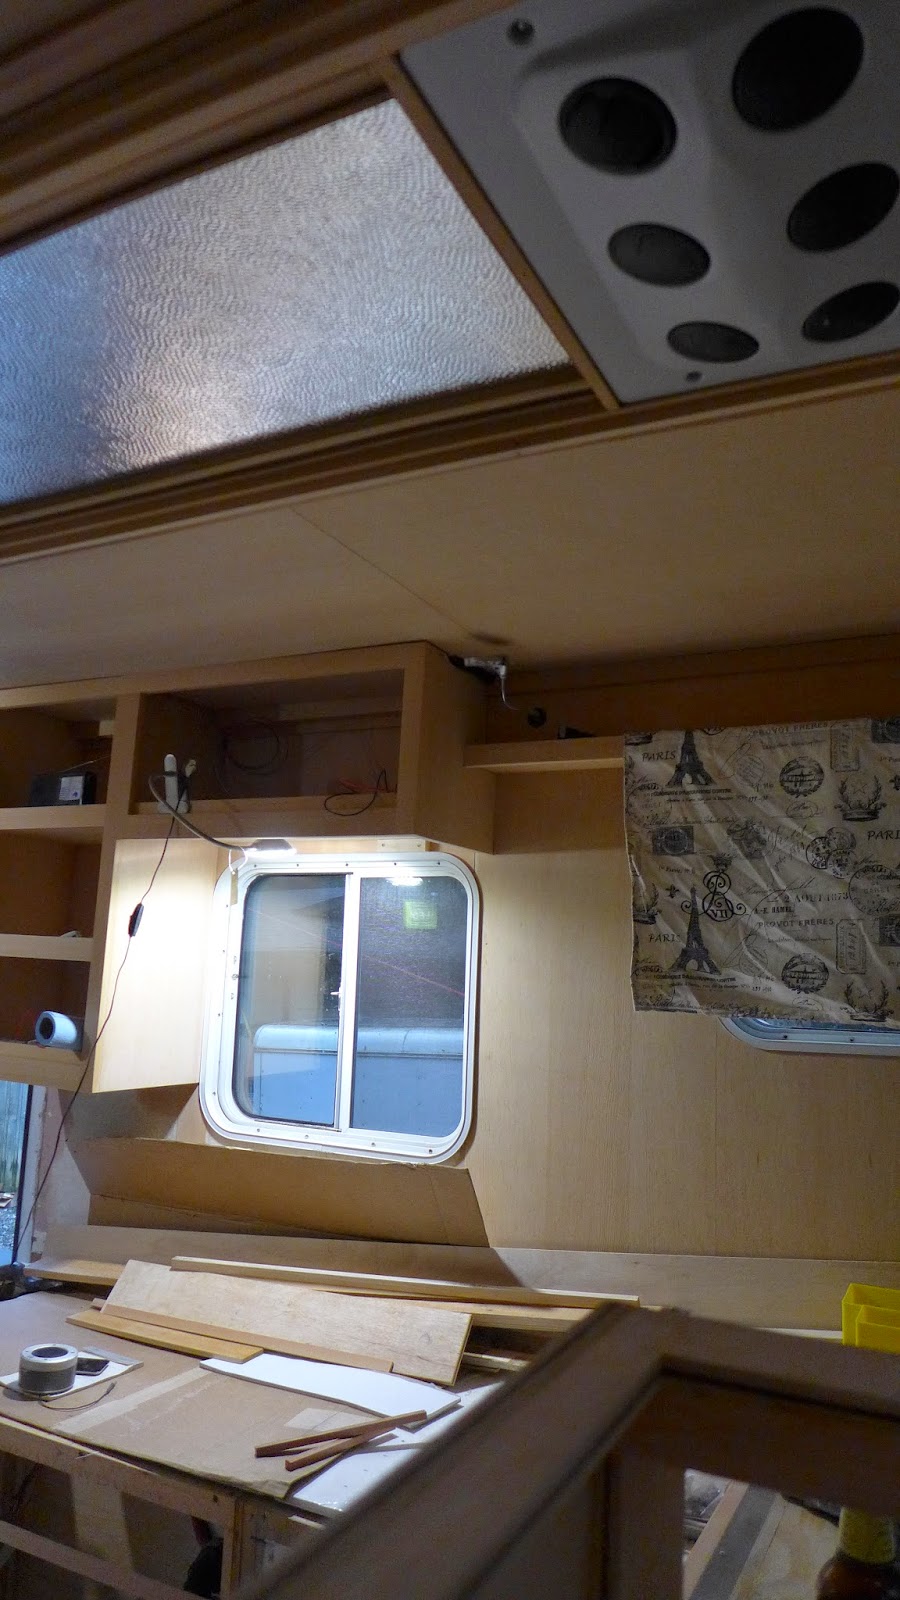
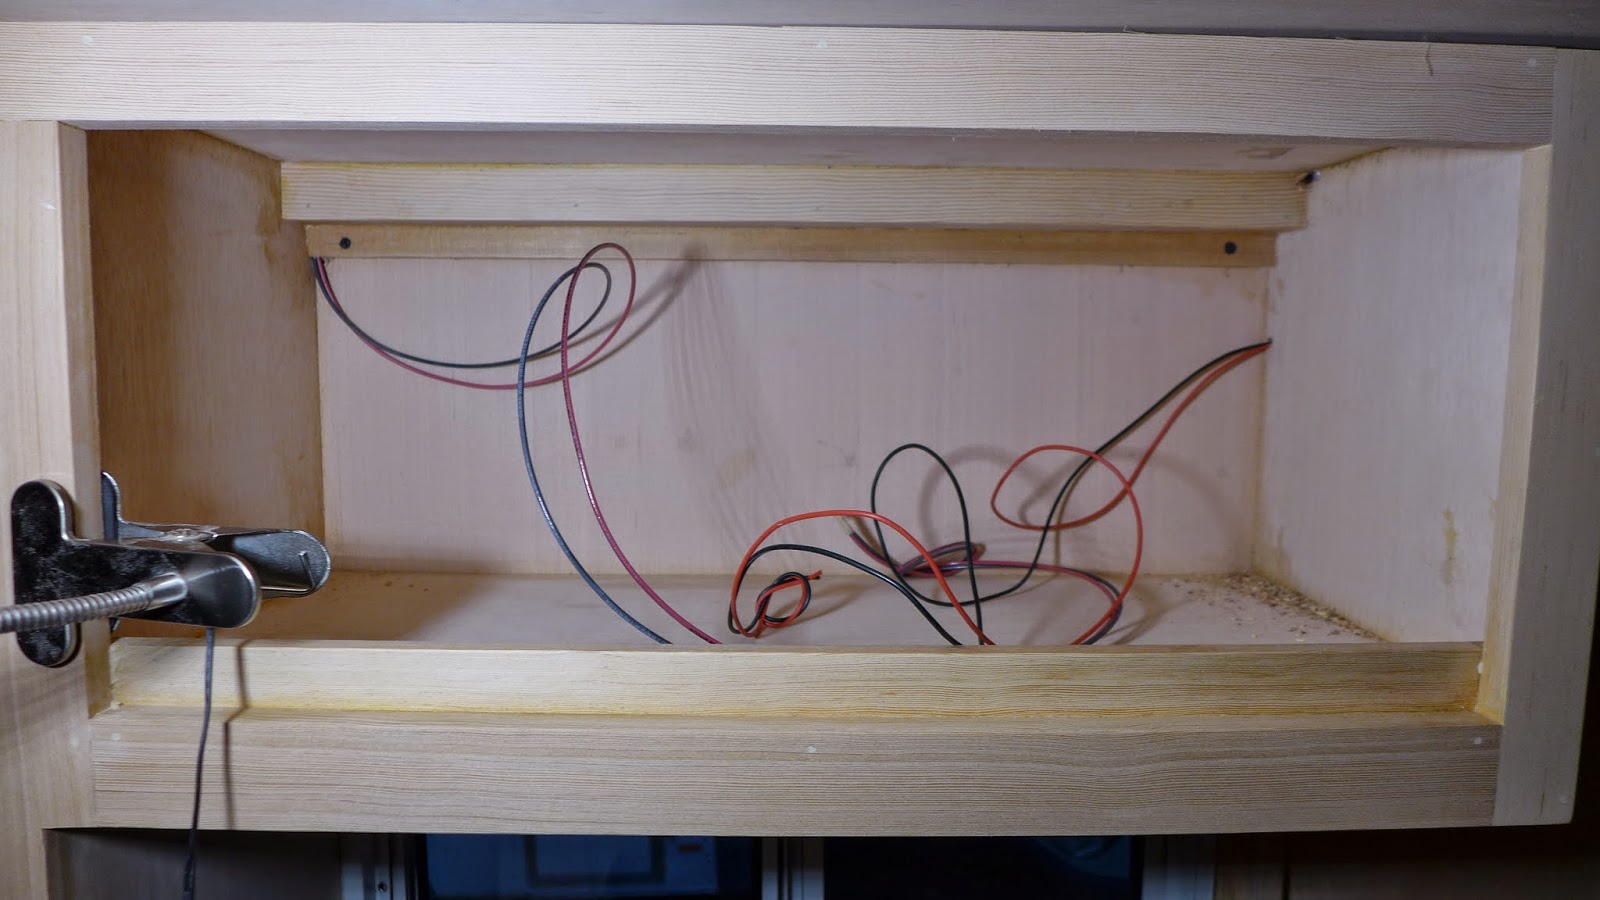
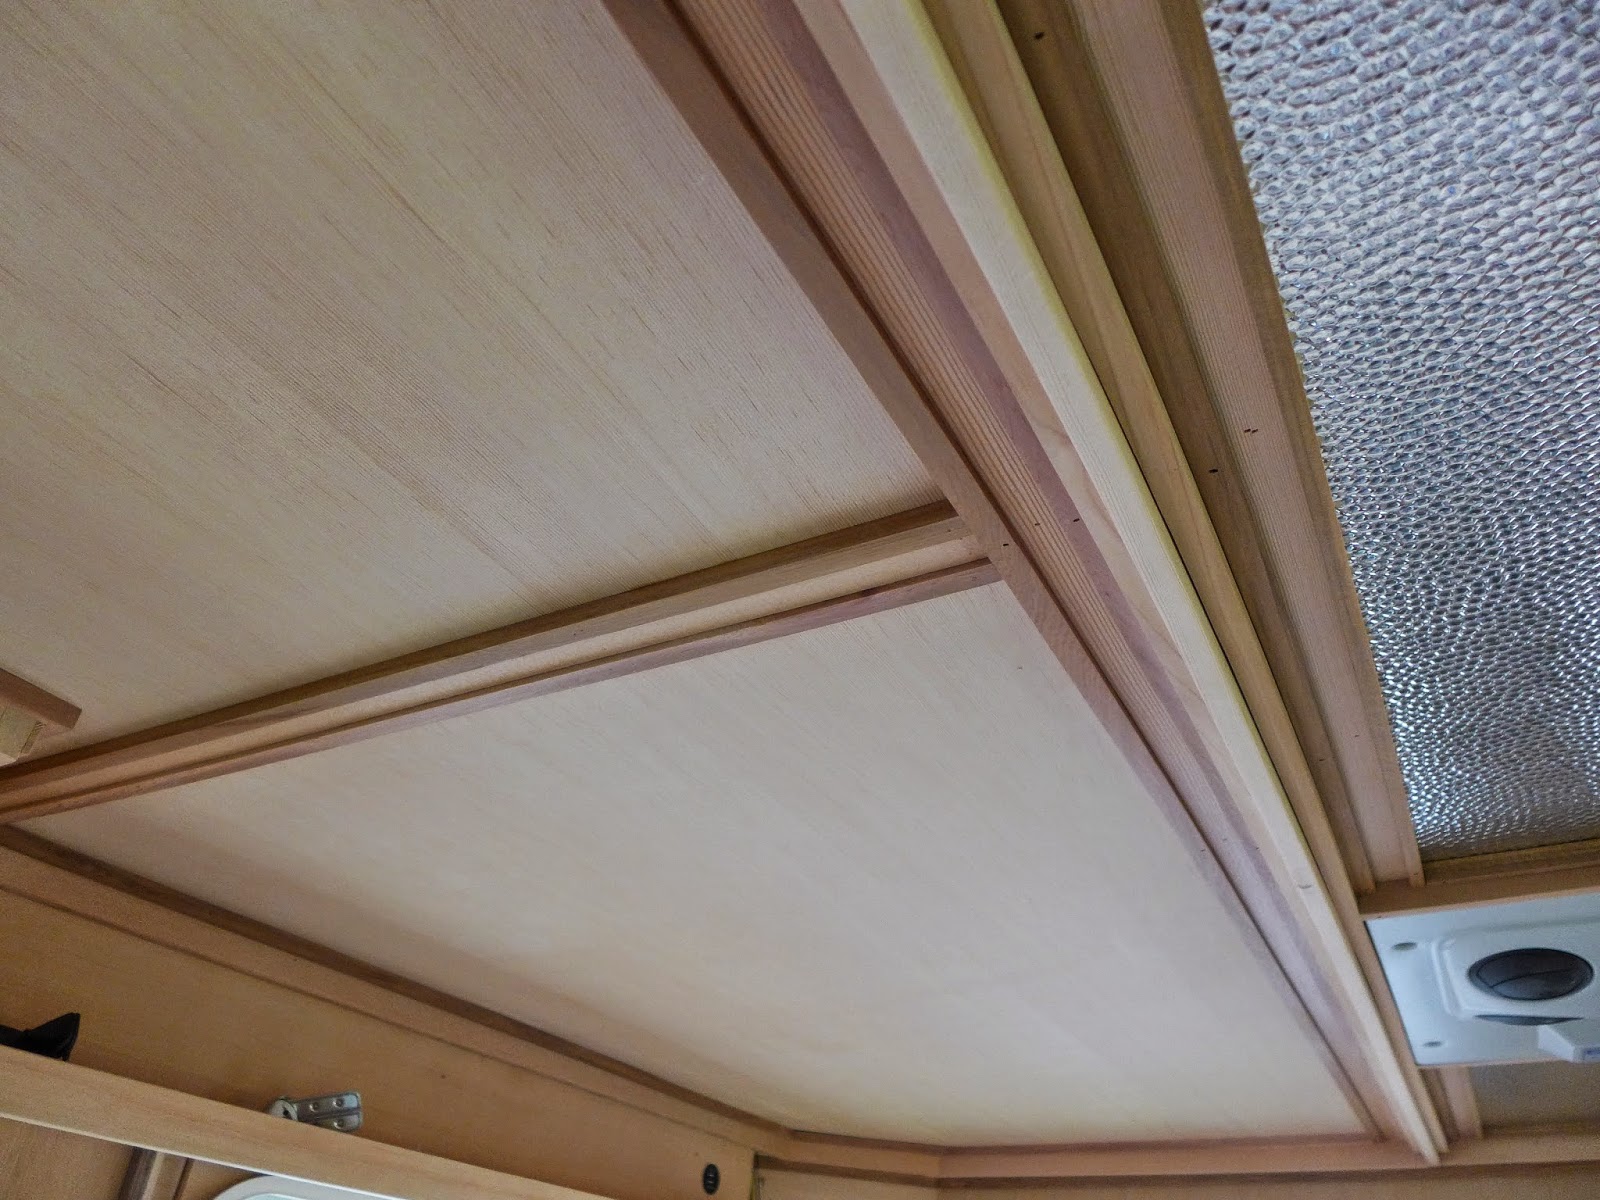
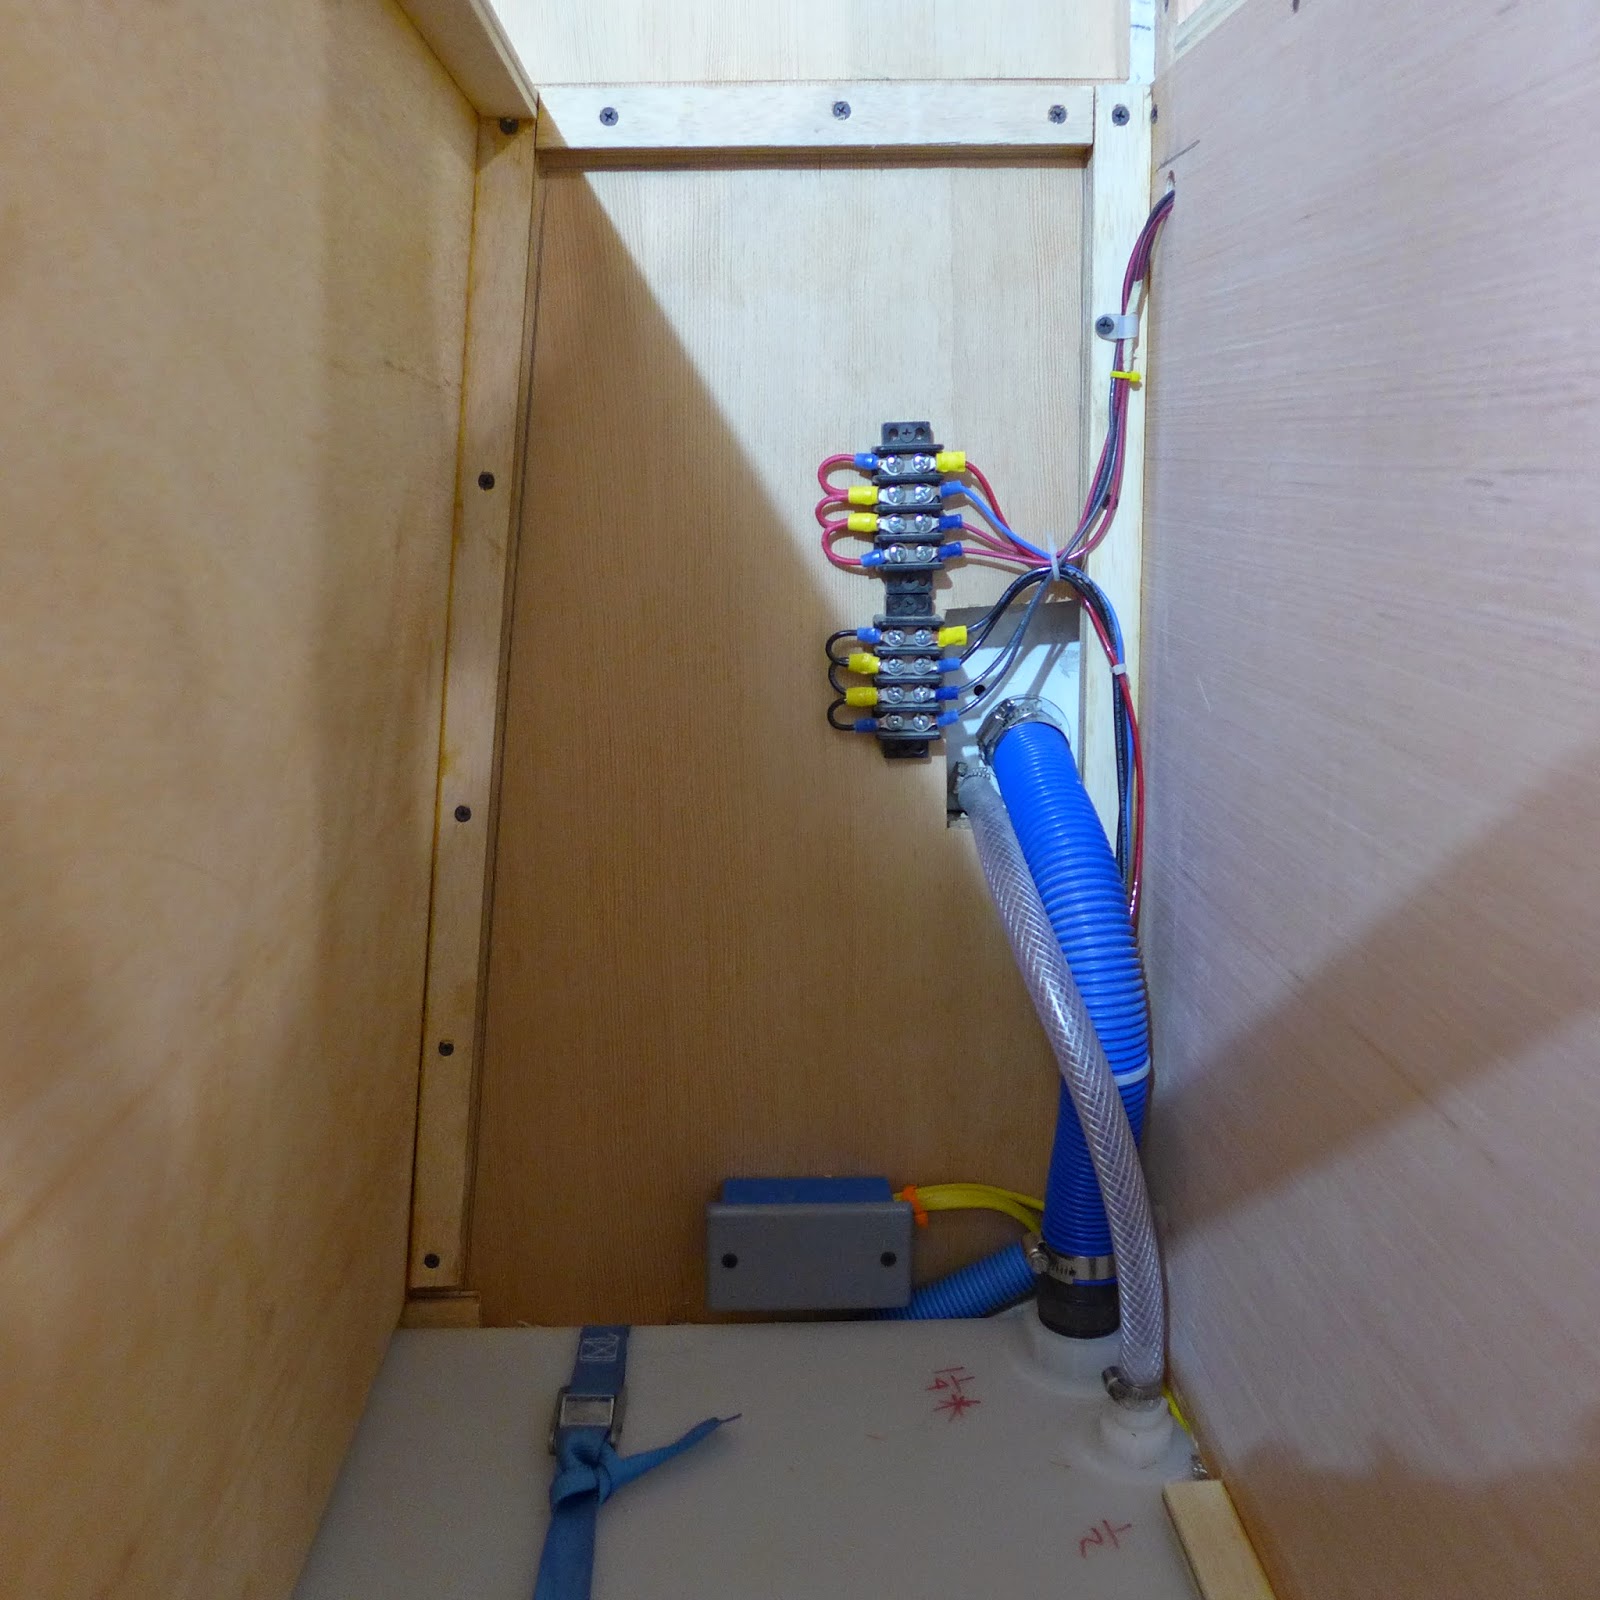
(above) Back inside, the curb-side wiring, up high, was secured and backing was installed for the cover/shelf...

P1100945.JPG

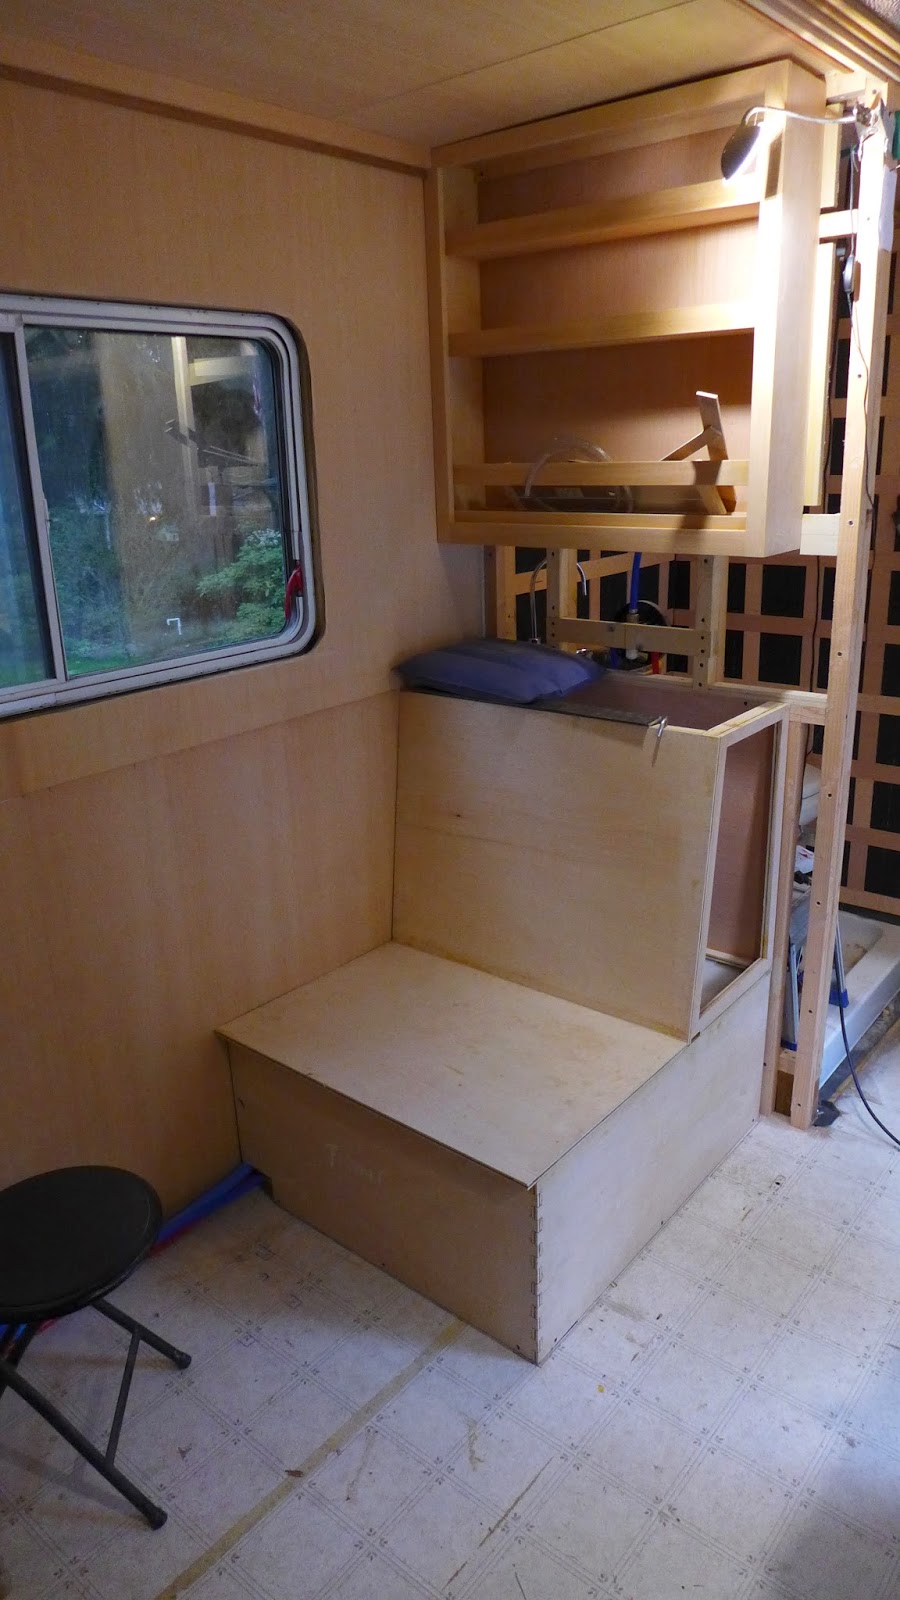
(above) VGDF shelf with a lip to prevent spilling and a wiring cover are glued, screwed and nailed together... The bed will be below the shelf and reading lights are nice to have... The plan is to use USB powered, plug-in, goose-neck,computer lights... There are so many variations on the design, finding something perfect should be easy... There will be a single switch to power off the ports so the lights don't have to be unplugged to turn them off... There will also be USB ports over on the dinette side for reading lights over there...

P1100943.JPG

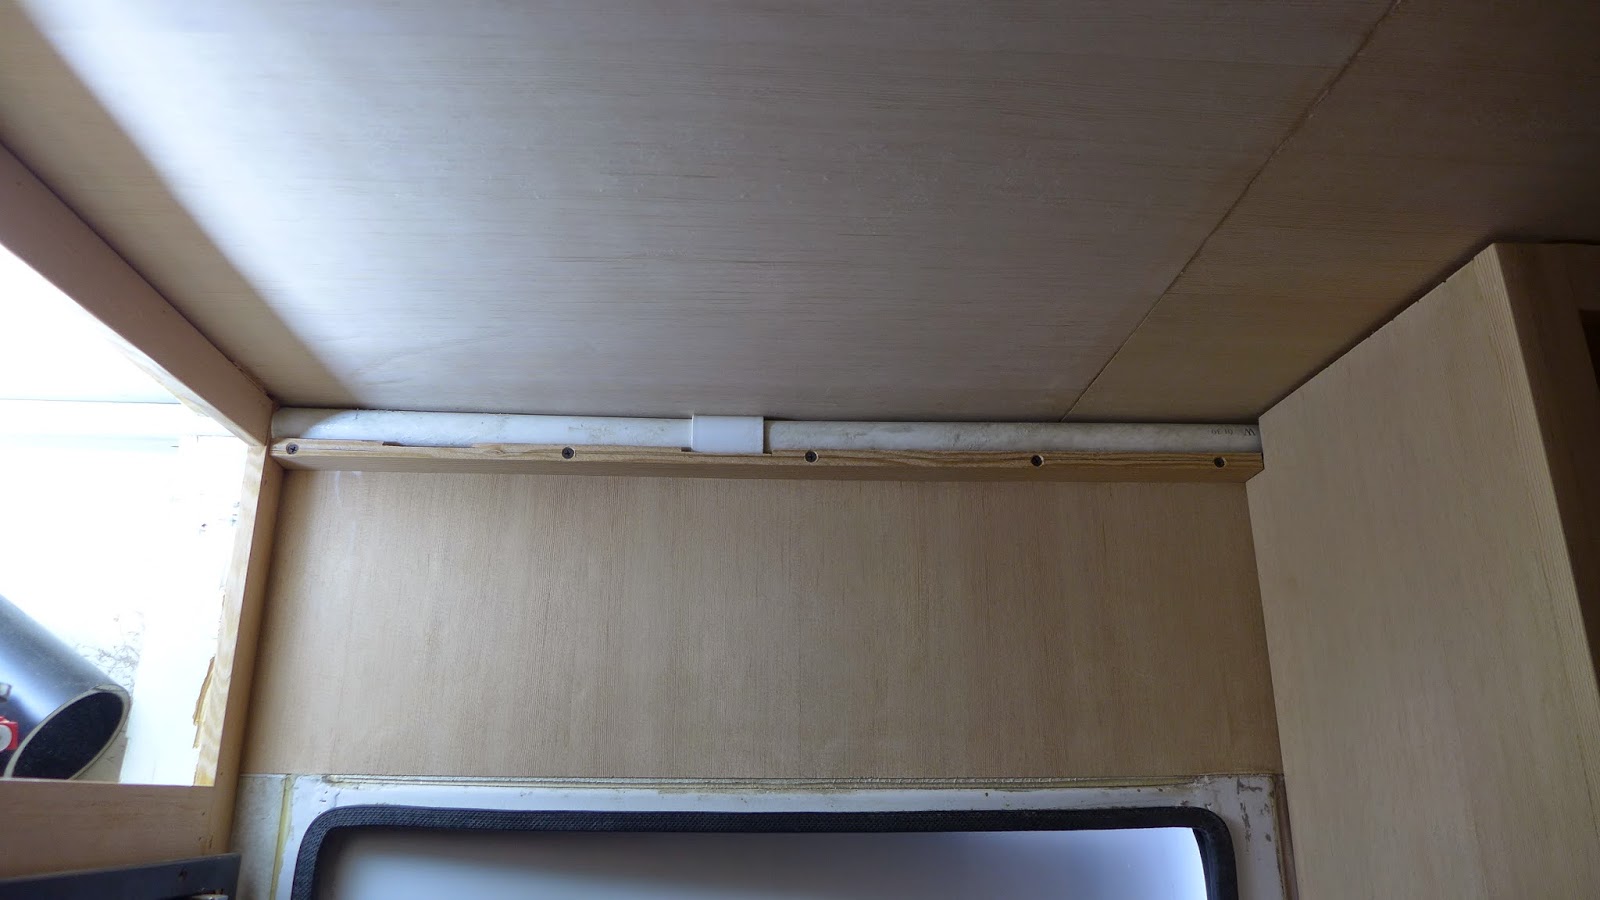
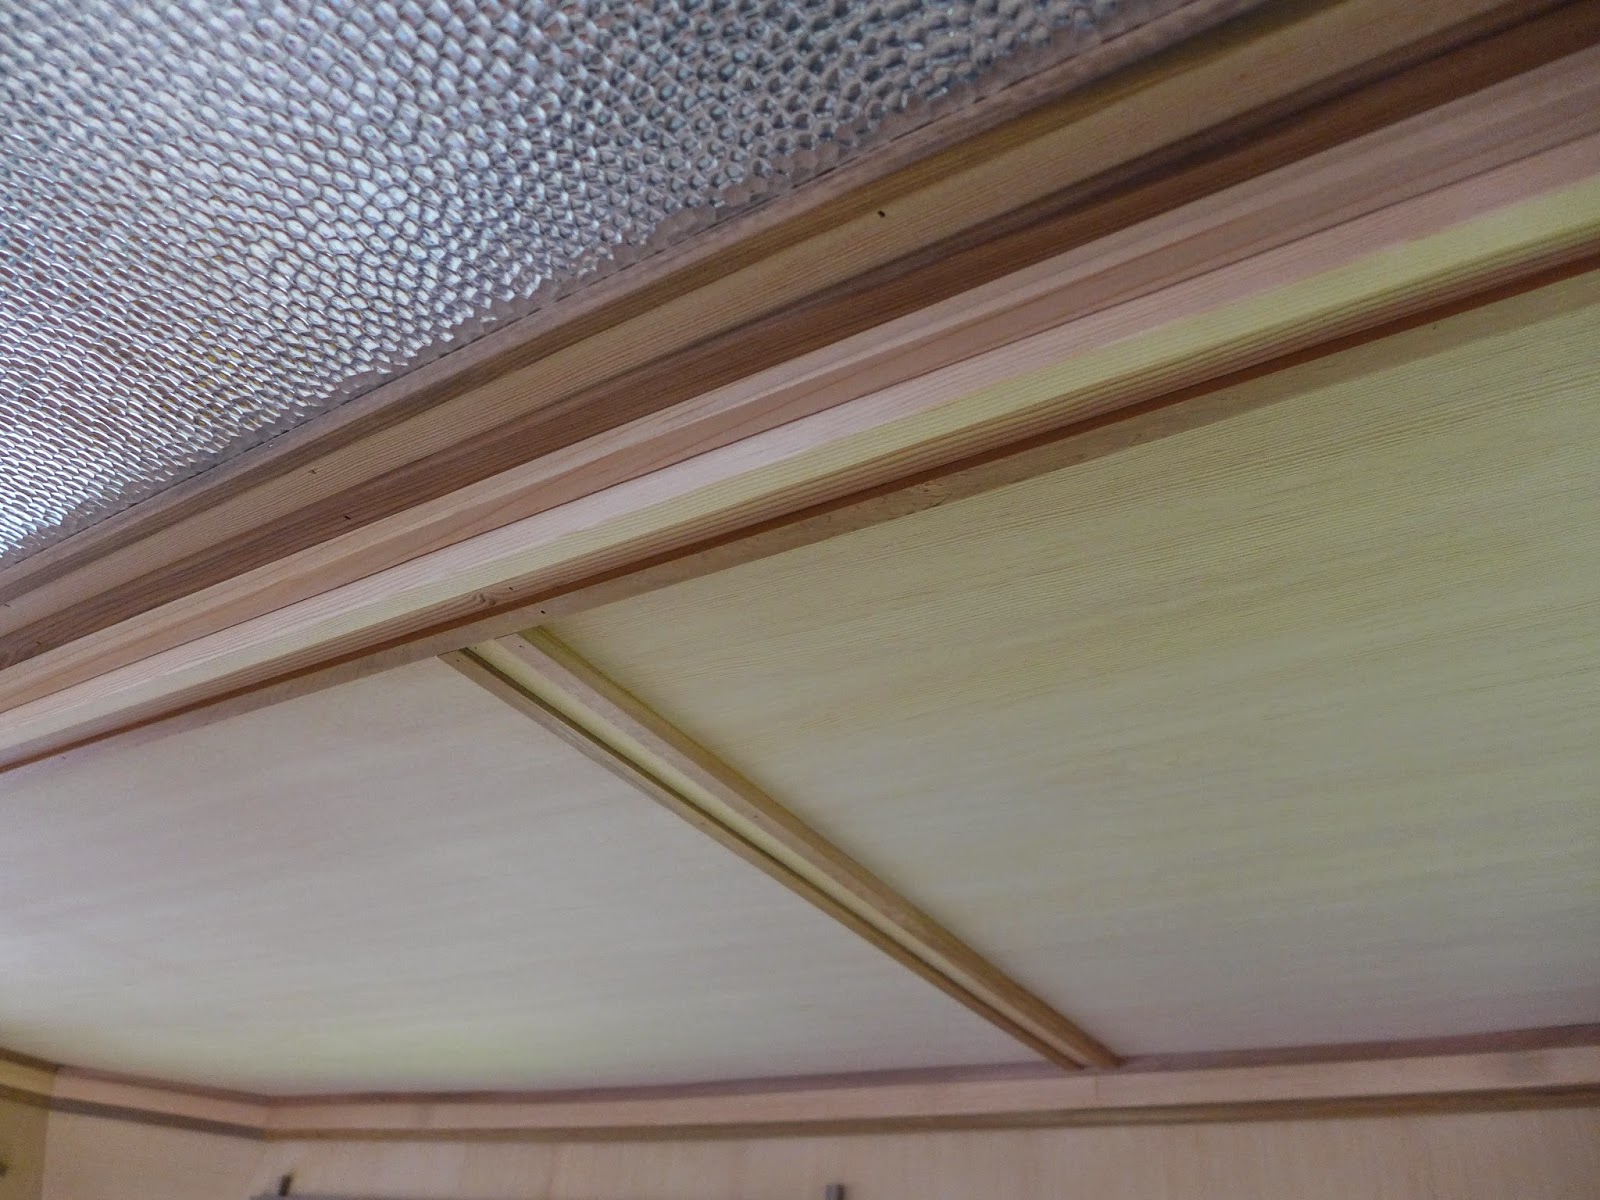
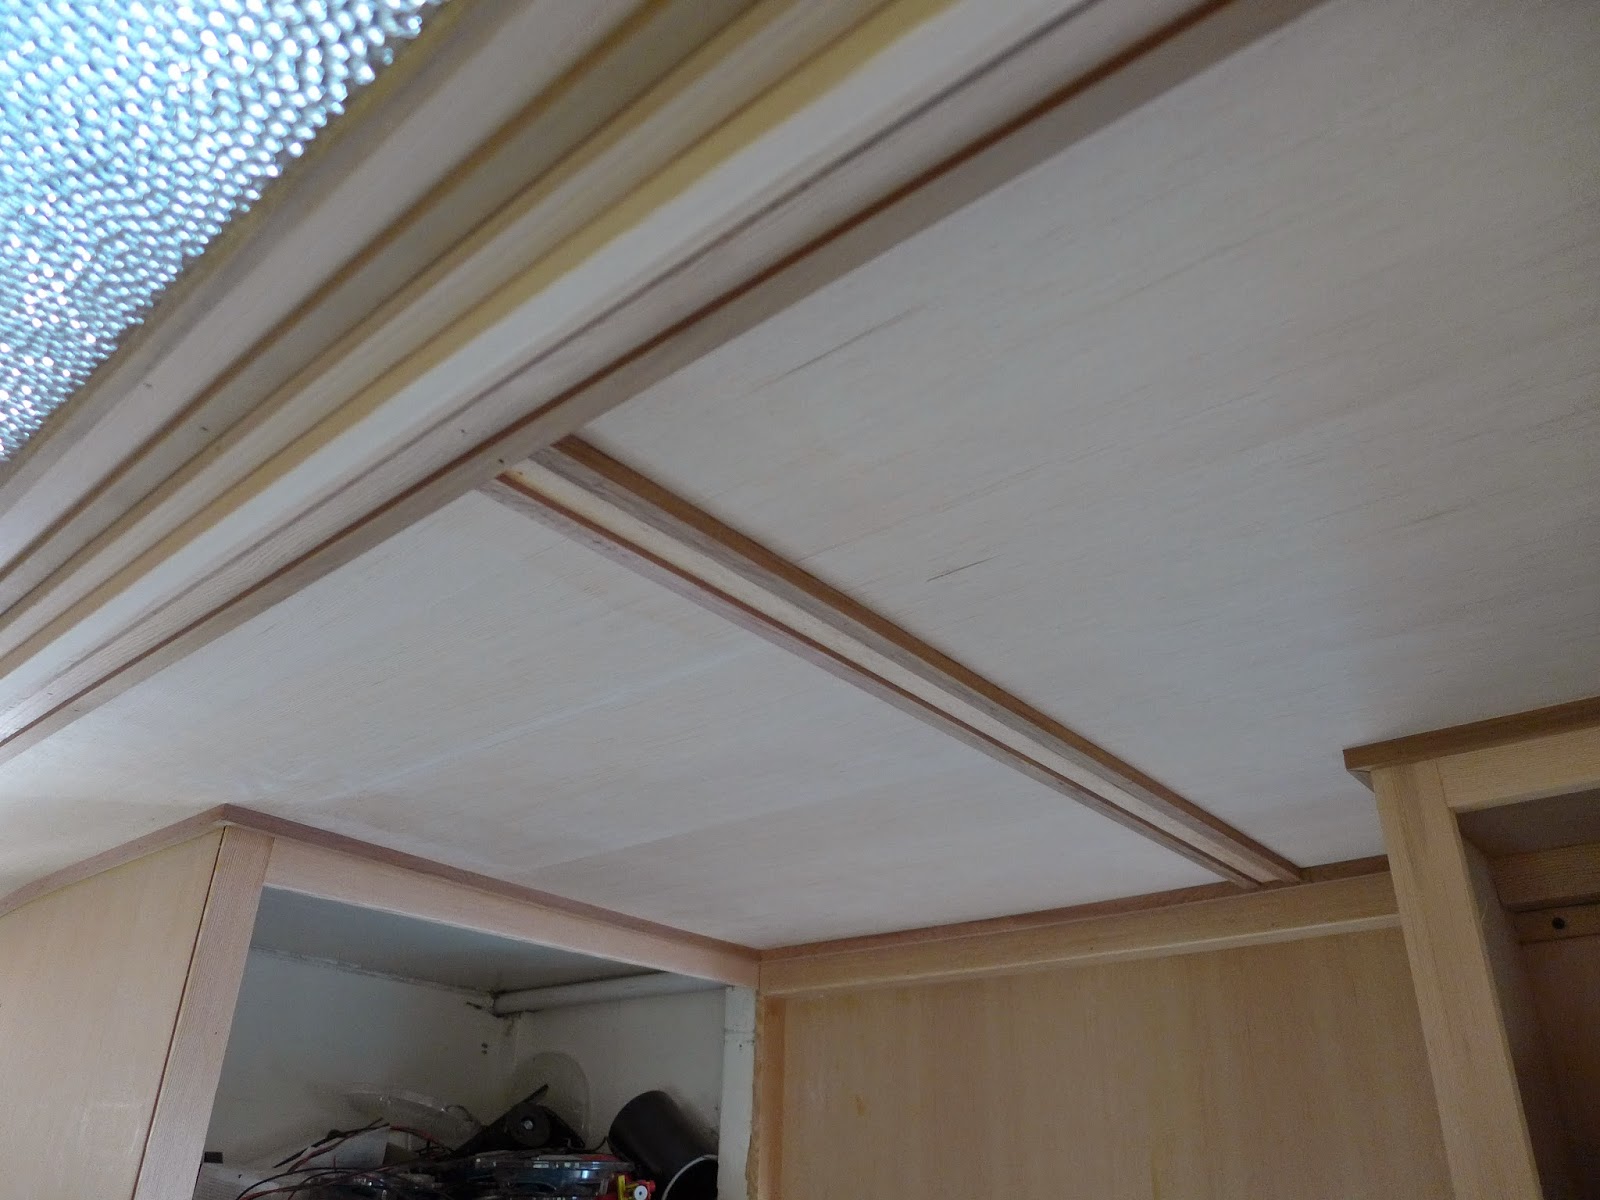
(above) Over the door is another wiring cover..

P1100944.JPG

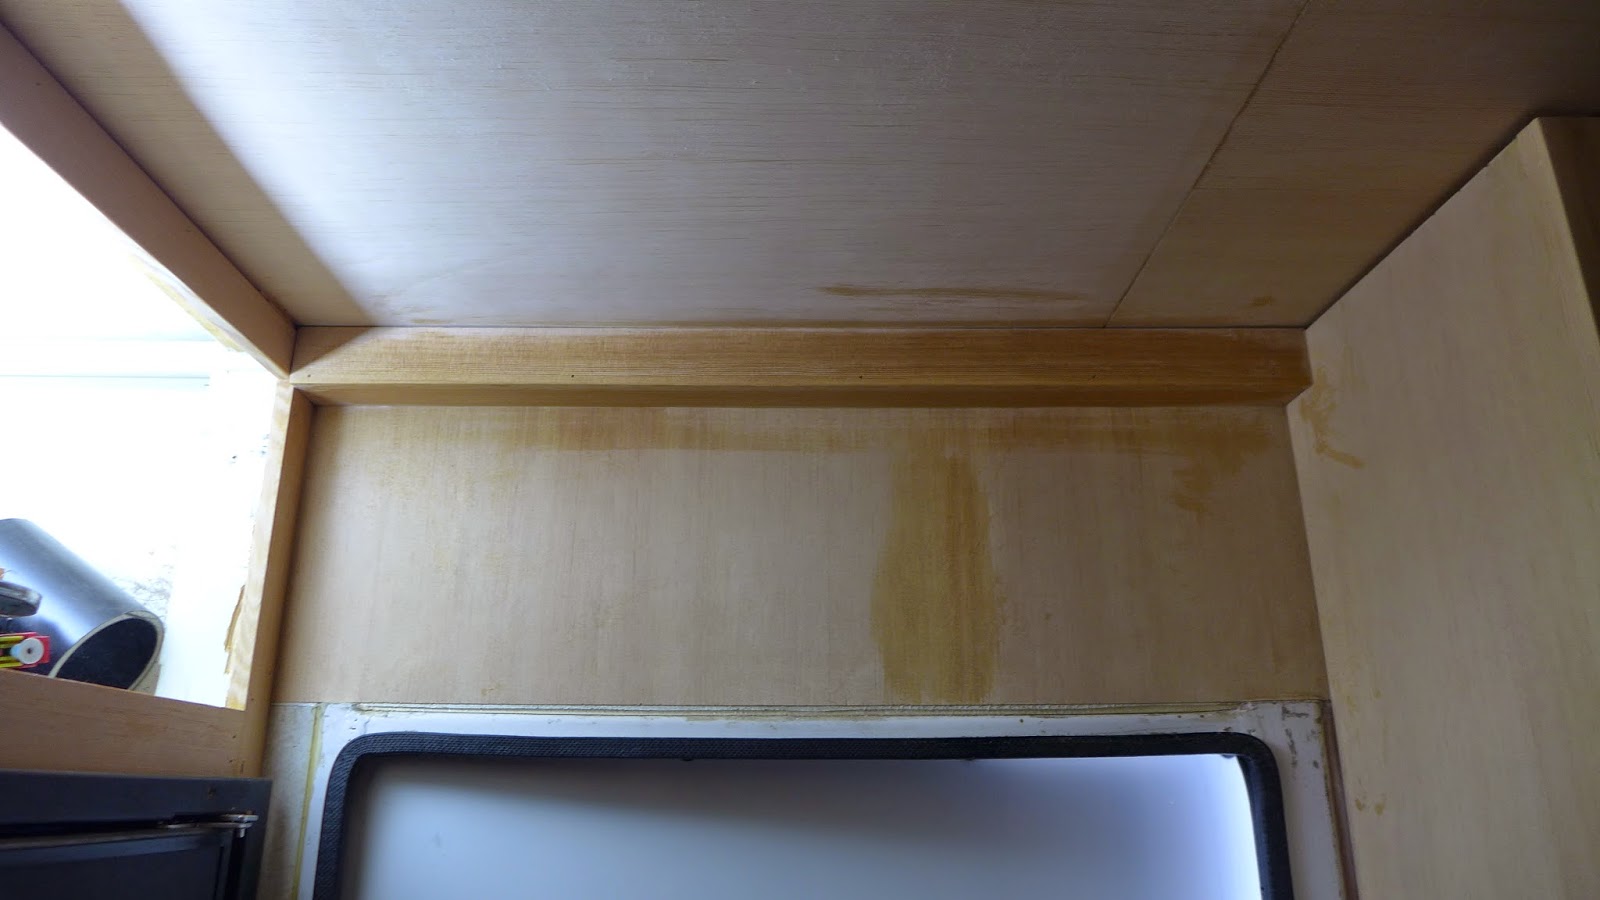
(above) Just wiped off the extra glue with some water...

P1100946.JPG

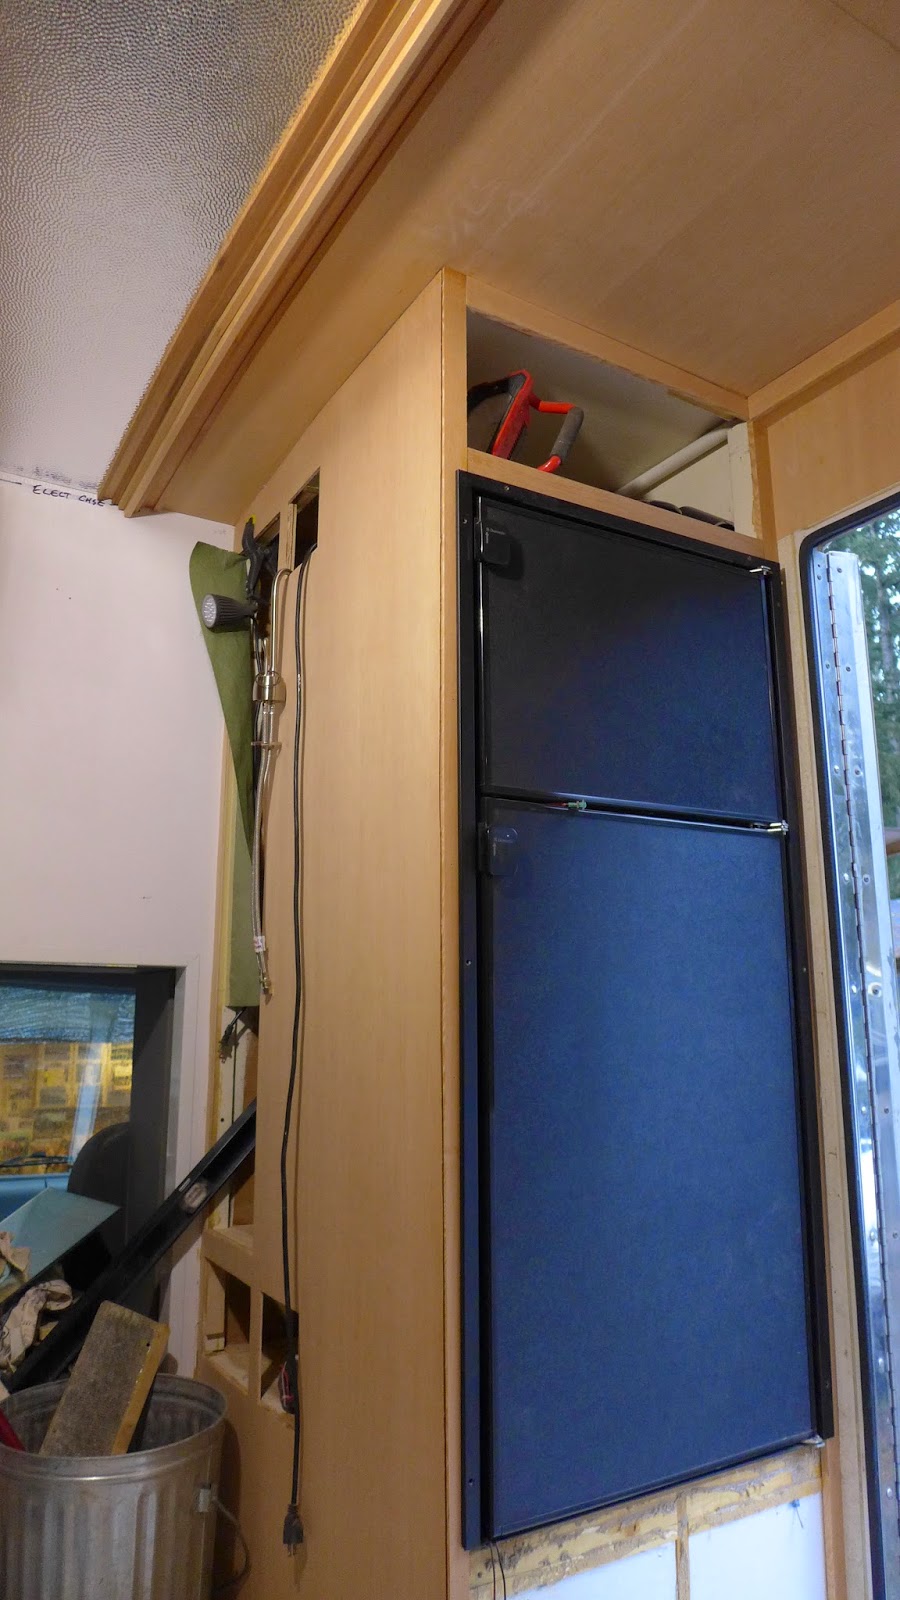
(above) The face of the fridge cabinet got a fresh wood cover...

P1100947.JPG

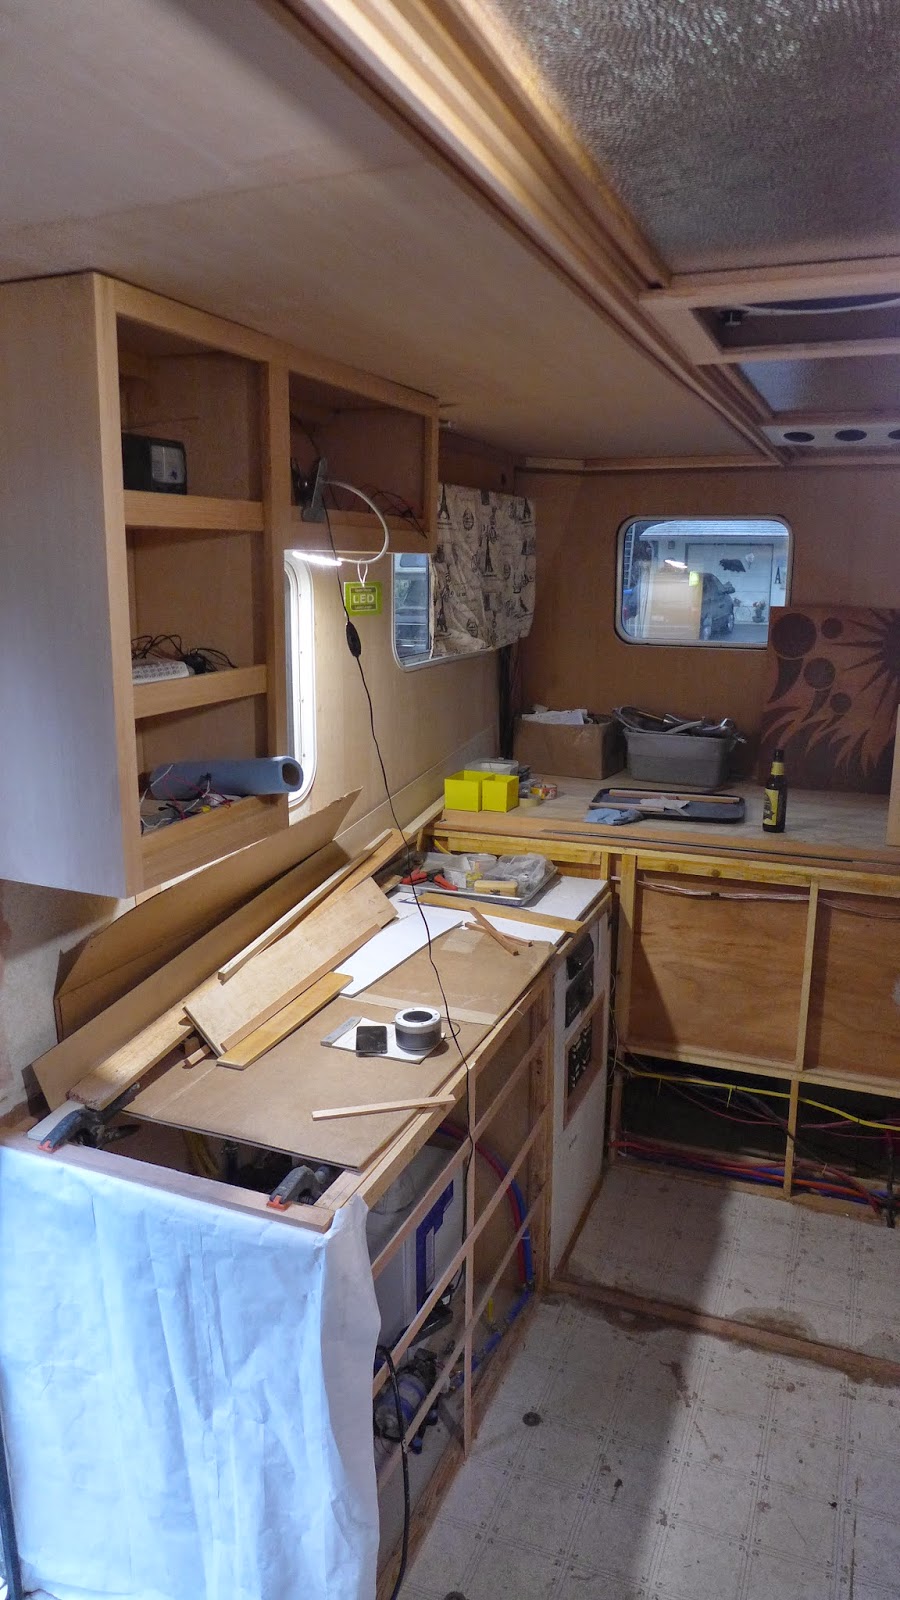
(above) Looking back from the fridge...

P1100949.JPG

(above) Looking forward from the bed...

P1100950.JPG

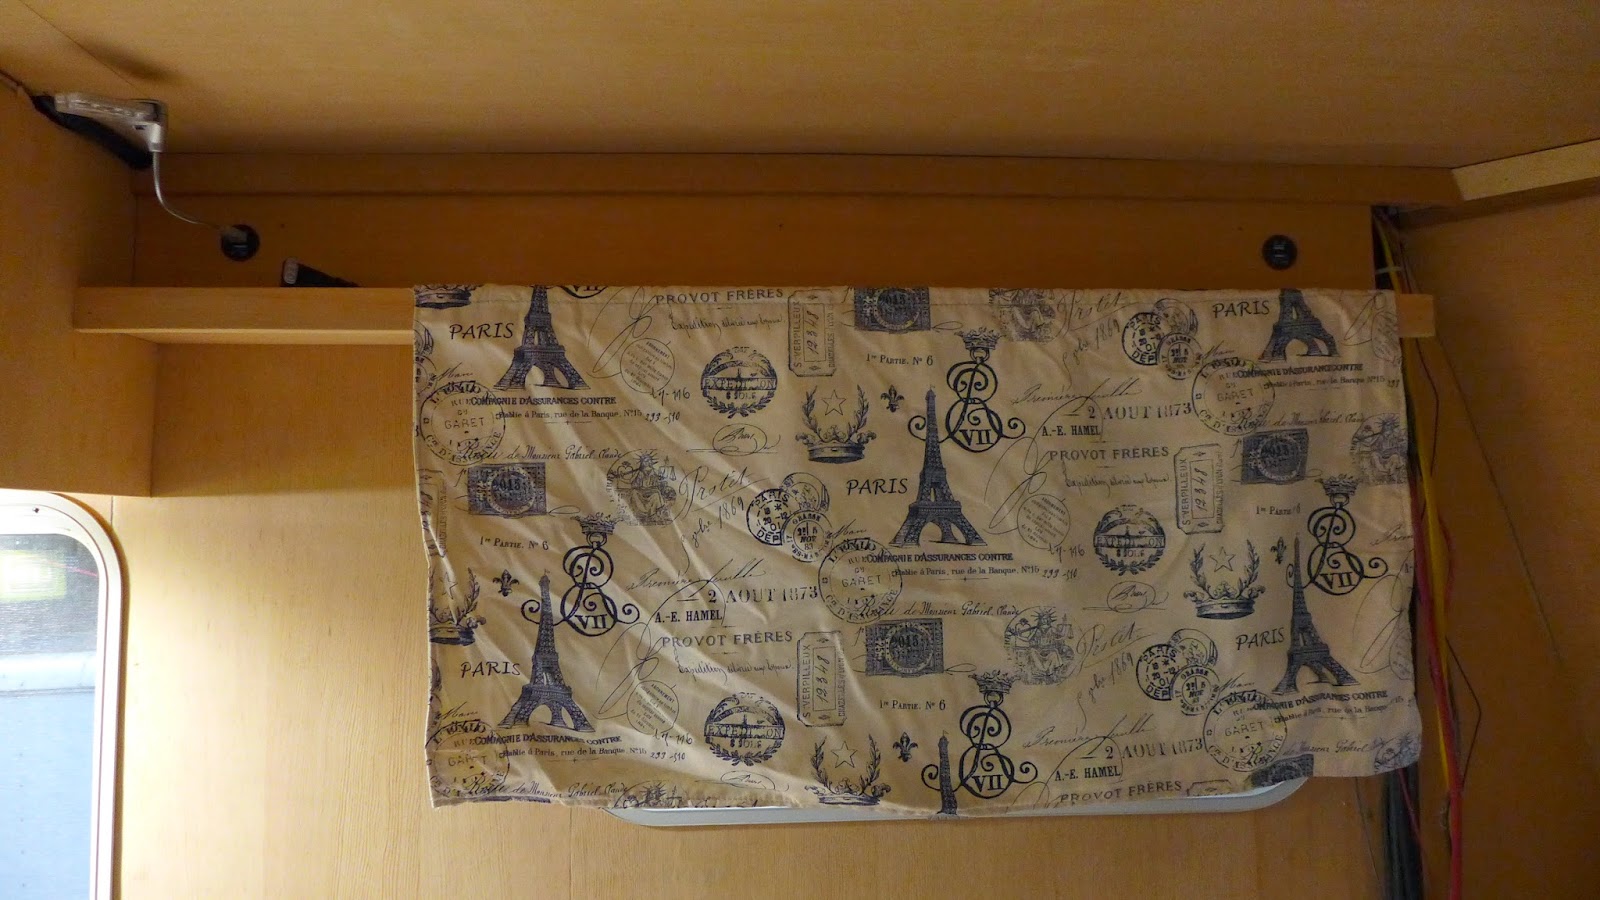
(above) Pulled out one the old curtains...

P1100951.JPG

(above) Still a lot to do, but the plan is coming together...

P1100952.JPG

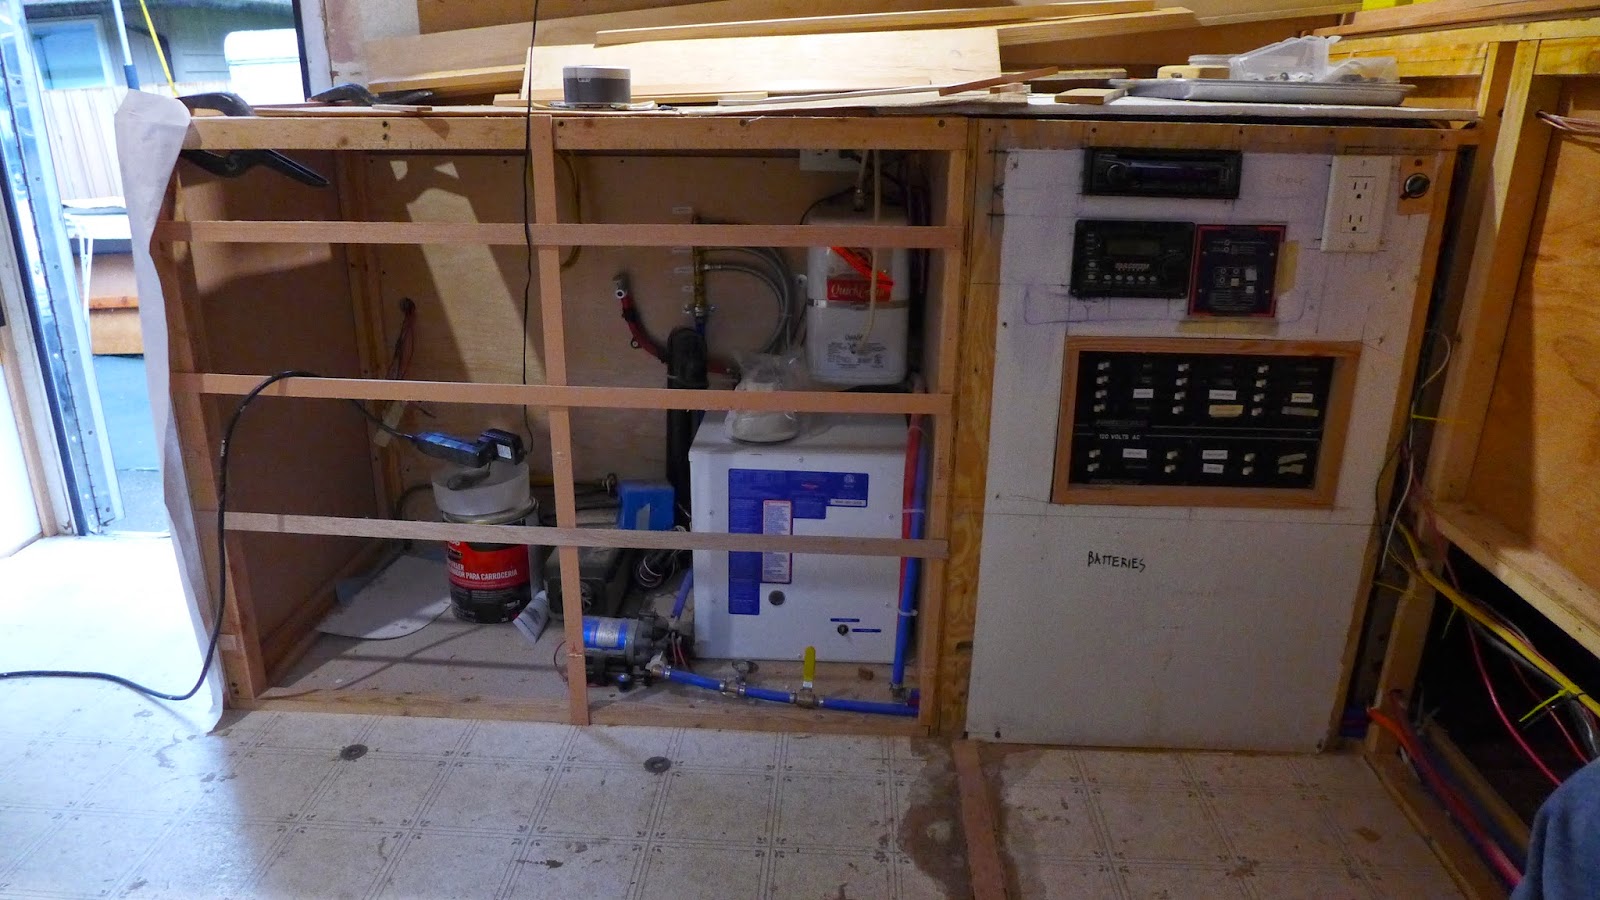
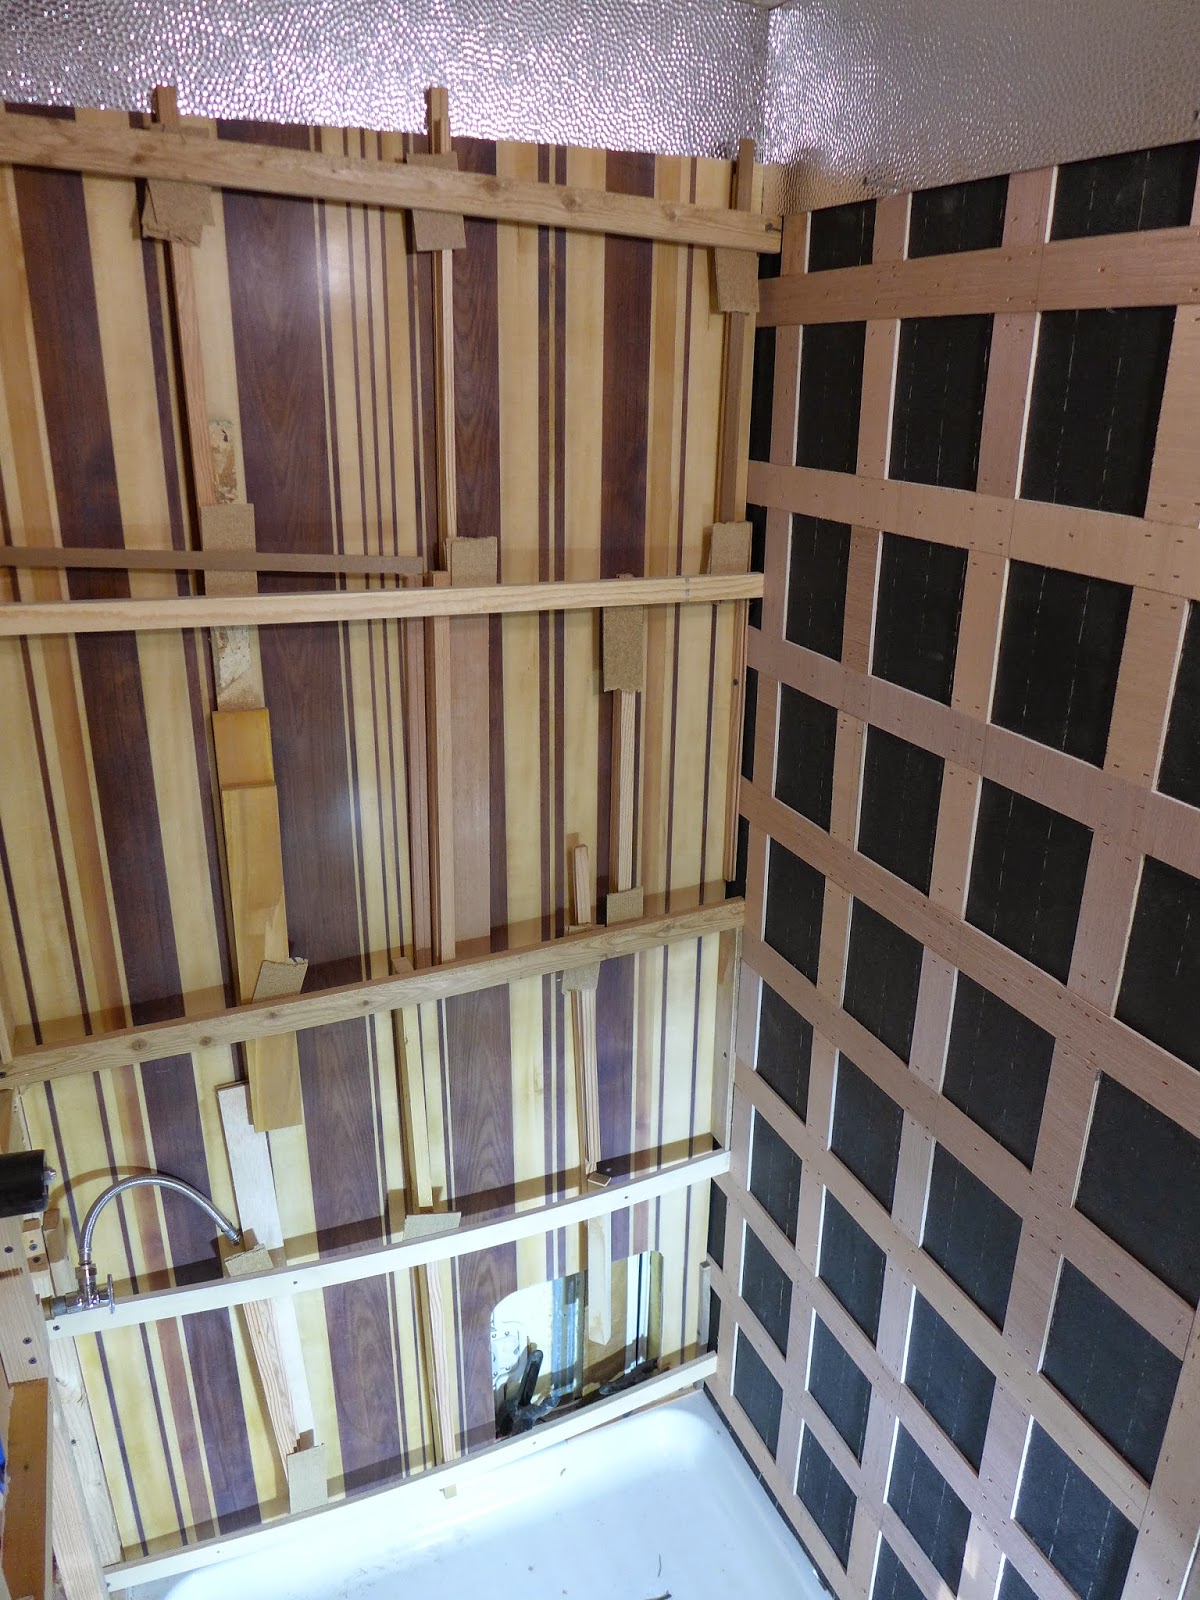
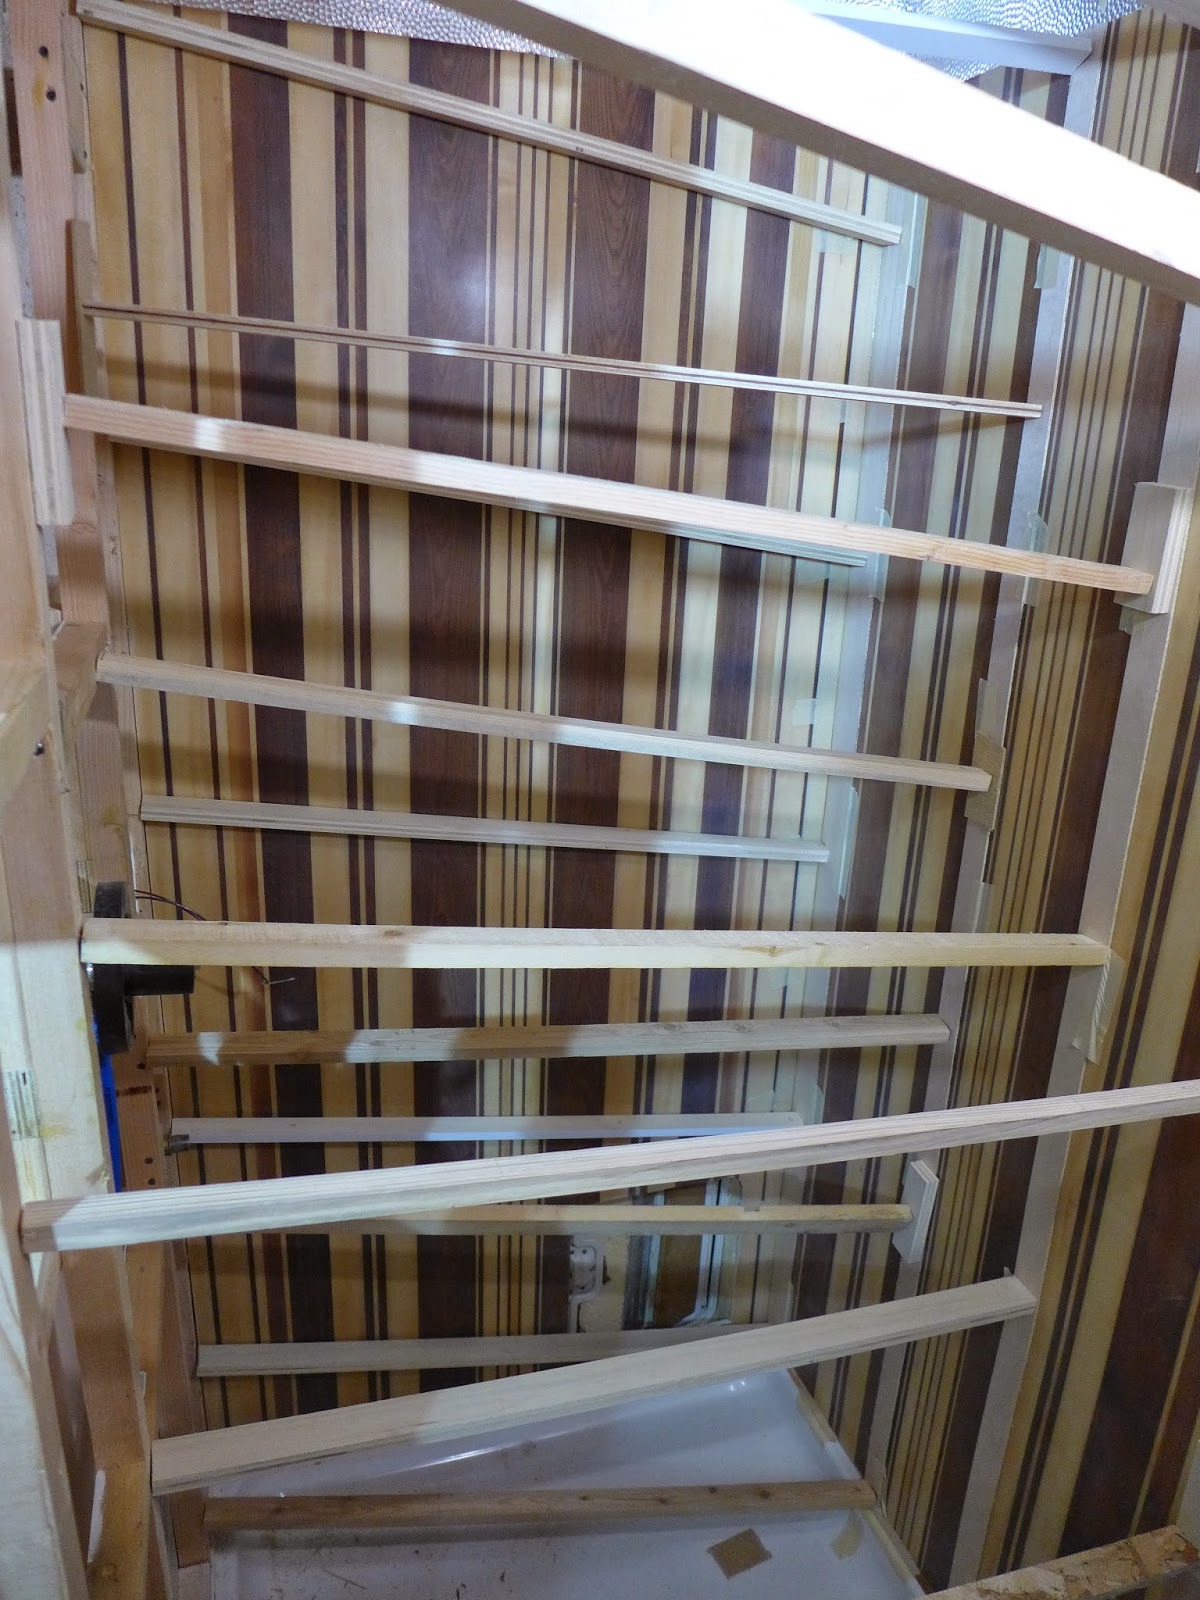
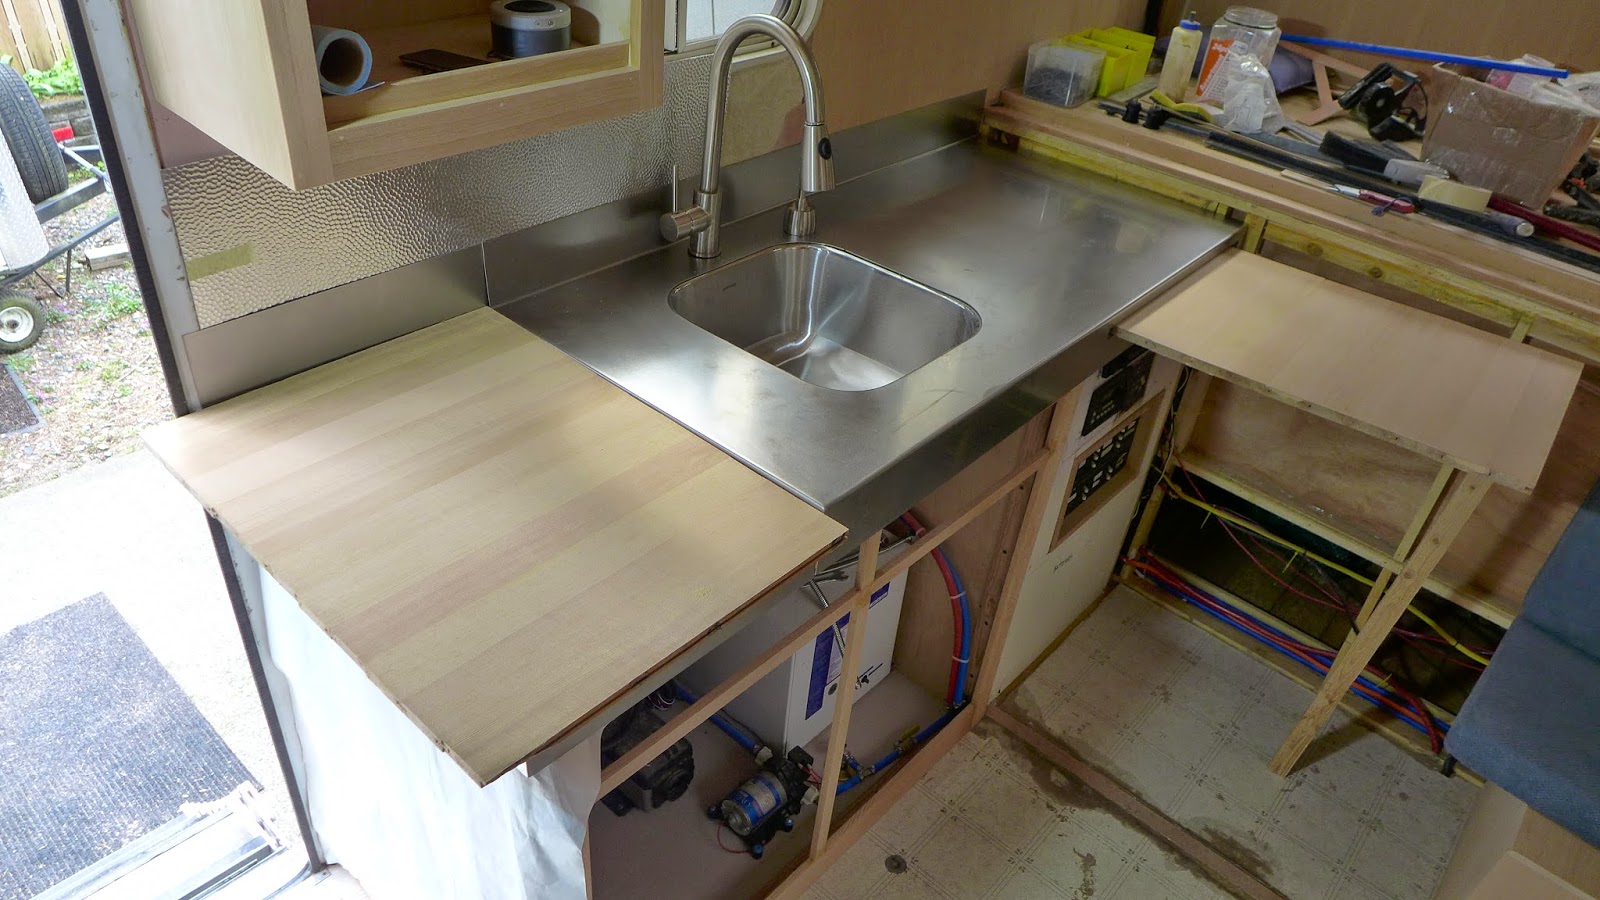
(above) The lower kitchen cabinet... Ignore half of the wood strips hot-glued to the case...

P1100953.JPG

(above) The upper kitchen cabinet has the feed wires and the bed light wires in the case...

P1100955.JPG

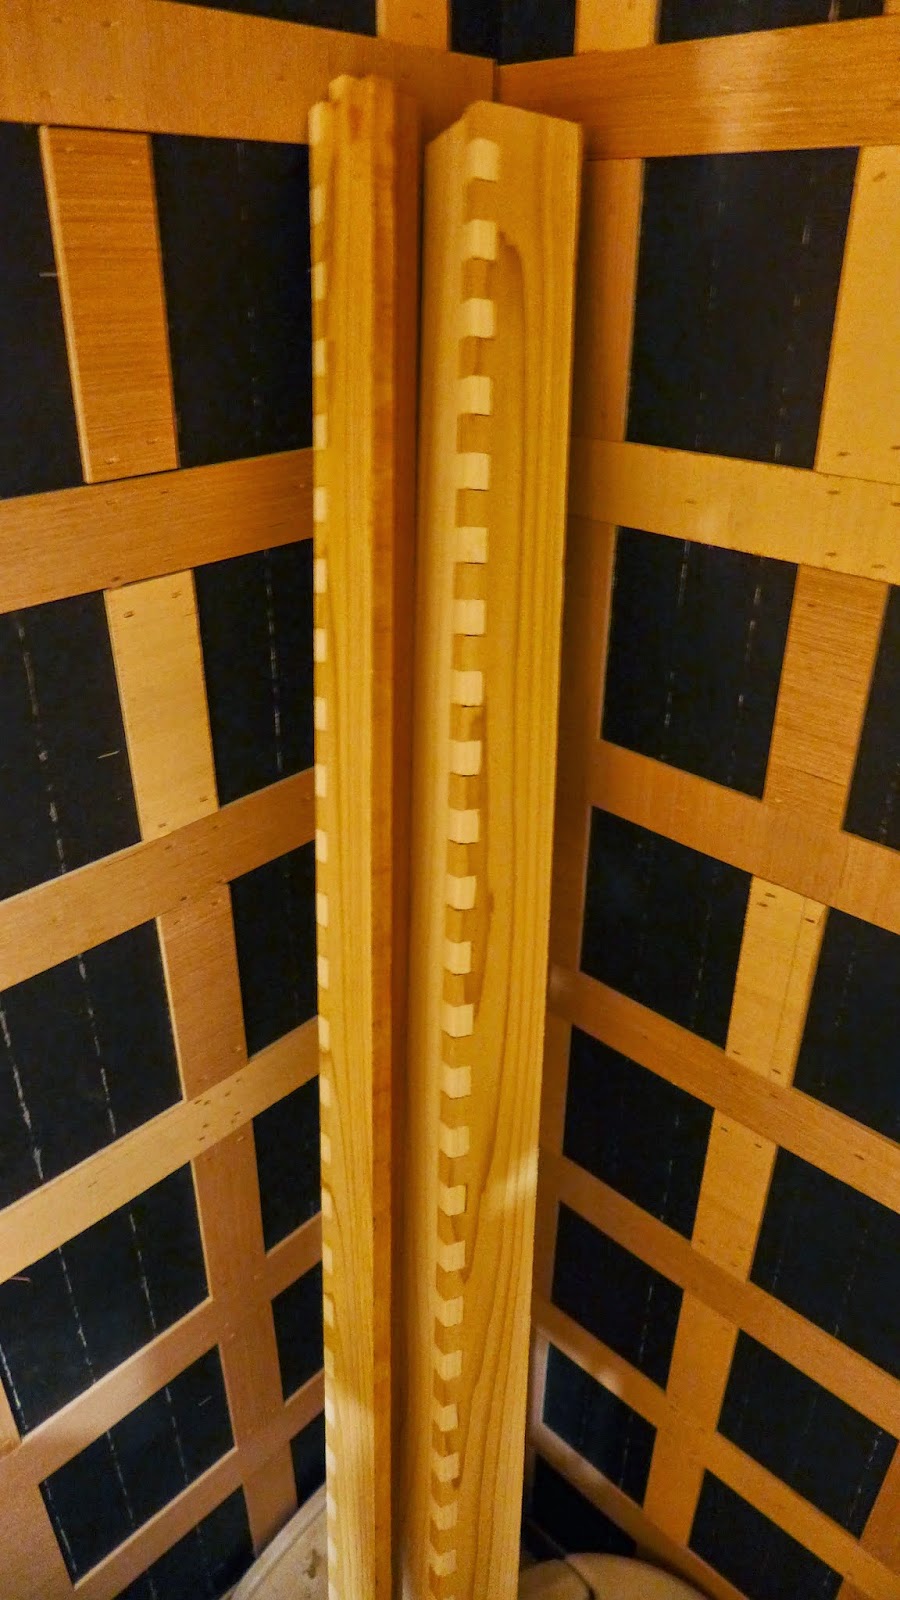
(above) Might use these wood corners somewhere...

More later...
 

GR8ADV

Explorer
I have loved those corner pieces since the day I saw them. I don't care, stick them on the dash or something. &#55357;&#56846;. Or maybe magically turn them into cup holders. I need some of those up front. Lol
image.jpg
 
Last edited:

PaulJensen

Custom Builder
26

P1100965.JPG

(above) Layer by layer, the ceiling trim is taking shape...

P1100966.JPG

(above) Just enough, not too much...

P1100968.JPG

(above) Finishing the ceiling trim was a bit of a milestone...

P1100963.JPG

(above) The shower panels were cut to size and fitted in the rough shower stall...

P1100964.JPG

(above) I might have to do this in my house...

P1100969.JPG

(above) The panels were brought back in the shop and sanded to 400 grit, then buffed with a wool pad and buffing compound... After the dust settled, the panels were buttery smooth... Next, the upper hammered aluminum panels were glued in place, then the first wood/fiberglass panel was glued to the wall with polyurethane construction adhesive... Bracing pushes everything tight... The next panel goes in tomorrow...
 

PaulJensen

Custom Builder
27

P1100971.JPG

(above) Back in the shower, the bracing from the first wall was removed, the new panel was wiped down to get it relatively dust free, the walls had Poly-U adhesive gunned to the panel backing and the new panel was braced tight...

I got a call from the sheet metal guy to come check out the new kitchen countertop so I did... Should have brought the camera, it's looking good...

P1100972.JPG

(above) Back in the Fuso, the water-tank, water-level viewing /cleaning port was drilled into the tank, the port was bonded and screwed to the tank... The old tank had a similar set up...

P1100973.JPG

(above) The seat has a wood access port to the tank port...

P1100974.JPG

(above) With the tank fully set, the seat/tank cover, was also finally set...

The electrical on the driver-side outside wall was finished up as well...
 

garybo

Adventurer
We now have our Sirius antenna stuck to the top of an inside cabinet and it works. It's magnetized to the bottom of a steel pizza pan as a ground plane. Thought it had to be outside but obviously not.
 

screwball48

Explorer
The previous owners are going to see all this work and kick themselves for not having it performed before they began their travels.


Sent from my iPhone using Tapatalk
 
Last edited:

PaulJensen

Custom Builder
28

P1100975.JPG

(above) The stainless steel countertop is loose fit on the kitchen cabinet...

P1100976.JPG

(above) The rough-cut stove-top cover and the rough-cut pull-out cutting board are loosely positioned...

P1100977.JPG

(above) Mind blowing how much horizontal work surfaces are in here now...

P1100978.JPG

(above) The seats were covered with VGDF veneer... Still needs wood corners, etc...

P1100979.JPG

(above) The under-seat access panel was veneered at the same time as the seat...Still need to razor knife it out...

P1100980.JPG

(above) Haven't set the shower-valve wall panel yet...Waiting to pressurize the water system before a final cover up...

P1100983.JPG

(above) Rear window wall trim with a hammered aluminum border... Trimming around the radius corner windows presented the option of framing the trim tight to the window, or allow space between the window and the trim... The other windows will be wood only trim... At first it seemed a bit garish, but as I've spent more time inside, it just looks cool... Just enough, not too much...
 

Forum statistics

Threads
185,840
Messages
2,878,754
Members
225,393
Latest member
jgrillz94
Top