MOPWR Build

Mitch502

Explorer
I've had this Jeep for about 4 years, and I've been saying I'd never change anything about it from stock form because I loved it as it was so much.

After putting 20K miles on it in 4 years (not my DD) I decided that for me to not have 4 cars between me and the wife, I was going to have to either DD the Jeep, or build it. I decided to build it.

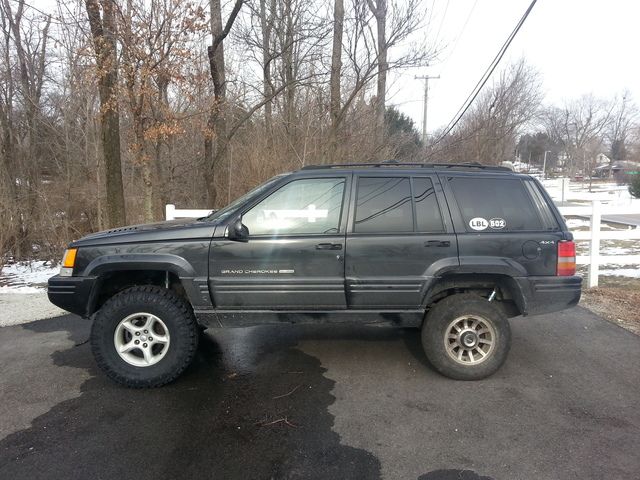
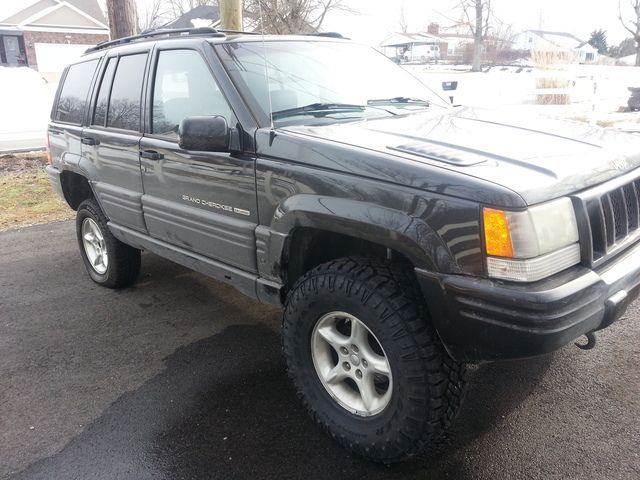
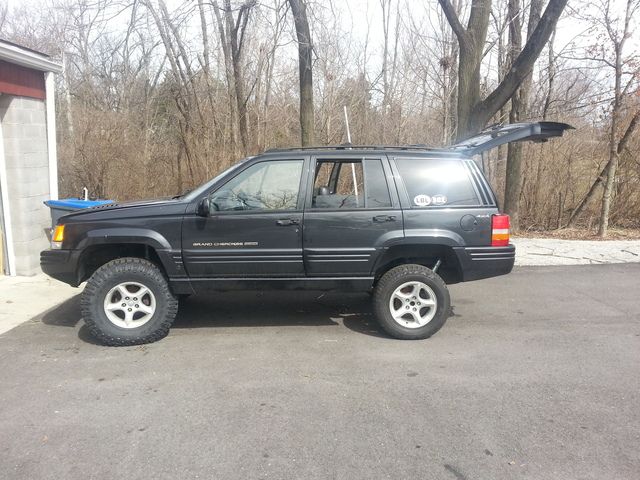
Vehicle: 1998 Jeep Grand Cherokee (ZJ)
Trim: 5.9L Limited


(Hence the name MOPWR)

A few pics of the Jeep in stock form:


(Towing a buddy's car to the dealer for a security flash on his computer)


(Neglected in the Rain)


(Messing Around)


Overall I neglected this vehicle in terms of more than general maintenance. Usually, when I buy a car, the first thing I do is do a complete tune up on it, plus, wires, cap, rotor, and replace anything I see that needs it. It took me over 3 years to pull the first spark plug and check it. Between working full time, going to school full time, getting married, and buying a house, there hasn't been a whole lot of room for a good project.

I drove 7.5 Hours from Kentucky to Muskegon, MI (well, my wife did while I slept) to go get it from some amazingly nice people. We drove it home, did a couple minor things to it to make sure that it was able to be driven daily, and then just drove it. It has never let me down. The time has come to give it it's rightful place as a off-road machine, and one that will actually get used.

I'll start outlining the things I've been doing in the past few weeks and the plans in the posts to follow. I waiting until I was nearly done with the major things to start a thread. My goal is to do as much as possible in a DIY way, while still being reliable.
 

Mitch502

Explorer
So, this is not my daily driver, but I want to be able to get it in and go to the store if I want. Basically, I want my cake and I want to eat it too...while still keeping the wife happy on how much goes into it. This means as much stuff as I can do myself, I have to do myself. In terms of labor, it's not a big deal. My dad was a mechanic for a long time, and is reluctantly willing to help me with anything. I have the luxury of a lift, and can therefore do some things a lot easier than most. I'm lucky in that regard for sure.

One thing I can't stand to do it cut/destroy factory parts. And by that I mean I WILL NOT trim fenders, drill holes in the body (in visible places anyways), or hurt the interior in any way the permanently leaves a mark (Not drilling holes for my dash bar for example). It makes the whole thing interesting to find out a way around damaging the vehicle. Here are some ideas on what will be done in the end.

Short term goals/projects (2-3 weeks, or already completed):
3.5" springs
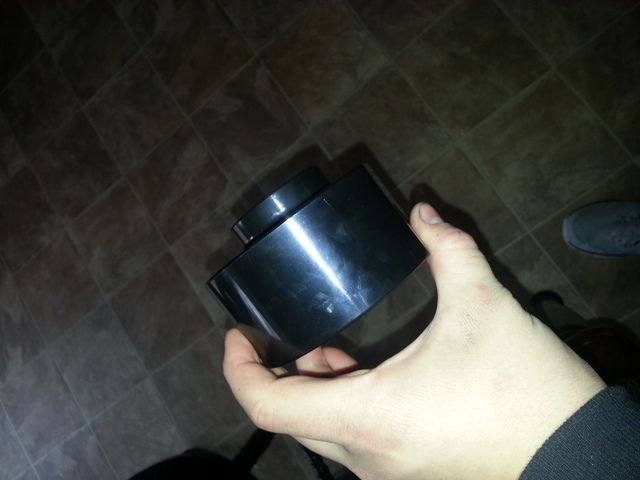
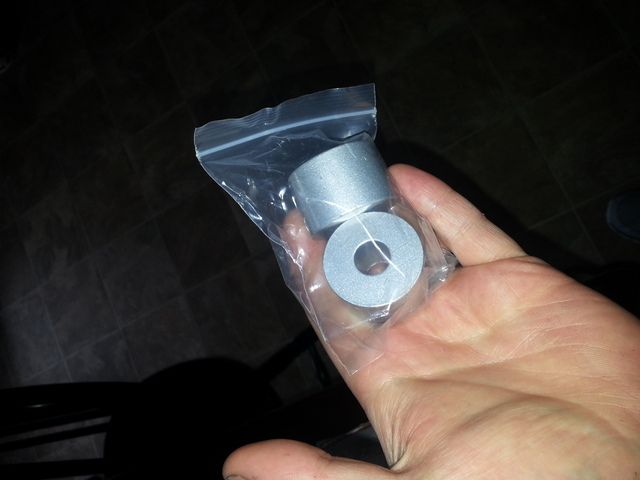
2" spacers
Bilstien shocks
Adjustable track bar
rear drop bracket
1" t-case drop
285/75/16 Goodyear Duratracs on stock 60th anniversary rims
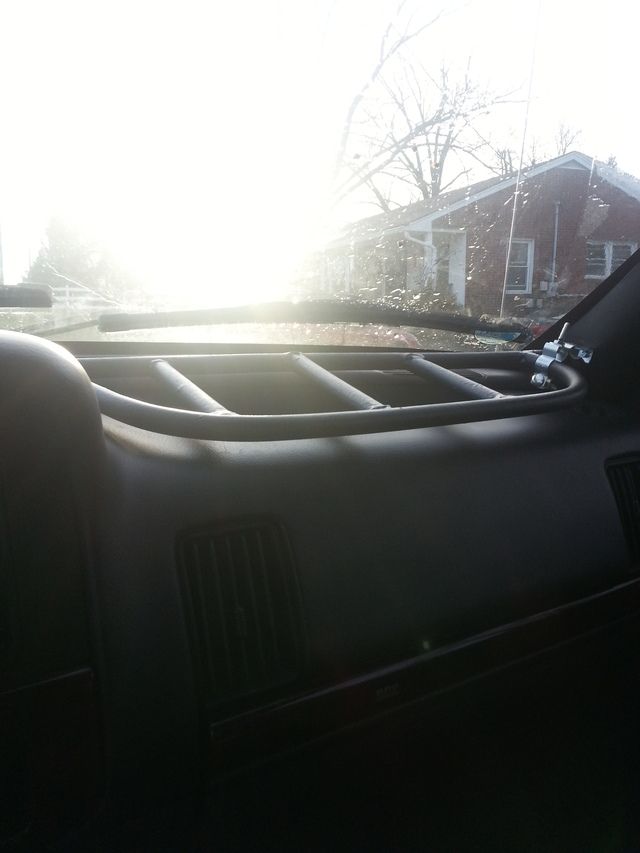
Custom dash bar to mount CB/etc
Cowl CAI/Snorkle/Just freeing space up in the engine bay
NP249-->NP242 Swap
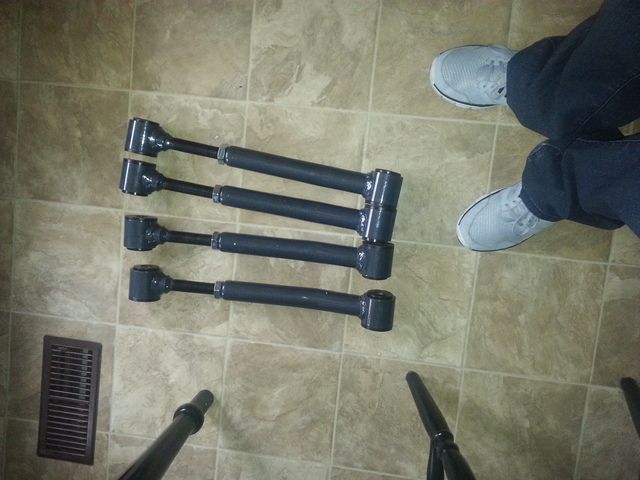
All 8 adjustable control arms
Duranago Steering Box
PS cooler


Medium (2 months or so, hopefully)
Some sort of switch plate for lights/accessories
2nd battery
Flatlands 4x4 Winch bumper
Winch (Badlands 12K)
Most likely a custom RTT from a Kamp-Rite double cot tent (plus basket to put it in on roof)
Various lights
On board air
Rear drawer set-up + full size spare


Long term (year+)
Ford 8.8
Who knows
 
Last edited:

Mitch502

Explorer
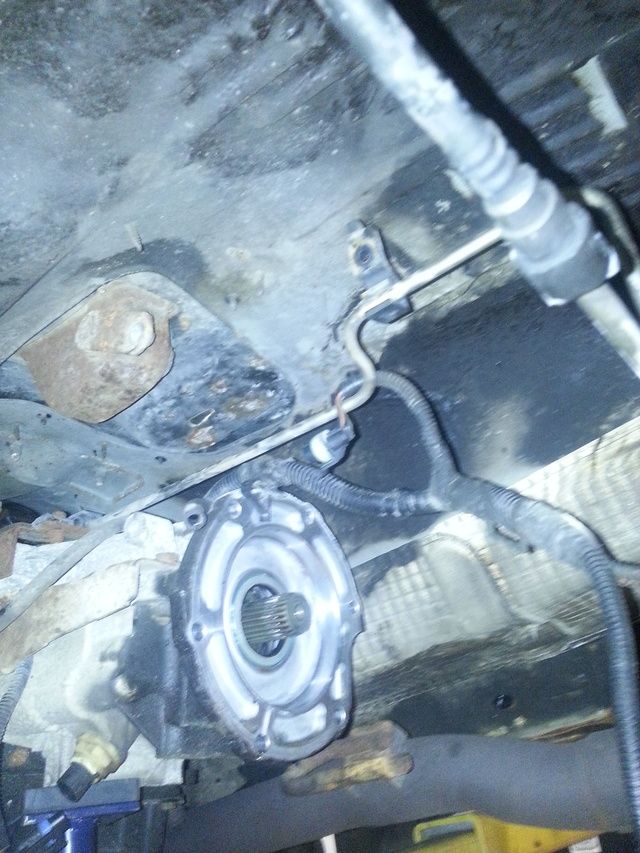
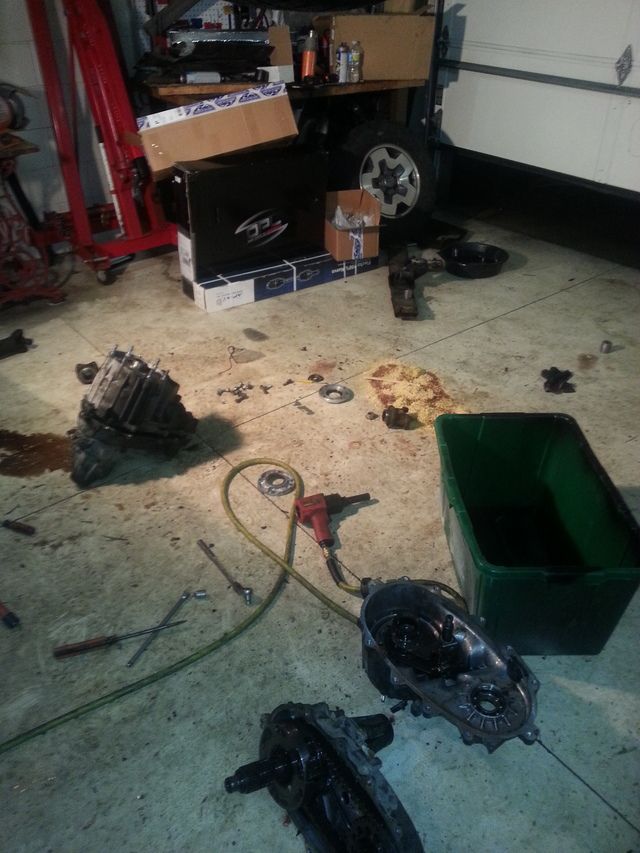
First thing was to swap the NP249 Transfer Case out for the NP242. My NP249 was perfectly fine. The viscous coupler wasn't bad or anything, but after looking into it, the "Slec-Trac" transfer case gives me a wider range of 4WD options that will suit my needs. Specifically, it gives me the ability to be in Part-Time 4WD (locking all 4 wheels to the same speed). The swap was supposed to be straight forward, but turned out to be a 2 day job. I had to swap input shafts, and for some reason neither case wanted to separate correctly. I ended up having to completely disassemble the NP249 in order to get the input shaft. But, it's all done now.


Unfortunately, and at the same time gladly, I didn't get to really test it out. Instead, I chose to start adding some more "fun"Notice the pile of boxes in the background...
 

Mitch502

Explorer
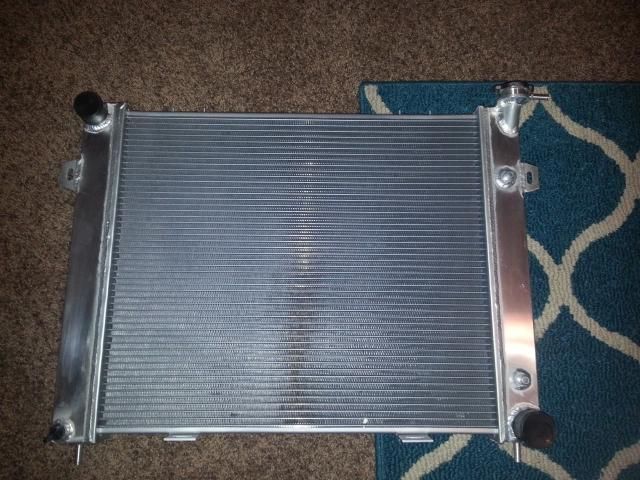
Got a few things in the mail. Mostly the boxes from the picture above.

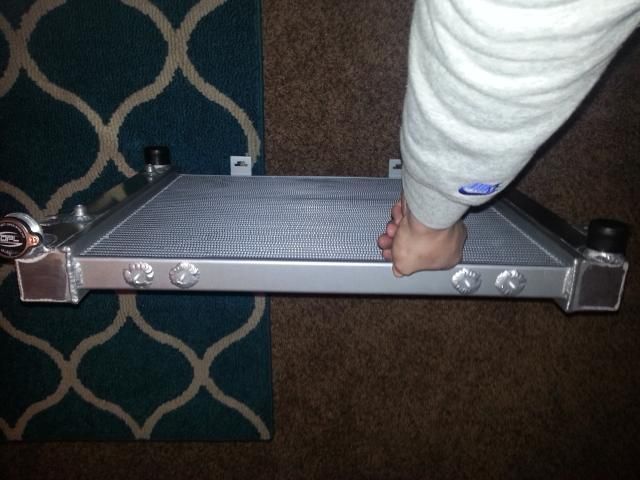
2 Core all aluminum radiator


Also got a cv shaft to replace a broken boot (going to use the one on there now for a spare), all new PS lines (except the return hardline, an oversight when ordering parts), all new coolant hoses, thermostat, and some other random stuff.

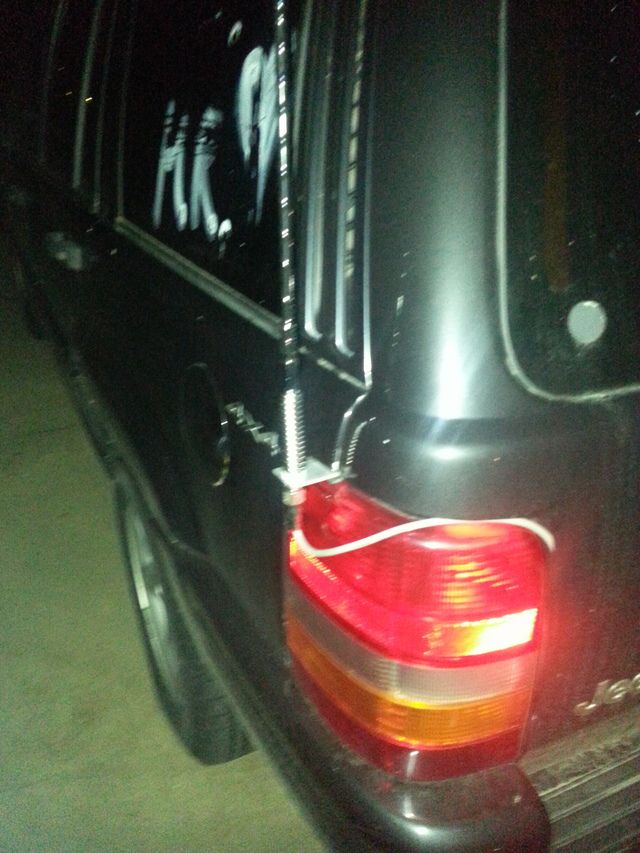
For now, make fun of my temporary CB antenna mount...
 

Mitch502

Explorer
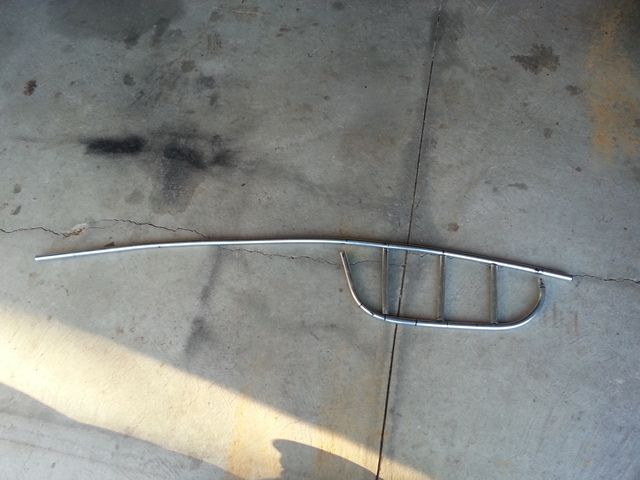
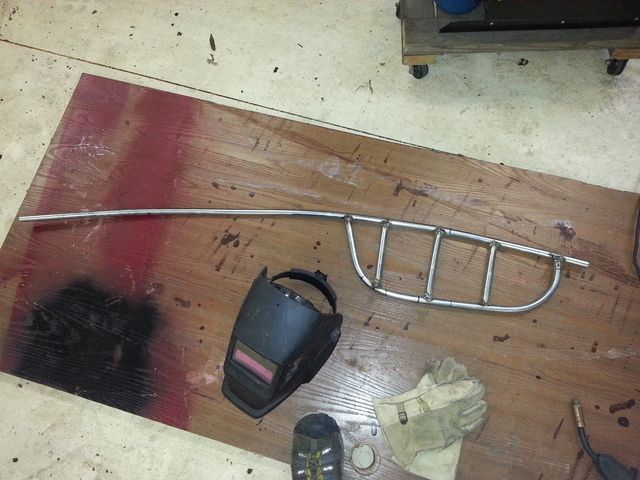
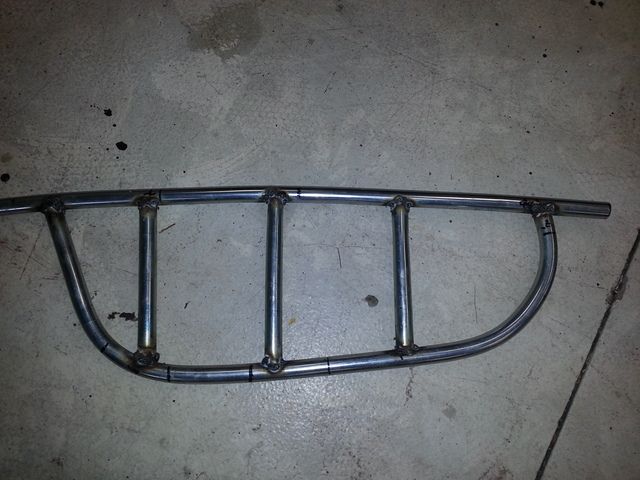
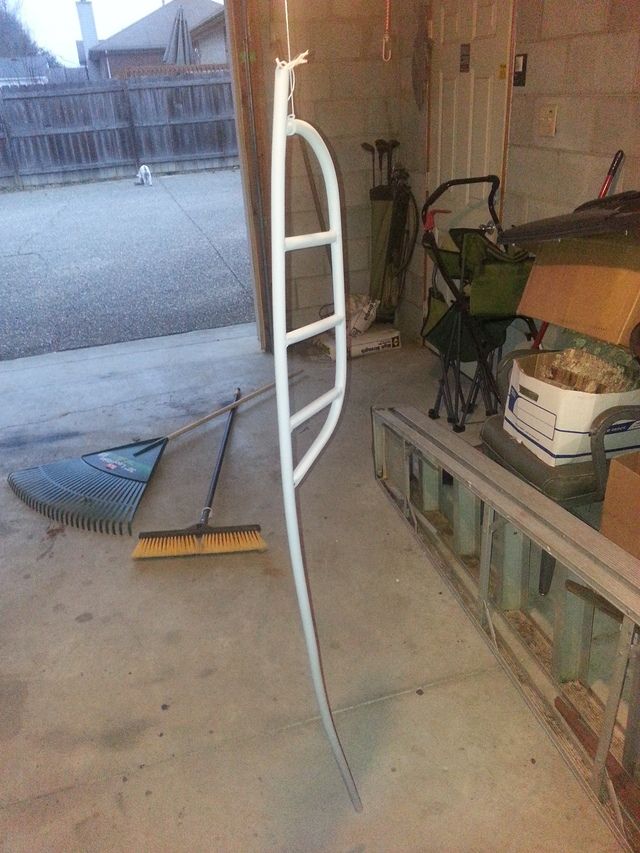
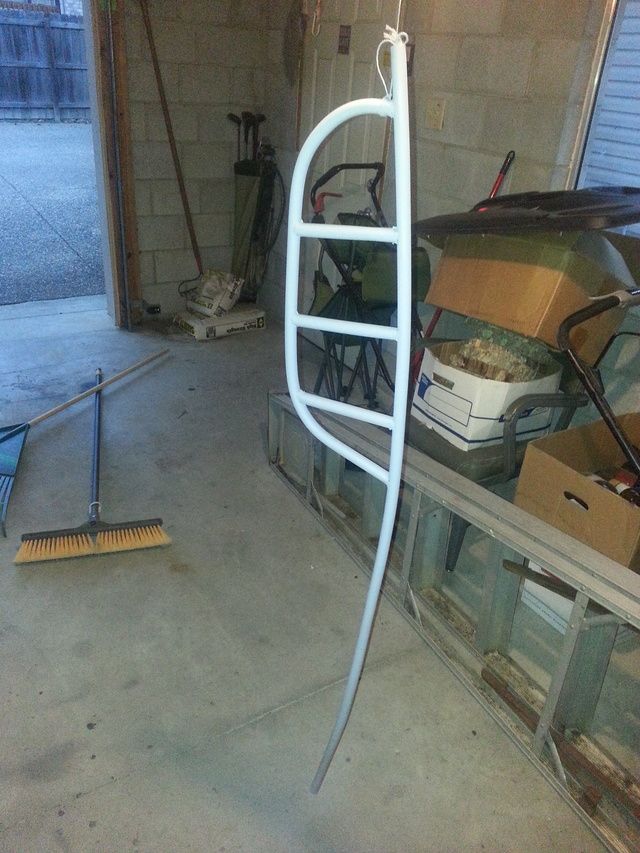
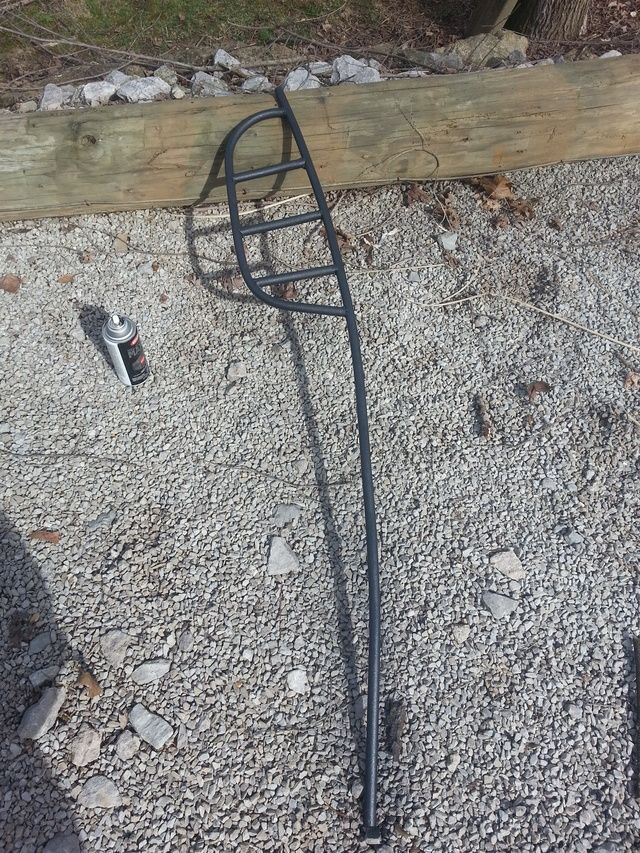
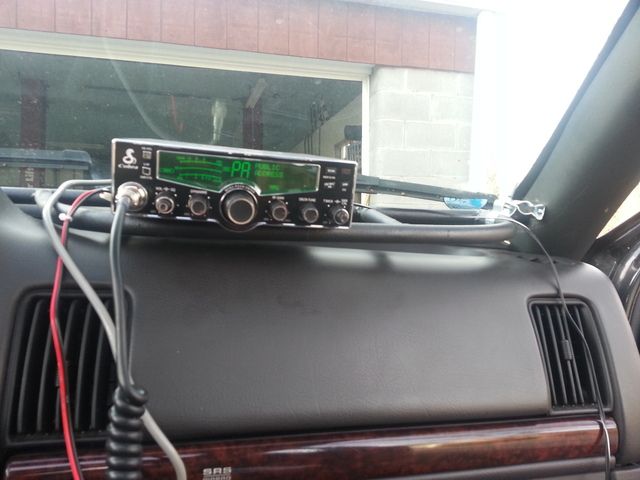
Something I started working on before I did anything else, was somewhere to mount the CB radio. I didn't like the idea of drilling holes into the dash, I didn't want to cause any damage to it. I did, however, go to the junkyard and grab a set of A-pillar trim pieces. The idea is to "hang" this from the A-Pillar trim, and have a rubber ""stop" to keep it from rattling or bouncing. It is finally warm enough out to paint, so I will be putting a coat of bedliner on this tomorrow.

this is one of my favorite things. It's funny how the smaller parts can be the most fun. In total, this has cost me about $2 for the conduit, borrowed my father in laws conduit bender, and used a can of primer I had laying around to spray it. Then tacked it together with the welder at my parents house. Excuse my terrible welds. I am no good at welding, and it is especially hard to weld this super thin/weak conduit. I'm happy with how it's come out so far. More pics on this to come soon.

All I did to build it was measure and bend. I took my time, and made it the shape I wanted.
The part that sticks out will cover the flat area on the passenger side on top of the dash. This is where there will be a rubber stop to rest on the dash and prevent rattling.


Welded up


Primered


Like I said, the idea is to be non-invasive, cheap, functional, and reliable. So far, so good.
 
Last edited:

Mitch502

Explorer
Well, this is perhaps the most important. The decision came that I needed new shocks, new tires, and some other stuff. Well, what better excuse that to just replace as much as possible???

3.5" springs on
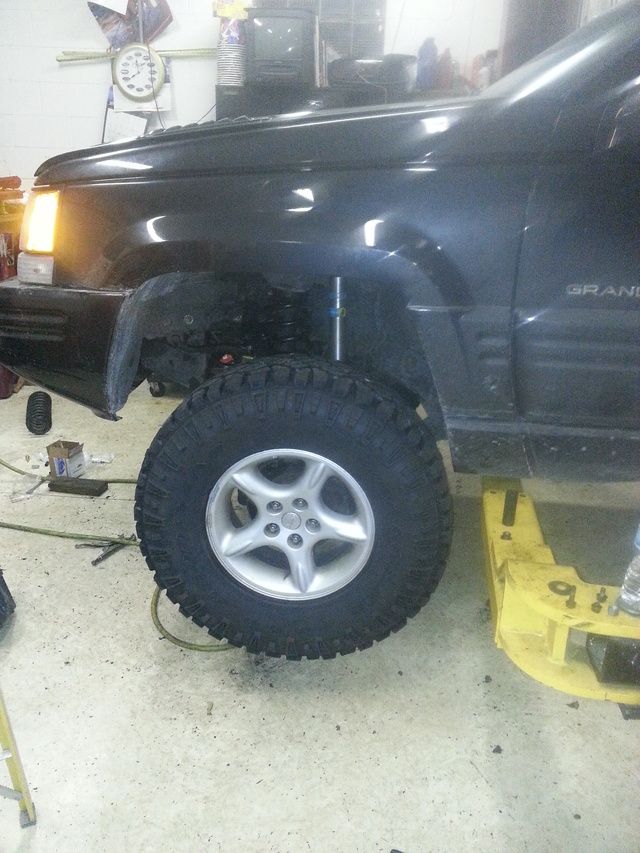
285/75/16 goodyear Duratracs (Thanks to a good friend for hooking me up, walked out with all 4 w/ a 3yr full warranty for under $750)
sway bar links
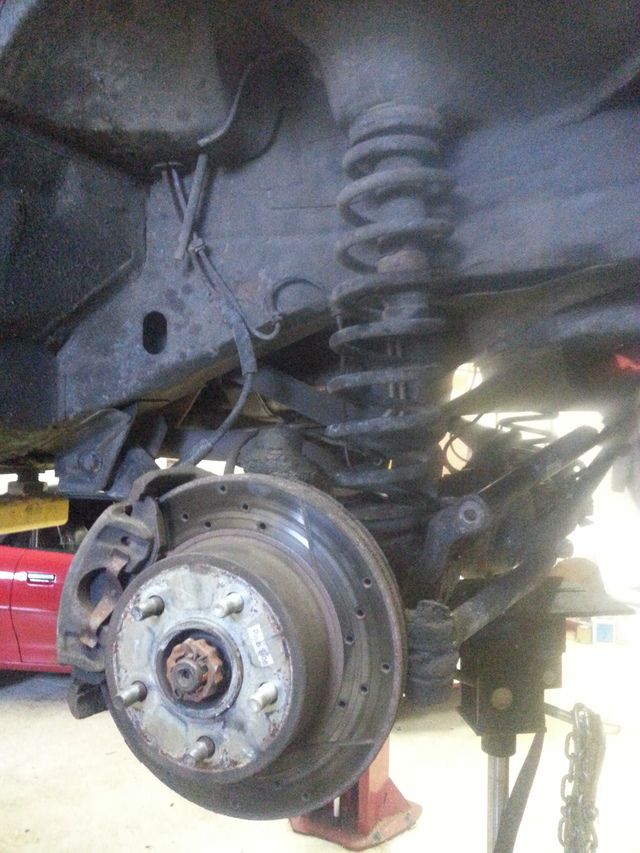
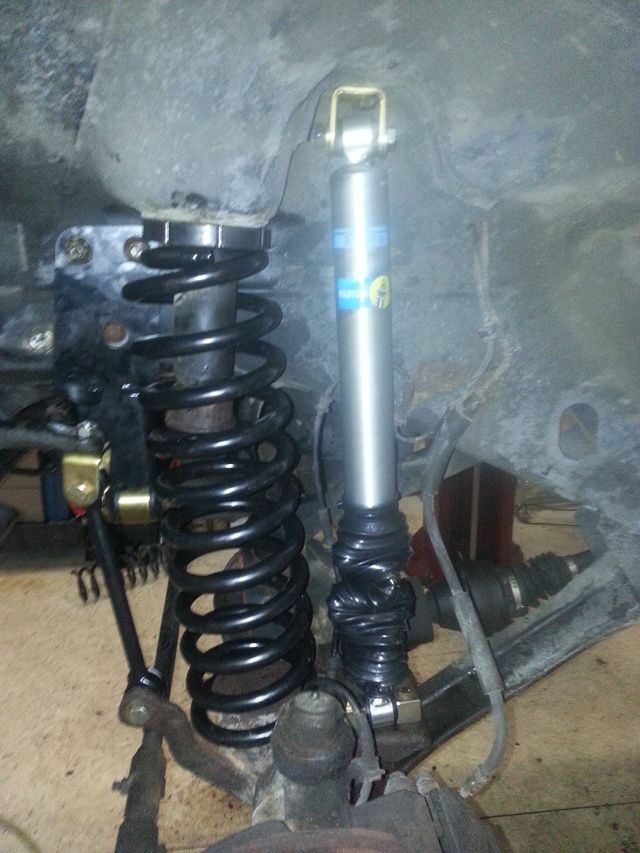
bilstein shocks


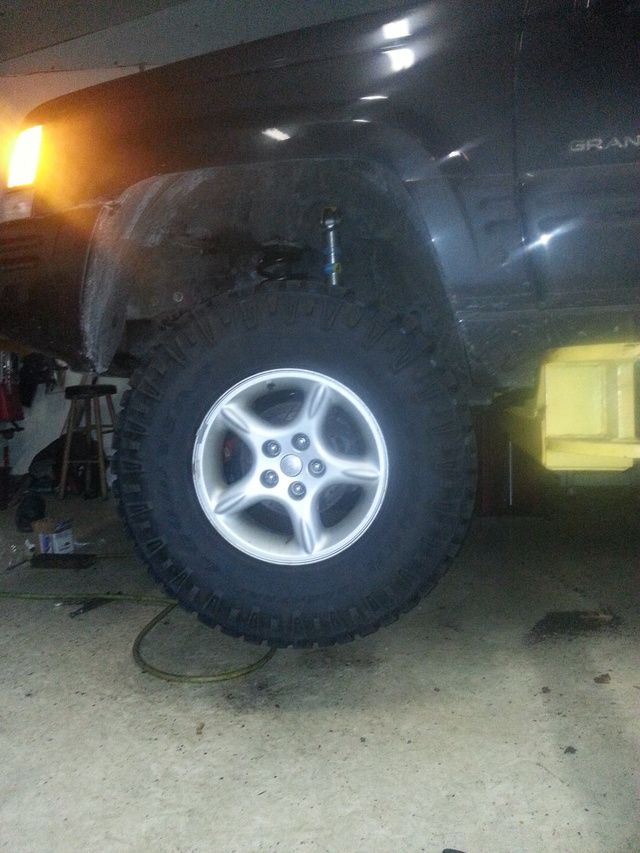
The 2" spacers weren't in from ordering them when I started this. I really needed them in the end, right now the Jeep is immobile. I rub terribly on the front bumper (I don't mind removing this until I get the Flatlands bumper done) and I literally CANNOT get the back tires on. They hit about 2" into the rear door. I have the spacers now, and all 8 adjustable control arms from Core 4x4 fabrication should be here by the weekend.


All the parts laid out
 

Mitch502

Explorer
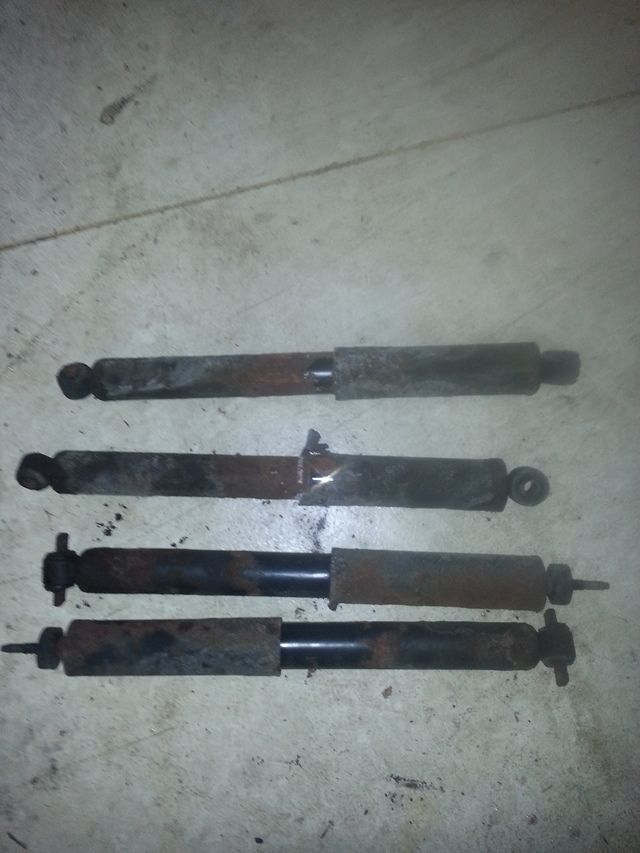
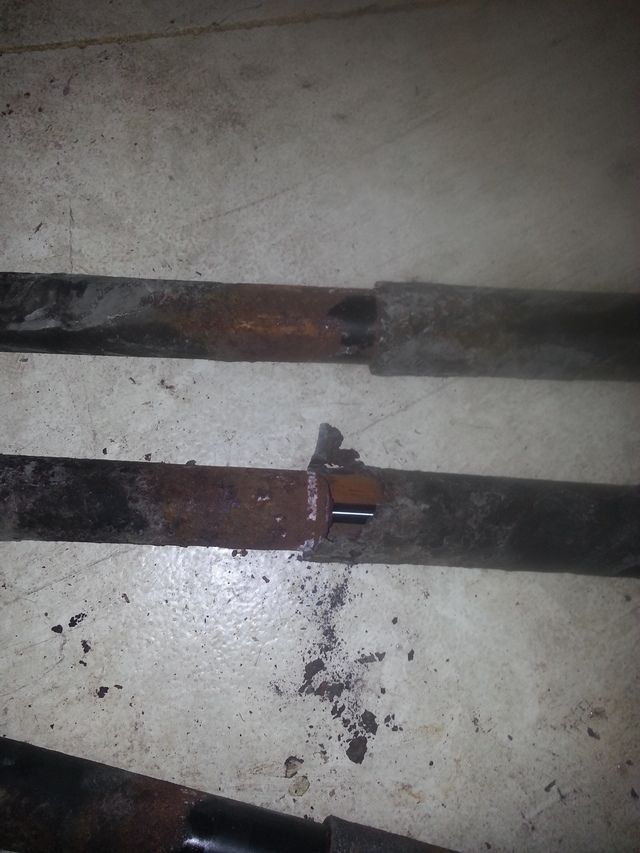
In case you can't see that...it was time for new shocks...


Before


After


Tires on with car sitting off the ground


Waiting for the control arms to come in so I can get the back tires on...


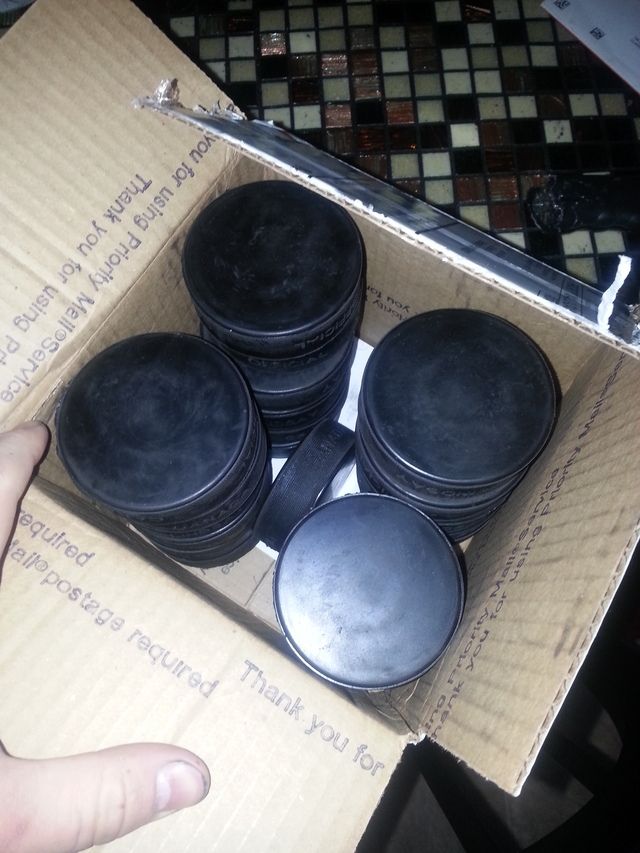
Still have to add the 2" spacers and the control arms. Also have to get bumpstops. For that, I'm using hockey pucks. Ordered them the other day, $30 for 25 pucks shipped to me in 3 days or so. This is a common solution to making extended bumpstops vs. paying over $100 for new ones. (per set of front/rear)


EDIT: Initial measurements from ground to top of fenderwell were between 30.5 and 31.5. Right now it's looking like, without the 2" spacers, measurements will be around 37.5. That means total difference in height will be around 9" when it's all said and done, minus some possible settling of the suspension components.
 
Last edited:

Mitch502

Explorer
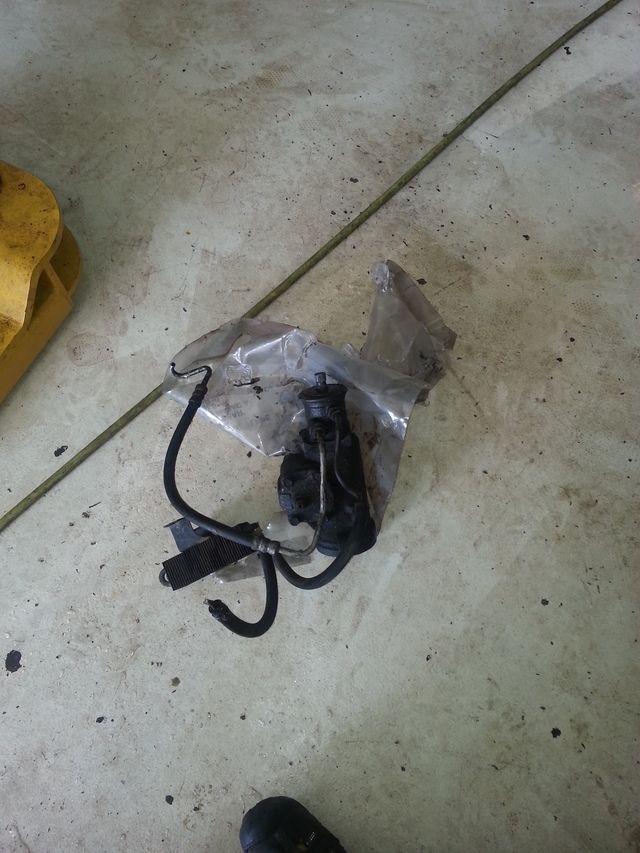
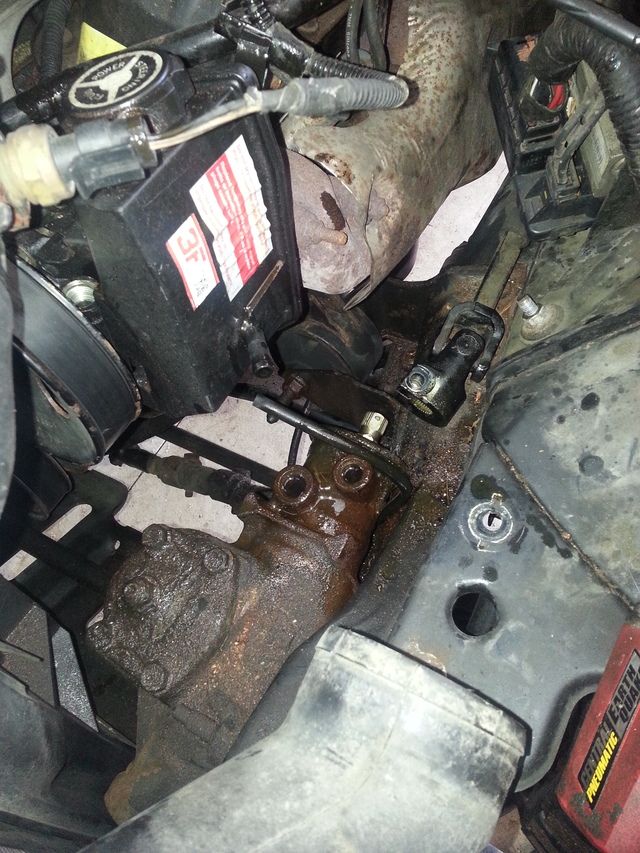
My steering has had about 2" of play in it since I bought the Jeep. All components were good from the outside, so it had to be the box. Now, the stock steering box can be adjusted...but whats the fun in that???? The 99 Durango box is beefier, and has a much better turning ratio.

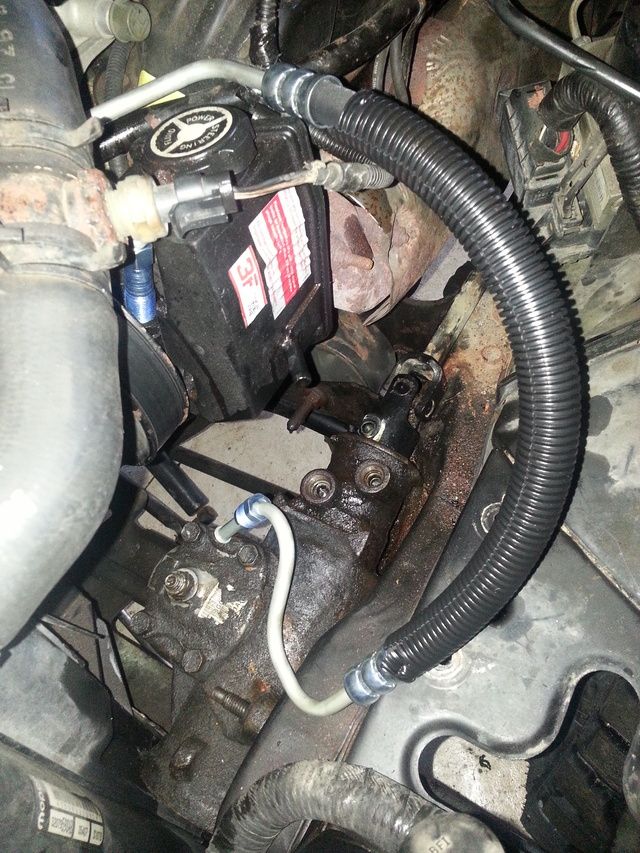
99 Dodge Durango steering box with PS cooler, which ended up being the perfect size cooler.


Mounted in place, putting the new lines on. Notice in the front picture the circular tube coming from the grill area. This is the stock air intake area. When I removed that, there is perfect place to mount the PS cooler, and it will get constant air.


I put on a new tierod and did the steering box upgrade today. Have to add fluid and such tomorrow. I ran out of time before work. It is all mounted up though. All that is left is to add fluid and cycle the system.
 

Mitch502

Explorer
I've been noticing the lights dim, and long starts on the Jeep for awhile. Something else I've neglected. The battery terminals were horrendous. They're soft as jelly and have more corrosion that metal left. I found these on Amazon, and even though it took a literal month for them to get to me, I really like them...


I'll be updating this over the next few weeks as I finish up the initial build. At the very latest there will be some action going on Memorialr day weekend when we go to a trip to Land Between the Lakes for a 2-3 day trip. (LBL sticker on the back window of the Jeep is Land Between the Lakes, we went there in my Comanche I recently sold)
 
Last edited:

Mitch502

Explorer
Finished painting and prepping my DIY dash bar...

Still have to get bolts that fit better, but I like it...


Have to re-run my wires to hide them, but you get the idea...


Mitch502

Explorer
Bumpstops are ready. Waiting until I get the adjustable control arms on and all before I measure to install them.


(25 hockey pucks, hopefully that's enough)


Adjustable lowers came in, waiting on the uppers so I can take it to get it aligned properly.


Still looking funny.
 

Mitch502

Explorer
Got it to where I at least have 4 matching tires on it. Put all 8 adjustable control arms on it, have to install new camber bolts due to breaking one, but that is a quick fix.

Here it is with the tires on


Had a busted CV boot. Happened about a month ago and was lucky enough to catch it immediately. When I changed the oil I watched the first chunk of grease run out of it. Figured if I was going to pull it I should just order a whole new CV shaft and use this one as a spare.


Why not replace the ball joints too?

http://s214.photobucket.com/user/Ro...-03/20150326_164426_zps59mskfvg.jpg.html?o=36


Had to quit for the night to come into work. Will be finishing it tomrrow and getting it aligned on Monday I hope. Ready to get it on the road and get it moving!
 

Mitch502

Explorer
Brake lines from a 1994 K1500 2WD. They fit, but are long. Have to find a way to tie them back.


Here is my CAI/Snorkle. Cost me ~$20 for the coupler and tube, ~$10 for a 3" hole saw, and ~$30 for a K&N Cone filter.

Step 1, turn the air hat 180*


Step 2: drill hole in desired location in passenger side cowl, remove cowl, and run tube from air hat into newly drilled hole


Step 3: Attach filter and reassemble. Here is the filter tucked in there. Going to get a water cover for the filter:


My main reason for doing this was go gain room in the engine bay for a second battery/accessories. Check out the space


Mitch502

Explorer
Dropped off to get the full alignment...after changing wheel bearings in the parking lot across the street to avoid having to trailer it home again.


If you guys haven't tried to torque app, I suggest it. Even if it's just for fun..
 

Forum statistics

Threads
185,888
Messages
2,879,218
Members
225,450
Latest member
Rinzlerz
Top