HSKR4X4
Adventurer
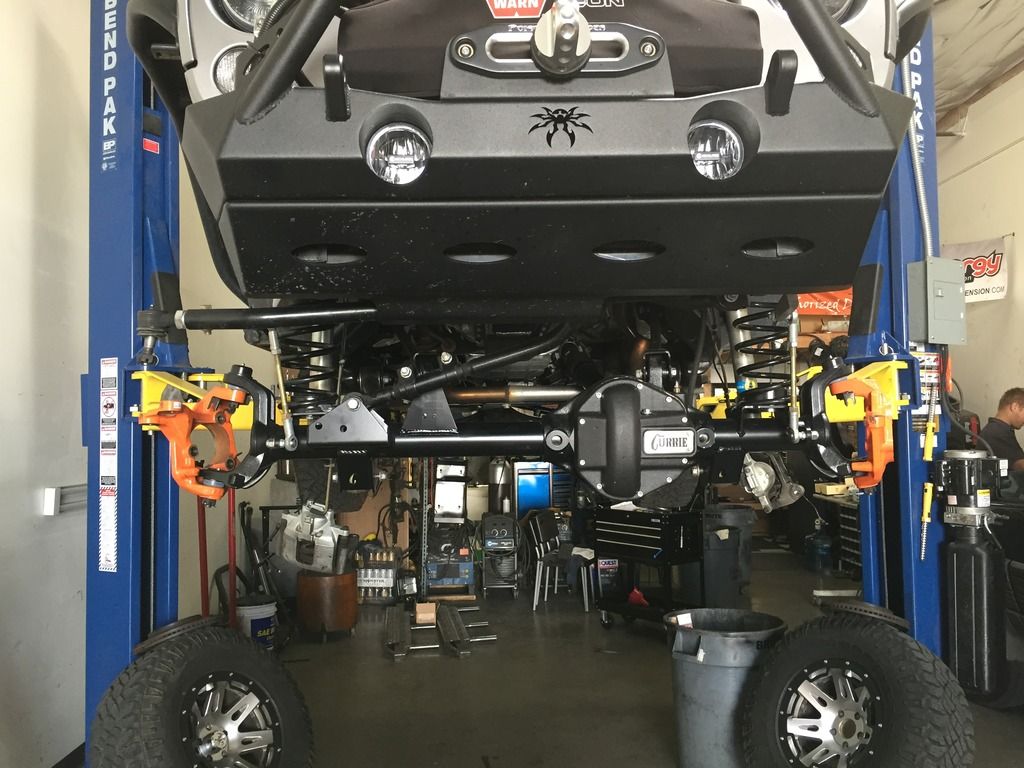
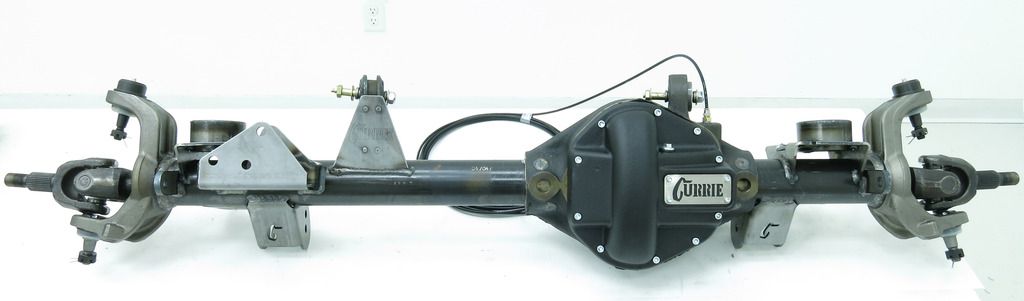
ROCKJOCK® 44 HIGH PINION JK RUBICON HEAVY DUTY REPLACEMENT FRONT END HOUSING WRITE-UP
Mfg: JK-44HPF2
Currie Enterprises® Price Starts At: $1,999.95
Description
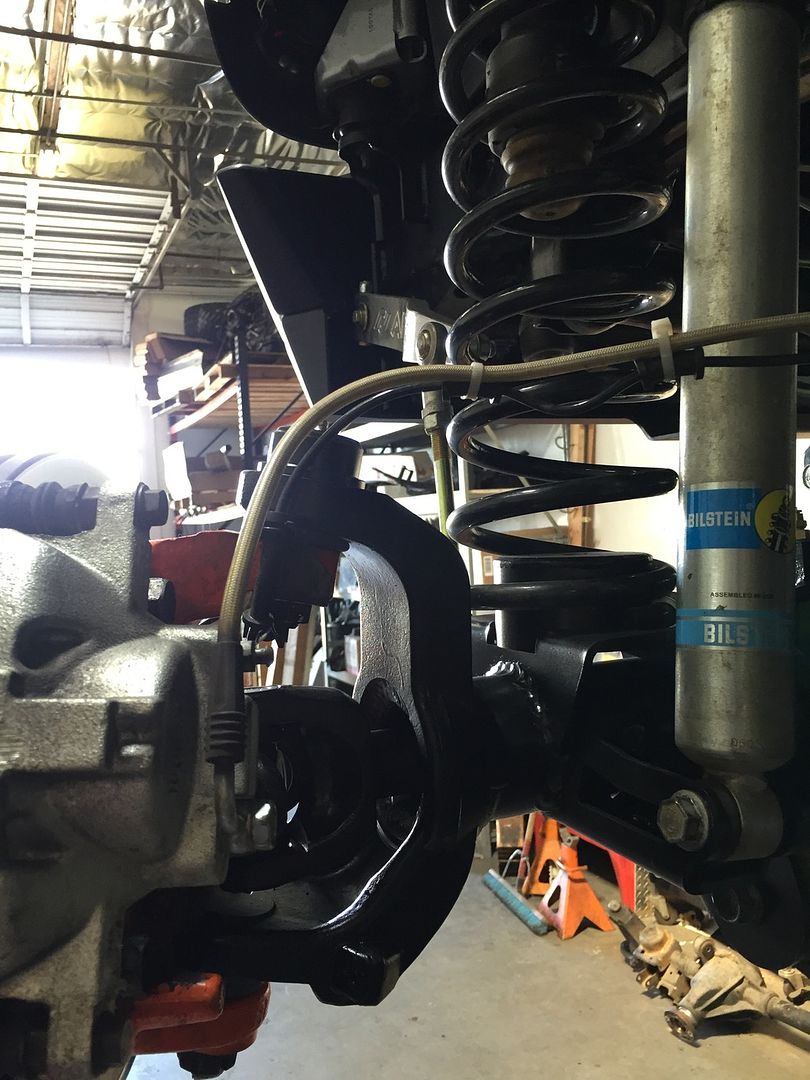
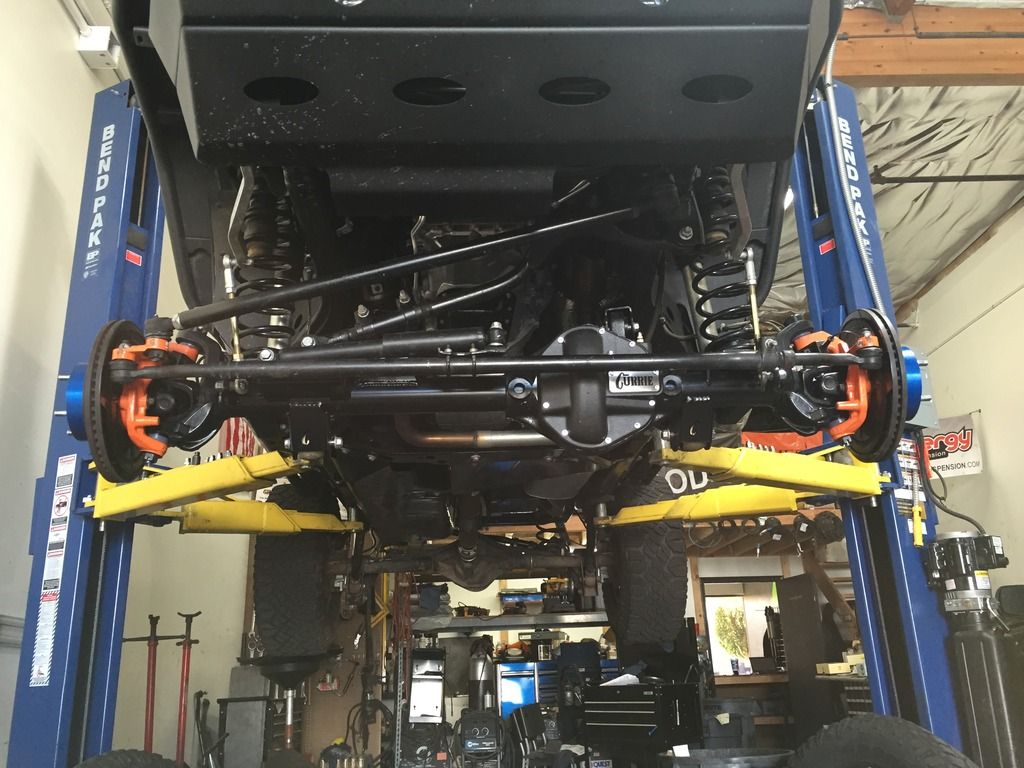
The Currie RockJock® high pinion 44 is an all new, heavy duty 44 made 100% by Currie. Their casting is a heavy duty, ductile iron piece that uses the larger JK high pinion 44 gears only. These gears feature a larger ring gear than a standard 44 as well as a 29 spline Dana 60 size pinion gear. Tubes are 3" x .375" wall. All new heavy duty JK suspension brackets are mounted on this housing for an easy bolt in installation and Currie's forged JK knuckles are installed. These are completely custom-built units that are made-to-order to each customer's specifications and application. They provide a much stronger assembly than the factory frontend in Jeep JK vehicles.
NOTES:
Unit is the factory 65.400" overall finished width. This housing weighs 134lbs., where a stock JK high pinion 44 front housing weighs 91lbs. Housings do not include ball joints, cover or yoke. Must use part number 44-4109JKHP solid spacer & shim kit when setting up gears.
My Thoughts
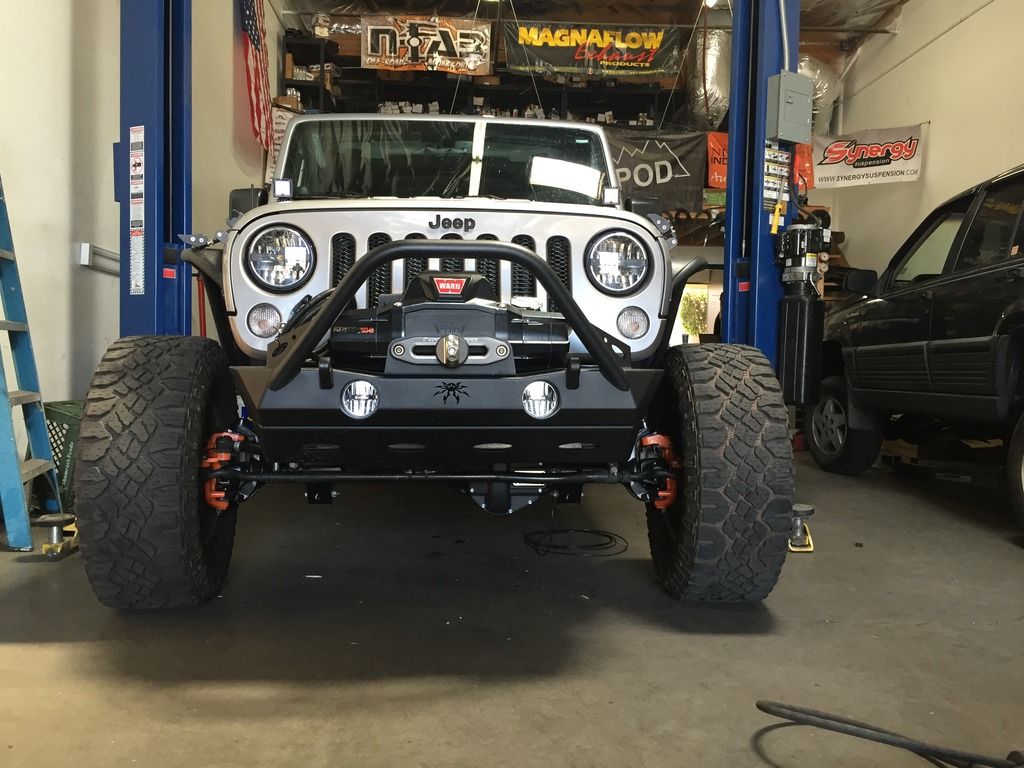
There are multiple companies that are now making the replacement 44 housing, but Currie Enterprises® stepped up to the plate when I spoke with them about what I was looking for. Currie Enterprises® offered for me to come out and take a tour and also take photos of the housing during assembly. I had some upgrades like TeraFlex’s big rotor kit, and Reid Racing® Knuckles that I wanted to transfer over. Currie Enterprises® walked me through step by step of what they would be doing to the housing and what upgrades were available. I chose to have Synergy ball joints installed, Yukon 5.13 gears, Yukon Zip Locker, and I couldn’t be happier with the way the housing turned out, the way I was treated through the whole process, and the quality of everything that was done. I can’t wait to do the rear 60 next!
Install Time
3-6 hours (Not including gears or lockers.)
Tools Needed
Radio for your favorite tunes
Drink of choice
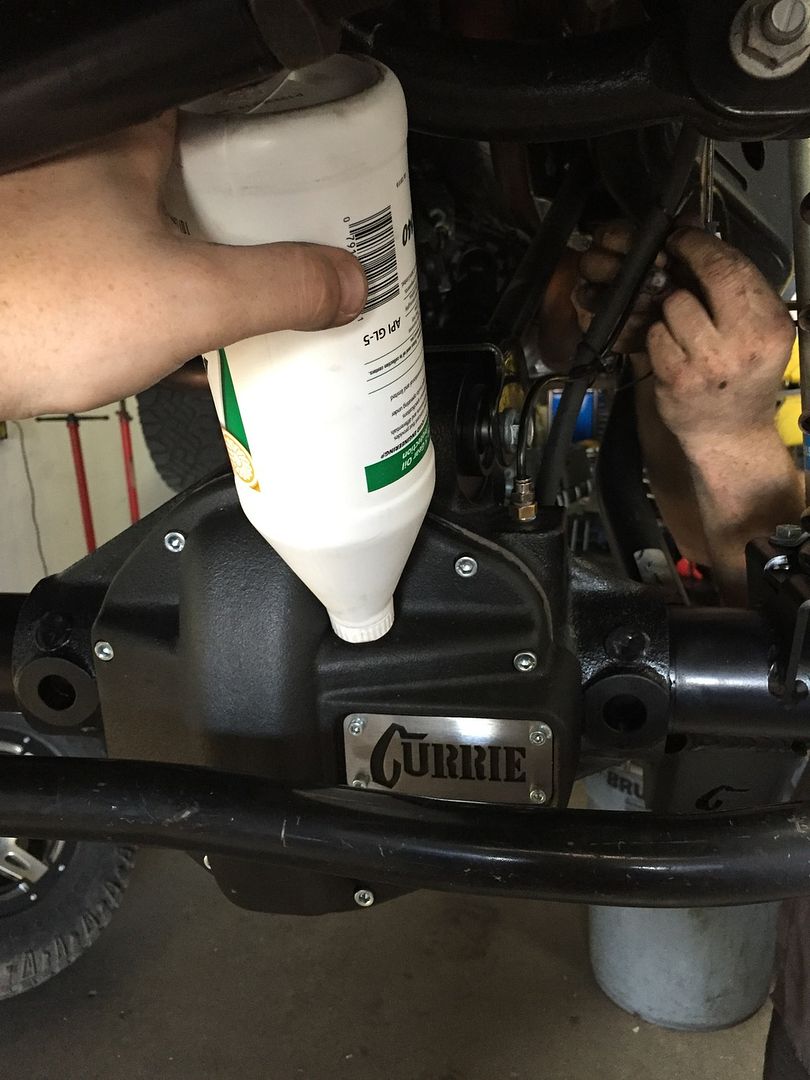
9+ Gear Oil
Grease
Paper Towels
Oil Catch
Torque Wrench
Protective Eyewear
Gloves
1/2” Ratchet
3/8” Ratchet
Ratchet Extensions
Dead Blow
Hammer/Mini Sledge
4 Jack stands
Lift or Jack
13mm Socket (12 point)
14mm Socket
15mm Socket
18mm Socket
¾” or 19mm Socket
21mm Socket
8mm Allen Wrench
Snips
Zip Ties
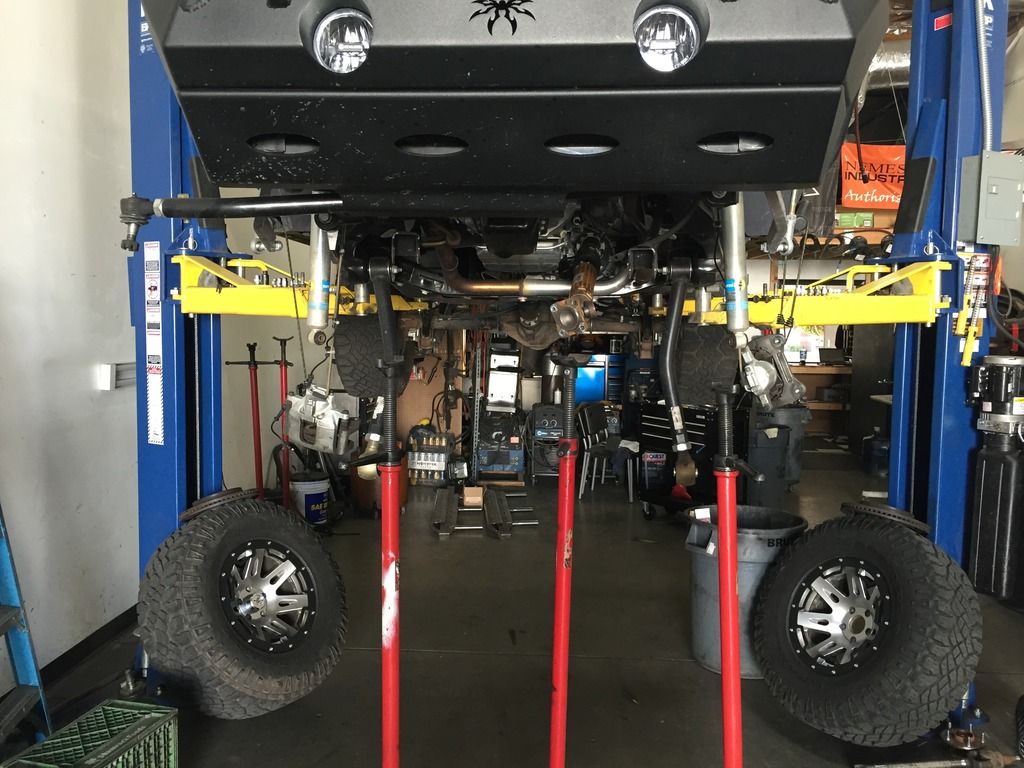
Wheel Blocks
Torque Reference Guide
Driveshaft 81 ft. lbs.
Upper Ball Joints 85 ft. lbs.
Lower Ball Joints 100 ft. lbs.
Hub Nuts 75 ft. lbs.
Axle Center Nut 100 ft. lbs.
Caliper Bolts 90 ft. lbs.
Tie rod 85 ft. lbs.
Drag link 85 ft. lbs.
Track bar 125 ft. lbs.
Upper Control Arms 75 ft. lbs.
Lower Control Arms 125 ft. lbs.
Lower Shocks 56 ft. lbs.
Wheels 100-125 ft. lbs
WARNING!
My write-up does not include the install of gears, lockers or any other housing upgrades. Please seek your closest reputable gear specialist before installing your new housing!
Install Guide
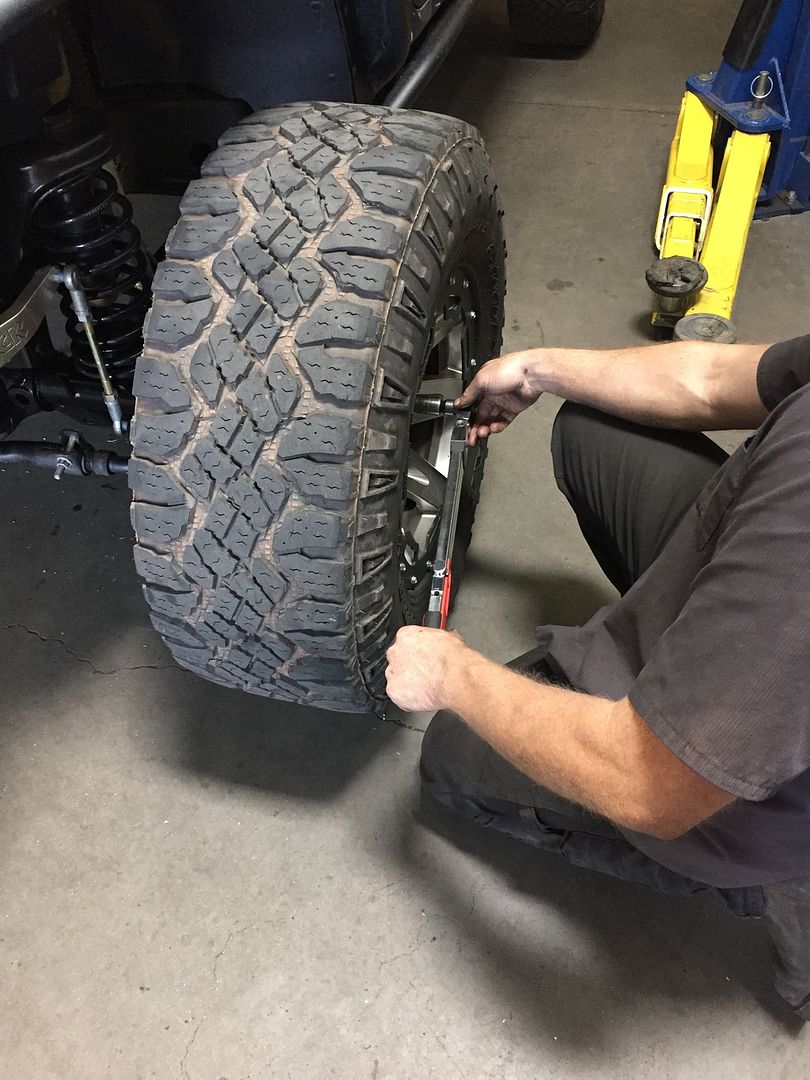
Step 1
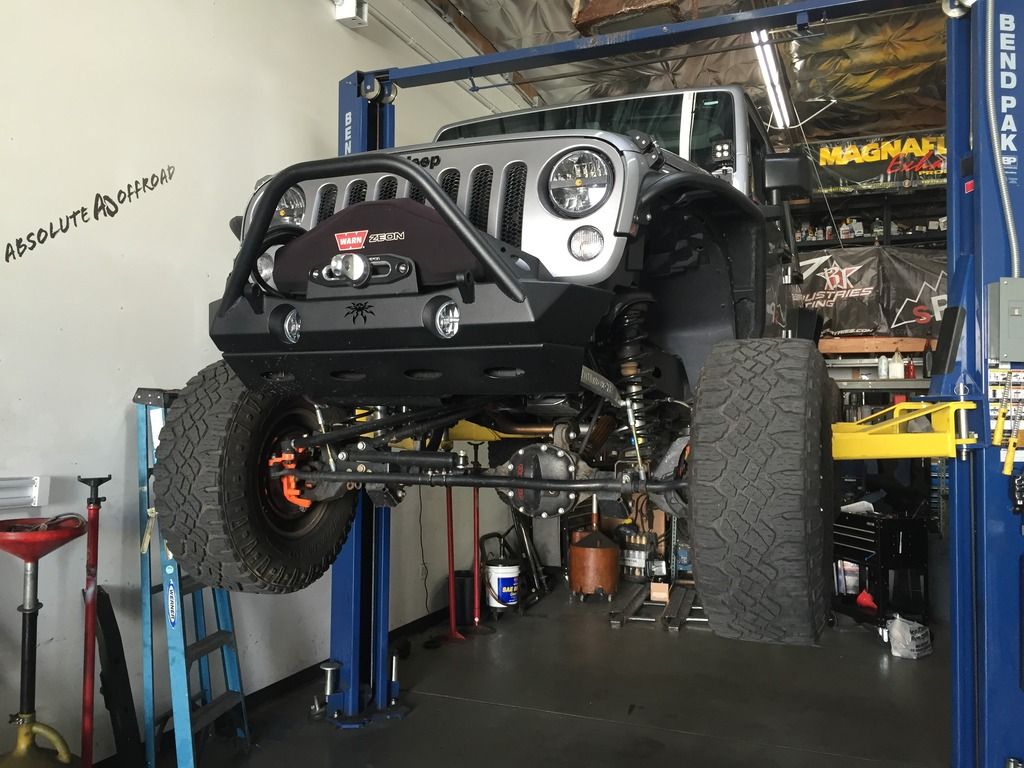
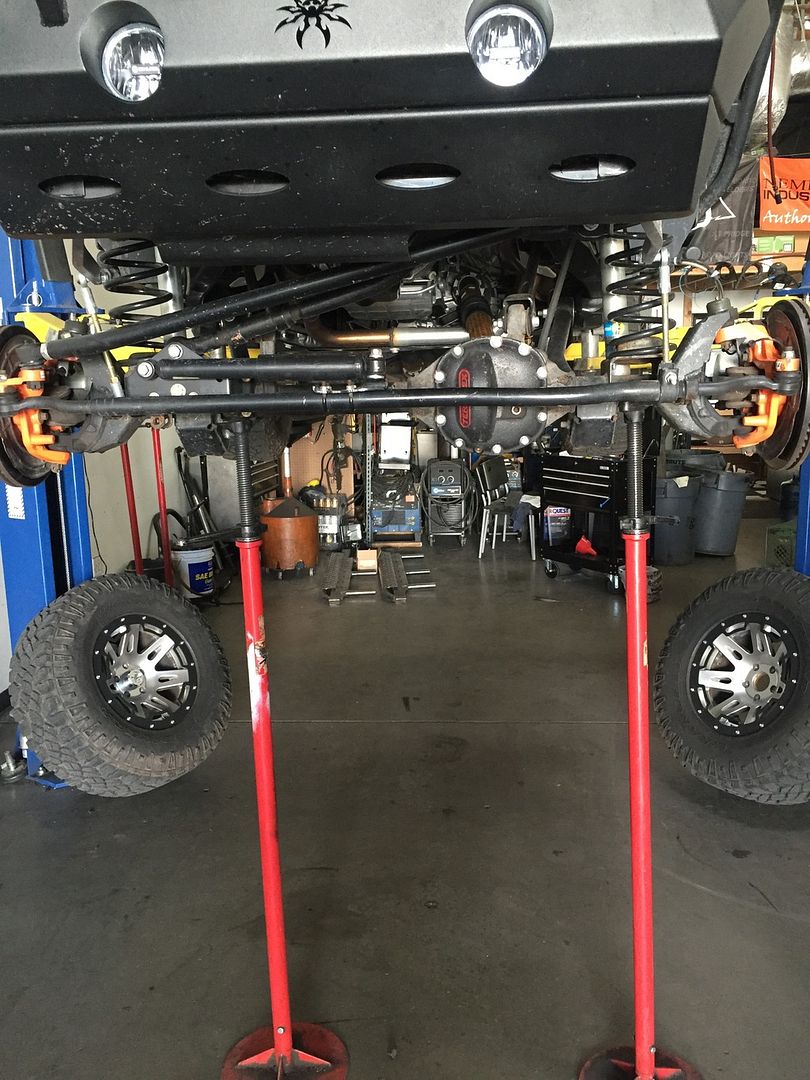
Park Jeep on level ground and prepare for axle housing removal.
• Pull the e-brake up/engage.
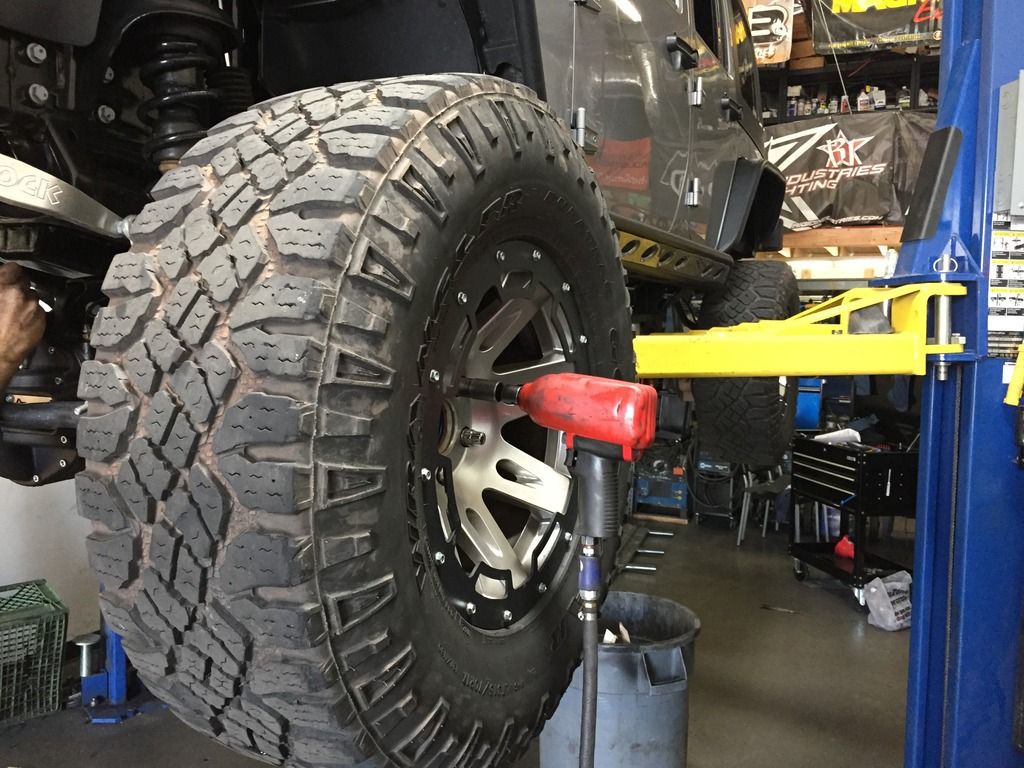
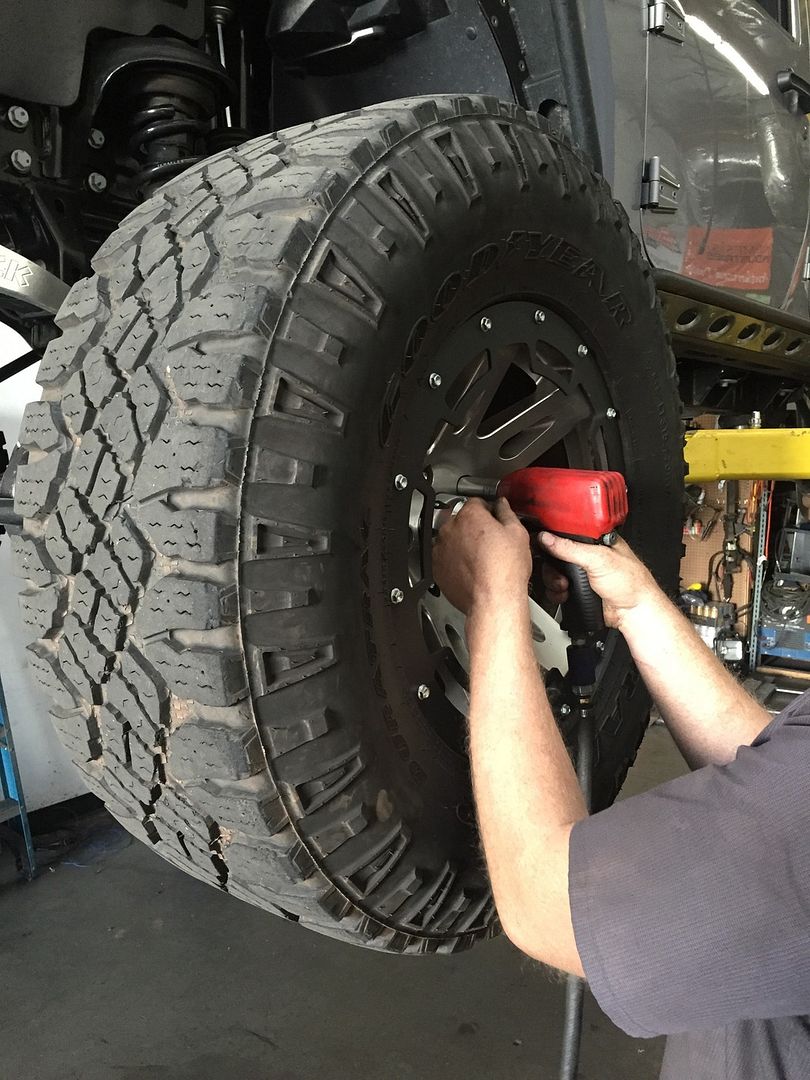
• Lightly loosen front wheels lugs with 19mm Socket or 3/4 and lug key if you have locks.
• Jack the Jeep up high enough off the ground and install the jack stands.
• Once done, now remove all the loosened wheel lugs and place wheels/tires underneath frame of Jeep.
NOTE:
• If you are intending on removing the unit bearings in the interest of upgrading your outer axle shafts and you will be using hand tools, loosen axle nut before removing brakes. Easiest way to remove it is to have someone engage foot brake while you break free the axle nut.
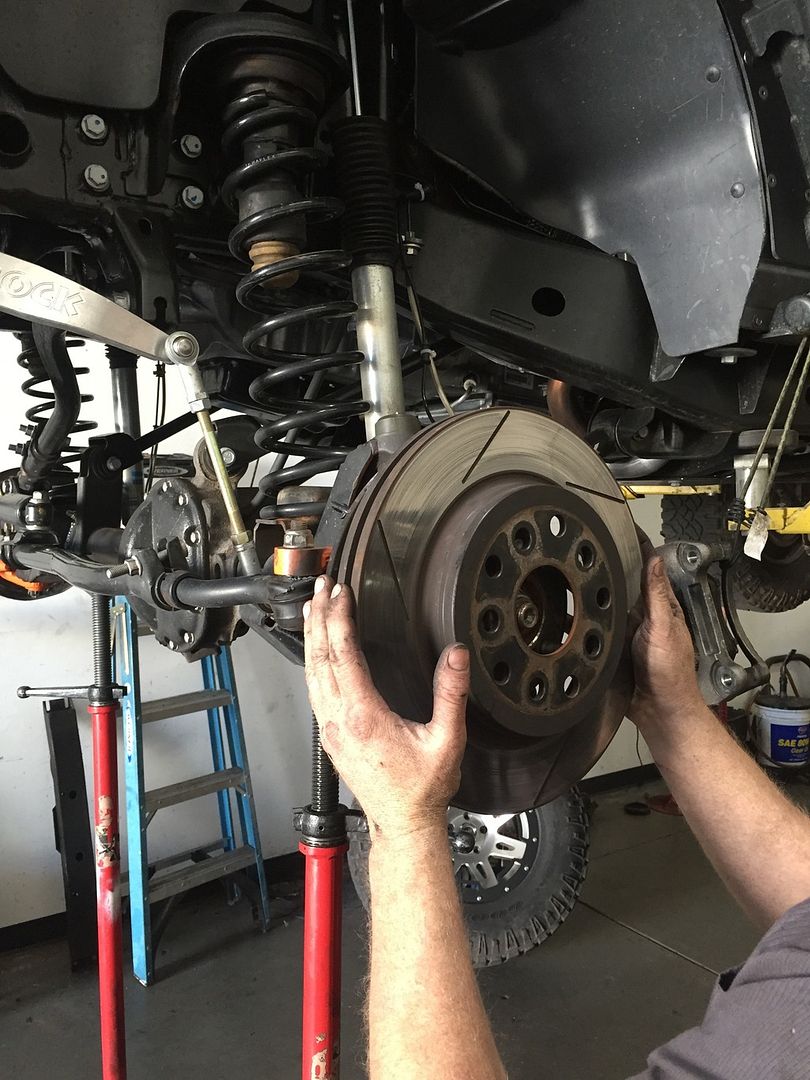
Step 2
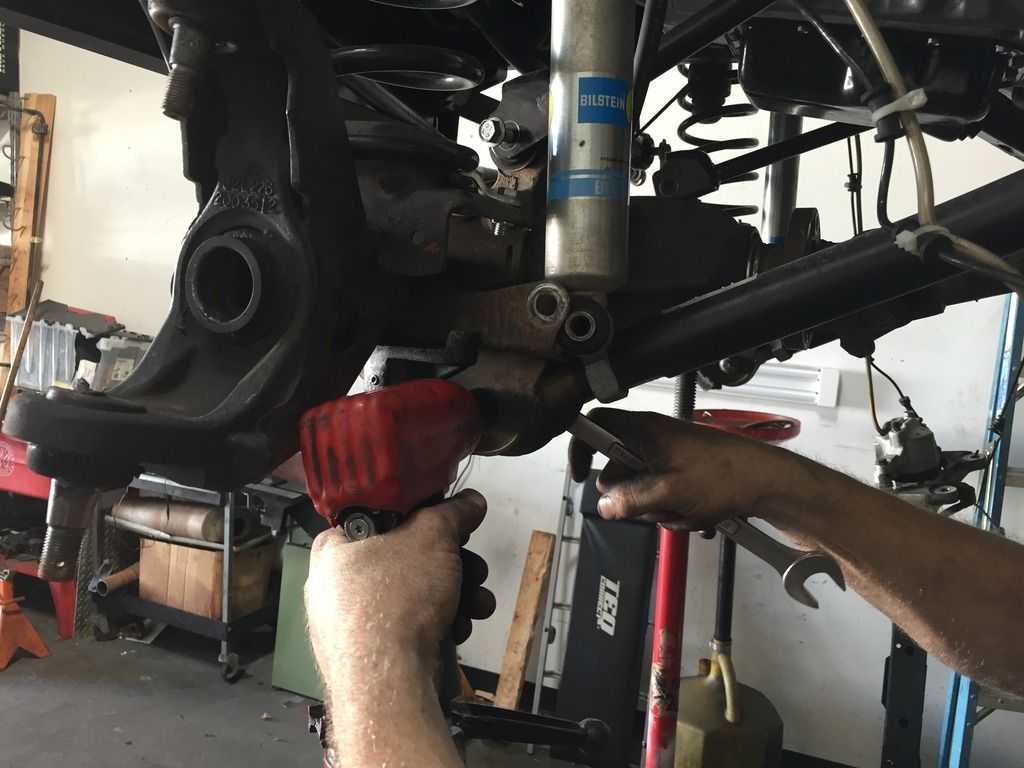
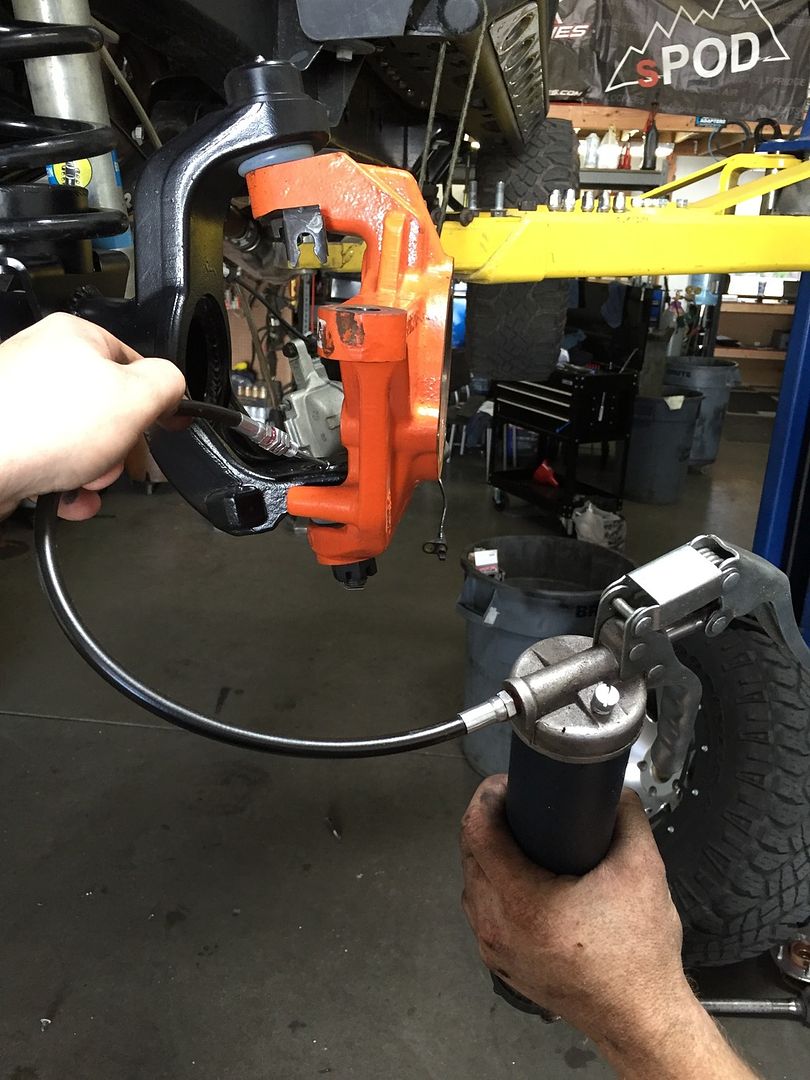
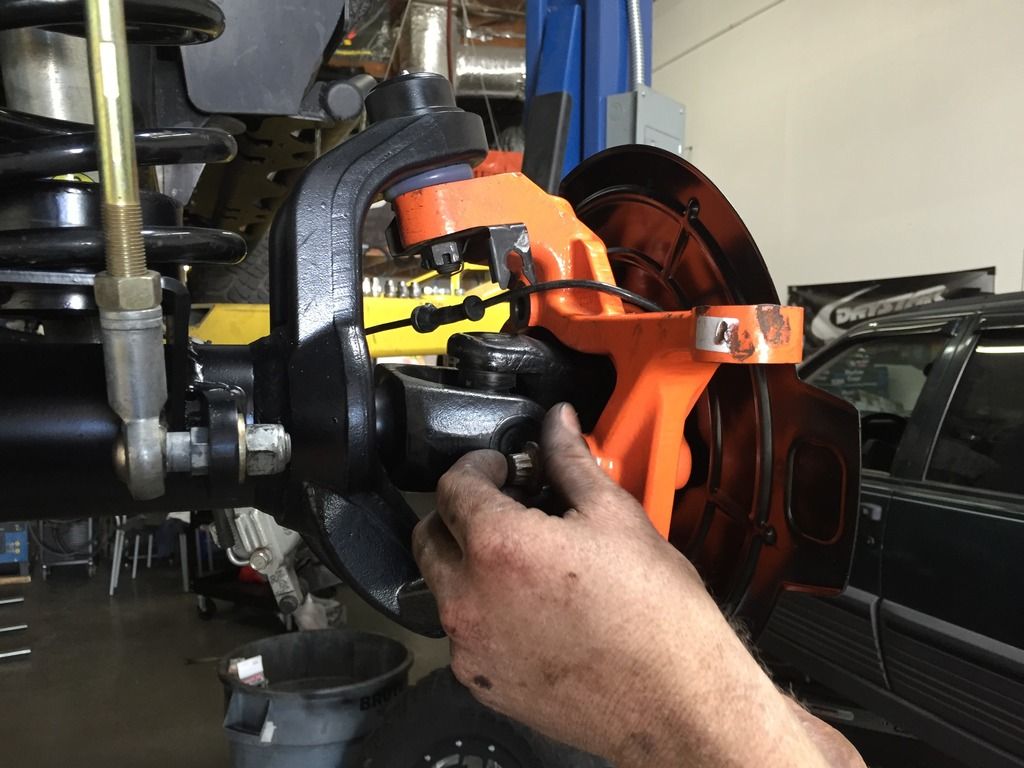
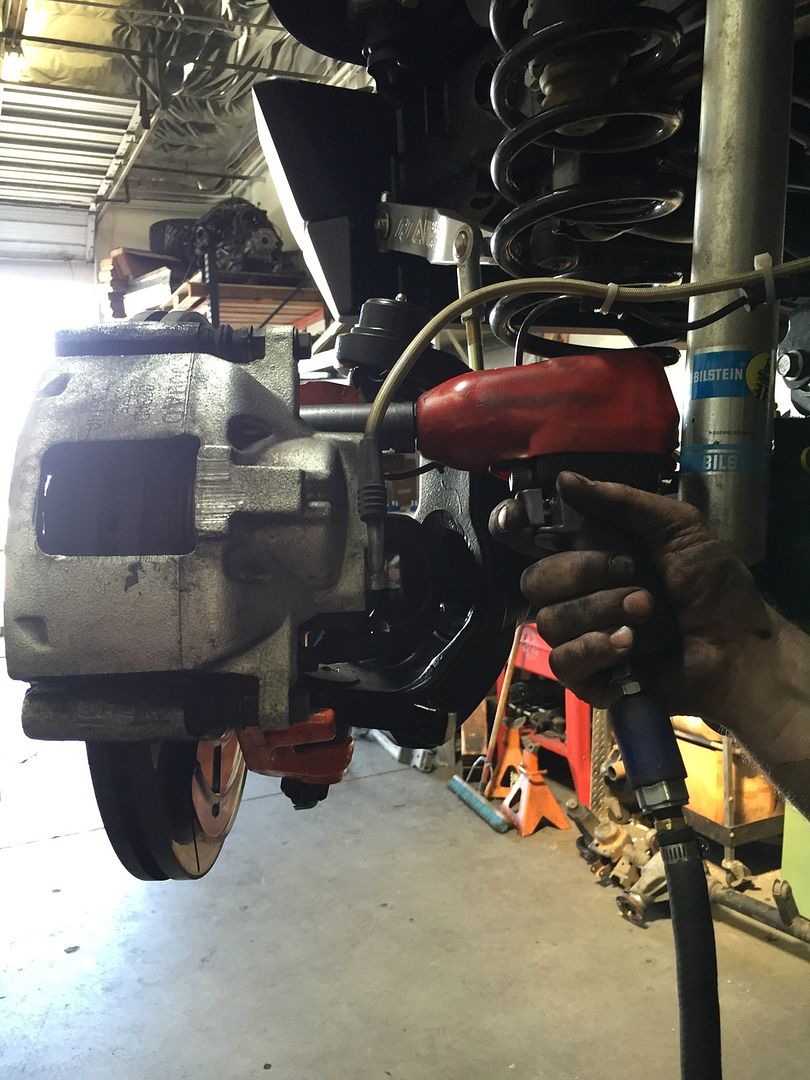
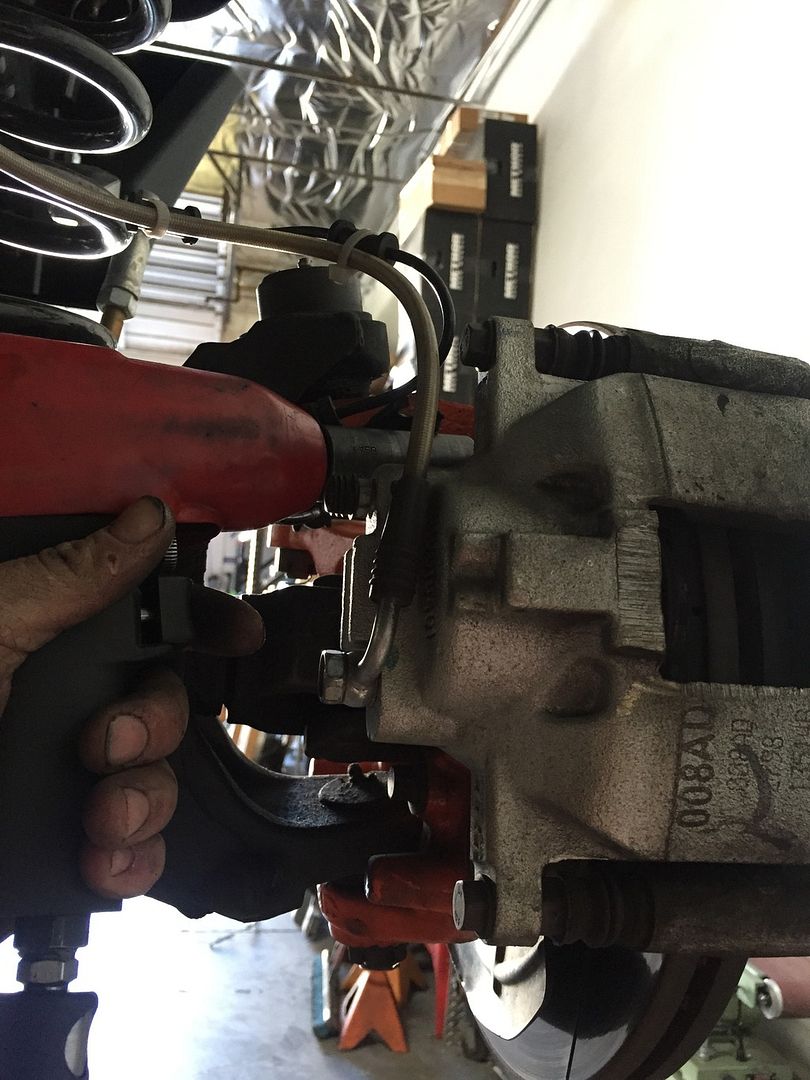
Remove brake rotors, calipers, and abs sensors.
• Separate abs lines from the brake lines.
• Remove rotor tabs.
• Remove the 2 caliper bolts using 21mm wrench or socket.
• When you remove calipers, use zip ties to hold out of the way to avoid damage to brake lines.
• Slide off brake rotor and put to the side.
• Behind rotors are the abs sensors. Remove with 8mm allen wrench. Once sensor is removed, unclip the abs cable and completely separate it from axle housing.
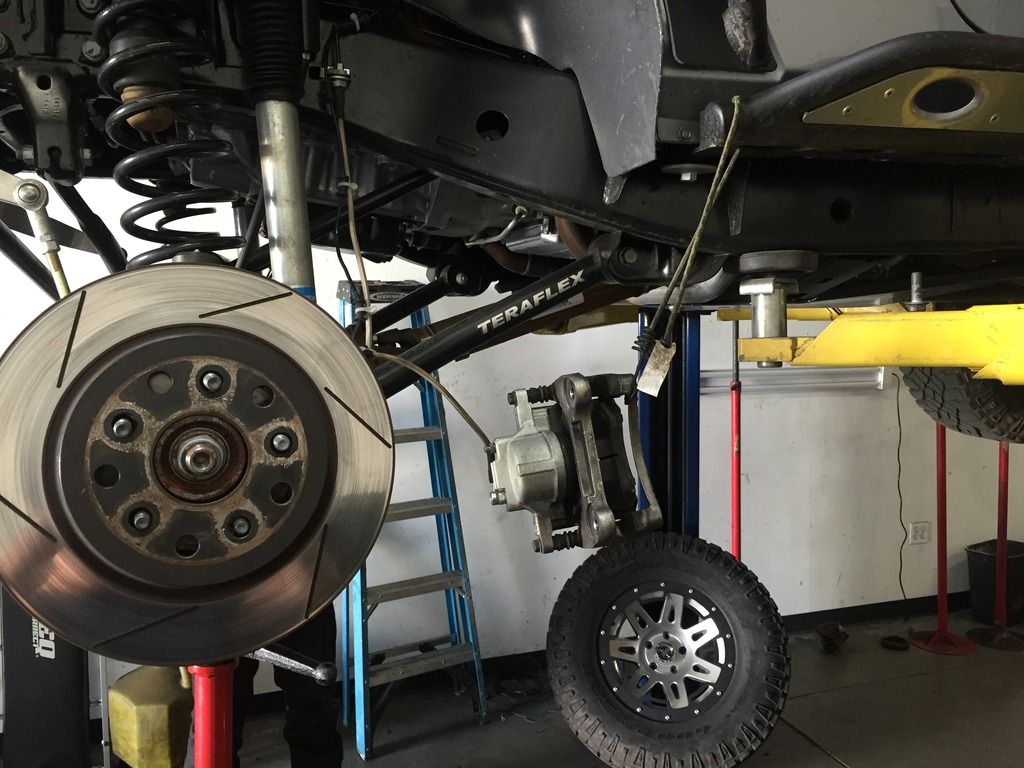
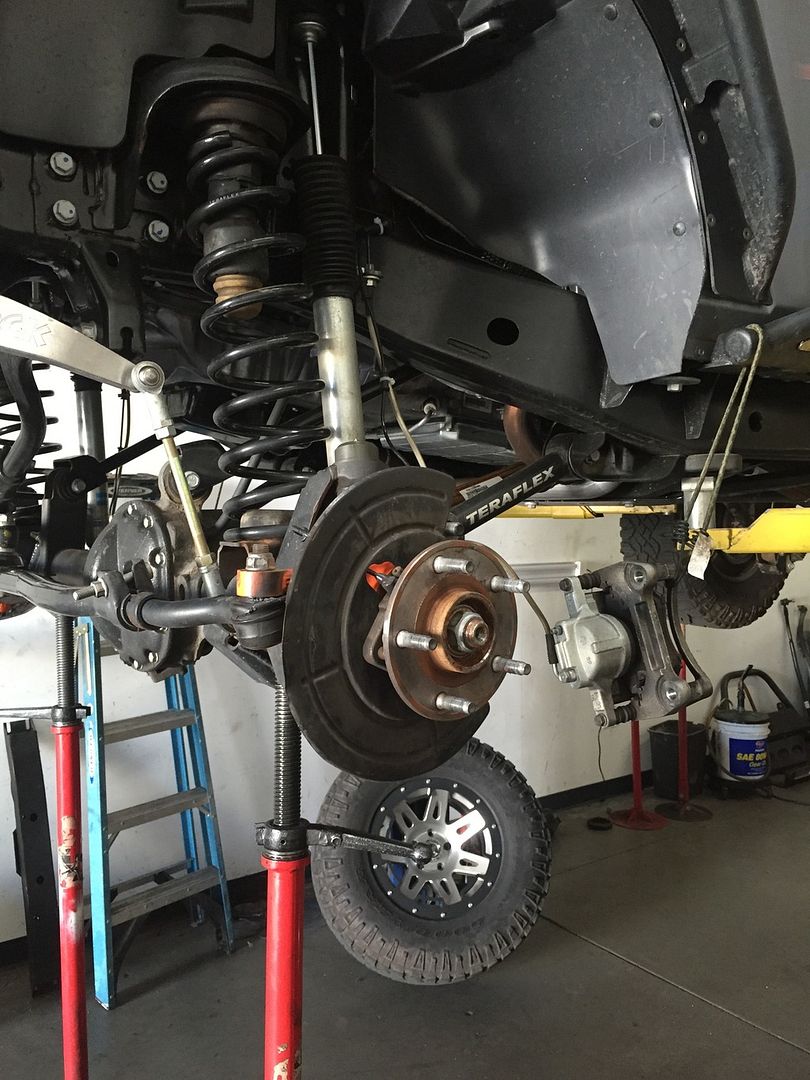
Step 3
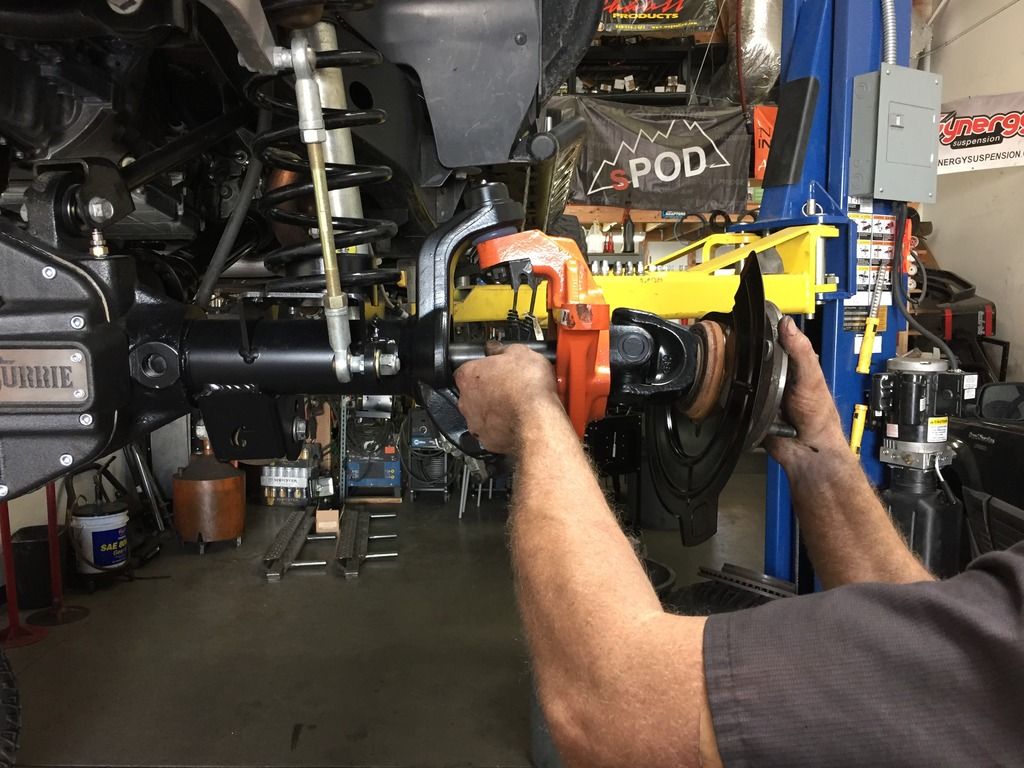
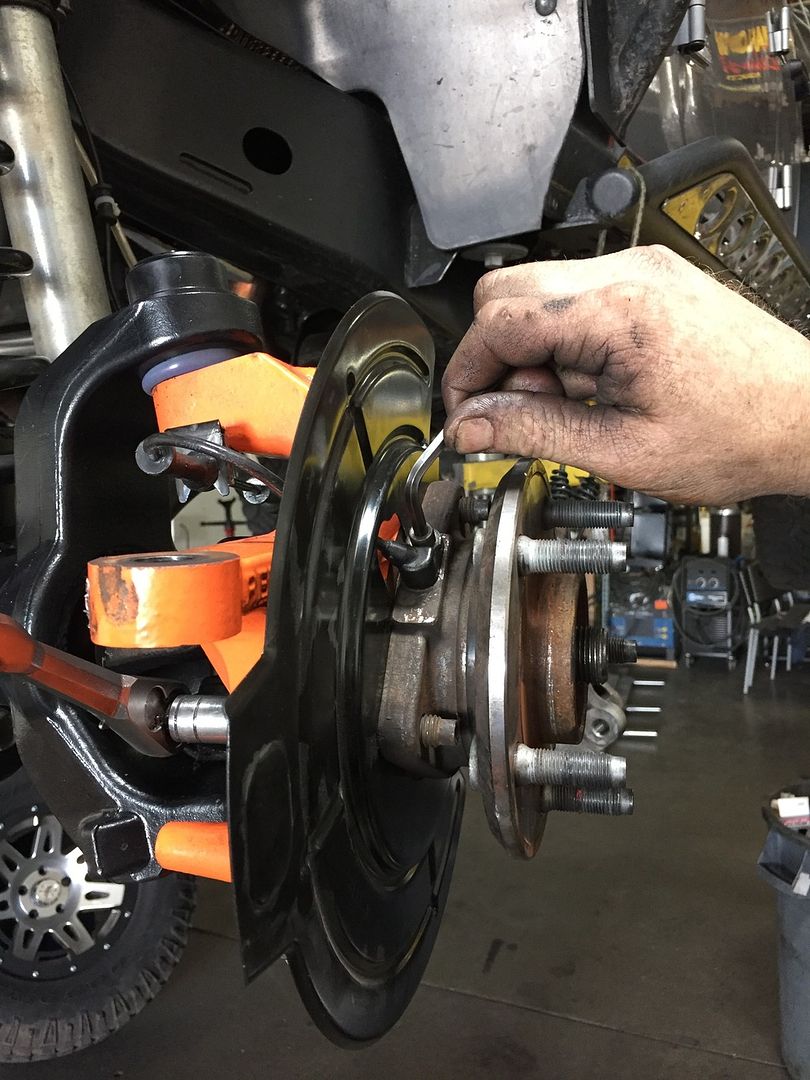
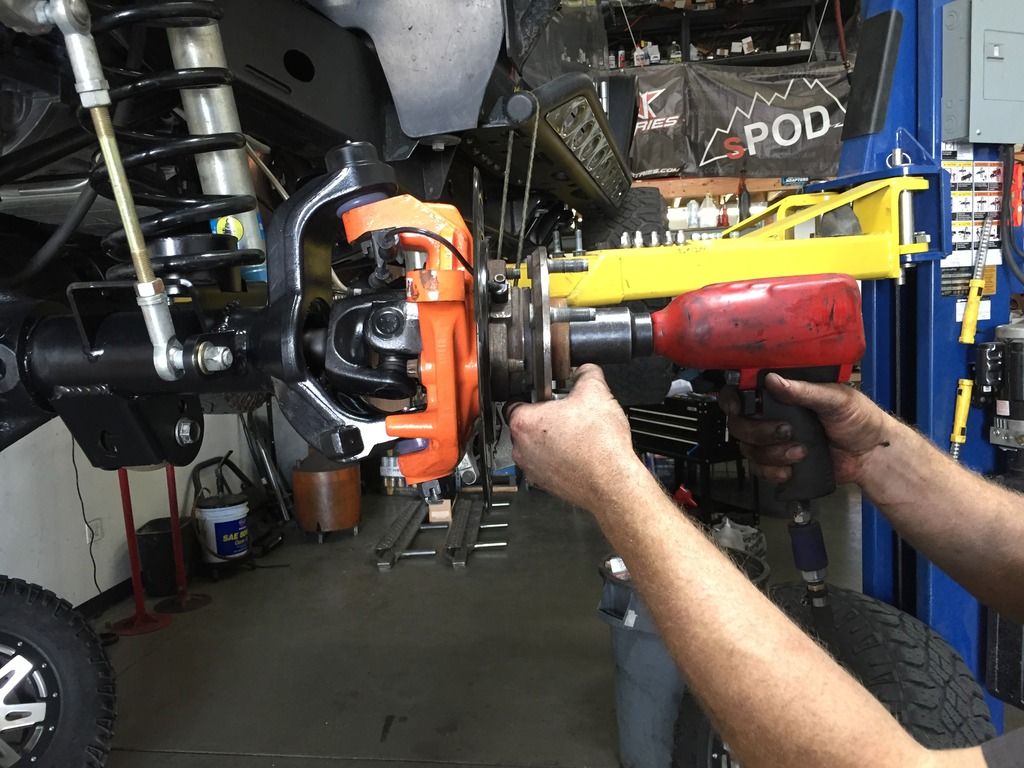
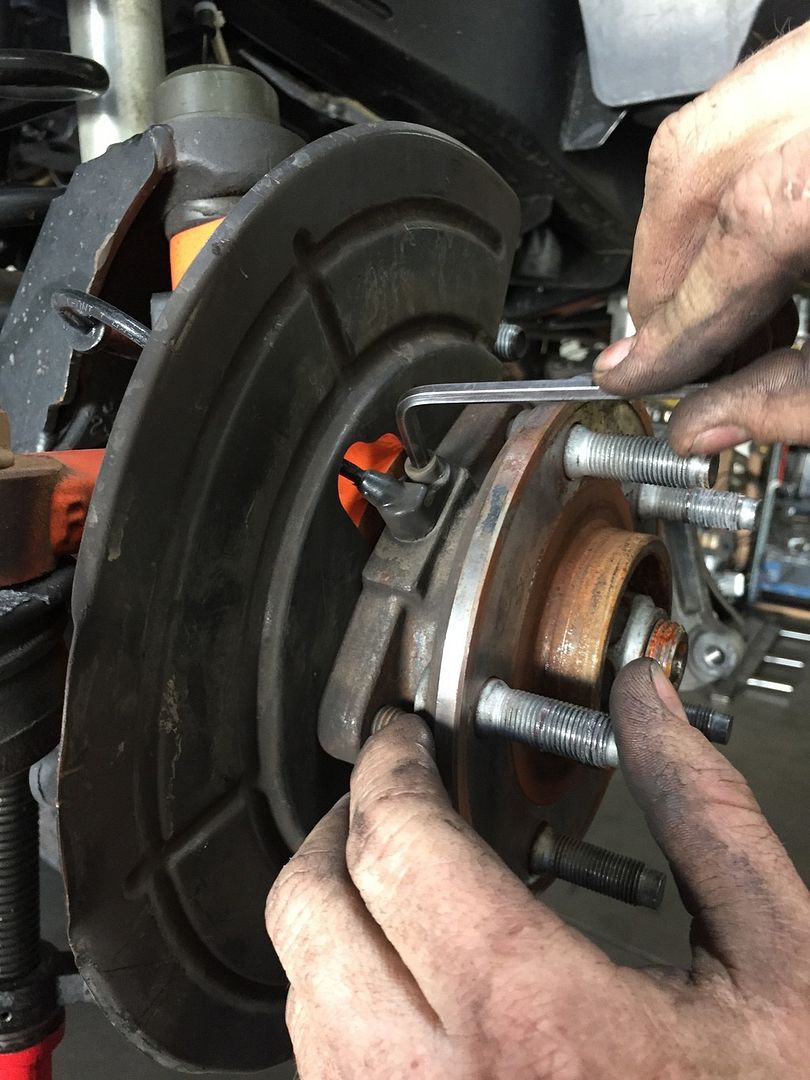
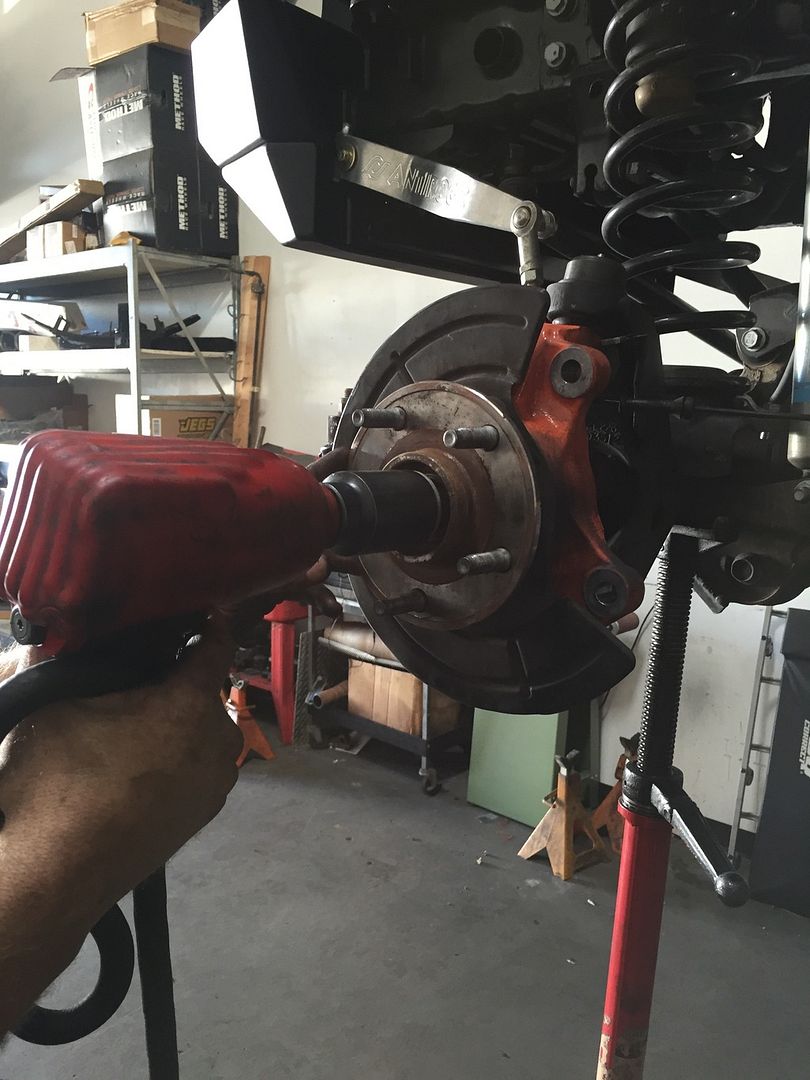
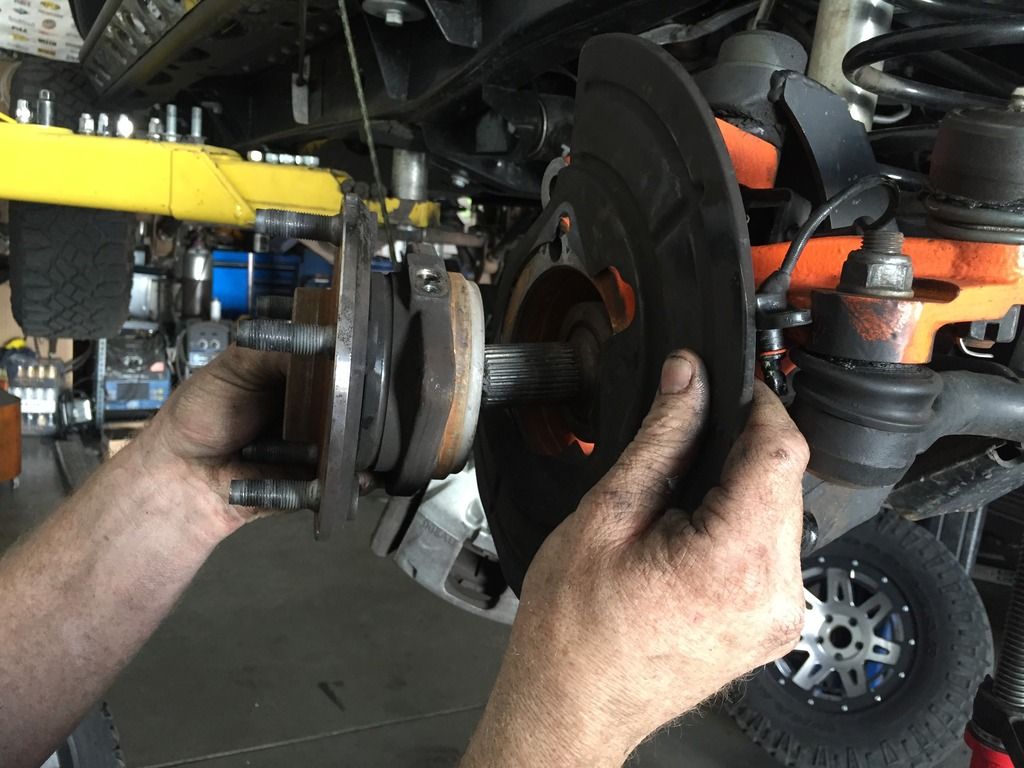
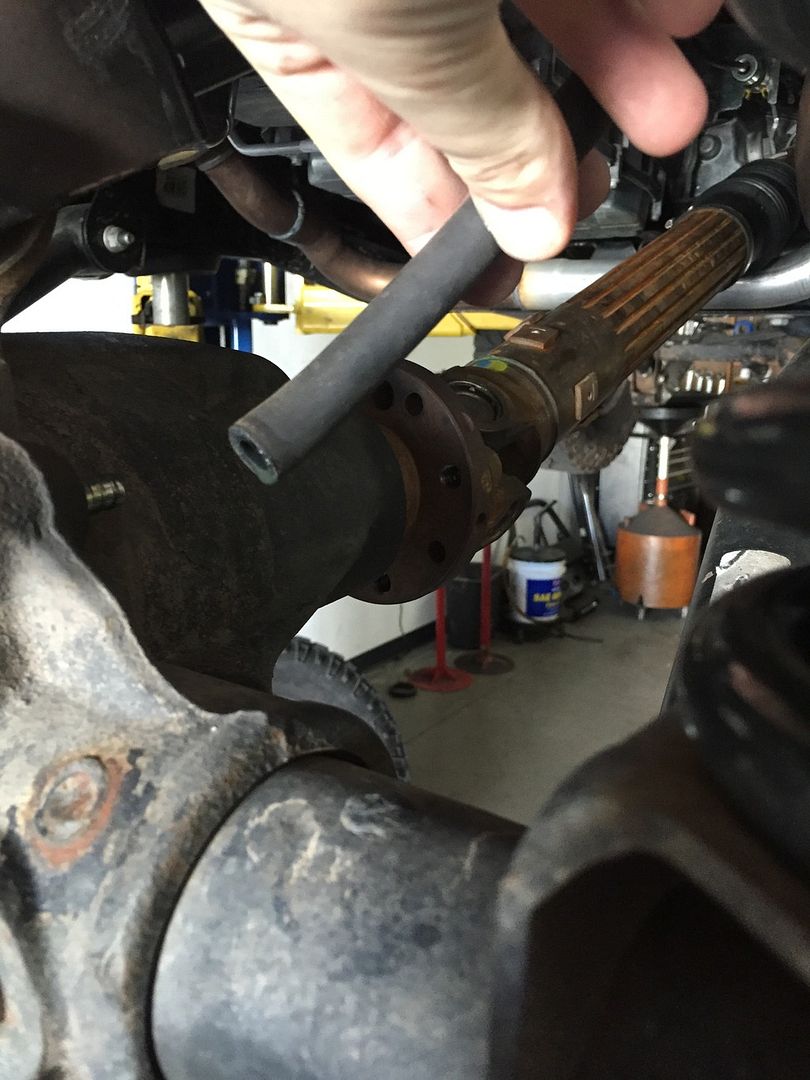
Removing hub assembly.
• Unbolt hub assembly from rear with 13mm. (12 point)
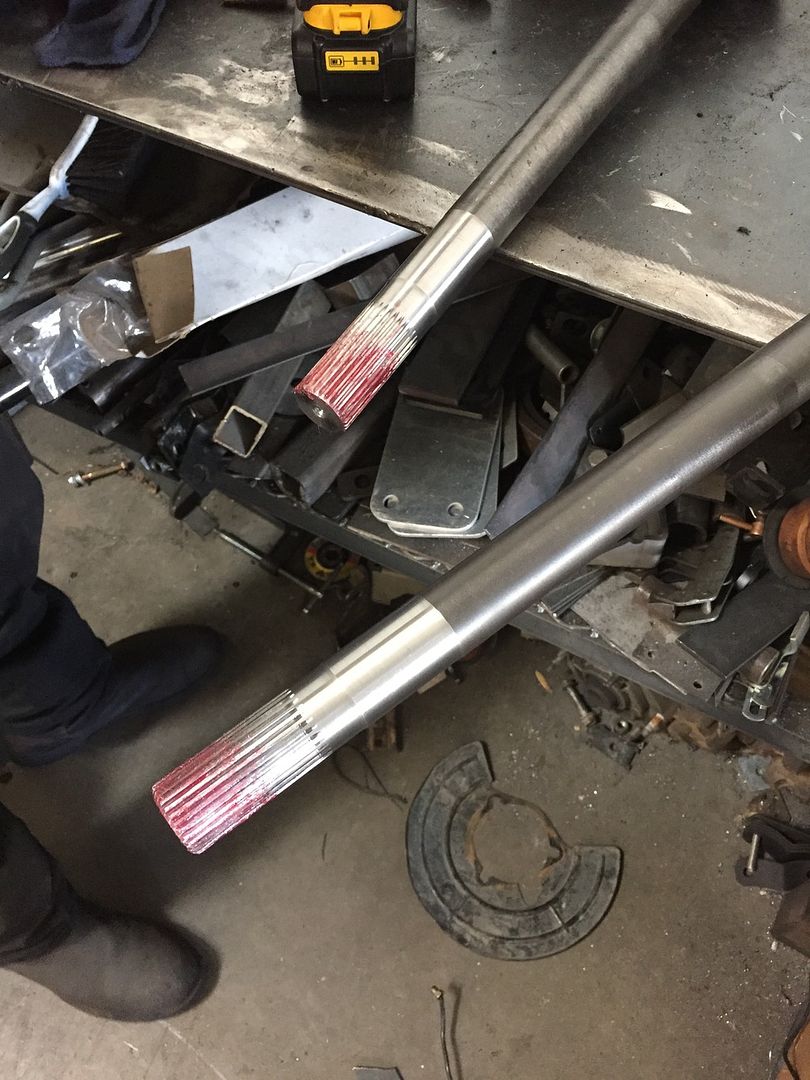
• If you will be upgrading your outer axle shafts, remove center nut off axle with 36mm socket.
Step 4
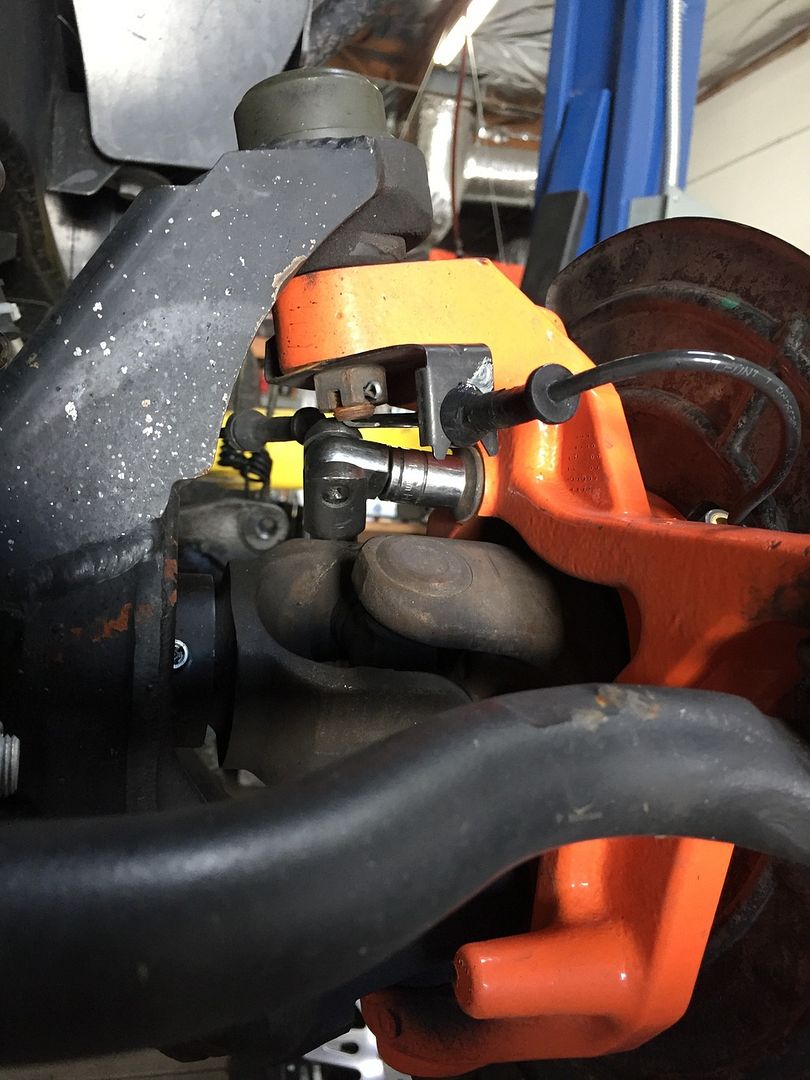
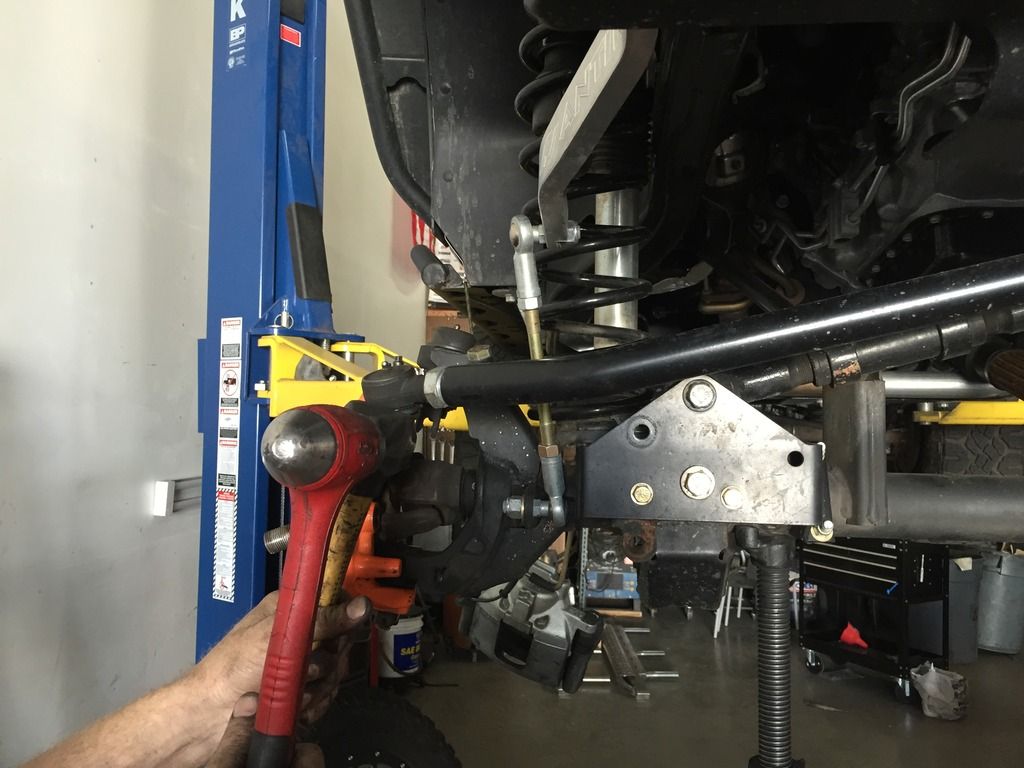
Remove steering stabilizer from housing and tie rod.
• Use 18mm or 19mm depending on if stock or not to remove.
Step 5
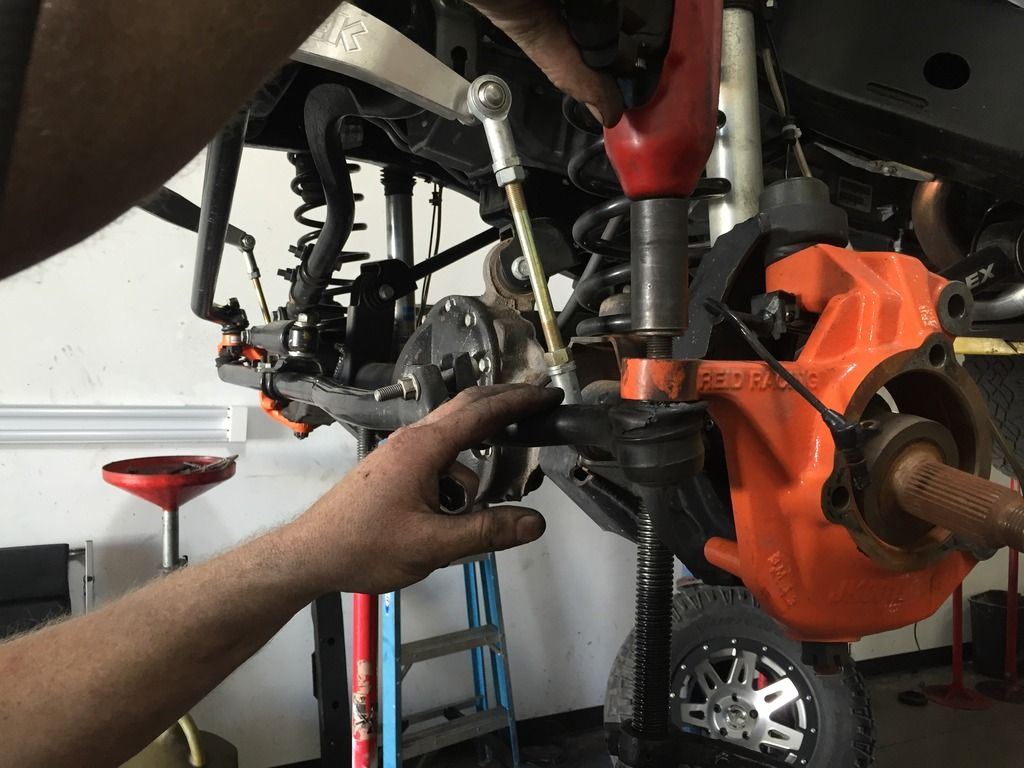
Remove tie rod and drag link.
• Use hammer or sledge to break loose instead of pickle fork. Make sure you hit from side and not the top!
• A few hard hits to outside of taper will break it free.
• Use 21mm for tie rod.
• Use 21mm for drag link at housing only and zip tie out of the way.
Step 6
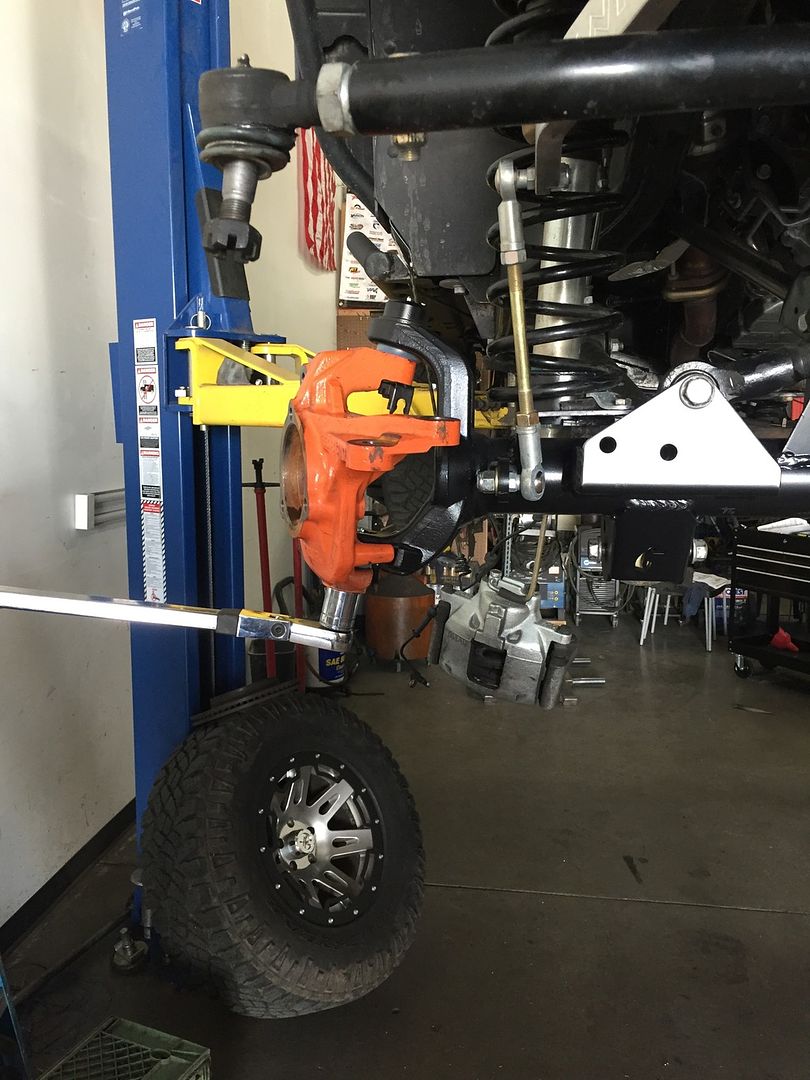
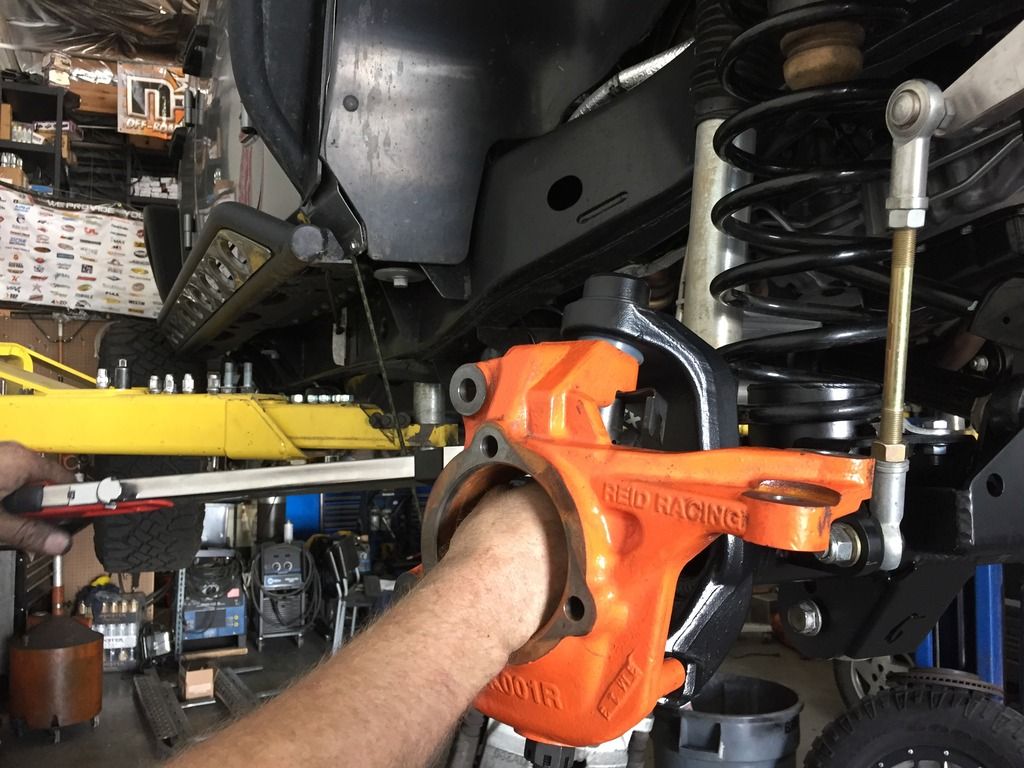
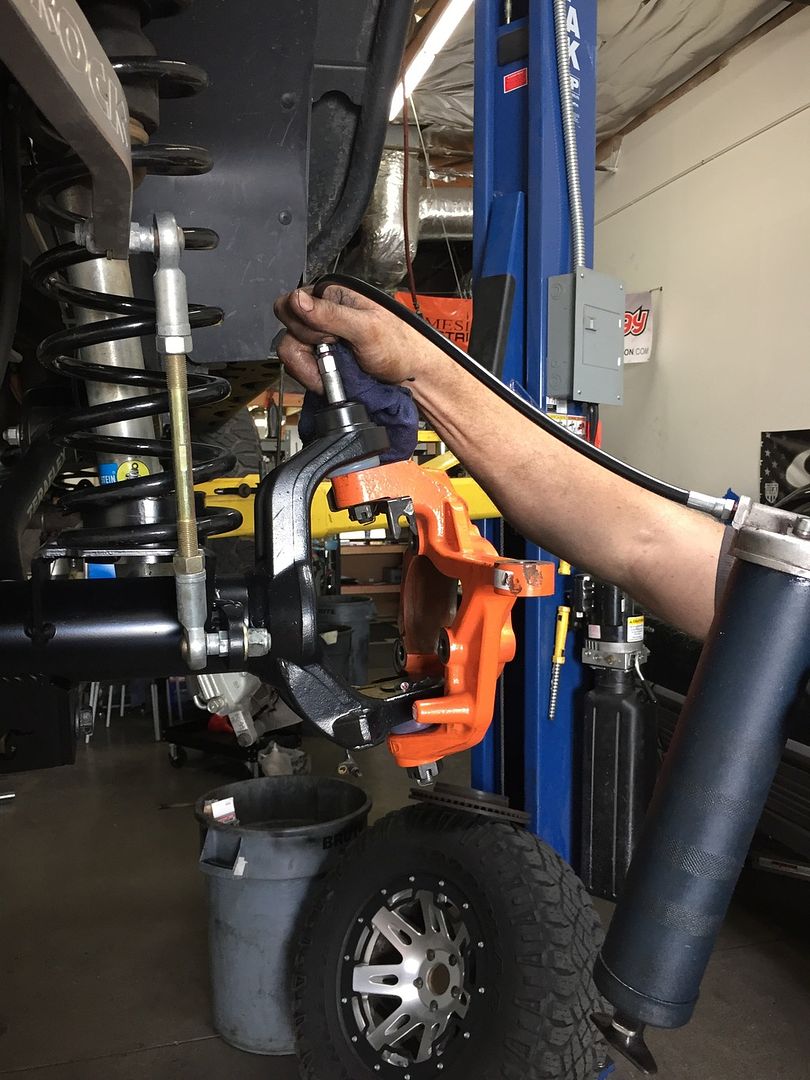
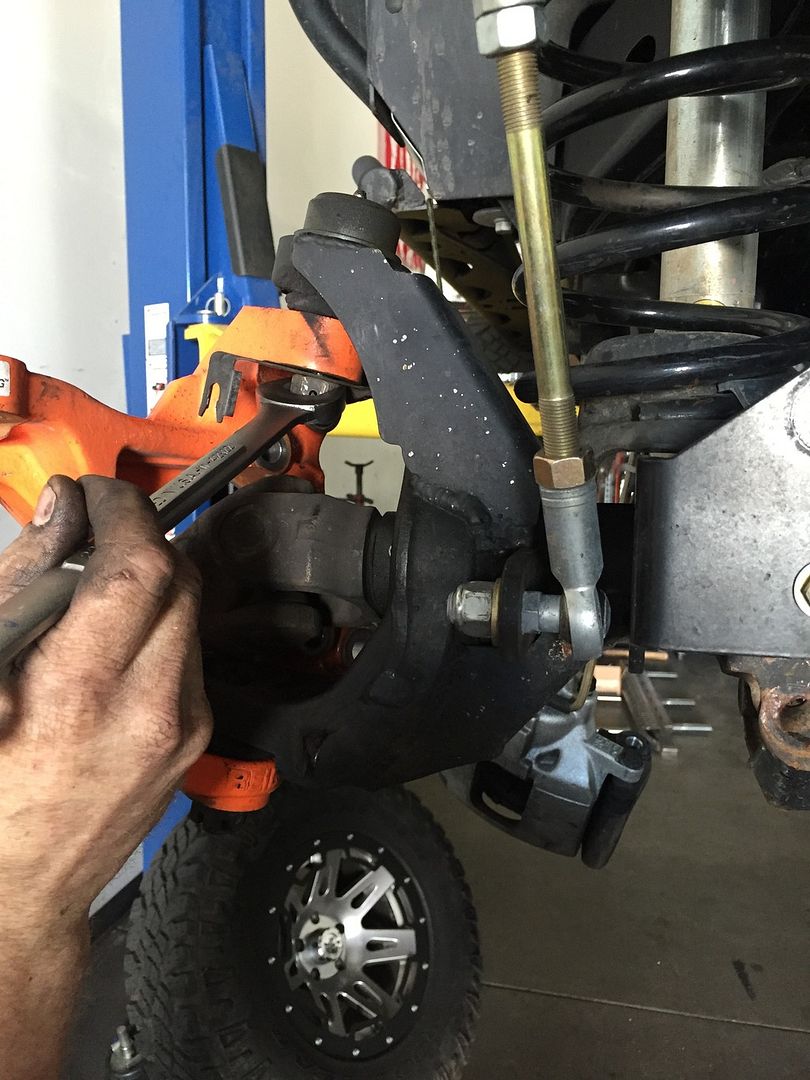
Removing the knuckles and axles.
• Remove cotter keys from upper and lower castle nuts on ball joints, then remove the upper castle nut but leave lower on slightly. The lower castle nut will keep the knuckle from falling to the ground when breaking free from ball joints.
• Remove the abs brackets/upper ball joint castle nut using 22mm wrench.
• Now break free the knuckle and remove.
• Slide axles out.
• Use 22mm socket or wrench for upper castle nuts.
• Use 27mm socket or wrench for lower castle nuts.


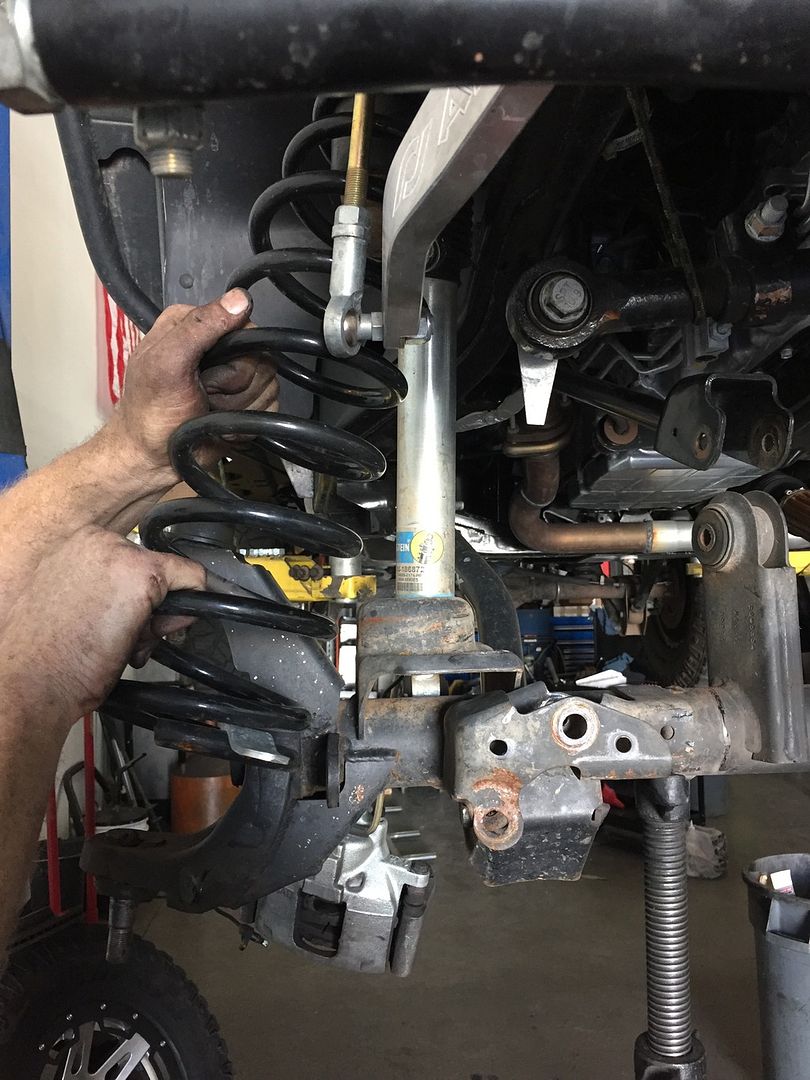
Step 7
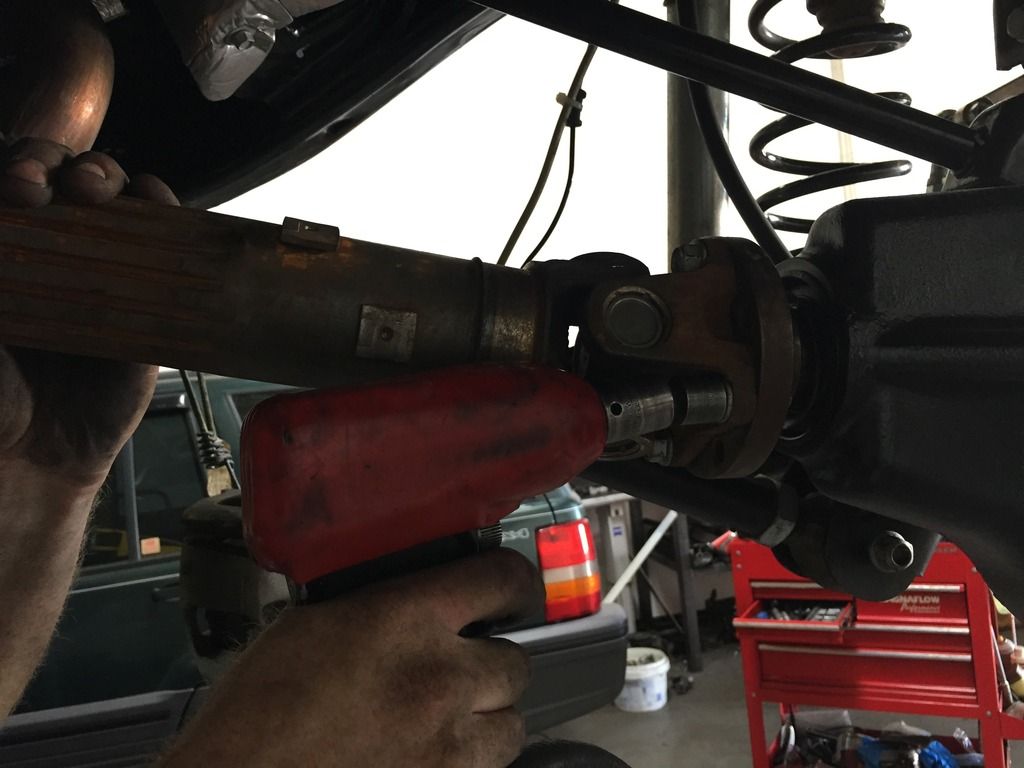
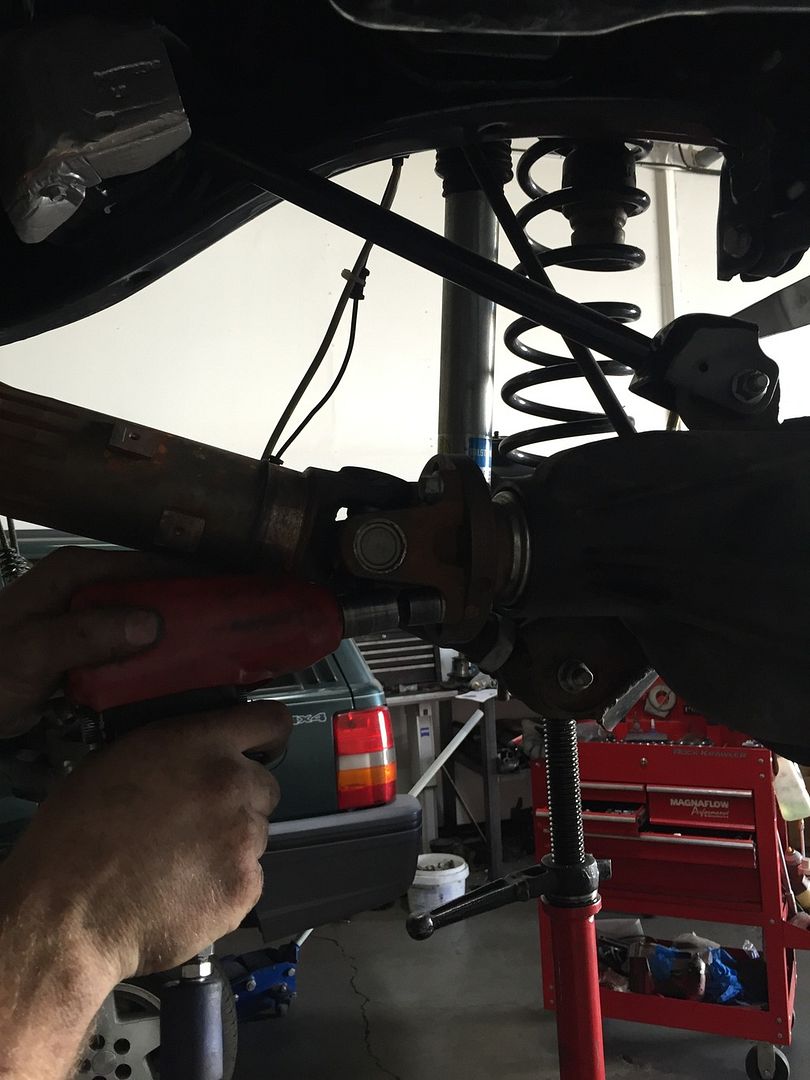
Remove the 4 driveshaft bolts at the yoke and zip tie the driveshaft out of the way.
• Use 15mm to remove the driveshaft bolts.
• If you started with a Rubicon housing, you will reuse stock yoke. You will have to make a timing mark on the yoke and the driveshaft so that they can be realigned properly.
Step 8
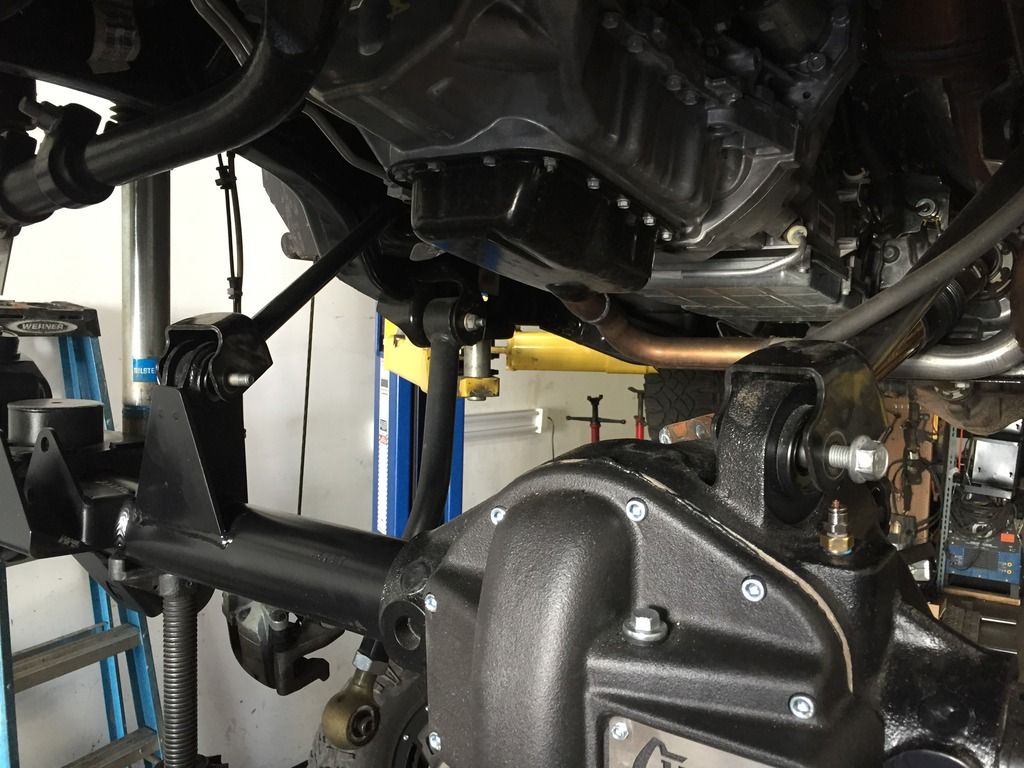
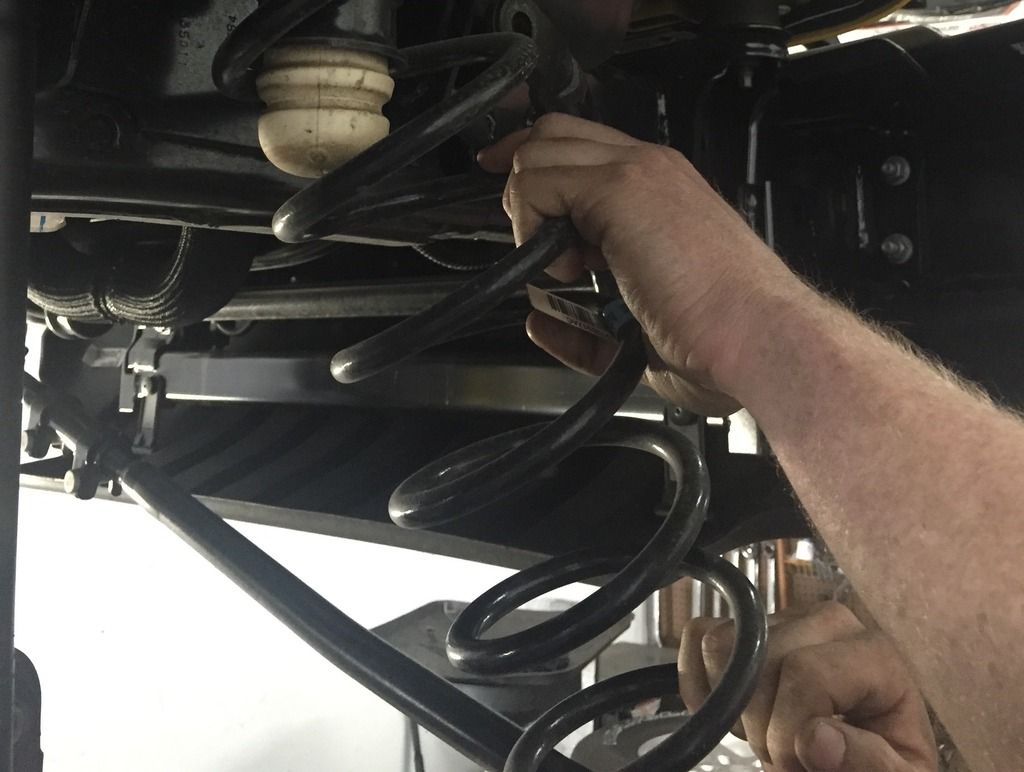
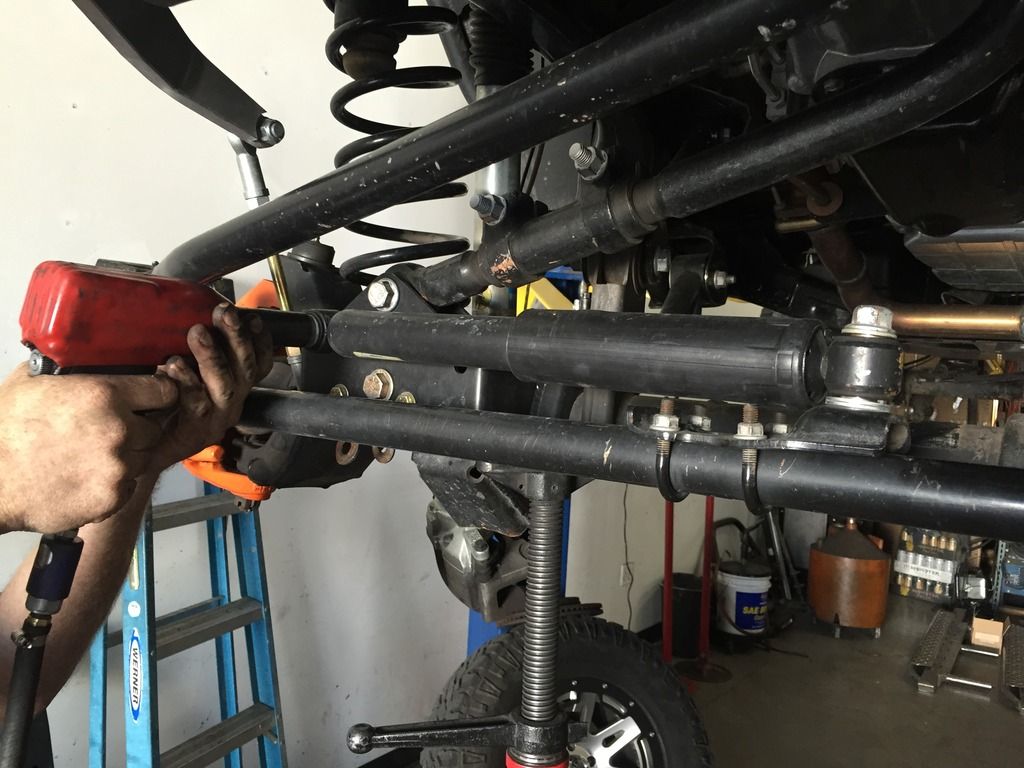
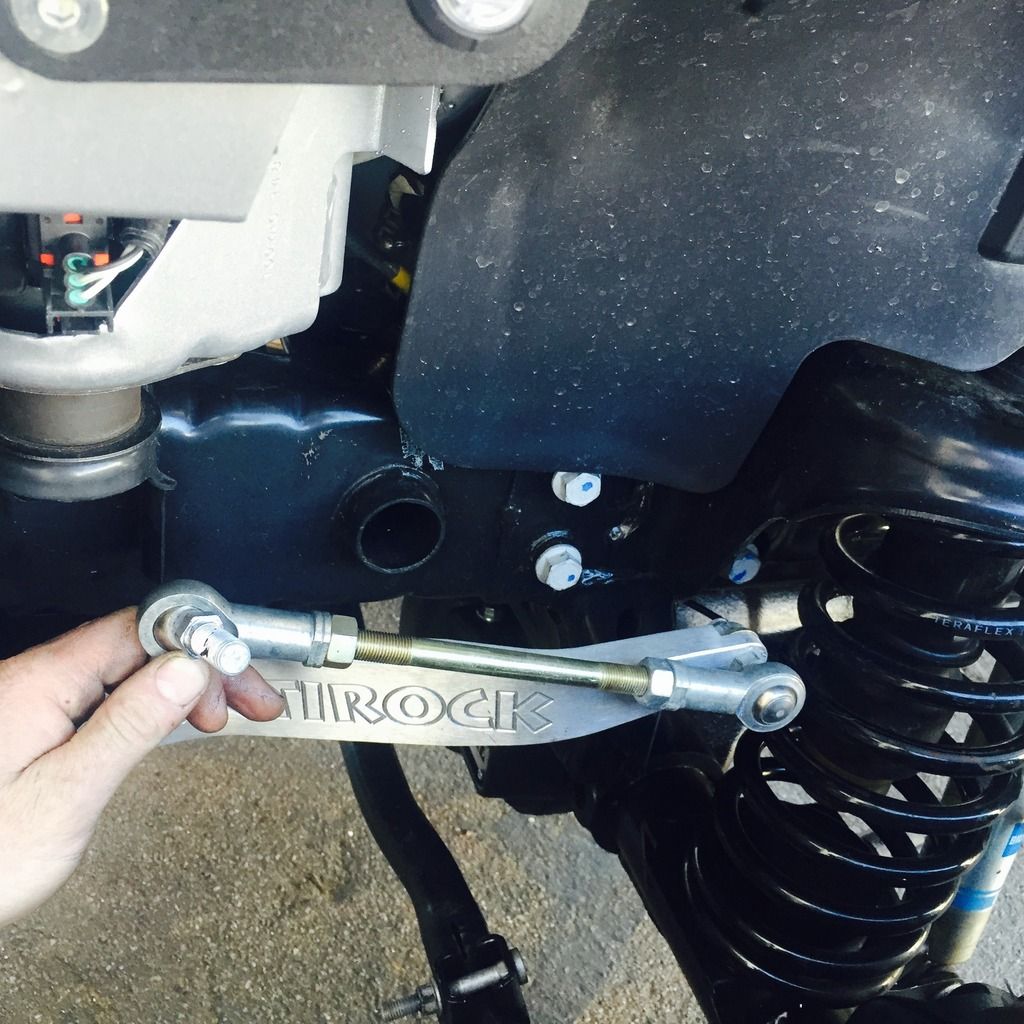
Remove stock or aftermarket sway bar links from housing.
• Just unbolt from housing sides only and push up out of the way.
• Use 18mm and 19mm wrench to remove.

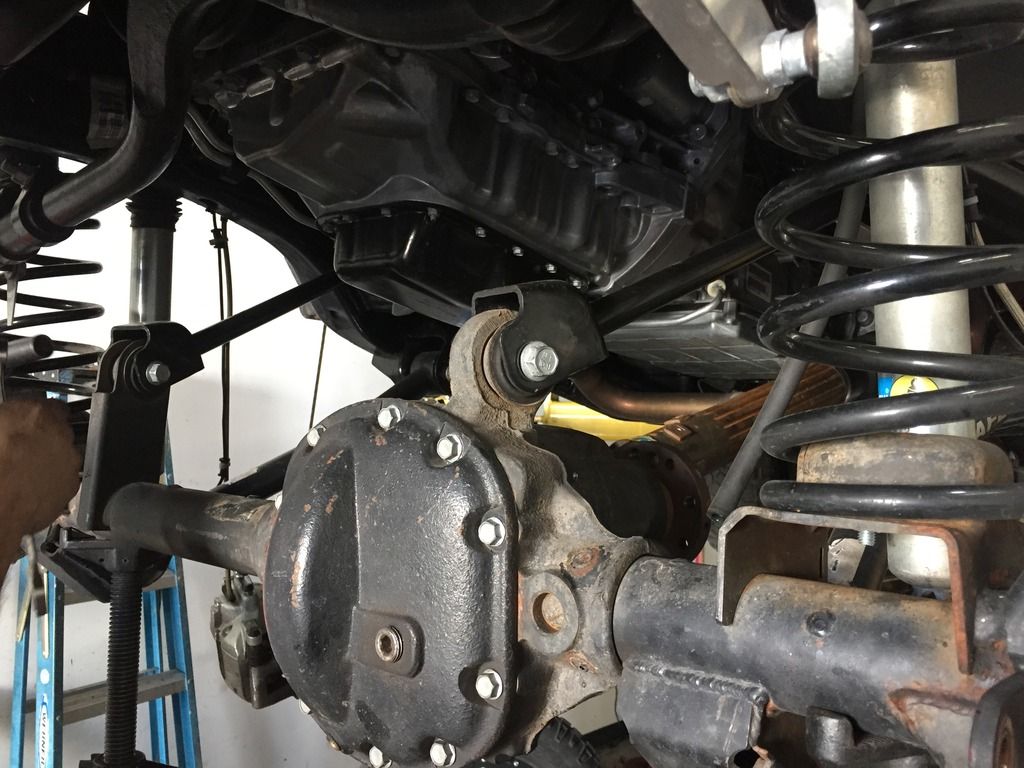
Step 9
Disconnect the vent hose and two sensors from housing.
• This is on the driver side of housing.
• You won’t have this if you are on a 30 housing. (Non Rubicon)
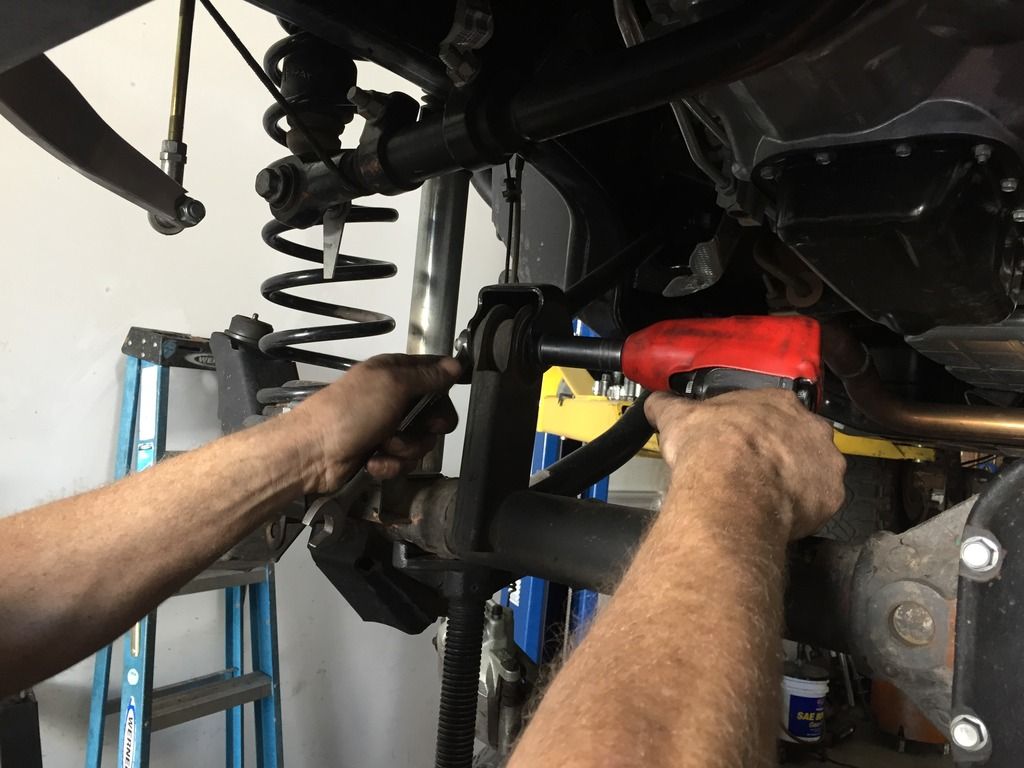
Step 10
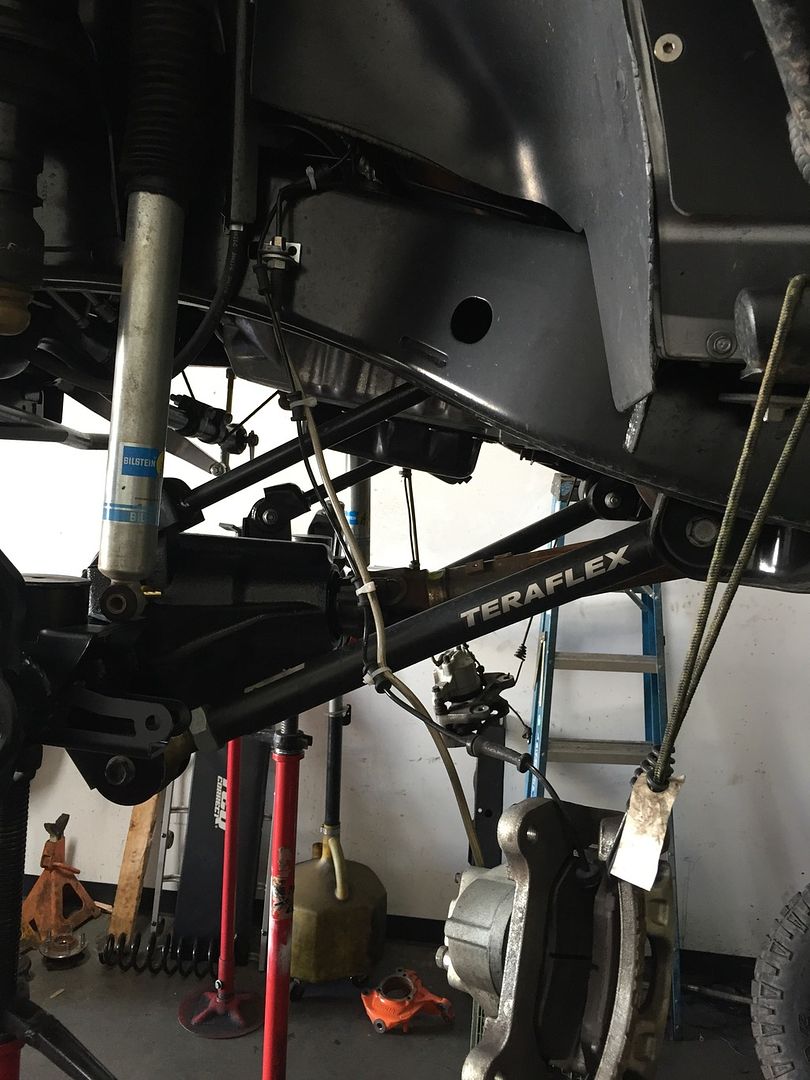
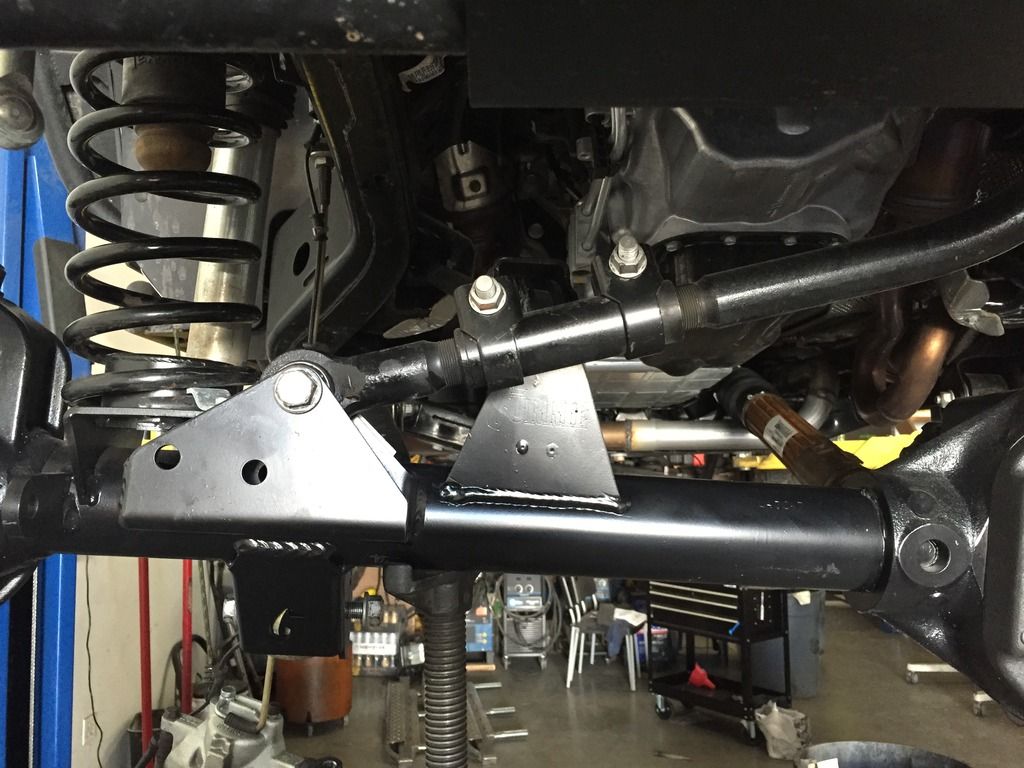
Unbolt the track bar from housing only and zip tie out of the way.
• Use 21mm to remove.
Step 11
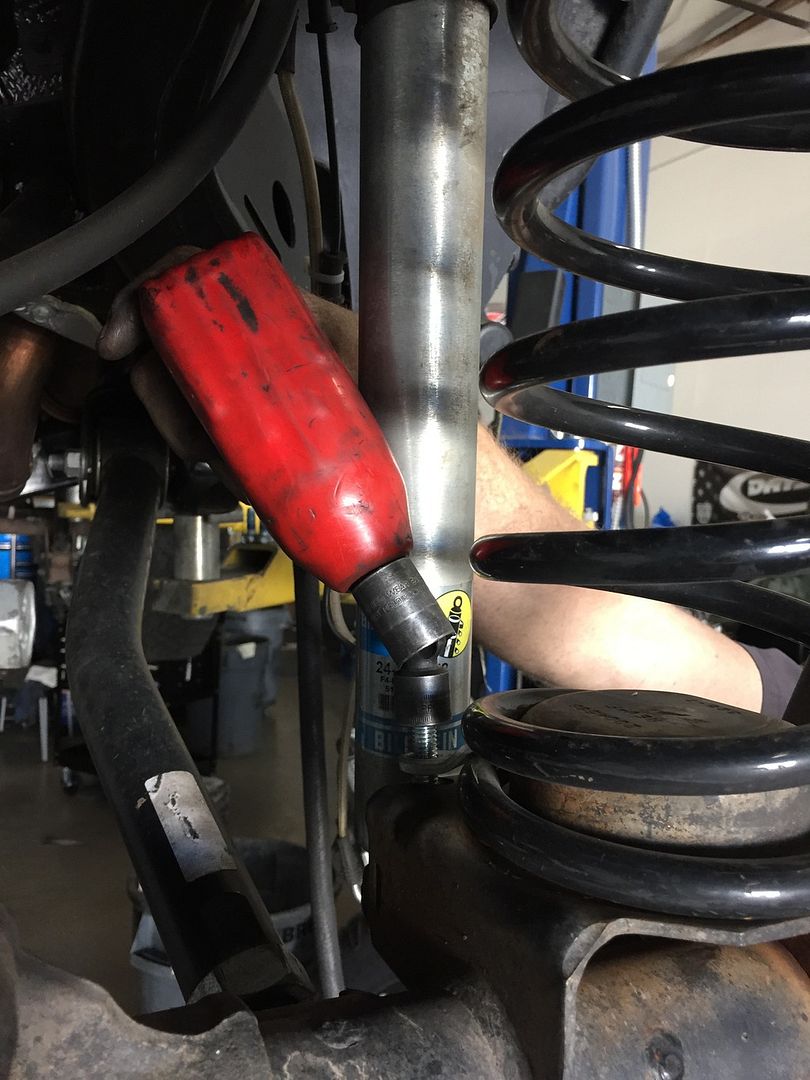
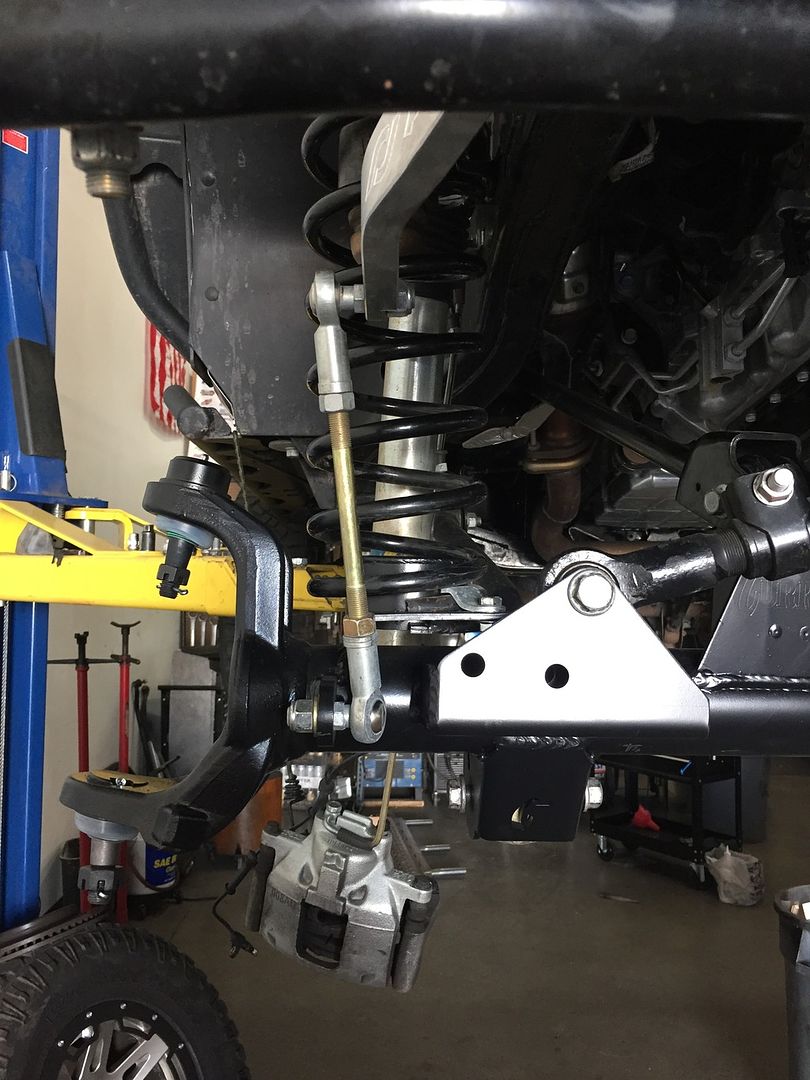
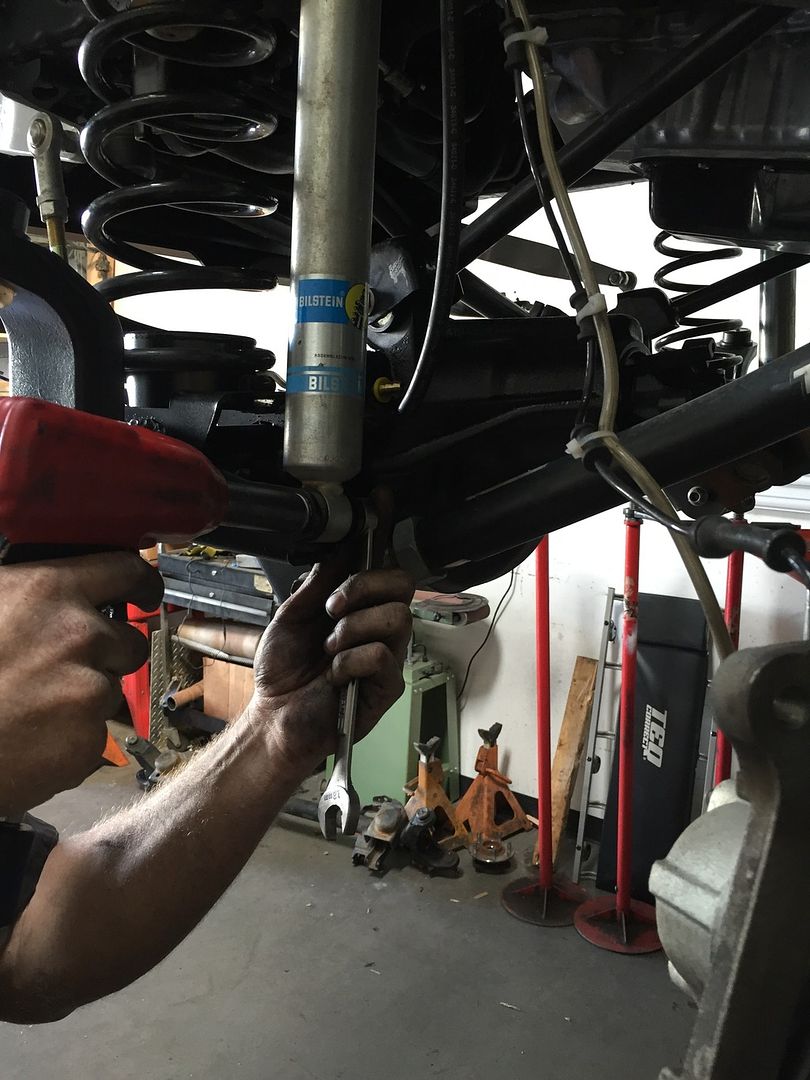
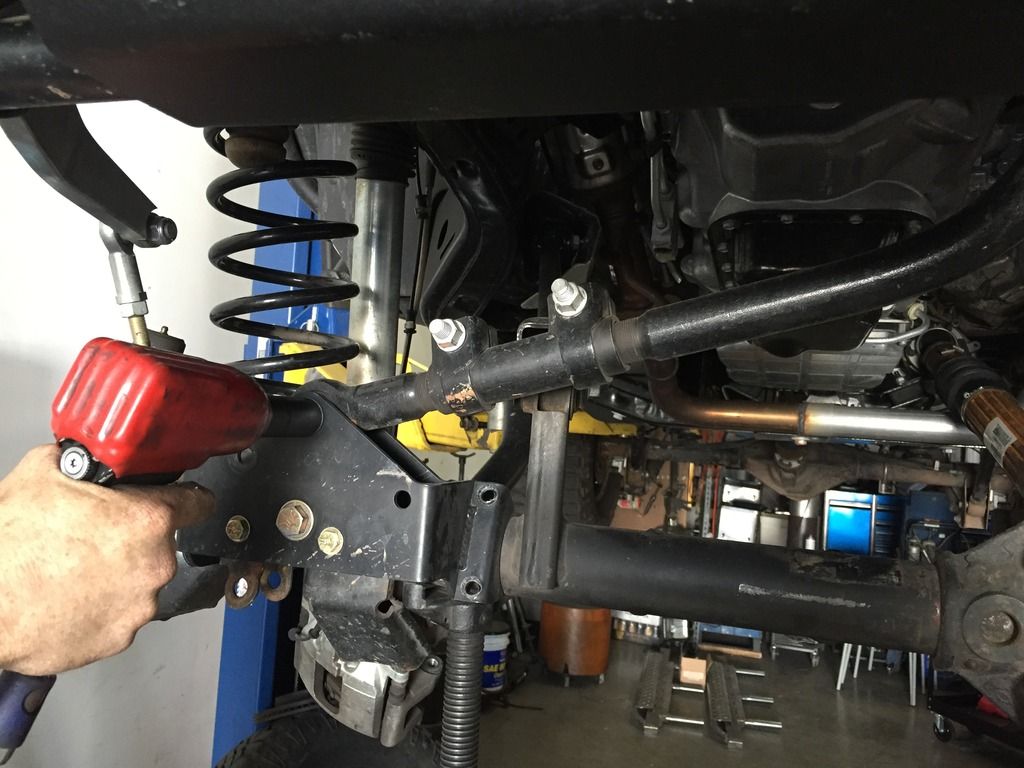
Remove both lower shocks.
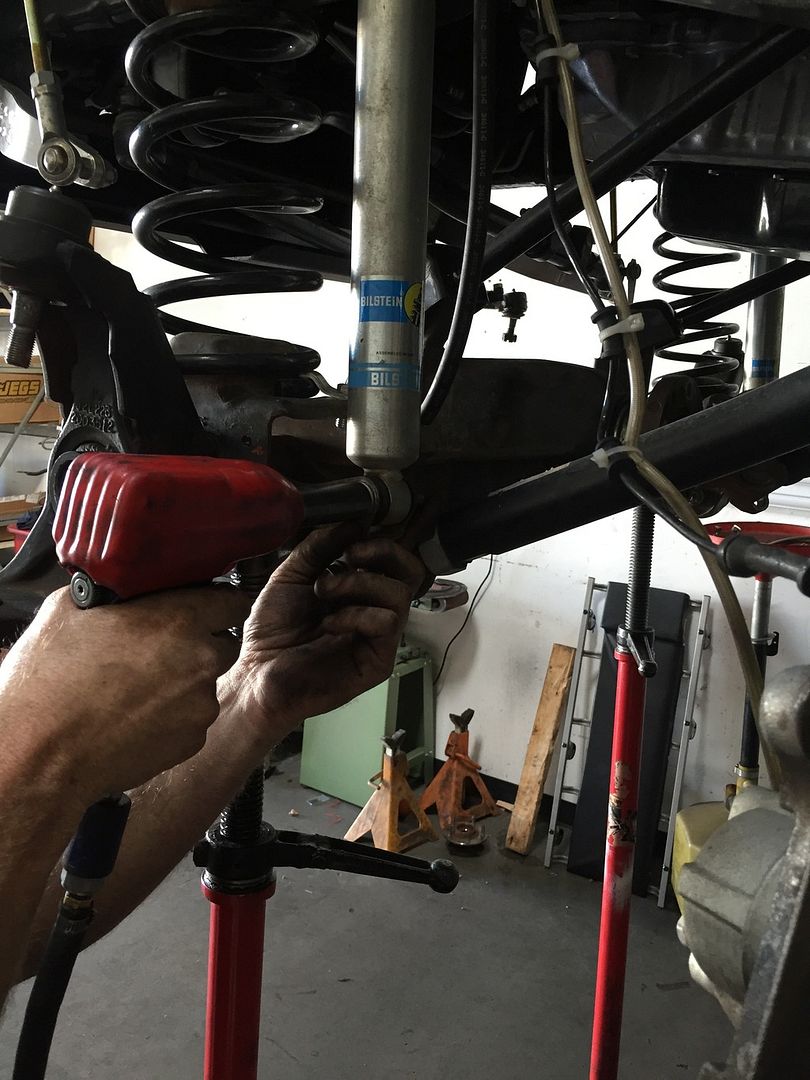
• Use 18mm to remove lower shock.
Mfg: JK-44HPF2
Currie Enterprises® Price Starts At: $1,999.95
Description
The Currie RockJock® high pinion 44 is an all new, heavy duty 44 made 100% by Currie. Their casting is a heavy duty, ductile iron piece that uses the larger JK high pinion 44 gears only. These gears feature a larger ring gear than a standard 44 as well as a 29 spline Dana 60 size pinion gear. Tubes are 3" x .375" wall. All new heavy duty JK suspension brackets are mounted on this housing for an easy bolt in installation and Currie's forged JK knuckles are installed. These are completely custom-built units that are made-to-order to each customer's specifications and application. They provide a much stronger assembly than the factory frontend in Jeep JK vehicles.
NOTES:
Unit is the factory 65.400" overall finished width. This housing weighs 134lbs., where a stock JK high pinion 44 front housing weighs 91lbs. Housings do not include ball joints, cover or yoke. Must use part number 44-4109JKHP solid spacer & shim kit when setting up gears.
My Thoughts
There are multiple companies that are now making the replacement 44 housing, but Currie Enterprises® stepped up to the plate when I spoke with them about what I was looking for. Currie Enterprises® offered for me to come out and take a tour and also take photos of the housing during assembly. I had some upgrades like TeraFlex’s big rotor kit, and Reid Racing® Knuckles that I wanted to transfer over. Currie Enterprises® walked me through step by step of what they would be doing to the housing and what upgrades were available. I chose to have Synergy ball joints installed, Yukon 5.13 gears, Yukon Zip Locker, and I couldn’t be happier with the way the housing turned out, the way I was treated through the whole process, and the quality of everything that was done. I can’t wait to do the rear 60 next!
Install Time
3-6 hours (Not including gears or lockers.)
Tools Needed
Radio for your favorite tunes
Drink of choice
9+ Gear Oil
Grease
Paper Towels
Oil Catch
Torque Wrench
Protective Eyewear
Gloves
1/2” Ratchet
3/8” Ratchet
Ratchet Extensions
Dead Blow
Hammer/Mini Sledge
4 Jack stands
Lift or Jack
13mm Socket (12 point)
14mm Socket
15mm Socket
18mm Socket
¾” or 19mm Socket
21mm Socket
8mm Allen Wrench
Snips
Zip Ties
Wheel Blocks
Torque Reference Guide
Driveshaft 81 ft. lbs.
Upper Ball Joints 85 ft. lbs.
Lower Ball Joints 100 ft. lbs.
Hub Nuts 75 ft. lbs.
Axle Center Nut 100 ft. lbs.
Caliper Bolts 90 ft. lbs.
Tie rod 85 ft. lbs.
Drag link 85 ft. lbs.
Track bar 125 ft. lbs.
Upper Control Arms 75 ft. lbs.
Lower Control Arms 125 ft. lbs.
Lower Shocks 56 ft. lbs.
Wheels 100-125 ft. lbs
WARNING!
My write-up does not include the install of gears, lockers or any other housing upgrades. Please seek your closest reputable gear specialist before installing your new housing!
Install Guide
Step 1
Park Jeep on level ground and prepare for axle housing removal.
• Pull the e-brake up/engage.
• Lightly loosen front wheels lugs with 19mm Socket or 3/4 and lug key if you have locks.
• Jack the Jeep up high enough off the ground and install the jack stands.
• Once done, now remove all the loosened wheel lugs and place wheels/tires underneath frame of Jeep.
NOTE:
• If you are intending on removing the unit bearings in the interest of upgrading your outer axle shafts and you will be using hand tools, loosen axle nut before removing brakes. Easiest way to remove it is to have someone engage foot brake while you break free the axle nut.
Step 2
Remove brake rotors, calipers, and abs sensors.
• Separate abs lines from the brake lines.
• Remove rotor tabs.
• Remove the 2 caliper bolts using 21mm wrench or socket.
• When you remove calipers, use zip ties to hold out of the way to avoid damage to brake lines.
• Slide off brake rotor and put to the side.
• Behind rotors are the abs sensors. Remove with 8mm allen wrench. Once sensor is removed, unclip the abs cable and completely separate it from axle housing.
Step 3
Removing hub assembly.
• Unbolt hub assembly from rear with 13mm. (12 point)
• If you will be upgrading your outer axle shafts, remove center nut off axle with 36mm socket.
Step 4
Remove steering stabilizer from housing and tie rod.
• Use 18mm or 19mm depending on if stock or not to remove.
Step 5
Remove tie rod and drag link.
• Use hammer or sledge to break loose instead of pickle fork. Make sure you hit from side and not the top!
• A few hard hits to outside of taper will break it free.
• Use 21mm for tie rod.
• Use 21mm for drag link at housing only and zip tie out of the way.
Step 6
Removing the knuckles and axles.
• Remove cotter keys from upper and lower castle nuts on ball joints, then remove the upper castle nut but leave lower on slightly. The lower castle nut will keep the knuckle from falling to the ground when breaking free from ball joints.
• Remove the abs brackets/upper ball joint castle nut using 22mm wrench.
• Now break free the knuckle and remove.
• Slide axles out.
• Use 22mm socket or wrench for upper castle nuts.
• Use 27mm socket or wrench for lower castle nuts.
Step 7
Remove the 4 driveshaft bolts at the yoke and zip tie the driveshaft out of the way.
• Use 15mm to remove the driveshaft bolts.
• If you started with a Rubicon housing, you will reuse stock yoke. You will have to make a timing mark on the yoke and the driveshaft so that they can be realigned properly.
Step 8
Remove stock or aftermarket sway bar links from housing.
• Just unbolt from housing sides only and push up out of the way.
• Use 18mm and 19mm wrench to remove.
Step 9
Disconnect the vent hose and two sensors from housing.
• This is on the driver side of housing.
• You won’t have this if you are on a 30 housing. (Non Rubicon)
Step 10
Unbolt the track bar from housing only and zip tie out of the way.
• Use 21mm to remove.
Step 11
Remove both lower shocks.
• Use 18mm to remove lower shock.
Last edited: