FarmerFrederico
Adventurer
Greetings!
First off, thank you everyone for all of the great feedback and encouragement you provide for each other and previous lurkers like myself.
You may have seen my posts in other places around the forum…we were initially dead set on a 3/4 or 1 ton truck with a FWC Hawk out back…then we were positive we wanted a Sprinter. As the build progresses you'll see what kinds of features we prioritized. Wife and I are in our late 30's, we have a 3 year old son, and a mid-sized pooch. We live on Colorado's Front Range and we are both teachers so we've got summer's off together. We are really lucky to make this happen and at the same time it feels risky, but we've made ourselves feel better by saying, "We have 3 months of the year off of work together, we can't NOT make this happen!"
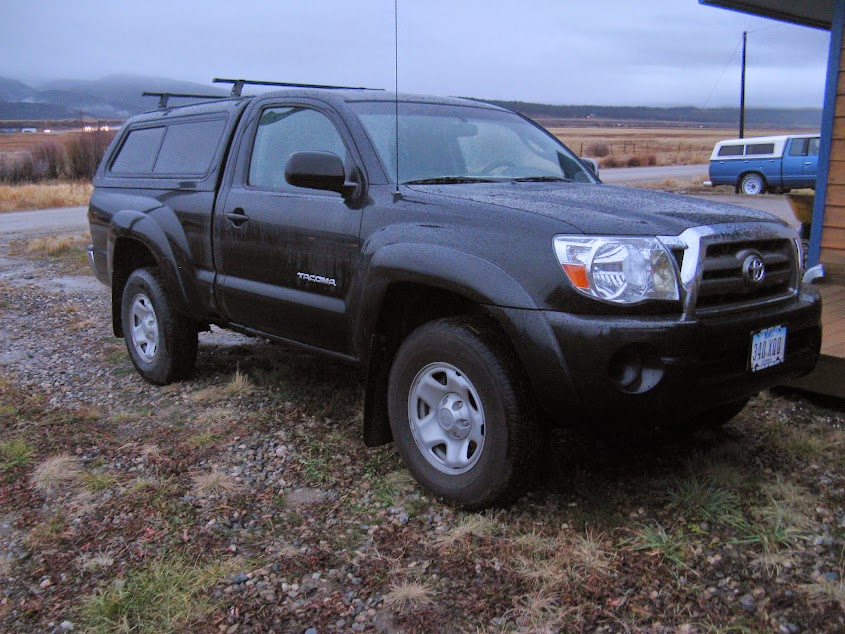
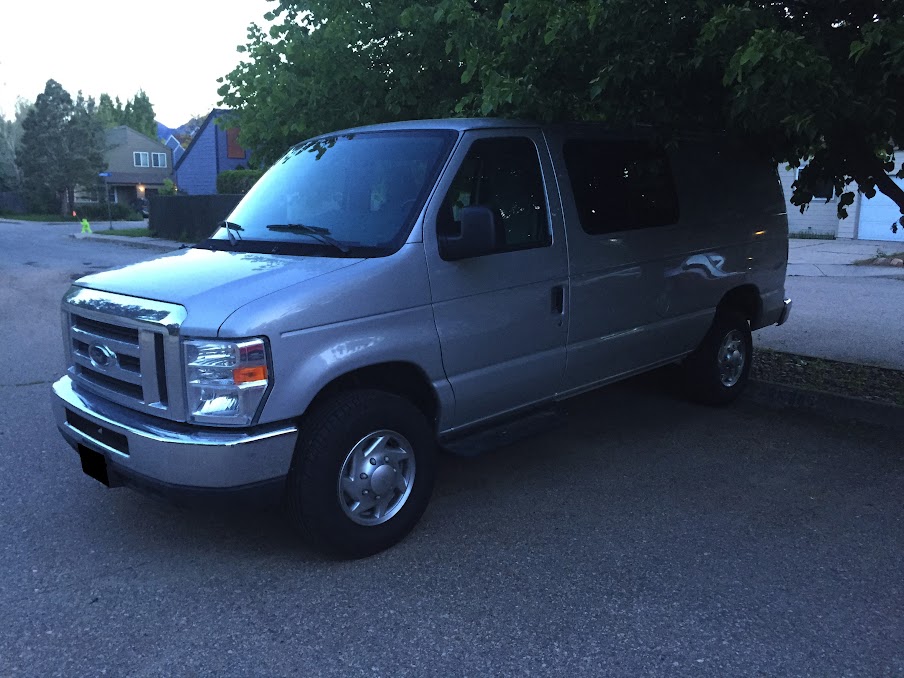
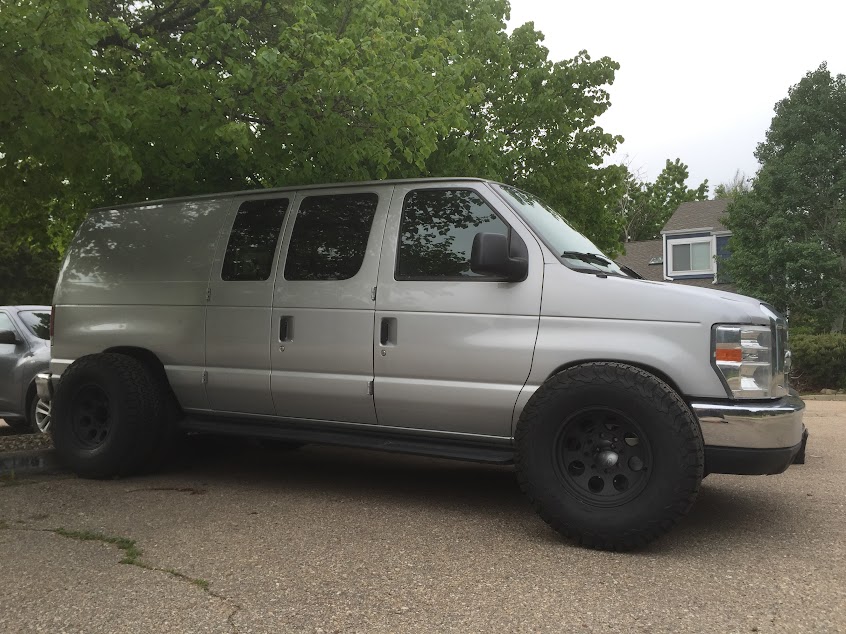
It's a 2010 RB Cargo with the V10...I felt we'd need it with the amount of driving I do with 3-4 mountain bikes on the hitch rack cruising up in to the mountains. Had to have it shipped from Long Island. The dealer said the engine was "clean enough to eat a meatball off of." That pretty much sold me - kidding, I had a mechanic check it out and it looks to be in good shape. It's got 78k miles and looks really clean. Dealer said the previous owner was in the music recording business - they had bulkhead and the cargo area was finished with plywood and carpet as you'll see. We really didn't want white...silver works for us. Might get a matte black grille or plasti-dip it someday. Kiddo really likes animals and my wife immediately said that if I found a silver one it would be called the Gray Whale...so Gray Vhale it is!
When it showed up at our house though, the driver side door handle was stuck in the open position and wouldn't open the door - pretty sure the hamfisted truck driver did that thinking the door was unlocked. No biggie - I pulled the panel that afternoon and got things readjusted properly - it should stay fixed now but if anyone knows a permanent solution I'm all ears.
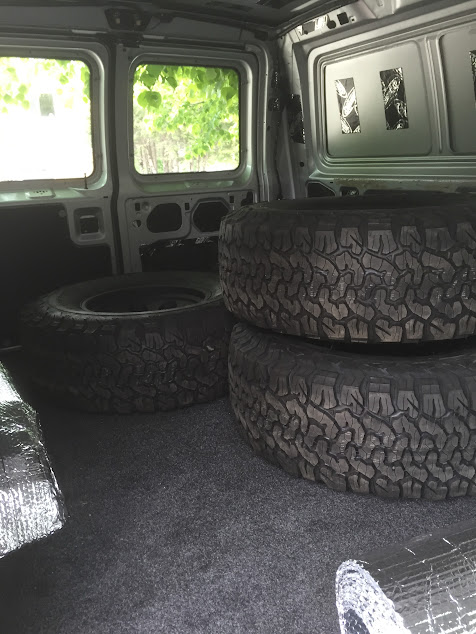
These beauties are going in (kiddo turned the headrests around). The big box is a queen size futon that will go on a modular platform. This is the most contentious part of the build. I don't want it to fit but my wife says it has to fit...so it's going to fit. We lose a lot of "living area" with it, and it's going to make it a PITA to keep this the "transformer" build I had in my mind going into this, but it makes her happy so I'm going to be happy with it. She wants a super comfy place to crash for a nap with the kiddo in the afternoon while I'm out riding bikes. We can make that work!

A view of the interior with the bulk head and a random leftover shelf removed.

I had to destroy the plastic TRW ap66 plastic push in screws to remove these plastic door covers - anyone know where to order more? Google isn't giving anything up on them. They go in the 1/4" holes of the door.

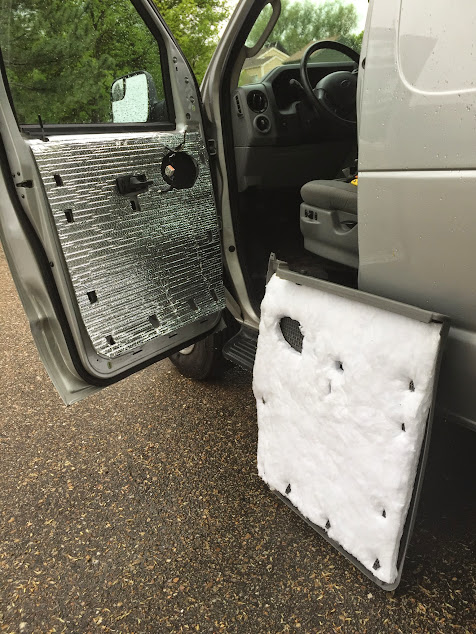
Took out the carpet covered 1/4" plywood to find this insulation work behind it. It was effective in the hot sun, but I'm going to try to do better. Doing some sound deadening and am pretty sure insulation will go like this: Dynamat Extreme patchwork throughtout, XPS pink board glued to biggest bare metal areas, 3M Thinsulate worked in to the small places and then large pieces over the top of XPS in a continuous fashion, then Reflectix, then my walls. We are kind of freaks about off gassing, so I think the walls will be car siding rather than plywood...any thoughts on that? We don't plan on building a lot of permanent cabinetry and most of the storage will be under the bed.

Dynamat Extreme

Taking up this carpet and plywood to check for rust, then putting down BedRug VanRug over a layer of Reflectix.

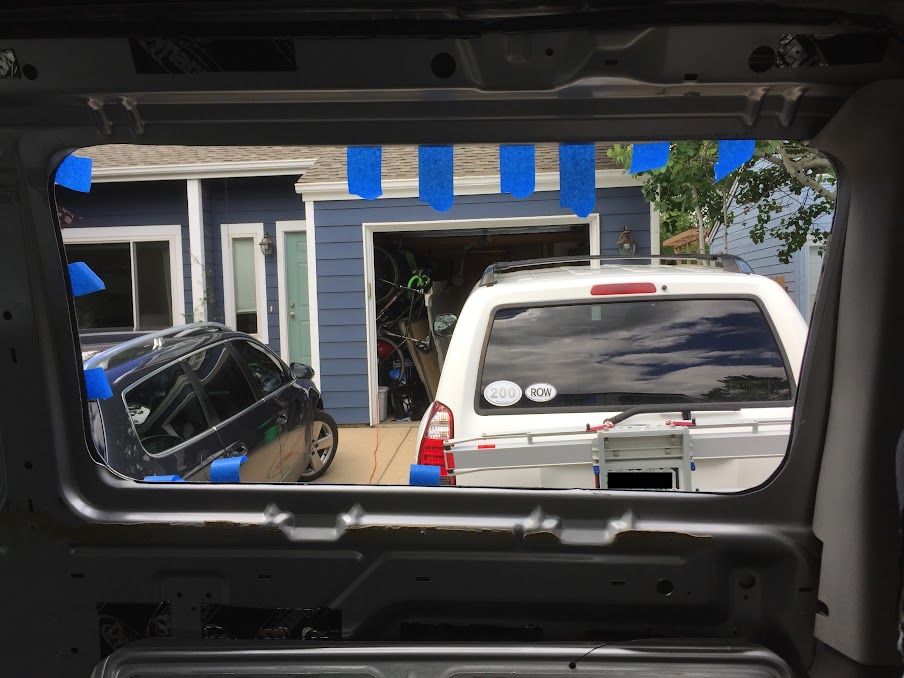
iPod plugs in the stereo:wings:missed that for a few years with the 2006 4Runner, need a new antenna, gotta figure out how to remove headliner from above cab without ruining fasteners. Doing an All-Glass look CRL window right behind driver seat - going to be the bigger one that doesn't fit the traditional cutouts - will this work? We'd have to cut in to the second layer of metal inside the fan. Thinking of doing it myself - $300 window and I have a jigsaw. Vanworks in the Fort can do it for $650 but not sure about timeframe yet. Need this to be rolling with window, seats, and bed by June.
:victory: thanks for reading! Any and all constructive criticism is welcomed!
First off, thank you everyone for all of the great feedback and encouragement you provide for each other and previous lurkers like myself.
You may have seen my posts in other places around the forum…we were initially dead set on a 3/4 or 1 ton truck with a FWC Hawk out back…then we were positive we wanted a Sprinter. As the build progresses you'll see what kinds of features we prioritized. Wife and I are in our late 30's, we have a 3 year old son, and a mid-sized pooch. We live on Colorado's Front Range and we are both teachers so we've got summer's off together. We are really lucky to make this happen and at the same time it feels risky, but we've made ourselves feel better by saying, "We have 3 months of the year off of work together, we can't NOT make this happen!"
It's a 2010 RB Cargo with the V10...I felt we'd need it with the amount of driving I do with 3-4 mountain bikes on the hitch rack cruising up in to the mountains. Had to have it shipped from Long Island. The dealer said the engine was "clean enough to eat a meatball off of." That pretty much sold me - kidding, I had a mechanic check it out and it looks to be in good shape. It's got 78k miles and looks really clean. Dealer said the previous owner was in the music recording business - they had bulkhead and the cargo area was finished with plywood and carpet as you'll see. We really didn't want white...silver works for us. Might get a matte black grille or plasti-dip it someday. Kiddo really likes animals and my wife immediately said that if I found a silver one it would be called the Gray Whale...so Gray Vhale it is!
When it showed up at our house though, the driver side door handle was stuck in the open position and wouldn't open the door - pretty sure the hamfisted truck driver did that thinking the door was unlocked. No biggie - I pulled the panel that afternoon and got things readjusted properly - it should stay fixed now but if anyone knows a permanent solution I'm all ears.
Here is the van in the drive-way...the 4Runner in the scene is what this eventually replaces when it has a car seat in it.
These beauties are going in (kiddo turned the headrests around). The big box is a queen size futon that will go on a modular platform. This is the most contentious part of the build. I don't want it to fit but my wife says it has to fit...so it's going to fit. We lose a lot of "living area" with it, and it's going to make it a PITA to keep this the "transformer" build I had in my mind going into this, but it makes her happy so I'm going to be happy with it. She wants a super comfy place to crash for a nap with the kiddo in the afternoon while I'm out riding bikes. We can make that work!
A view of the interior with the bulk head and a random leftover shelf removed.
I had to destroy the plastic TRW ap66 plastic push in screws to remove these plastic door covers - anyone know where to order more? Google isn't giving anything up on them. They go in the 1/4" holes of the door.
Took out the carpet covered 1/4" plywood to find this insulation work behind it. It was effective in the hot sun, but I'm going to try to do better. Doing some sound deadening and am pretty sure insulation will go like this: Dynamat Extreme patchwork throughtout, XPS pink board glued to biggest bare metal areas, 3M Thinsulate worked in to the small places and then large pieces over the top of XPS in a continuous fashion, then Reflectix, then my walls. We are kind of freaks about off gassing, so I think the walls will be car siding rather than plywood...any thoughts on that? We don't plan on building a lot of permanent cabinetry and most of the storage will be under the bed.
Dynamat Extreme
Taking up this carpet and plywood to check for rust, then putting down BedRug VanRug over a layer of Reflectix.
iPod plugs in the stereo:wings:missed that for a few years with the 2006 4Runner, need a new antenna, gotta figure out how to remove headliner from above cab without ruining fasteners. Doing an All-Glass look CRL window right behind driver seat - going to be the bigger one that doesn't fit the traditional cutouts - will this work? We'd have to cut in to the second layer of metal inside the fan. Thinking of doing it myself - $300 window and I have a jigsaw. Vanworks in the Fort can do it for $650 but not sure about timeframe yet. Need this to be rolling with window, seats, and bed by June.
:victory: thanks for reading! Any and all constructive criticism is welcomed!