You are using an out of date browser. It may not display this or other websites correctly.
You should upgrade or use an alternative browser.
You should upgrade or use an alternative browser.
Offroad teardrop build
- Thread starter xtremexj
- Start date
xtremexj
Adventurer
Could you please give more infor on how your floor was attached? Also what was it treated wit on the bototm?
The floor is attached with twelve 3/8" carriage bolts mounted to tabs on the inside edge of the frame. I will have to try and get pics of those if you need as I have never taken any.
As much as I like the small tear drops, I really think the ability to get in out of the weather is a win. I live in Alaska so winter half the year is crappy and I like the build so far.
Thanks!! It sure is nice to be able to sit somewhere out of the rain with room to move.
xtremexj
Adventurer
Finally have some new pics to share!!
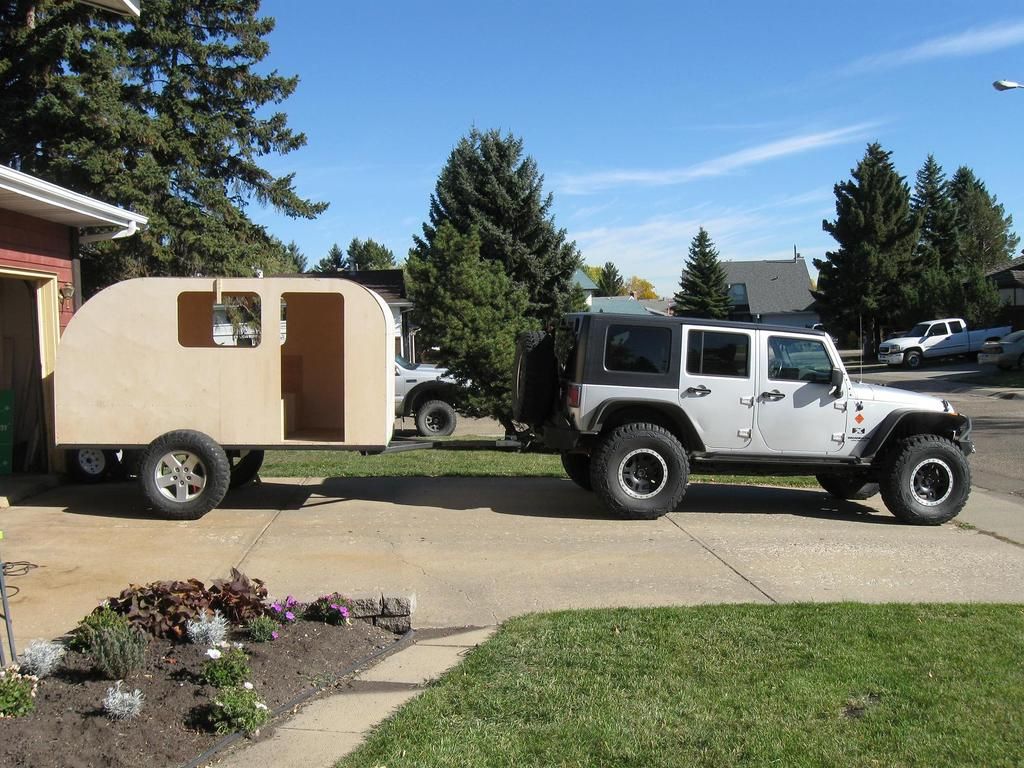
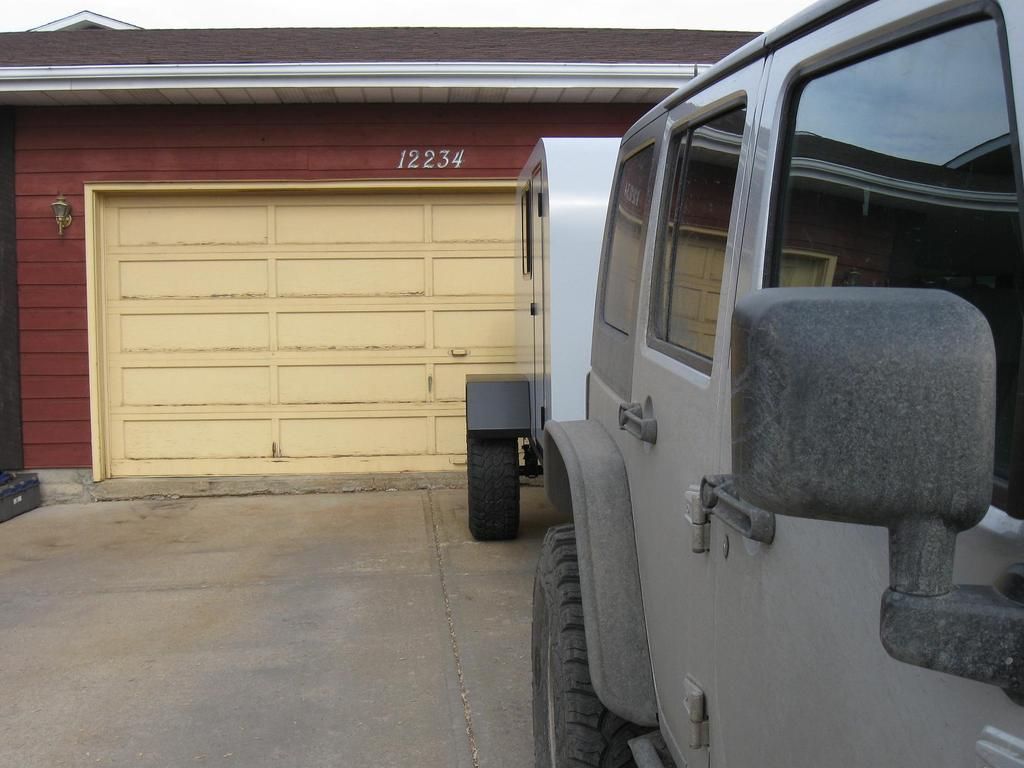
The first one is from about a month ago when I just had to pull it out of the garage and put the 33s under it and see how it sits. I think the stance is about perfect!
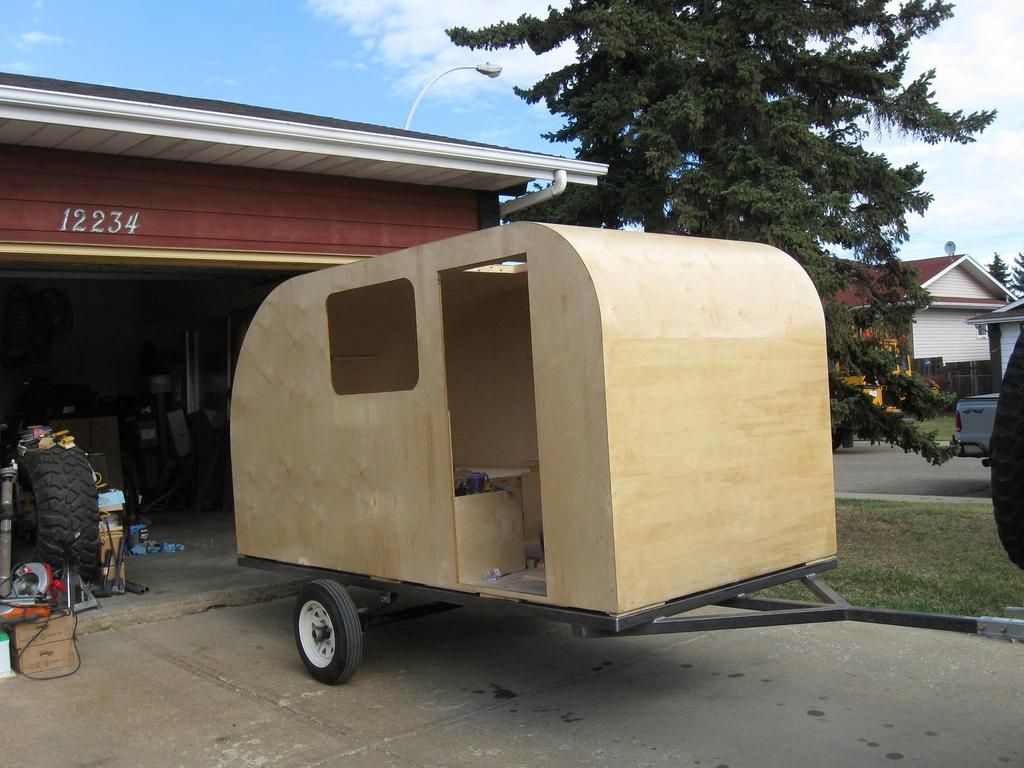
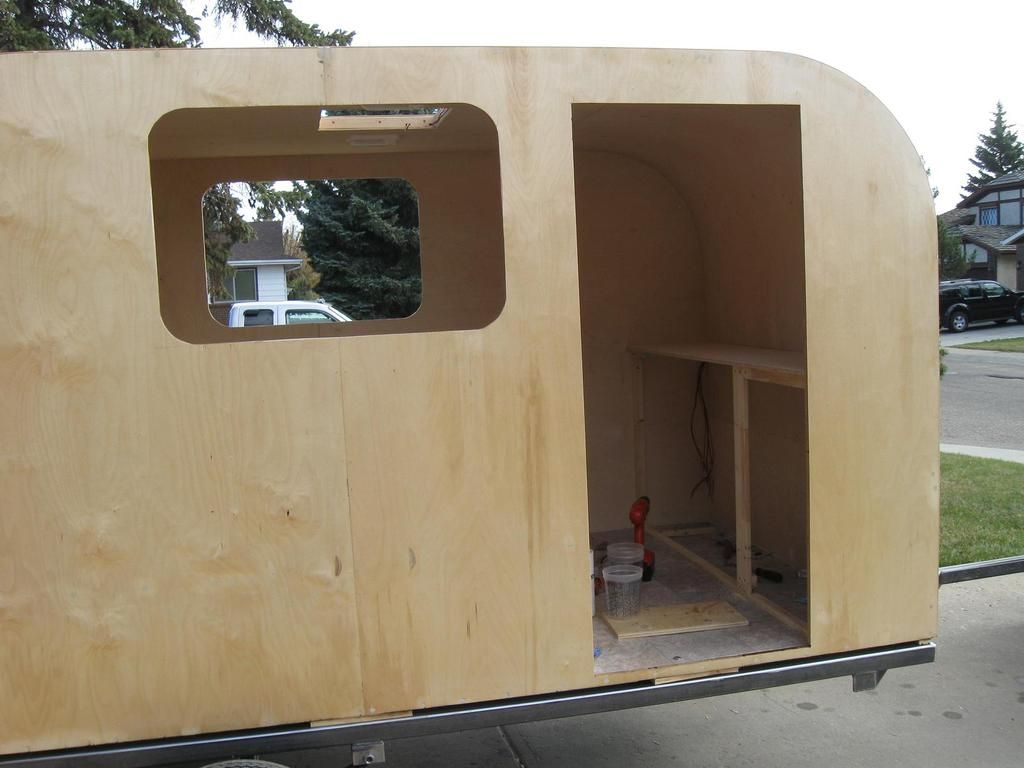
These next two are after the application of the West System epoxy (two coats).
The exterior is painted now with Behr Marquee exterior latex paint. It is supposed to be their longest lasting, best UV protection paint so we'll see what happens. The color is called Tin Foil so it comes close to matching the silver of my Jeep. I just don't have any exterior pics with the paint yet. Maybe tomorrow as it's supposed to be fairly warm.
The first one is from about a month ago when I just had to pull it out of the garage and put the 33s under it and see how it sits. I think the stance is about perfect!

These next two are after the application of the West System epoxy (two coats).


The exterior is painted now with Behr Marquee exterior latex paint. It is supposed to be their longest lasting, best UV protection paint so we'll see what happens. The color is called Tin Foil so it comes close to matching the silver of my Jeep. I just don't have any exterior pics with the paint yet. Maybe tomorrow as it's supposed to be fairly warm.
Last edited:
xtremexj
Adventurer
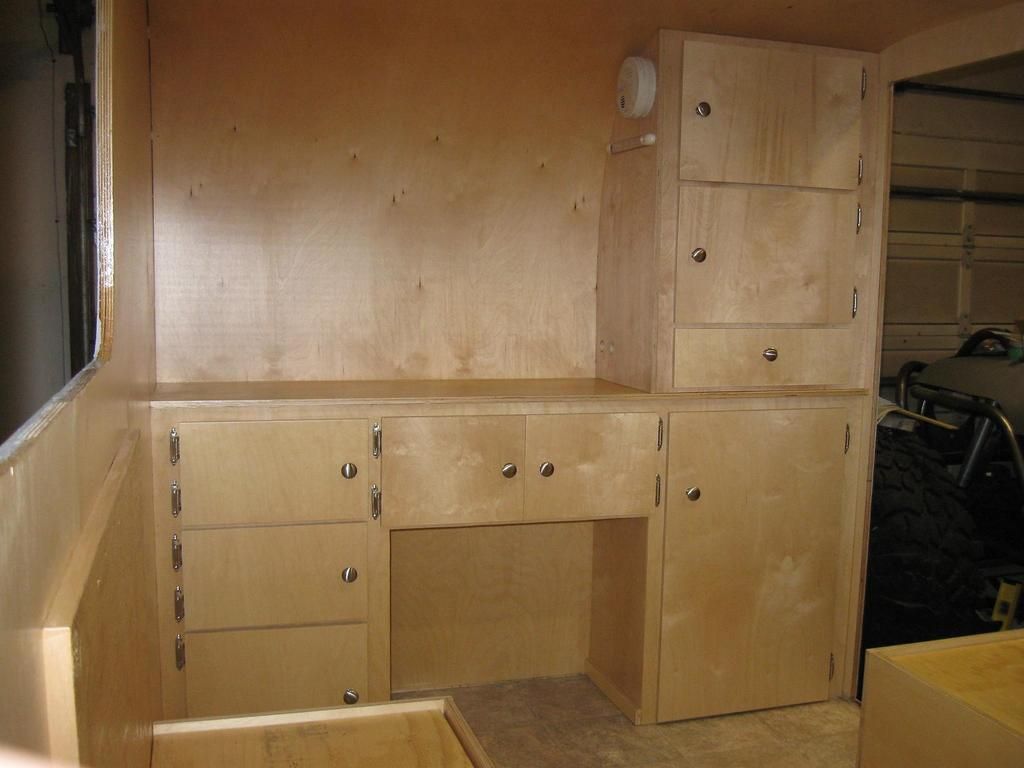
I finally made some more progress on the storage cabinets in the front. It took me forever to decide how I wanted to do it so that area has taken way longer than I would have liked.
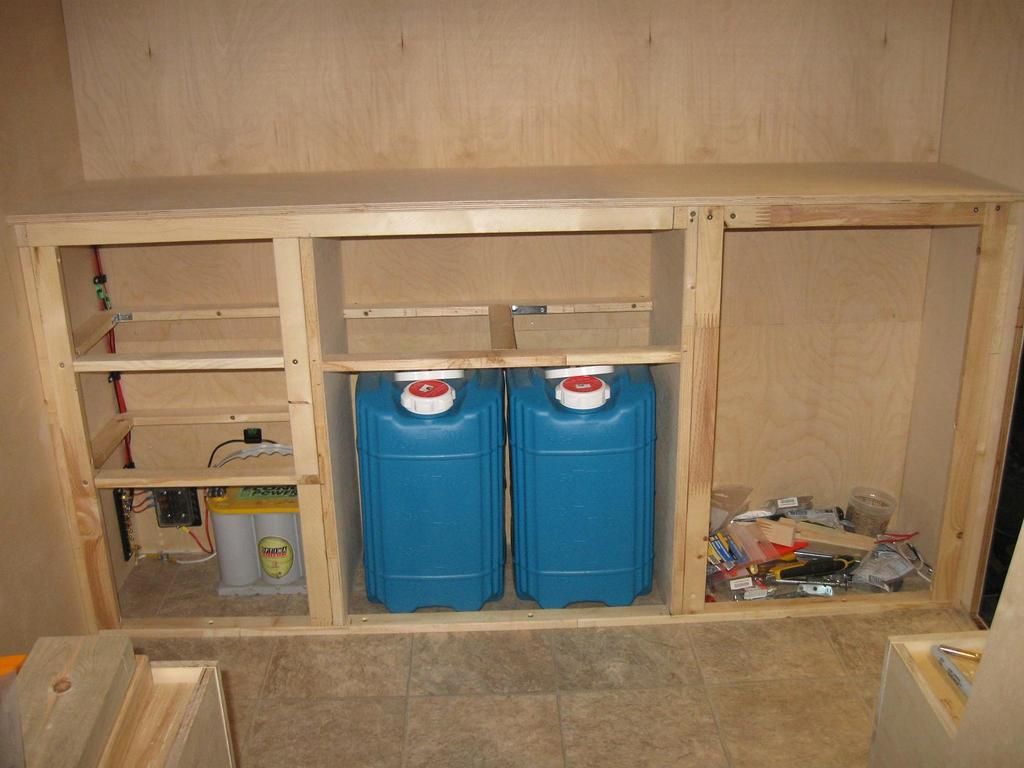
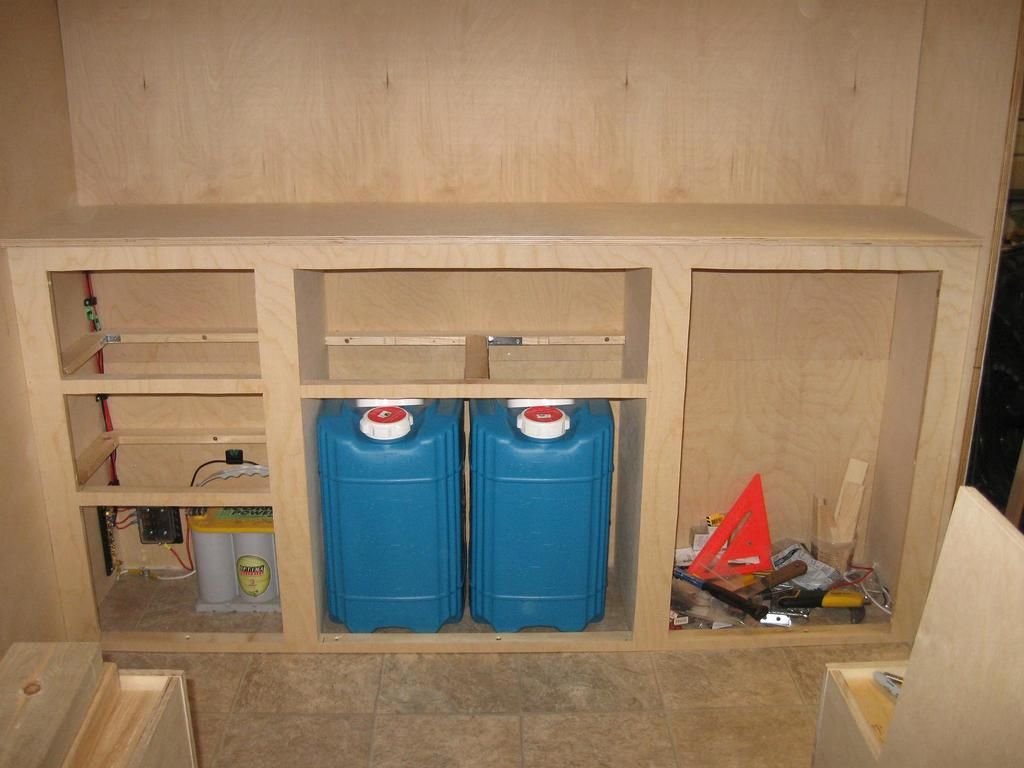
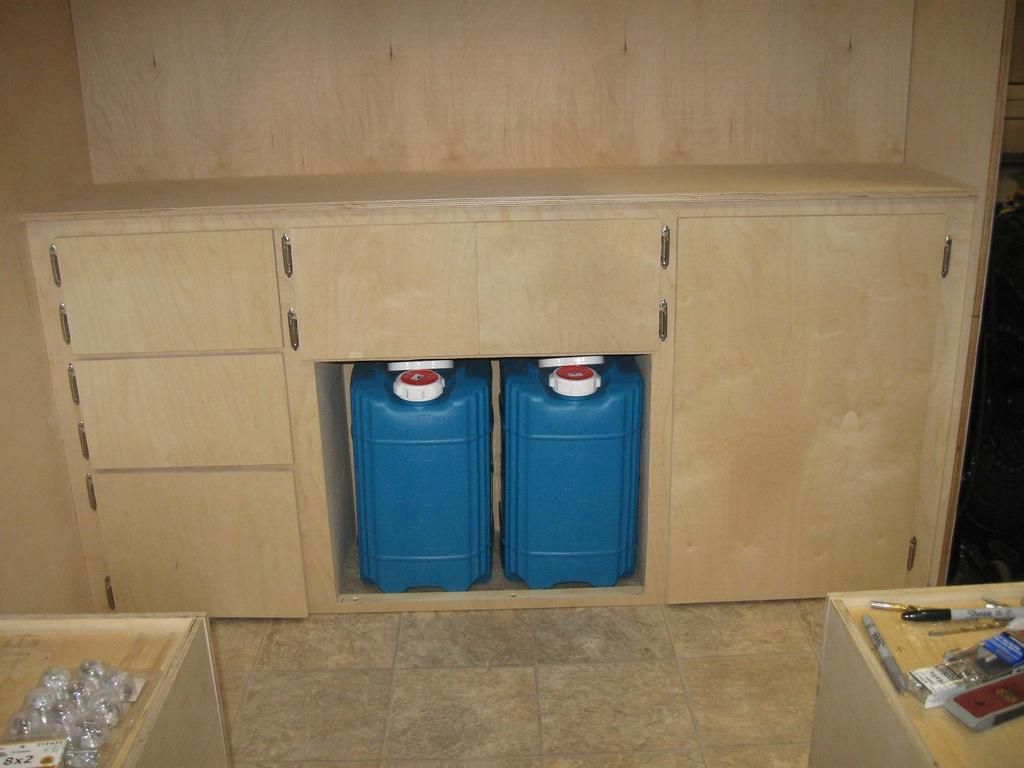
So that catches everyone up on the build as of yesterday afternoon. Hoping to finish the cabinets today so I can start applying the clear polyurethane to the interior.


So that catches everyone up on the build as of yesterday afternoon. Hoping to finish the cabinets today so I can start applying the clear polyurethane to the interior.
xtremexj
Adventurer
The wife decided she wanted a touch more storage space so I spent the better part of today dreaming up this little addition. Spent probably two hours alone on cardboard templates to get the radius right before cutting up some expensive 1/2" Baltic birch.

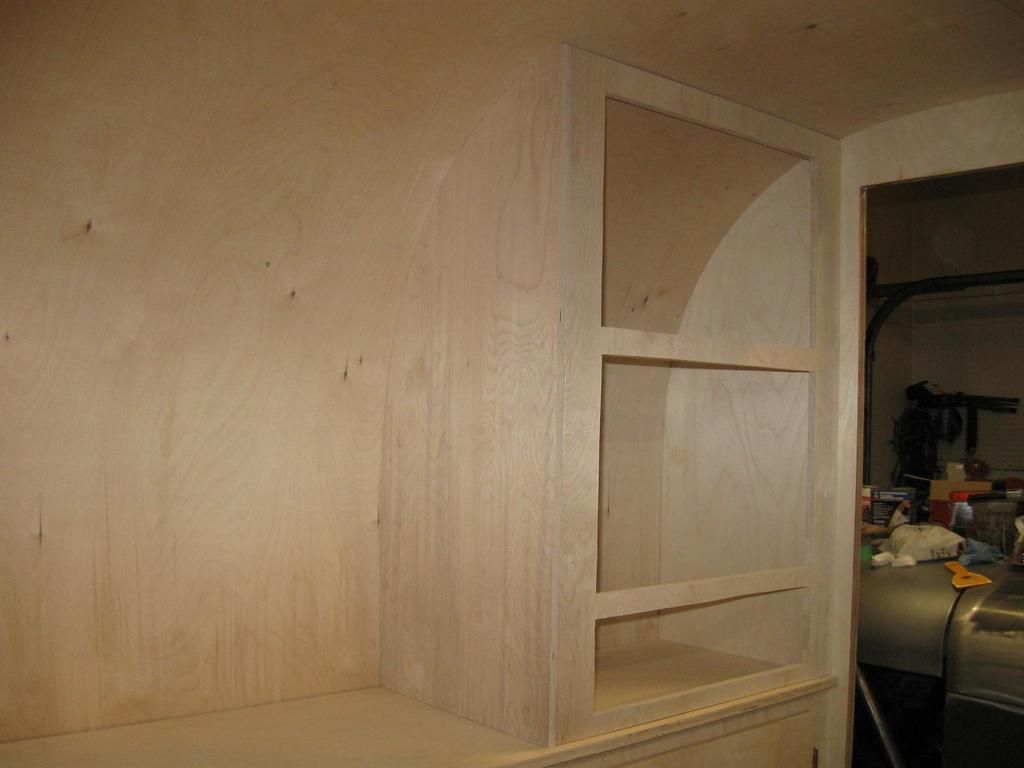
The top two openings are going to be cabinets and the bottom will be a drawer. Tomorrow will be knocking those out and cleaning up the inside and getting ready for clear polyurethane.


The top two openings are going to be cabinets and the bottom will be a drawer. Tomorrow will be knocking those out and cleaning up the inside and getting ready for clear polyurethane.
xtremexj
Adventurer
Great design but it makes me mad because now I've gone back to the drawing board on mine.
Thanks a lot.. Can't wait to see it finished.
Gene
LOL! Sorry dude but I sure know how you feel. My buggy chassis has had so many on the fly changes that if I could have just stuck with one design to start with it would have been done before now. Five years and couting...
Glad my trailer design has inspired you though.
")
xtremexj
Adventurer
Nice job Shane.
Thanks Mark!
xtremexj
Adventurer
So the last week has been spent on building all the cabinet doors and the drawer as well as prepping the interior and applying a couple coats of Minwax water-based satin finish. Definitely tedious work but it is really getting close to being done. I also installed an extra LED light and CO detector on the side of the upper cabinet. Started making the table and painting the entry door as well but haven't taken any pics of those yet. These will have to do for now. 8)
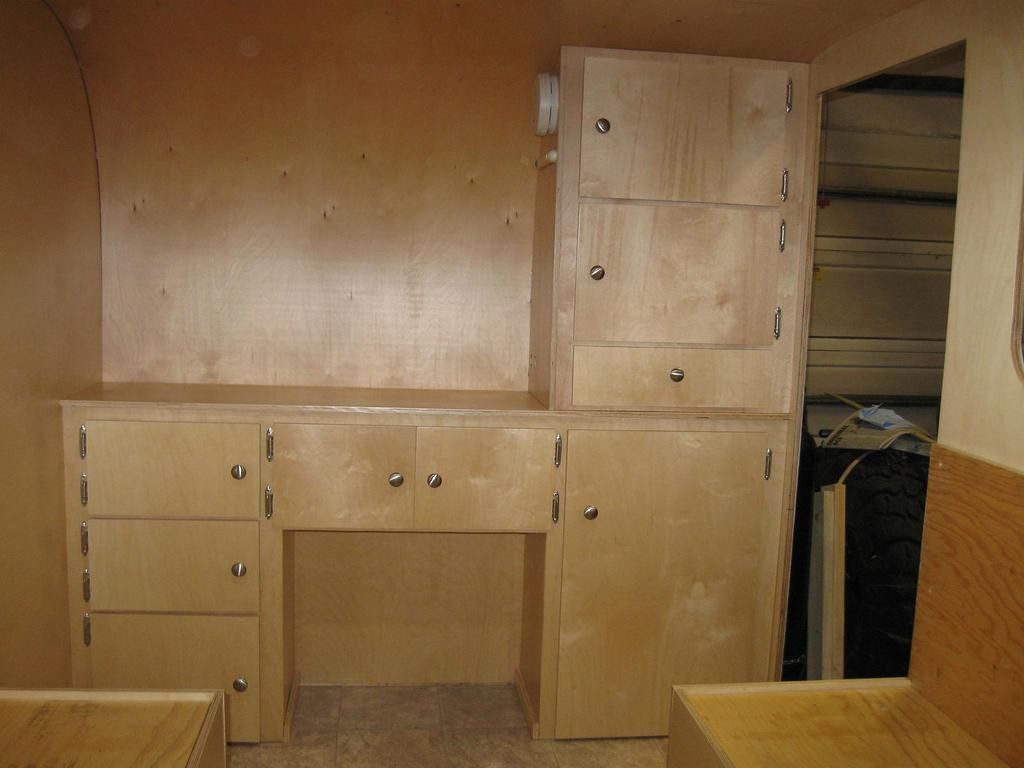
The Minwax gave a slight ambering of the wood but I think it looks pretty cool.


The Minwax gave a slight ambering of the wood but I think it looks pretty cool.
xtremexj
Adventurer
The Minwax looks good, I like the little bit of depth it gave, which is hard to achieve with birch. Birch doesn't take stain worth a s%&% which is one of the down sides if you want a darker finish.
Thanks Mark. I think "depth" is a great word to describe it. I was hoping it wouldn't go too dark and I think this is about perfect.
xtremexj
Adventurer
I finally have some updates after nearly 4 months!! :wings:
After struggling to find some aluminum extrusions for my door frame I finally approached a friend who owns a production metal working shop about what I needed and he came up with a design for me. I was able to finish trimming the door as well. I have some spanner style screws for securing the hinges for a little bit of extra security. If I was doing it over again I would definitely use a continuous hinge hidden in the the door frame but that will be for the next time I build one.
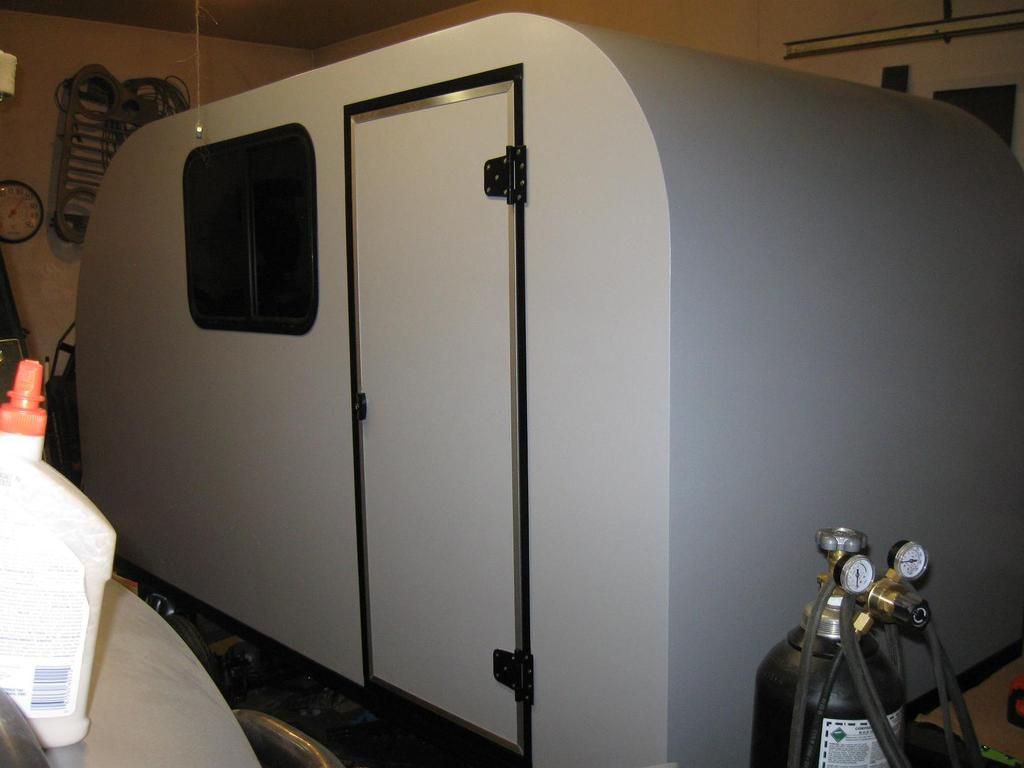
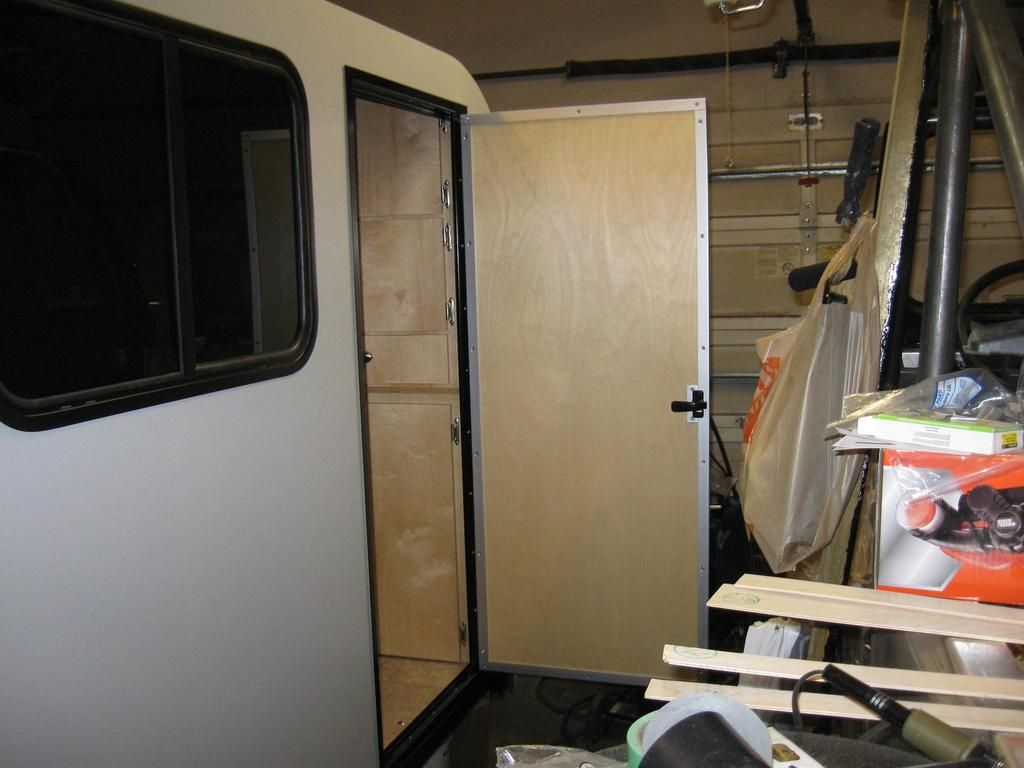
After struggling to find some aluminum extrusions for my door frame I finally approached a friend who owns a production metal working shop about what I needed and he came up with a design for me. I was able to finish trimming the door as well. I have some spanner style screws for securing the hinges for a little bit of extra security. If I was doing it over again I would definitely use a continuous hinge hidden in the the door frame but that will be for the next time I build one.


Last edited:


xtremexj
Adventurer
I hit the nail right on the head with the width of my fenders too!! They are exactly to the edge of the tires.
I also got to the brackets built that support the table when it is in the dropped position and decided to bring up the cushions and mattress to see how things looked and felt.


I am just waiting on my exterior edge trim to come in so I can get the measurements for my checker plate trim. Then I need to finish shaping the table and buy the post and mounts for it. After that it's building the spare tire mount, painting the tongue and finish the frame wiring. Once that is done I can get it out of the garage for good and then install the fantastic fan.
Forum statistics
Members online
- K9LTW
- nckwltn
- colorado.cruiser
- Rudy13
- Mtnladie
- 3IMOH
- ebrabaek
- PDXSting
- Blowby
- wazzubob
- SBSYNCRO
- Willsfree
- Velobrew
- Probably.stuck
- EW6
- Nhrallyl
- Transit720
- Roambler
- kalibella
- sumnrfam
- eoglander
- ITTOG
- Muttle
- kostic
- Rpopma89
- BigBodyLevi
- ExpoMike
- ishc
- ldopa_chicago
- 1stDeuce
- tyler.armijo
- Riversdad
- JDaPP
- InfiniteToast
- 79bj40
- Delsh
- gwittman
- bozochu
- driveoverstuff
- modernbeat
- aknightinak
- destructomatt
Total: 807 (members: 46, guests: 761)