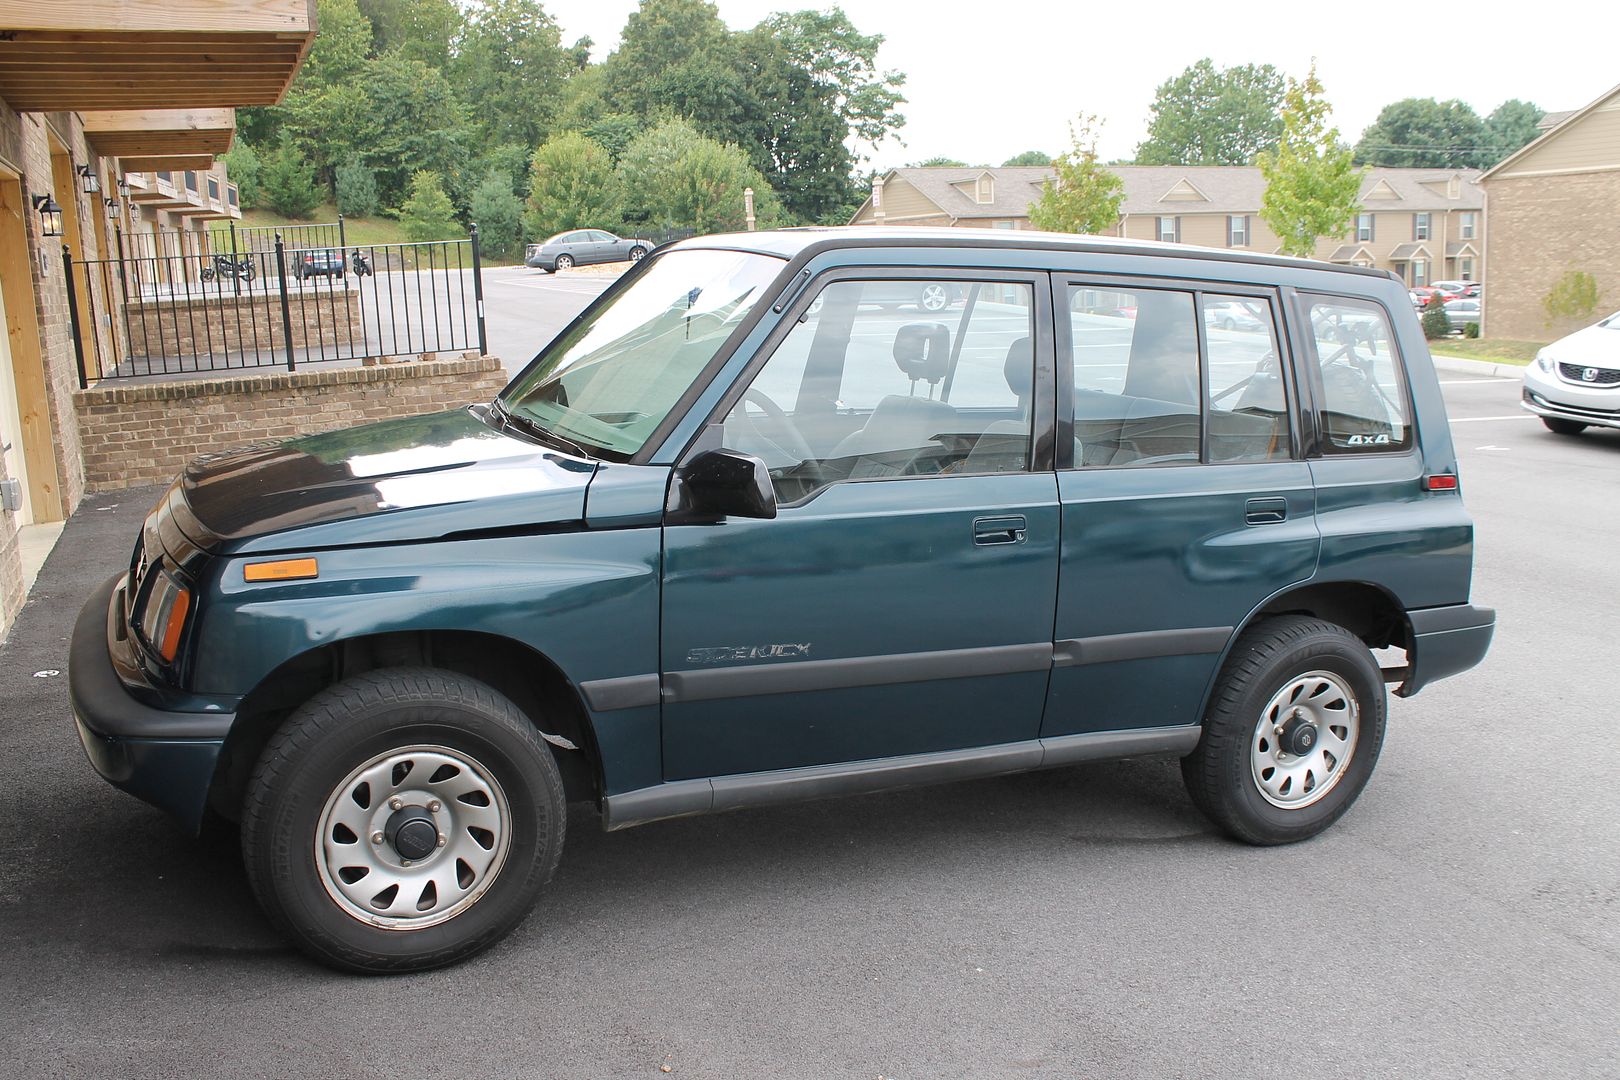
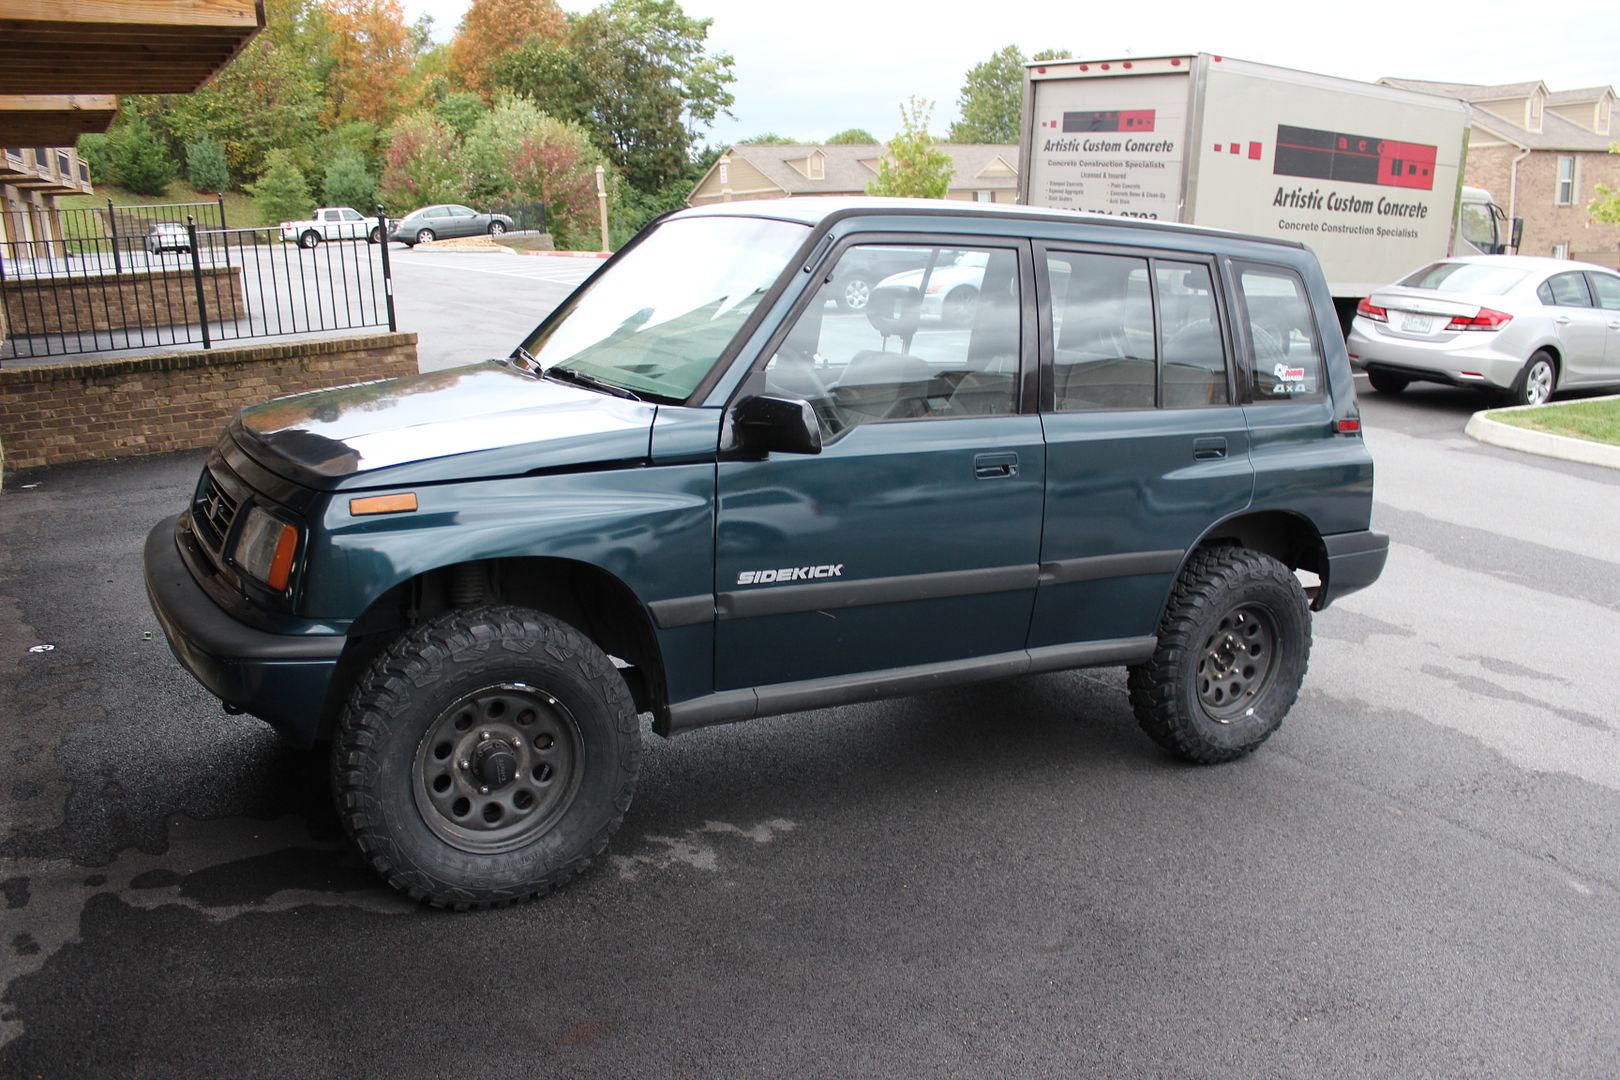
1995 Suzuki Sidekick Tinker Toy

Ponda

New member
SUMMARY BUILD

Start:


Current:


To-do List:
Roof Rack
Exterior / Interior Lighting
Fab Front & Rear Bumpers
Install winch
Replace front & rear suspension

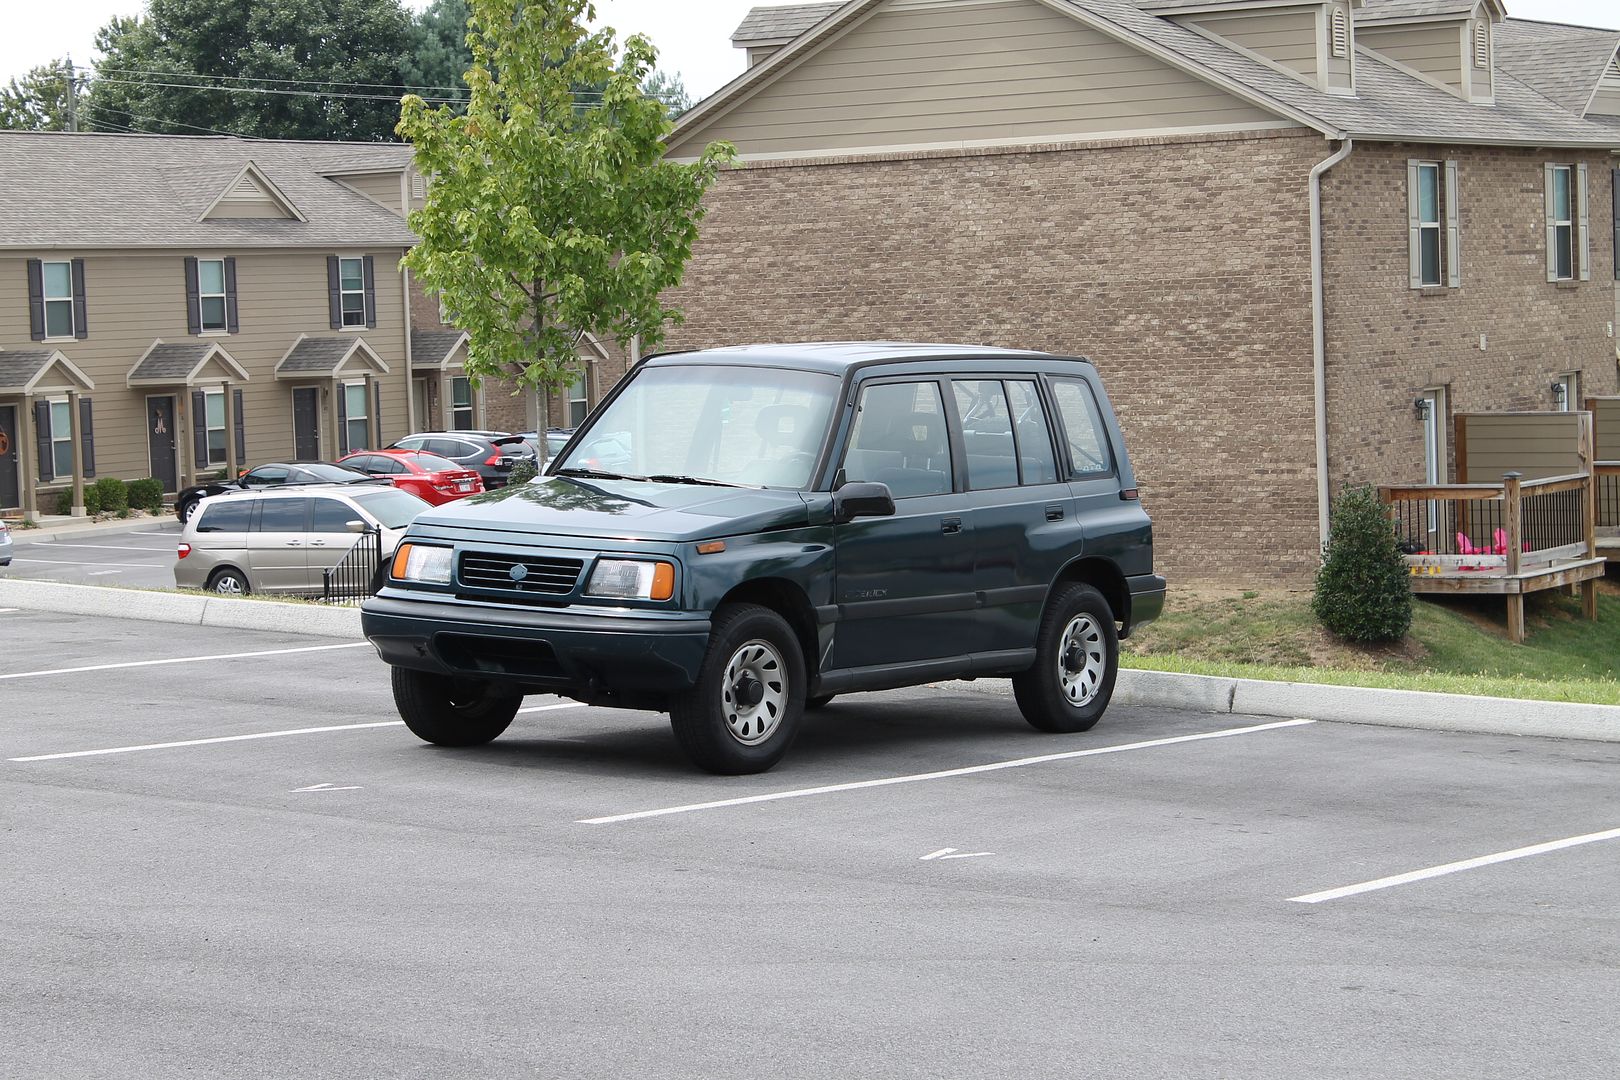
Hey everyone! Just picked up this '95 Sidekick to haul my mountain bike to the trails here in east TN. Hopefully do a little mild off-roading/camping as well. Been on the lookout for a Samurai/Kick for a while and found this one at a good price. Pretty happy with it so far. Nothing major planned for it...just normal maintenance, small lift, tires, etc. :elkgrin:

Anywho...here she is!


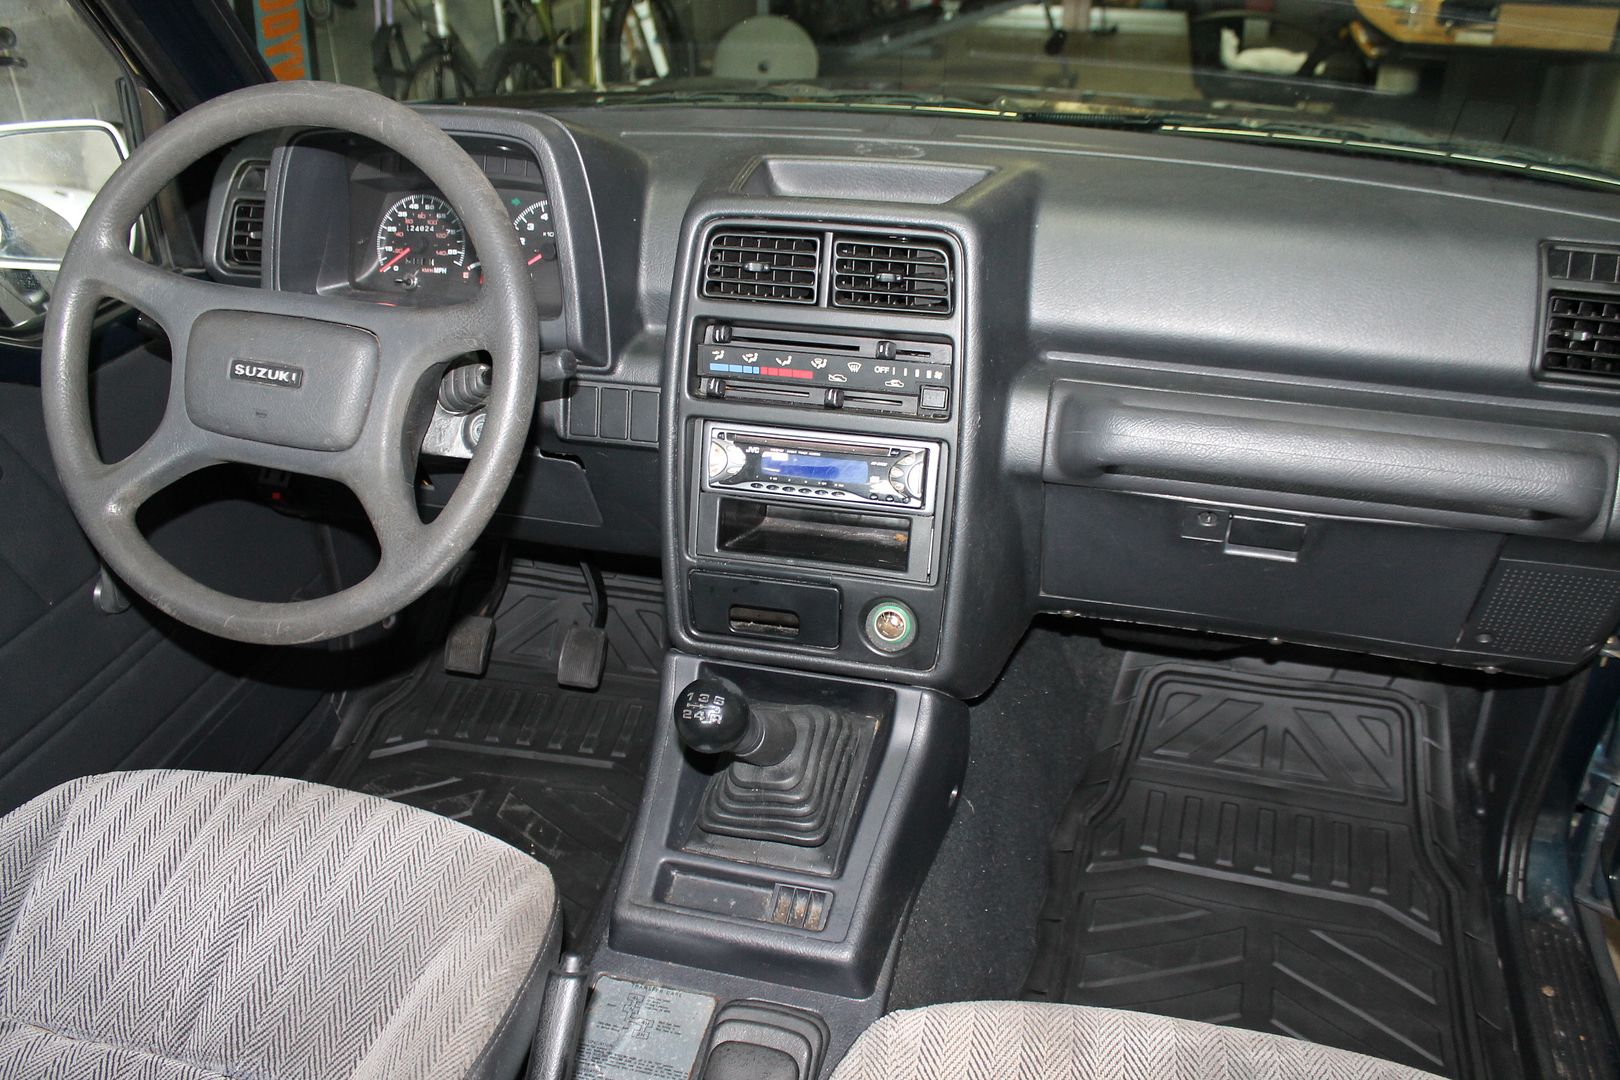
Now, the kick looks fairly clean in the pics but it definitely wasn't that way when I got it. This thing was NASTY. I'm talking BBQ chips mixed with cupcakes matted in the carpet. Plus lots of dog hair and other filth. Ugh. The console had this thick nasty tar looking crap all over it...not sure if they smoked or what. People are gross. Moving on...

Looks like it has been maintained fairly well but I went ahead and ordered tune-up parts just to be safe. After cleaning and detailing the piss out of it...I decided to address the side emblems (I was bored and I'm pretty picky about my cars...).


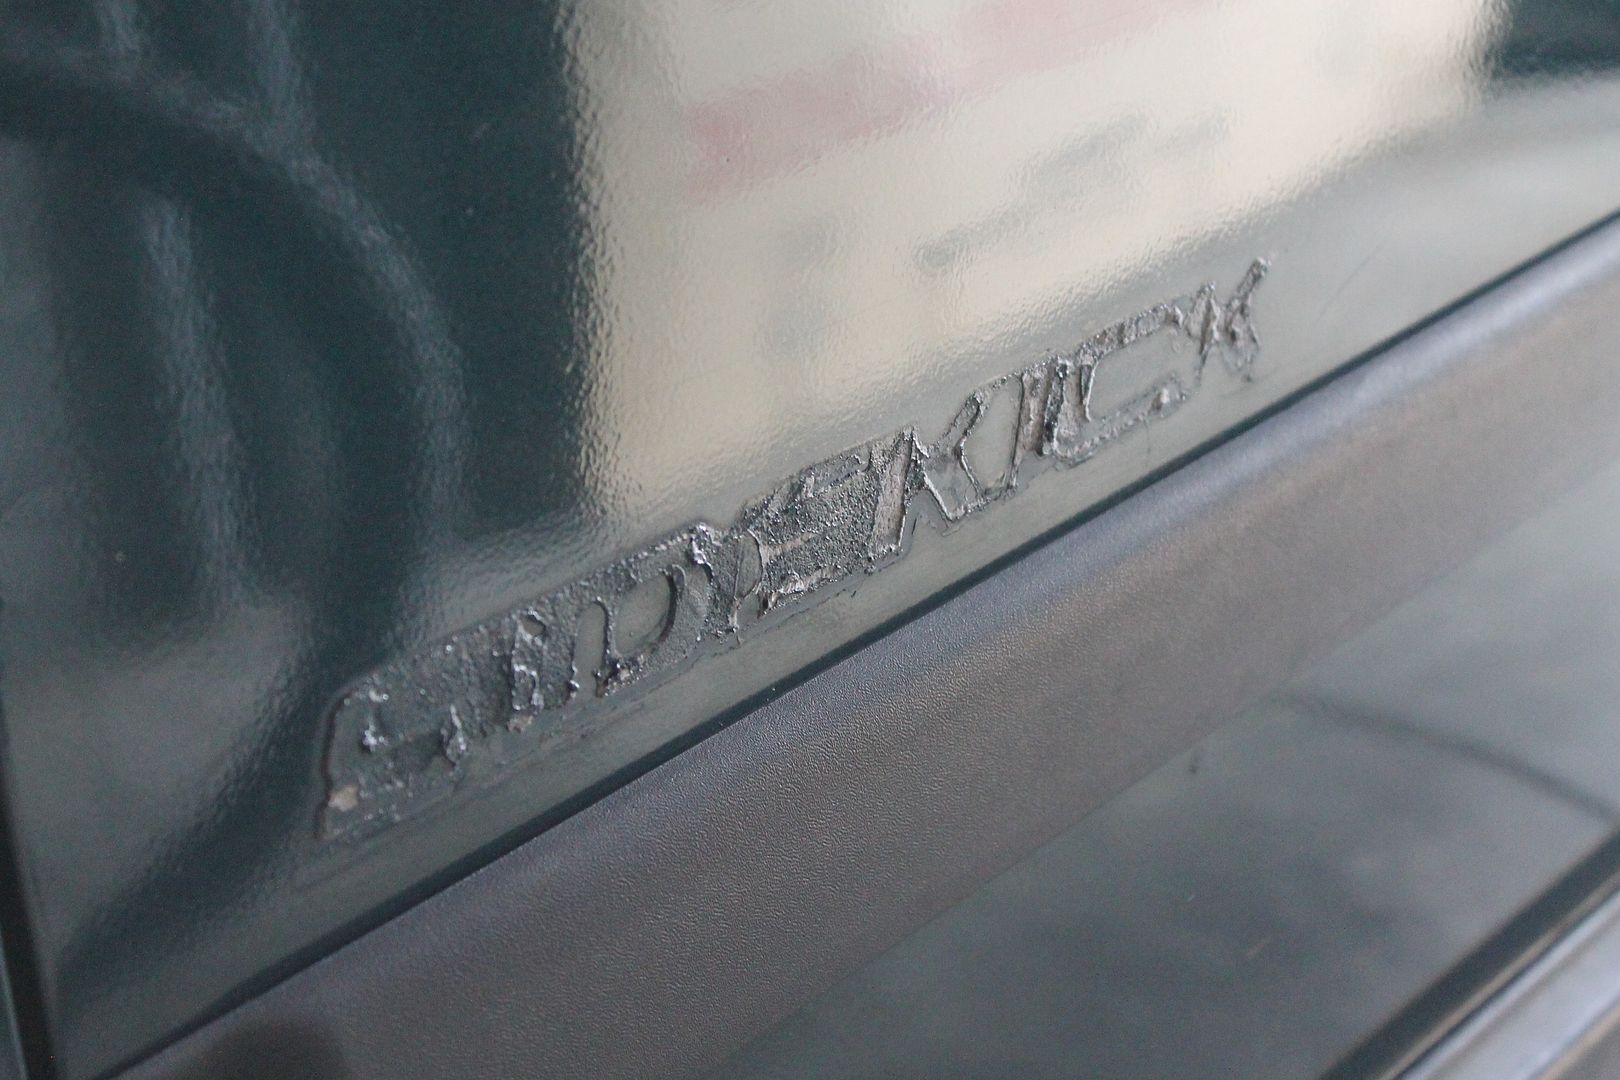
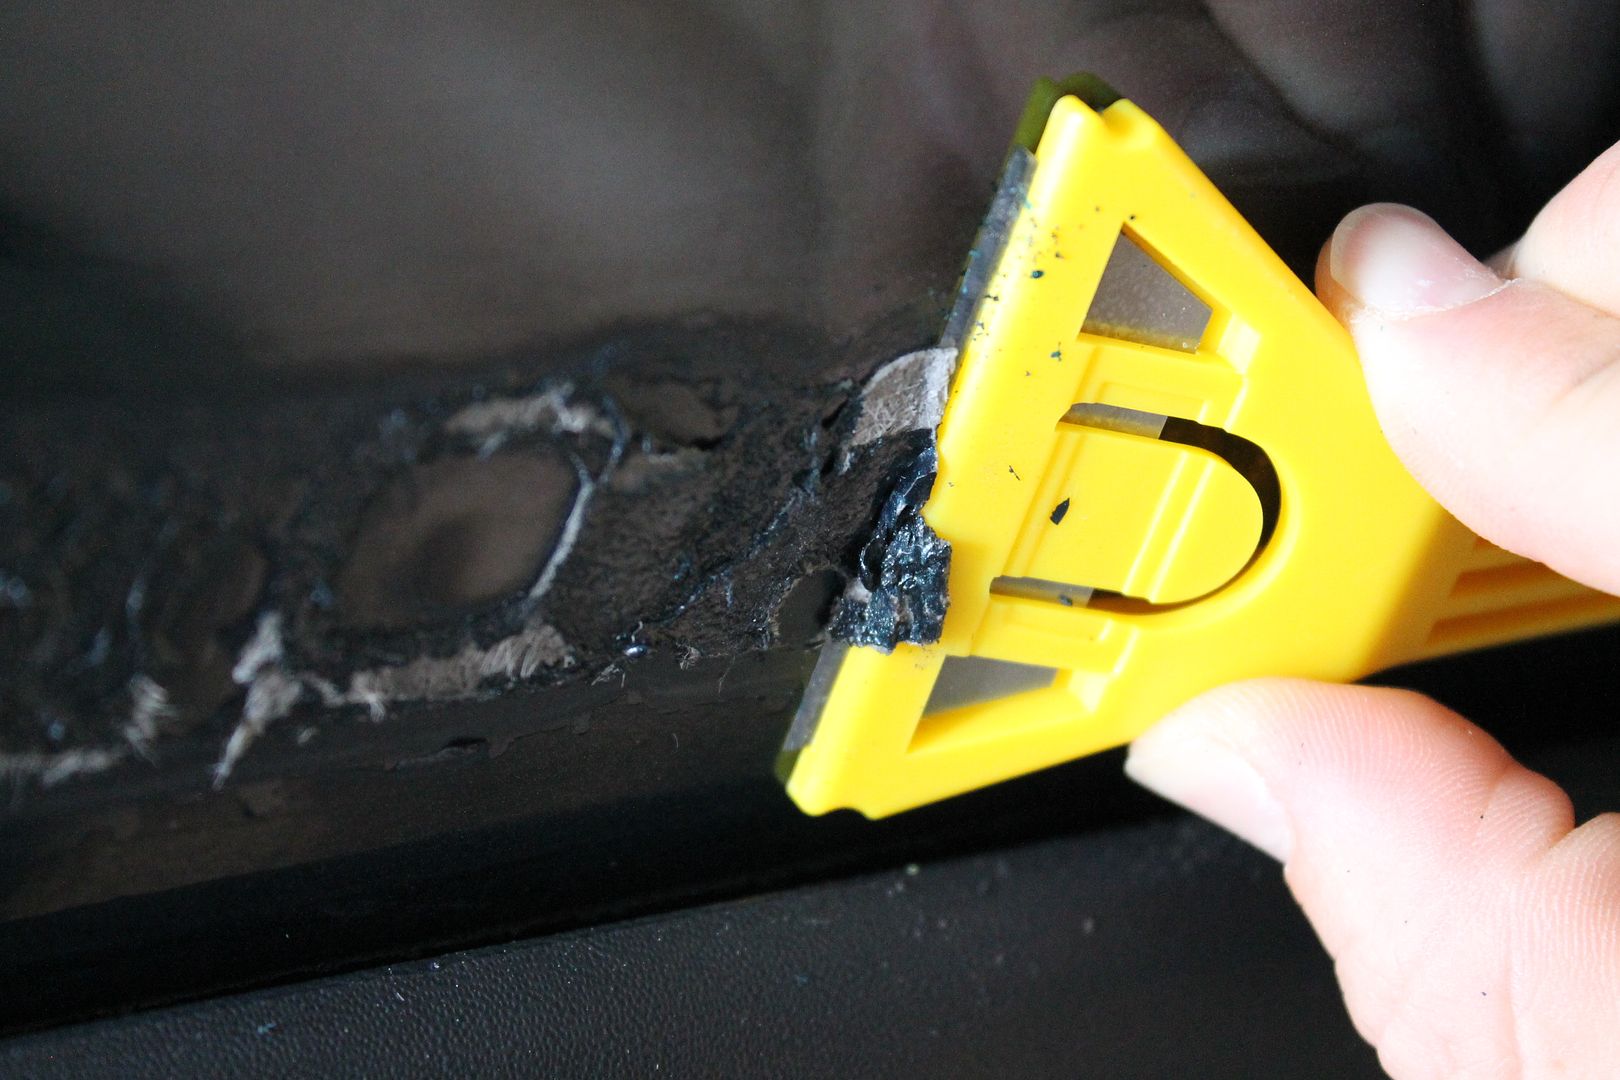
As you can see, they were removed and the old glue/dirt is still there. Looks janky. I just so happen to own a vinyl cutter and figured I'd cut my own emblems.

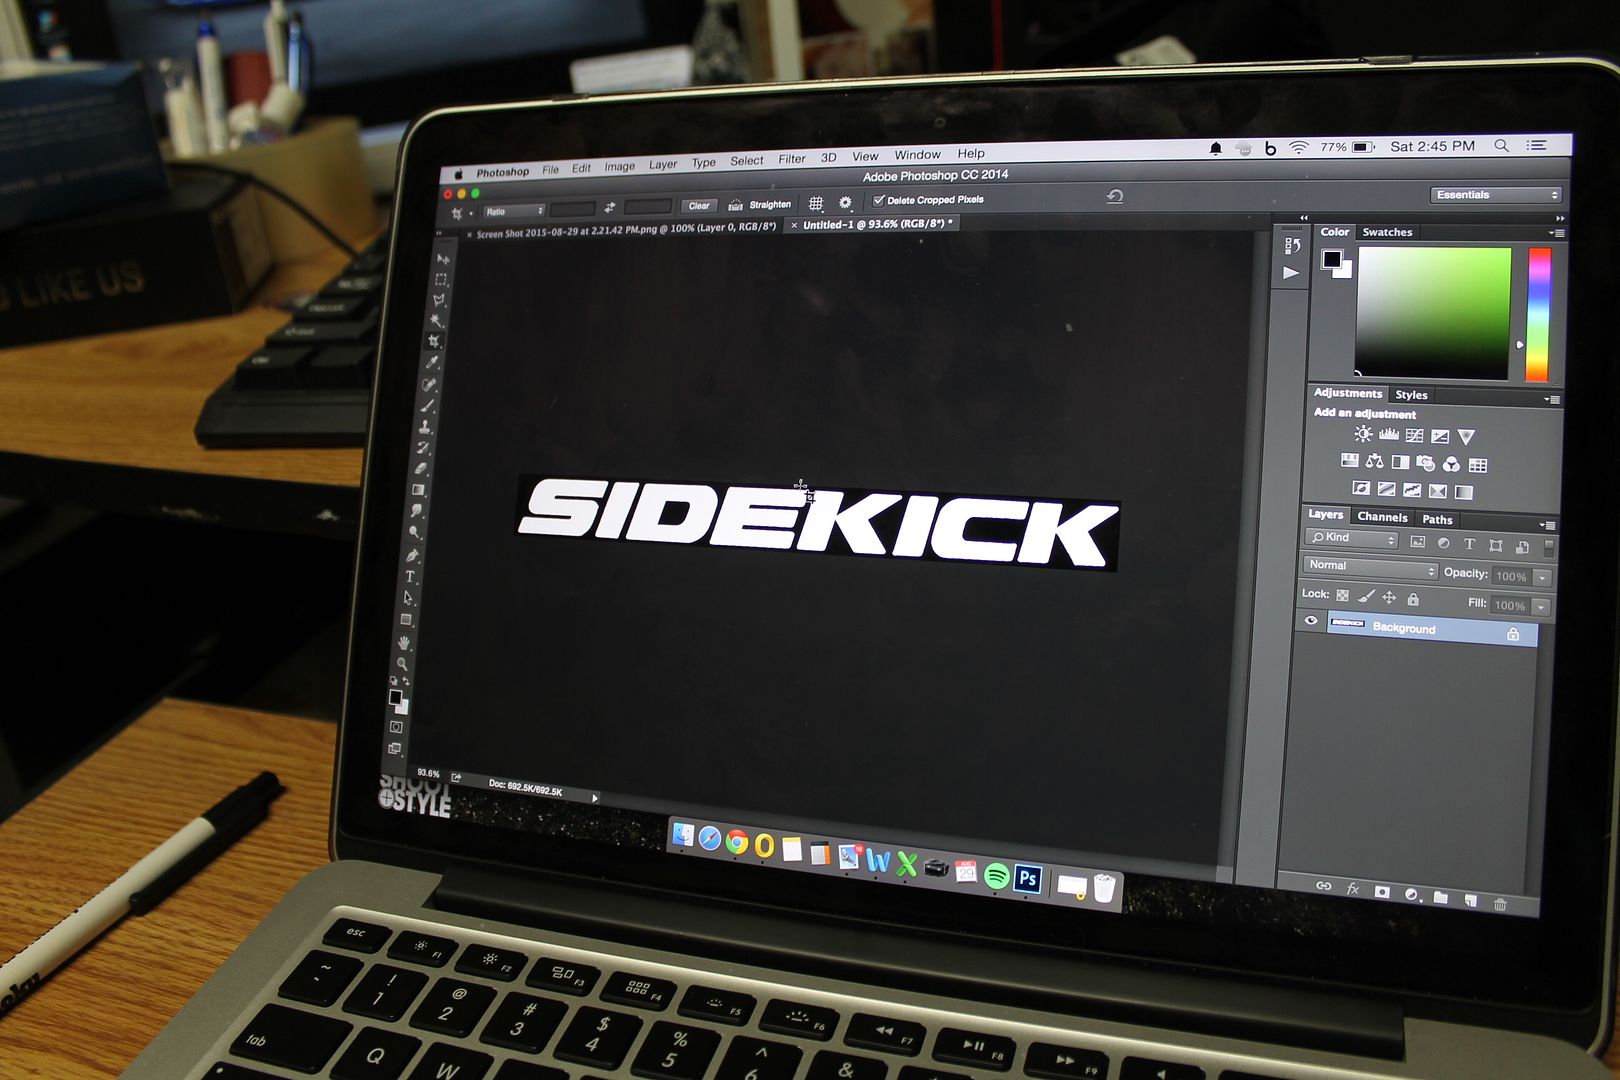
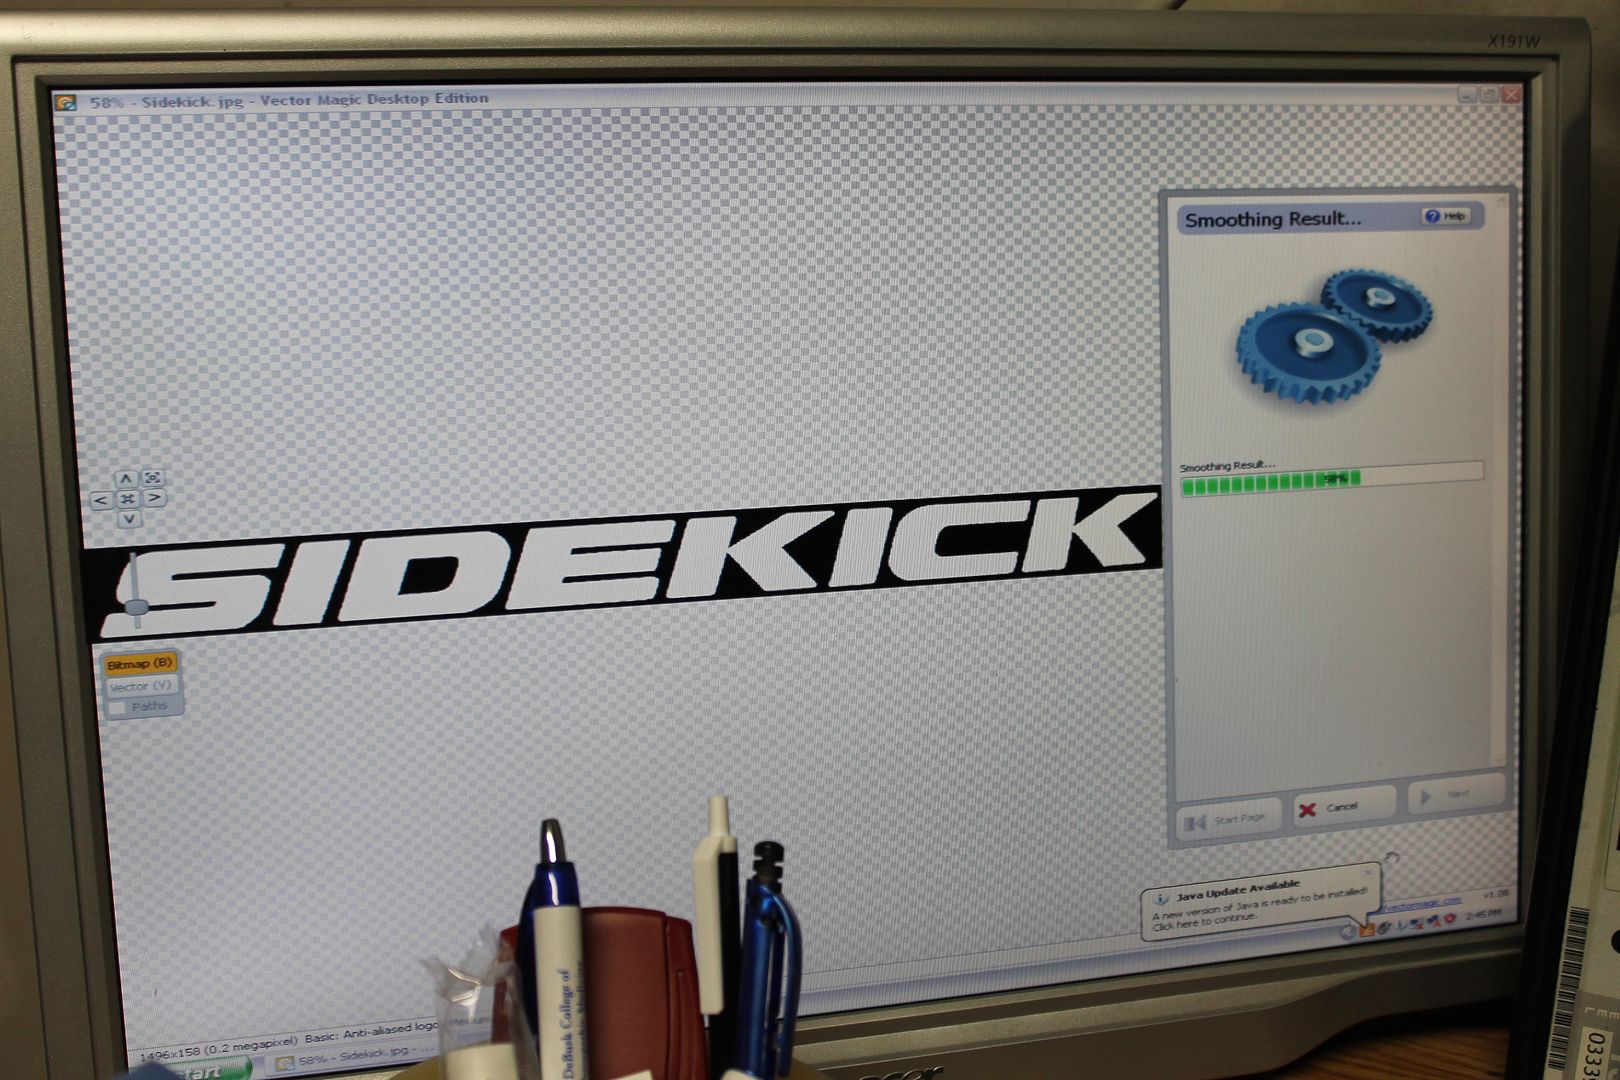
Finding the sidekick logo was pretty tricky. Had to spend more time in photoshop than I wanted...but finally got an acceptable image to cut from.


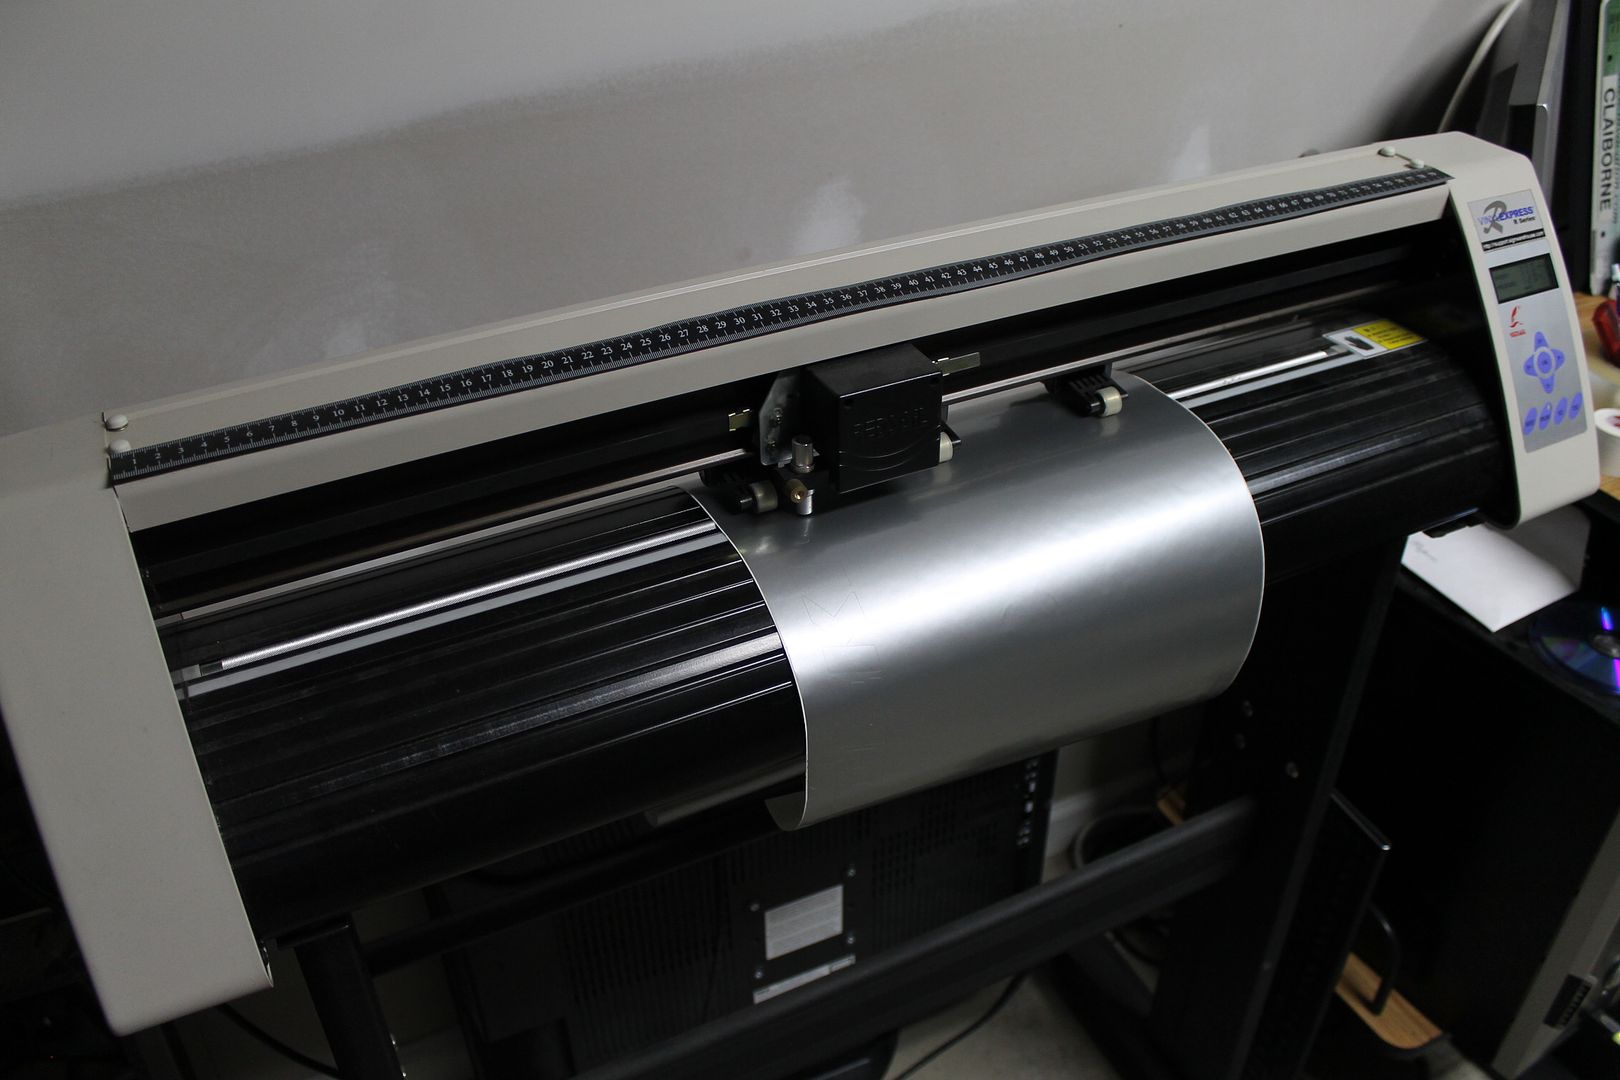
After that, sent it over to my other pc that runs my cutter.
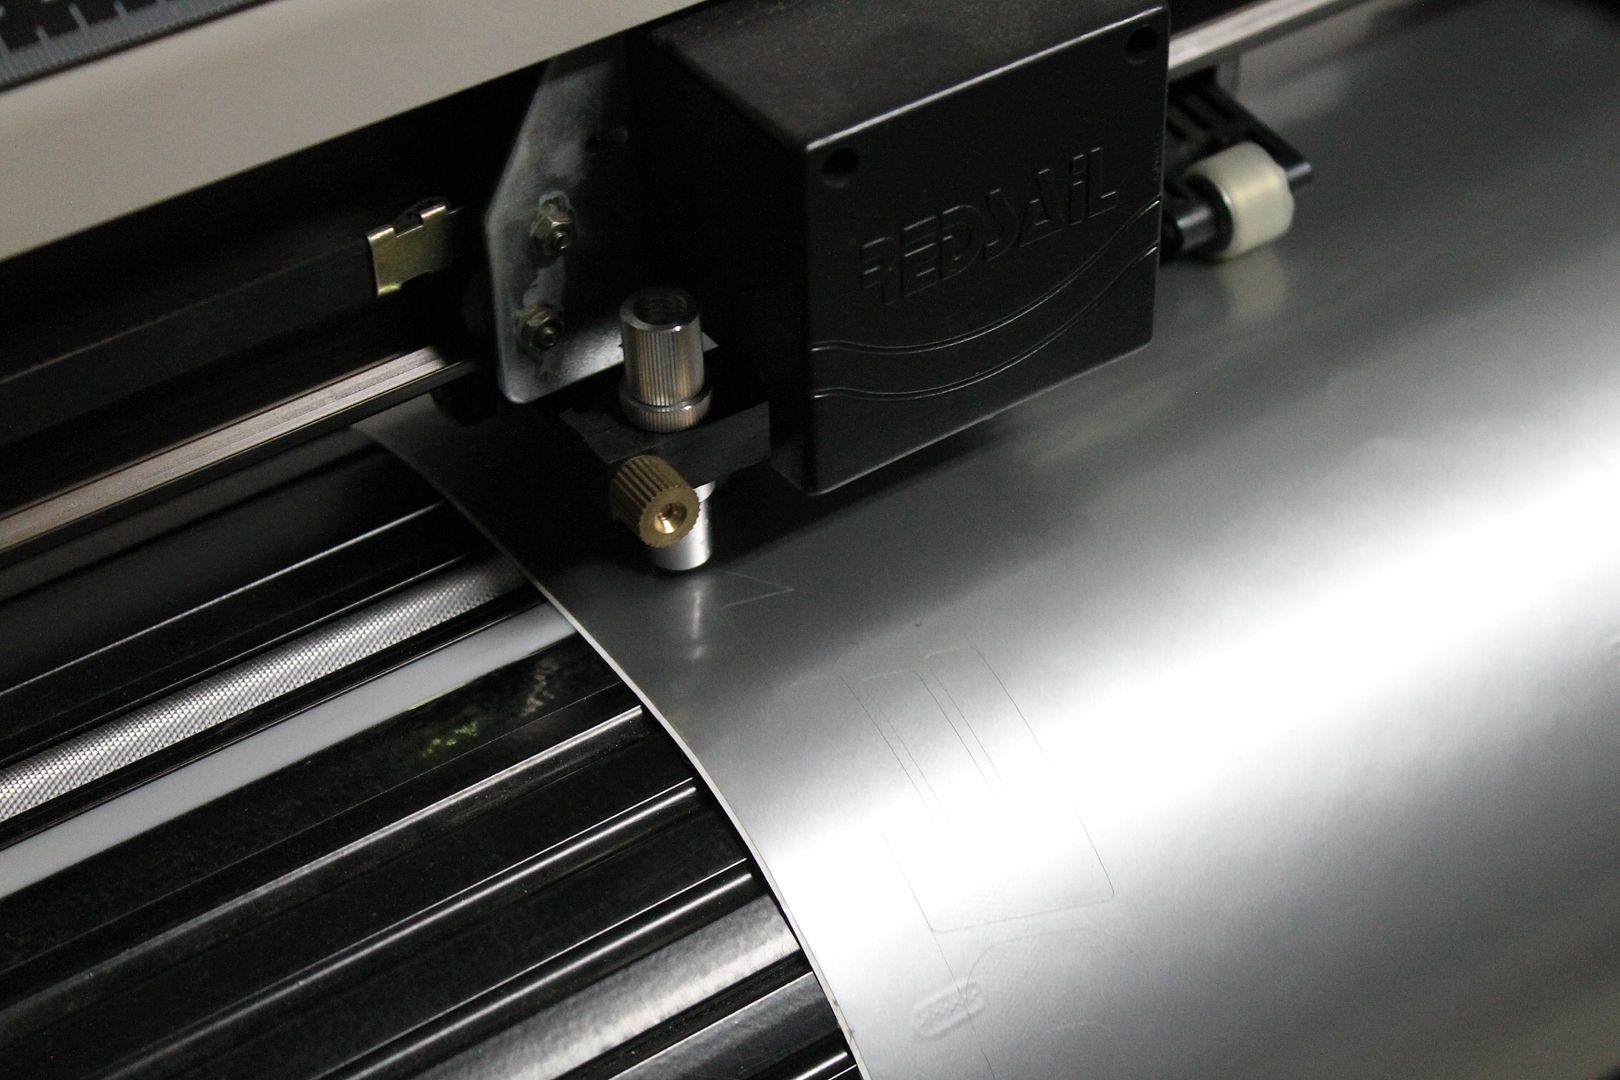


Cutter in action...


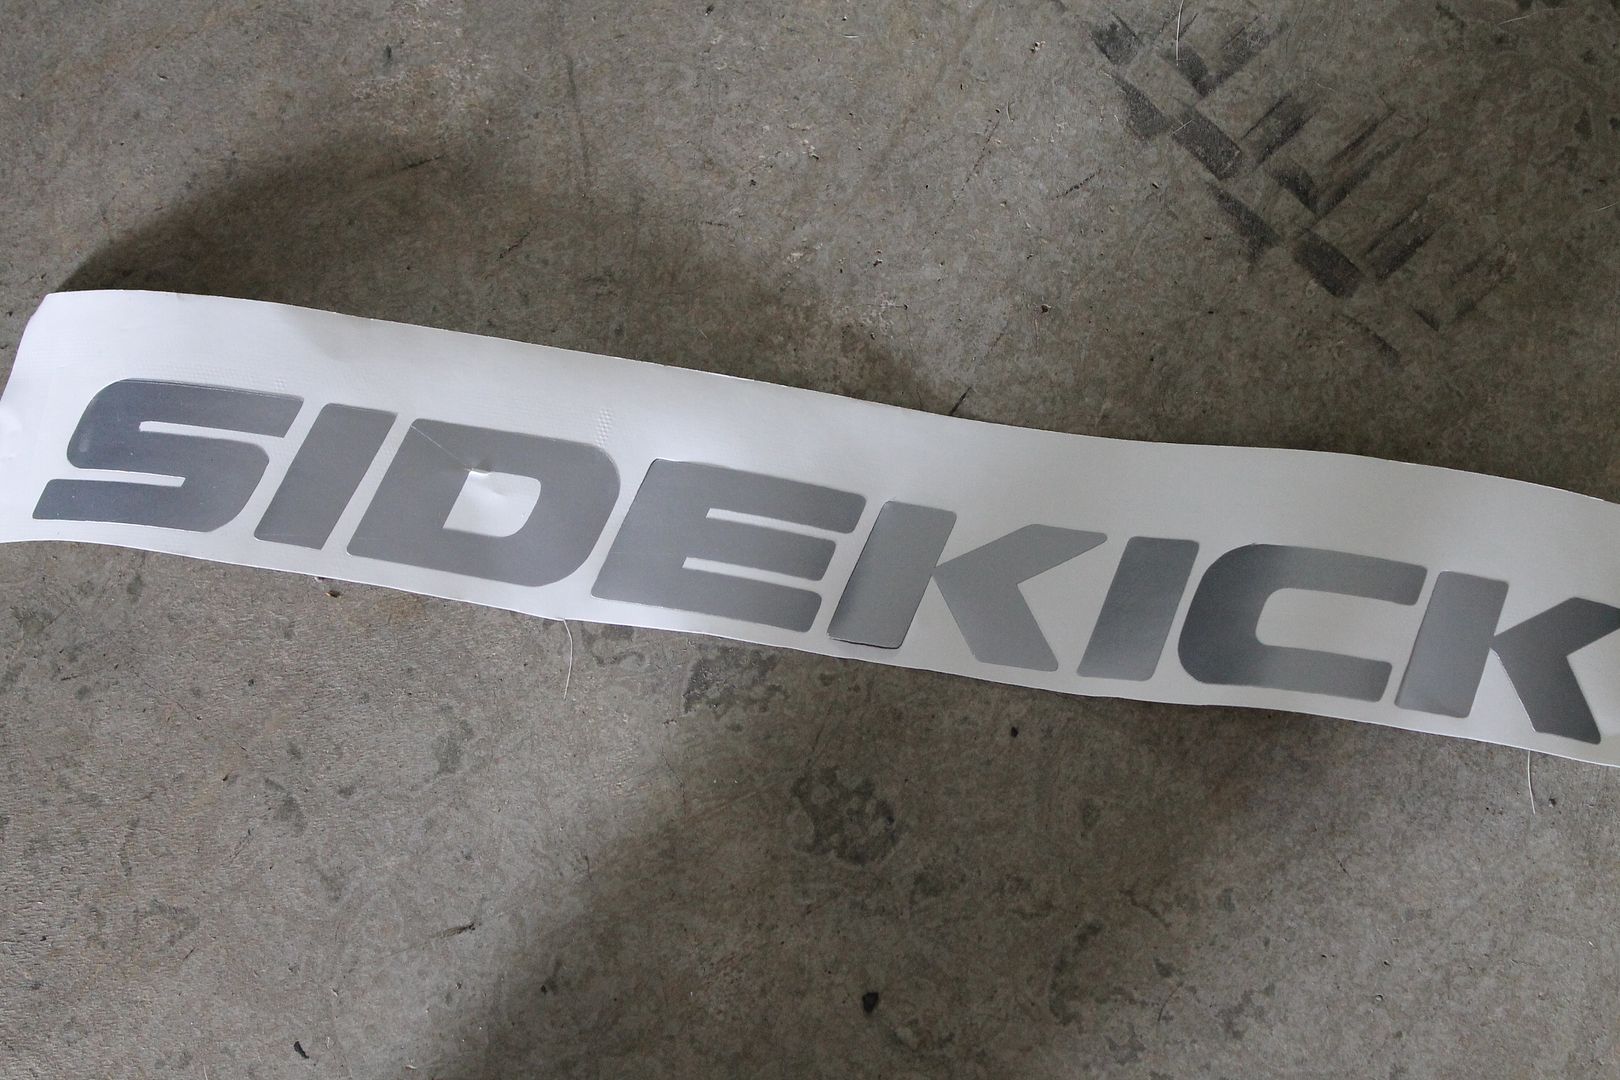
Here's how the logo came out. Not too bad.


So the paint under the glue/dirt was in pretty bad shape. I decided to apply the silver logo over a solid black piece of vinyl to hide some of the damage and emboss.


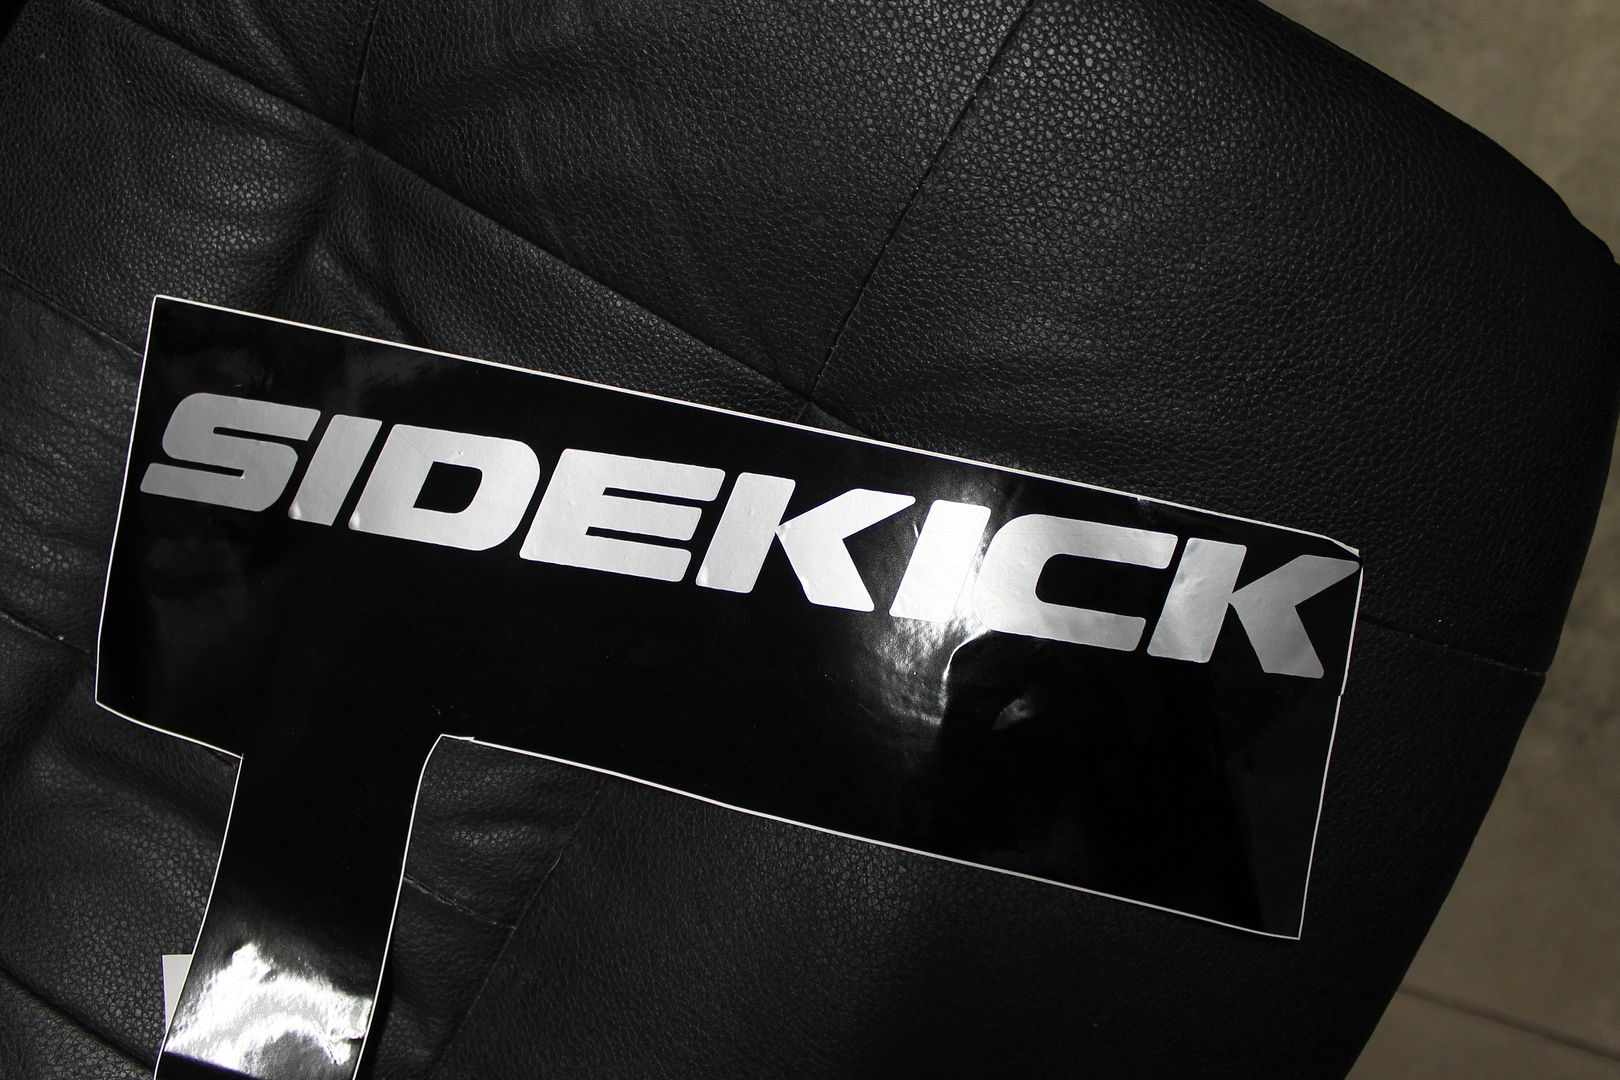
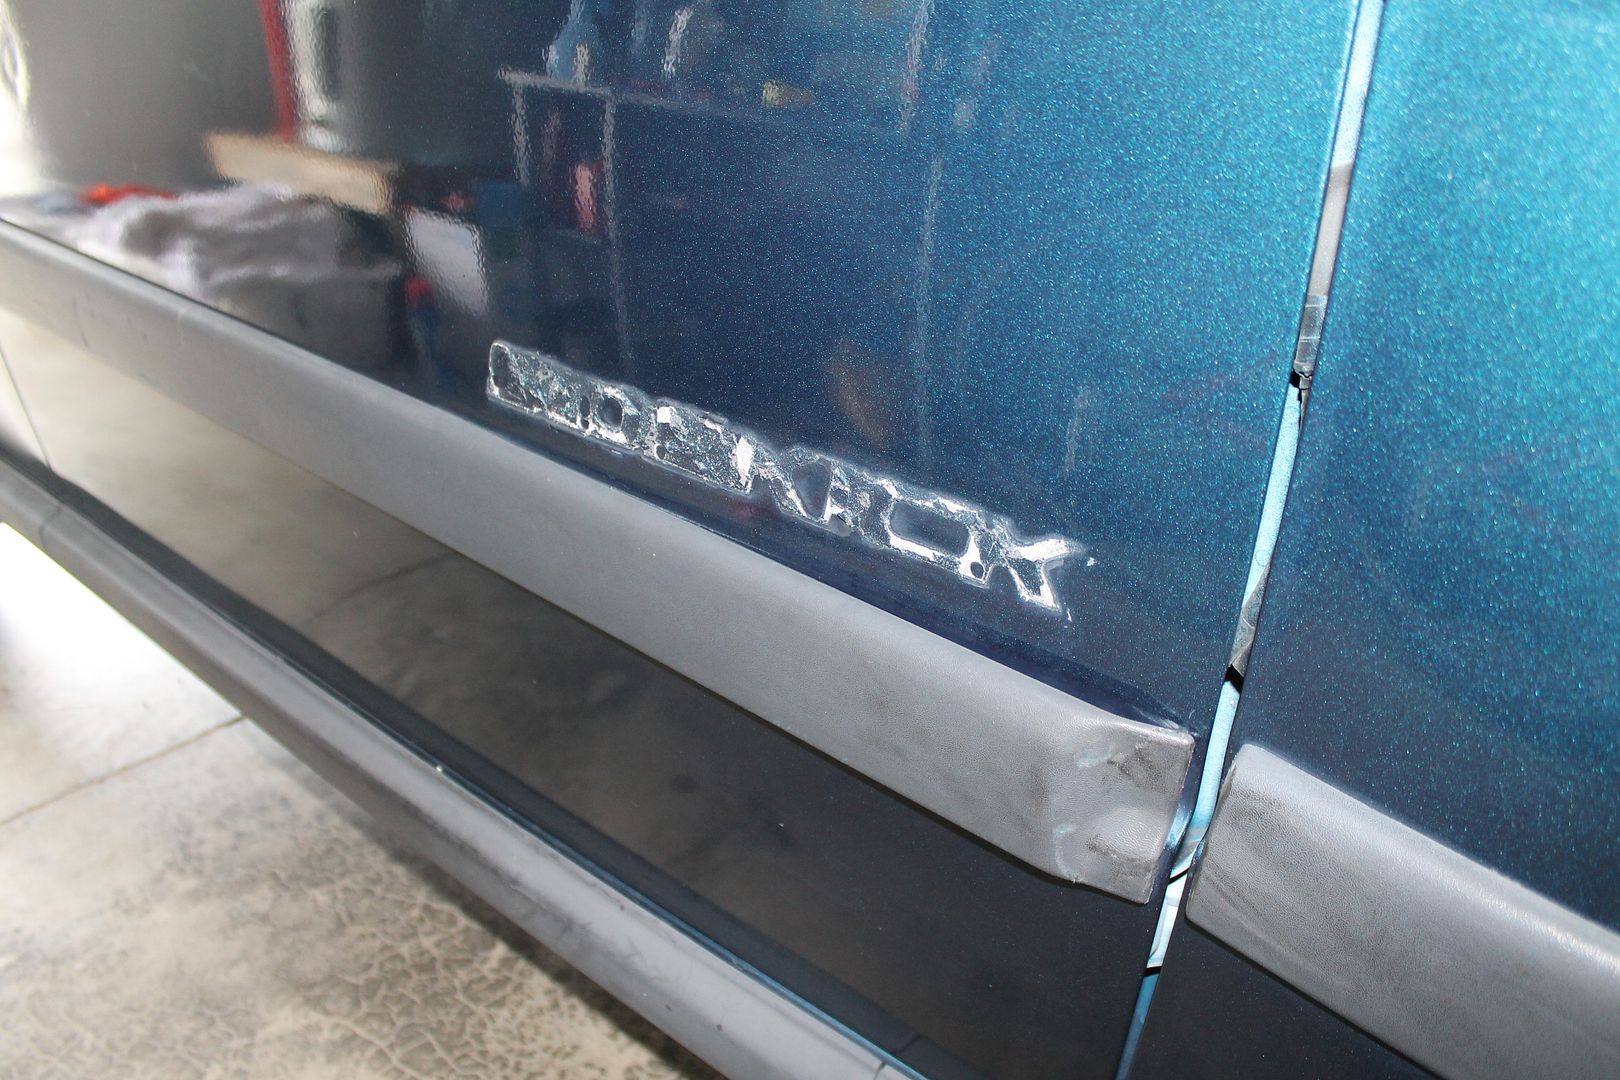
Now it's ready to apply...


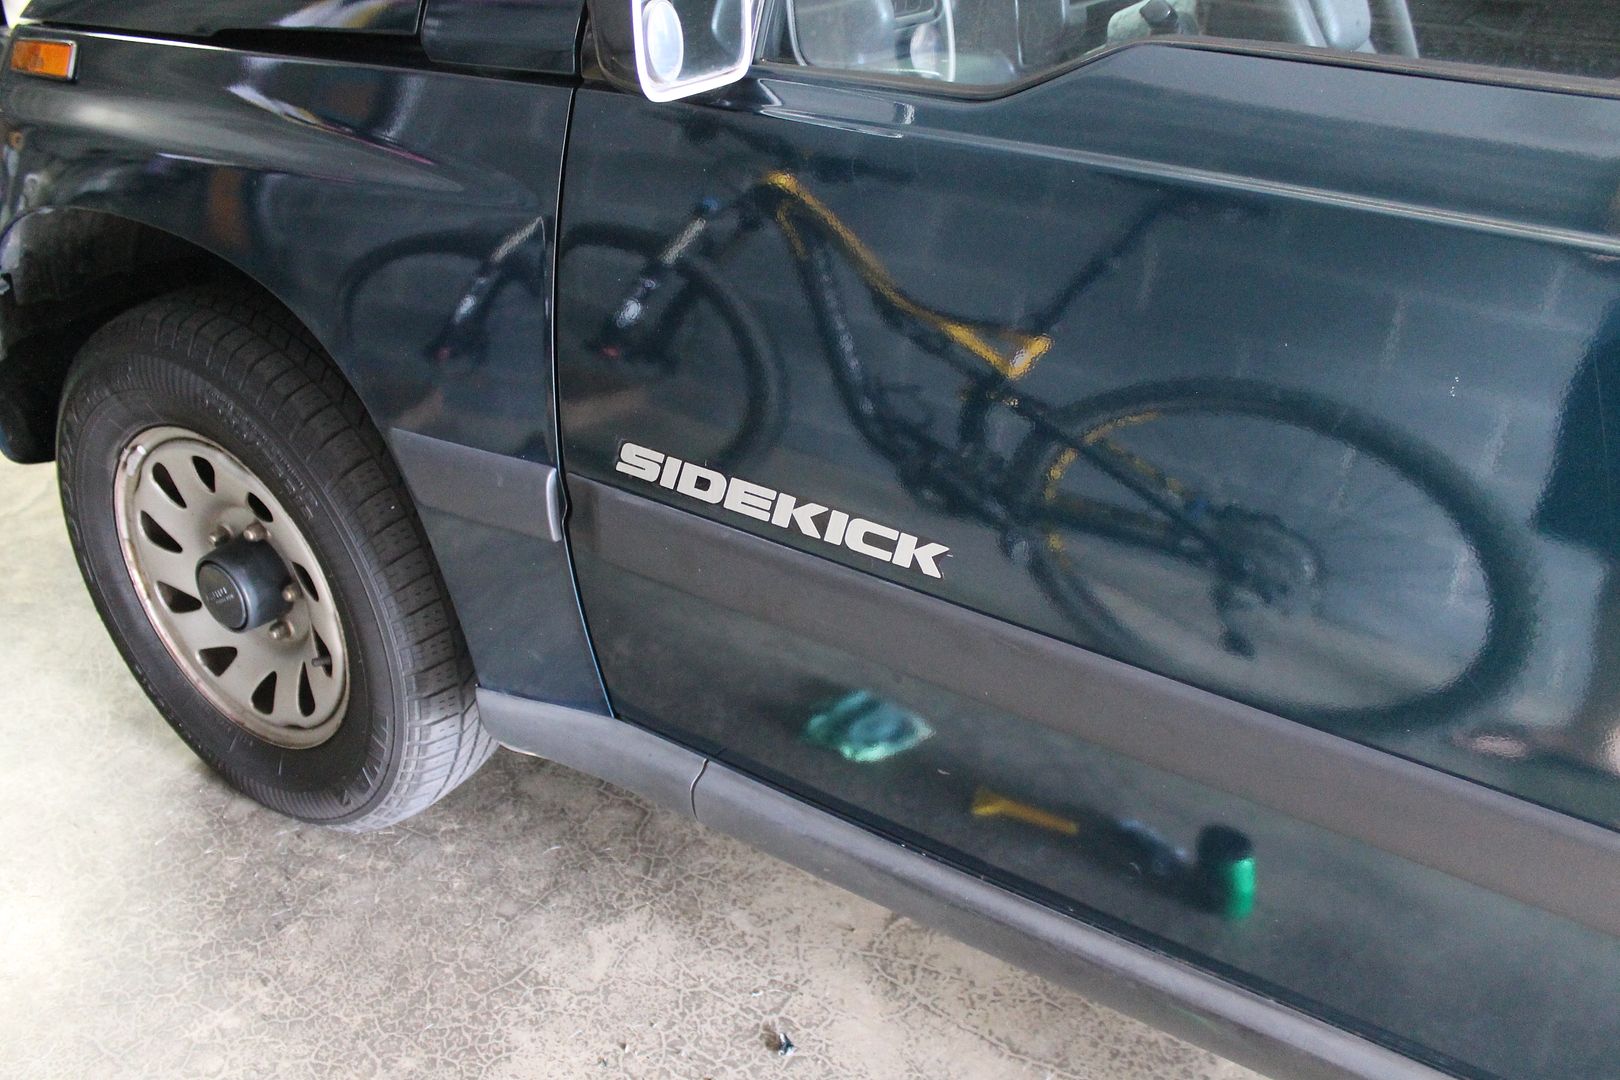
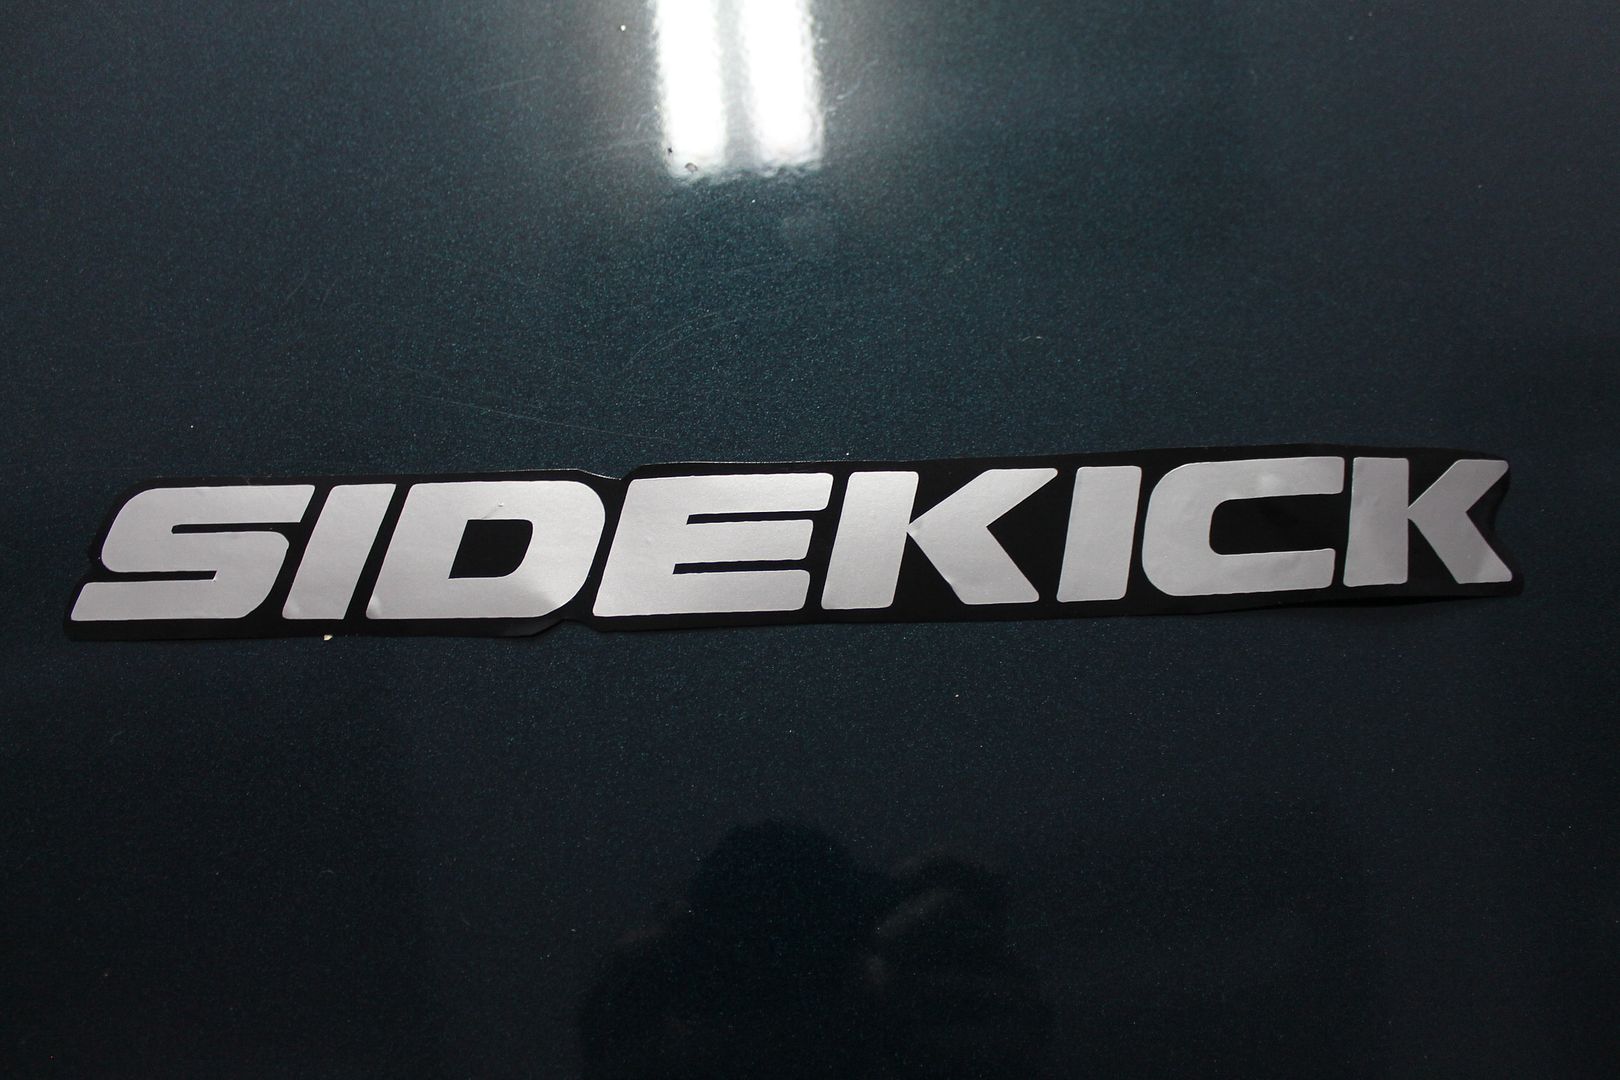
Finished product. Not too bad. I can sleep at night now. :)

Next update will be better. I promise.
 
Last edited:

Ponda

New member
Thanks! Still going back and forth between wheel/tire combos...definitely going with the 2'' coil spacer lift from low-range offroad so not running anything crazy.

1). Refinish stock wheels with 235/75 A/T tires.

2). Buy some cheapie bart 15x8 wheels and run 30x9.5's.

Kind of leaning toward keeping the stock wheels. I think I like the look of a stock wheel with a meaty tire.
 

Dake21

Adventurer
So that's how a stock sidekick looks like? haha a friend of mine has done quite a bot of modification on it. They are bulletproof reliable and rugged. Nice find!
 

Ponda

New member
Did you remove that adhesive off the door with a razor? It didnt damage the paint?

I removed the bulk of it with a razor. Then used rubbing compound to get the rest off. The best method to use one of those circular rubber erasers that attach to a drill (most body shops use them to remove adhesive/pin stripes quickly). I left mine at my parent's house about 2 hours away so had to make do with a razor.
 

tanglefoot

ExPoseur
Nice!

I always love stock wheels on a vehicle. I think aftermarket wheels really cheapen the look (even though they're often expensive).

You can put 30x9.50s on the original wheels. I had 31x10.50s on 15x6s.
 

Thirty-Nine

Explorer
Thanks! Still going back and forth between wheel/tire combos...definitely going with the 2'' coil spacer lift from low-range offroad so not running anything crazy.

1). Refinish stock wheels with 235/75 A/T tires.

2). Buy some cheapie bart 15x8 wheels and run 30x9.5's.

Kind of leaning toward keeping the stock wheels. I think I like the look of a stock wheel with a meaty tire.

Nice! I also have a '95, but mine's a two door. I run a 2" lift with Old Man Emu sturts/shocks. I also have 235/75/15s. I was considering going up to a 30x9.5 for a while, and while they're not much bigger, my 235s scrub the rear fenders under full articulation as it is. We just did around 3,000 miles in our Sidekick last week, and at highway speeds, the power drop is noticeable. These things will go all over the place with 235s, a rear locker, and a 2" lift.
 

Ponda

New member
Nice! I also have a '95, but mine's a two door. I run a 2" lift with Old Man Emu sturts/shocks. I also have 235/75/15s. I was considering going up to a 30x9.5 for a while, and while they're not much bigger, my 235s scrub the rear fenders under full articulation as it is. We just did around 3,000 miles in our Sidekick last week, and at highway speeds, the power drop is noticeable. These things will go all over the place with 235s, a rear locker, and a 2" lift.

Cool! Looks like you're running the same setup I've decided to go with. Should be getting my tires put on in the next week or two, along with a 2'' coil spacer lift.
 

Ponda

New member
Small update from 9/3/15

Took care of some maintenance items last night. Which ended up being more work than I had planned.

Up first was the PCV valve, which I don't believe has ever been replaced.


This ended up being a pain in the rear. The old gasket was brittle and broke off inside the valve cover. :oops:


Not too bad for 250,000 miles I guess...


45 minutes later...new gasket installed. Went ahead and threw in some new plugs, cap & rotor, and plug wires while I was at it.


Old plugs didn't look awful. I did notice a slight miss every once and a while when I would put it under load. That seems to be cleared up now. Also starts and idles much smoother. Can't even tell the dang thing is on. I keep thinking I've stalled out at red lights.


Again...more effort than I planned on. Oh well. Starting to trust the thing a little more. Not quite ready to take it on a long trip just yet but nothing has showed itself as of now. Smokes quite a bit at startup or after long idles but I guess that's pretty normal for high mileage. I'll eventually try and tackle that or source a 1.9L TDI from a VW :).

Oh yea...you may have noticed the lame bike rack I was using.


Seemed to work fine but made me a nervous wreck on the interstate. So I bought a hitch and a new rack.


So far, for the $150 I spent on the hitch AND rack, I really like the setup. Seems super sturdy and the convenience/peace of mind is great. I always hated having to put a crossbar on my bike and then fiddle with those stupid straps. I can now secure the bike with just a bush of a button.

I also like that the rack folds up when not in use. Just remove two pins and you're good to go.


If you're wondering, I can still access my cargo area quite easily. I have two options:

If the rack is folded up, the entire thing tilts after you remove one pin.


If the rack is down, you can tilt just the center post, and open the hatch entirely.


I was worried about this when I ordered the rack since we tend to carry a lot of spare parts/tools/gear when we go on our trips.

Oh yea...it holds two full-size mountain bikes just fine. Both are 29er's with a large and medium frame.


Off to the trails! :elkgrin:
 

82fb

Adventurer
I had a 93 automatic. I never once even considered getting bigger tires as the engine was so weak to begin with. It would plow pretty easily through 10 inches of heavy wet snow, but any more would stop it. Got 29 miles per gallon pretty consistently. Had zero problems with it for the two years I had it. Well until I moved to Spokane and found out why antifreeze is better than water... Still only busted the radiator and $129 later I was back on the road.
 

Ponda

New member
Finally found the time to install my spacer lift and tires this weekend. I was hoping to have enough time to also fab up a roof rack + front and rear bumpers but those will have to wait since we ran into a few snags installing the spacers. Unfortunately, I was on a tight schedule :(

I decided to go with the 2'' spacer lift from LowRange and 235/75 MT tires.


My brother had some old Samurai wheels in our barn so I decided to ditch the stockers and run those. Wanted to refinish them over the weekend but again, no time for that.


So, for comparison, here is how it sat prior to the spacer install.


Took less than 20 minutes to install the rear.


*IF YOU OWN A SIDEKICK AND CONSIDERING THIS LIFT - PAY ATTENTION*

The front installation was a nightmare. General installation was a little time consuming but nothing too major. The frustrating part was the camber adjustment, which I expected but not to this extent. LowRange recommends purchasing camber bolts but I don't think there's enough adjustment to get back to zero. MAYBE with two sets installed (2 camber bolts per strut).

As you can see, it was pretty far off.


I ended up having to slot the struts about a half inch on each side. *NOTE* You can't get half an inch by slotting just the top hole...the top of the spindle will hit the strut. I ended up having the slot the bottom hole to get it back to zero. That made me a little nervous so once I got it sitting correctly, I welded washers over the strut holes to help wit holding the bolts in place.

Unfortunately, I didn't take any pics during the process because of my tight deadline. Here is how it currently sits. Pretty happy with how it turned out.


For comparison...

Before:


After:


So there we go...ready to start doing some of the trails near me and hopefully some camping trips soon. More to come!
 

WagoneerSX4

Adventurer
Wow, crazy the camber was that hard to dial in. On my 2" spacer lift on my SX4 I got camber bolts in the kit but I didn't even need to use them. Was the kit just a simple top strut spacer?

Nevertheless, looks great now! Totally transformed the look of the vehicle.
 

Forum statistics

Threads
185,903
Messages
2,879,379
Members
225,497
Latest member
WonaWarrior
Top