cruiseroutfit
Supporting Sponsor: Cruiser Outfitters
Next up? Time to tackle the ARB rear bumper, and boy did that take a minute.

Boxes ready to be torn open and installed
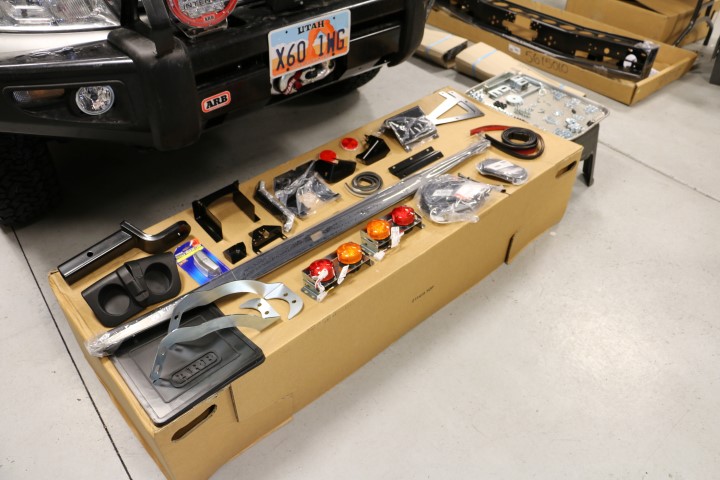
The parts of the rear bumper (not including carriers) laid out, inventoried and ready
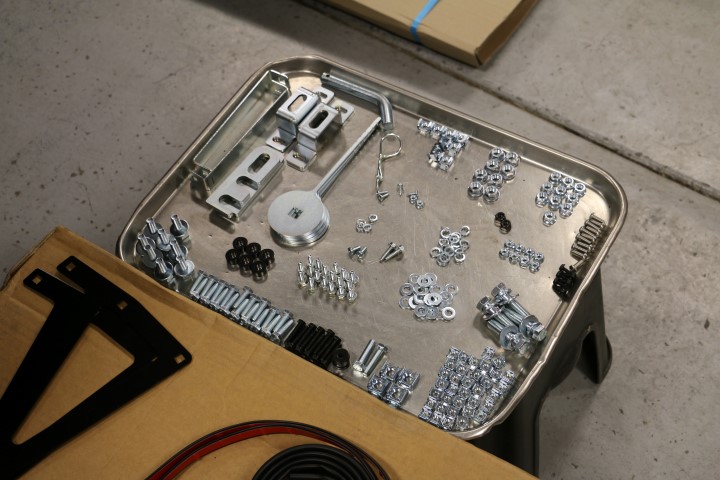
The pile of hardware, not including the hardware for the carriers
We've done a fair number of ARB rear bumper installs here in the shop but this was the first dual swing utilizing the factory park sensor system. The 4 ultrasonic sensors require not only drilling and physical mounting but more tedious, extending the pigtails on 3 of the 5 harness plugs. While the paint was drying on the new sensor holes, I made a wiring diagram as those 3 sensor plug extensions will require a total of 30 wire connections as two of leads have 6 uniquely colored wires and the other has 3. About half way through the park sensor install I started to really question the additional work to incorporate the sensors into the new bumper, I mean I had never really used them to date. The system is there and I might as well get familiar with it, so I marched on with the wiring.
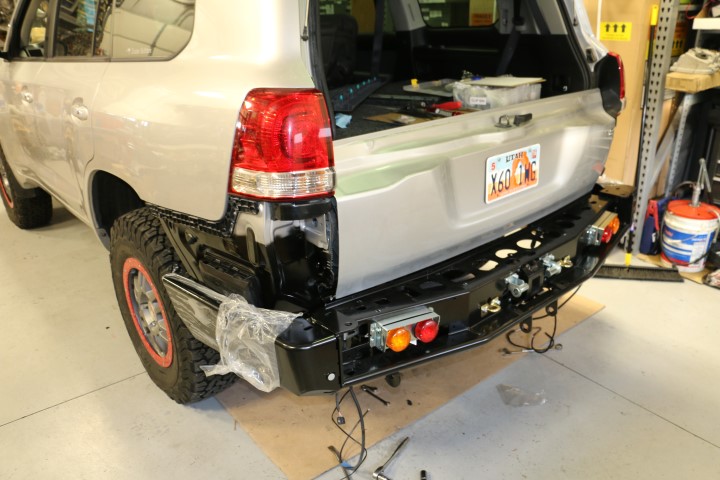
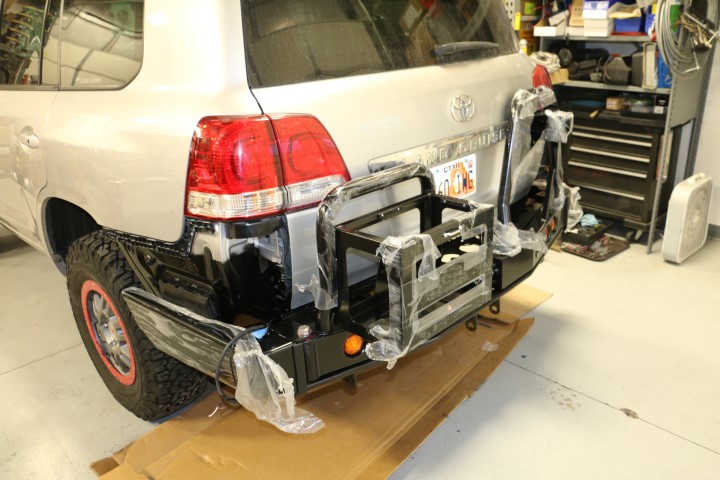
Coming together, piece by piece:
As the carrier components are universal with the 80 and 100 Series offerings, ARB still includes 12mm wheel studs and lug nuts, despite the fact Toyota hasn't used that size on a heavy-duty Land Cruiser for almost 20 years now Easy enough fix, we've crossed that bridge with the 100 and have a nice assortment of the needed 14mm hardware. I suppose you could use the 12mm hardware but the taper wouldn't sit right in the wheel and I like the idea of having some spare lug nuts if/when they are needed. It does require a quick re-drill of the tire carrier as well as some different lug nut hardware. I had ordered spares to match the splined lug style used with the TRD wheels, this gave me matching hardware across the vehicle, one lug-nut socket to carry and a matching lock if I end up someplace I'm worried about security.

14mm studs in place for the 5-lug configuration
Land Cruisers have flipped-flopped on the turn signal coloring over the years, red into the 70's, amber into the 2000's, red for the tail end of the 100's and back to Amber with the 200's. The red-tail/stop & red-turn is easy to work out with a simple red lens swap, ARB provides their bumpers with a red/Amber combo but they have the red lenses available for those applications. However, the red-tail/stop and amber-turn is a bit tougher. ARB includes a plug/play harness that requires popping open the rear panels (easier said than done when drawers are installed), but, it plugs into the same place as the US spec 7-Pin trailer harness. It does have a lead for a 5 pin trailer harness but I prefer to leave the factory 7-Pin in place. So, rather than pull drawers apart, pull panels and drop lines from the L & R tail lamp assemblies, I opted for a far easier and cleaner (imo) method. I tied into the 7-Pin trailer harness and used a converter to go from the combined tail/turn (red) back a separate tail (now red) and turn (now amber). It does require mounting a small converter (this size of a credit card) under the vehicle but they come with some good self-adhesive and I've not had one fall off or fail to date. This method allows one to trim down a considerable portion of the ARB harness and really end up with a tidy and simple install with just 5 connections into the trailer harness.
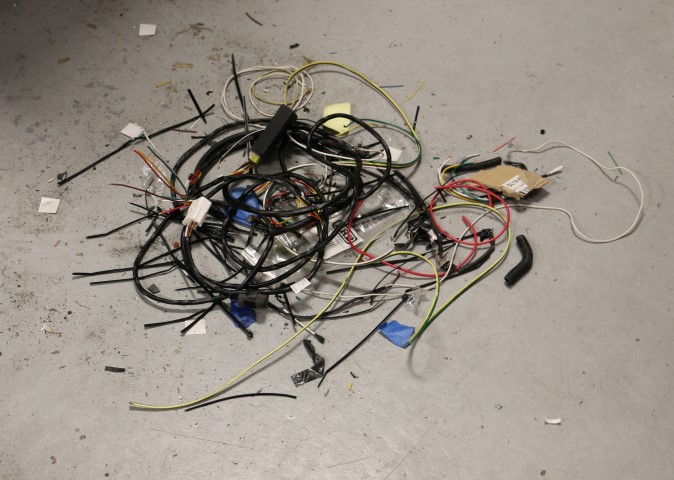
Remnants of the ARB harness and the wiring portion of the project
Another time consuming aspect of the bumper install is the OE bumper cover trimming. We used a loose variation of ARB's recommended measurements and they got us close but we fined tuned the trimming and installed a nice clean w/s edge material that offers a really clean fitment while allowing the needed flex that the bumper and cover panel will experience. This is where we could really streamline a future install as we kept some good notes on what worked for us and the w/s is something I'll have available ahead of time next go around.
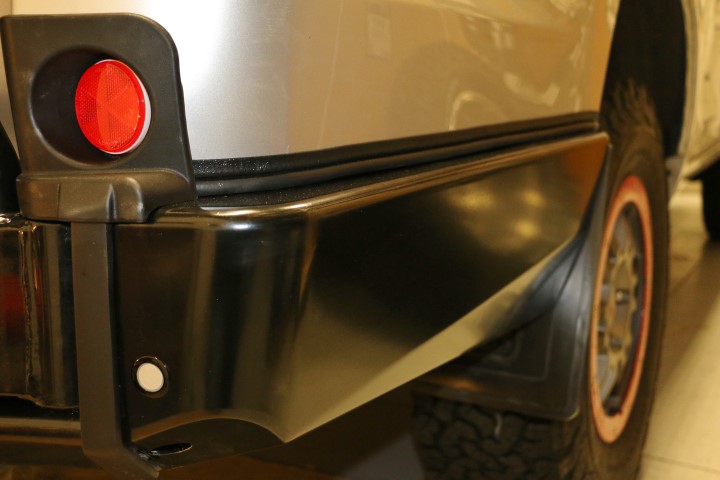
Trimmed panel with w/s in place
So, while it likely represented the longest I've ever spent on a bumper install, I'm quite confident the remaining installs will take a fraction of the time. I've since done an additional ARB rear bumper on a 200 while it was a different configuration, the trimming portion took a few minutes
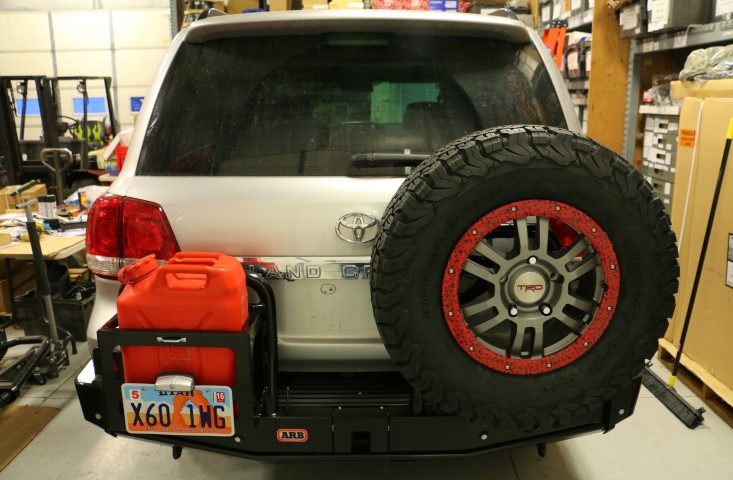
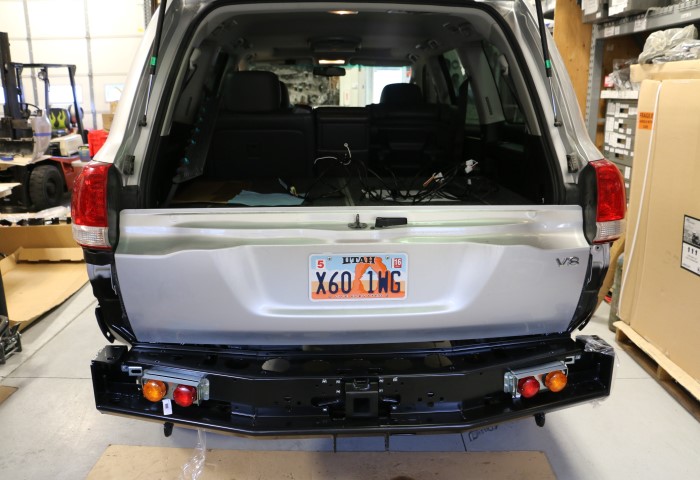
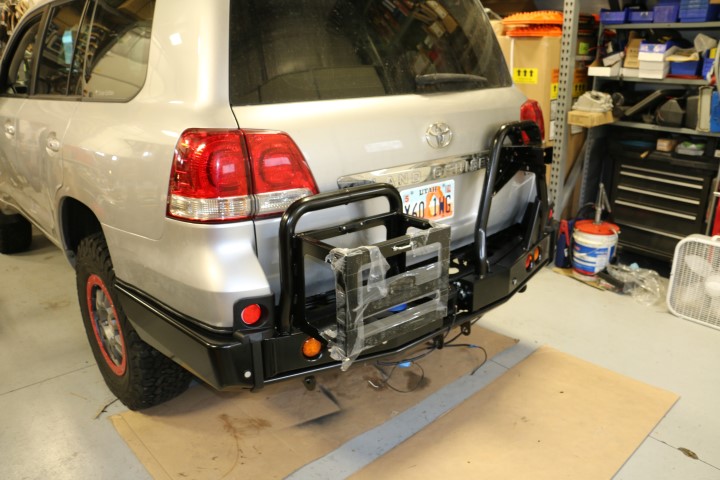
Finished product!
Boxes ready to be torn open and installed
The parts of the rear bumper (not including carriers) laid out, inventoried and ready
The pile of hardware, not including the hardware for the carriers
We've done a fair number of ARB rear bumper installs here in the shop but this was the first dual swing utilizing the factory park sensor system. The 4 ultrasonic sensors require not only drilling and physical mounting but more tedious, extending the pigtails on 3 of the 5 harness plugs. While the paint was drying on the new sensor holes, I made a wiring diagram as those 3 sensor plug extensions will require a total of 30 wire connections as two of leads have 6 uniquely colored wires and the other has 3. About half way through the park sensor install I started to really question the additional work to incorporate the sensors into the new bumper, I mean I had never really used them to date. The system is there and I might as well get familiar with it, so I marched on with the wiring.
Coming together, piece by piece:
As the carrier components are universal with the 80 and 100 Series offerings, ARB still includes 12mm wheel studs and lug nuts, despite the fact Toyota hasn't used that size on a heavy-duty Land Cruiser for almost 20 years now
Easy enough fix, we've crossed that bridge with the 100 and have a nice assortment of the needed 14mm hardware. I suppose you could use the 12mm hardware but the taper wouldn't sit right in the wheel and I like the idea of having some spare lug nuts if/when they are needed. It does require a quick re-drill of the tire carrier as well as some different lug nut hardware. I had ordered spares to match the splined lug style used with the TRD wheels, this gave me matching hardware across the vehicle, one lug-nut socket to carry and a matching lock if I end up someplace I'm worried about security.
14mm studs in place for the 5-lug configuration
Land Cruisers have flipped-flopped on the turn signal coloring over the years, red into the 70's, amber into the 2000's, red for the tail end of the 100's and back to Amber with the 200's. The red-tail/stop & red-turn is easy to work out with a simple red lens swap, ARB provides their bumpers with a red/Amber combo but they have the red lenses available for those applications. However, the red-tail/stop and amber-turn is a bit tougher. ARB includes a plug/play harness that requires popping open the rear panels (easier said than done when drawers are installed), but, it plugs into the same place as the US spec 7-Pin trailer harness. It does have a lead for a 5 pin trailer harness but I prefer to leave the factory 7-Pin in place. So, rather than pull drawers apart, pull panels and drop lines from the L & R tail lamp assemblies, I opted for a far easier and cleaner (imo) method. I tied into the 7-Pin trailer harness and used a converter to go from the combined tail/turn (red) back a separate tail (now red) and turn (now amber). It does require mounting a small converter (this size of a credit card) under the vehicle but they come with some good self-adhesive and I've not had one fall off or fail to date. This method allows one to trim down a considerable portion of the ARB harness and really end up with a tidy and simple install with just 5 connections into the trailer harness.
Remnants of the ARB harness and the wiring portion of the project
Another time consuming aspect of the bumper install is the OE bumper cover trimming. We used a loose variation of ARB's recommended measurements and they got us close but we fined tuned the trimming and installed a nice clean w/s edge material that offers a really clean fitment while allowing the needed flex that the bumper and cover panel will experience. This is where we could really streamline a future install as we kept some good notes on what worked for us and the w/s is something I'll have available ahead of time next go around.
Trimmed panel with w/s in place
So, while it likely represented the longest I've ever spent on a bumper install, I'm quite confident the remaining installs will take a fraction of the time. I've since done an additional ARB rear bumper on a 200 while it was a different configuration, the trimming portion took a few minutes
Finished product!


.jpg")