Blender, My LX450/FZJ80 + FJ45esk + GM + Land Rover crazy concoction

You know what?

I will just wait and buy this from you when you are done with this build.

I got first dibs on this.

Love the build. Keep up the good work...
 

Metcalf

Expedition Leader
You know what?

I will just wait and buy this from you when you are done with this build.

I got first dibs on this.

Love the build. Keep up the good work...

Thank you. If your serious let me know via PM. This one will be available late this fall or early next spring. Everything is for sale :)
 

Metcalf

Expedition Leader
So I'll bite. What'd you buy for the DD and what did you do with the old dodge?

Looks great as always.

I got a little grandpa truck runabout for a fair weather dd. 99 gmc shortbox 2wd with the 5.3 LS, auto, g80 rear axle. It's fun to hoon around in.

The dodge is sitting unloved. It needs a new home.

This project will be the dd before next winter. When it sells I have a few other projects lined up....
 

Metcalf

Expedition Leader
Trying to get back into the habit.


Tonight I started on the part of the fuel pump mount that will mount into the fuel tank. The bungs are solid aluminum that was drilled and bottom tapped on the one side. They should be fuel tite to the inside of the tank that way. This mount will use a factory GM fuel pump sending unit. Once done this sub-assembly will be welded into the top front center of the tank.

Still lots more to do...
 

Metcalf

Expedition Leader
Just a little bit...


I added the rear wall to the fuel pump mount. This was kinda a pain in the rear for me. These 3 sided inside corners kicked my butt. I welded both sides of all those seams to be sure.

Now I need to tack the main tank and fit this sub-assembly into the main tank. At least there are no more inside corners! I do have to weld the baffles in the tank which is going to be a bit odd.

I'm learning a ton and expanding my skills base. That is what this project was suppose to be about!
 

Metcalf

Expedition Leader
Another bite.


Fitted and tacked in the fuel pump mount. Overall I am pretty happy with how this turned out. Much welding to do.
 

Metcalf

Expedition Leader
It was all going just perfect till....


Well poo. My tig lead/hose failed with hole. I think there might have been a small hole for a while which was causing a small black spec ( contamination ) issue. Once it finally got larger I couldn't really even weld anymore. The hole happened right where the handle ended and the protective sheath started. I have a new torch lead on the way, but it will probably be a few days....
 

Metcalf

Expedition Leader


I got my new TIG torch lead today....and then finished welding the fuel pump mount into the tank. Before I move onto the baffles I decide to give it another test fit. It fits nice. I am definitely using all the space I have. If my math is right, the tank should be about 25 gallons when I am done.
 

Metcalf

Expedition Leader
One more bite...


I test fit the fuel pump sending unit in the tank, made a pattern for a baffle, cut out said baffle, and welded it into the tank. The baffle had to be shifted slightly to clear the fuel level arm, but is still about 10" inside from the edge of the tank. I will say that this style of welding inside the tank was pretty challenging for me....seemed like no room for two hands, the torch, some filler, and still having enough room to see something without having to use the force or ESP.
 

Metcalf

Expedition Leader
I'm happy to be getting back in the groove...


Tonight I was able to cut, trim, and install the 2nd baffle in the tank. I also got the 1st ( easy side ) end cap cut, trimmed, and tack welded in place.

Lots more to do, but progress feels good.
 

Metcalf

Expedition Leader
A big bite tonight....


I got the 2nd end cap cut, fitted, and tack welded in place. This side has a little extra cut out where the fuel filler tube will go....


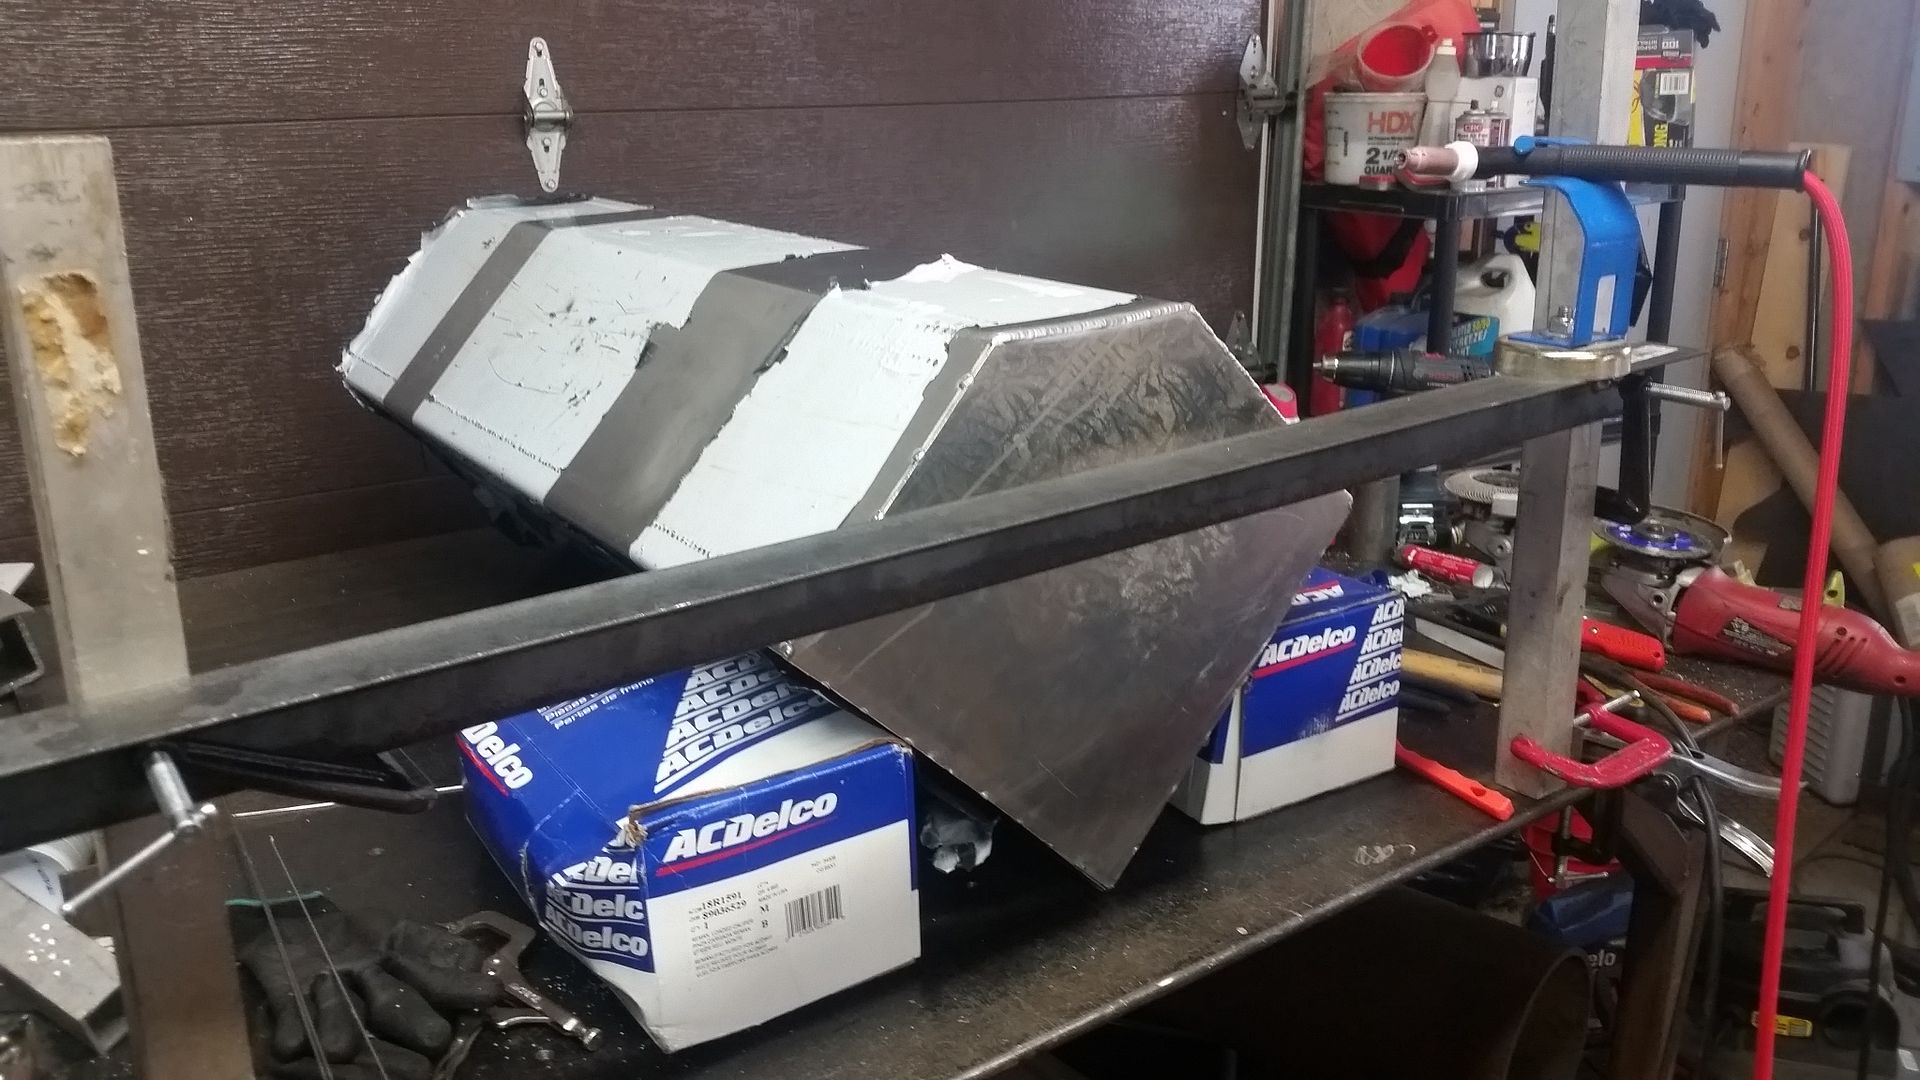
I cobbled up a hand rest for doing all the long welds. This was easy to adjust for height also which came in handy for all the different positions. A few heavy boxes worked great for keeping the tank on edge while I welded the odd seam on the rear bottom of the tank taper.


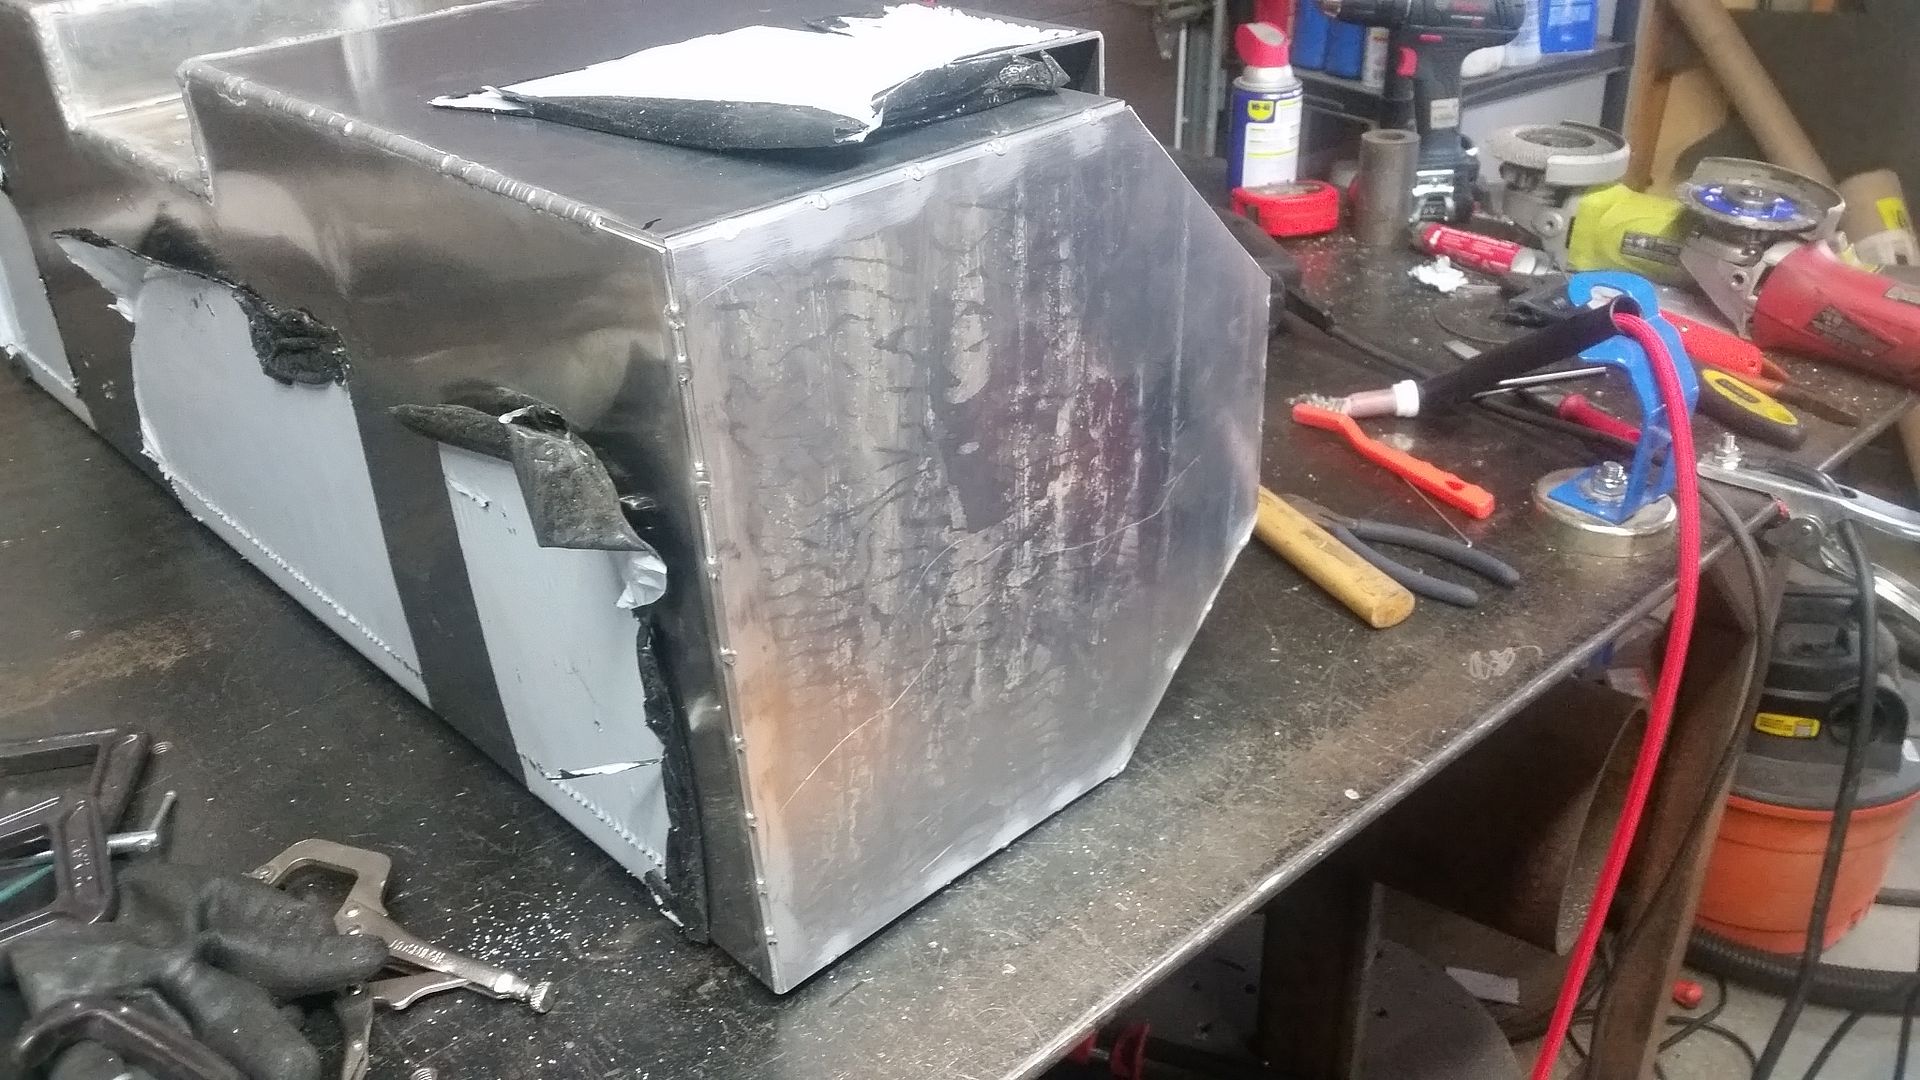
Something finally clicked with the TIG welding of aluminum finally. This setup was AC, 100% argon, 15cfh, 100 amps, 17 air cooled torch, sharp 3/32nd 2% lanthinated Tungsten, #5 cup, about 3/16 stick out. I was running the pedal about 80-90% depending on how warm the entire part was getting. I am using 1/16th 5356 filler on the 1/8" 5052-H32 material.

I think the biggest improvement came from changing over to my #10 passive welding helmet. This was like taking the blinders off pretty much. It allowed me to see every detail in the puddle. It felt like I had about 3x more time to see a problem/change in the puddle before bad things started happening. The arm rest made things a lot more stable for both hands also.


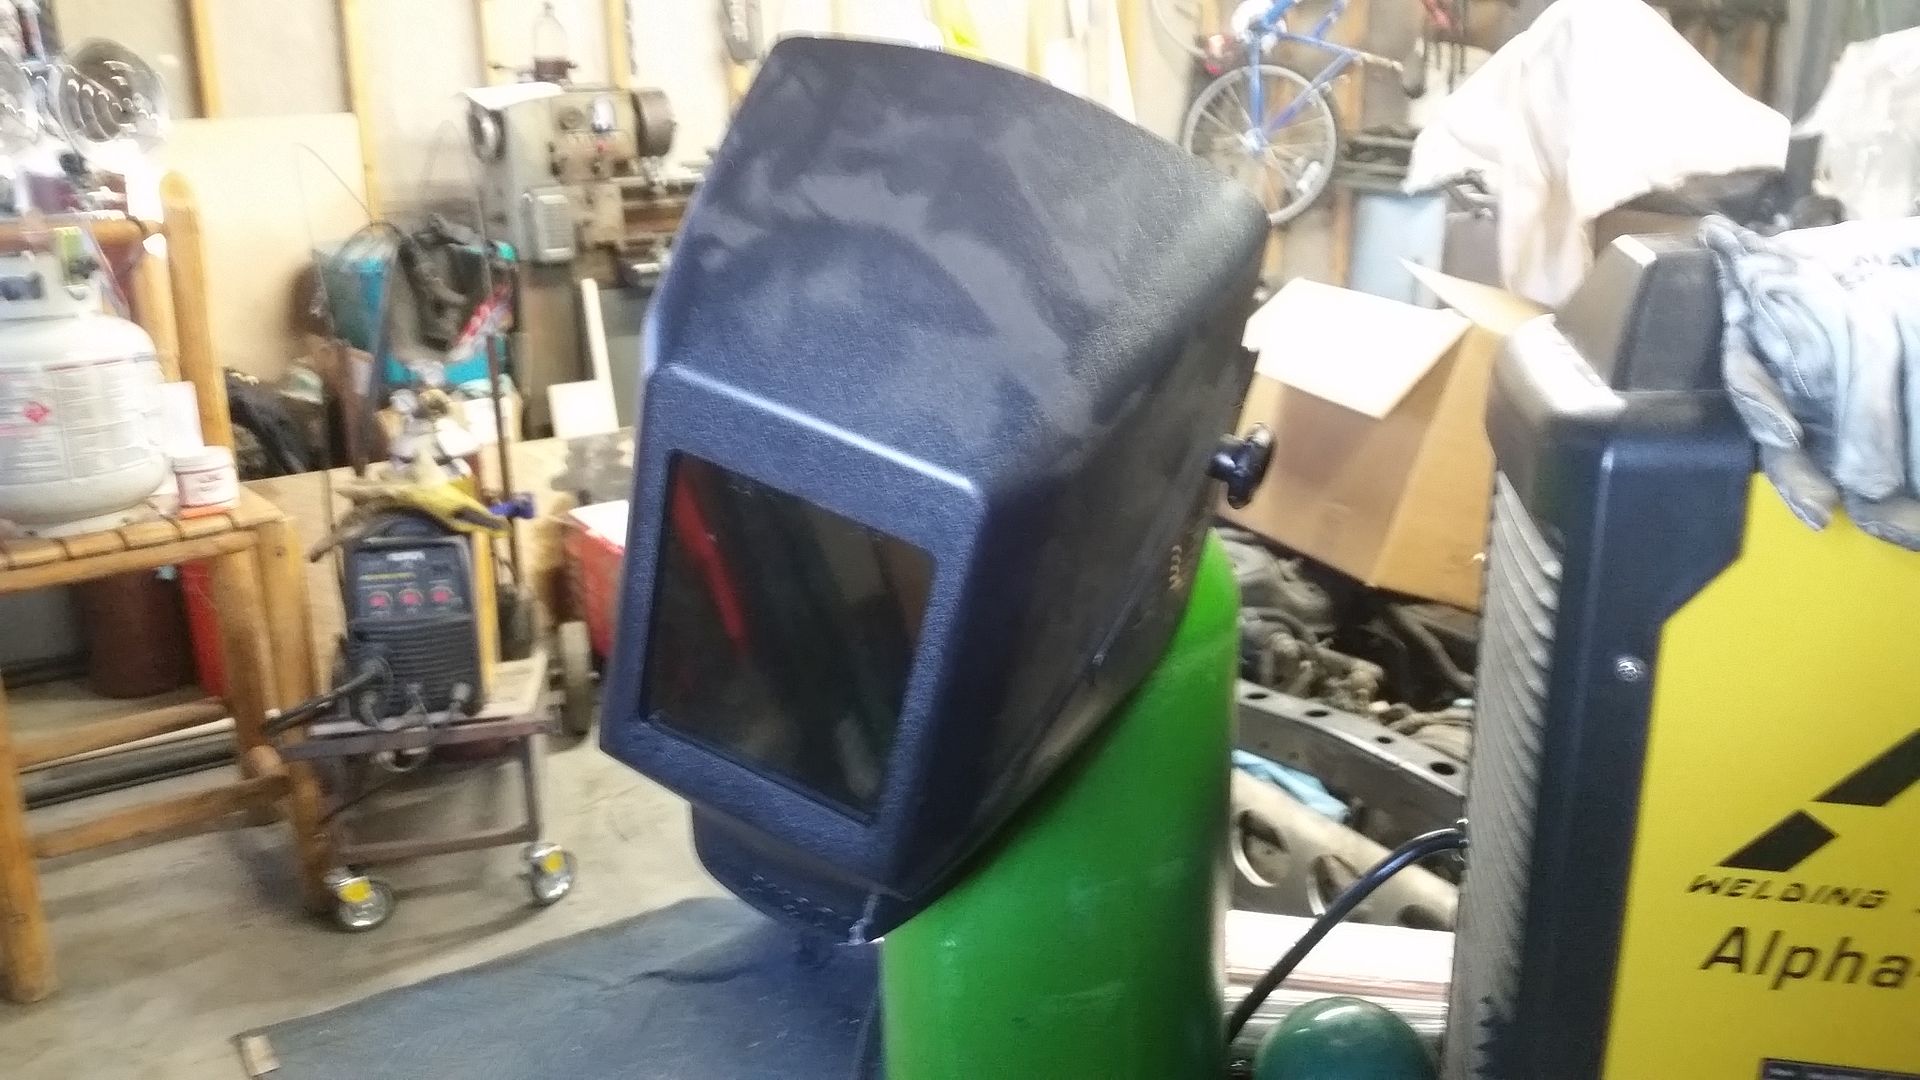
Good ol' passive helmet. While the auto dark is fine for tack welding, for long welds I keep coming back to the passive.


Both ends all welded up. The only welding left is the filler neck part! It felt huge to get the ends welded on.


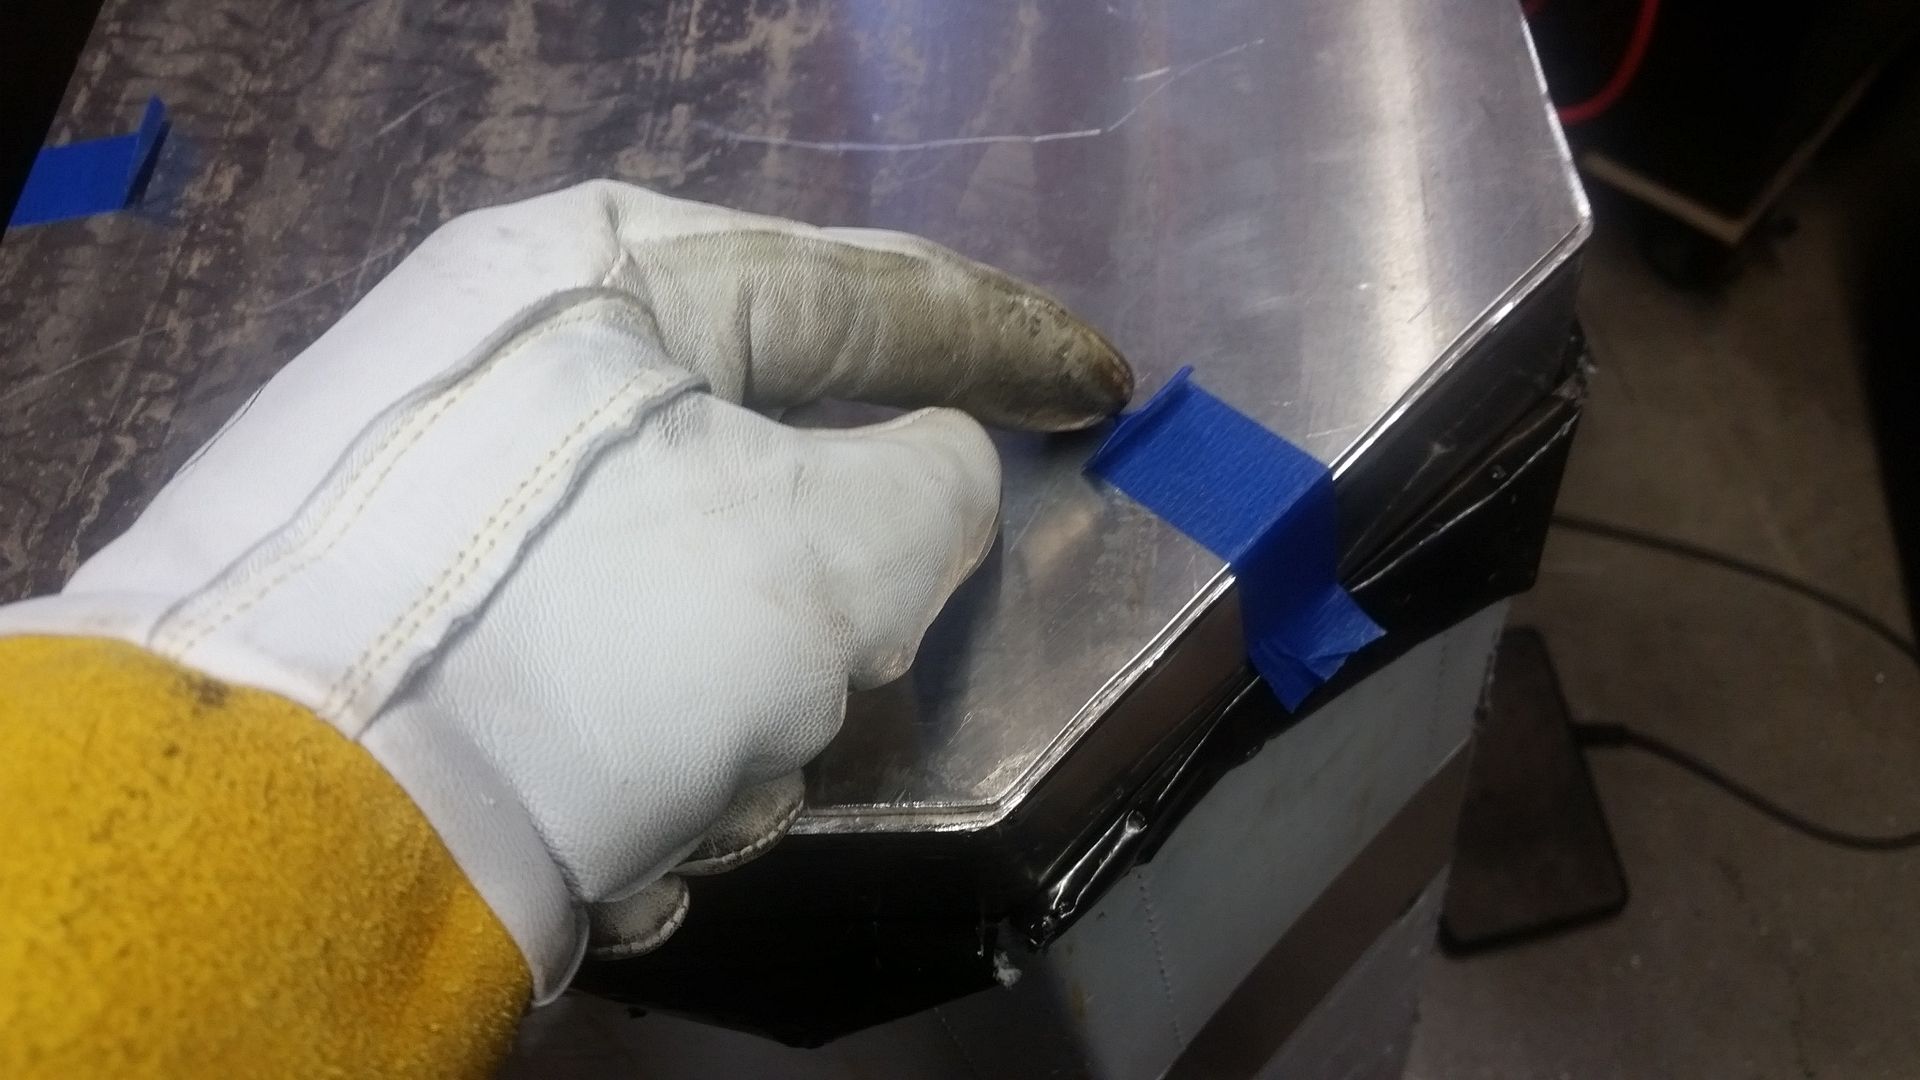
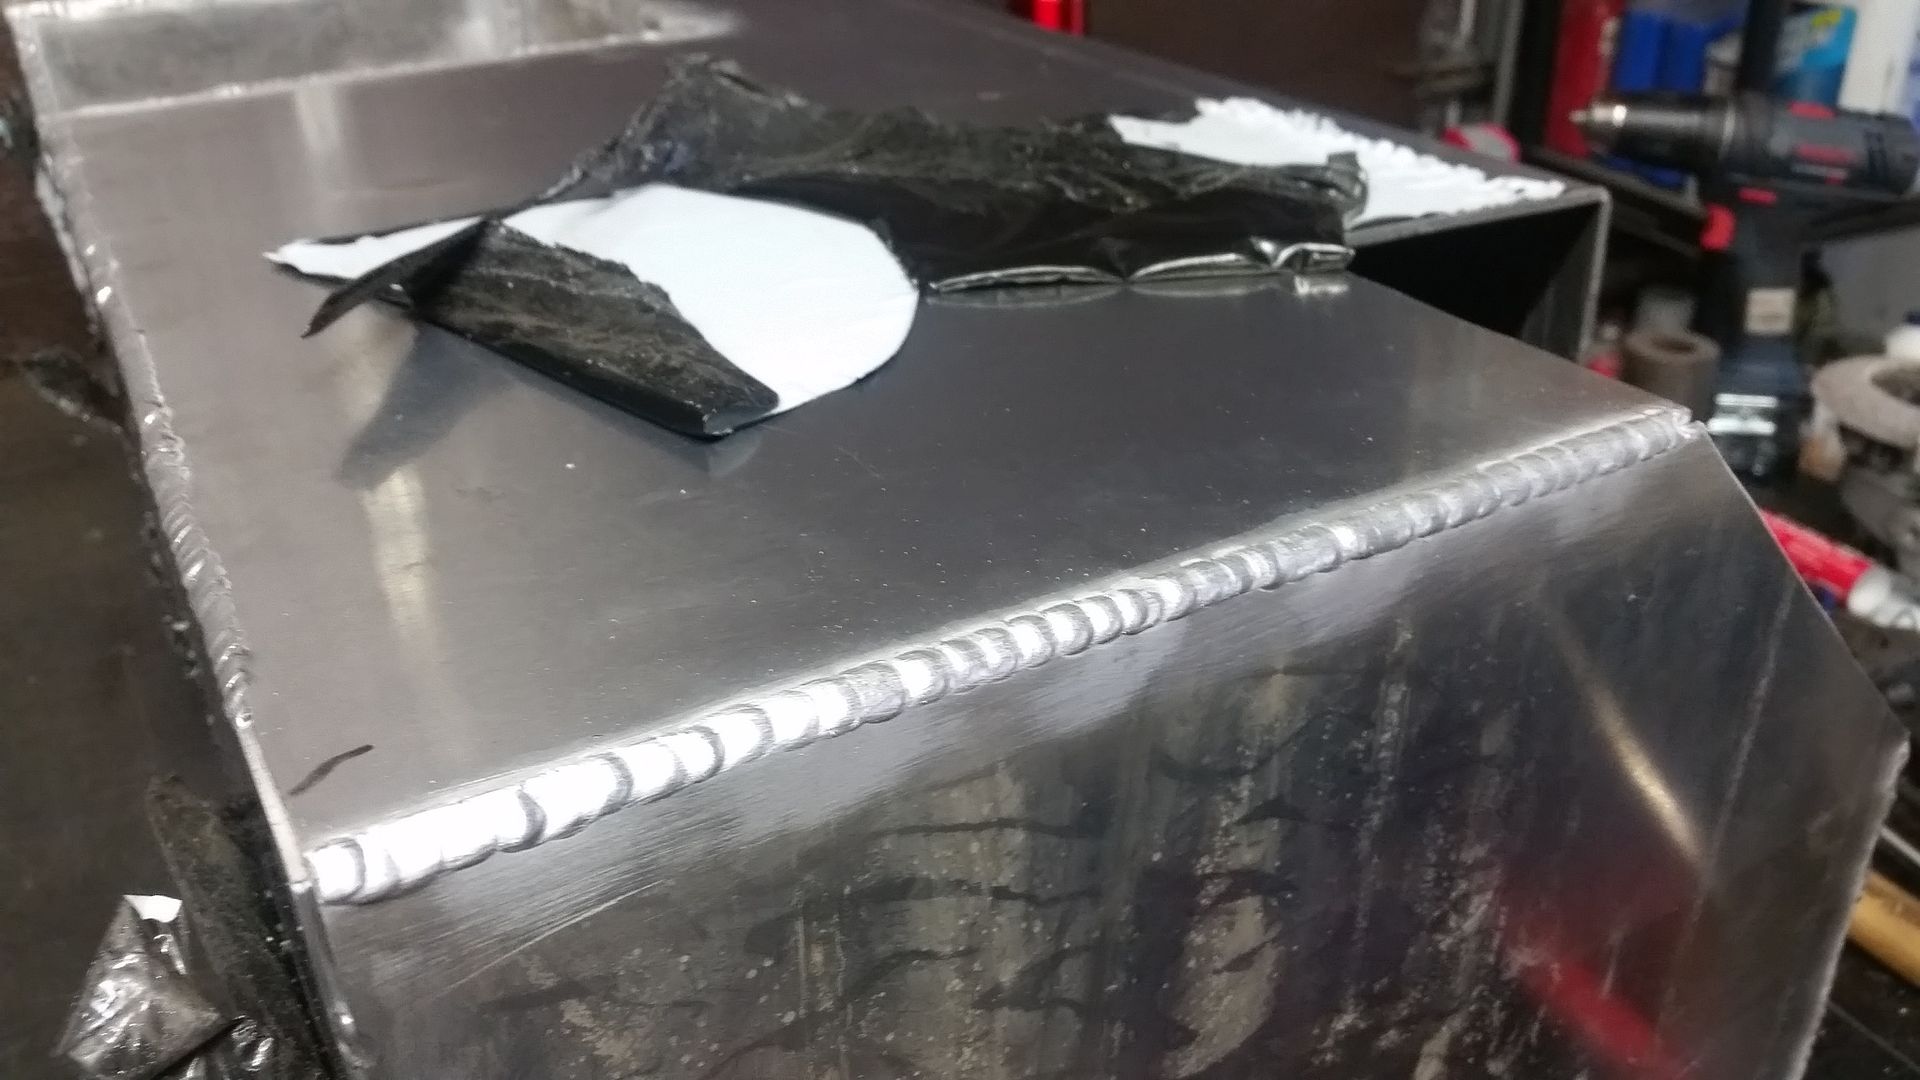
Shop tip. If you are going to use some masking tape to hold the aluminum panel in place, make a little tab on one end so you can remove the tape with your welding gloves on. This keeps you from having to remove a glove to remove the tape as you tack weld the panel in place.
 

Metcalf

Expedition Leader
I have a fancy aluminum box now....


I need to build a few caps for it and stick it on a low pressure test to soap bubble all the seams. Then let it sit for a day or two and see if I see a pressure drop. After that it will be a gas tank if all goes well.

A few details....


I welded the inside of the filler neck to avoid an access problem in the outside corners.


The tank ended up just level with the top of the coil buckets like it was suppose to. I am pretty happy about that with so many custom parts. The floor of the bed will be pretty tight above the coil buckets and tank.


Just because....

Now I can move onto building the steel structure for the bed finally! After that is done I can stick the springs in it again...
 

Forum statistics

Threads
185,841
Messages
2,878,756
Members
225,393
Latest member
jgrillz94
Top