luthj
Engineer In Residence
As I am nearly at the conclusion of my 2 year build out, I thought it would be fun/useful to cross post some of my sprinter build out over here.
A lot of the little details are available in the build logs here.
http://sprinter-source.com/forum/showthread.php?t=41215
http://sprinter-source.com/forum/showthread.php?t=36885
Background:
My wife and I are engineers. After working desk jobs for a few years we decided that we wanted to do some traveling. We disliked fly-in fly-out tourism as it places so many limits on schedules and accommodations. Plus, we really like the in-between places. At the core of our personalities, we are overland travelers. Albeit, not as extreme as many (no 4x4 up the mountain side for us).
On a whim we bought a 1982 Vanagon Westfalia which became our home. We drove the Pan-American Highway from Alaska to Panama and back. Details are on our blog here.
After over a year and 60k miles, we were ready for some transportation updates. AC when driving would have been nice, maybe some more headroom as well. After going through the total costs, reliability concerns, and comfort factor we decided on a T1N sprinter for our next home. None of the off the shelf conversions met our needs, and with the costs of customization included we were better off doing the conversion ourselves.
The Purchase:
We stumbled upon a low miles 2004 140” T1N in Florida. A couple of flights and 2 days of driving later we had our next ride in the driveway! Ironically the sprinter cost almost exactly what we sold our Vanagon for. Other than a resonator change in a Wal-Mart parking lot and the crappy paint we have had no issues other than maintenance items on the sprinter.
The Plan:
We are tentatively planning on leaving our jobs in a few months to do a shakedown cruise out west and maybe into Canada. Following that we will ship the van to Australia where will be flying to meet it. We hope to spend a year between Oz and NZ. After that we will do another year somewhere else. Maybe South America?
The List:
Unlike many first time/DIY builds we have a very good idea what our needs are. While we did sacrifice in several areas moving to the sprinter, I think we really have a good conversion on its way.
Some Wife requirements:
Full time, or less than 1min deployable bed
Permanent swivel table
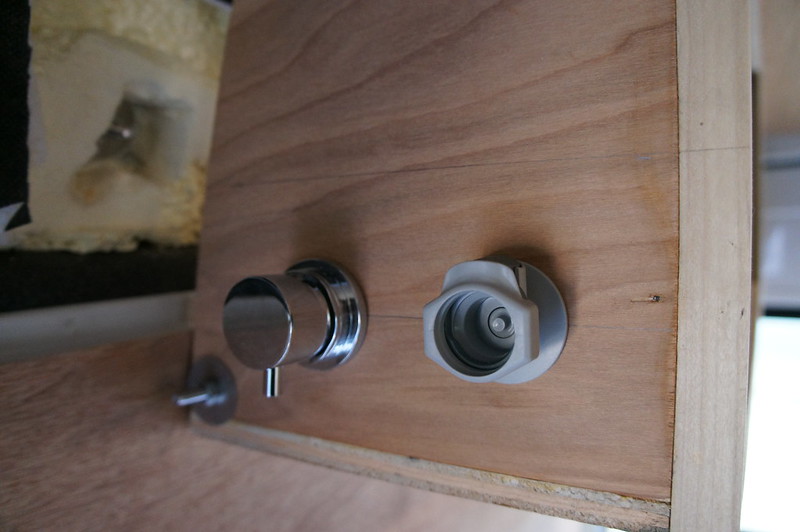
Hot/warm water in less than 10 minutes
Indoor shower (temp or fixed)
Some of my requirements:
Bed length of 73” minimum
72.5” headroom minimum
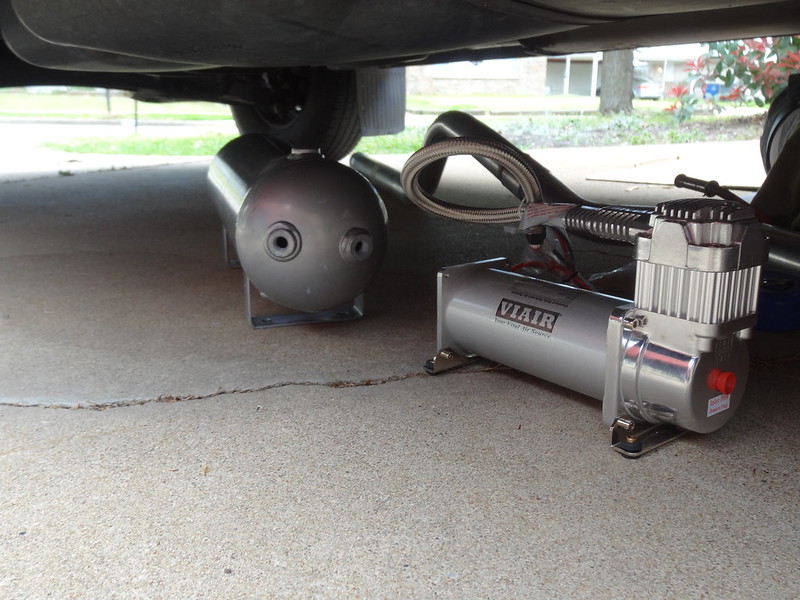
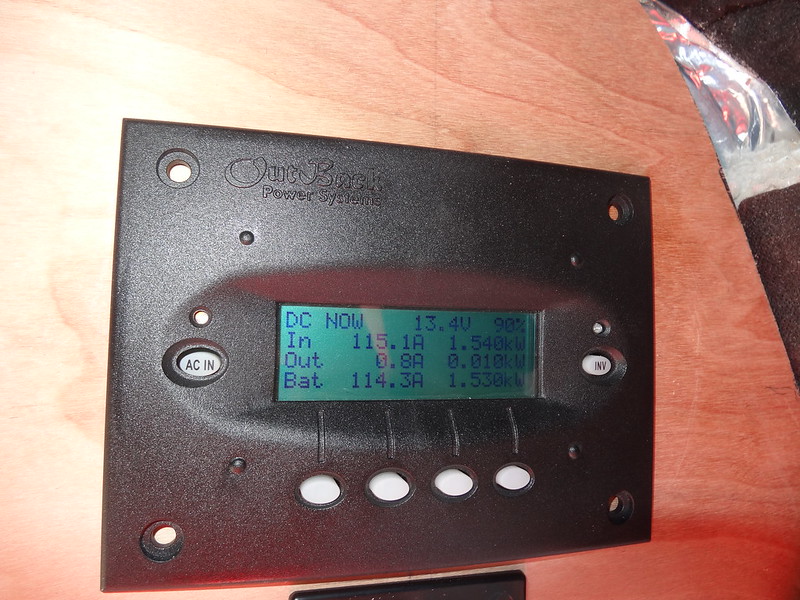
AUX power for 2 laptops for 2-3 hours, Lights, Fans etc.
Combined requirements:
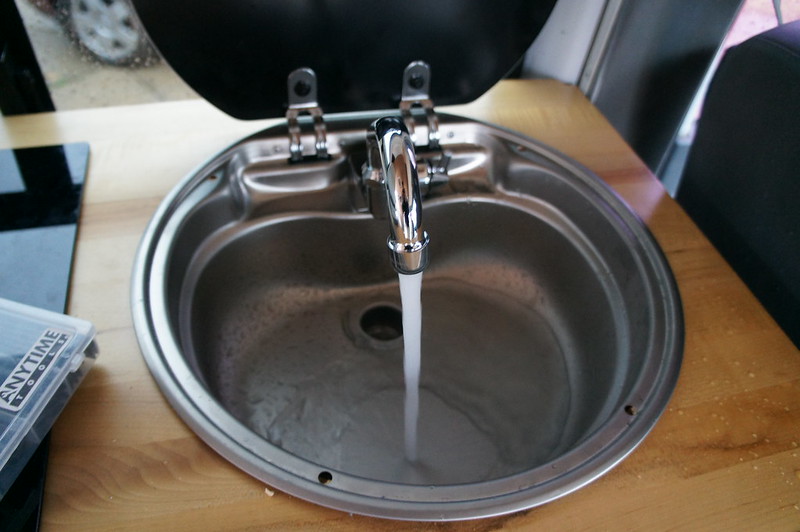
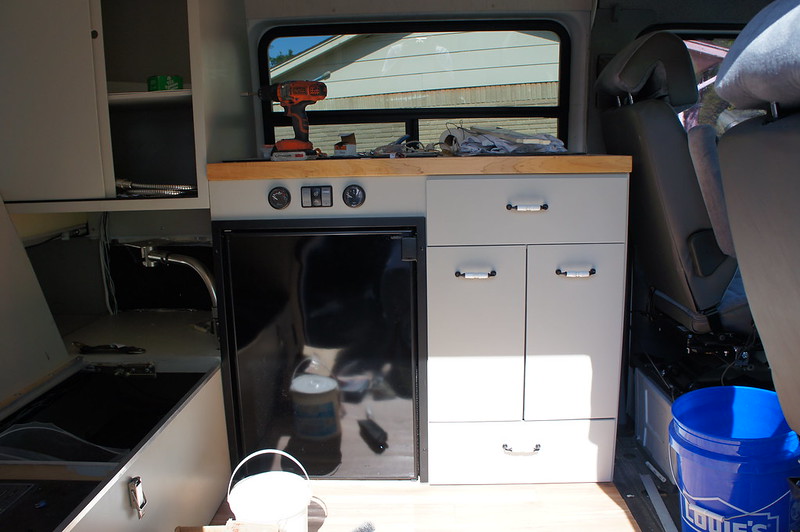
Sink
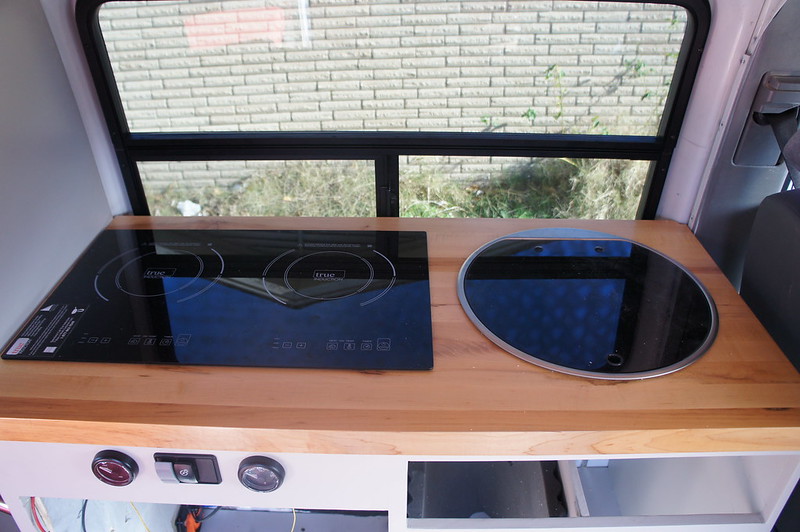
2 burner cooktop
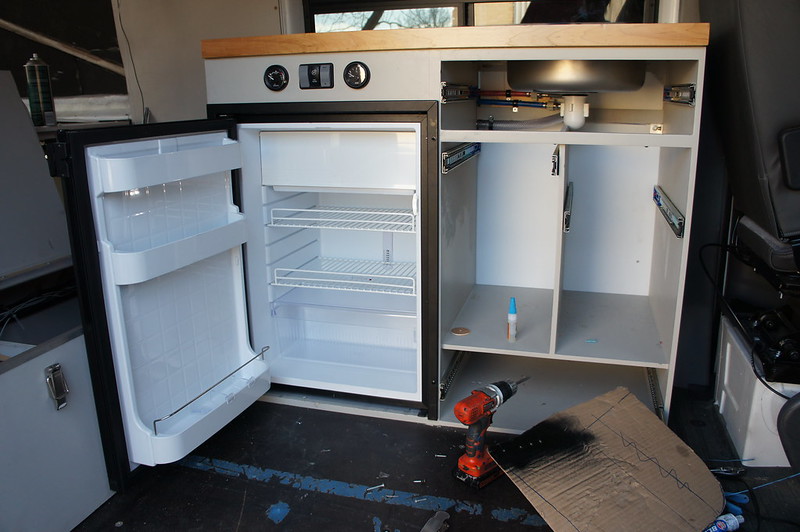
Compressor fridge with freezer
4 cubic ft of storage accessible from indoors
30 gallons of water minimum
The Layout:
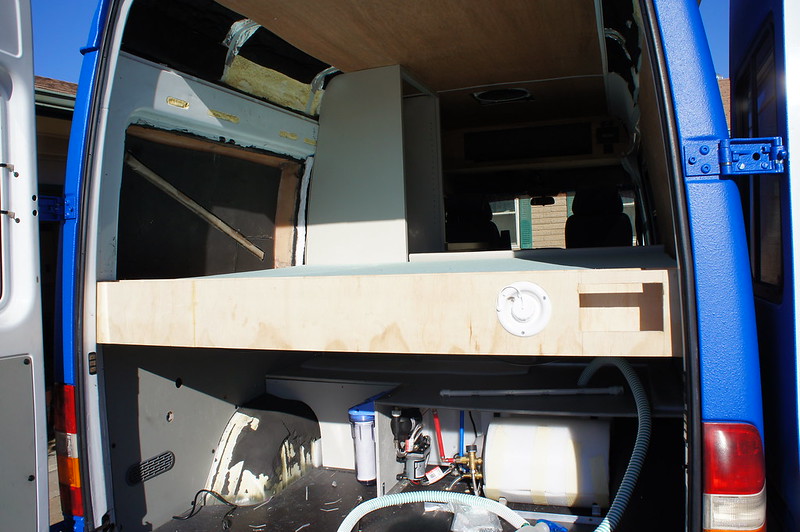
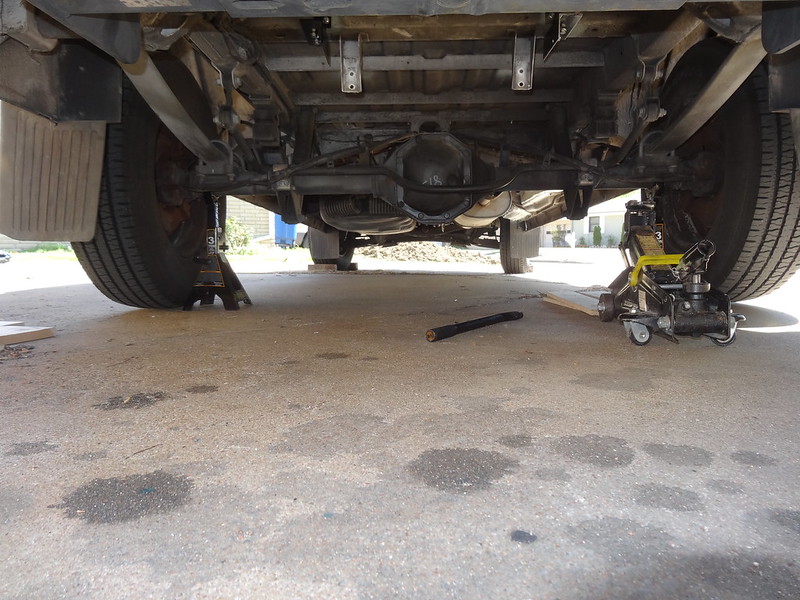
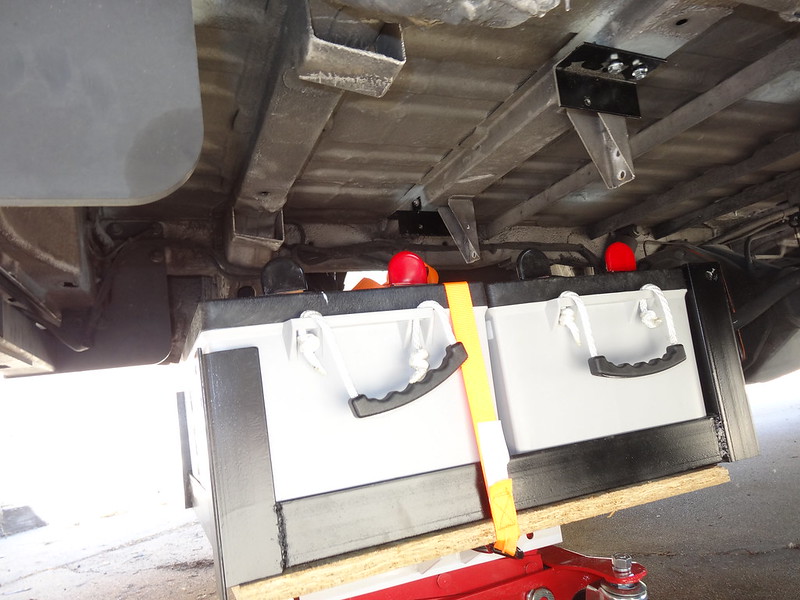
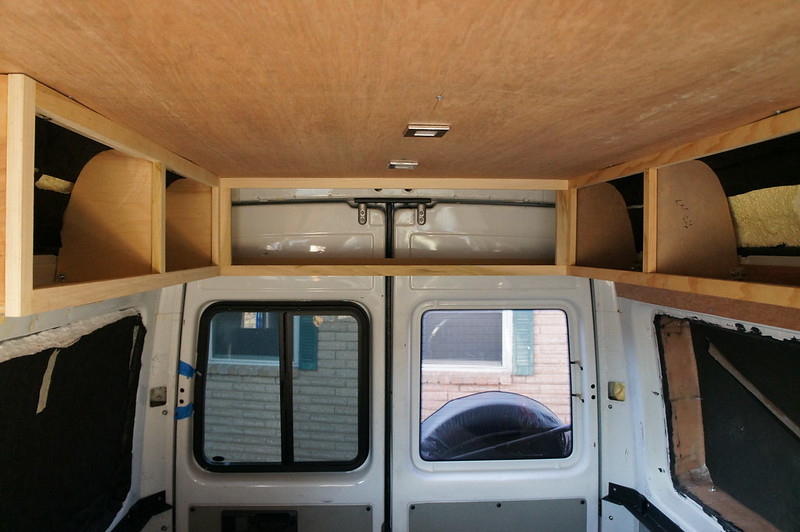
Given we only needed to sleep 2, and that we had good success with the Westfalia layout we decided to start there. Well, actually I modeled about 4 other layouts for our 140” and all of them were either to cluttered or totally unbalanced weight wise.
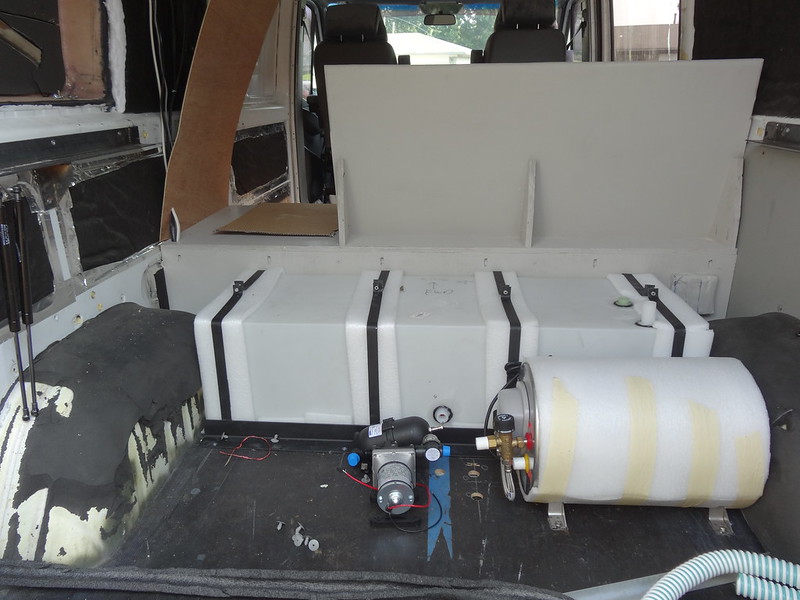
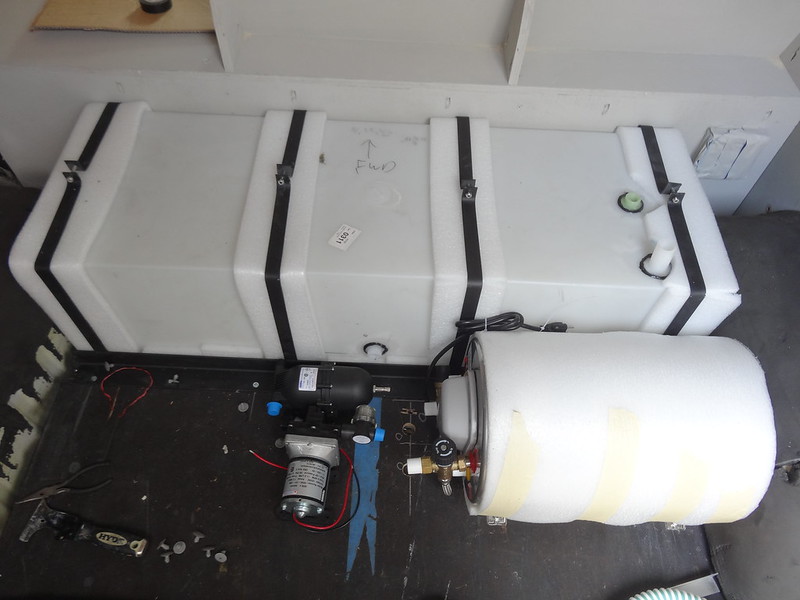
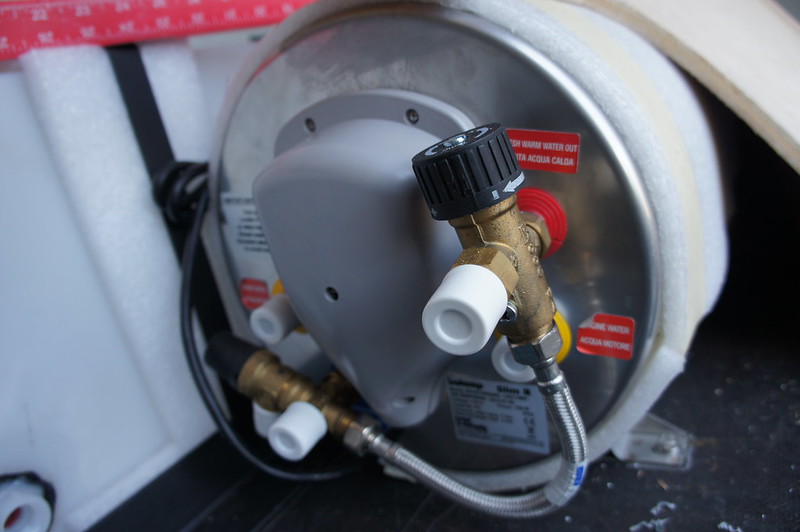
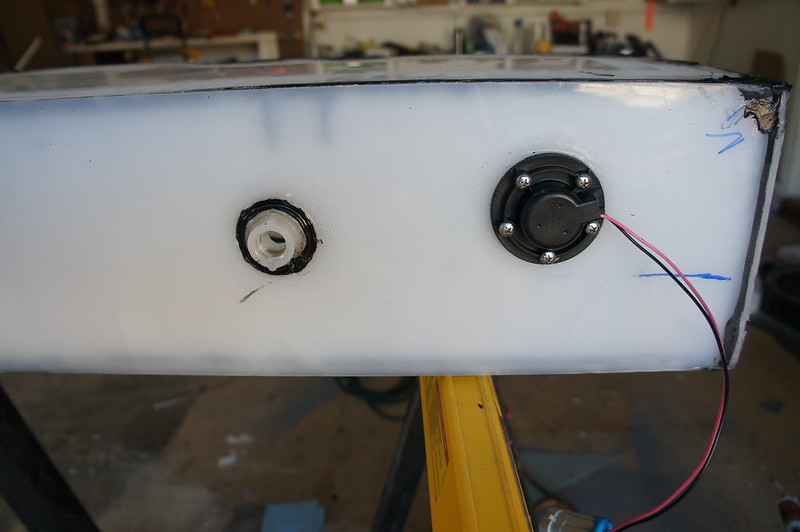
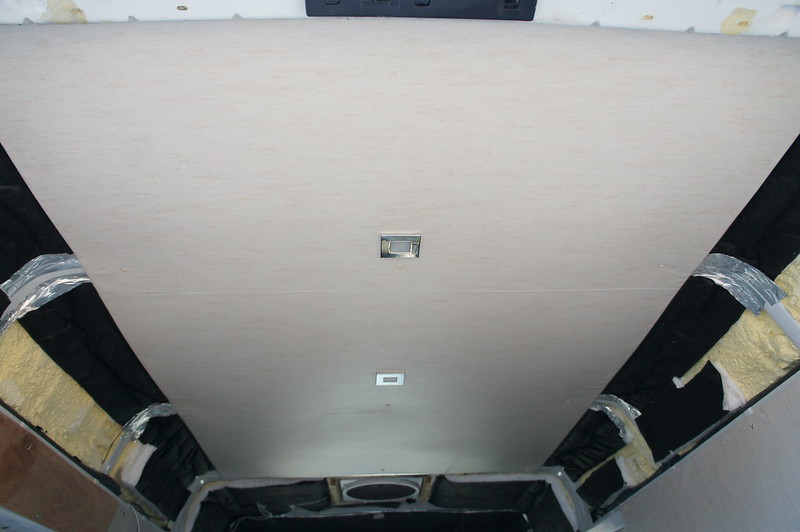
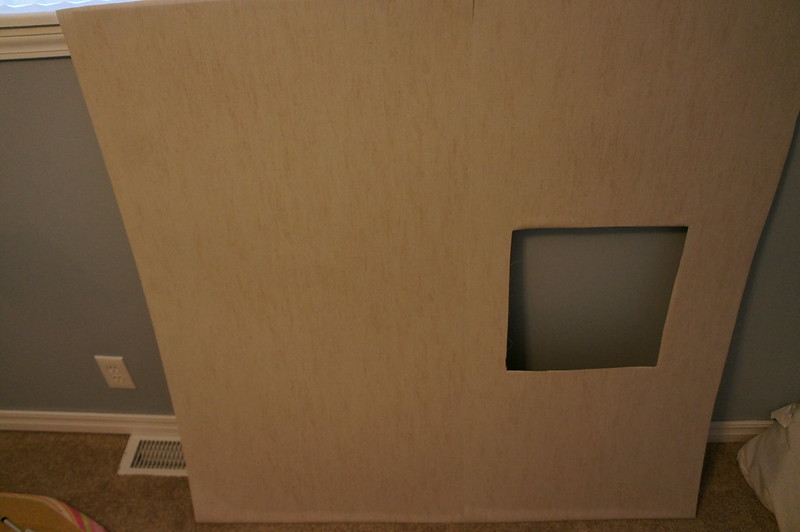
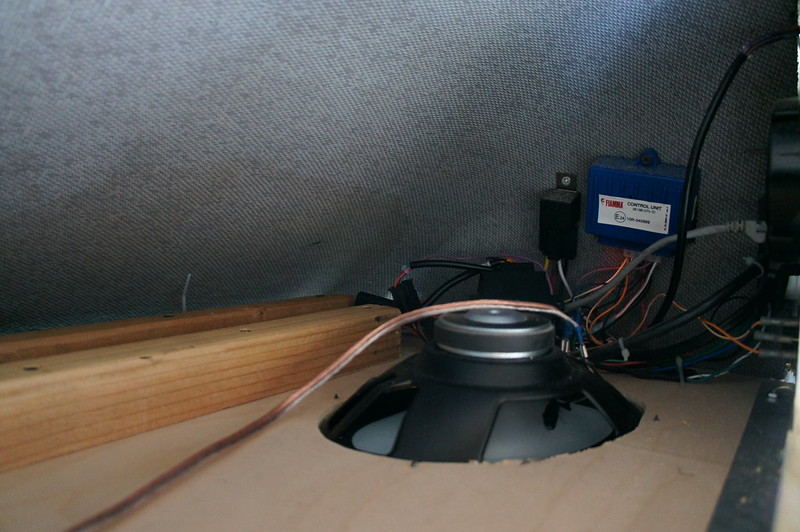
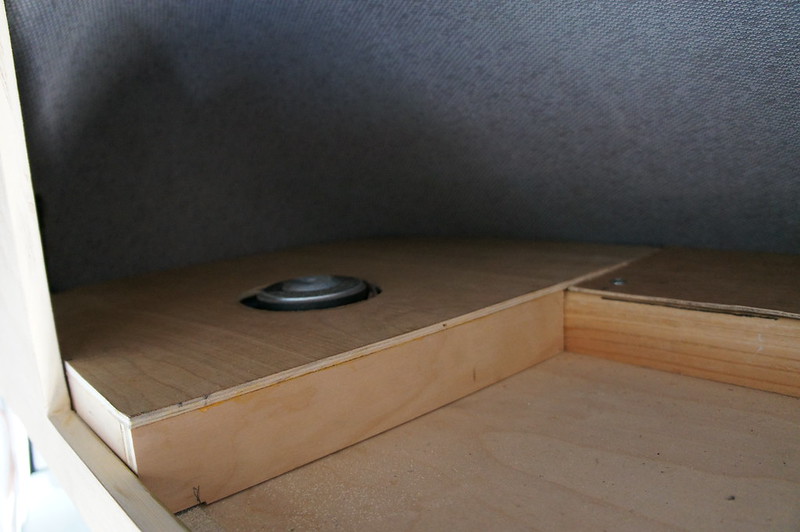
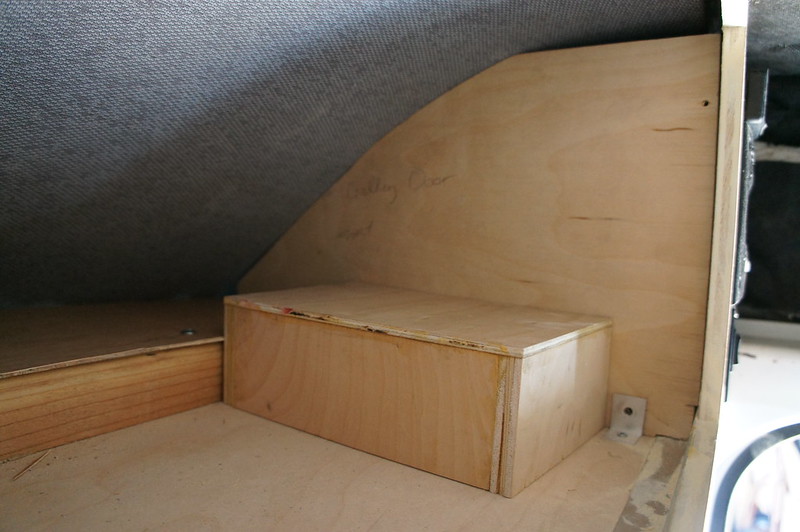
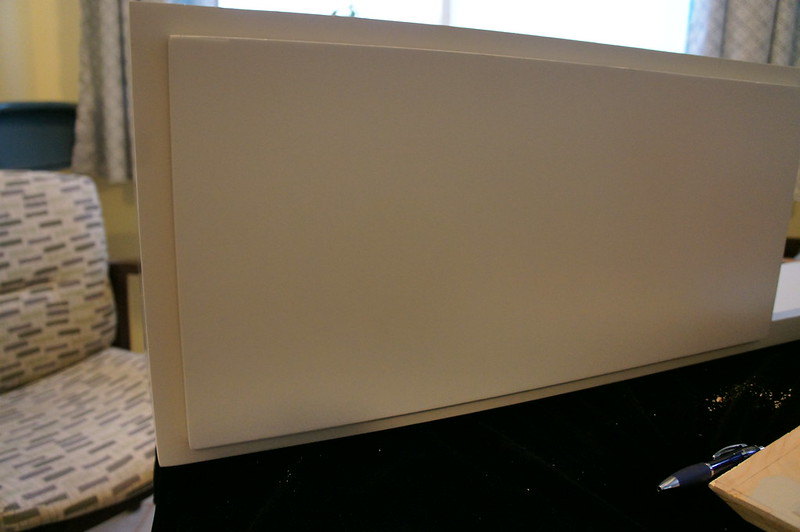
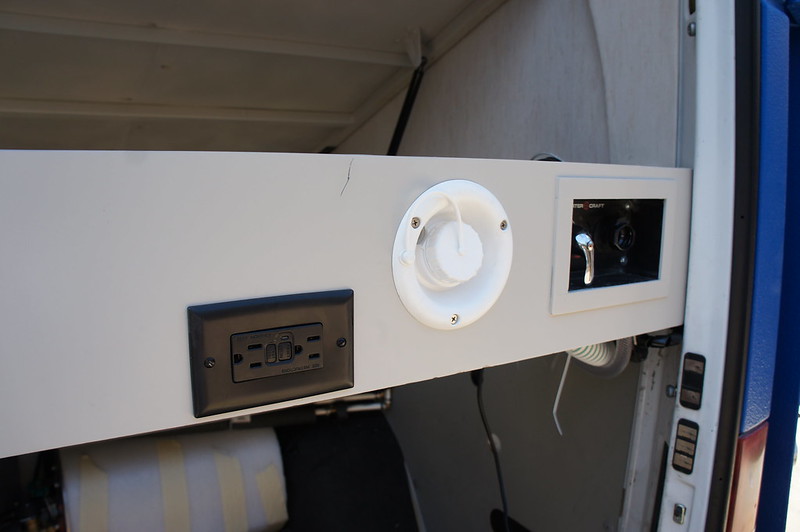
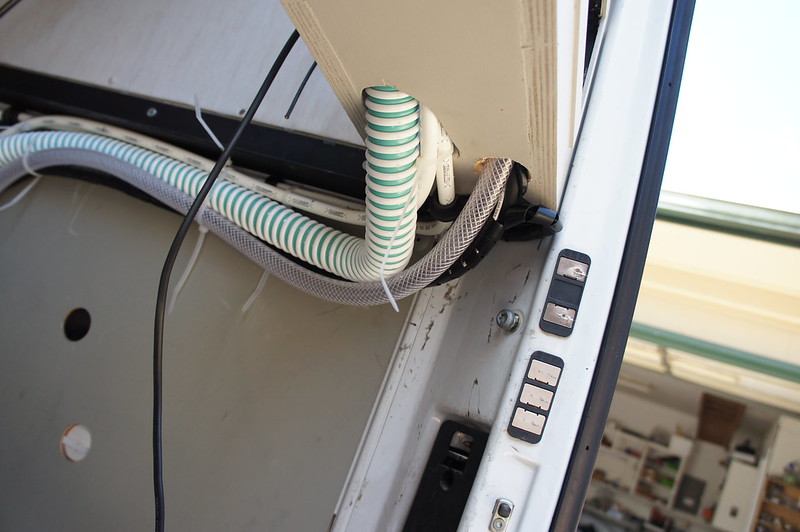
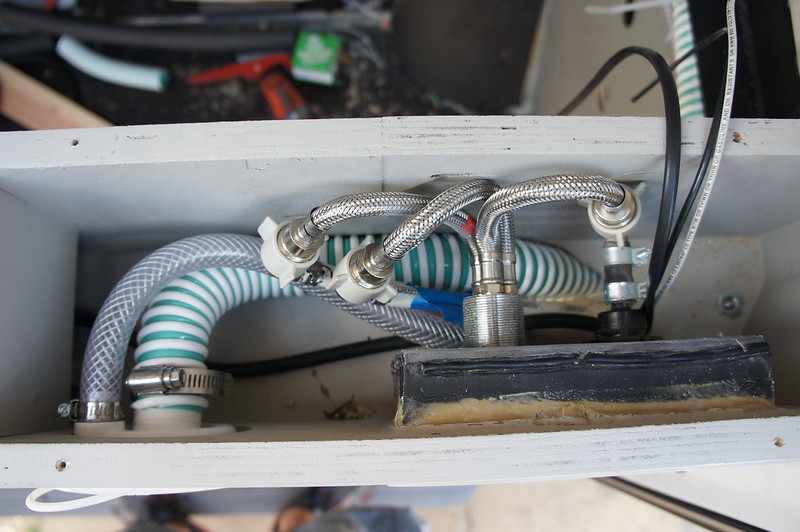
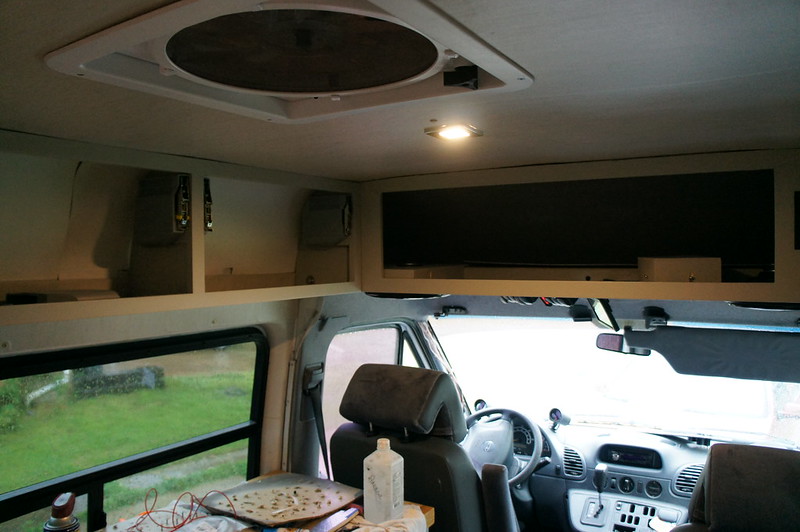
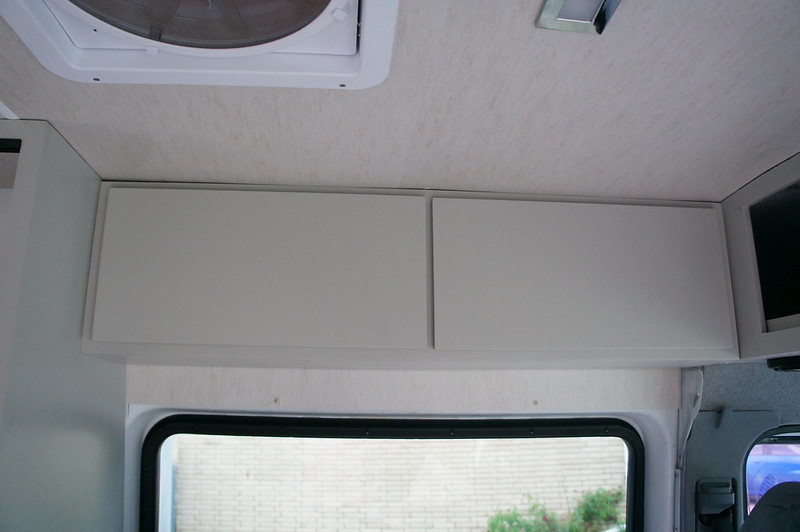
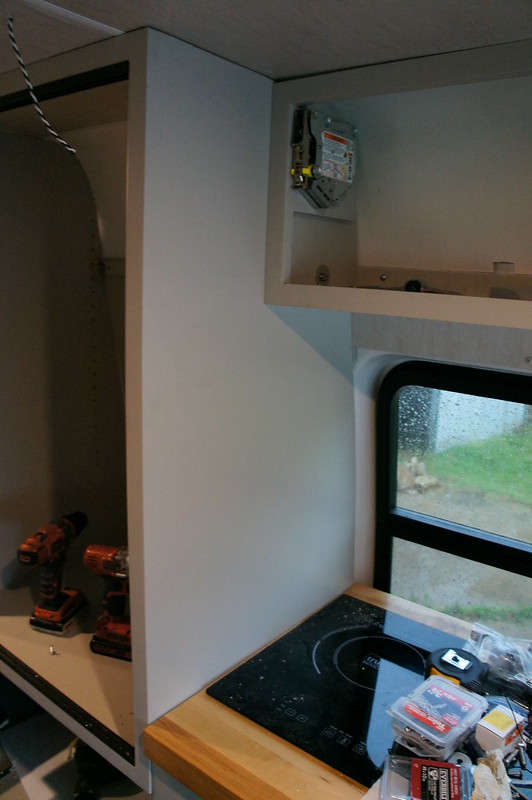
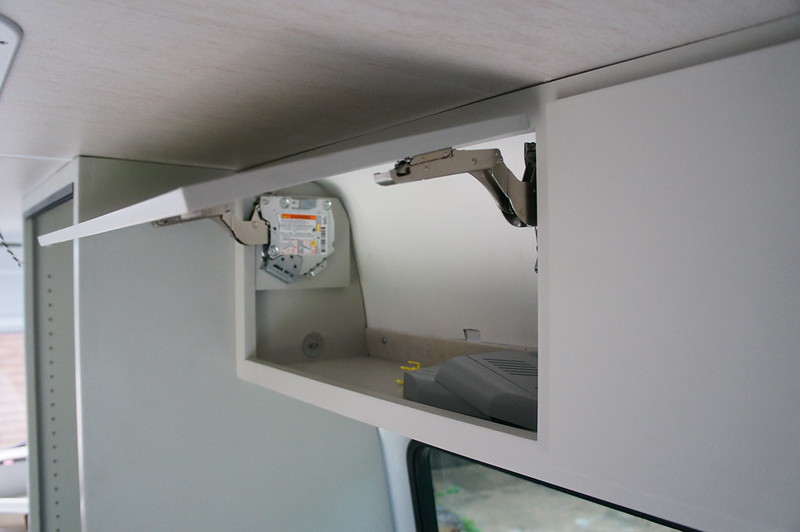
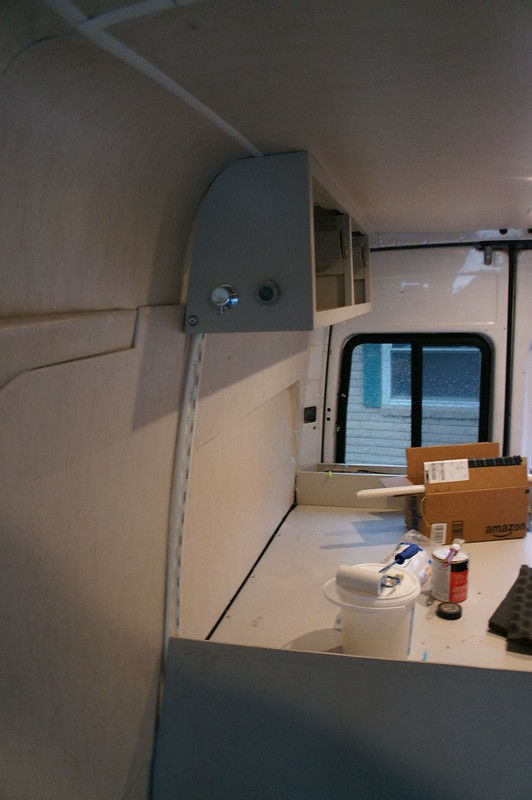
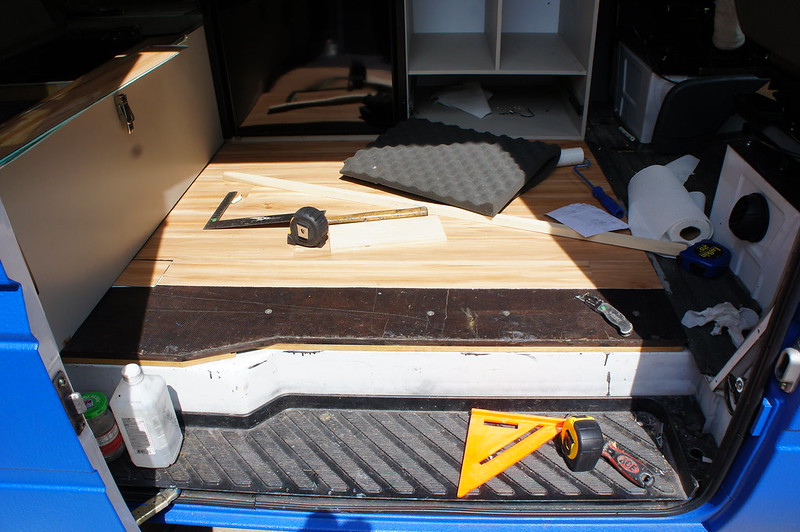
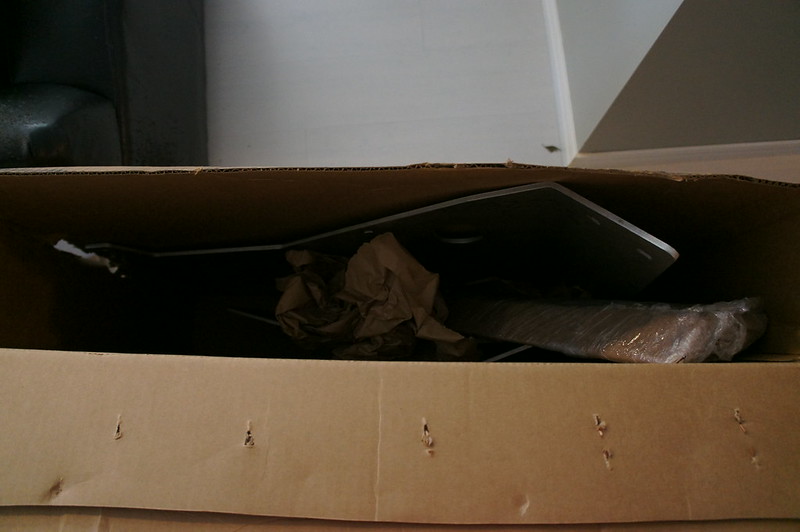
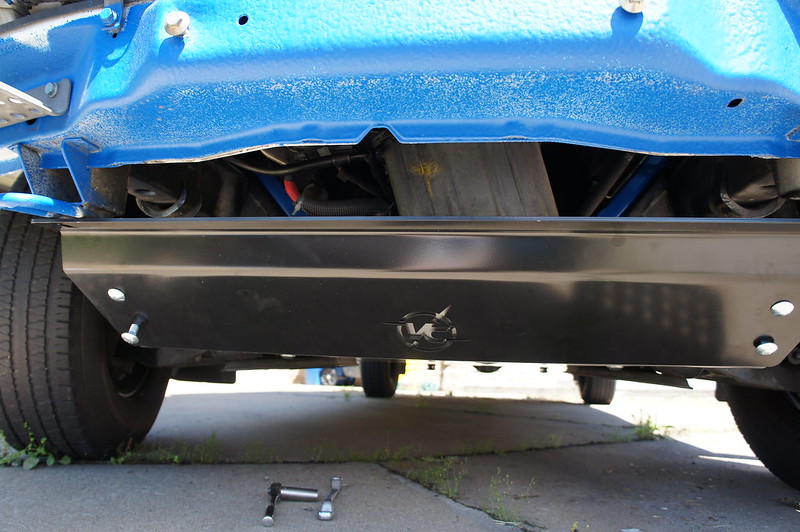
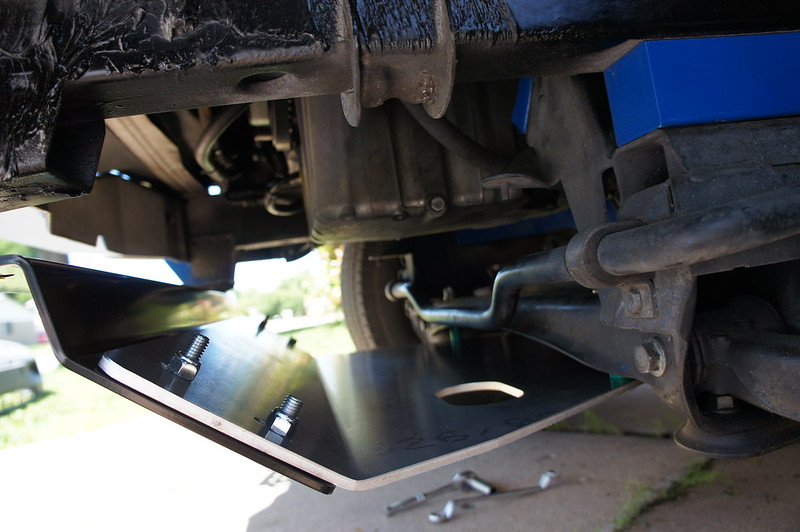
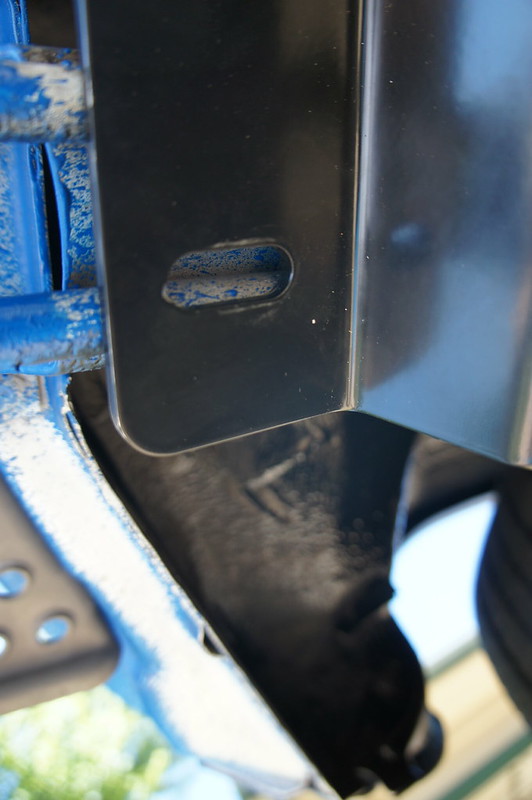
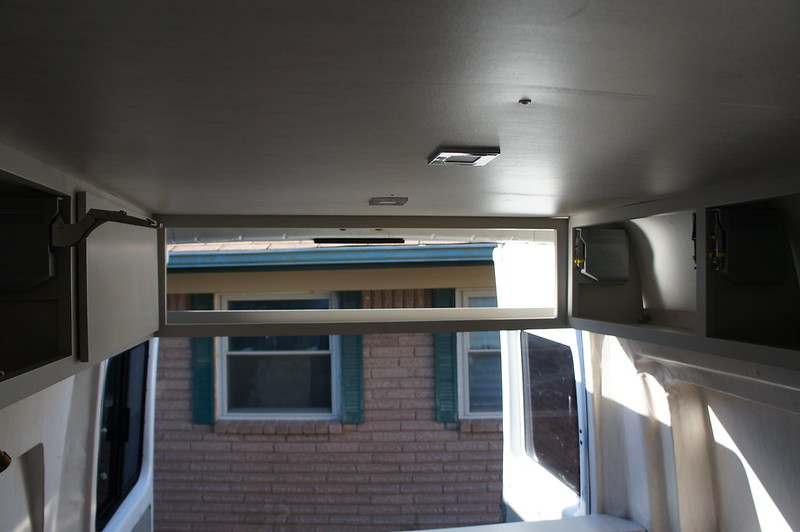
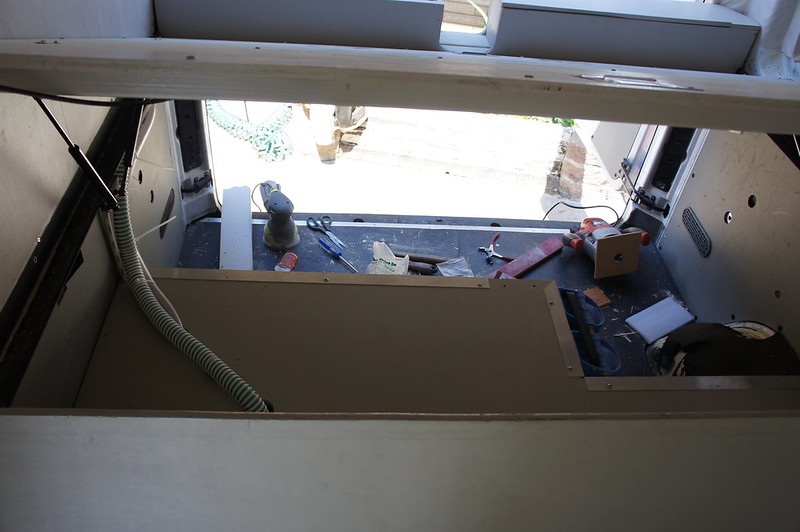
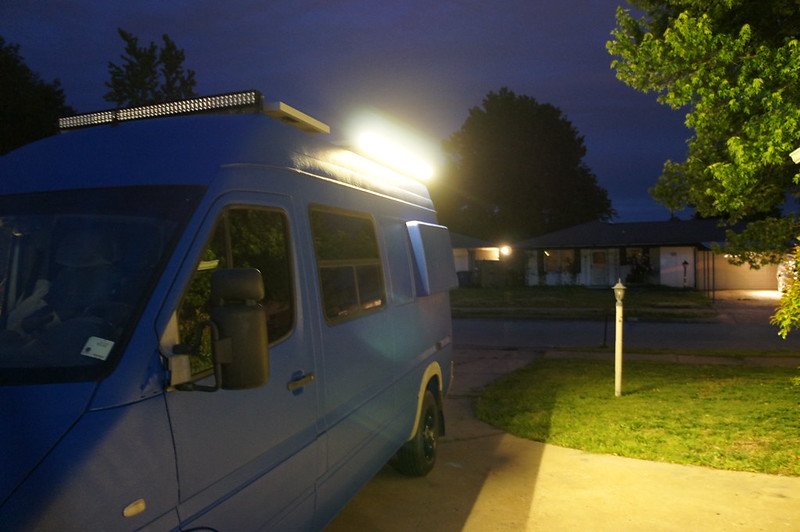
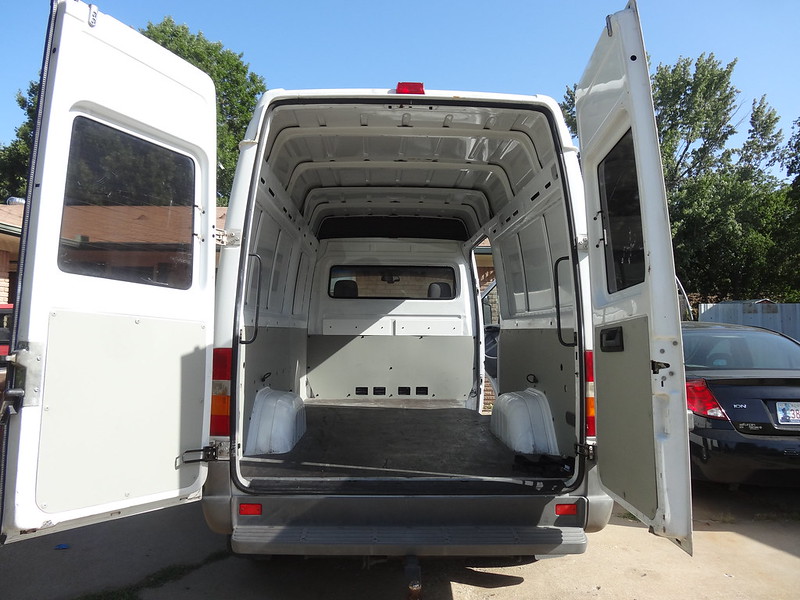
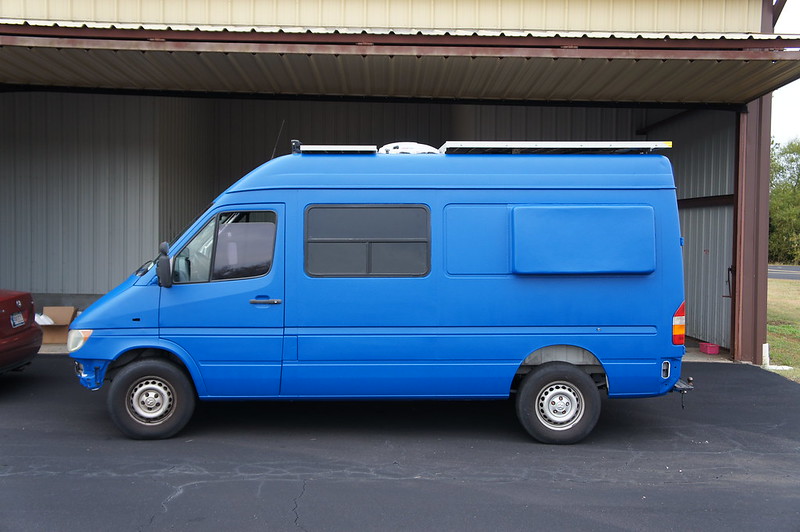
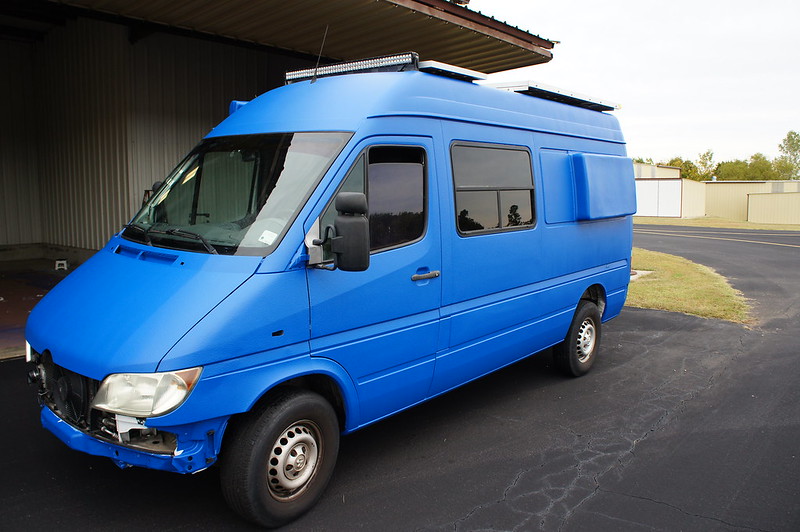
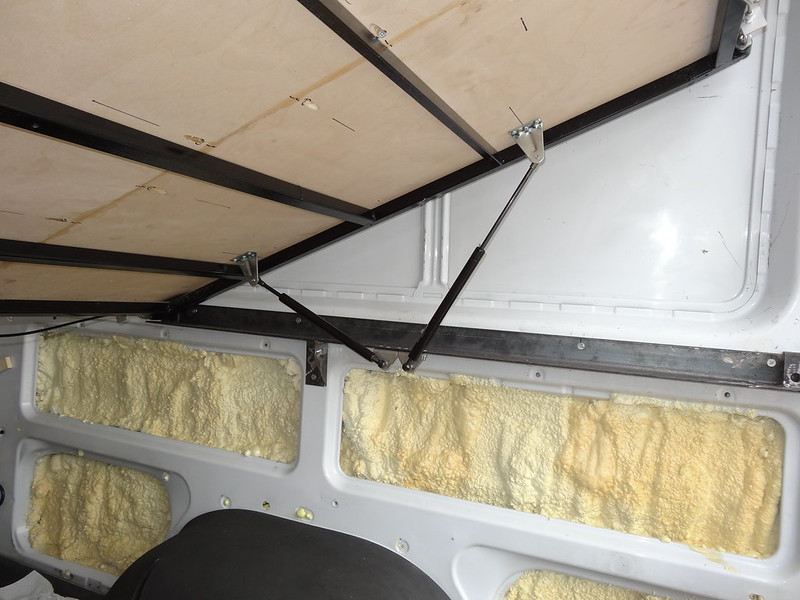
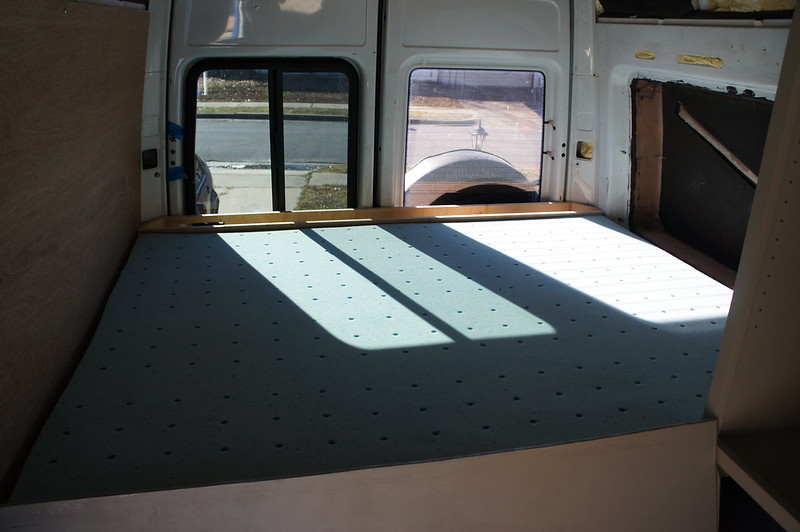
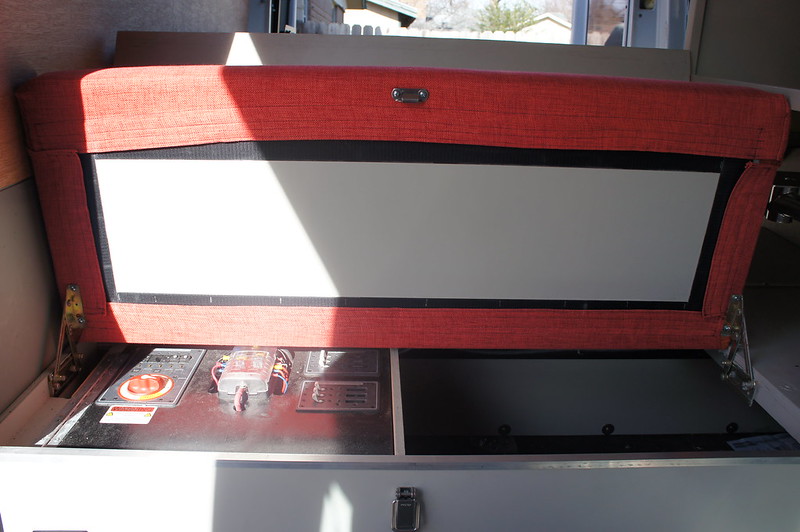
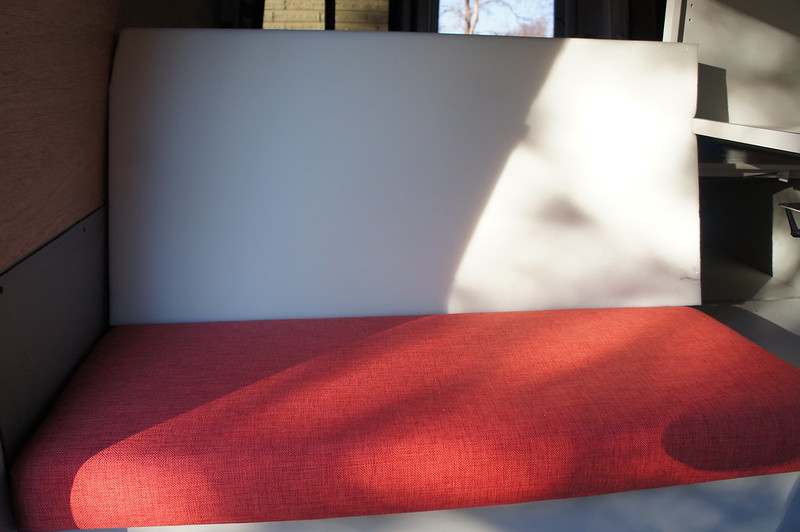
Here is what the layout looked like at the very beginning of the build out.

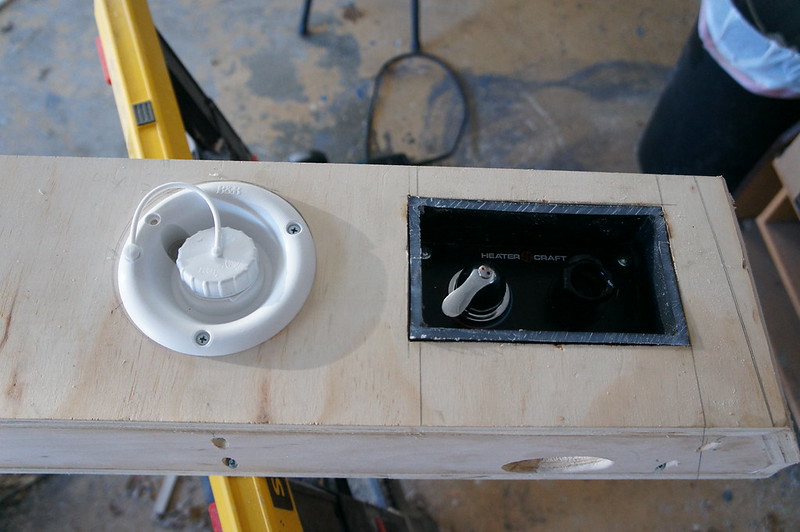
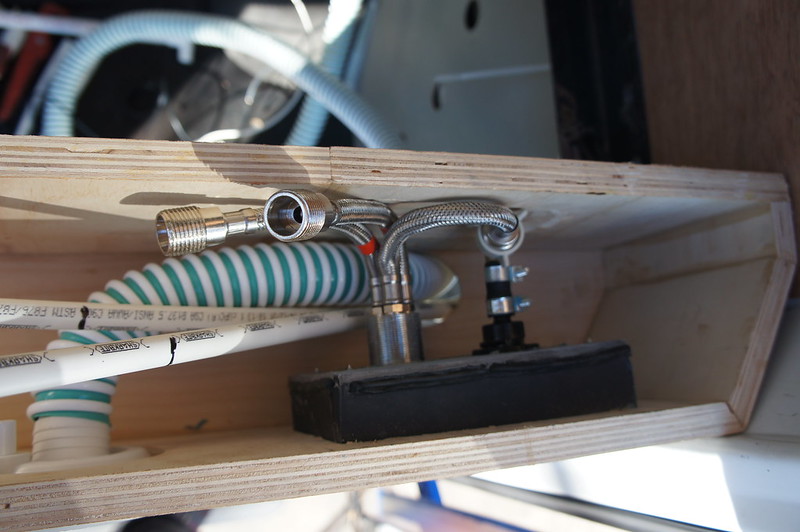
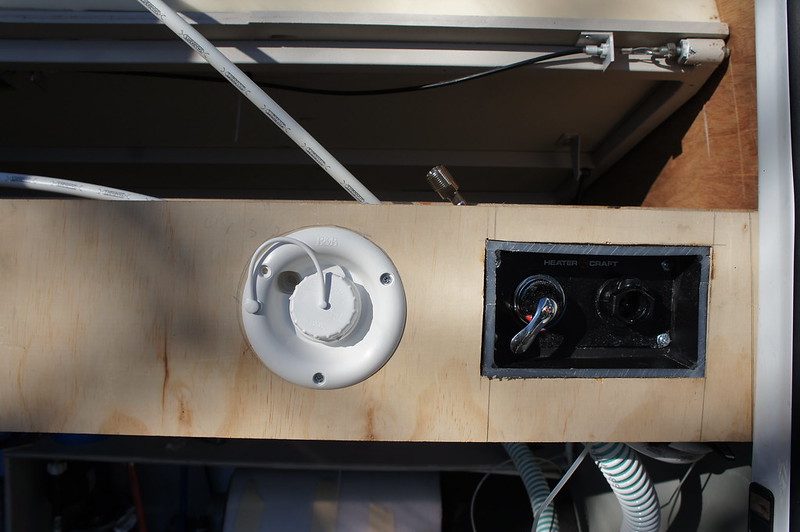
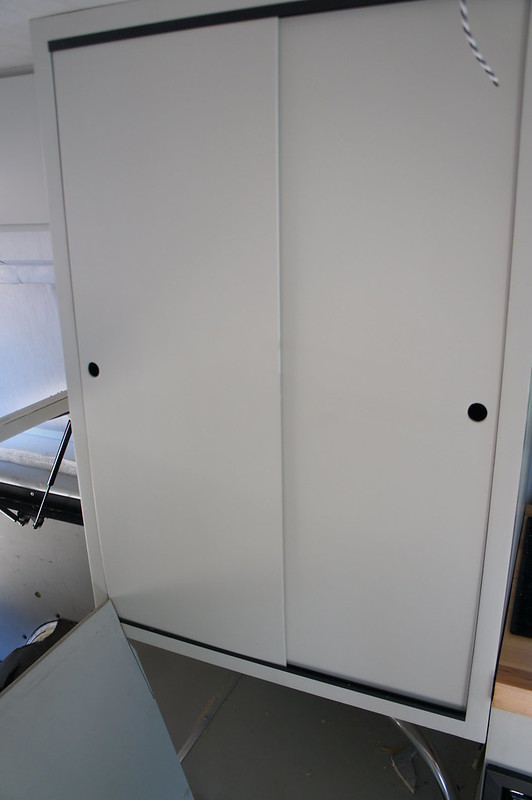
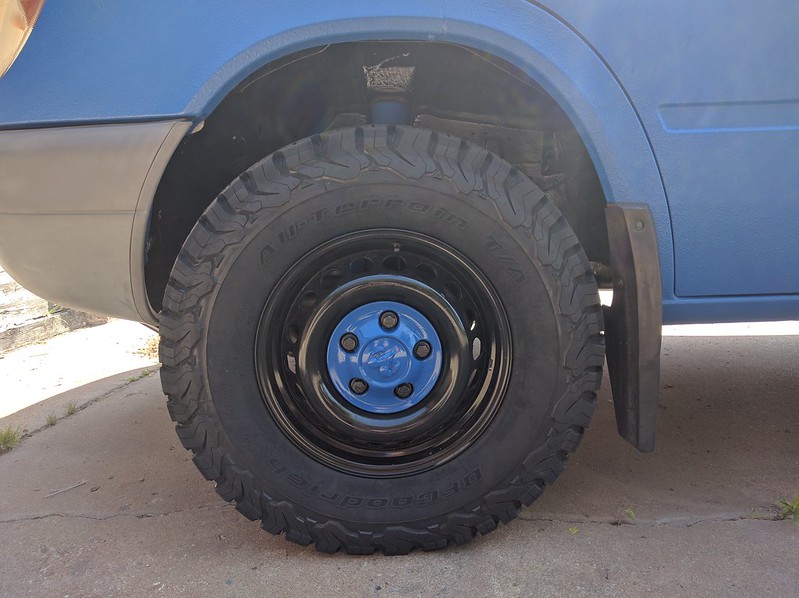
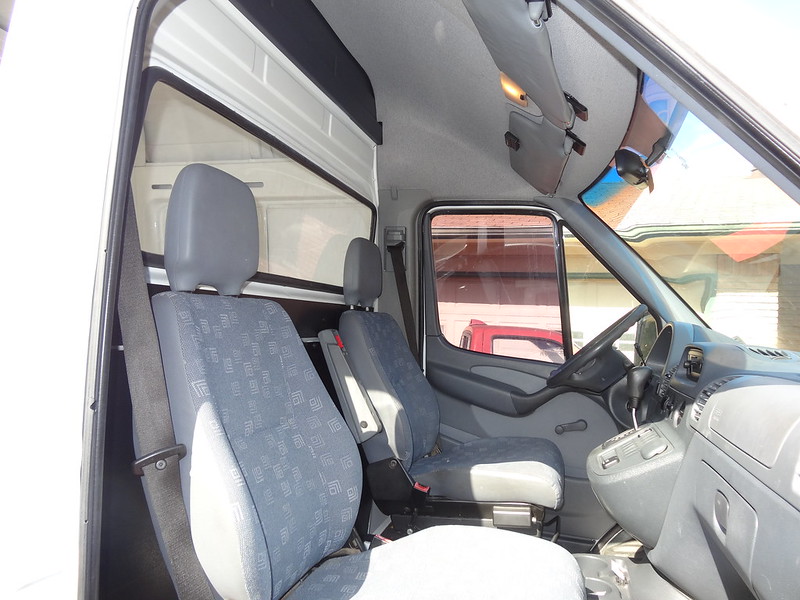
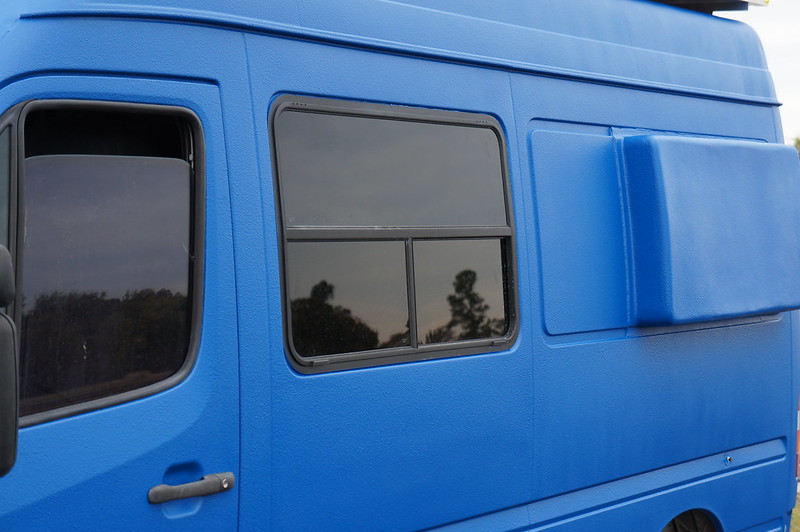
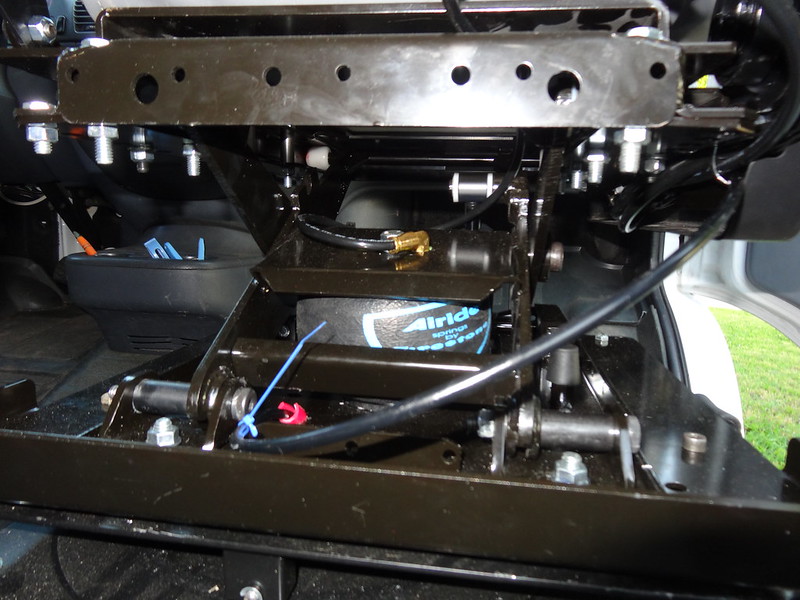
Here are some pictures of how it started.
Lots of photos available on my flickr account below.
https://www.flickr.com/photos/129334372@N04/page1
A lot of the little details are available in the build logs here.
http://sprinter-source.com/forum/showthread.php?t=41215
http://sprinter-source.com/forum/showthread.php?t=36885
Background:
My wife and I are engineers. After working desk jobs for a few years we decided that we wanted to do some traveling. We disliked fly-in fly-out tourism as it places so many limits on schedules and accommodations. Plus, we really like the in-between places. At the core of our personalities, we are overland travelers. Albeit, not as extreme as many (no 4x4 up the mountain side for us).
On a whim we bought a 1982 Vanagon Westfalia which became our home. We drove the Pan-American Highway from Alaska to Panama and back. Details are on our blog here.
After over a year and 60k miles, we were ready for some transportation updates. AC when driving would have been nice, maybe some more headroom as well. After going through the total costs, reliability concerns, and comfort factor we decided on a T1N sprinter for our next home. None of the off the shelf conversions met our needs, and with the costs of customization included we were better off doing the conversion ourselves.
The Purchase:
We stumbled upon a low miles 2004 140” T1N in Florida. A couple of flights and 2 days of driving later we had our next ride in the driveway! Ironically the sprinter cost almost exactly what we sold our Vanagon for. Other than a resonator change in a Wal-Mart parking lot and the crappy paint we have had no issues other than maintenance items on the sprinter.
The Plan:
We are tentatively planning on leaving our jobs in a few months to do a shakedown cruise out west and maybe into Canada. Following that we will ship the van to Australia where will be flying to meet it. We hope to spend a year between Oz and NZ. After that we will do another year somewhere else. Maybe South America?
The List:
Unlike many first time/DIY builds we have a very good idea what our needs are. While we did sacrifice in several areas moving to the sprinter, I think we really have a good conversion on its way.
Some Wife requirements:
Full time, or less than 1min deployable bed
Permanent swivel table
Hot/warm water in less than 10 minutes
Indoor shower (temp or fixed)
Some of my requirements:
Bed length of 73” minimum
72.5” headroom minimum
AUX power for 2 laptops for 2-3 hours, Lights, Fans etc.
Combined requirements:
Sink
2 burner cooktop
Compressor fridge with freezer
4 cubic ft of storage accessible from indoors
30 gallons of water minimum
The Layout:
Given we only needed to sleep 2, and that we had good success with the Westfalia layout we decided to start there. Well, actually I modeled about 4 other layouts for our 140” and all of them were either to cluttered or totally unbalanced weight wise.
Here is what the layout looked like at the very beginning of the build out.
Here are some pictures of how it started.
Lots of photos available on my flickr account below.
https://www.flickr.com/photos/129334372@N04/page1
Last edited:


")