I shared this with FJcruiser(dot)com and I thought I'd share it here too.
"The Ghetto RTT"
a DIY by SwiCago (don't blame me if you get hurt)
I decided to do this project, because I could not justify spending $850(Cheapy RTT) - $1600(Top of line RTT) for only 3-4 times of use per year...even though my wife approved of me buying one LOL...plus I'll be damned if a scorpion is going to sting my MMMMM on the Kokopelli
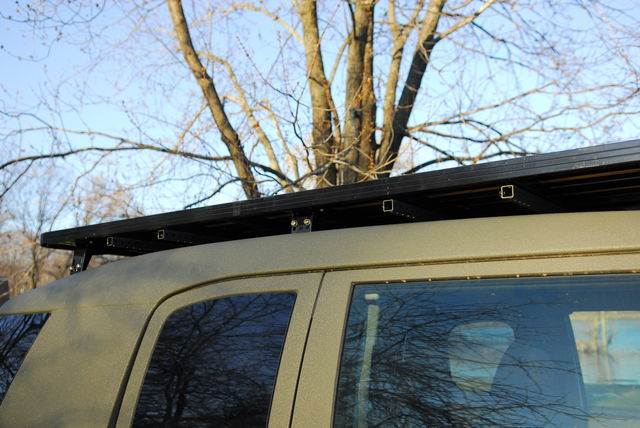
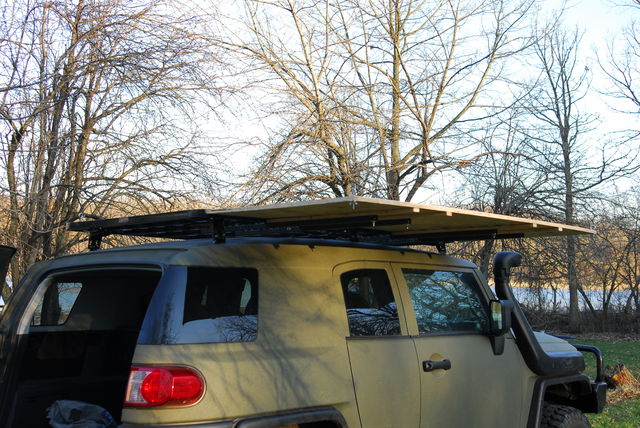
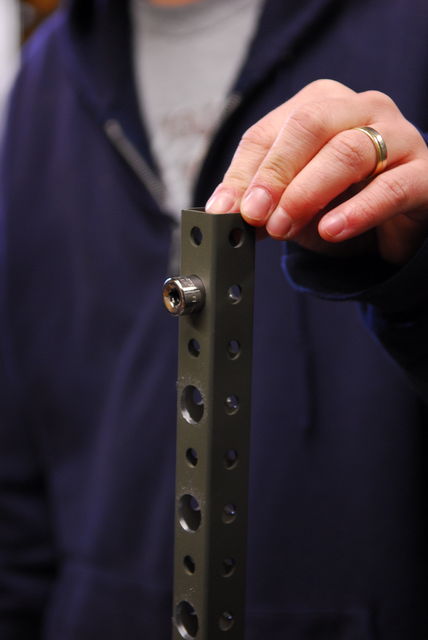
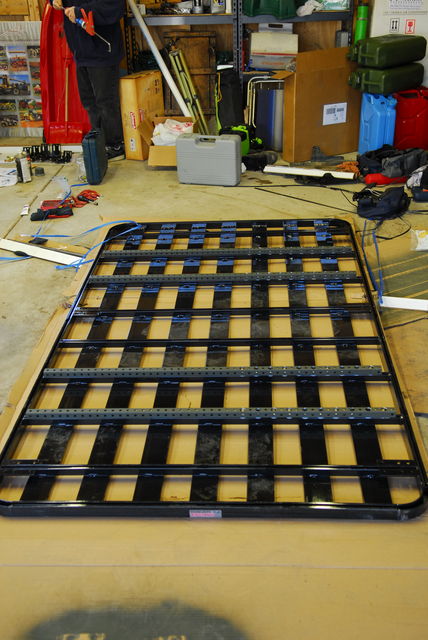
I bought the African outback rack because I saw how versatile it was...what I did not know was that it has track on the bottom side. Because of this, I was able to do the slide out mechanism.
The rack also has track channel on the top to do all sort of configurations and easy DIY products.
All parts to build Ghetto RTT cost ~$100.- + $39 tent = $139 RTT
The rack however is $1100, but is super versatile and 100% Aluminum.
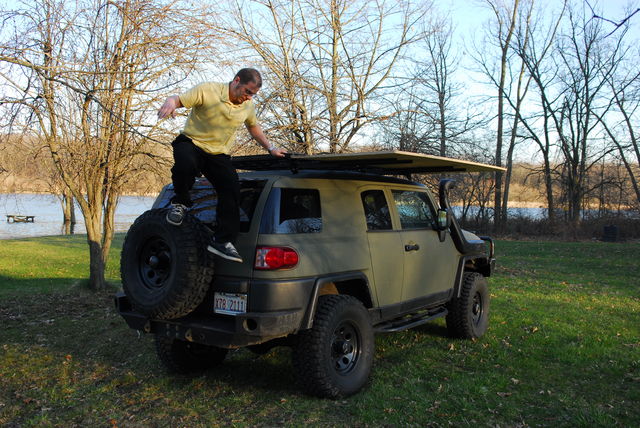
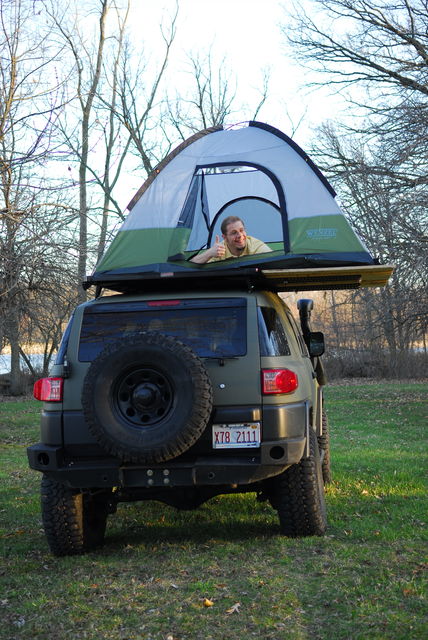
The finished product setup. Setup takes about 8 minutes
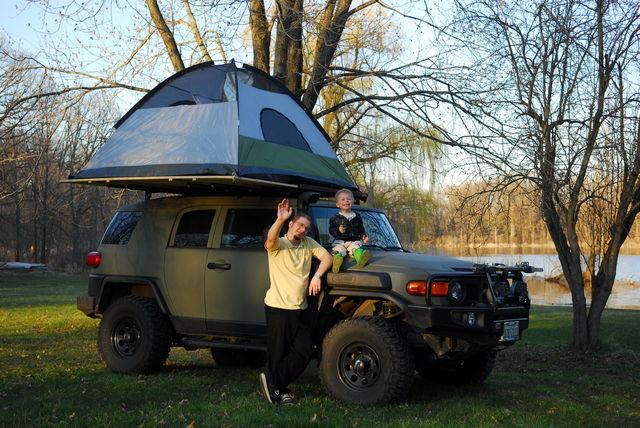
The Setup
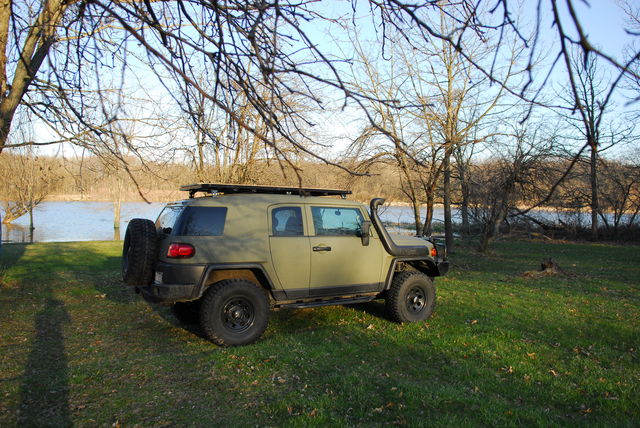
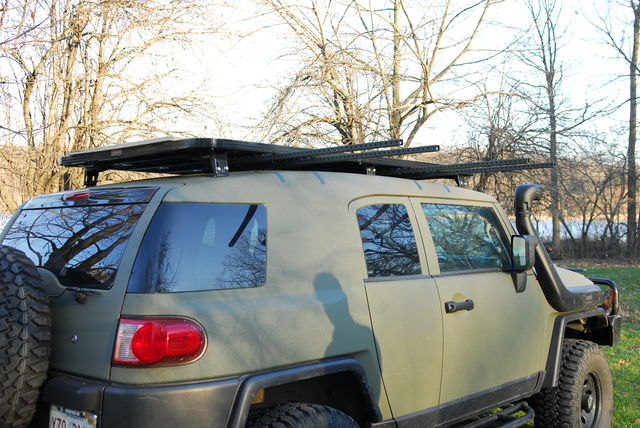
1) An FJ
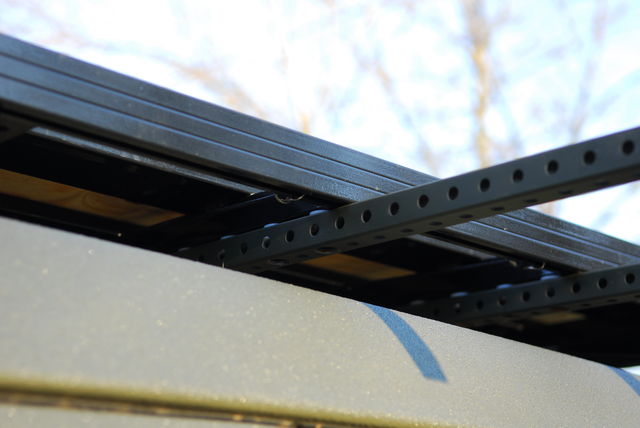
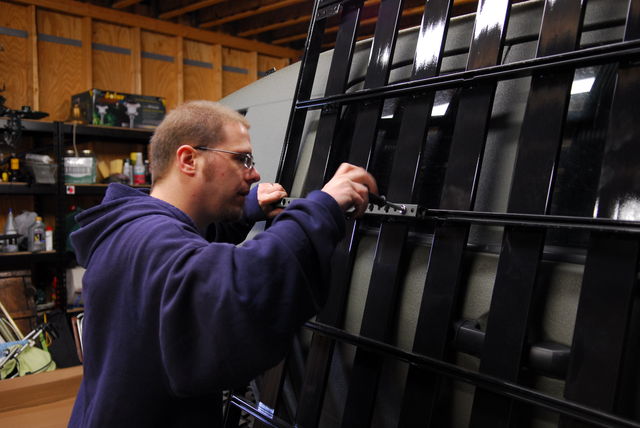
2) Hidden Slide Outs
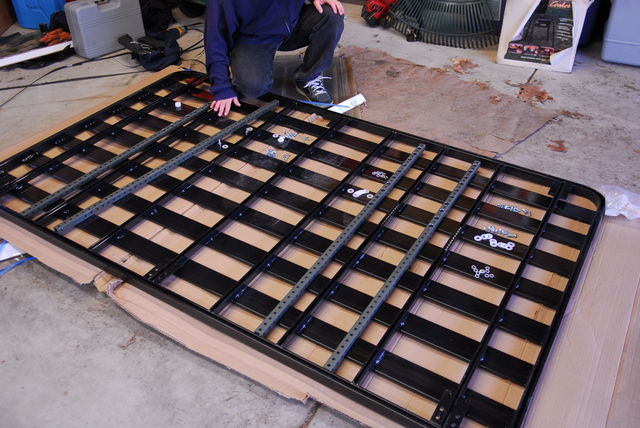
3) Slide Outs out
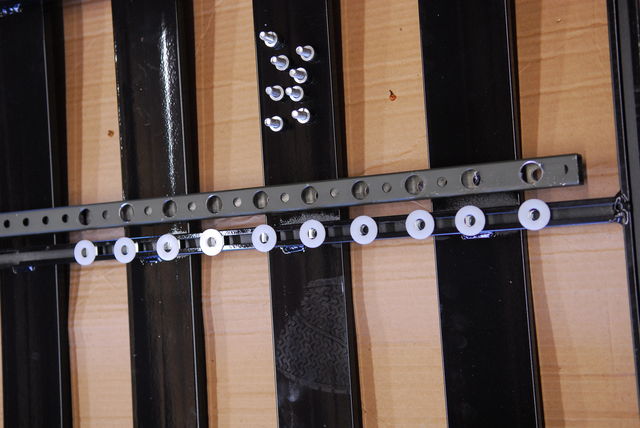
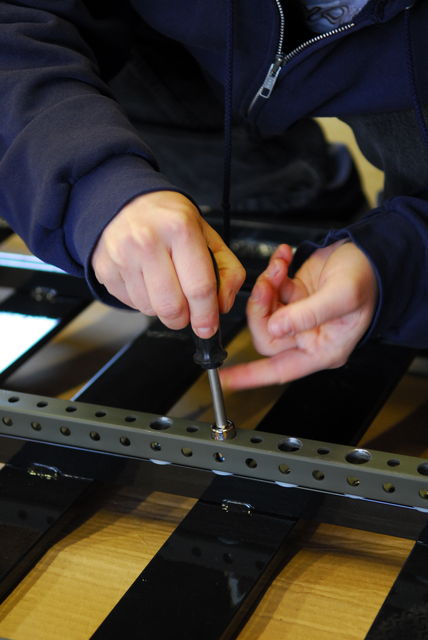
3.1) Close up of slide out
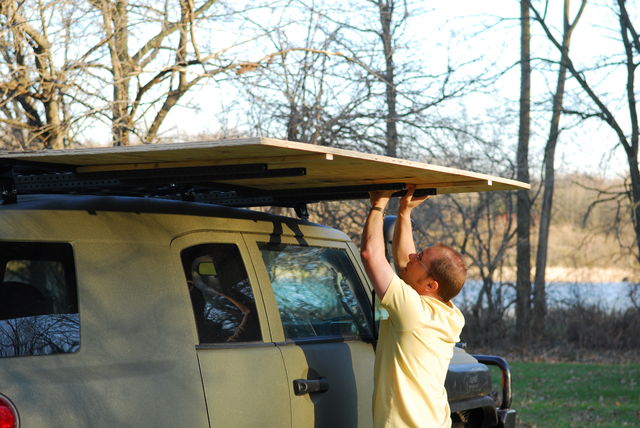
4) A piece of plywood is shifted from the rack onto the slide outs
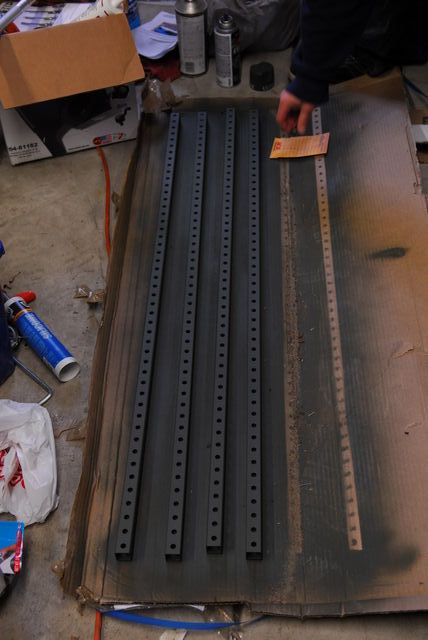
5) Furring Strips are used as shims to level plywood with rack
6) 8x Carriage Bolts and wing nuts are used to secure, 4x EyeBolts used to secure tent on each corner
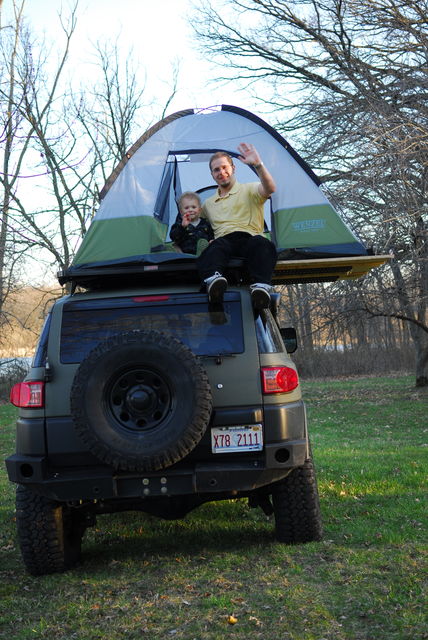
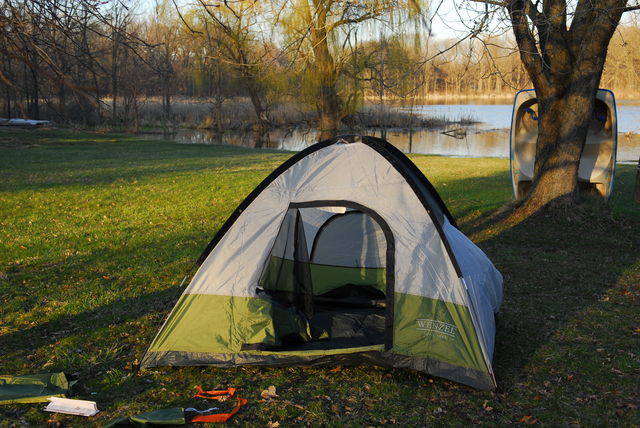
7) Cheap $39 7ft x 7ft tent
"The Ghetto RTT"
a DIY by SwiCago (don't blame me if you get hurt)
I decided to do this project, because I could not justify spending $850(Cheapy RTT) - $1600(Top of line RTT) for only 3-4 times of use per year...even though my wife approved of me buying one LOL...plus I'll be damned if a scorpion is going to sting my MMMMM on the Kokopelli
I bought the African outback rack because I saw how versatile it was...what I did not know was that it has track on the bottom side. Because of this, I was able to do the slide out mechanism.
The rack also has track channel on the top to do all sort of configurations and easy DIY products.
All parts to build Ghetto RTT cost ~$100.- + $39 tent = $139 RTT
The rack however is $1100, but is super versatile and 100% Aluminum.
The finished product setup. Setup takes about 8 minutes
The Setup
1) An FJ
2) Hidden Slide Outs
3) Slide Outs out
3.1) Close up of slide out
4) A piece of plywood is shifted from the rack onto the slide outs
5) Furring Strips are used as shims to level plywood with rack
6) 8x Carriage Bolts and wing nuts are used to secure, 4x EyeBolts used to secure tent on each corner
7) Cheap $39 7ft x 7ft tent

")