JamesDowning
Explorer
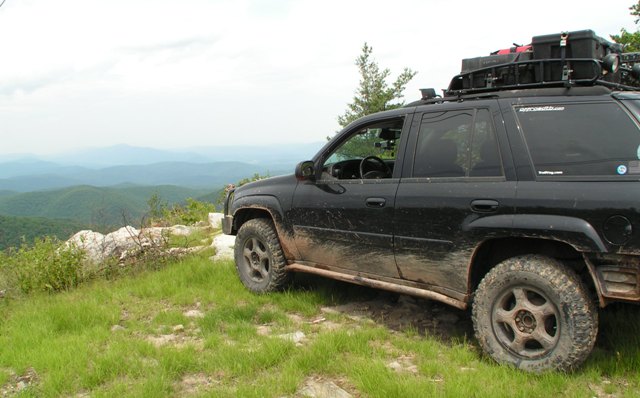
Had some fun this weekend and got to test out a couple new components.
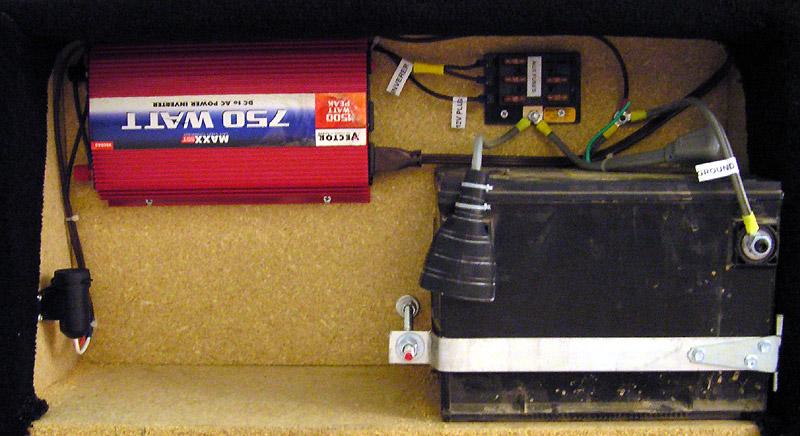
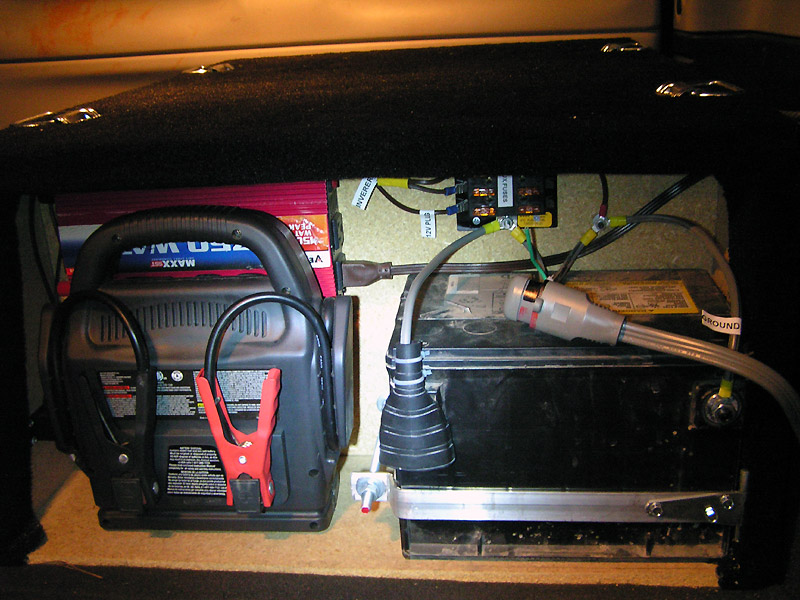
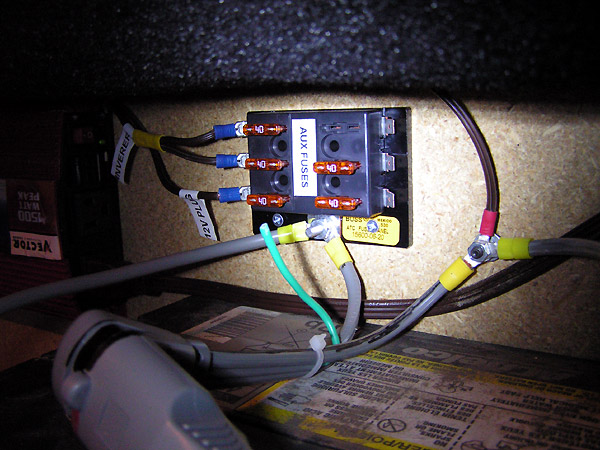
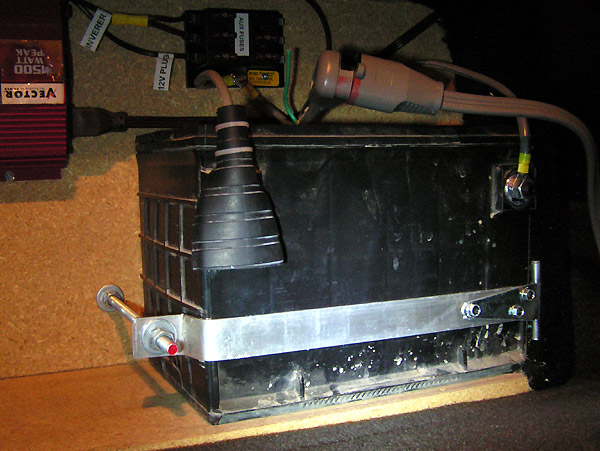
First of all, I had to upgrade the battery, due to the new winch. I decided to go with a Diehard Platinum after reading many reviews here. It seems they are made by the same company as odyssey. I'm considering using the old battery as a secondary, and place it in the rear. Any concerns with putting a lead acid battery inside the passenger compartment?
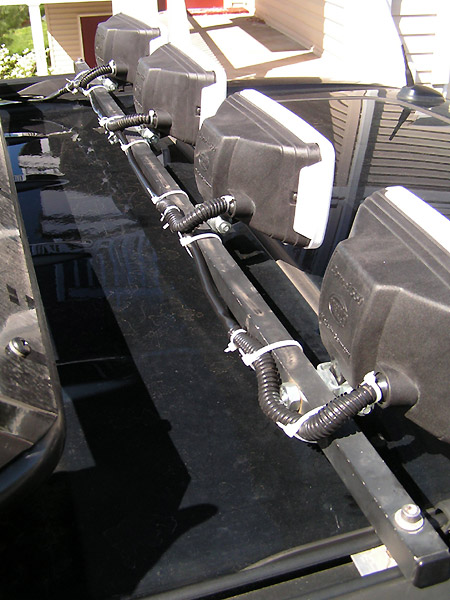
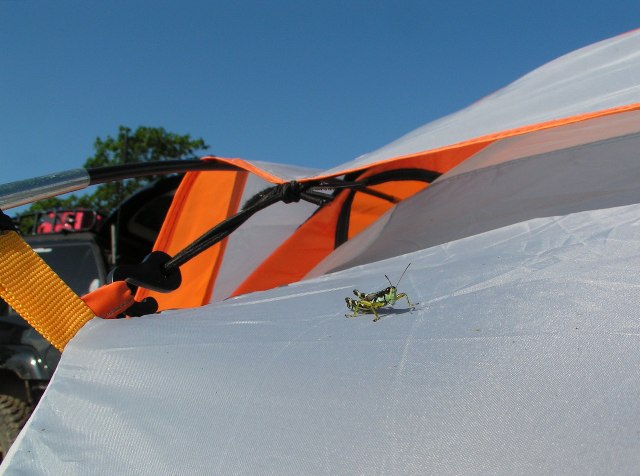
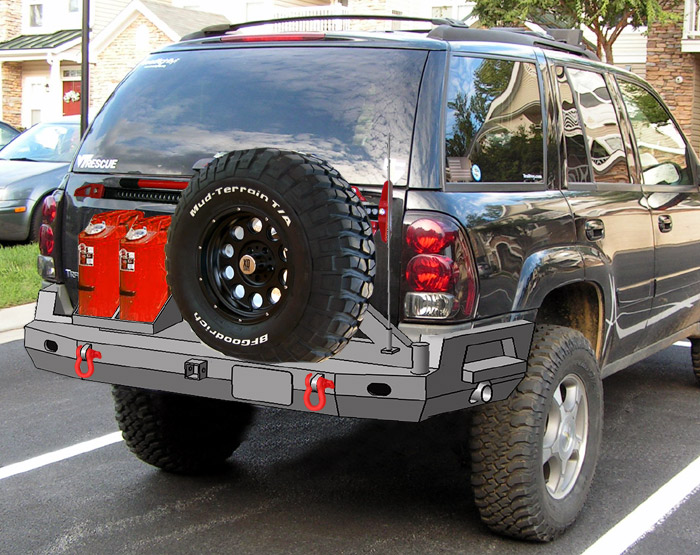
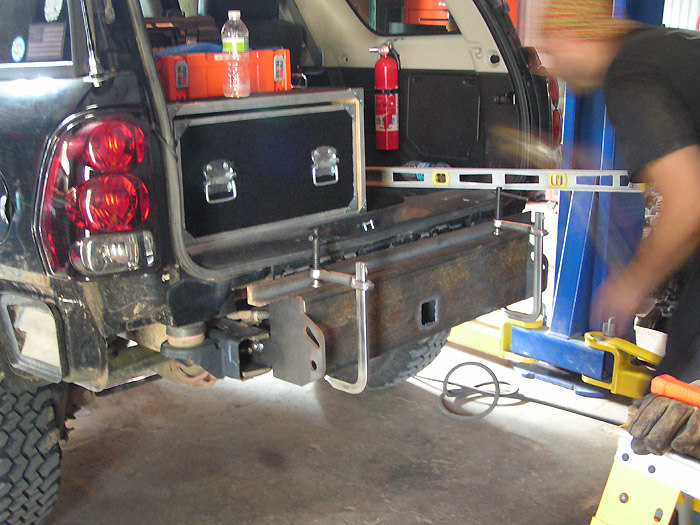
Second, I got to try out one of the first BajaRack jerrican holders. Below is a quick picture from when I was getting everything laid out:
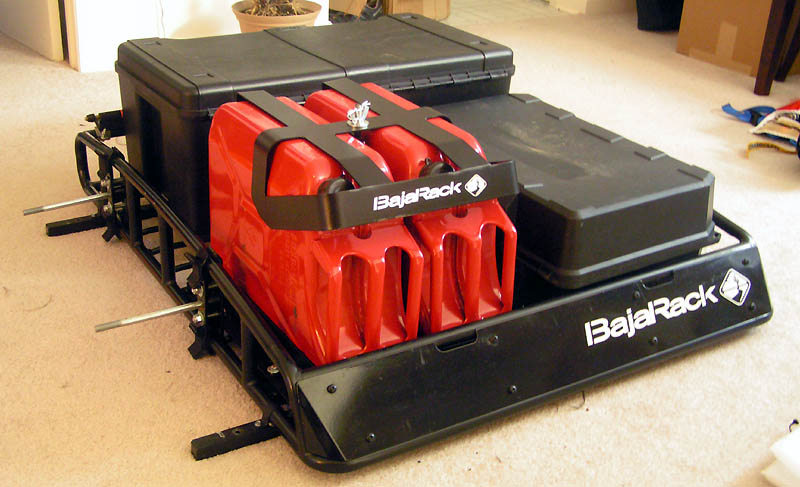
The system seems great overall, but there were a few minor tweaks that I'll be recommending to Sergio. When the cans are removed, the base is only about 2" tall and stays out of the way. Great design. If I didn't get it free, I'd certainly buy one!
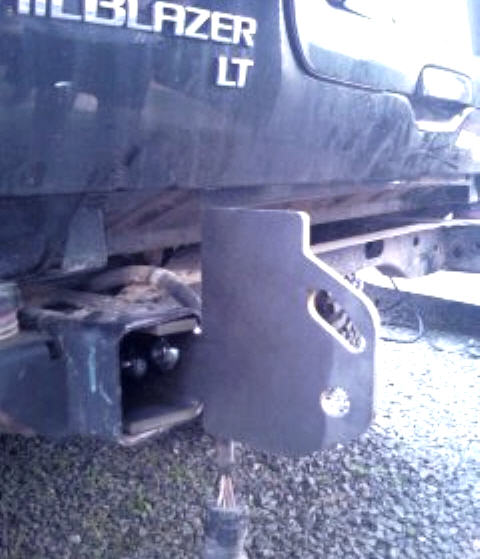
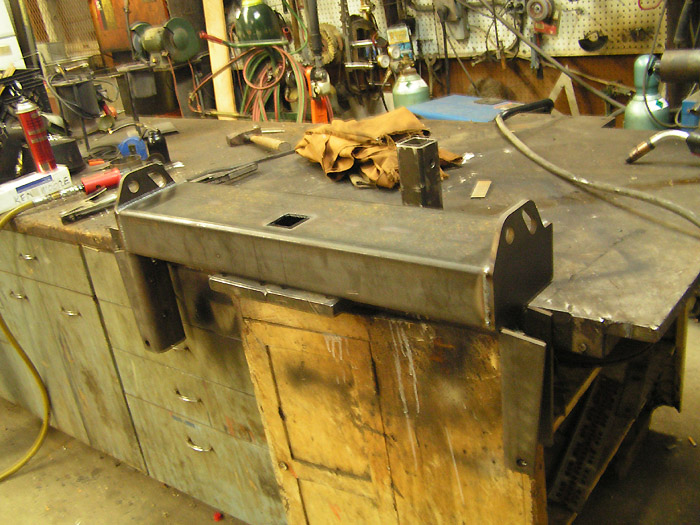
Lastly, the winch finally came in! It's a superwinch LP8500. It's on the budget side of things, but once I install a quick connect for the electric lines and some synthetic winch rope, it will be perfect for me.
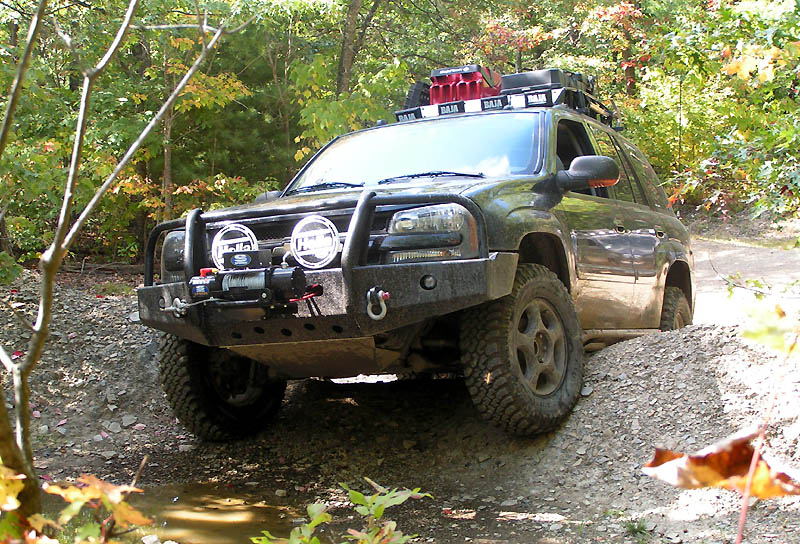
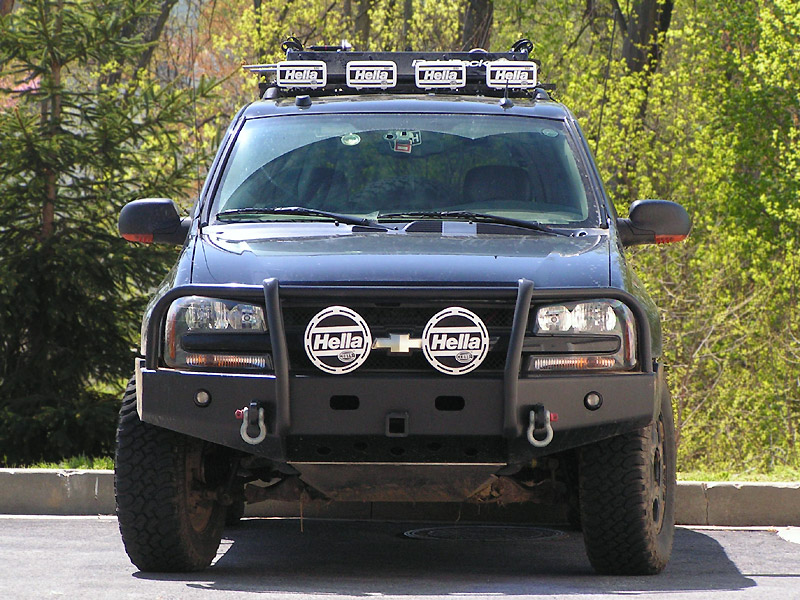
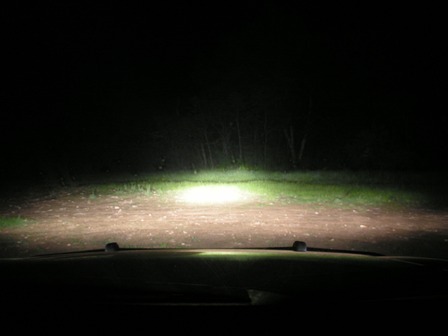
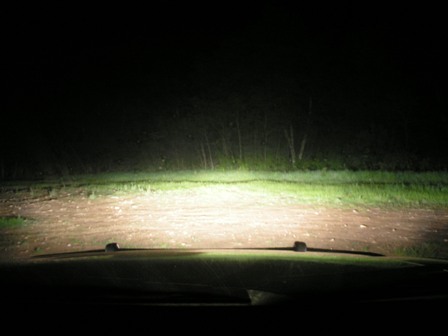
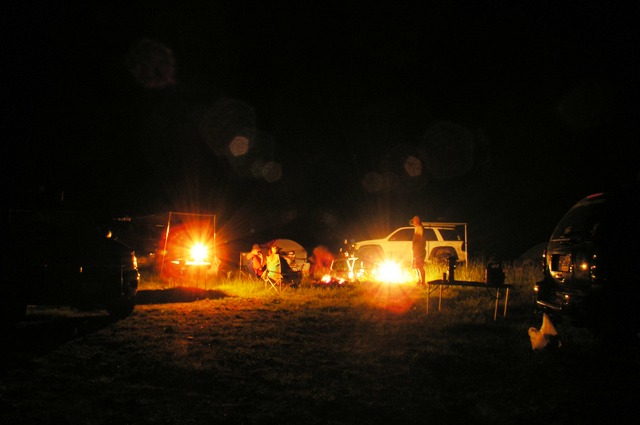
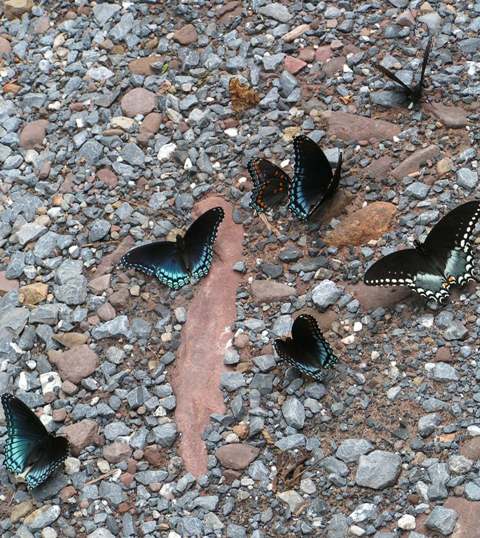
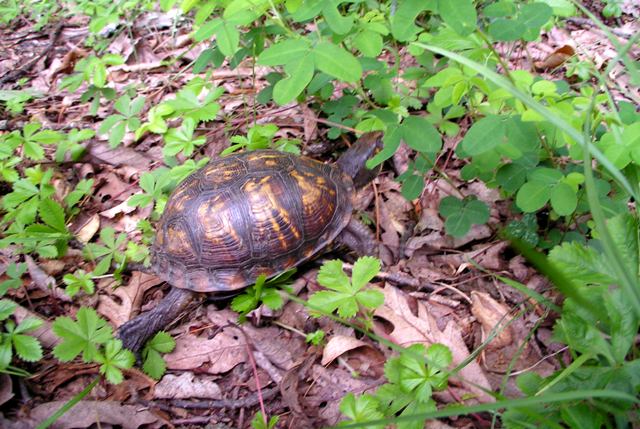
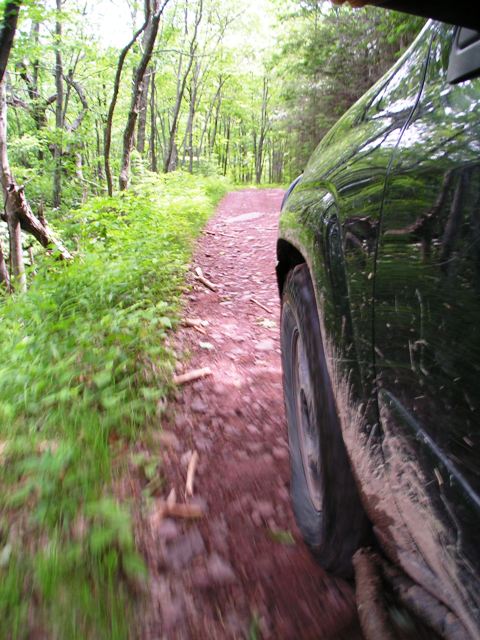
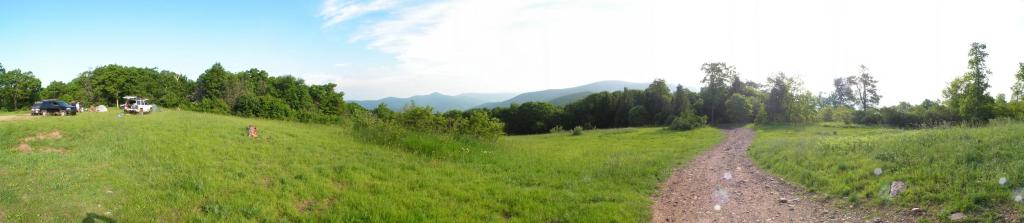
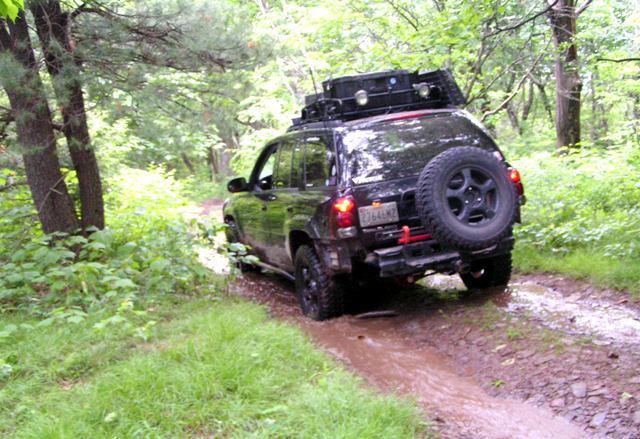
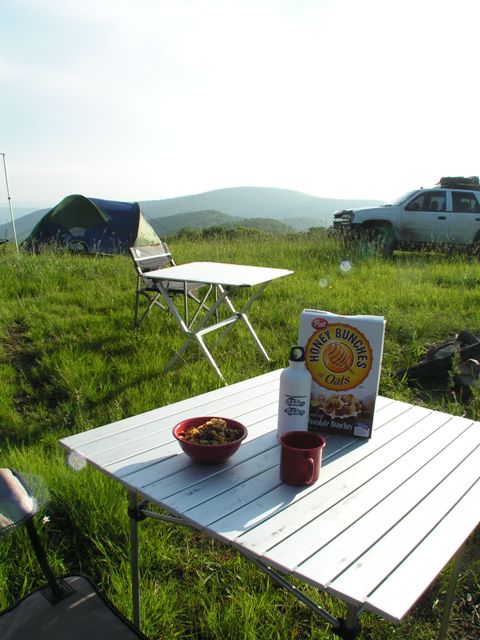
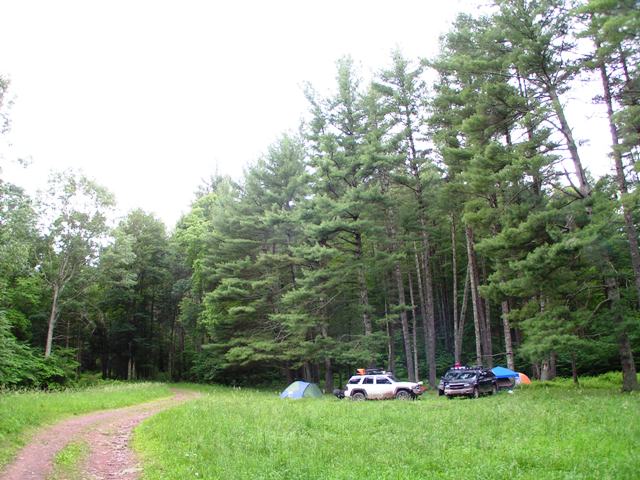
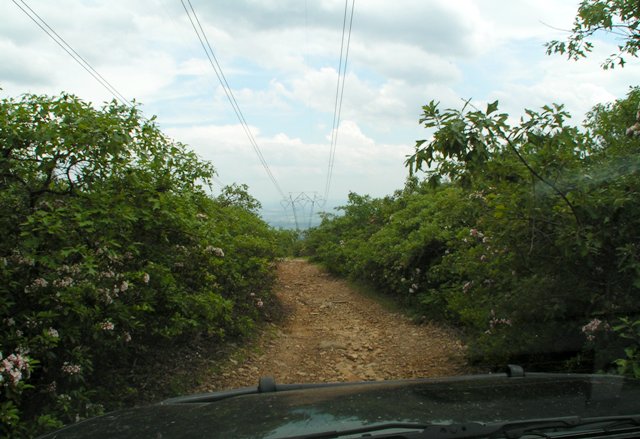
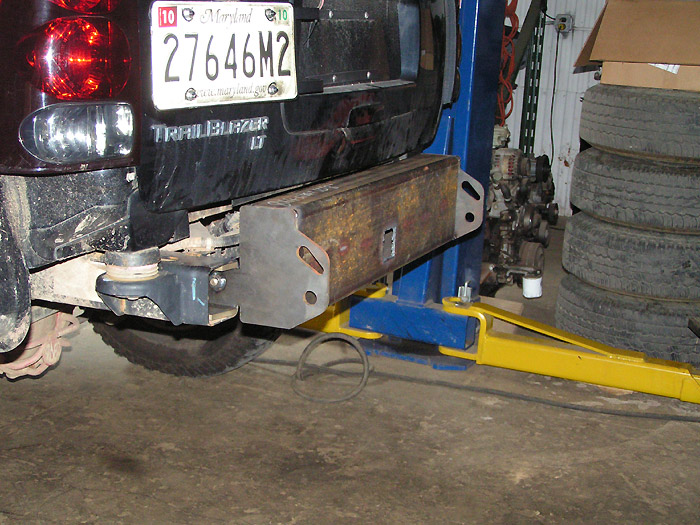
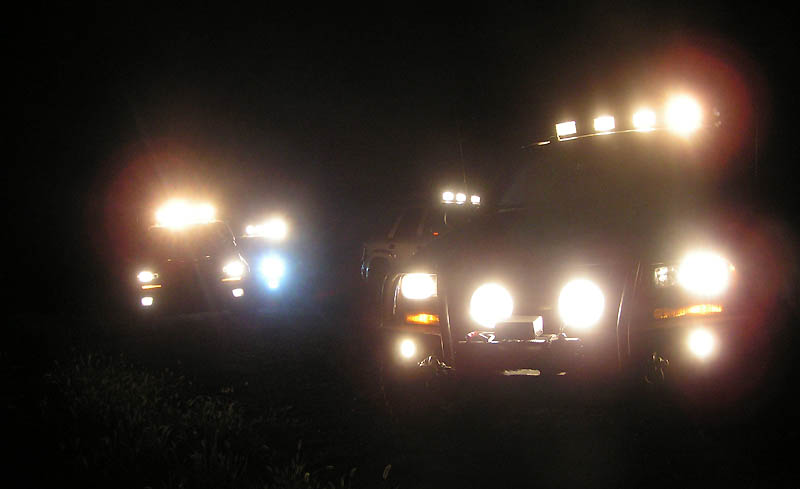
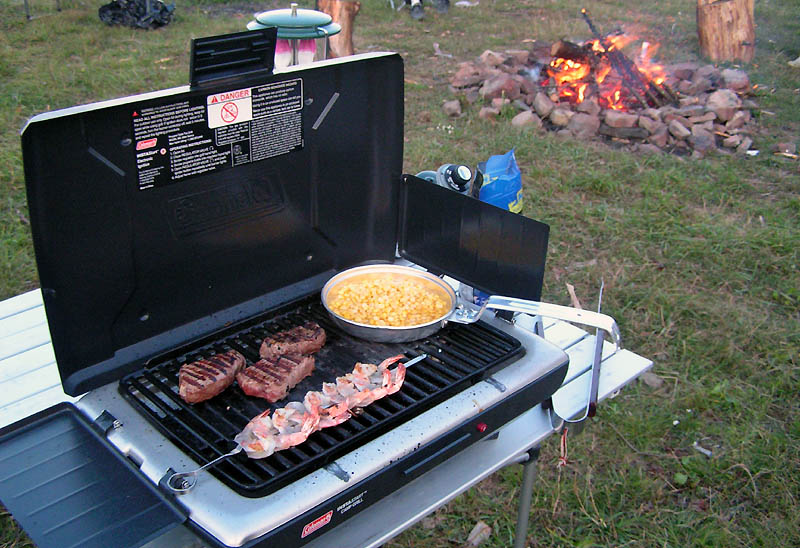
Just for your enjoyment... here are a few more pictures from the weekend:

Cheers!
First of all, I had to upgrade the battery, due to the new winch. I decided to go with a Diehard Platinum after reading many reviews here. It seems they are made by the same company as odyssey. I'm considering using the old battery as a secondary, and place it in the rear. Any concerns with putting a lead acid battery inside the passenger compartment?
Second, I got to try out one of the first BajaRack jerrican holders. Below is a quick picture from when I was getting everything laid out:
The system seems great overall, but there were a few minor tweaks that I'll be recommending to Sergio. When the cans are removed, the base is only about 2" tall and stays out of the way. Great design. If I didn't get it free, I'd certainly buy one!
Lastly, the winch finally came in! It's a superwinch LP8500. It's on the budget side of things, but once I install a quick connect for the electric lines and some synthetic winch rope, it will be perfect for me.
Just for your enjoyment... here are a few more pictures from the weekend:
Cheers!