Rust Repair / Floor replacement on old Rig...

Metal Twister

Highly Motivated
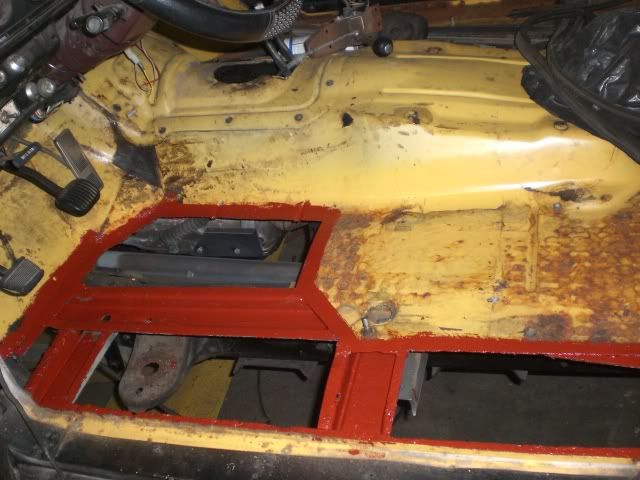
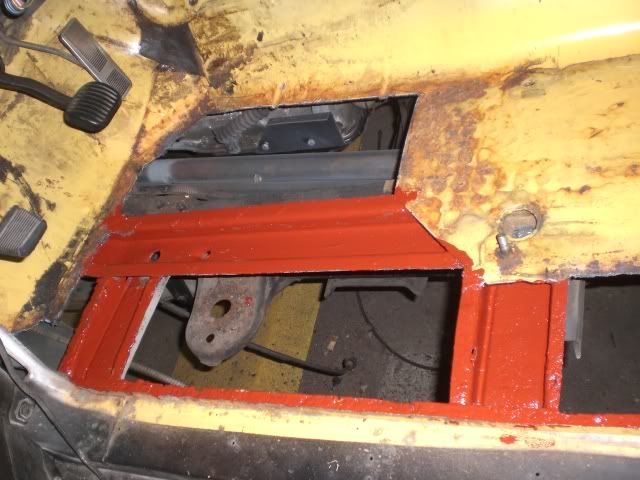
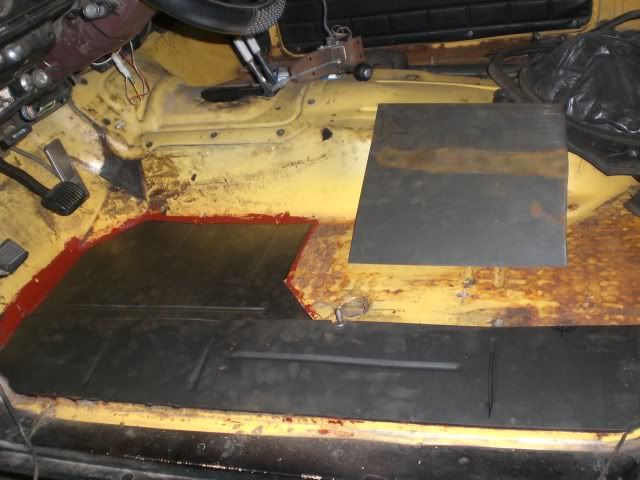
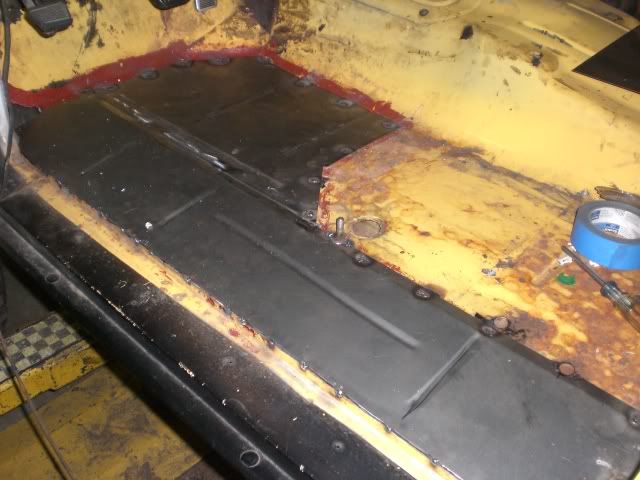
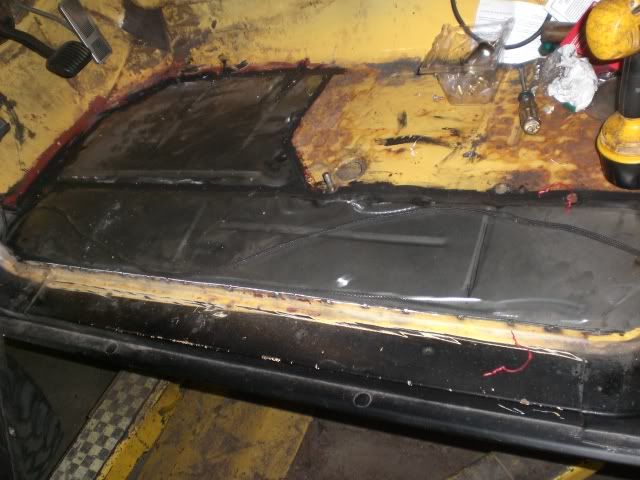
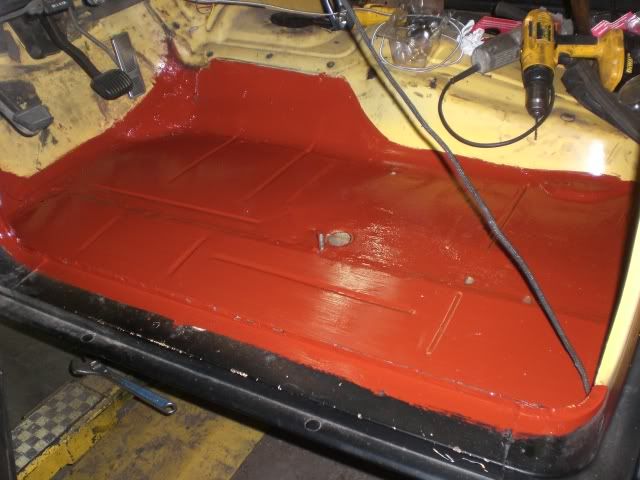
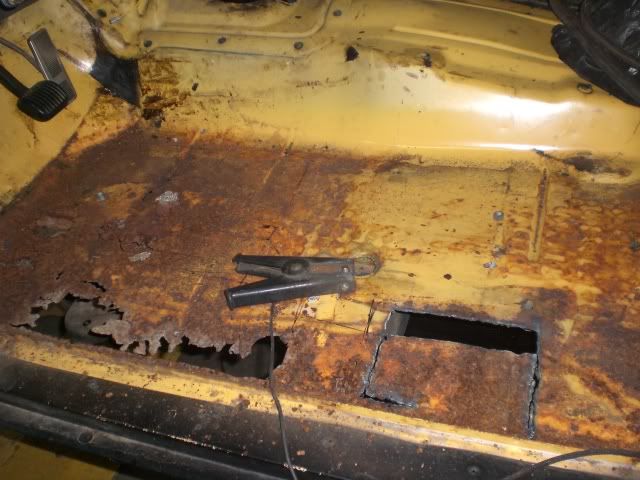
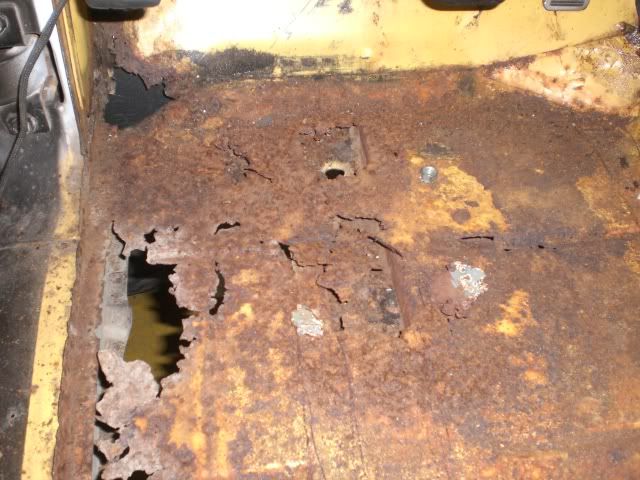
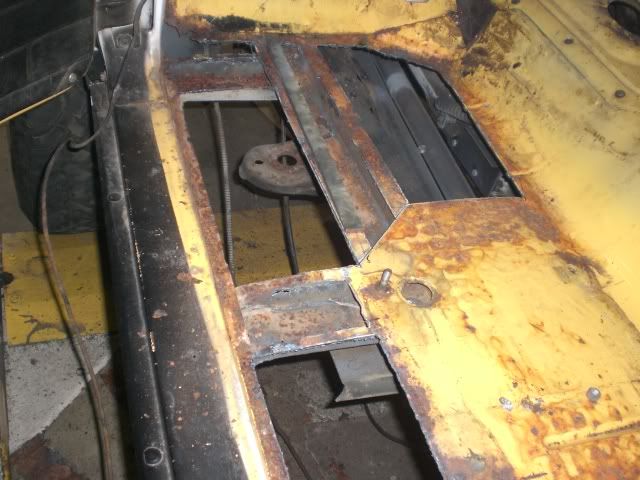
I found my self staring in disbelief of just how far gone the floor was gone after I pulled up the mat... There was only one thing to do, fix it! The vehicle is a 1974 Jeep FSJ California car. LOL
zephyr108.jpg


zephyr107.jpg


zephyr109.jpg


zephyr110.jpg
 
Last edited:

Metal Twister

Highly Motivated
zephyr113.jpg


zephyr111.jpg

A little rust control here...

zephyr114.jpg


zephyr116.jpg

Be sure to trim the replacement about 1 inch larger all the way around for Plug welding.
 
Last edited:

Metal Twister

Highly Motivated
zephyr115.jpg


zephyr119.jpg


zephyr121.jpg


Its straight forward. But if there are any questions Id be more than happy to answer them.
 
Last edited:

soonenough

Explorer
Nice work! A few questions if you don't mind:
1. What product is that you're using for rust control (the red stuff I see in the pics)?
2. Will that stuff contaminate the weld pool if it comes in contact with it?
3. What are your thoughts on flanging the lip of the patch panel so it sort of drops into the existing hole, and then stitching it in all the way around (vs. holes and plug welds)? I'm a noob at panel replacement, but that's the way I did it on a project car of mine.
 
Last edited:

Metal Twister

Highly Motivated
Nice work! A few questions if you don't mind:
1. What product is that you're using for rust control (the red stuff I see in the pics)?
2. Will that stuff contaminate the weld pool if it comes in contact with it?
3. What are your thoughts on flanging the lip of the patch panel so it sort of drops into the existing hole, and then stitching it in all the way around (vs. holes and plug welds)? I'm a noob at panel replacement, but that's the way I did it on a project car of mine.

The red stuff is called Rust Destroyer. Picked it up at Dixieline lumber.
zephyr123.jpg


Yes it does mess up the welding a bit. What I do is poke the holes in the new metal then lay it down where its going to be welded and mark the holes with a sharpie, then sand off the marks through the rust destroyer to bare metal. replace the top new material in position and plug weld it.

As far as doing a Joggle and setting the floor flush... guess it just depends on how much work you want to put it into it. It would look a bit more professional but mine is going to get rhino lined and it all just disappears. There is no strength difference or enough to make a difference to me. The bead lines gives a lot of support though.
 

Forum statistics

Threads
185,817
Messages
2,878,508
Members
225,378
Latest member
norcalmaier
Top