out with the old in with the new

westyss

Explorer
I just looked through the Photos of your trip on the Whipsaw trail. Really good to see your Canter being put through it's paces. Some really good angles.

Dan.

Yeah it was a good trip and there were many pics taken at all angles but I did not have a camera with me on that trip. It was a great test to see what the truck could do in a semi controlled environment, but I dont think I will be doing it again as my truck was in the upper tree branches most of the time and now I have installed solar on the roof and they just might get ripped off of there!
 

troymoth

New member
Awesome build! Just finished all 58 pages... And great to see it from BC! I'm on Vancouver Island and in pre-pro for a very similar build. Do you have any more pictures of the jacks that raise the roof or the system you used for that? Any tips would be hugely appreciated!
 

westyss

Explorer
Awesome build! Just finished all 58 pages... And great to see it from BC! I'm on Vancouver Island and in pre-pro for a very similar build. Do you have any more pictures of the jacks that raise the roof or the system you used for that? Any tips would be hugely appreciated!

Sorry for the late reply on this.......the actuators are pretty simple, Firgelli Automations are where they are from and they have many lengths and weight options available, the only issue I had was the lower rated ones after several years use would start to "wind down" and not hold the roof up without a prop. I went to a higher capacity rated one and I that solved the problem, they seem to me to be the exact actuator other than what I assume to be a lower pitched screw jack internally, all exterior specs seems exactly the same, obviously the higher rated ones will be slower.

I use a very sophisticated technique to have them move at the same rate and that is start with extra wire and if it lags a bit cut a few feet of wire off and reconnect it, conversely you can add wire to slow it down. Mine are pretty equal at this point. :D
 

heimbig

OnTheRoadAtLast
So you are saying to undersize the wire to balance the lifts? weird but brilliant. So long as it doesn't melt :)
 

IdaSHO

IDACAMPER
In an odd way, yes. As length has a direct correlation to resistance.

That is pretty clever, and it makes perfect sense. :)

heimbig, I just notice your sig states Pullman

I'm right across the border in Moscow
 

westyss

Explorer
So you are saying to undersize the wire to balance the lifts? weird but brilliant. So long as it doesn't melt :)

Nope, not undersize the wire as in diameter but just increase or decrease the length, you know have voltage drop increase or decrease.
 

sarconcepts

Adventurer
In theory, you should provide all four actuators with the exact same length of the same gauge wire. The closer actuators will just have wire coiled up at their base.
They did this for the wall street traders, providing the exact same length wire to every company's server within this one huge room, no matter how close or far it was from the front door, so no company had a micro-second advantage over another company when it came to making computerized money transfers.
Yves, have you timed your four corners down to the micro-second & achieved perfect calibration!
 

westyss

Explorer
In theory, you should provide all four actuators with the exact same length of the same gauge wire. The closer actuators will just have wire coiled up at their base.
They did this for the wall street traders, providing the exact same length wire to every company's server within this one huge room, no matter how close or far it was from the front door, so no company had a micro-second advantage over another company when it came to making computerized money transfers.
Yves, have you timed your four corners down to the micro-second & achieved perfect calibration!


Ha! yeah right, that sounds like me for sure! No, only one was slower than the rest and ended up cutting as much wire as I could to speed it up, its still slightly slower than the other three actuators. I did start with those wires exactly the same length, very ghetto but works well, is about as simple as it gets!
 

westyss

Explorer
Time for a little update:

This was my attempt at building out a folding step for my truck, it didn't work out even though it looks sorta OK.


Setting it up and working on the geometry of it all.

29931354234_43b2559fb1_c.jpg


I put up some edging on it and beefed it up some, made up the support brackets, this was an idea I got from a Coleman tent trailer and thought it would be a cool way to have steps that fold down and not carry, level and put steps out like I have been, but........

30562289515_94ca046aca_c.jpg


It folds up pretty good, brackets fold up out of the way.
30474824211_18093f0730_c.jpg


29928935643_e3cd6bce08_c.jpg


Sits snug up against the door and all is good but then stepping on it felt a little week and I jumped on it and the ally bent a bit so it still needs beefing up. Also needs a plate to cover the crap on the back so still some work to do.

30526566956_60b7a7585b_c.jpg


After a while I kind of gave up on it, I lost interest and needed to get some more important items fixed up so we could use the camper for the summer so it was removed and sits in a corner waiting for me to get back to it.

29928982653_aaed47884b_c.jpg
 
Last edited:

westyss

Explorer
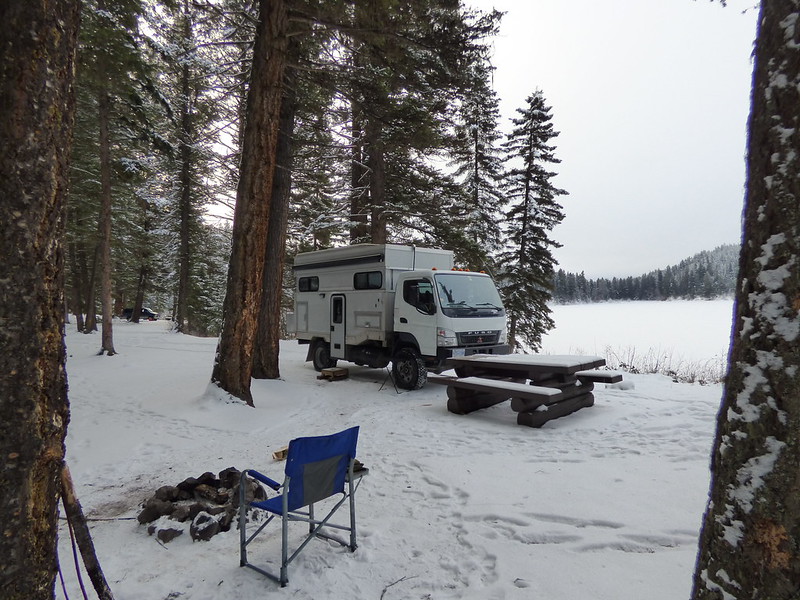
During the winter we got together with a couple of other rigs for a winter camping trip, it normally doesnt get that cold around but that weekend it dropped to -17 Celsius! Which would be our coldest camp out that we have had the truck on. We struggled to keep the camper warm all over , just not enough air circulation behind all the cabinets low down, as a result our water pipes froze up overnight and I had to warm them up to get water, but what was worse was that the bottom of our water tank froze and when it did some pockets or voids in my epoxy work filled with water and expanded when frozen and unknown to us for many months later that it created a tiny water leak just behind the shoe storage that sits next to the tank. I guess it leaked from then on for months and never enough to actually show up but it did find some spots that were not well epoxied and got into the plywood layers and started to rot the wood away, major disappointment for me but whatever, get it fixed!
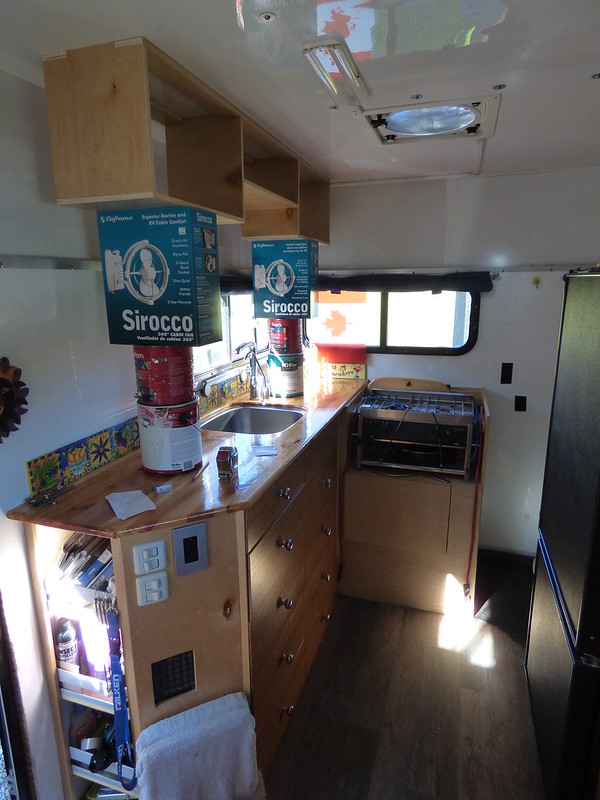
The good was that I got to really do some mods and clean up the electrical.


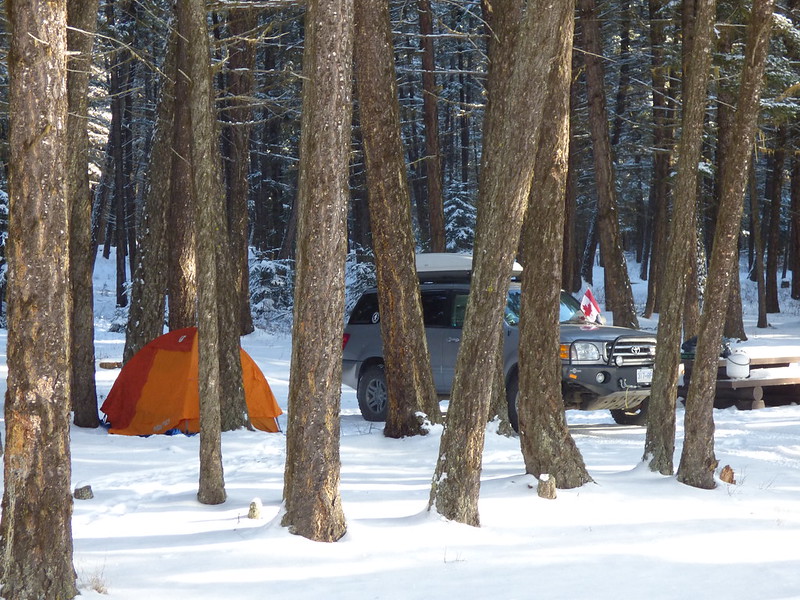
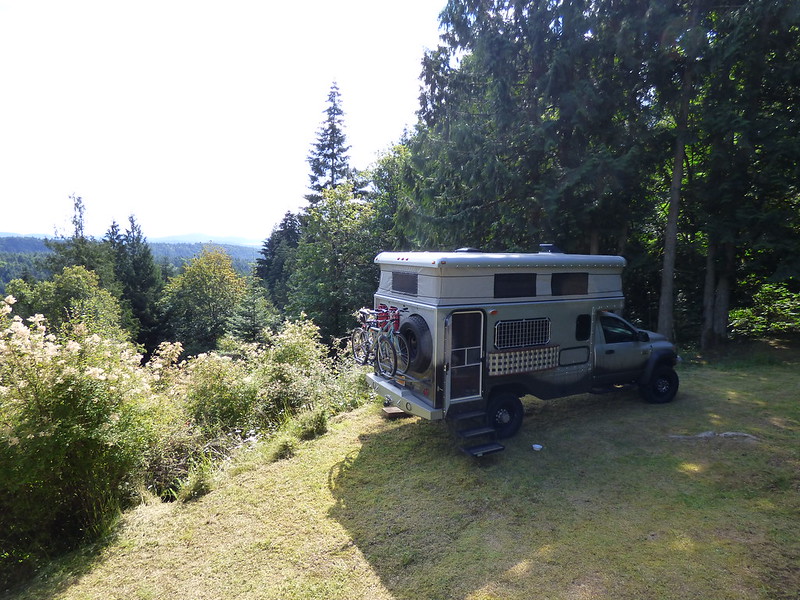
Our winter camping trip.

30244434070_dd38d7a5ff_c.jpg


And one of the guys actually tented it! We are too wimpy for that now.

30506510286_41d362aa5a_c.jpg


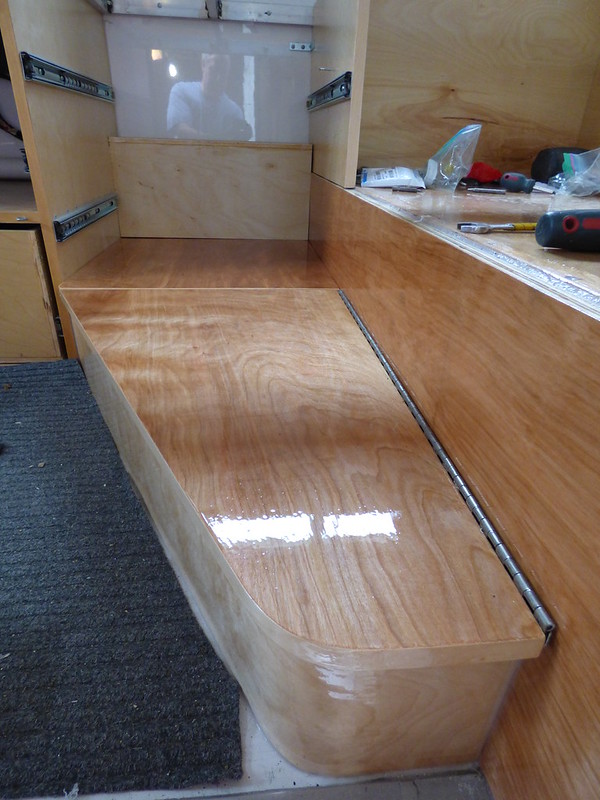
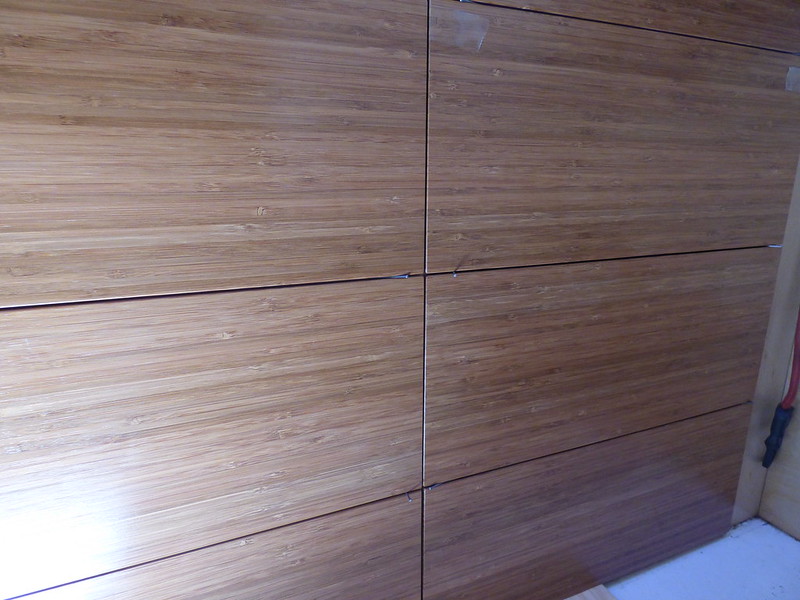
The tank repair went well, I should mention that it was only the big main water tank side that rotted, the rest were good and I did not replace any other parts, they were just filled and re epoxied for a smooth finish, this time the panel was completely sealed up with epoxy prior to assembly and all interior walls were worked smooth with many coats sanding between coats and eliminating all voids where water could sit.

29919340684_cb623dd63c_c.jpg


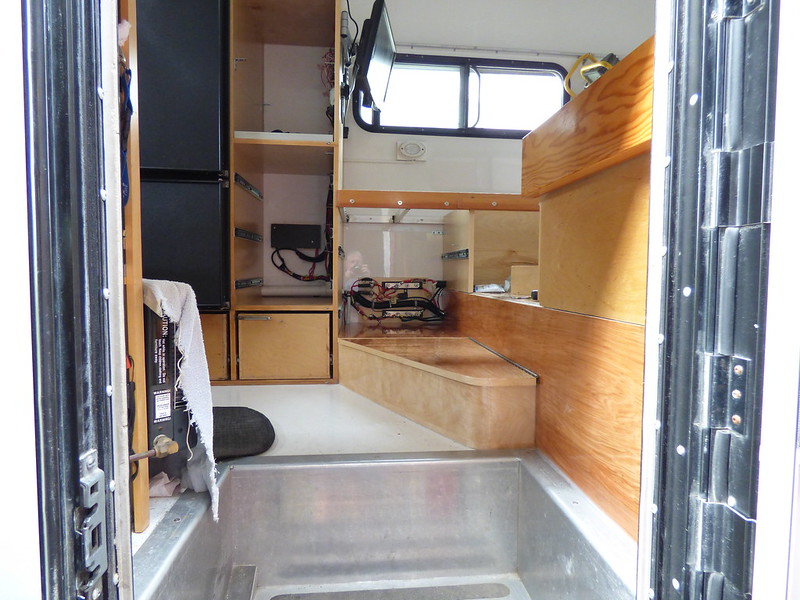
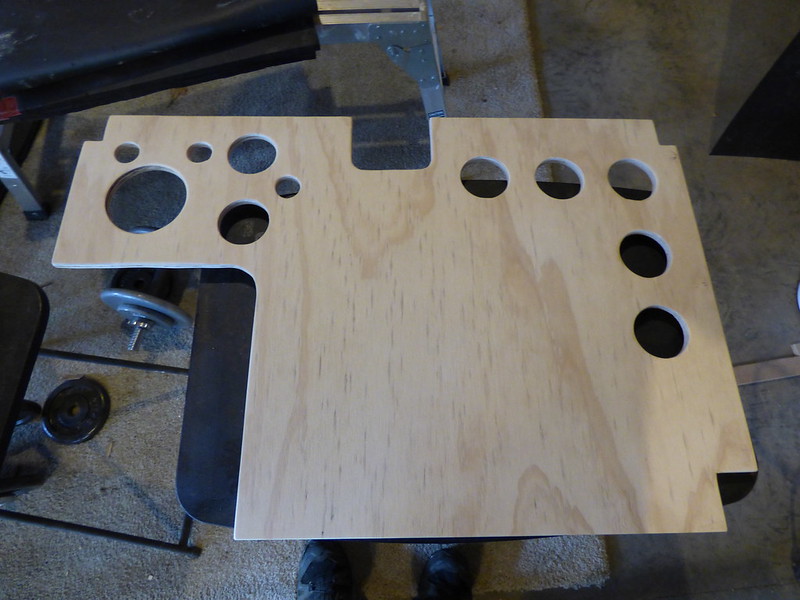
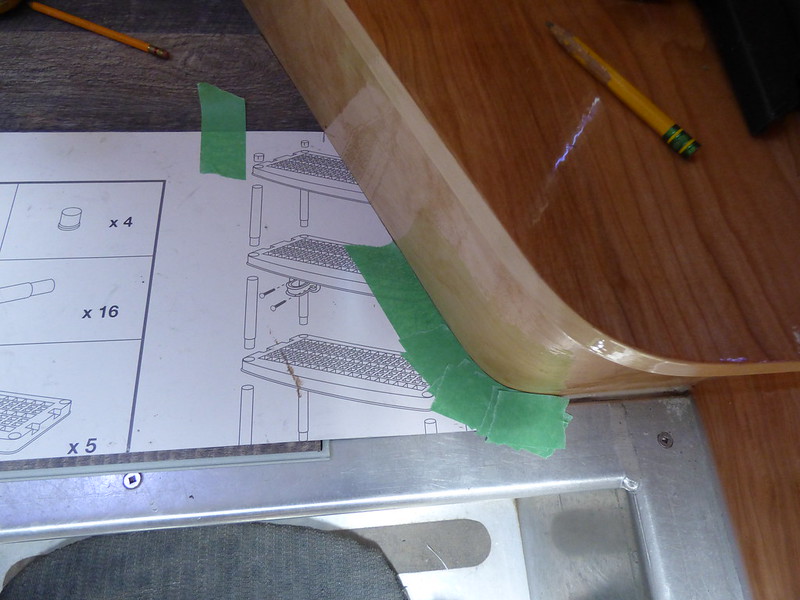
Once the water tank was complete I redesigned the shoe storage making it bigger and wider.

30513640096_82e6991bf2_c.jpg


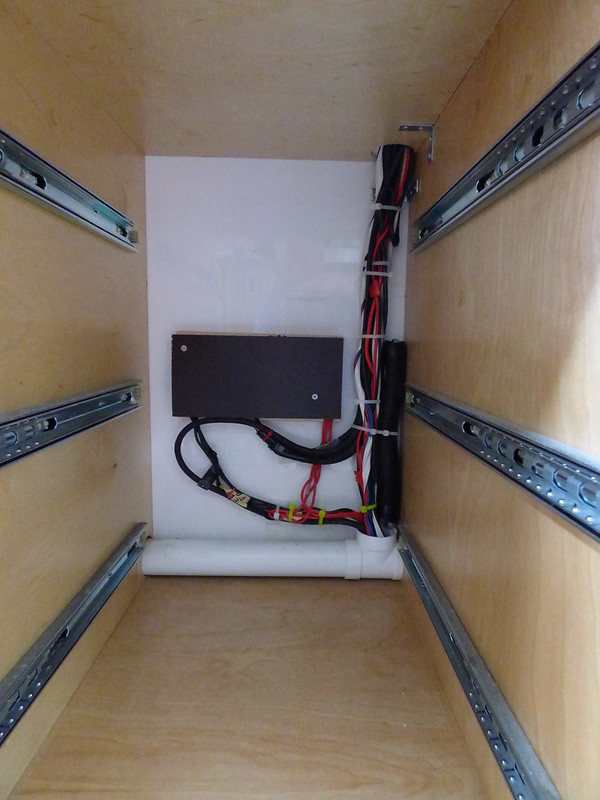
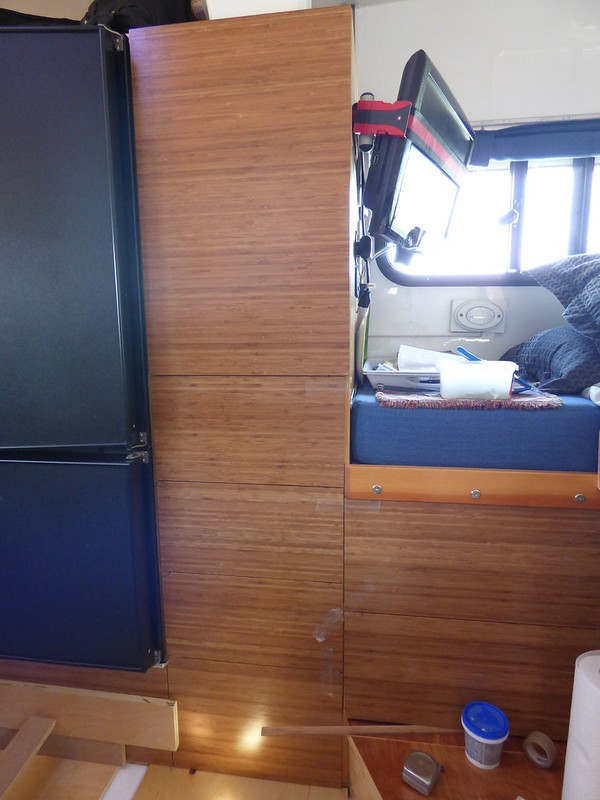
Cleaned up the wiring, this is where the main bus bars are with some distribution points to a few items like the fridge, actuator wiring and espar unit.

30251354620_87e28fb9d8_c.jpg


Cover for the bus bars, drawers sit in front of this and just below it is the water pump , filter and expansion tank. access to the pump is easy, remove the bus cover, lift the big ply cover and there you go, a good sized area not shown but holds a spare water pump.

29916597693_1d021951b4_c.jpg


Looking at the top lifting electrical distribution site, from here wiring goes to the actuators and controls, again this is cleaned up and its bus bars are covered up. Drawers sit in front of this too.

30426012872_93fa00076a_c.jpg


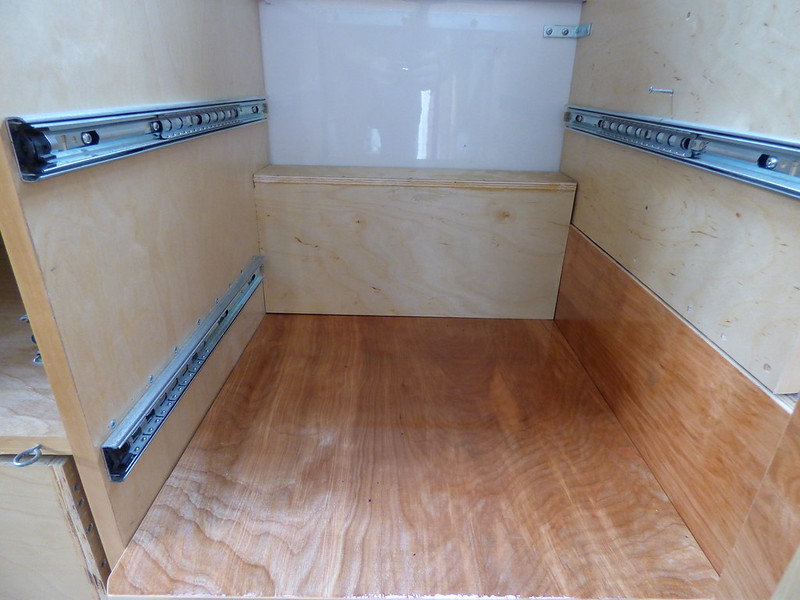
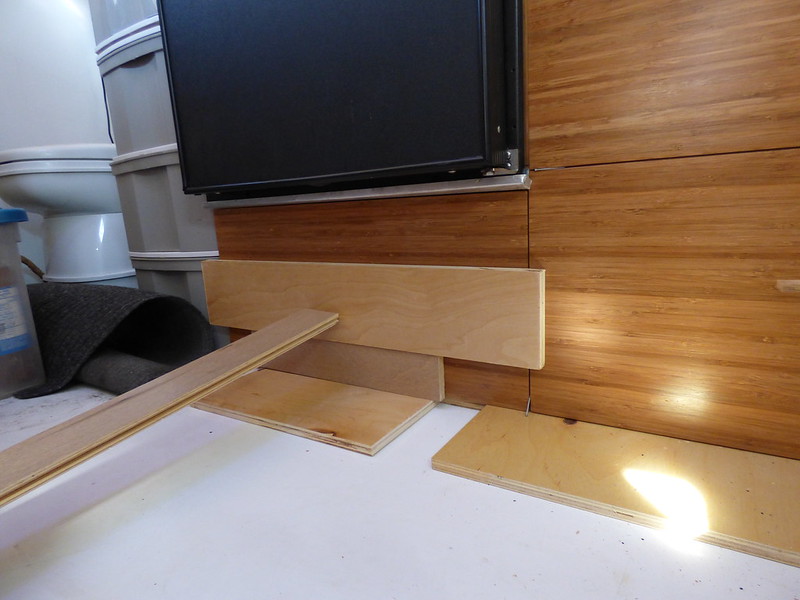
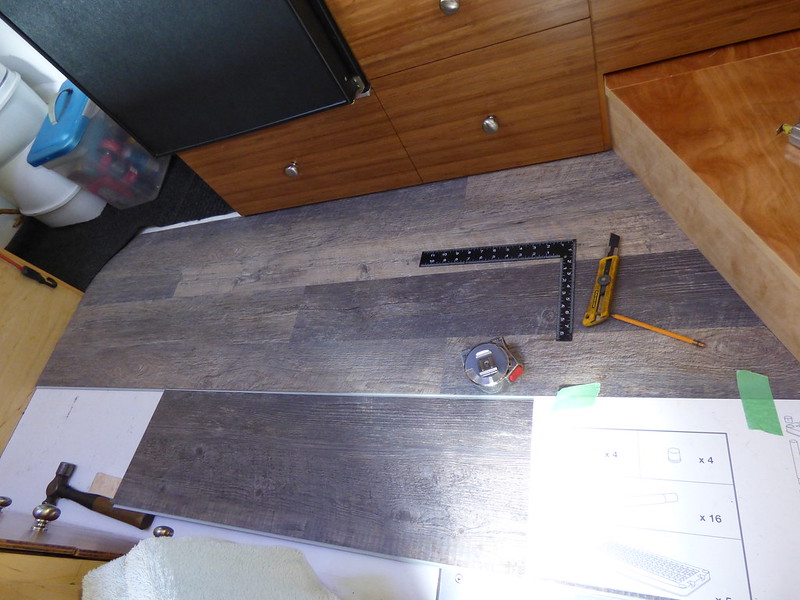
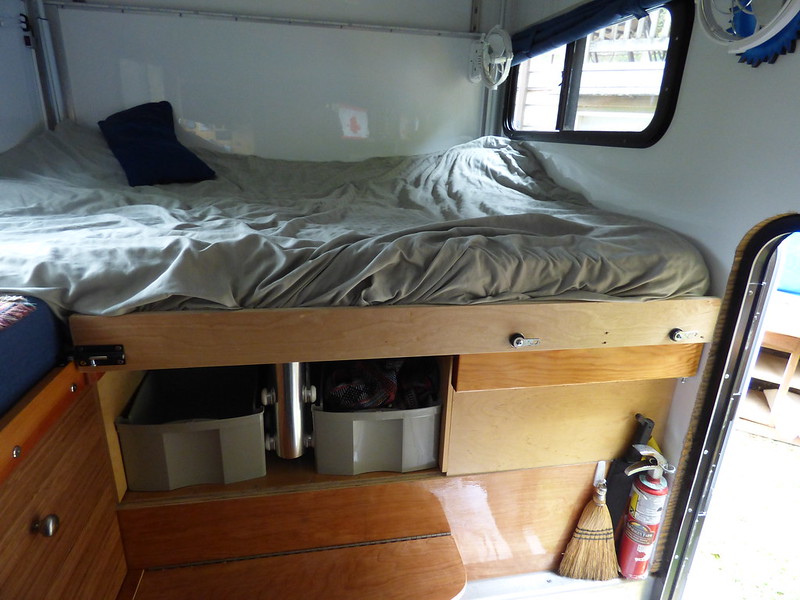
To repair the tank I removed the bed supports and everything else in the front half of the camper, so putting it back together was fun to slightly modify and improve things, this was simply a panel that goes under the bed that cuts the storage area in half but still has holes and gaps for some of our long stuff, it helps to keep stuff from moving around, ahh those simple things that make all the difference!

30455198741_3dd9566ffa_c.jpg
 
Last edited:

westyss

Explorer
During the summer we had two visitors....


30433383312_405536a817_c.jpg


not the deer! even though they did visit, the visitors came in a real nice truck!

30251540300_3c49f2ce6e_c.jpg


I found a nice piece of plyboo at my local hardwood warehouse, one last piece of 1/4" that was used to finally get those drawers faced.

30245125840_638ed31c8a_c.jpg


30426686272_89a0b88c84_c.jpg


30455814501_92910f7fb0_c.jpg


Next up was some Allure vinyl flooring, impressed with that stuff, and can all come out if desired.

30426628082_9dfcf64da9_c.jpg


29912747184_7d0f640fc1_c.jpg


Installed two new fans, one each side of the bed, very cool (pun) units that swivel all over the place, have three speed and a timer function that turns them off, 2-4-6 hours.

30244709720_234a0bbcec_c.jpg


Then I used the boxes to start the uppers.

29910029183_48313e6a87_c.jpg
 
Last edited:

westyss

Explorer
From that point work on the truck stopped for a month while we moved, once moved and set up again I tried to go from where I left off but it was a slow grind, I had to find where I put stuff all the time and heck we just finished moving, we weren't very organized.

I did find a bunch of the extra drawer pulls from the reno so put those on along with some 1/8" maple plywood for the front of the fridge, the mask was kicking around for years looking for a spot in the camper, stuck it on with velcro incase I didn't like it....my friend Steve will like that one!


29912475464_5aa3fbcc93_c.jpg


The uppers! Well I'll let you in on a little oddity that seems to always infiltrate the work I try to do, I seem to always have one little issue that is usually really obvious occur, like a scratch at a bad spot, nicked edge on something that would only show up in that one spot..that sort of thing...... well building the uppers I located an old measuring tape to cut the cabinet pieces, while measuring the for the doors I noticed odd sizes all over the place, what the ?? Yup, someone had riveted the hook back onto the tape with 1/8" of it missing so all my cuts were off, and I guess I had used two tapes, a correct one and the devil tape! I threw the devil tape as far as I could!
Now the issue was do I re cut it all or just go with the odd shapes? Of course the odd shapes won out, its a camper!


30506920476_1e7151cd89_c.jpg


Another small issue I was having was the cushions would not be held in place very well with the small lip and the fact there was no lip on the table so I tested a piece of ply on a trip and liked it, then I needed to make it easy to take on or off, which now it is, a sliding bolt on each end, two brackets that slide into the table base and two screw out thingies I made that quickly thread into bolts on the right, very solid and I timed myself, 16 seconds to get it off!

30543006245_64beb2295a_c.jpg
 
Last edited:

dwh

Tail-End Charlie
Upper cabs. Sweet. That's one of my pet peeves...I like lifting roof designs, but they always seem to be short on upper cabs.
 

Ramdough

Adventurer
Just made it through the entire thread. Awesome work!

I might have missed this, but did you remove the stainless slides? I thought they are between the moving parts, but don't see them any more.

Thanks


Sent from my iPhone using Tapatalk
 

Forum statistics

Threads
185,909
Messages
2,879,469
Members
225,497
Latest member
WonaWarrior
Top