Rango.....1942 Willys MB

locrwln

Expedition Leader
Congratulations. Nice to see a "normal" built rig go on the trip. Can't wait to see how and where you go.

Jack
 

Metcalf

Expedition Leader
I've been slacking with the updates again....

So far.....


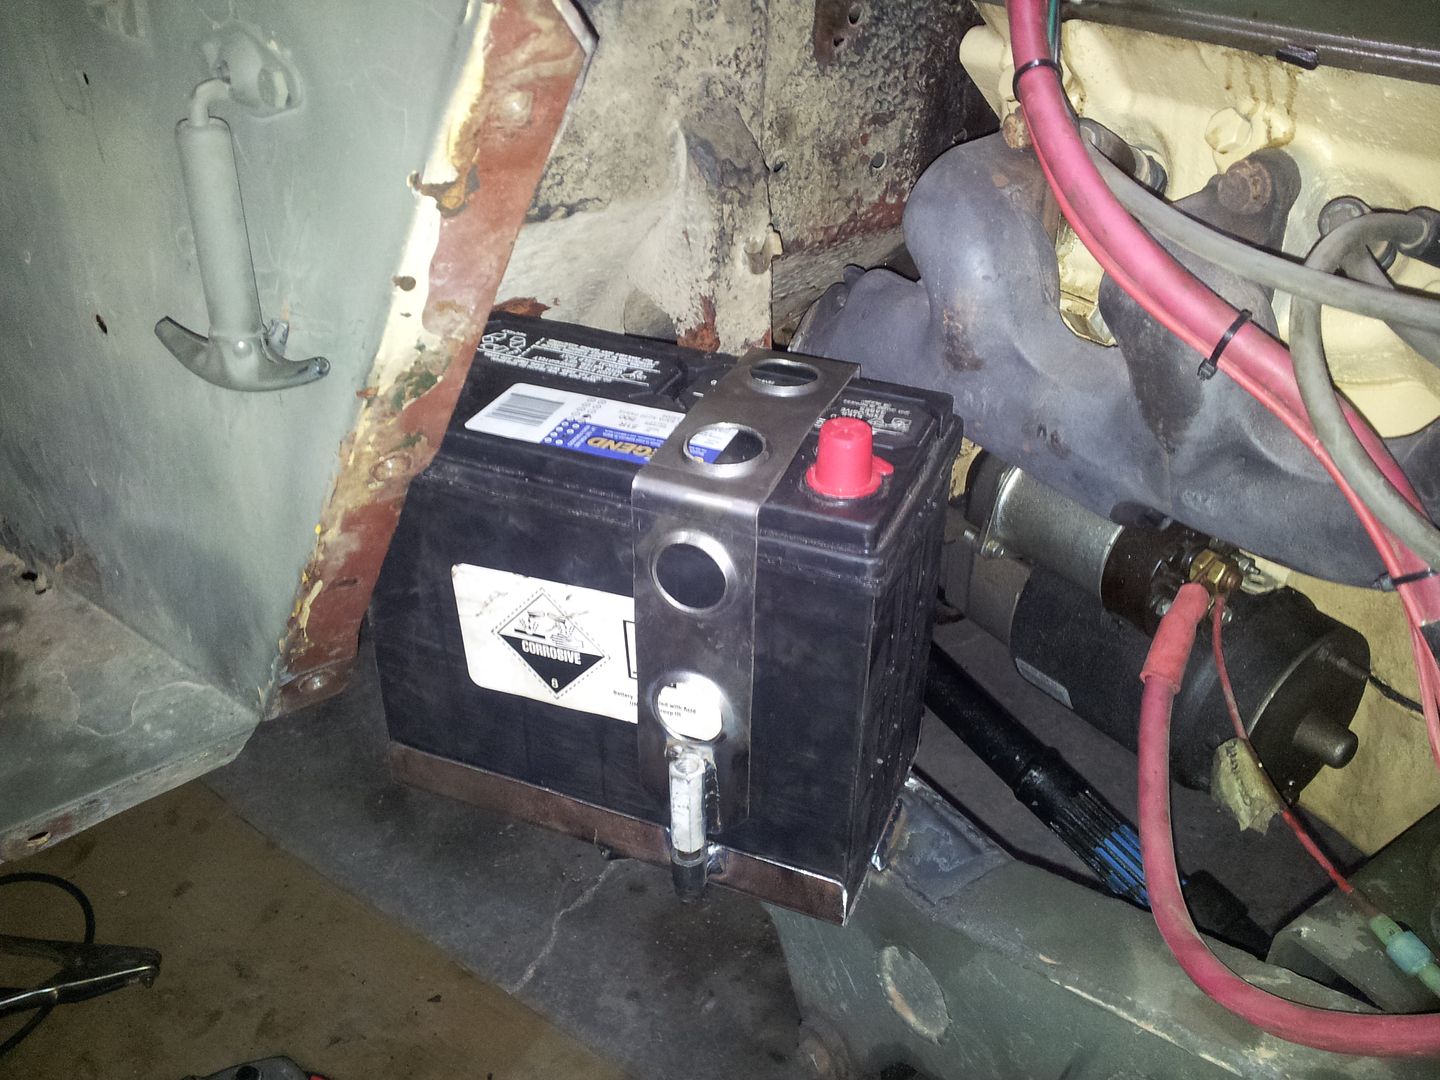
I stole one of the Parts Due features and am relocating my battery. This is a Group 51R battery and it BARELY fits in this location. I still have some minor fender mods to do but the paint is drying on the new mount right now. The mount is all 14 gauge cold rolled material. The mount it welded to the top of the frame and there is a nice triangular gusset on the bottom to support the 26lbs of battery weight. There is more room than it looks like in the picture between the battery and exhaust manifold, but I will still probably make a small heat shield that bolts to the cowl support.

Changing the battery probably dropped 20+lbs over my optima setup and will also shorten up the battery cable runs a LOT.

This is part of a cascade of mods that will include removing my fuel tank sump for more clearance under the drivers side rocker. Then I will be building some rocker guards.

I made sure to use lots of dimple die holes so it would be faster.
 

Metcalf

Expedition Leader
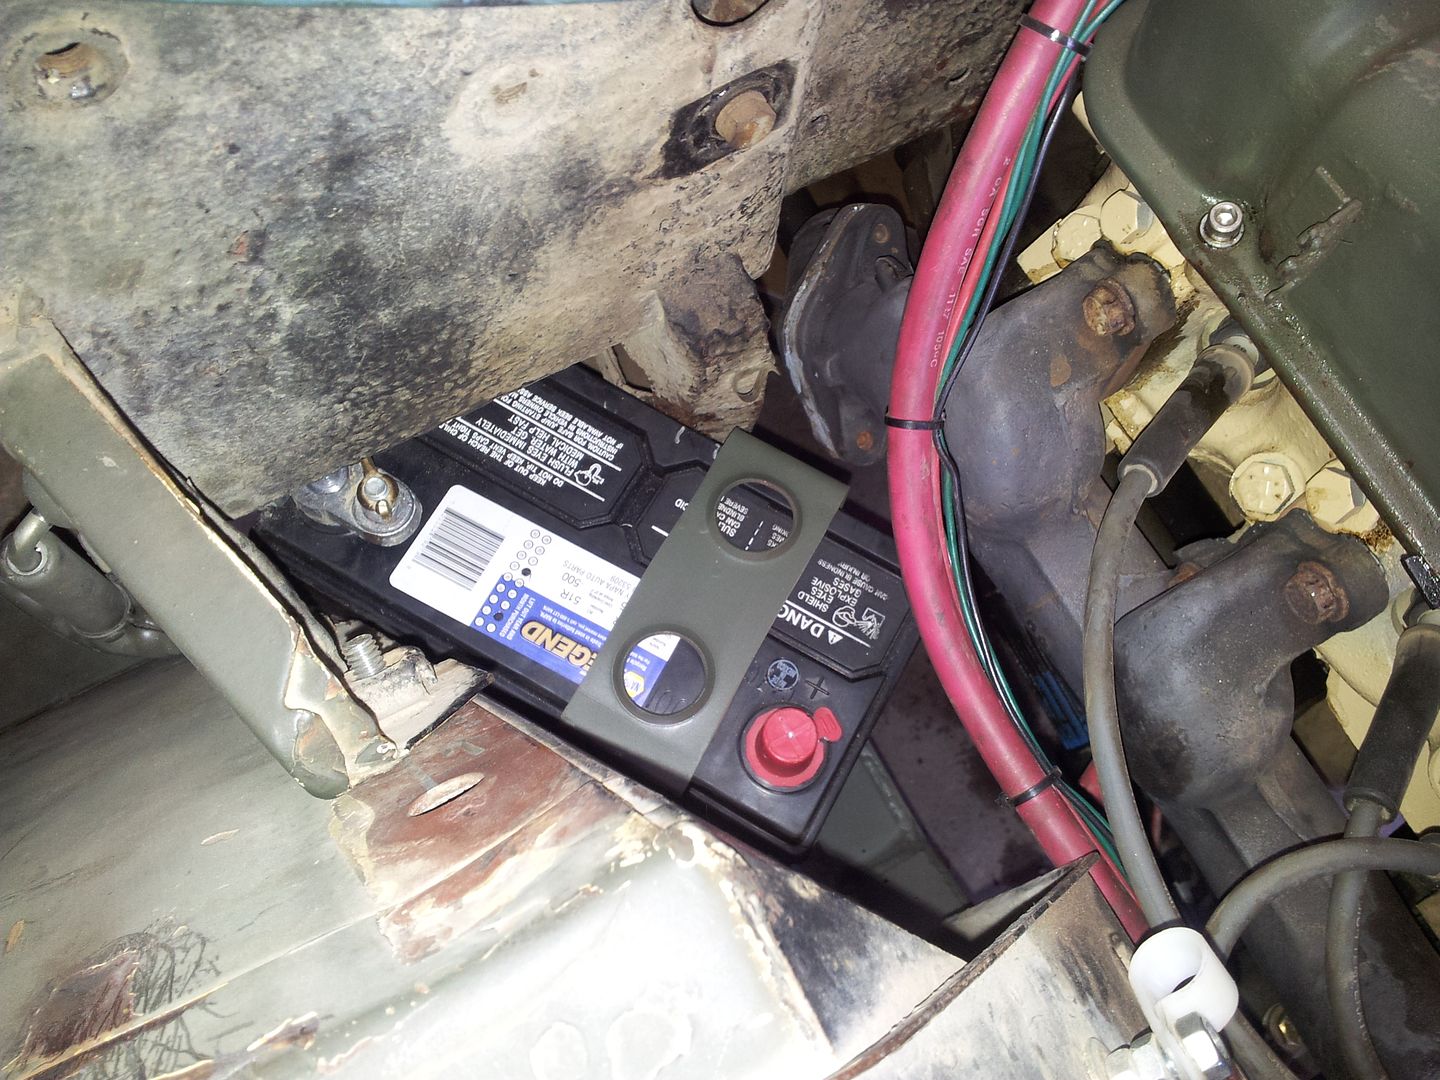
The new battery is all tucked into it's new home....


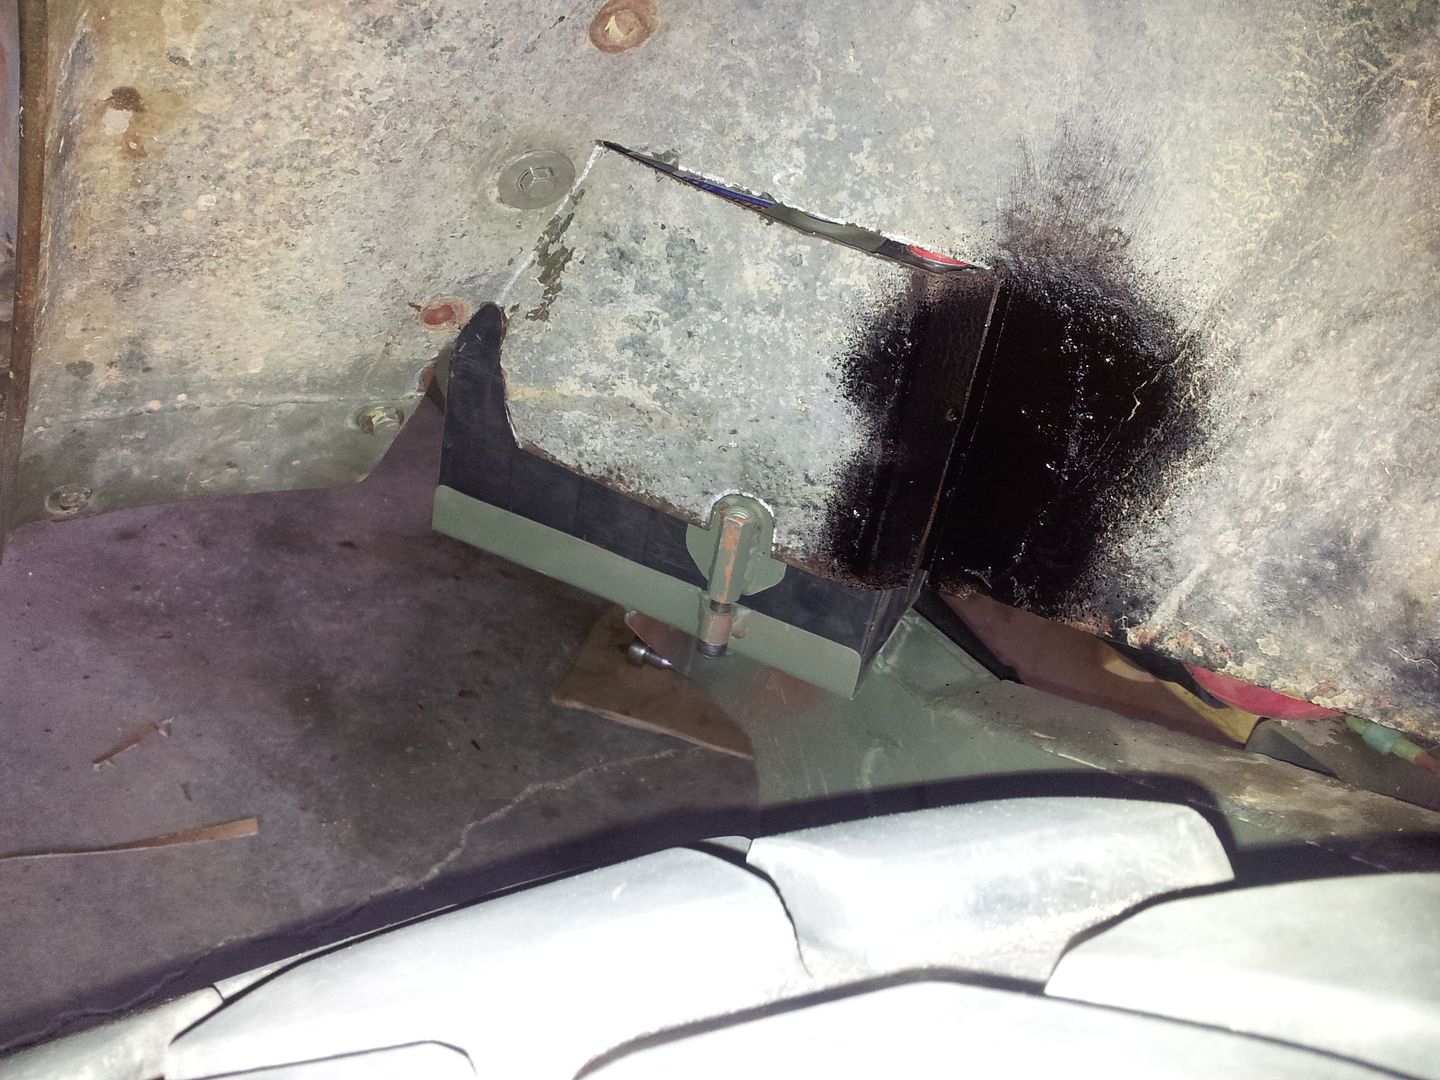
I ended up having to mod the inner fender to get the space I wanted around the battery. It's not my favorite modification but it will work. I need to throw some dirt on the new undercoating :)

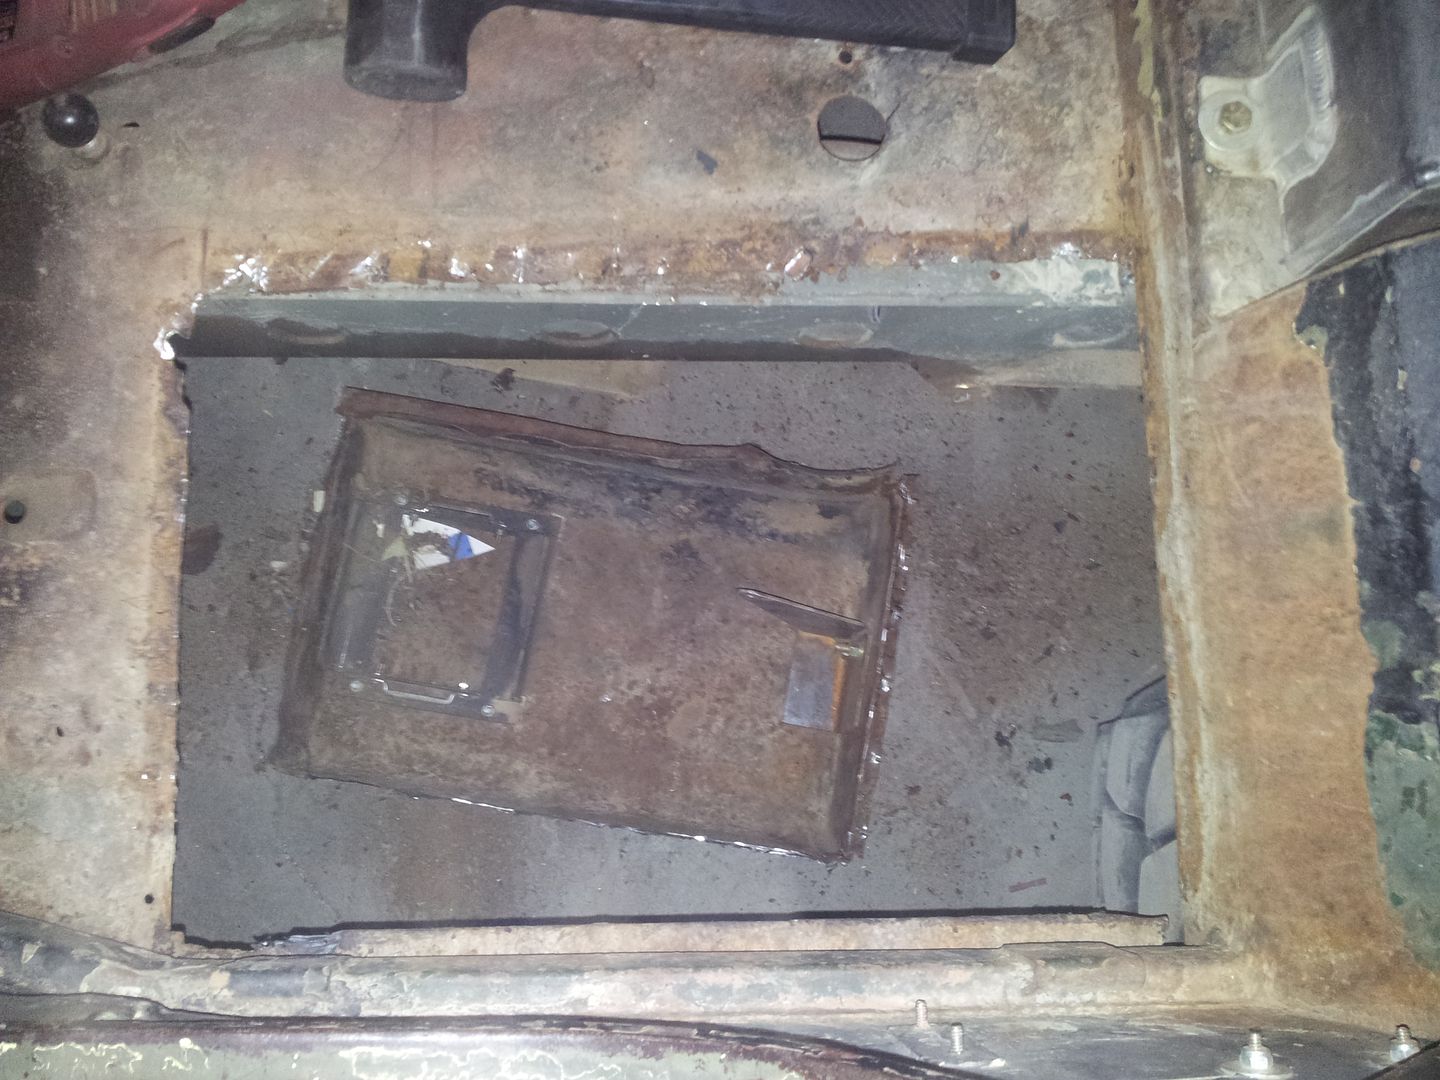
For those looking to run a battery system like this it is TIGHT! It would be even tighter without the fenders being raised. I would plan on having to do modifications to the inner fender, dimple the tub in at least one space, etc. B4wscrambler made it look WAY easy....it wasn't! With it all said and done I really like having the battery out from under the seat. the battery weight probably cut in half from the Optima and that weight is moved forward which will help climbing.

I still need to make some battery cables. I need to pick up some terminal ends and heat shrink after work.

Now it is time to move onto the rocker guard project....
 

Metcalf

Expedition Leader
I got back out in the shop today....


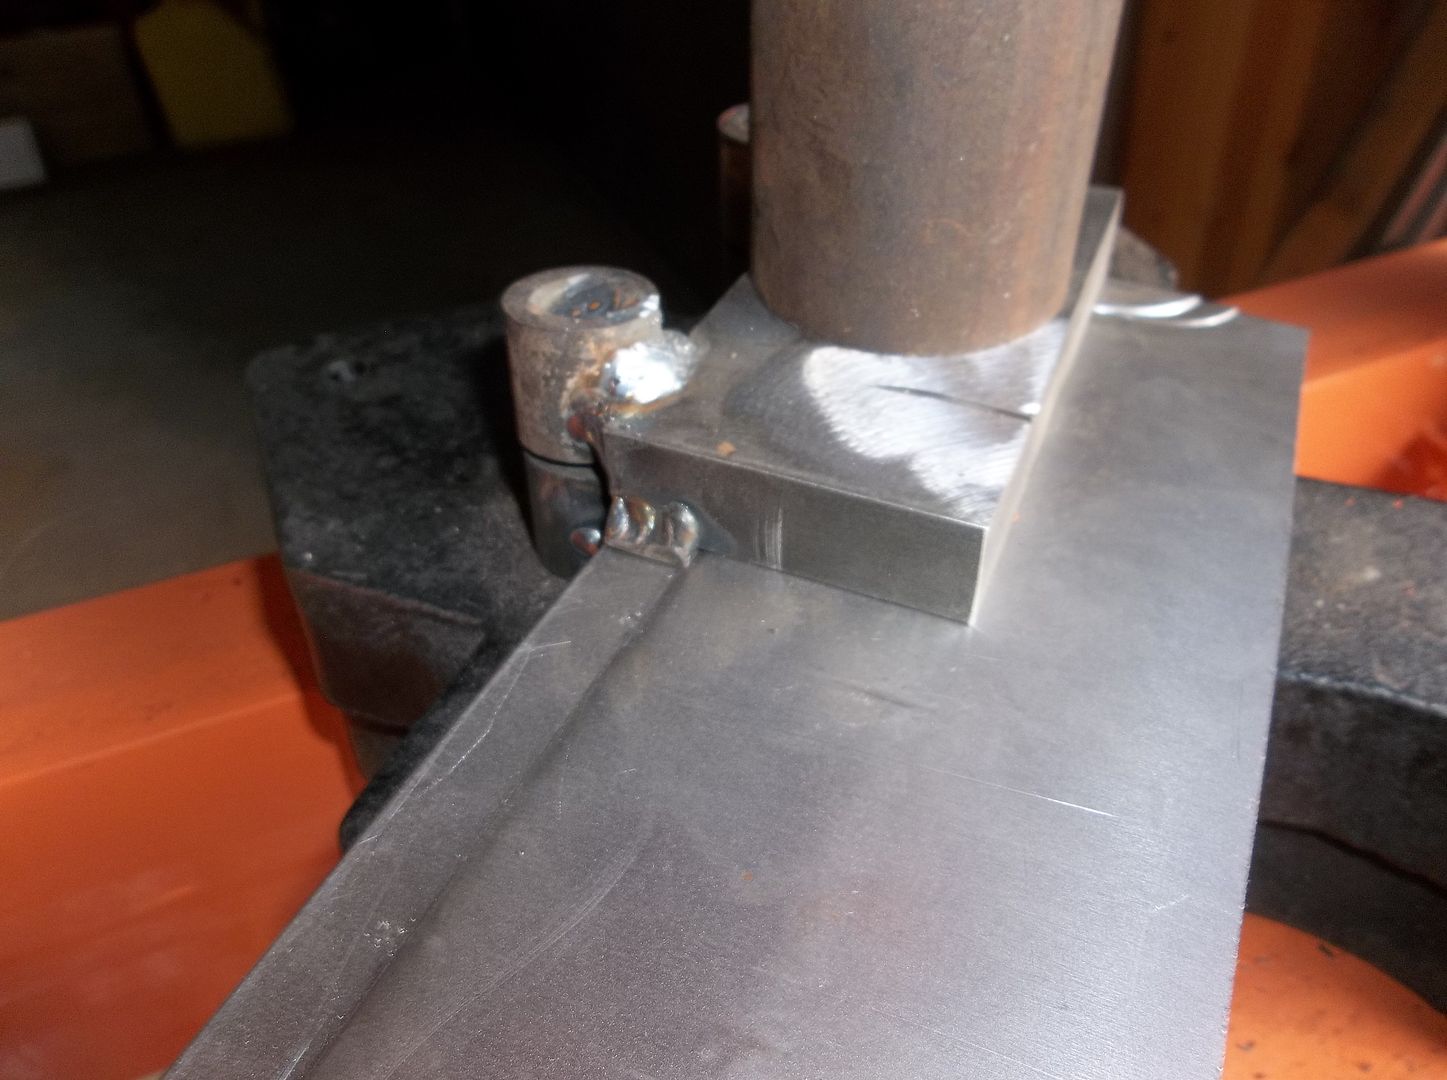
I built this little flange press die. It offsets a 1/2" lip on a panel about .040-.050. There is a little material spring back, I should have probably used some 14 gauge to make the offset more like .060 after material spring back. Overall the die worked really well for adding a flange to the foreward and inside edge of the panel.....


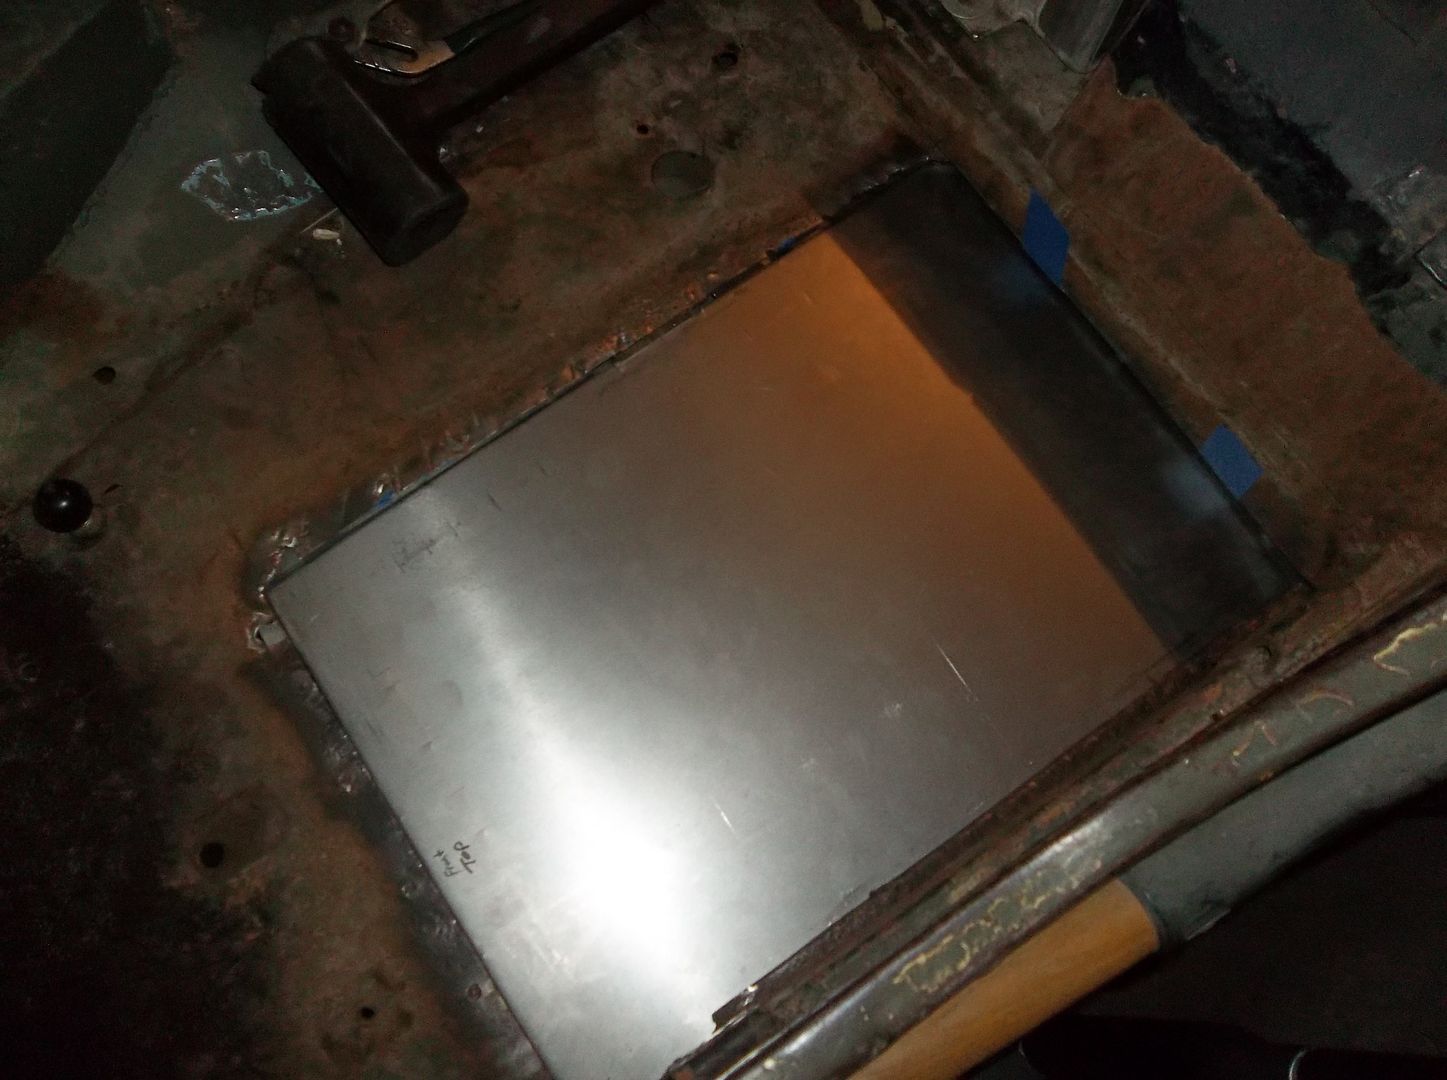
I have a little more fitting to do with the panel but I should be able to start welding in the panel tomorrow.
 

Metcalf

Expedition Leader
Back at it....


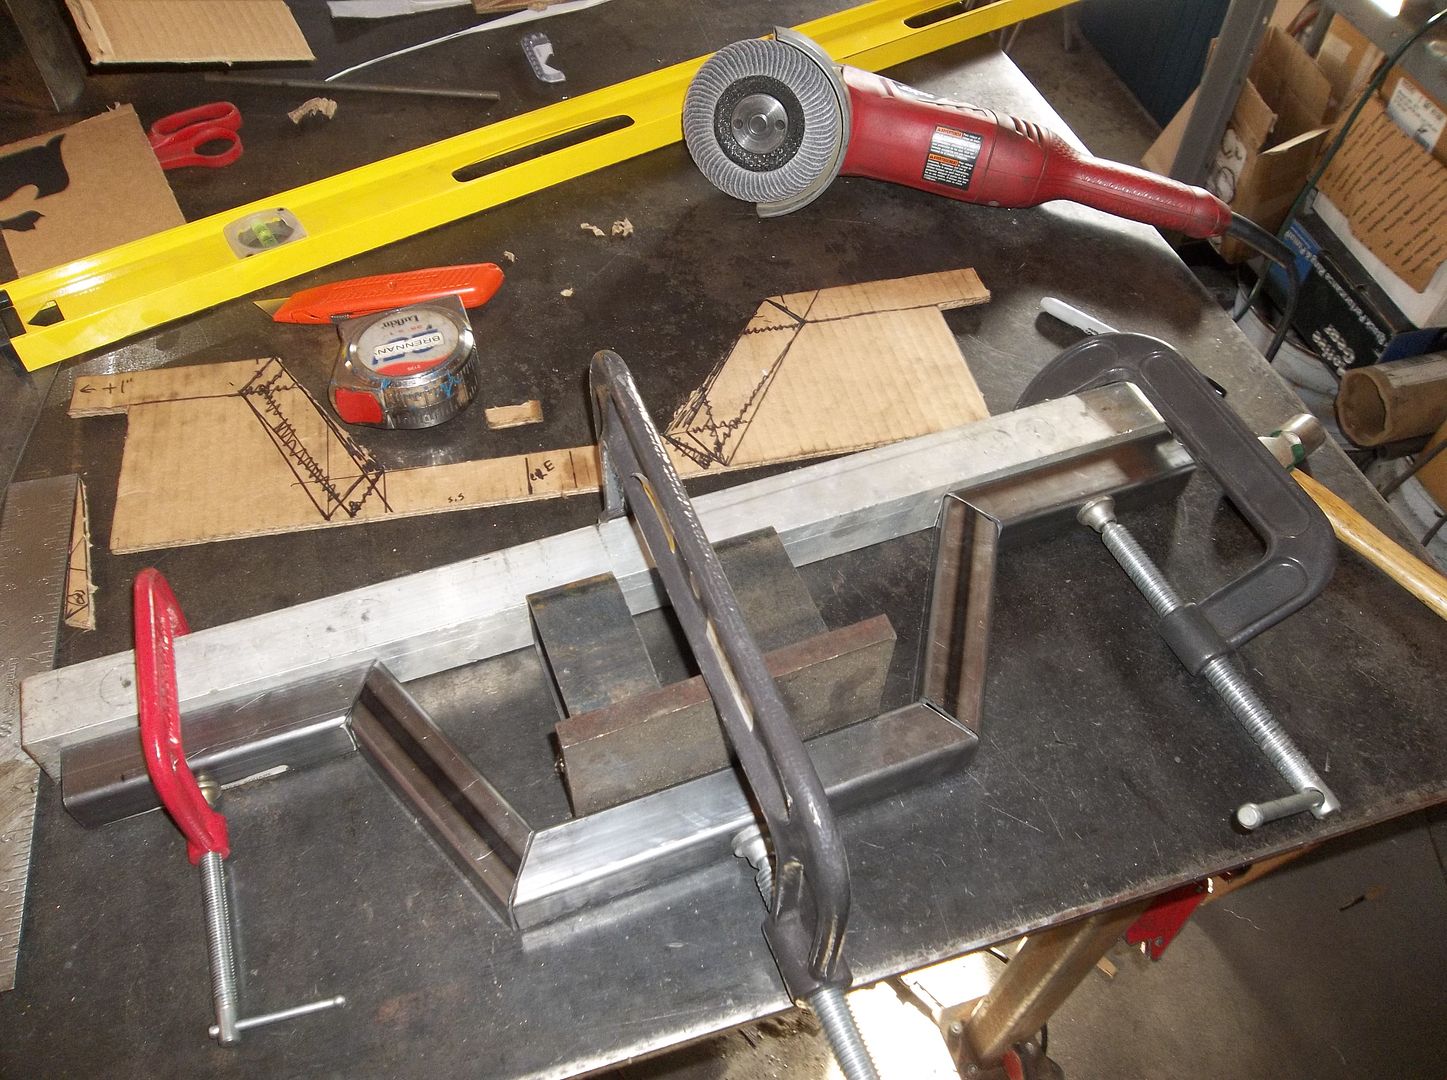
Fabbing up a new crossmember. I have planned on adding it since I built the jeep. It is 1.25" square tubing with a 1/8" wall. I did all the cuts on the bandsaw and cleaned them up a little with a flap disc. I planned the crossmember offset so I could clamp the entire thing together on the bench using some common scrap material. In this case some 1/2" plate and some 4" tall box. With the 1.25" tubing that gives me a 5.75" offset from the top mounting surface and the bottom of the crossmember.

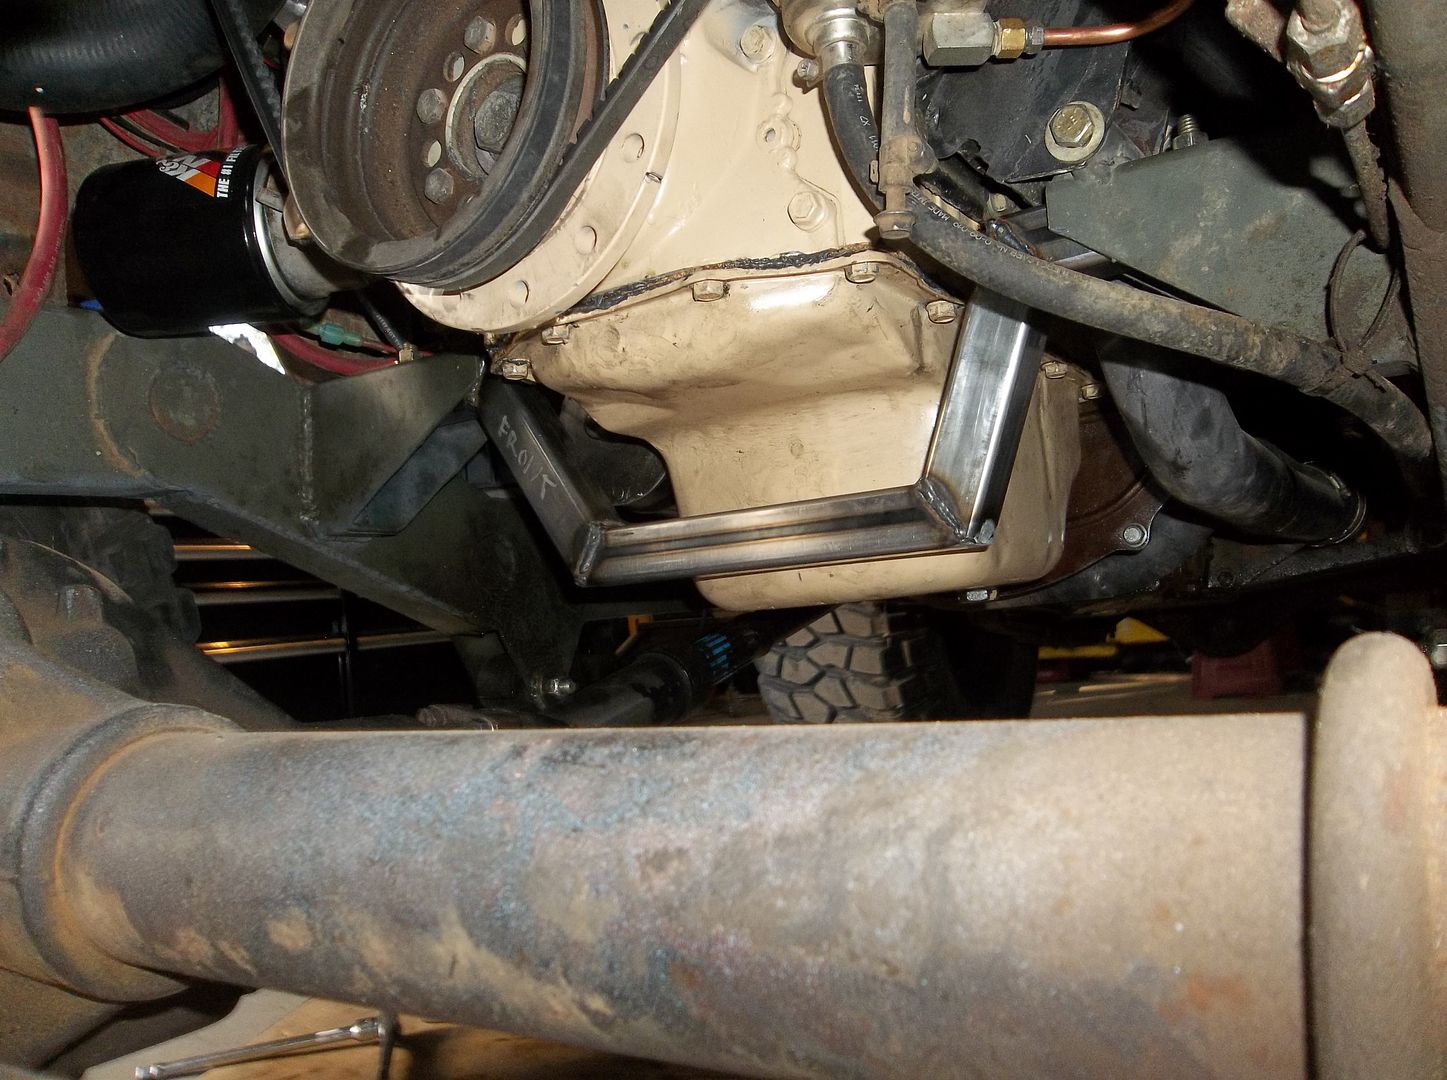
This crossmember goes here....


It attaches with two 3/8" grade 8 bolts per side into the motor mounts.

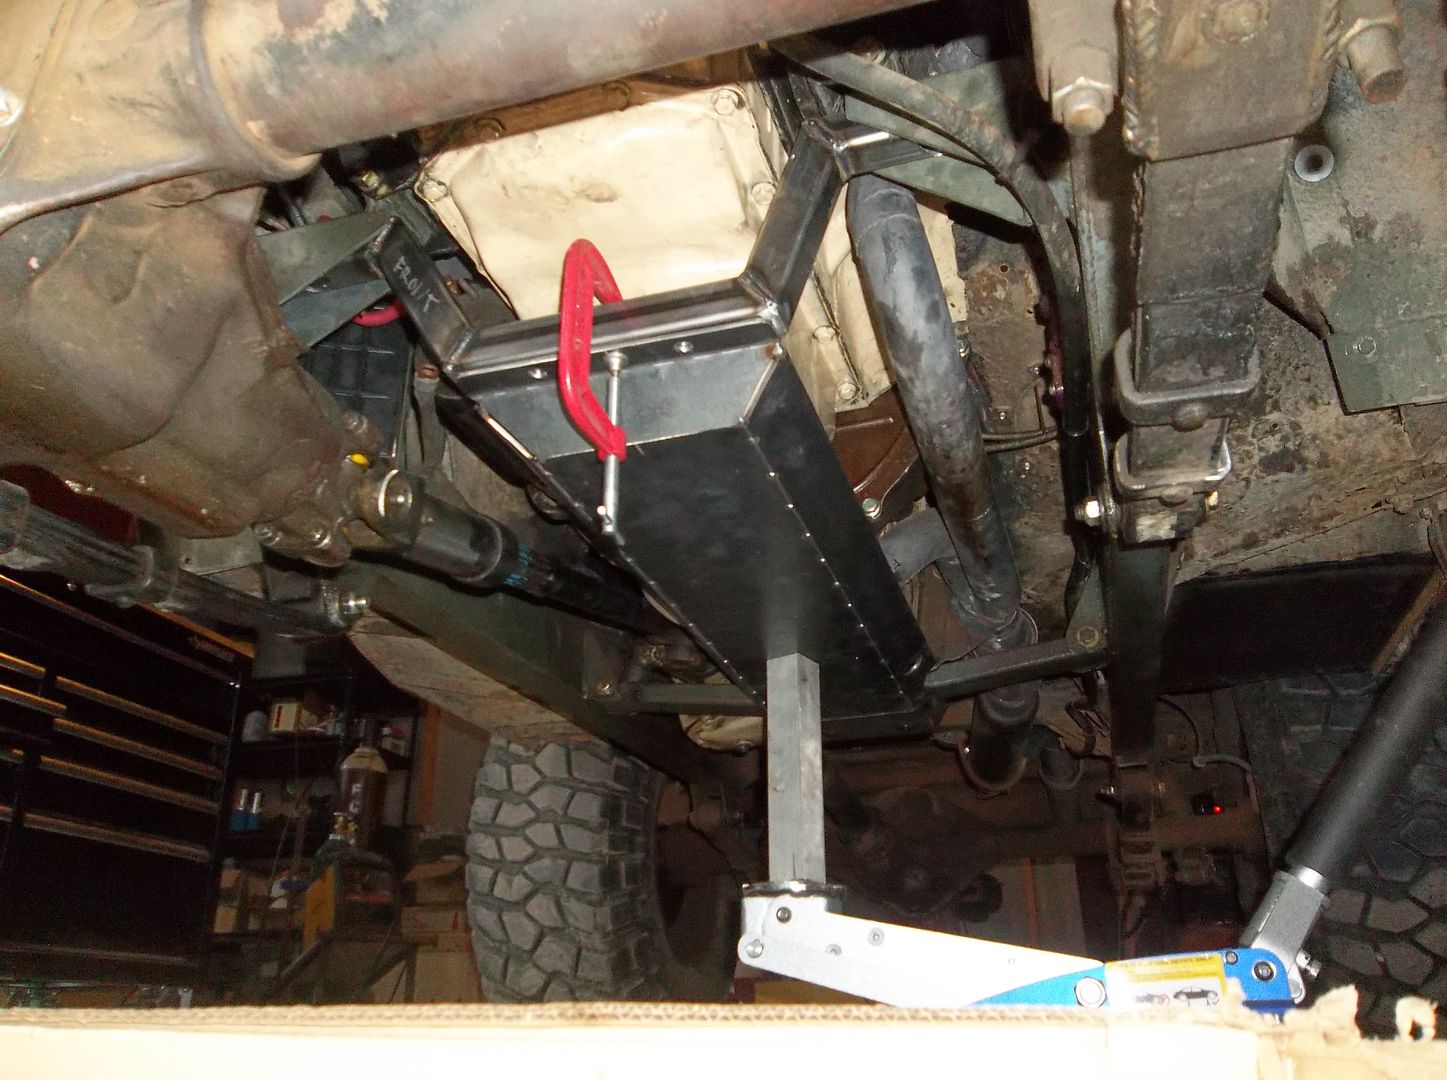
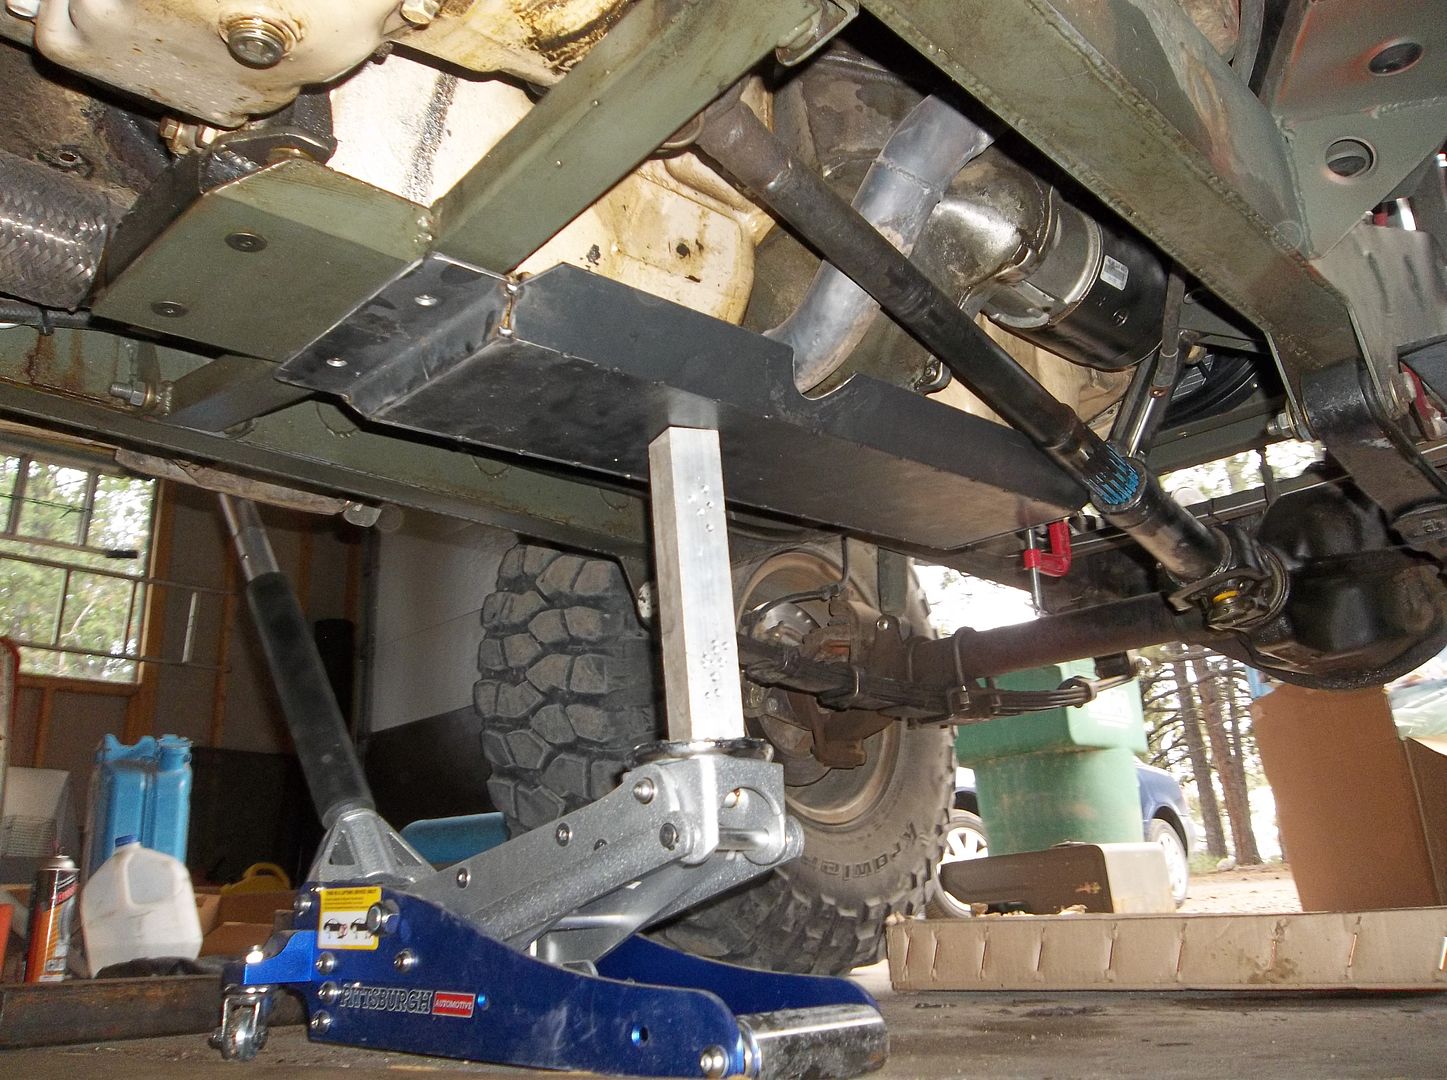
The crossmember was designed to both tie the motor mounts together and will also provide the forward attachment point for a belly skidplate that is going to cover the engine oil pan to the transfer case crossmember. The next project is to make that skidplate. I am kinda backwards engineering the mount for it into the engine crossmember. I think that will be easier to locate the mounting points....

I hope to keep making good progress this week, we will see.
 

Metcalf

Expedition Leader
More progress tonight....


I got most of the fabrication done on the 1st skidplate bucket. This one covers the engine oil pan ( which is sheetmetal ) and continues to the transfer case crossmember. Since I went for a few years of wheeling without hitting the oil pan I decided to build the skidplate out of 1/8" thick material. It will provide some protection but not be total overkill with the belly being tucked up out of the way. If it gets dented and bent in a few years I can always build another one. I still have lots of welding, cleanup, and painting to do but the fab is pretty much done, not bad for about 2 hours of work!

Next I will be building a small skidplate bucket to cover the pan on the transfer case. Hopefully I have enough material to finish that up tomorrow.
 

Metcalf

Expedition Leader
As usual, very cool stuff. What else is on the list for preparation?

Jack

I think the list could be long enough that I couldn't afford to or have time to do everything. This vehicle always seems to be in a constant state of improvement. The big things are....

-Make a skidplate for the transfer case pan
-Rocker guards
-Install the new rear locker ( ox locker with integrated air shift and a mechanical valve )
-Integrated onboard air ( probably a ARB twin compressor under the passenger seat )
-Alloy front axle shafts with the bigger U-joints.

I have to have it 'done' by June 13th for the local Fathers Day car show. Then I will be working on packing for the UA trip over the week or the 4th of July.
 

Forum statistics

Threads
185,891
Messages
2,879,286
Members
225,450
Latest member
Rinzlerz
Top