Davids29's Scratchbuild Trailer Thread

Davids29

New member
I have been browsing this forum for almost a year now. I come here to look at other peoples projects and see what others have done in other situations.

At first I wanted an M416. I found one in Houston and made the drive down and picked it up and drug it home. After tinkering with it for a few months, I realized it wasn't what I really wanted. There is so much prep work with an average condition M416 that I figured I could scratch build me something for the same costs and time.

If you are local to the DFW area, you might have seen my thread so far on the LSJC website.

This is 2 months work so far.

1st, I cleaned up the garage and bought some supplies. The garage was a mess with crap everywhere.
5504464542_a5cff35925_b.jpg


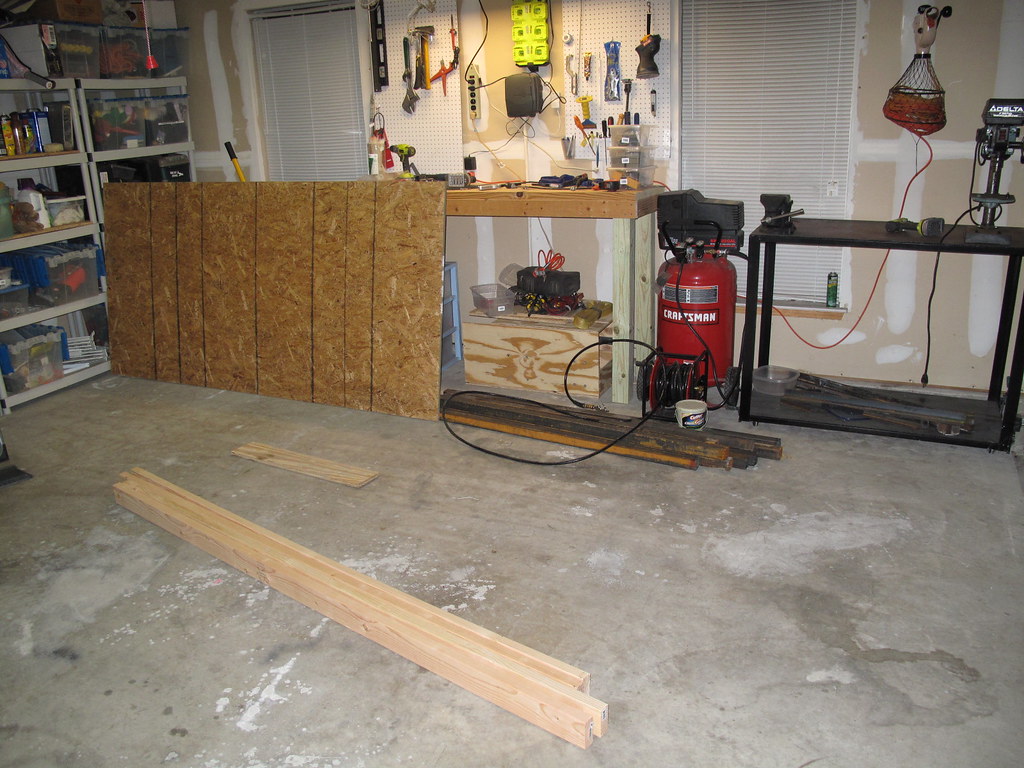
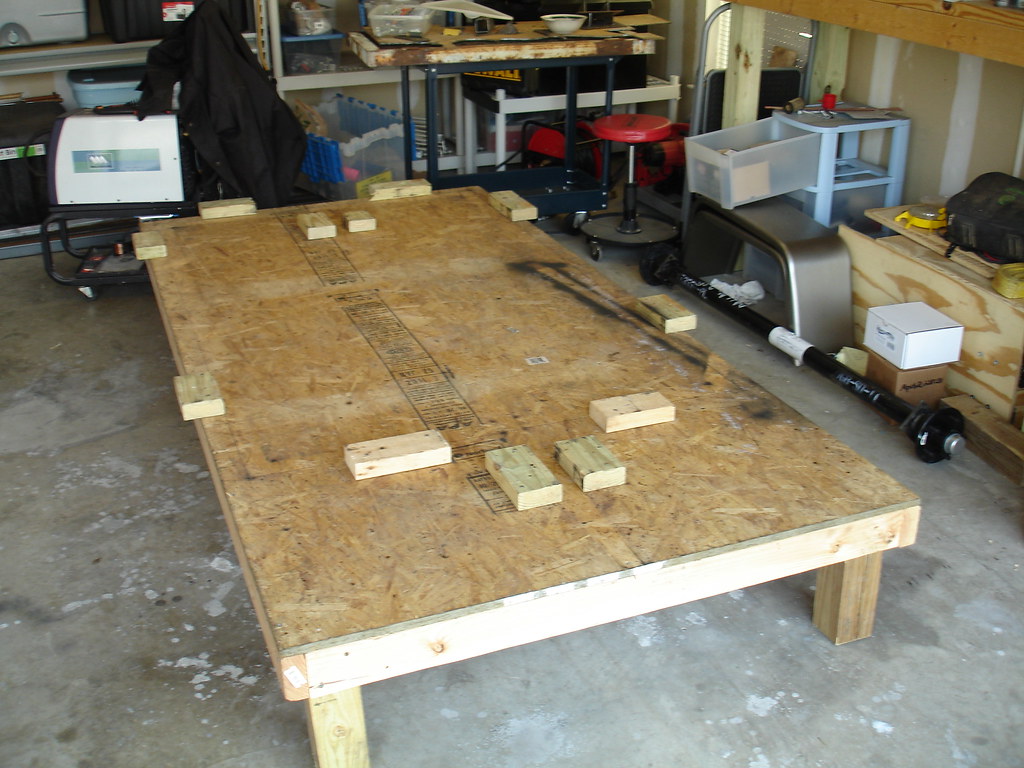
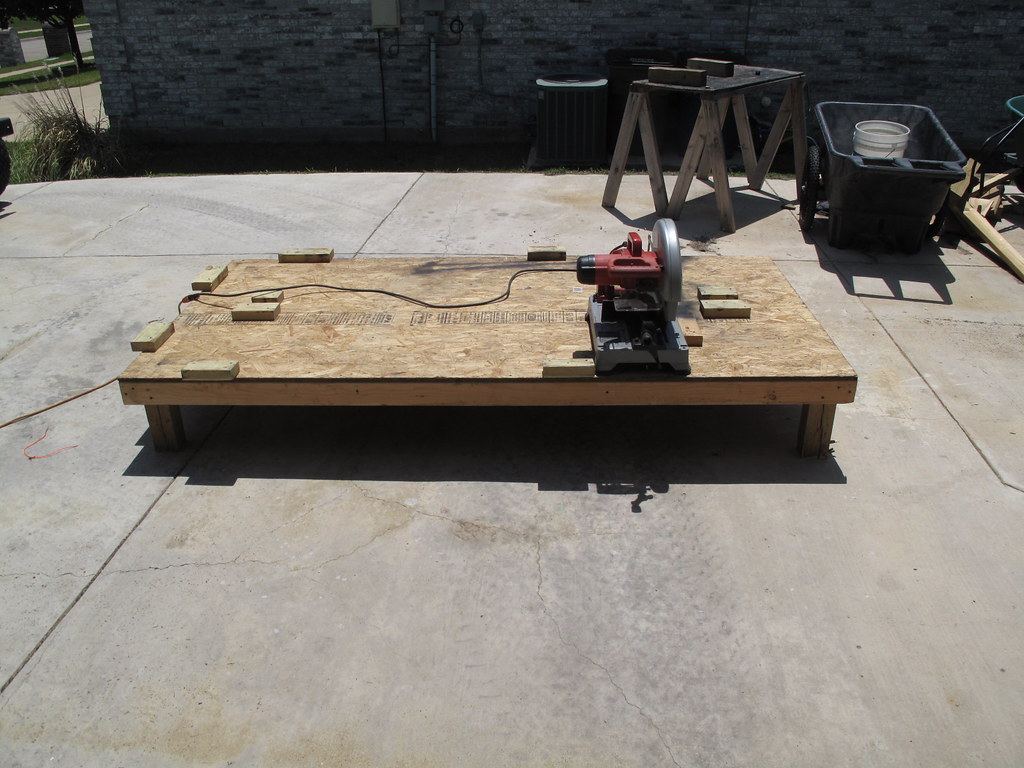
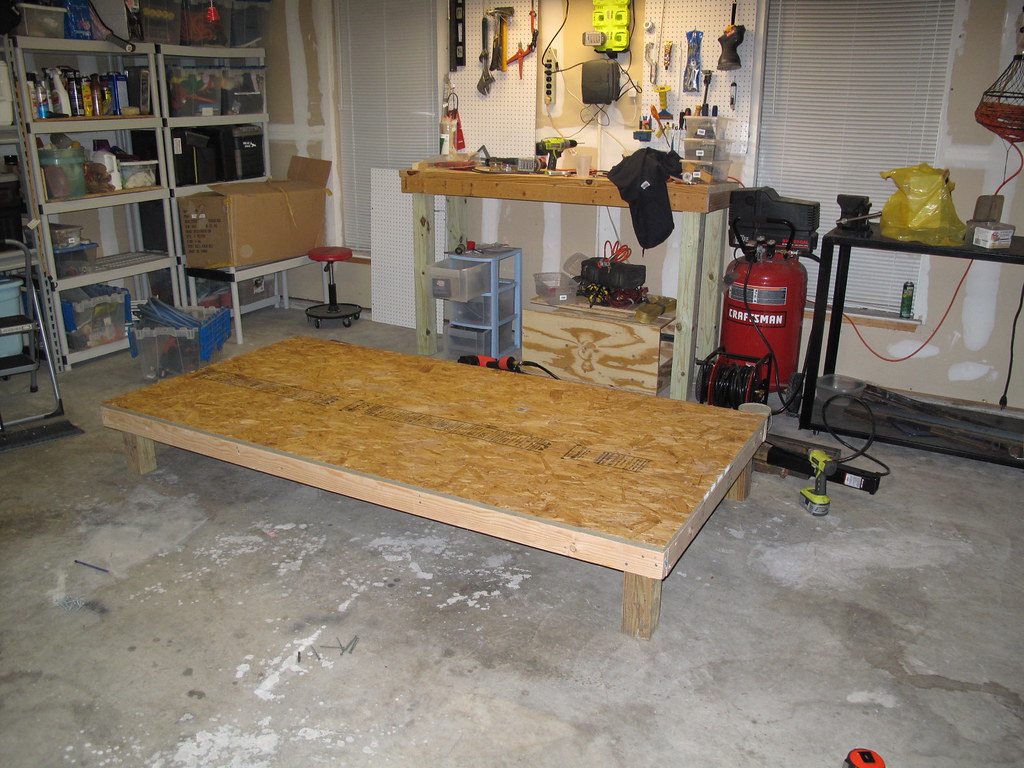
1st order of duty was to build a flat (most concrete floors are not flat) level surface.
5503873831_5834788ac7_b.jpg

5504464788_24efa8b8a2_b.jpg


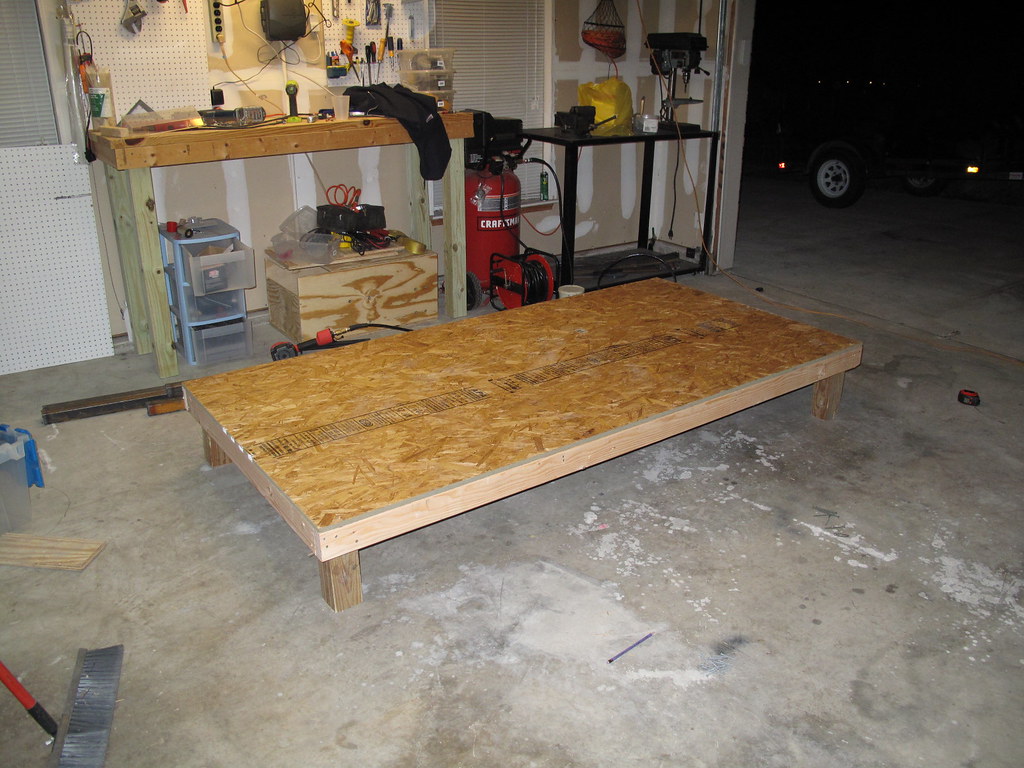
That was all I got done last night.

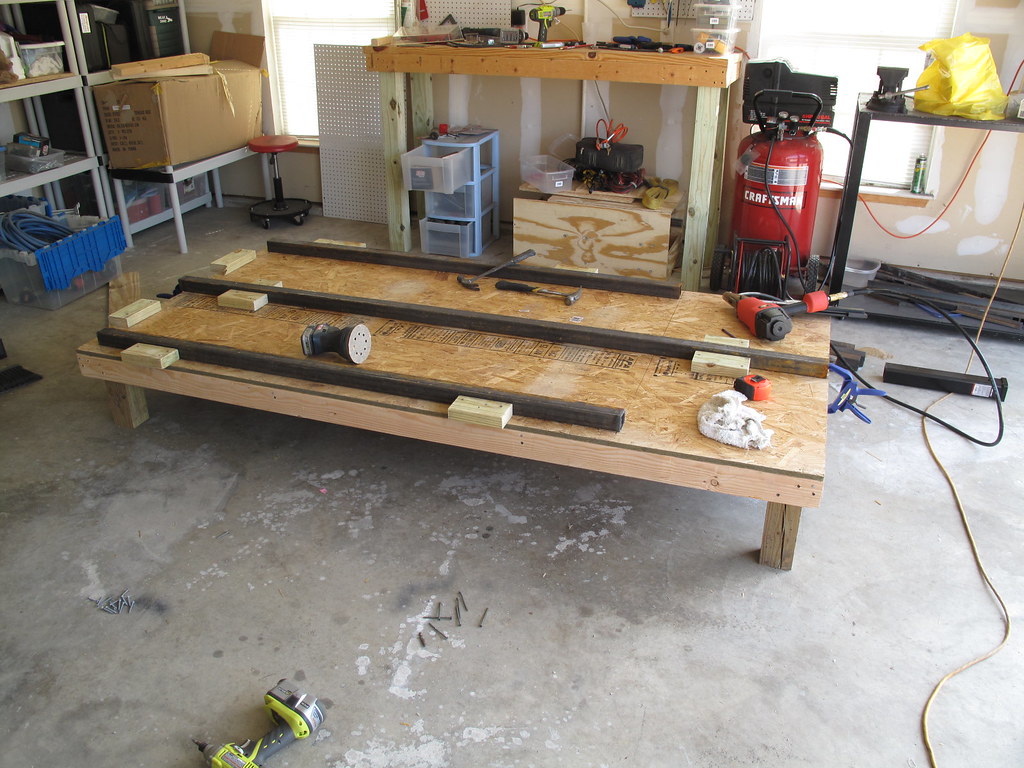
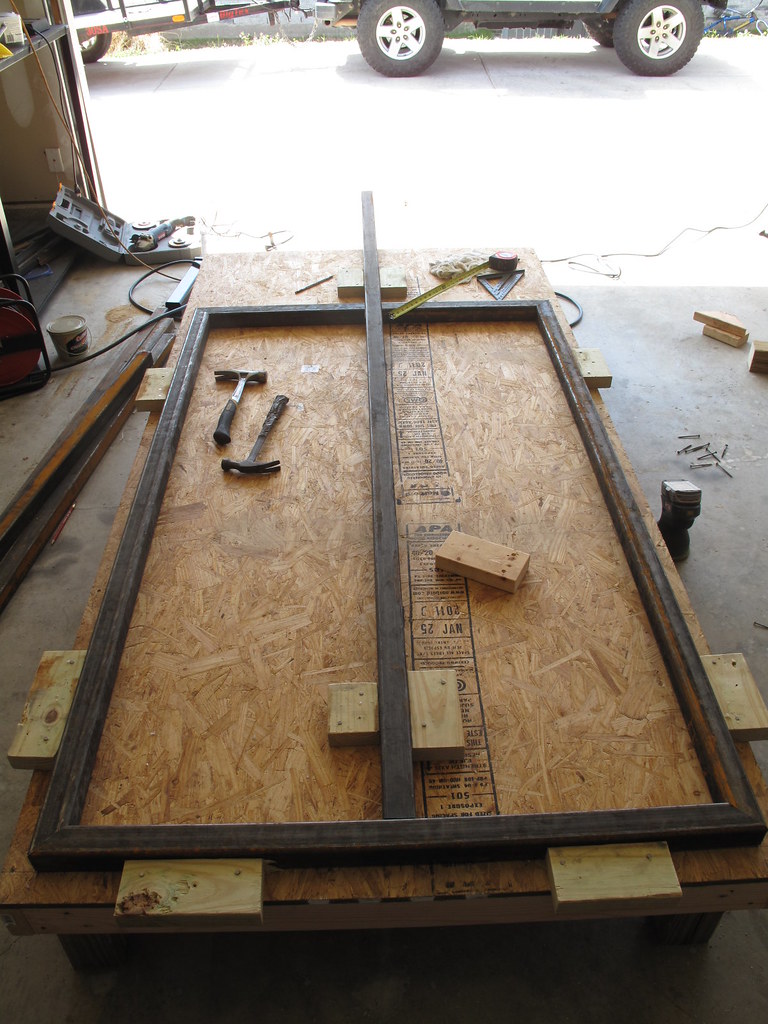
This morning the real work started. I started by laying out my plan on the plywood platform. I used some 2x4 scraps to build a fixture to hole parts in place and assist with assembly.
5504464904_73c695701f_b.jpg

5504464992_d3c16d27de_b.jpg


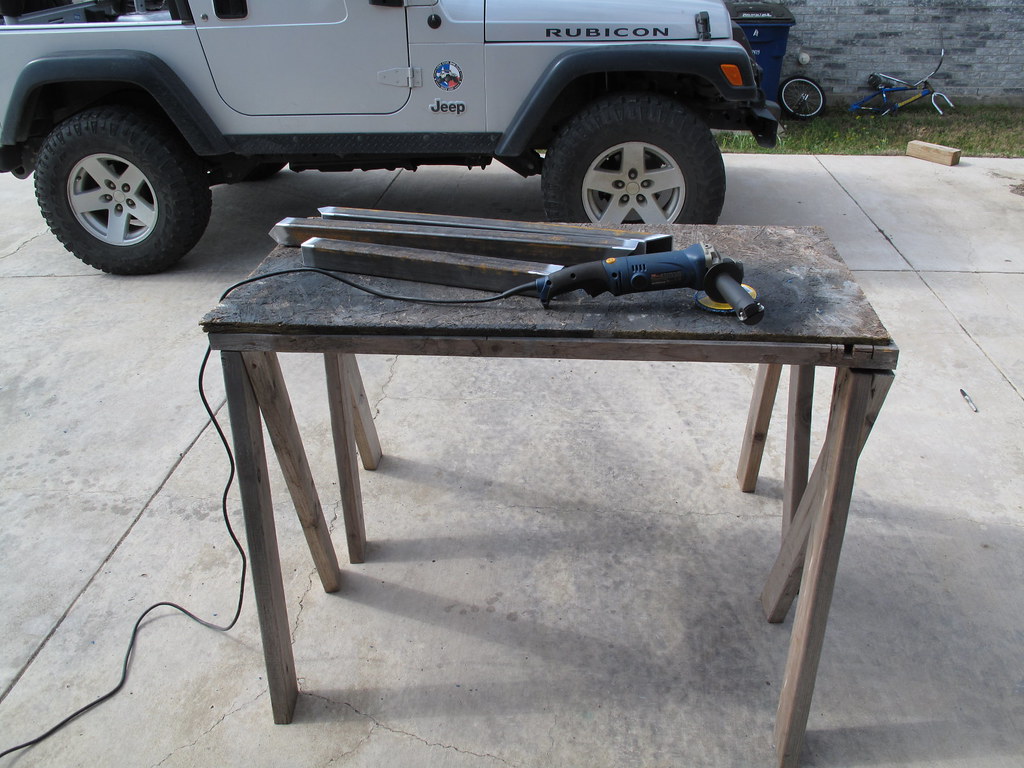
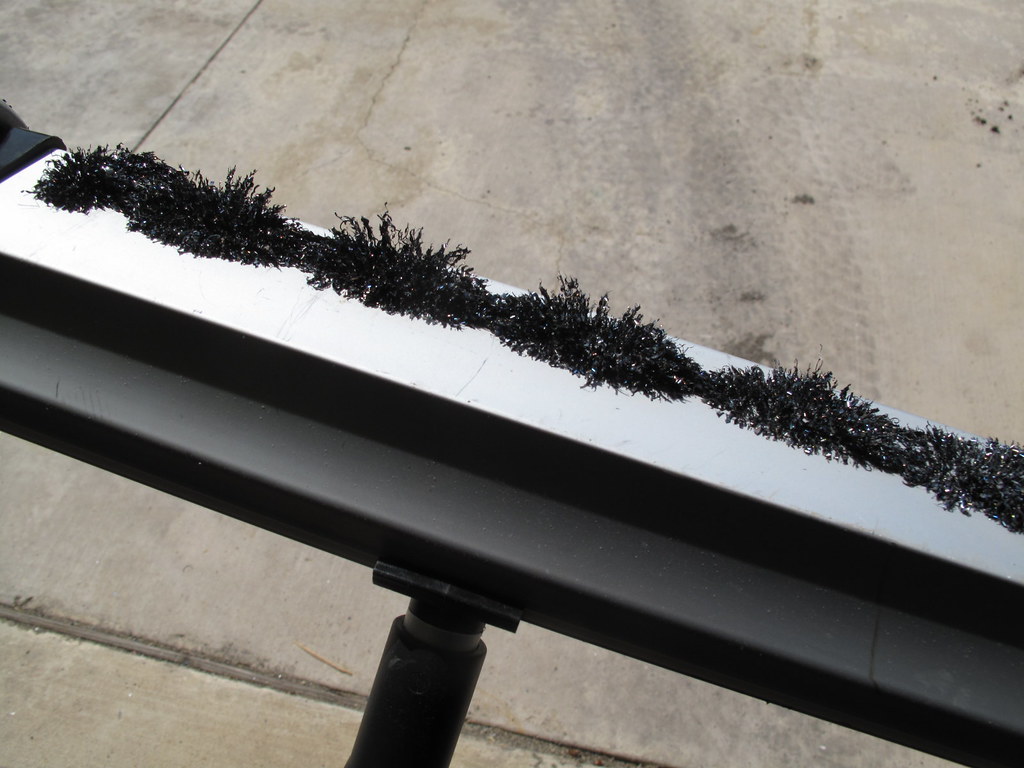
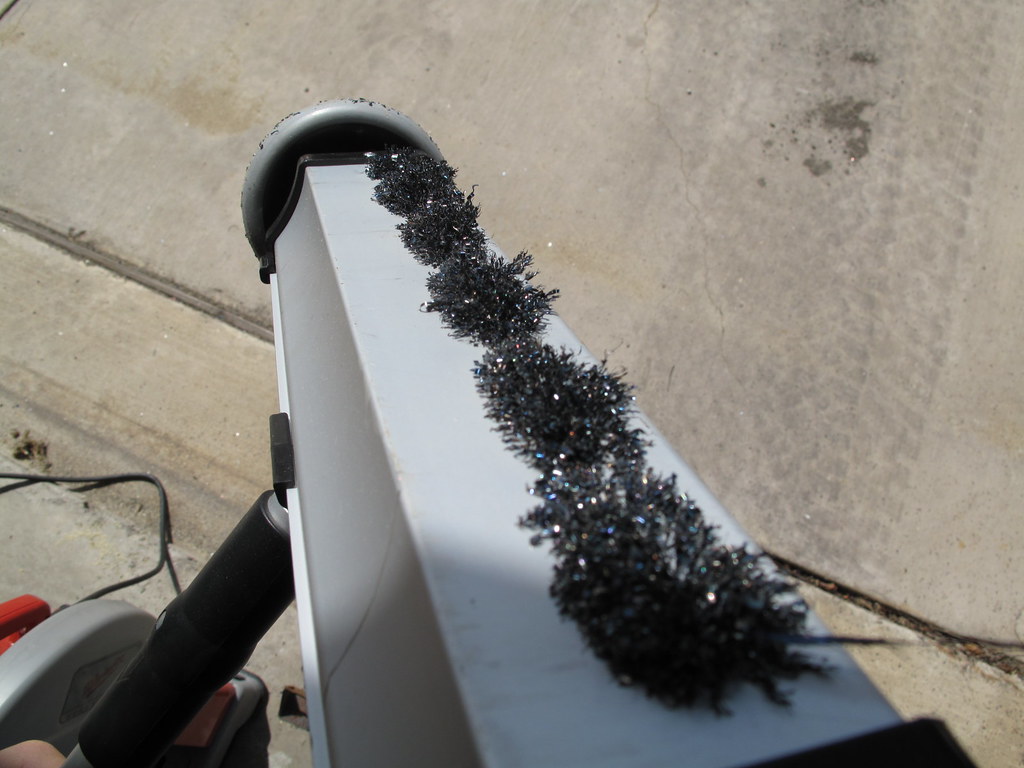
On a side note, if you are goin to cut a lot of steel, buy one of these. Its a Milwaukee Dry Cut saw
5504465030_580781a151_b.jpg


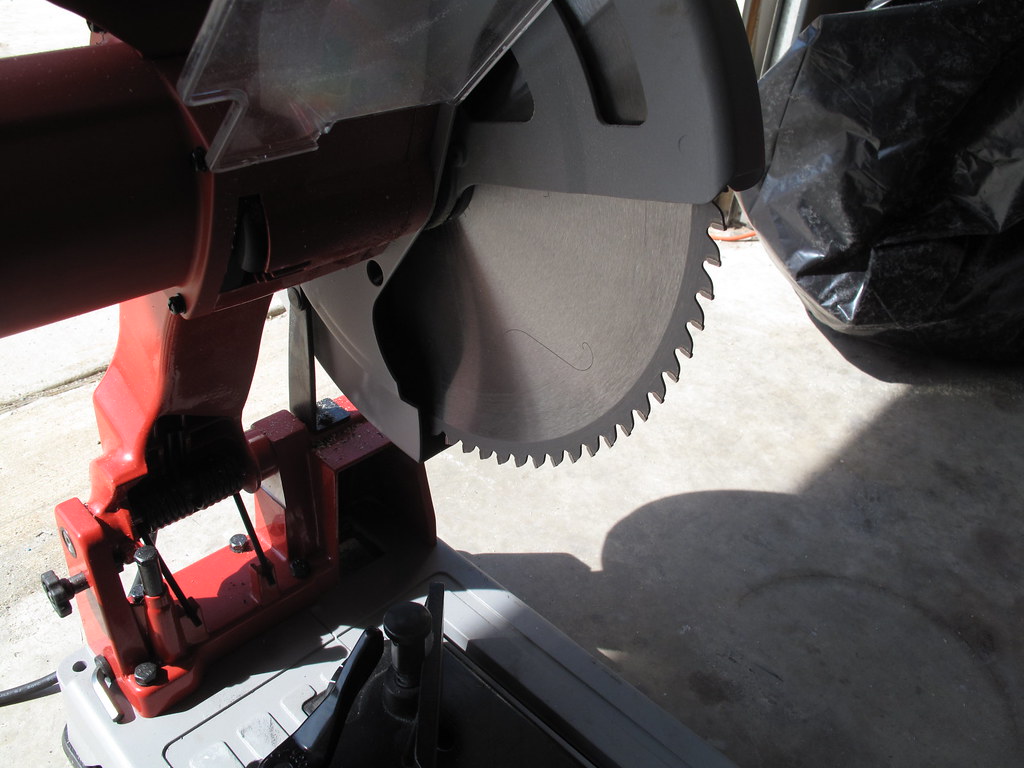
It cuts in 1/10 the time a fiber wheel does, no sparks, its precise, almost zero burs, and no black dust. Then get a magnetic broom and you just pick up the clips in a nice quick swipe.
5503874233_f1a6691a8a_b.jpg

5504465156_5f241e5626_b.jpg


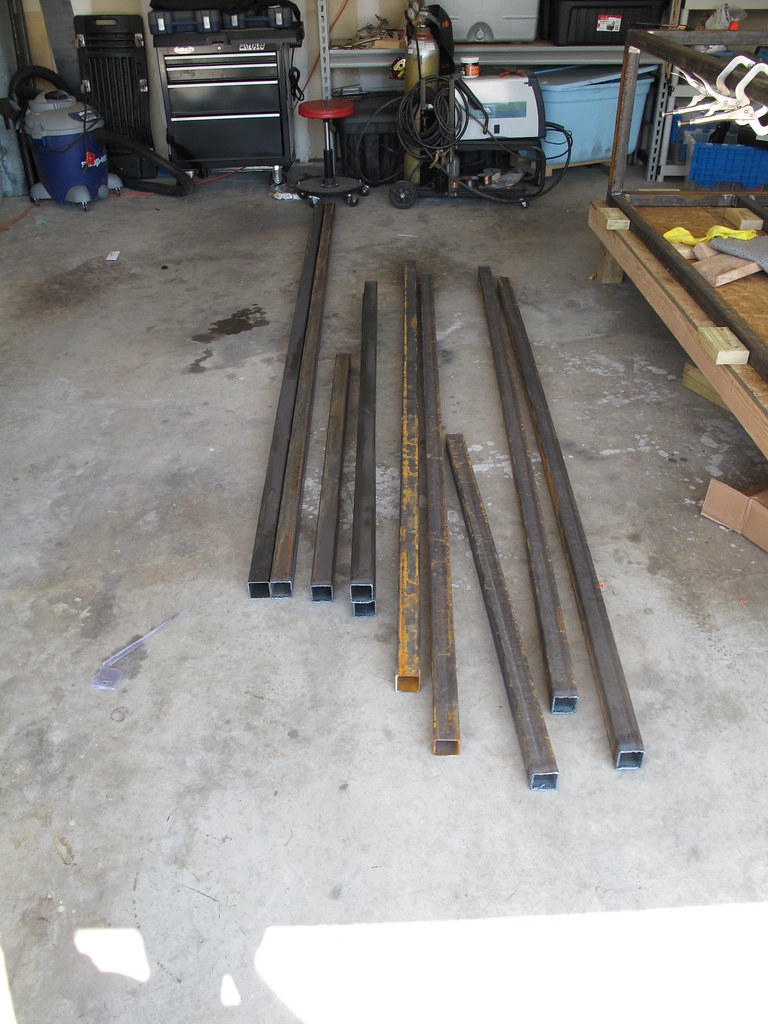
Back on subject, I started cutting the steel and making sure everything fit and was aligned. It was.
5503874403_5ce0690a83_b.jpg


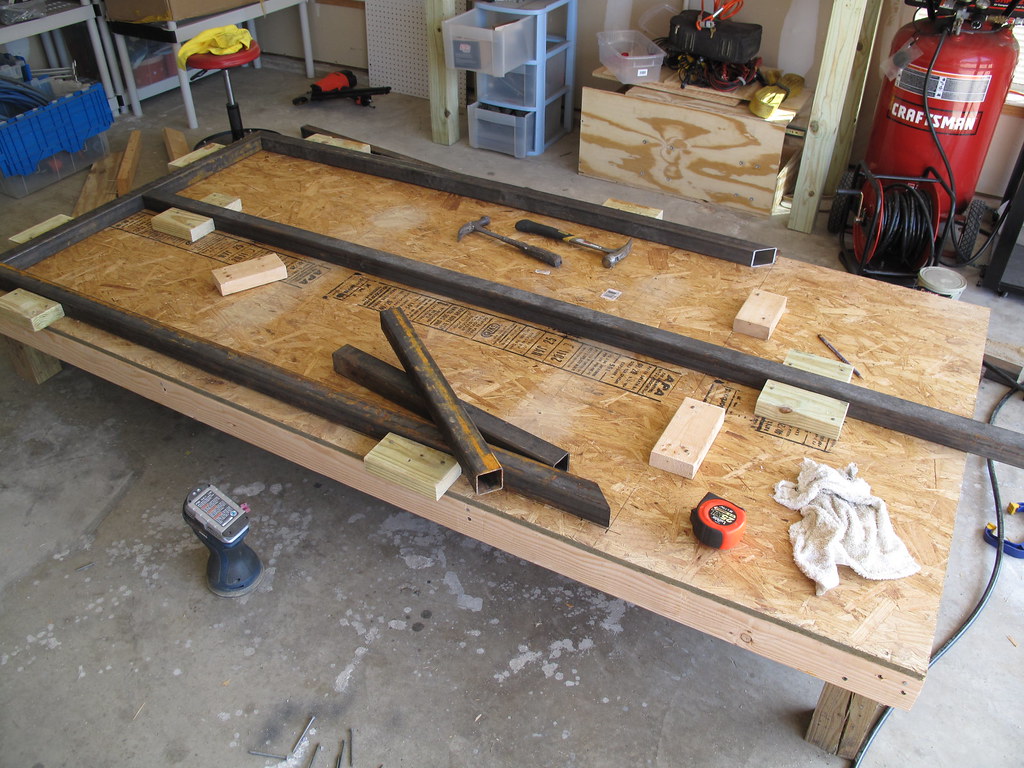
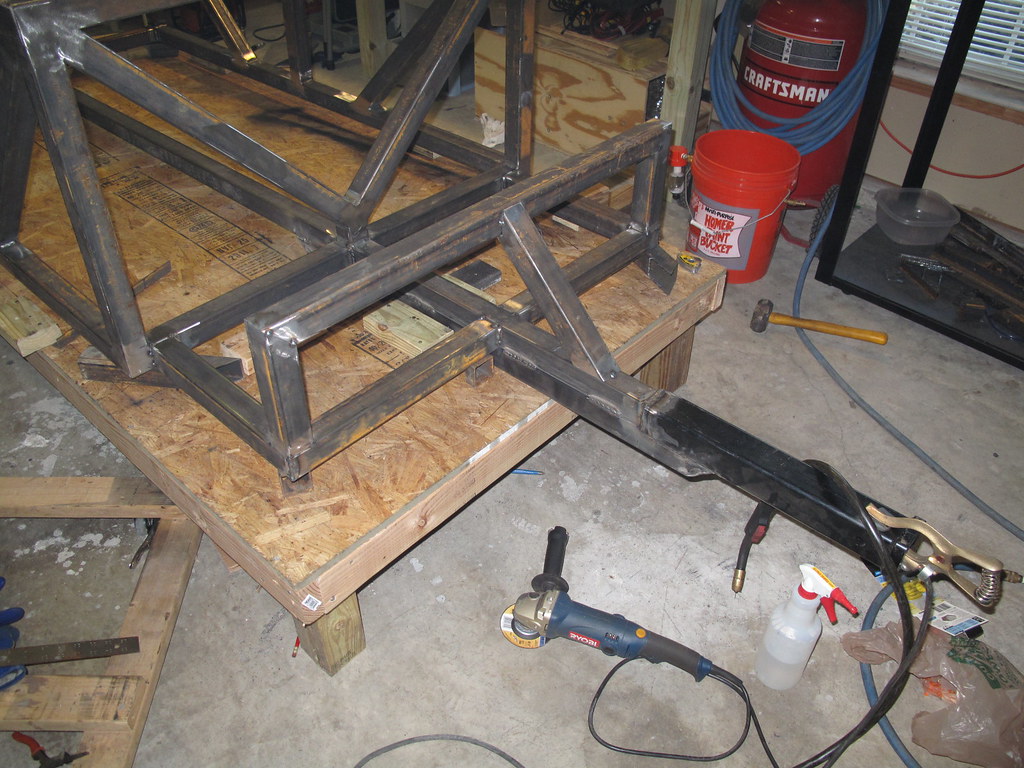
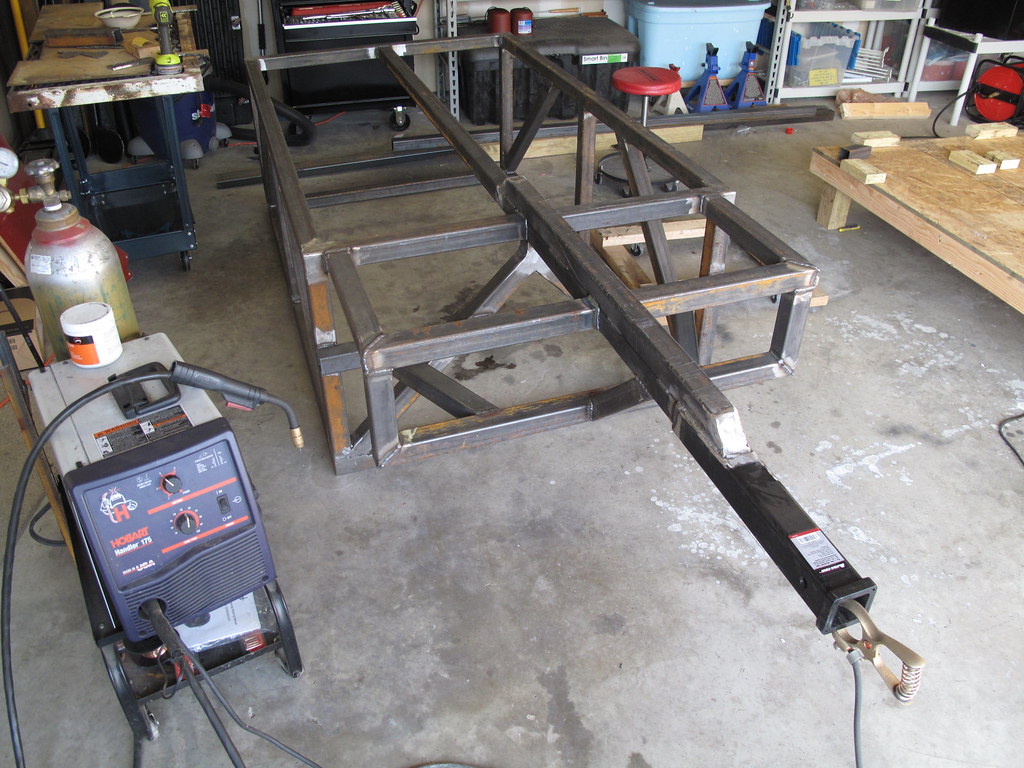
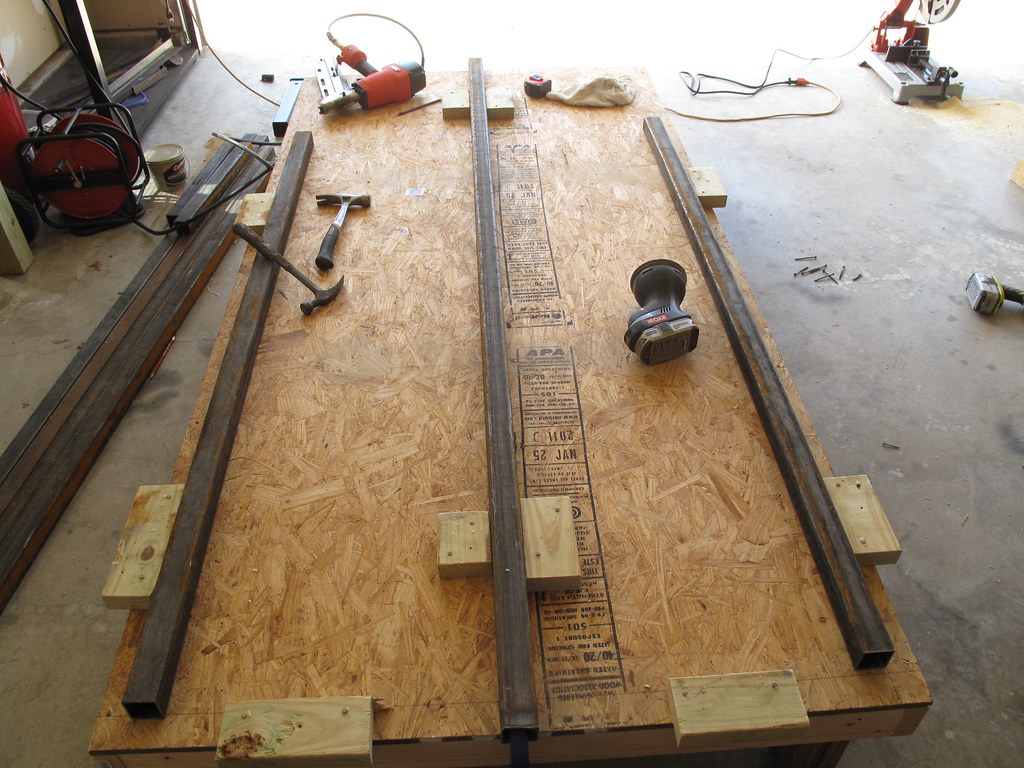
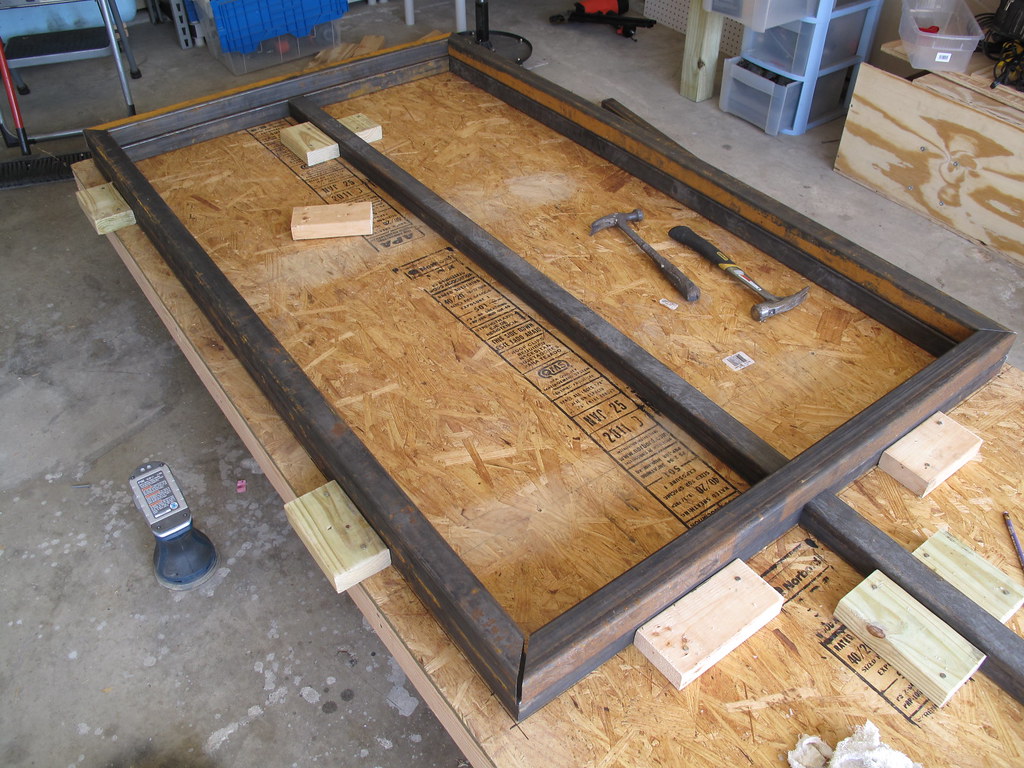
Here is the lower frame all laid out.
5503874513_659420cf44_b.jpg

5503874587_e966d4a0c5_b.jpg


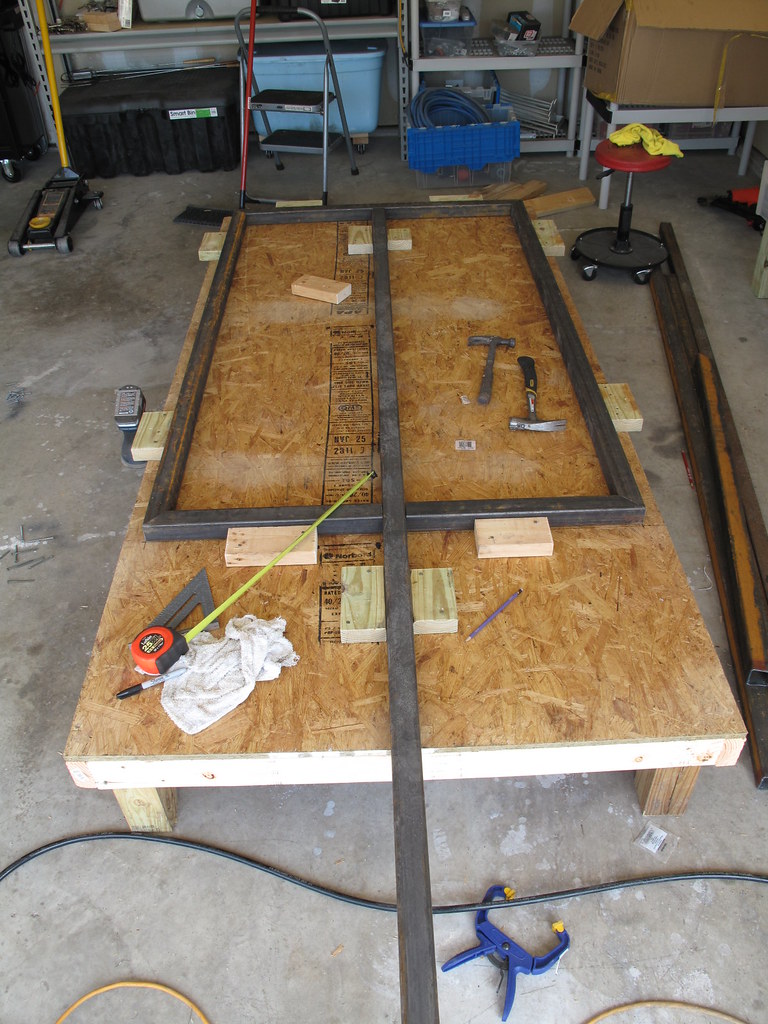
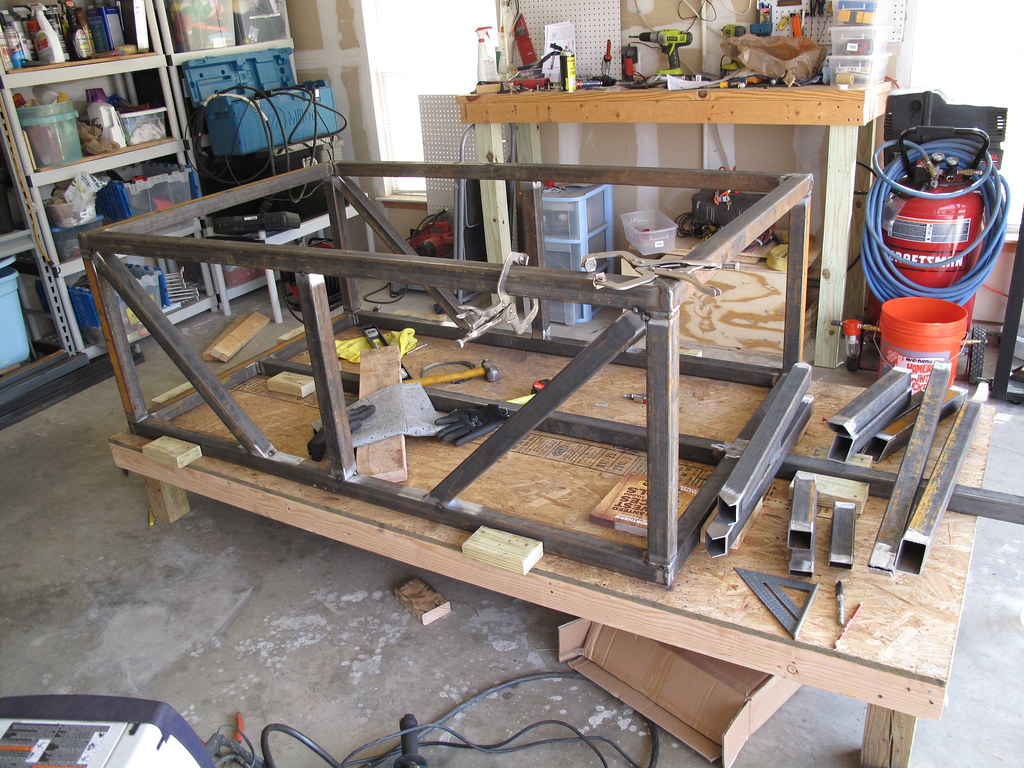
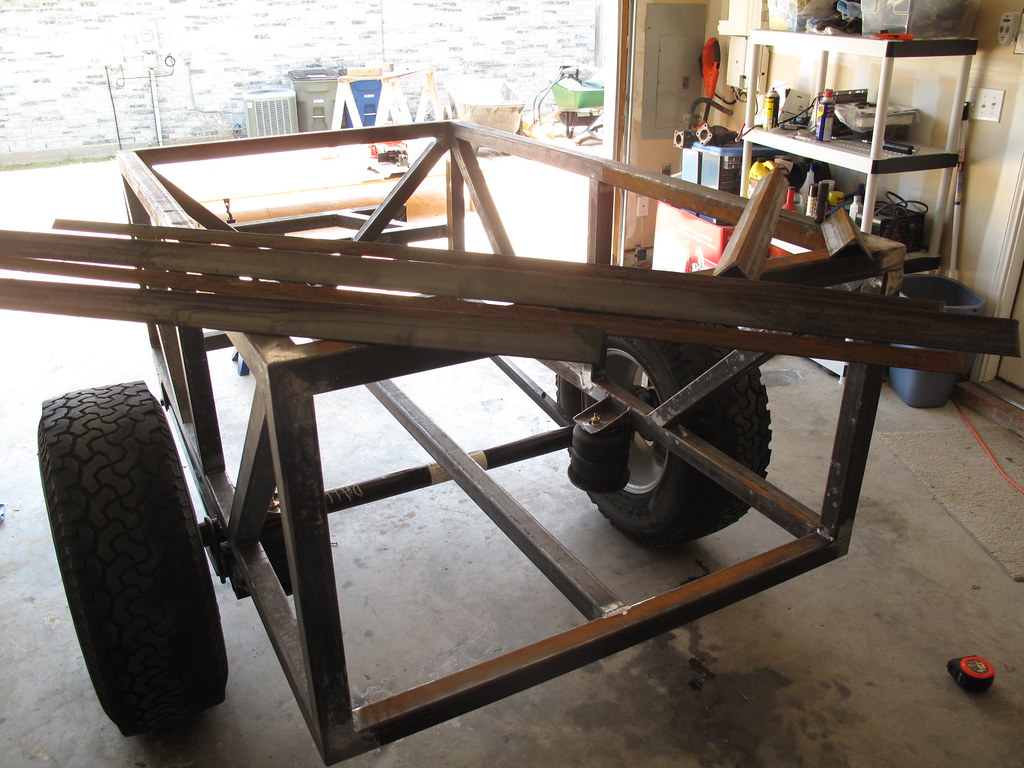
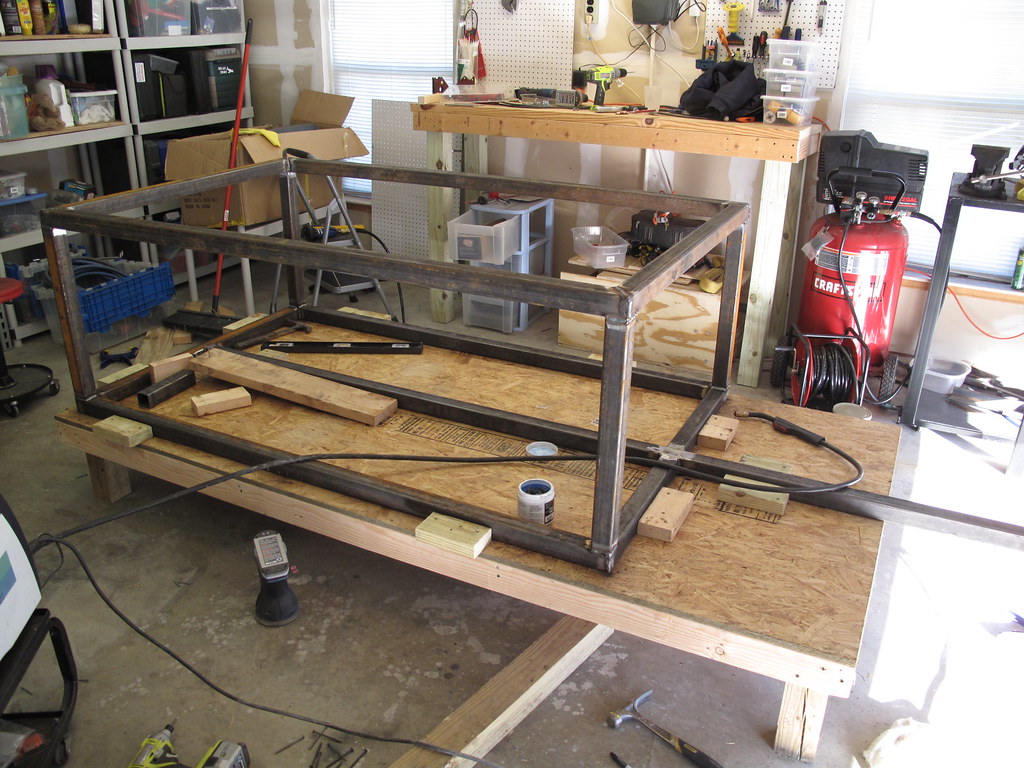
Then I cut the upper frame. Here it is just placed on the lower frame.
5503874657_cfdcb1311f_b.jpg


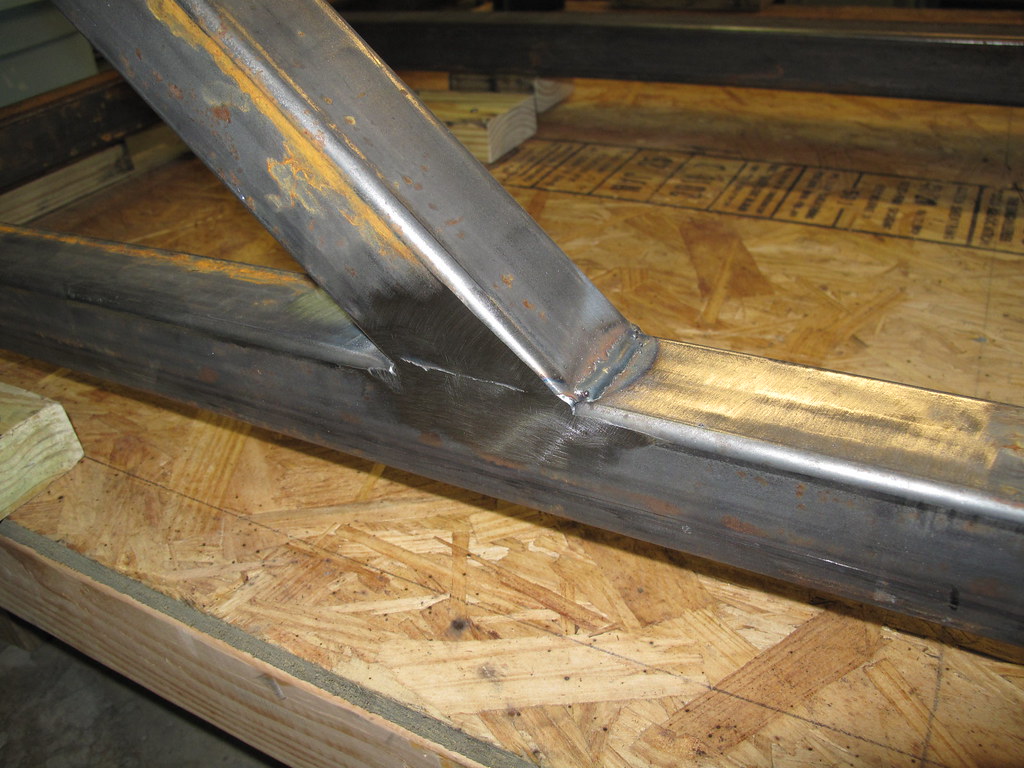
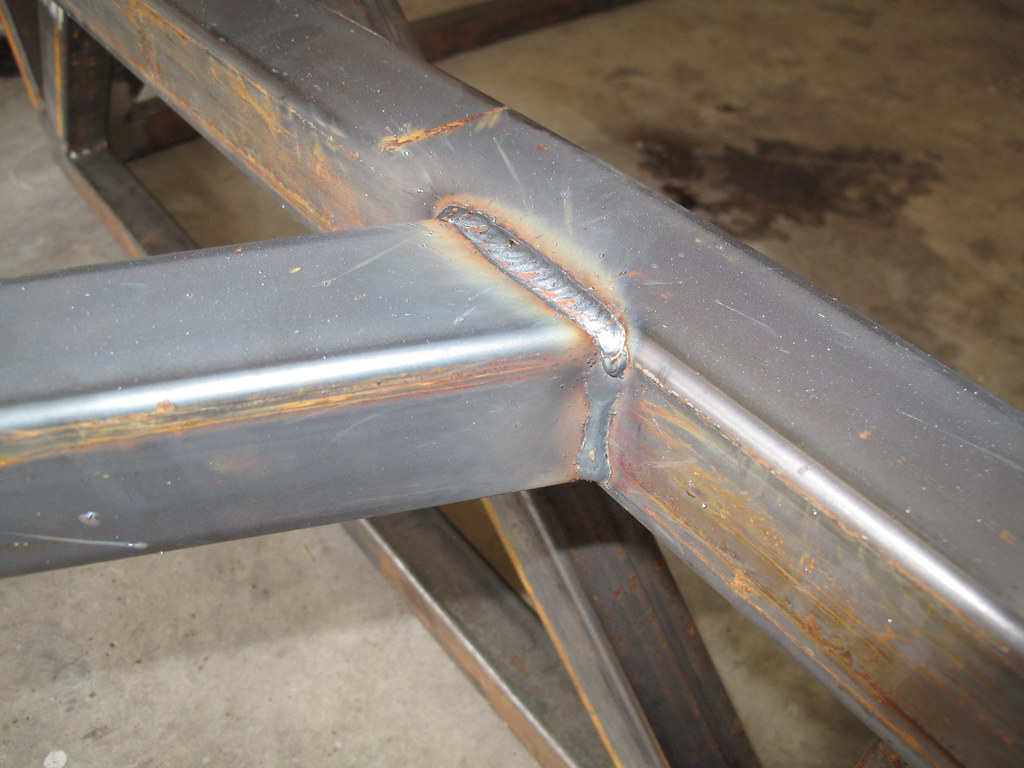
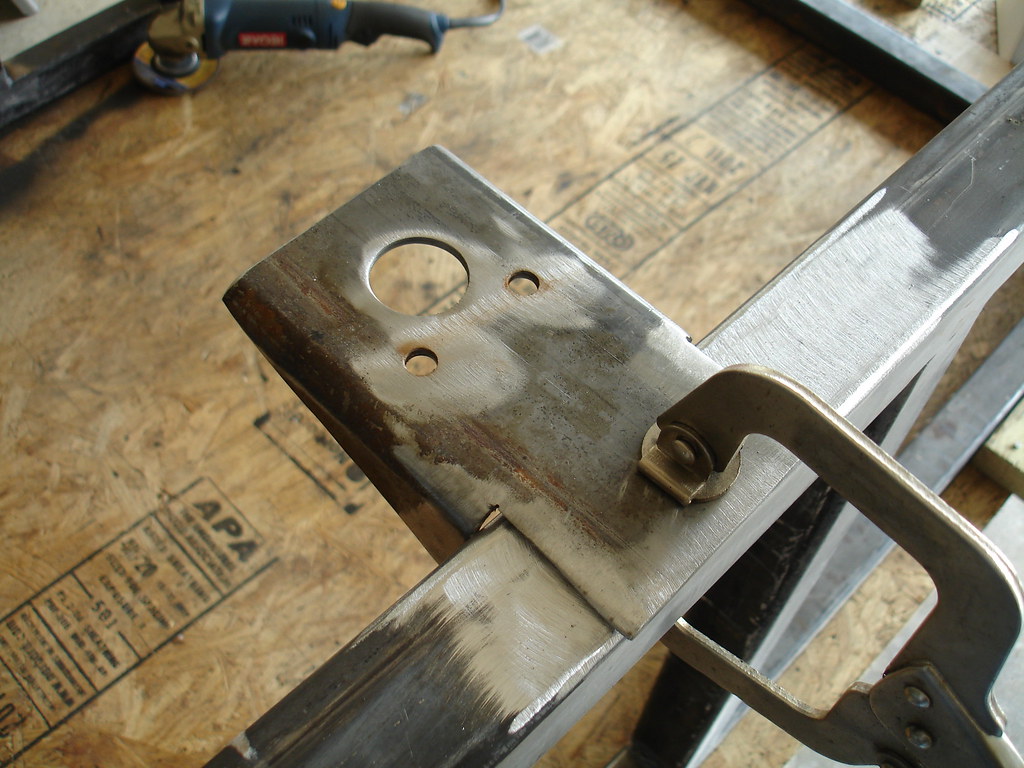
Next I cleaned up all the welded edges to prep for welding. I laid out the top frame first for welding.
5504465674_b5bc8f532b_b.jpg


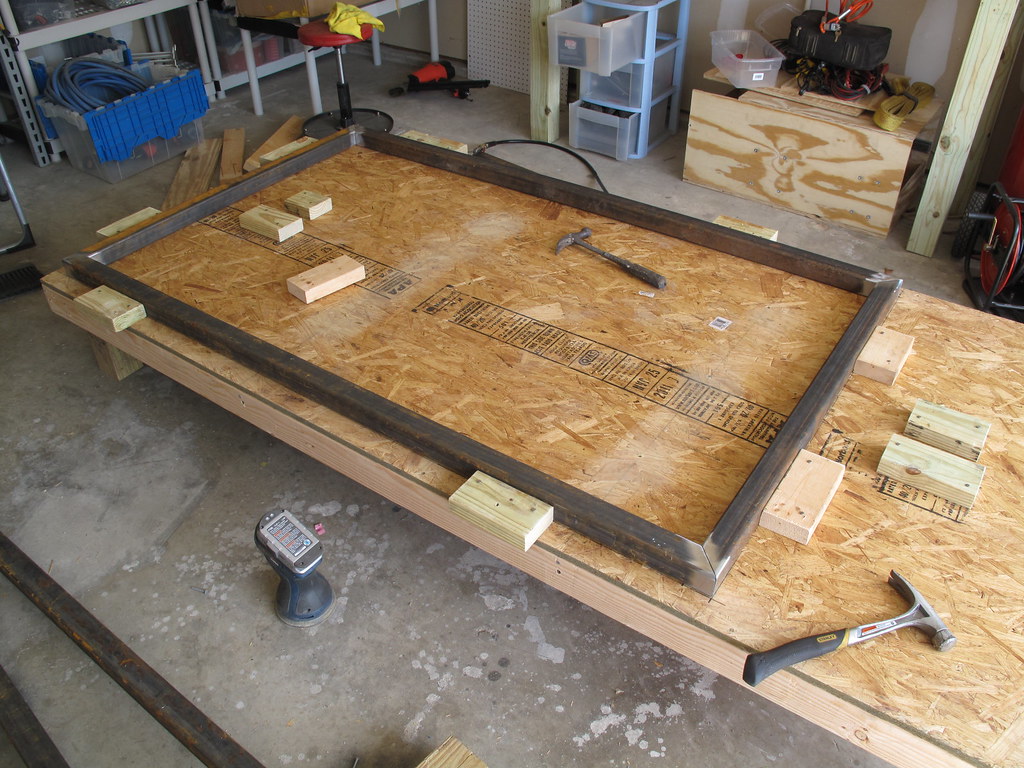
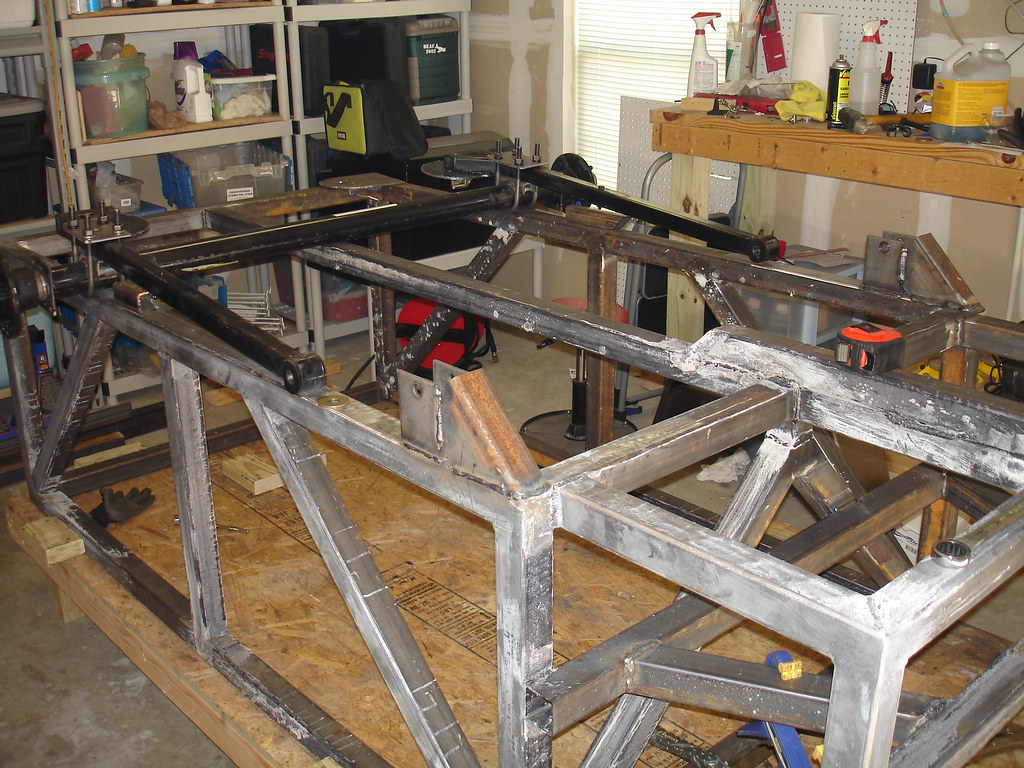
After I tacked the top frame all up, I laid out the frame and started welding it together.
5503874877_e4e26aa4c3_b.jpg


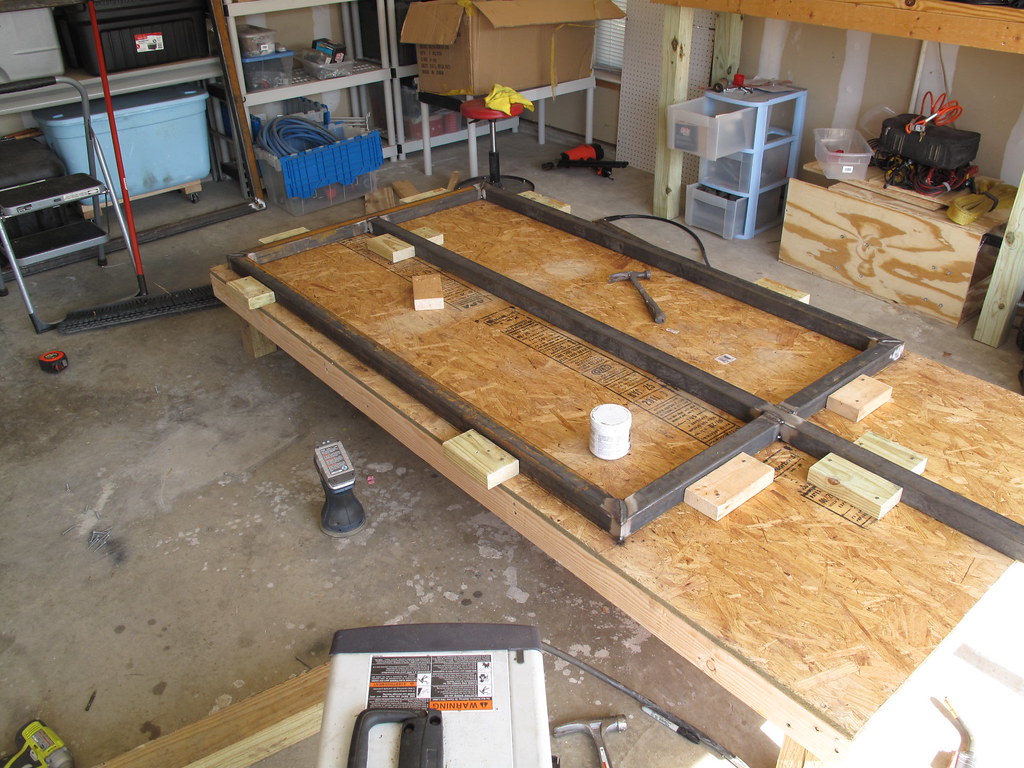
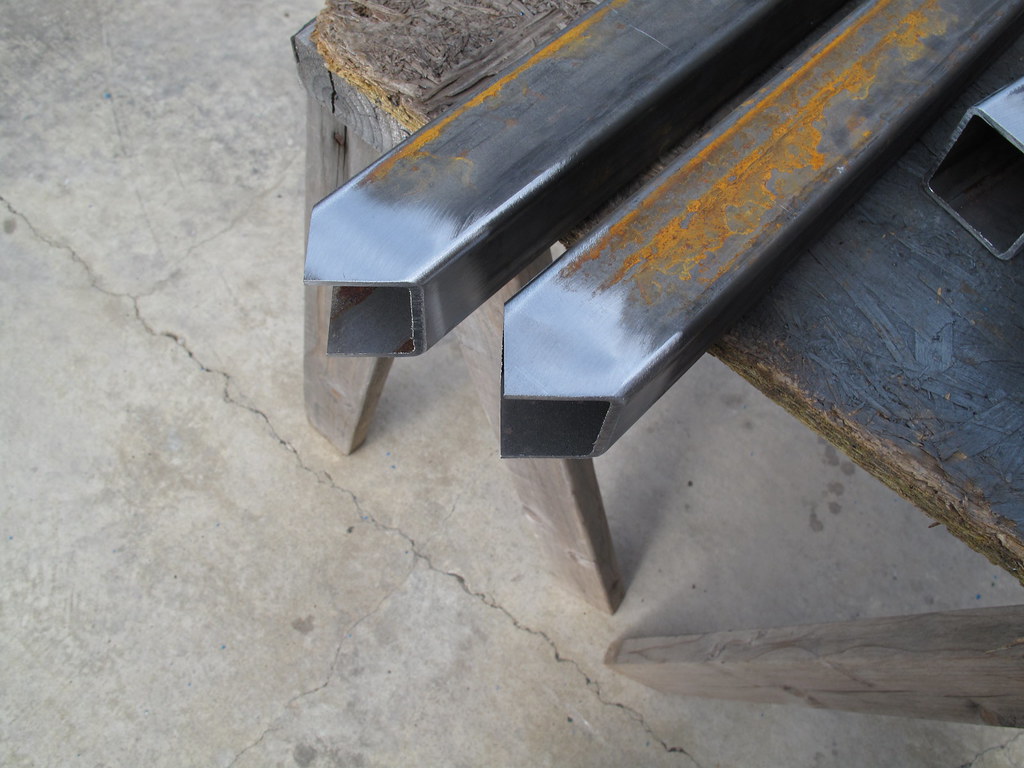
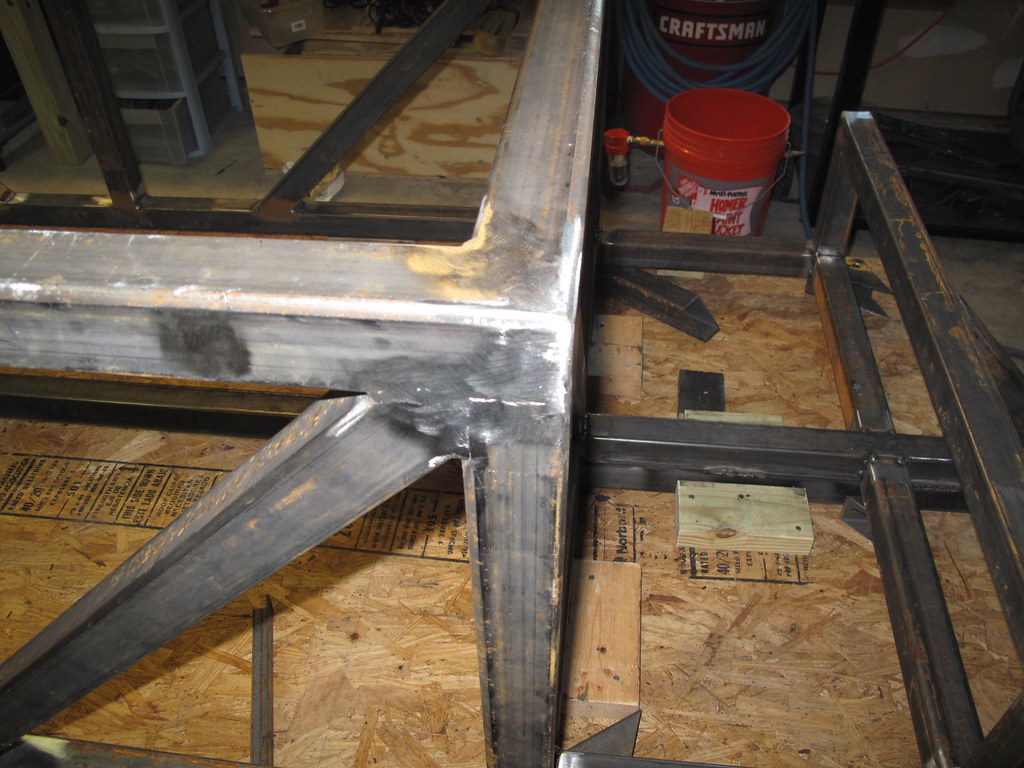
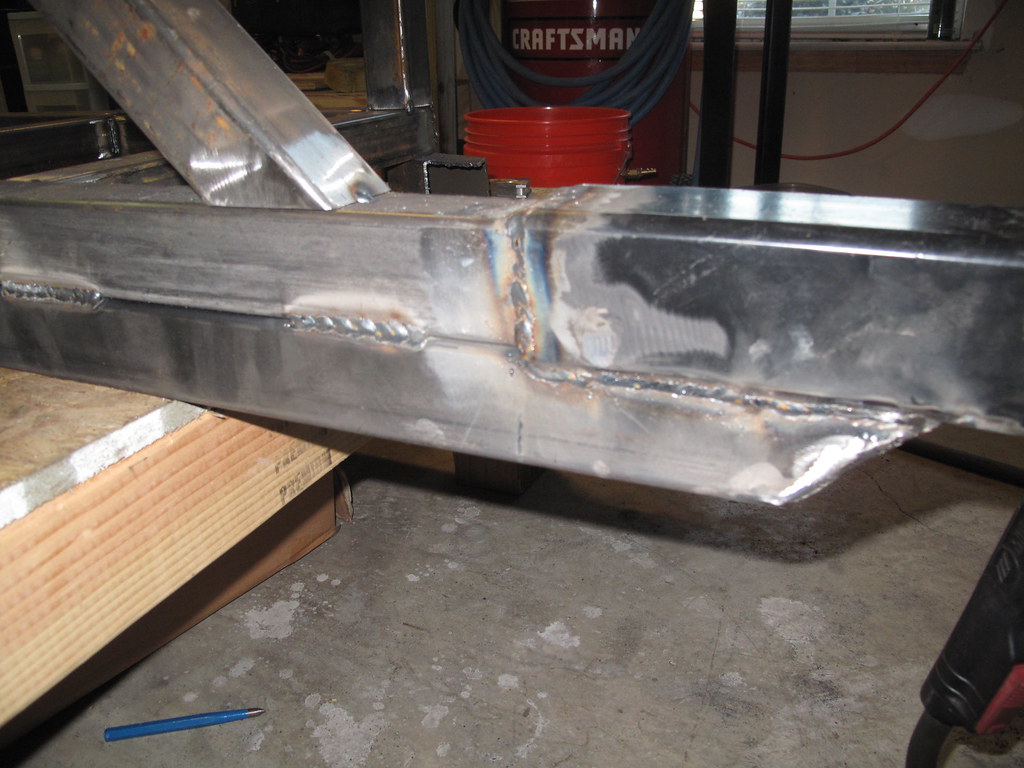
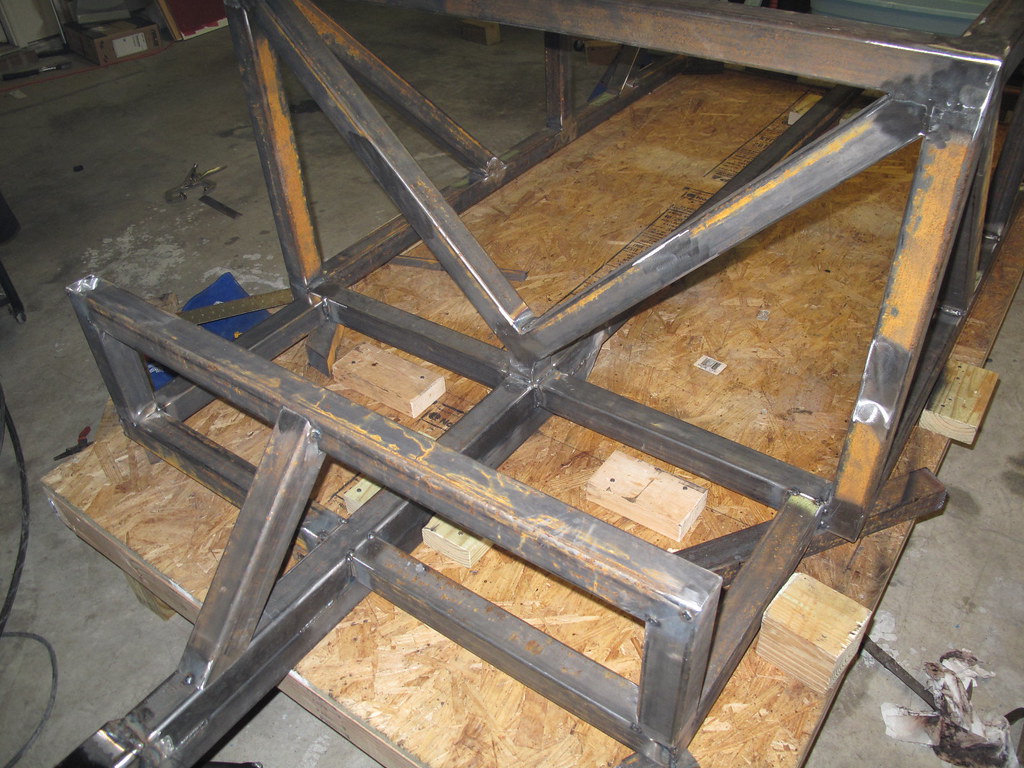
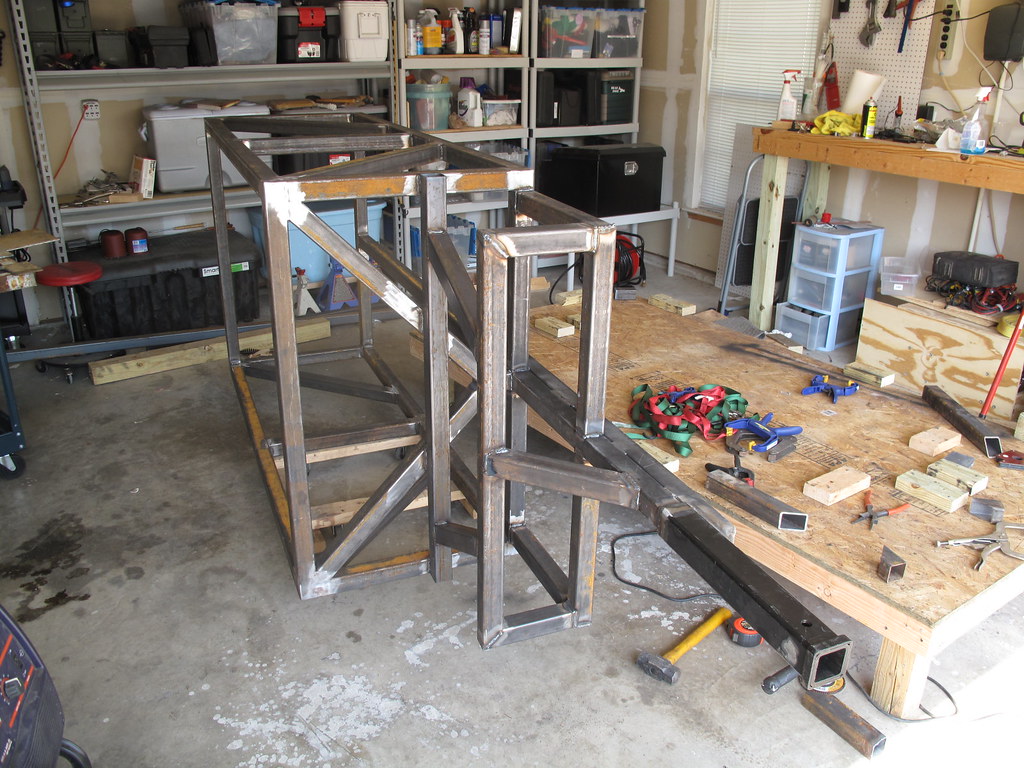
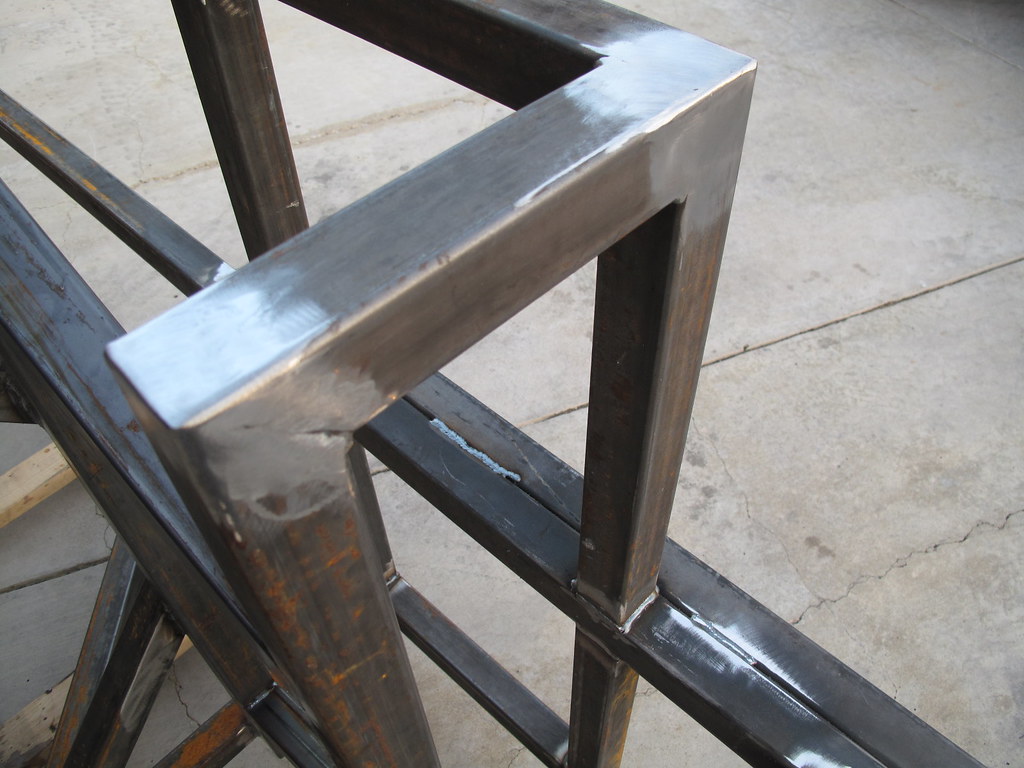
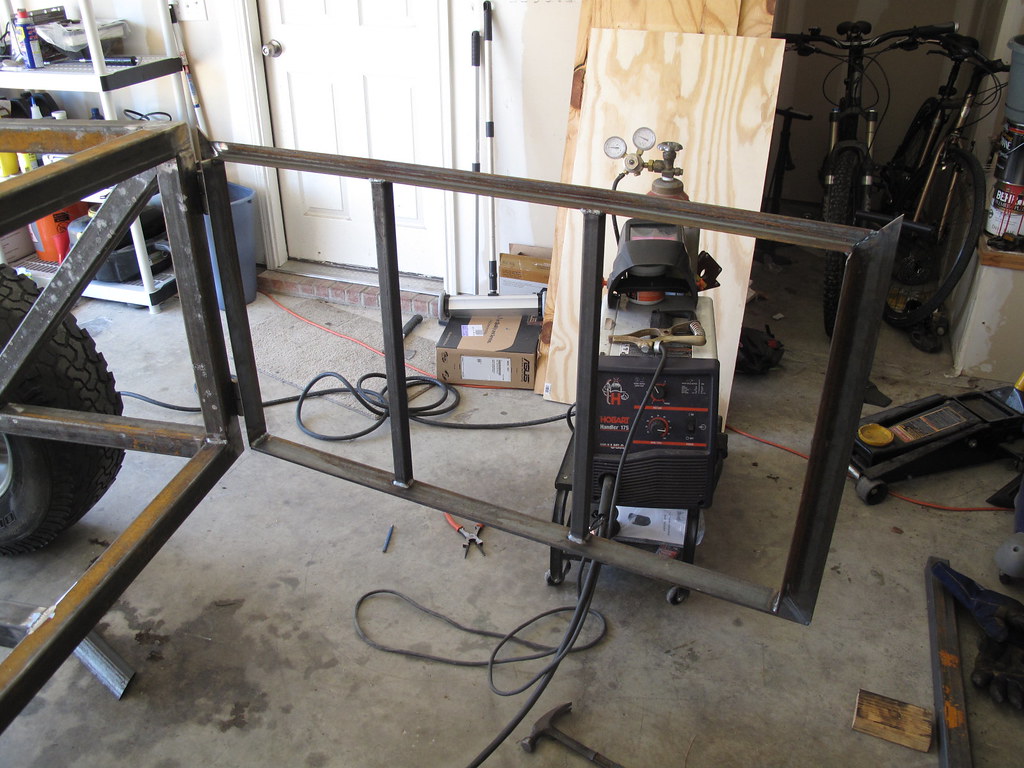
After fully welding the frame and the top rail, I ground down the welds on top of the frame and the bottom of the top rail. I laid them on top of each other here for a picture.
5503874951_608484af67_b.jpg


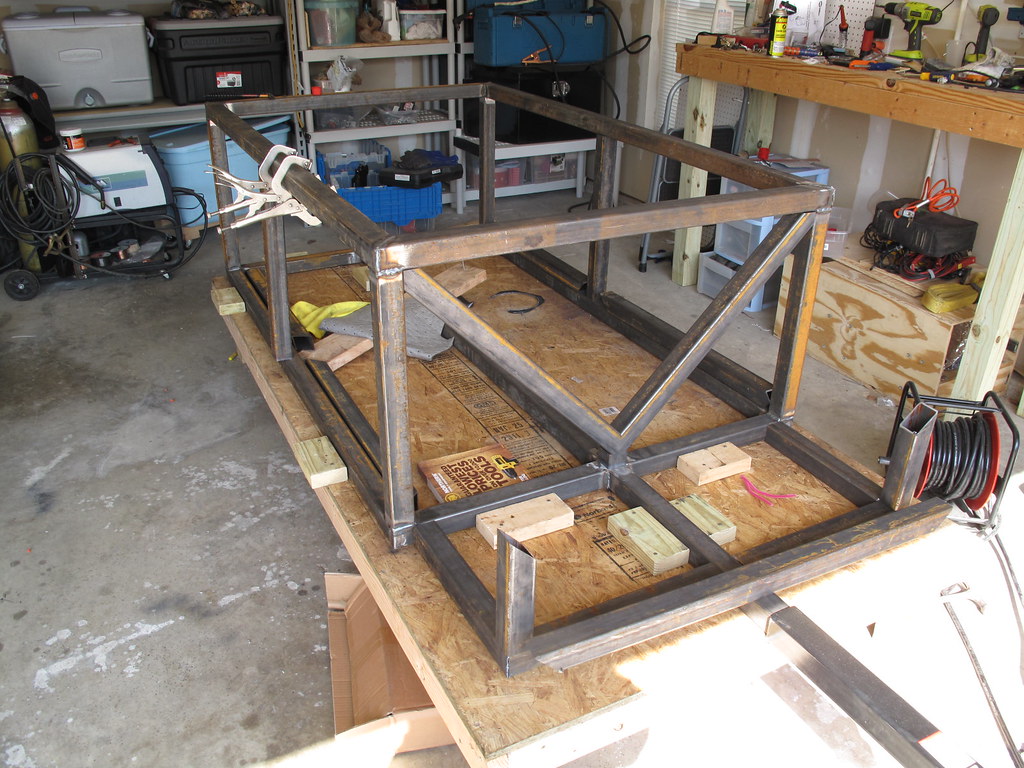
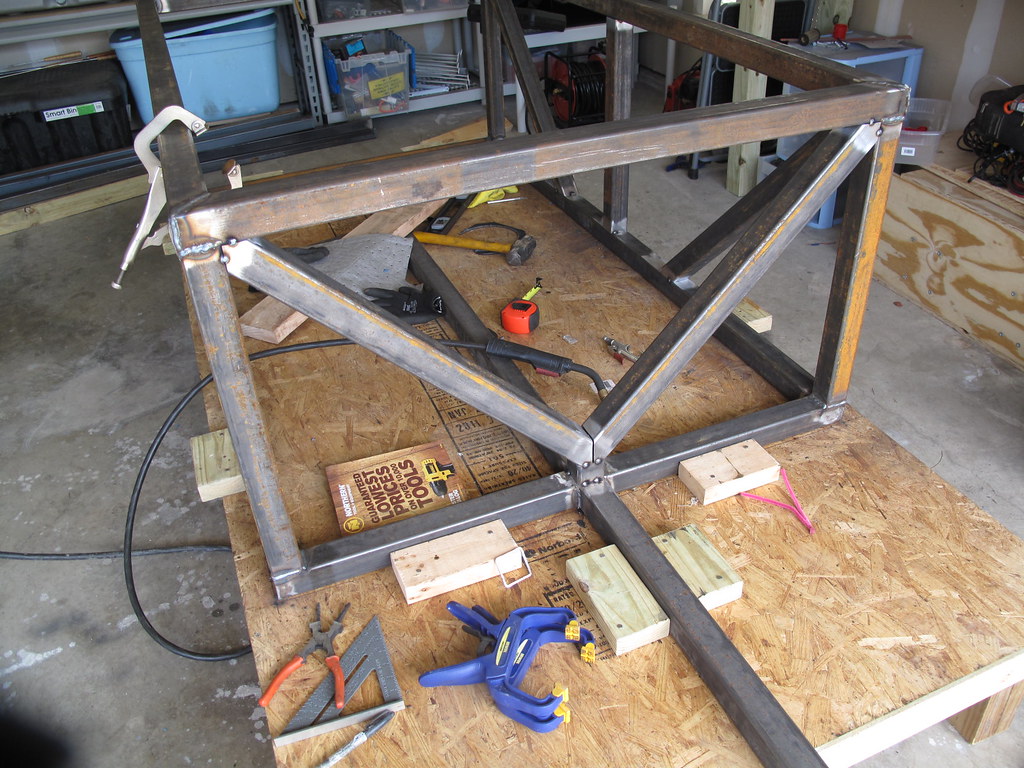
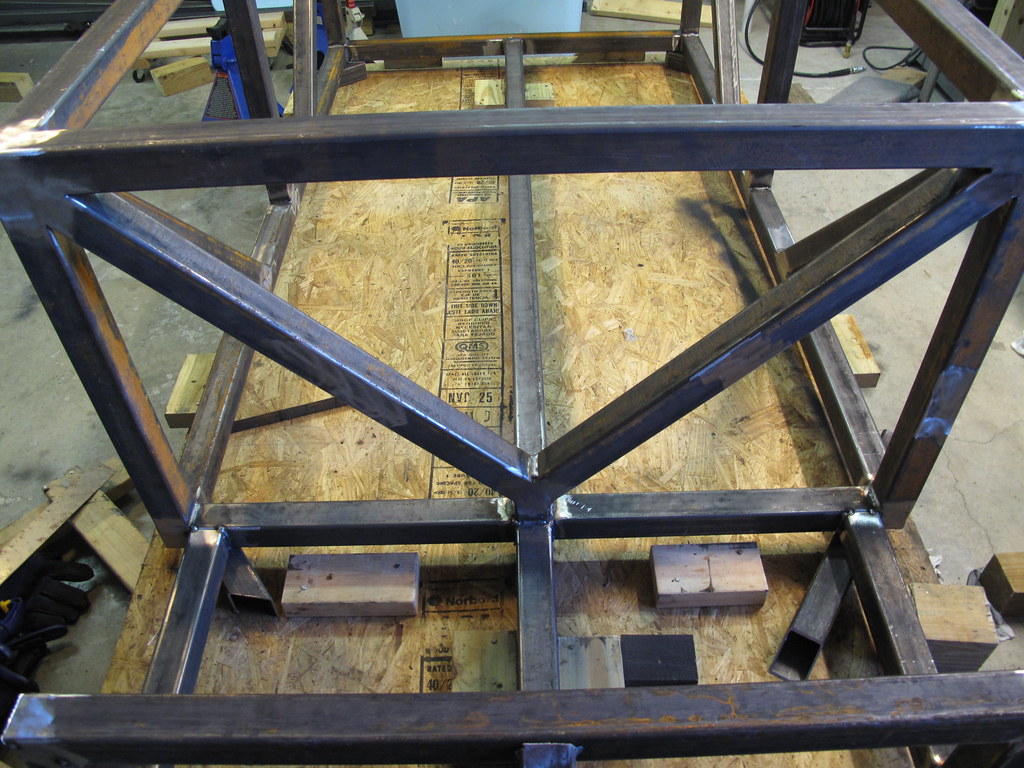
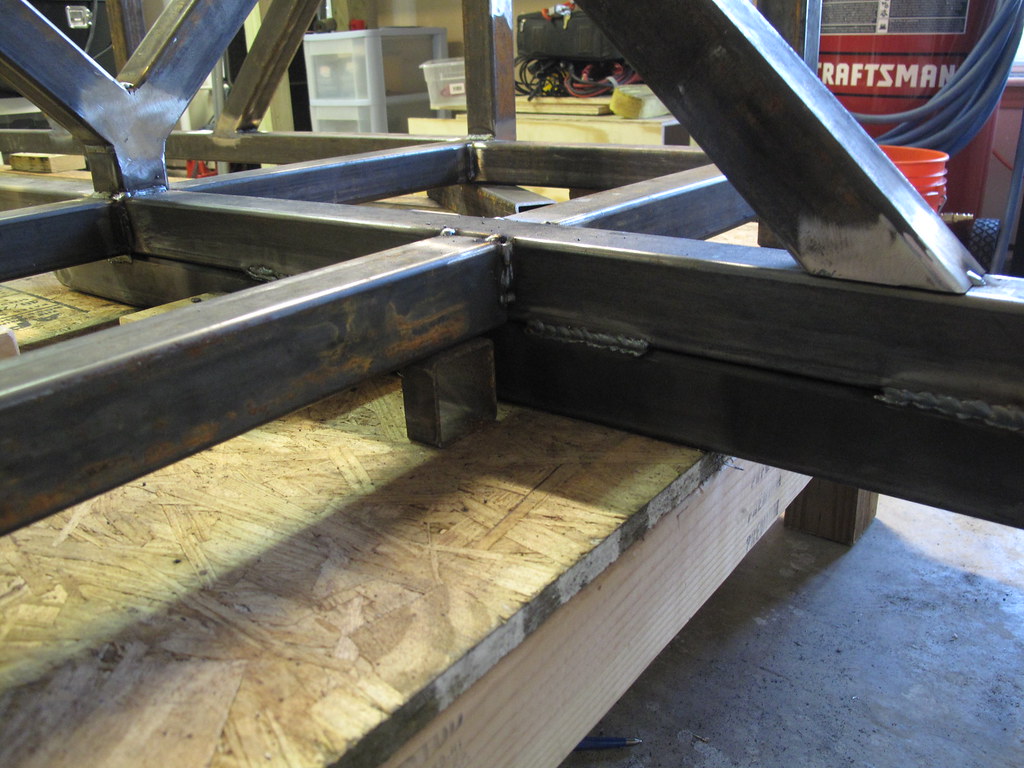
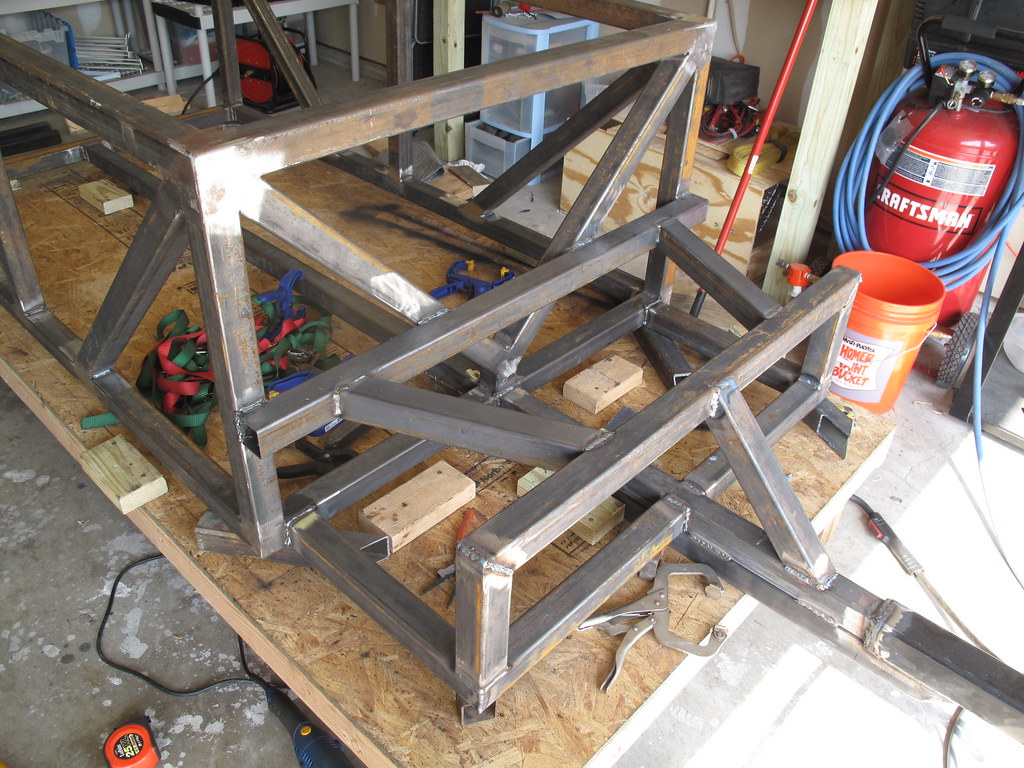
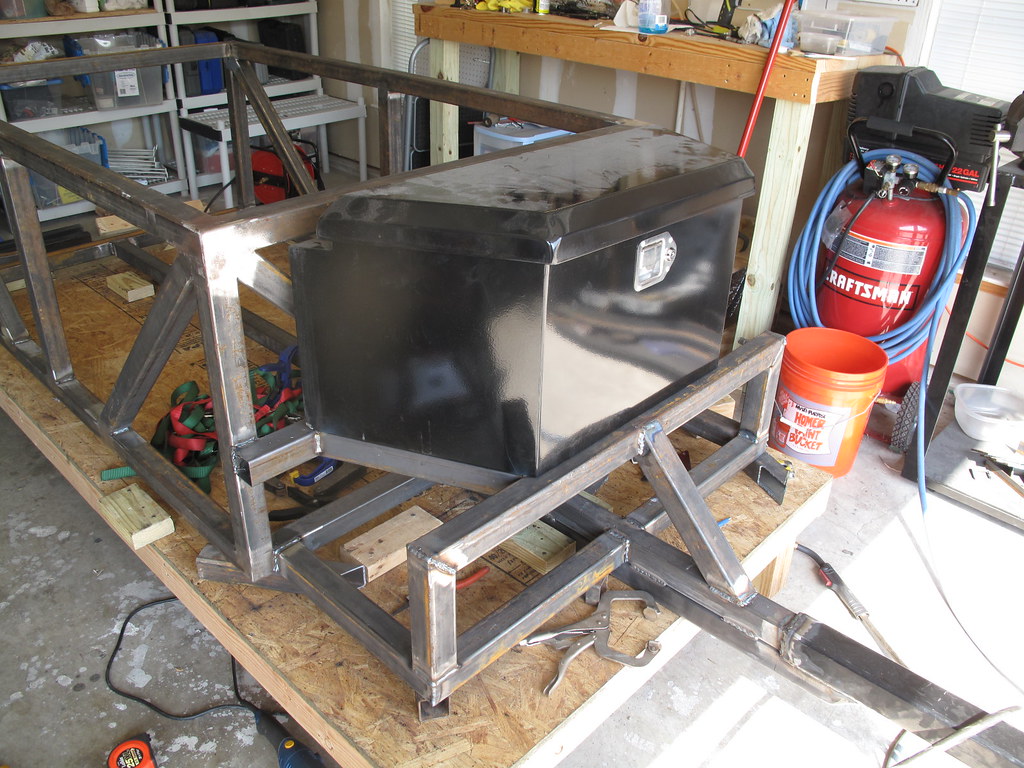
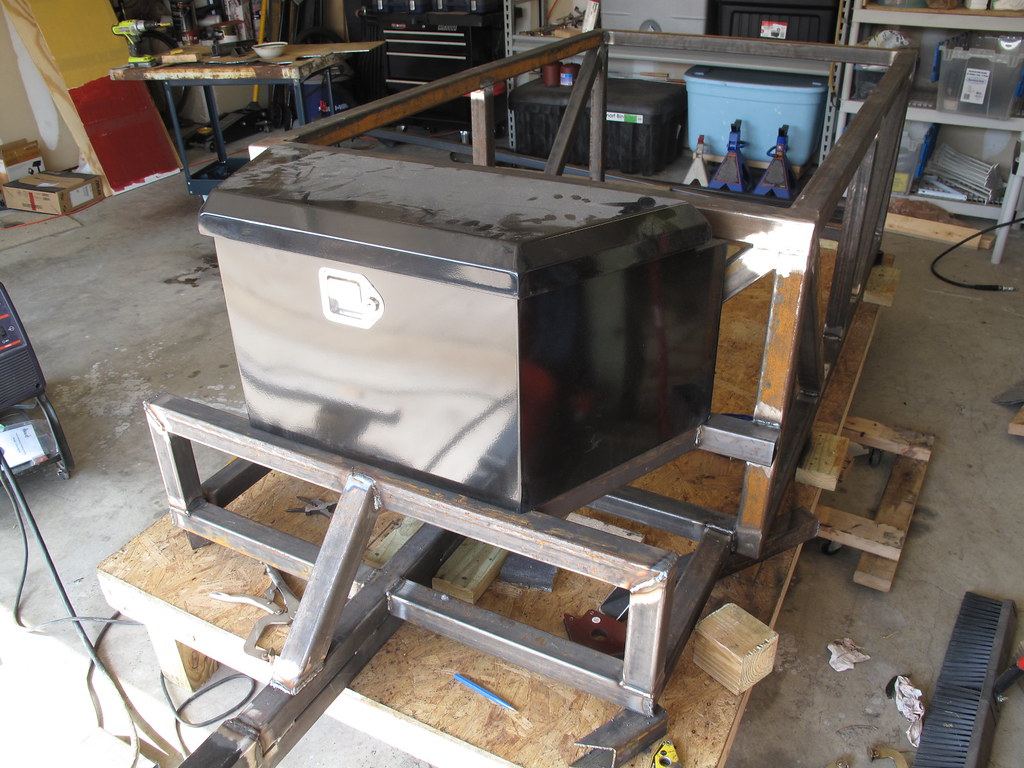
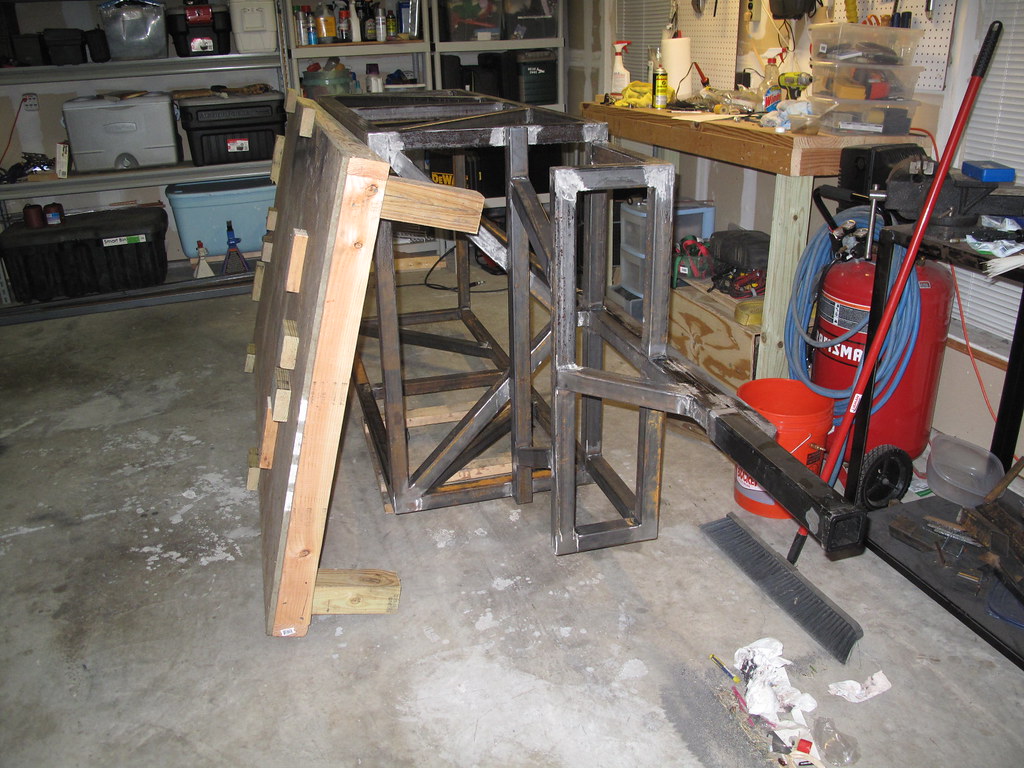
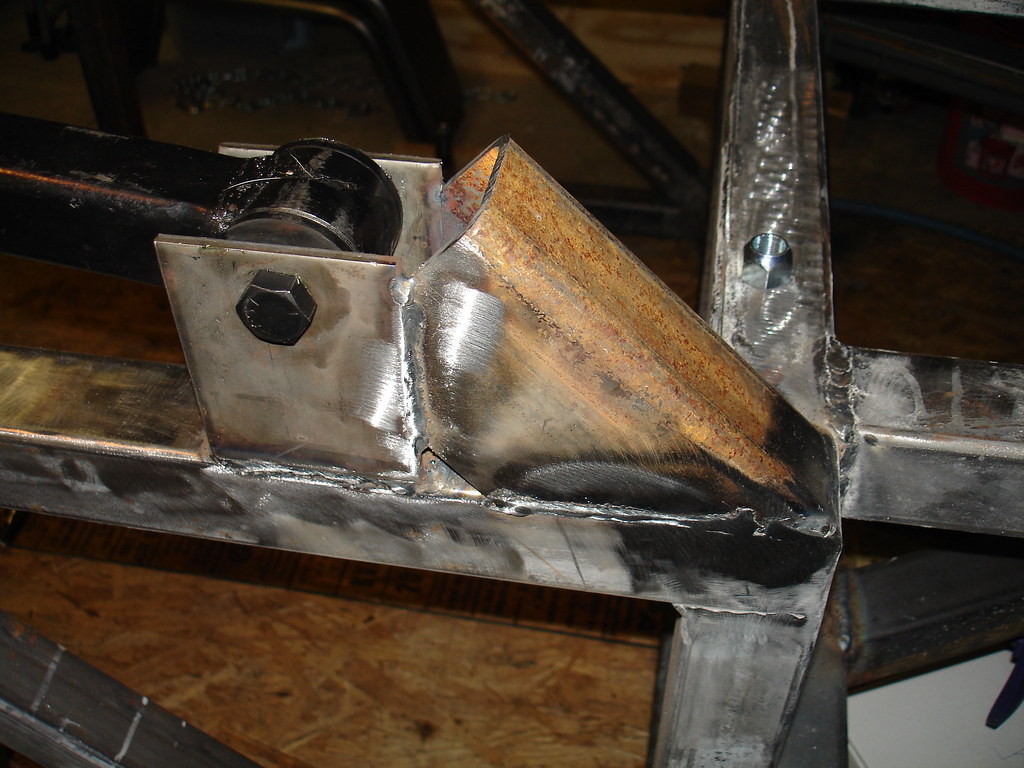
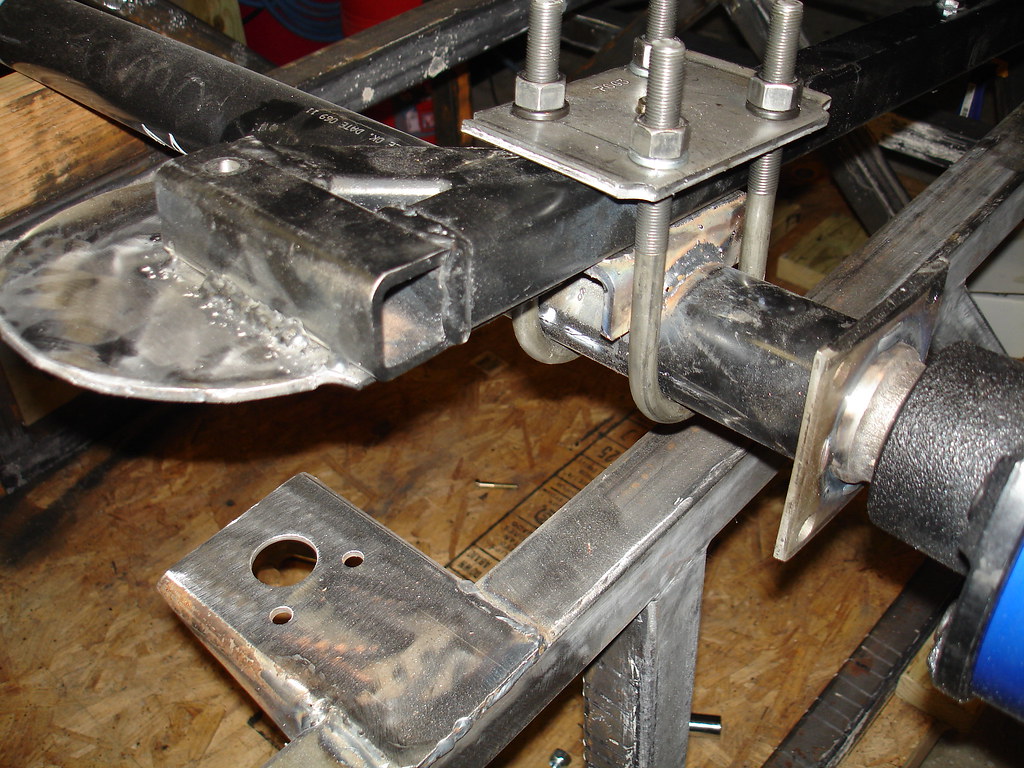
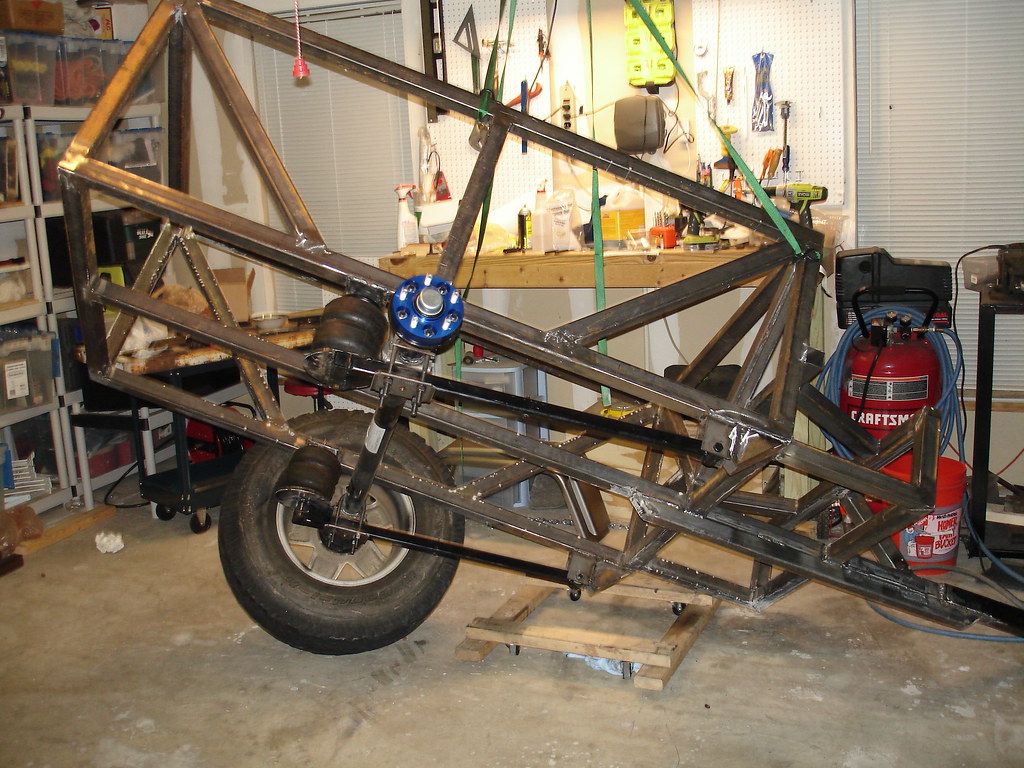
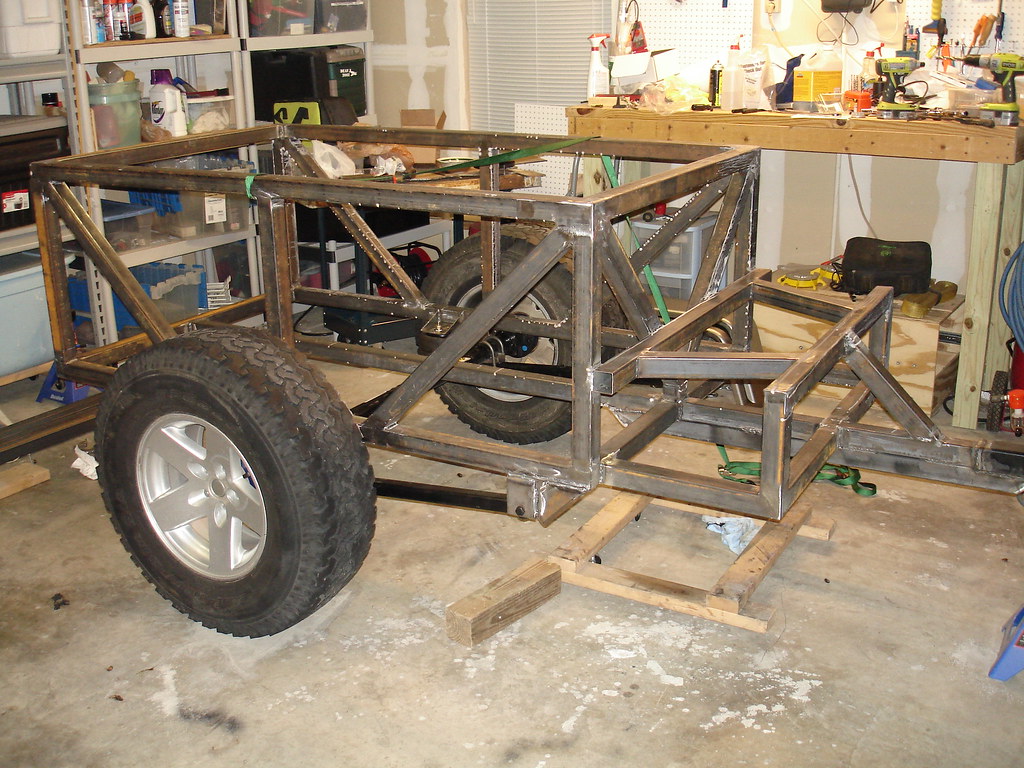
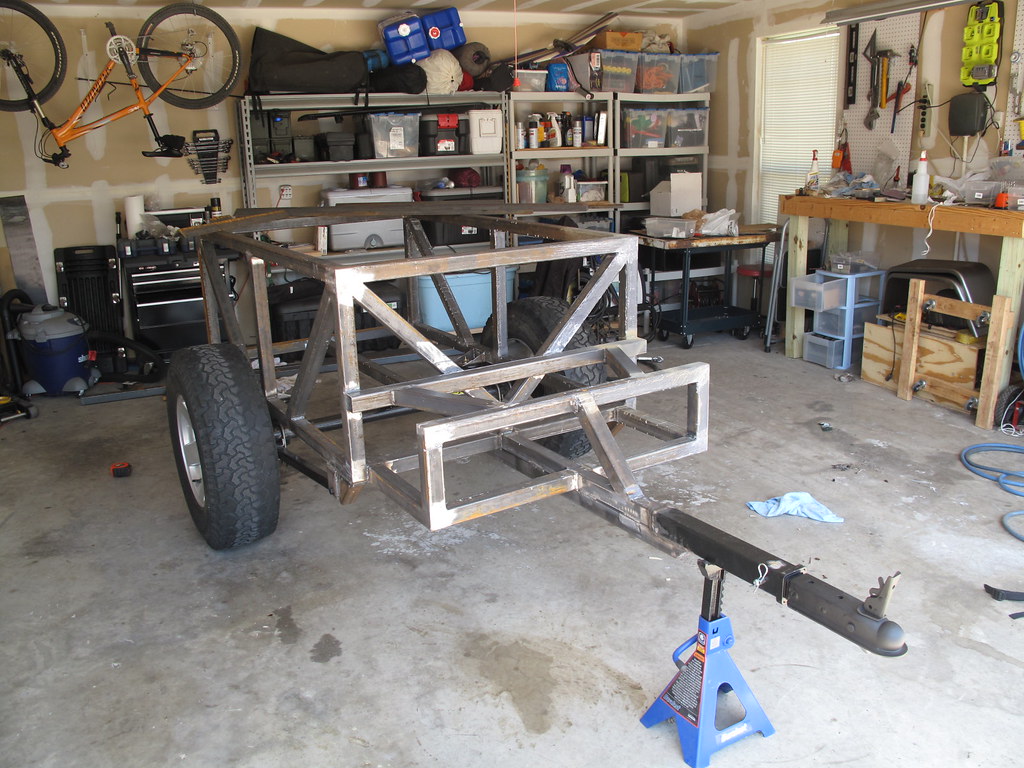
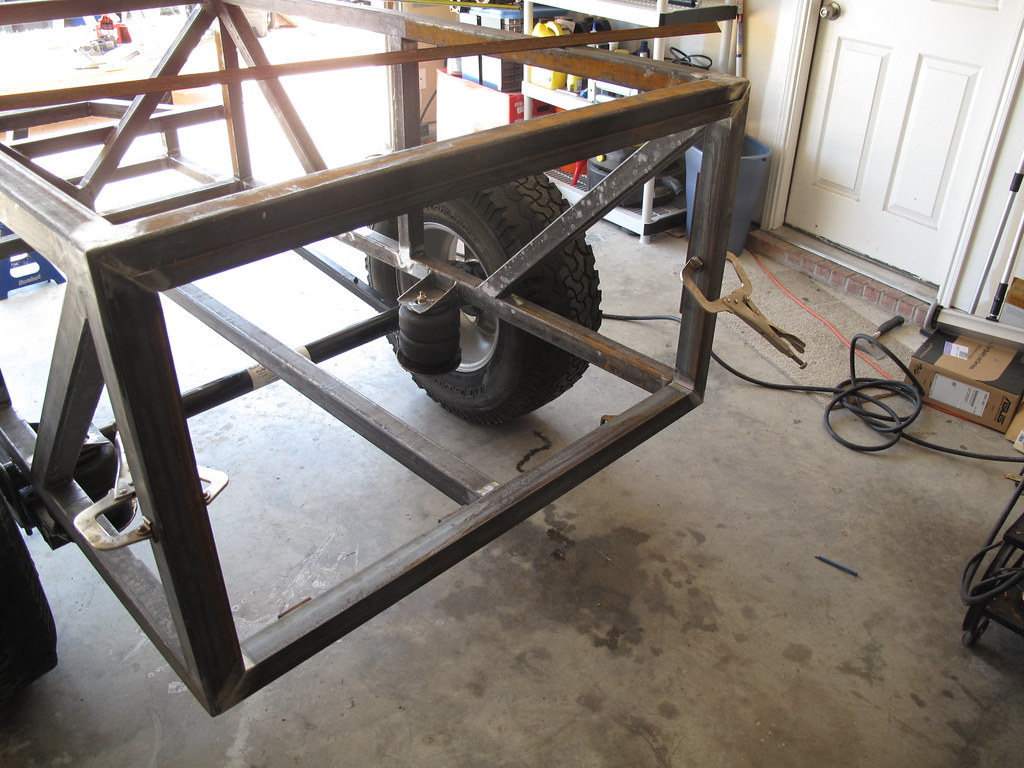
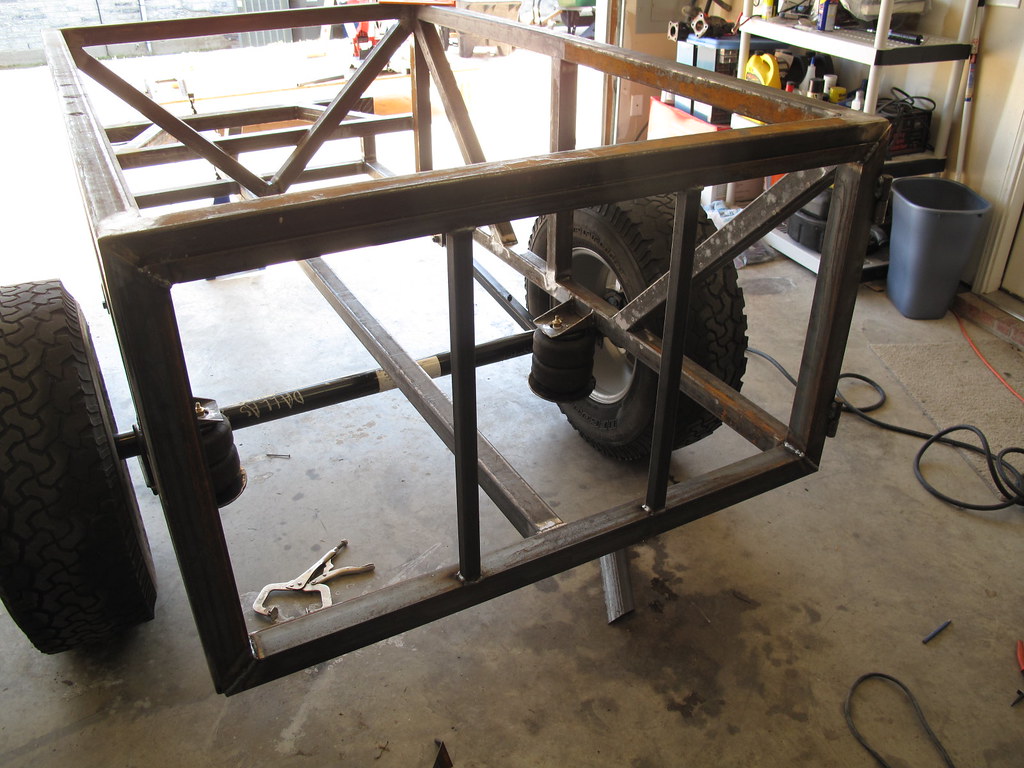
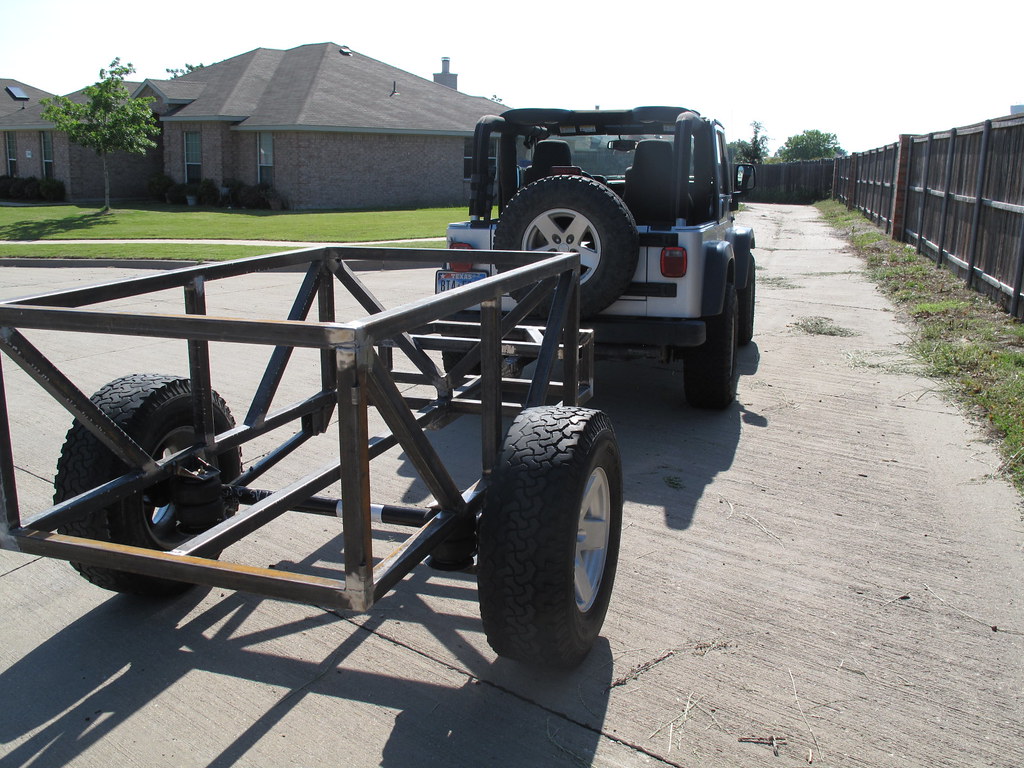
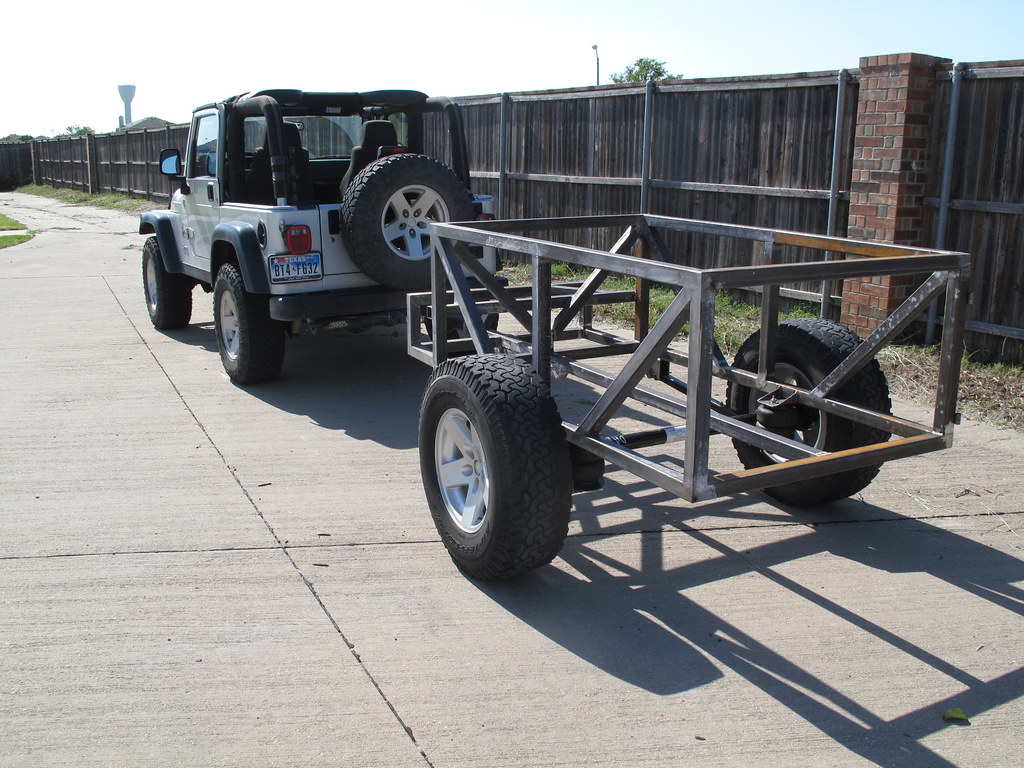
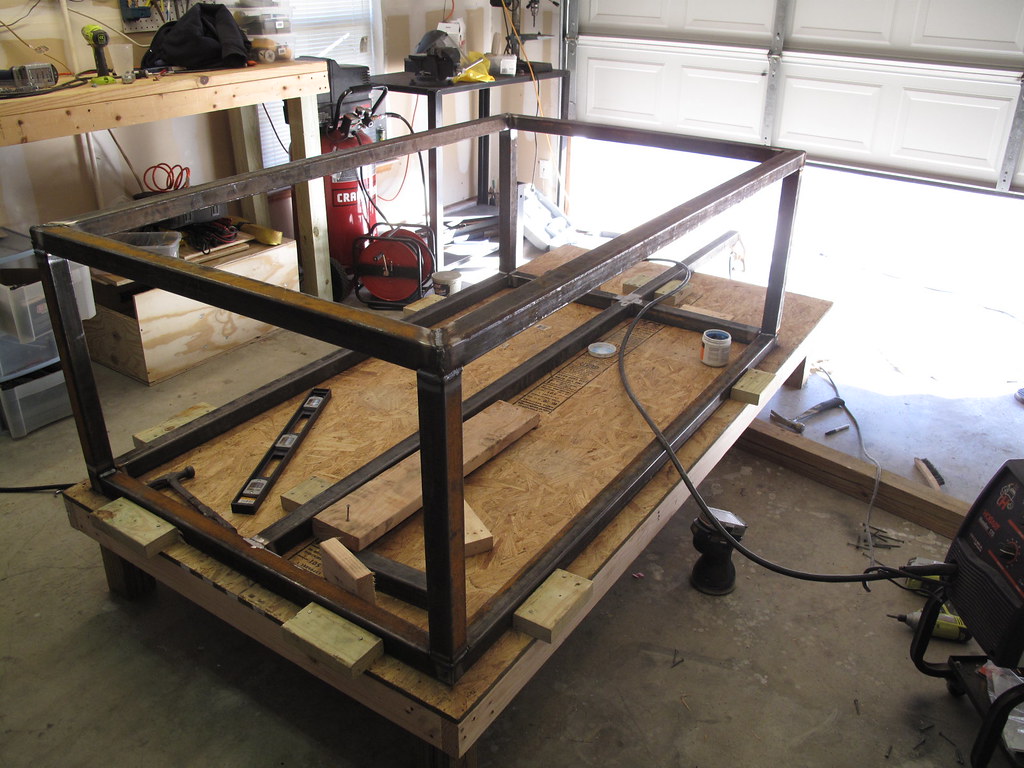
Then I cut, tacked, and welded in the corner uprights and then attached the top rail.
5504466028_ed95d9260f_b.jpg

5504466126_7333ef8ba0_b.jpg


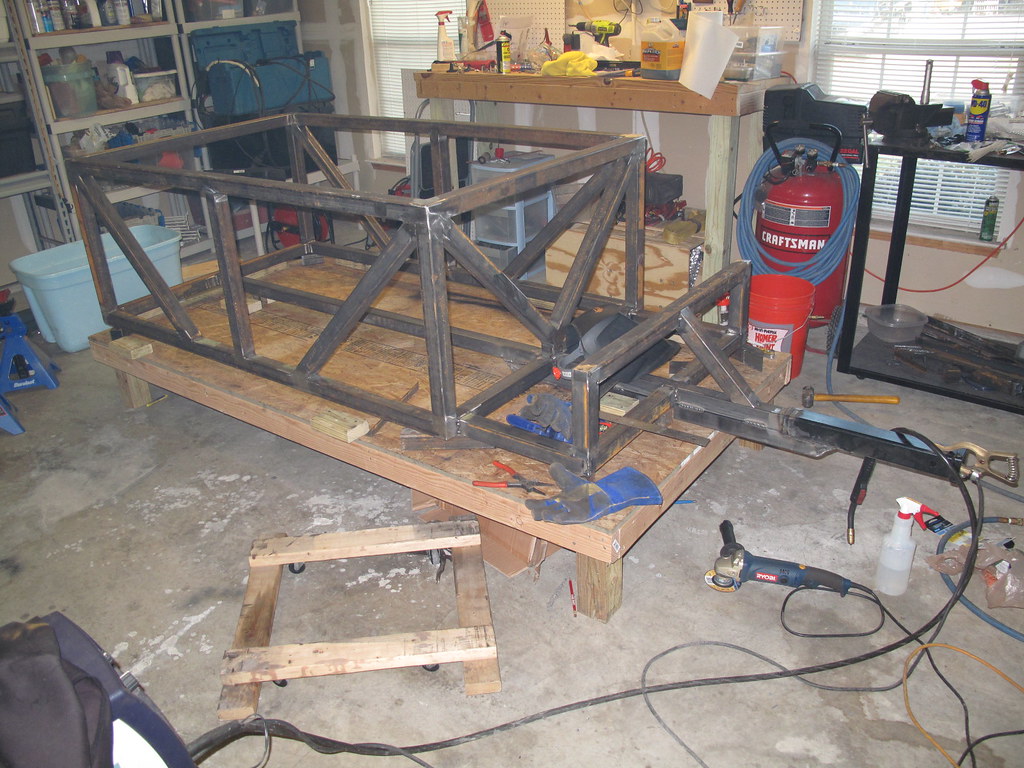
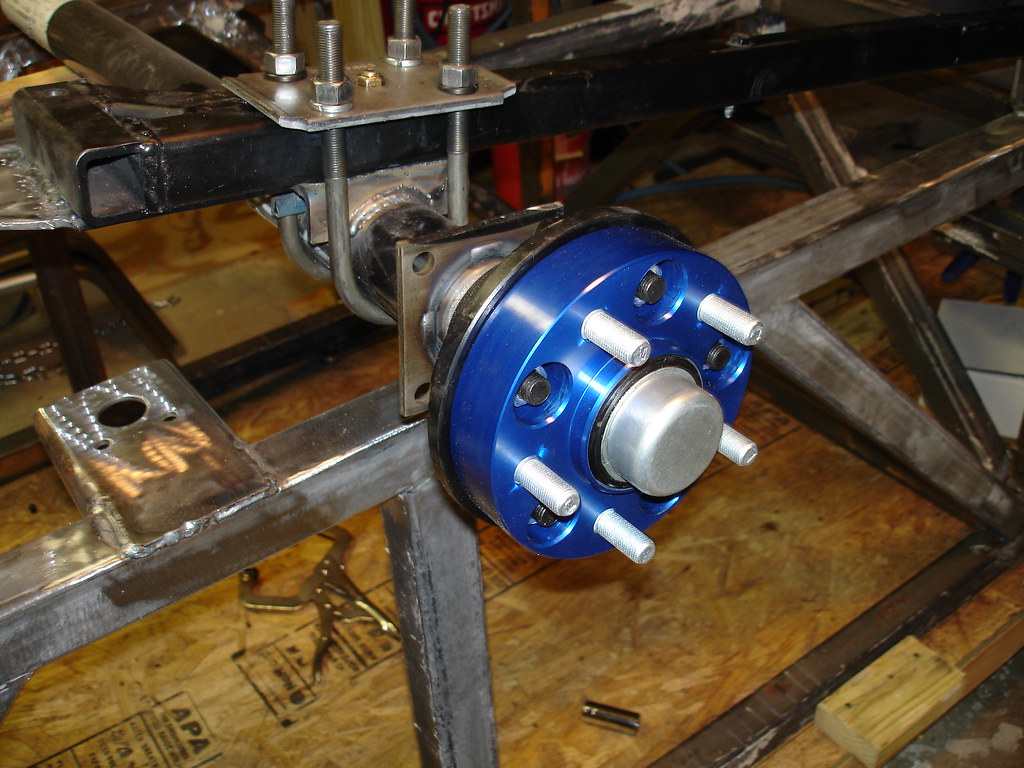
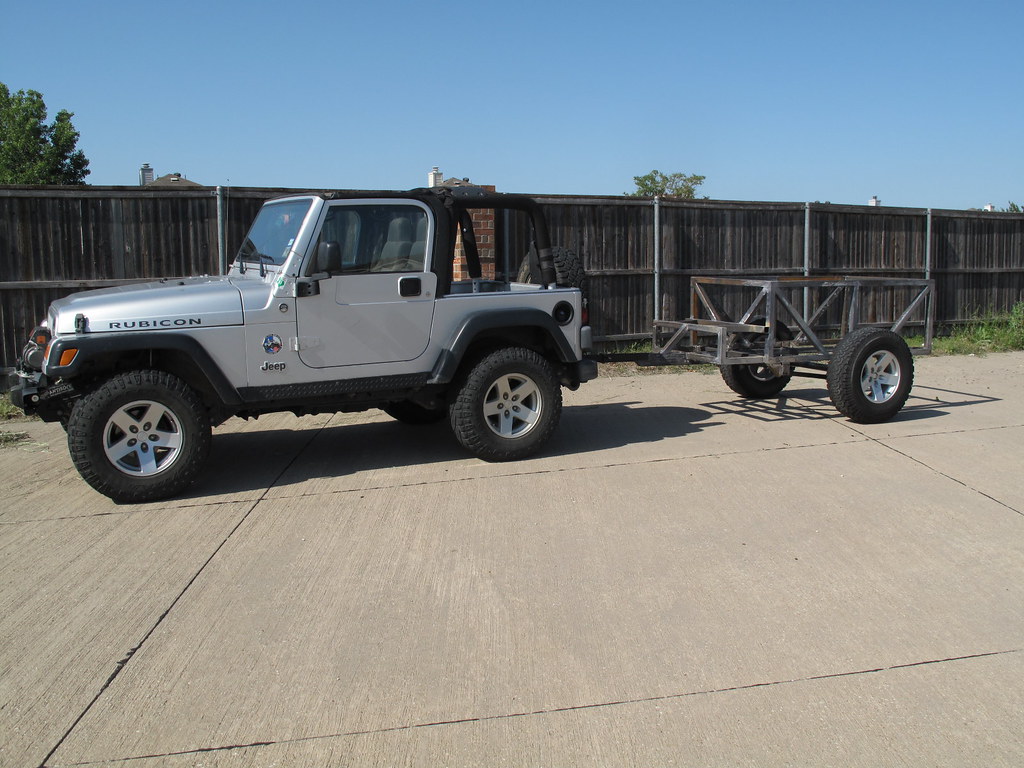
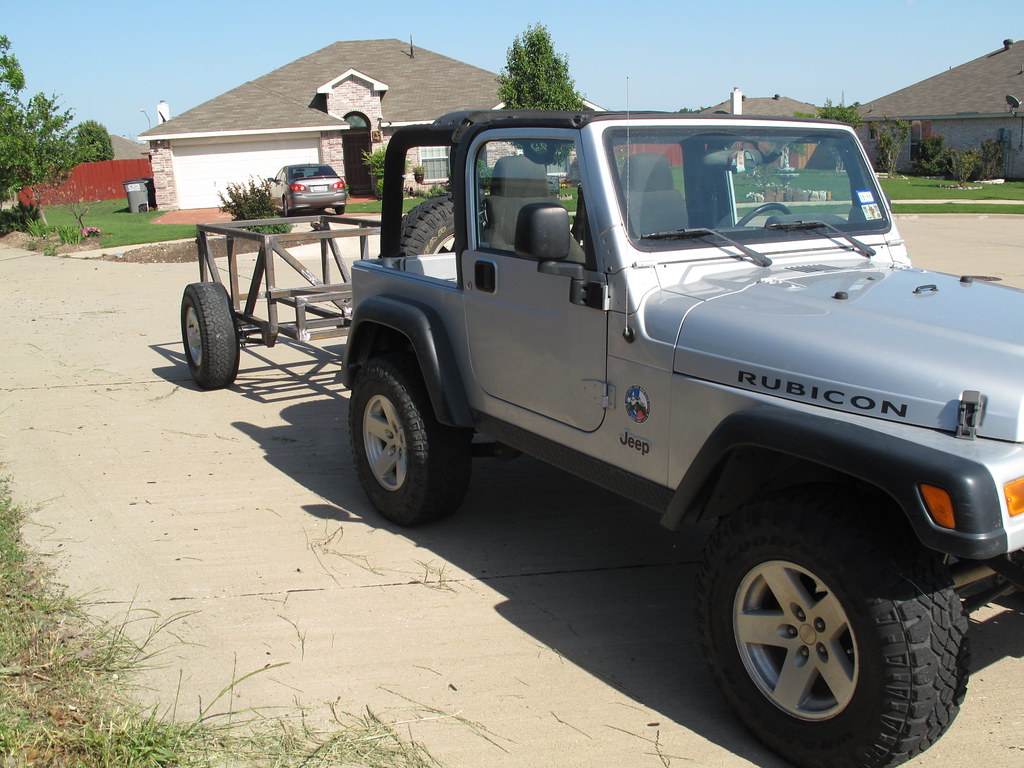
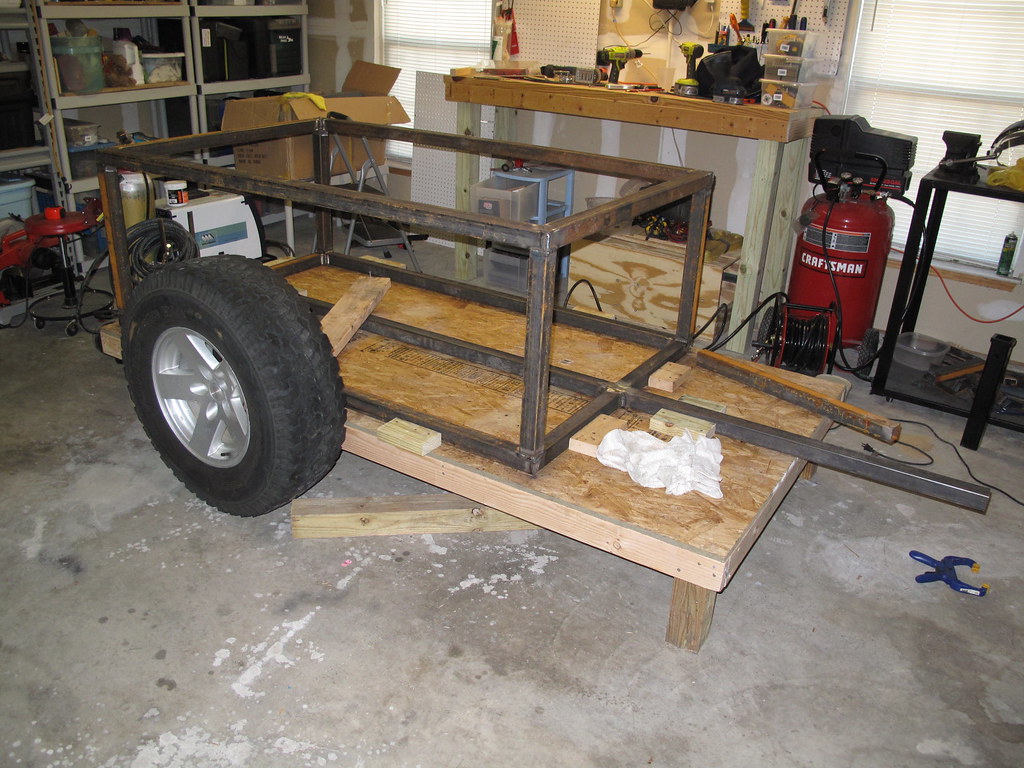
And that's where I got today. I rolled in a wheel and put it by it to give an overall glimpse of what it will one day by.
5504466230_2a89822f3e_b.jpg
 

Davids29

New member
Well, Saturday I went to the local steel yard and picked up some more materials for this project.

5544410089_00062d5d46_b.jpg


I knew I was going to dinner with my folks Saturday night, so I figured I would only have time to saw all the parts.

So I took some pictures of sawing before, its not that exciting, so there aren't any pictures.

Here I have sawed most of the parts and have them just laying about where they go.

5544986996_f116acd75a_b.jpg


So That was all for Saturday. This morning I set me up a little table out in the driveway to clean all my parts for welding today.

5544987200_3f6c6d9712_b.jpg


5544410467_05d461d8d8_b.jpg


The I started tacking parts in place.

5544987412_027d18a28c_b.jpg


More tacking
5544410713_afac11b418_b.jpg


Ok, so then my wife wanted the camera to go take some pictures while rock climbing so I don't have any action shots for a while.

This is how far I got
5544987626_13bdda2d52_b.jpg


I fully welded the frame, and then I took it off the platform and ground down all the welds. There was a problem that I noticed. During welding, the main frame member got too hot and warped a little. I was planning on adding the bottom support later, but I flexed it back and welded in the brace. While I had it setup for that, I went ahead and welded the receiver into place for the front.

5544987930_0a3a8e39d5_b.jpg


5544411259_de7e077578_b.jpg


5544411721_e164c334d9_b.jpg


5544411347_94d9bf2145_b.jpg


5544411589_9a94aec871_b.jpg


After all that, I started tacking the front box area together.

5544410953_8c259ae732_b.jpg


5544987840_337c270cbe_b.jpg


I need to finish placing the front parts and then fully weld the front box area.

I also need to work on the model file to figure out how I want to do the suspension.
 

Davids29

New member
Well, we left work at noon today since the looming government shut down has a lot of companies not ordering parts that they don't know will be funded. I decided to try to finish the front area. I have not been working on this lately, but I decided to work on it today.

I cut the remaining parts for the front support area and welded them in.
5601561153_2db3fac87b_b.jpg


5602146212_460cd71b15_b.jpg


Here is a picture with the front box set in place.

5602146286_6d03480757_b.jpg


5602146362_67642b720f_b.jpg


Then I heaved it up on its side and on to the dolly to do some welding on the bottom.

5601561439_5226864136_b.jpg


And upside down...

5602146530_459cff41dc_b.jpg


My welds are starting to look pretty good. As I get more experience, I see how to weld different things and in different positions. Sometimes I still get a ****** weld, but its becoming more and more rare.

5601561547_d44300e37f_b.jpg


Then I drug it outside and ground down and sanded all the corners and other areas that needed it.

5601561611_f8f63ff93f_b.jpg


Then while the trailer was out of the garage, I cleaned under the platform and picked it up. I think I am done with it. I have the suspension next, and then it will be sitting on the wheels from then on out.

5601561679_599f62a332_b.jpg


That's where I got today. Suspension is next. I need to figure out what I want to do there.
 

Davids29

New member
So, over the last 2 weekends I have been working on this some more. I have had to save up and procure some parts from here and there. We have been slow at work and I have been leaving early on Fridays. I had time to drive into down town and pick up an axle and some other parts from a large trailer supply store. Problem has been that they are only open from 8-5 M-F and I am usually working then.

I put the frame on the platform one last time (Hopefully).

My wife has the good camera, so I had to pull out the 6 year old point and shoot and the picture quality has really taken a dive.

5647758485_158316f254_b.jpg


I didn't take any pictures of setting up the suspension. I forgot. When I had remembered, here is where I was.

5648321426_0c447128d8_b.jpg


I made some new upper bag mounts

5647758711_8e399070c2_b.jpg


This is what I did on the frame mount for the suspension. Its a standard hanger and a wedge welded to the front for some more support and to make a ramp if I need to drag it over a rock or something. It should get the obstacle onto the arm if needed.

5648321620_5ef64ce18c_b.jpg


The rear suspension area looks like this.

5648321716_48355fe64a_b.jpg


Since I wanted to use the matching Rubicon Moab wheels I have, I needed to use some wheel spacers to get the wheel to clear the bearings. This will let me use my spare if needed without modifications. I ordered the axle 3" narrow to account for this. I chose the Spidertrax wheel spacers because they have a lip that centers the wheel hub centric. I had to take the spacers into work and turn the inside out so that they would fit on the trailer hubs.

5647759027_9961a04437_b.jpg


5647759123_15d4c40942_b.jpg


So here are the airbags all mocked up

5648322058_b6f0e6115c_b.jpg


I had to get creative when flipping the trailer over using my anchor on the ceiling to help me heave it over.

5648322292_ce9808275f_b.jpg


After it was over I mounted the other wheel and was done for the night

Its looking more and more like a trailer. Its kind of amazing looking over this thread and seeing it come from nothing.

5647759581_9e43bec216_b.jpg


There was a week or two gap here

So last weekend I welded up a cheap 2" ball coupler. Its just for some future shake down runs until I get a real coupler. I painted it a nice flat black for now.

5694065729_bf76dda56f_b.jpg


I gathered some steel together to start mocking up the tail gate.

5694637860_2b647f50ff_b.jpg


My platform makes for a nice cutting table now.

5694065869_a415e087b2_b.jpg


After cutting some steel I started placing it into place. I left a 1/8" gap all around to have a place for some weather stripping.

5694065941_6fb45cfcee_b.jpg


After tacking it all together, I tested it for function.

5694066029_0a503c37b2_b.jpg


Then I welded in some vertical tubing.

5694066161_7e31de6bd8_b.jpg


5694066229_b74c7a9117_b.jpg


Then I just couldn't resist it any more. I hooked it up to the jeep for the first time and took it around the block. Then I stopped for a photo op of it in progress so far.

5694066303_290833f33a_b.jpg


5694638404_bf64442cc8_b.jpg


5694638598_ac3260ac6f_b.jpg


5694638684_8e9a45cd18_b.jpg


That's it for today. I may or may not work on it more this weekend.
 

highlandercj-7

Explorer
Nice work man. I like it. About the saw you pictured, is that a blade that fits the normal chop saw? Or is it a totally different saw?
 

TRACTION

Adventurer
Great build, looking forward to seeing its progress.

As for the saw question, figured I'd chime in while I'm here. It's a different saw entirely. The saw runs at a much slower speed. It would be awesome though if someone could invent a blade that'd work in a regular chop saw though.

Nice work man. I like it. About the saw you pictured, is that a blade that fits the normal chop saw? Or is it a totally different saw?
 

Forum statistics

Threads
185,840
Messages
2,878,754
Members
225,393
Latest member
jgrillz94
Top