M416 Build to go behind my CJ

DonBeasley

Adventurer
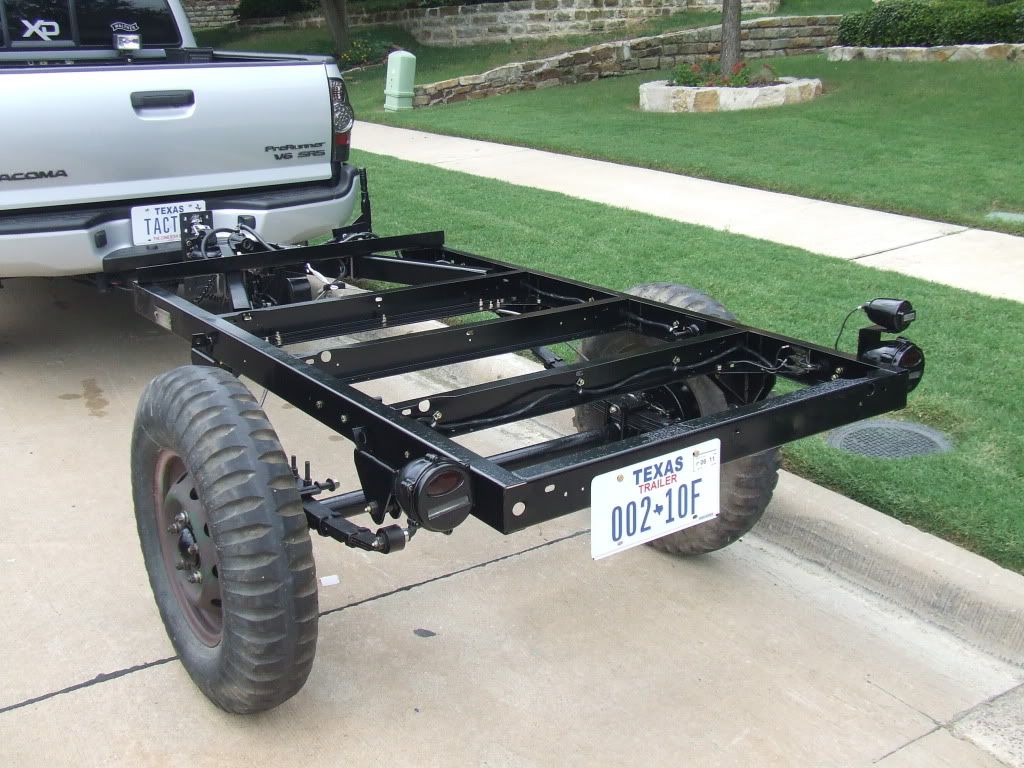
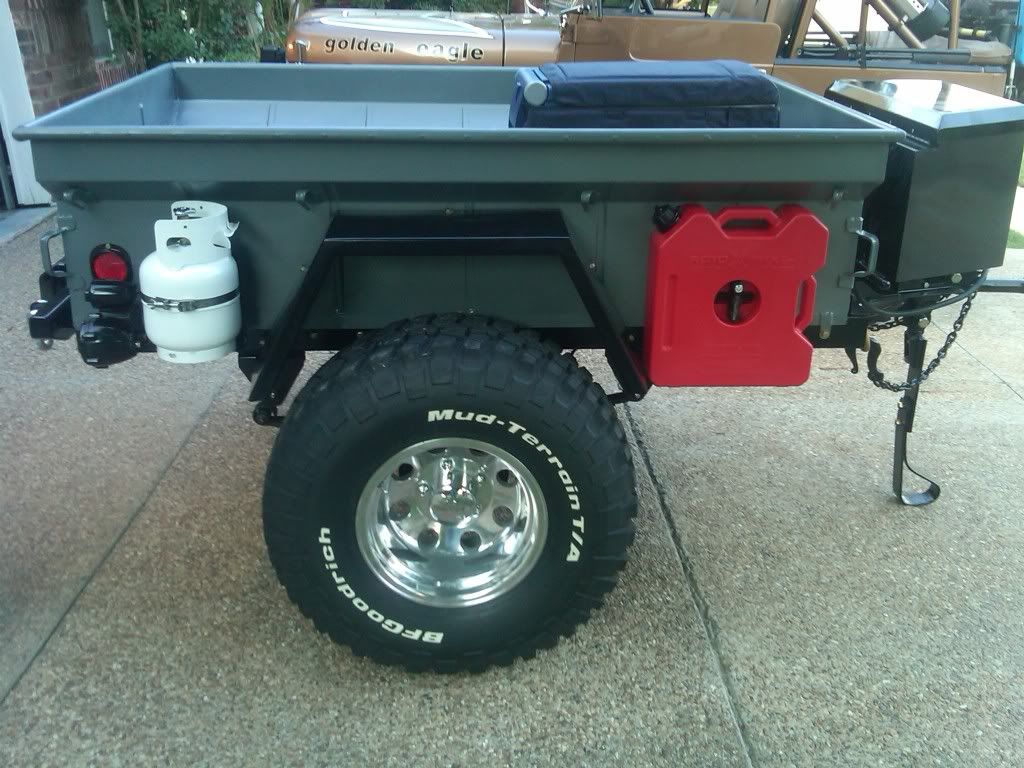
I am posting this as a followup to an old one on my M416. Now that it is well underway I am posting the build on here and on Central Overland.

Just thought I would start a record of my M416 build to go with my Jeep. This has been a long process as I am slow at everything I do, from my jeep to my weapons. I am very detailed(that reads anal) so I do everything at a snail-like speed.

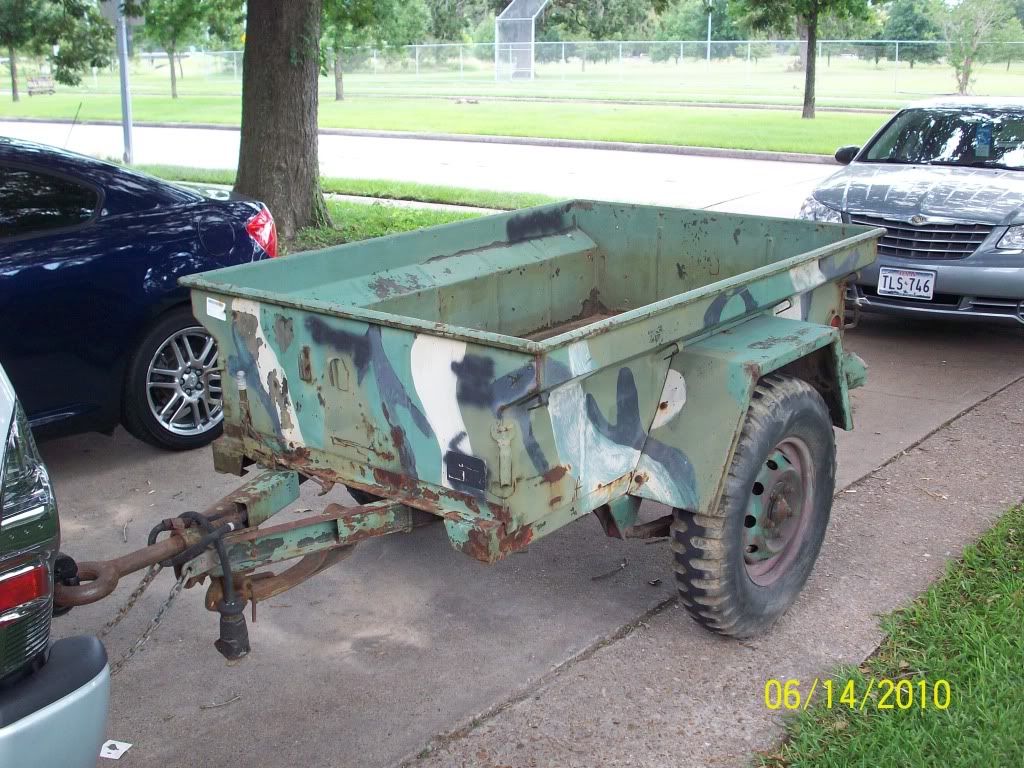
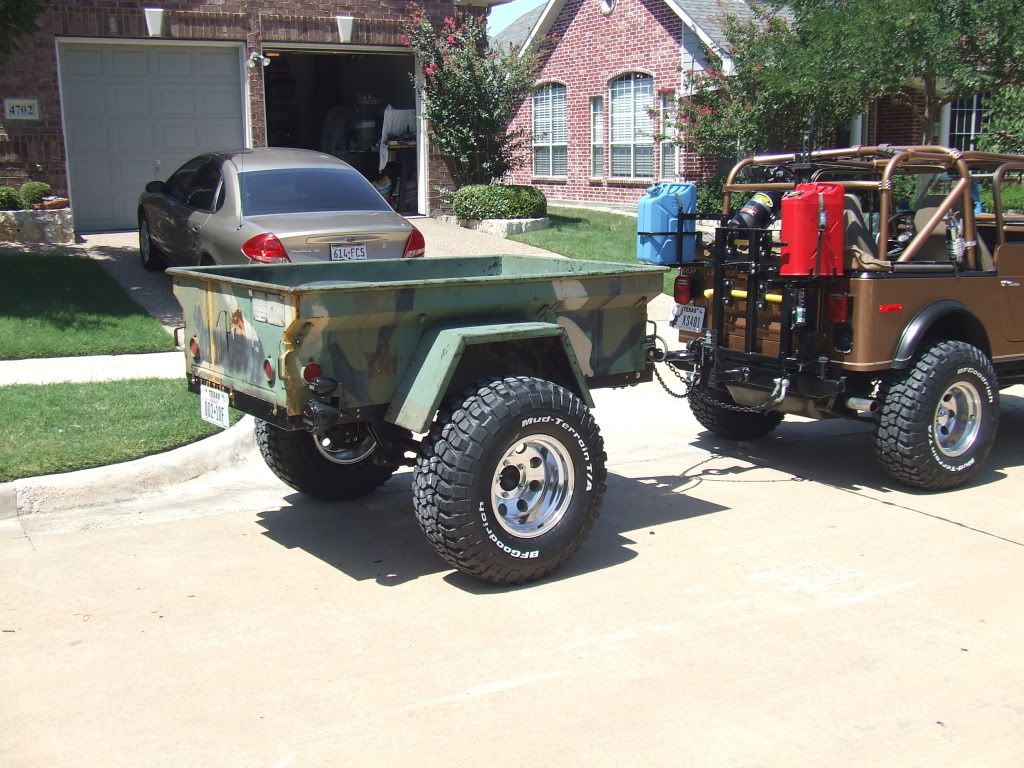
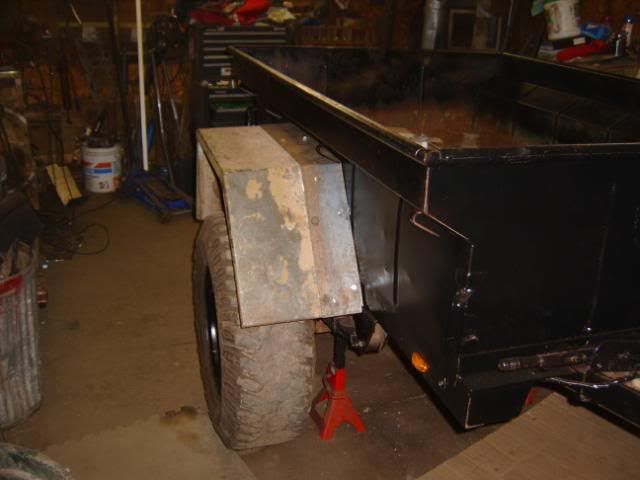
Bought the trailer over a year ago and had great plans to have it done in 6 months but that was not to be. Here is what it looked like the day my son picked it up.

Justpickedup4.jpg


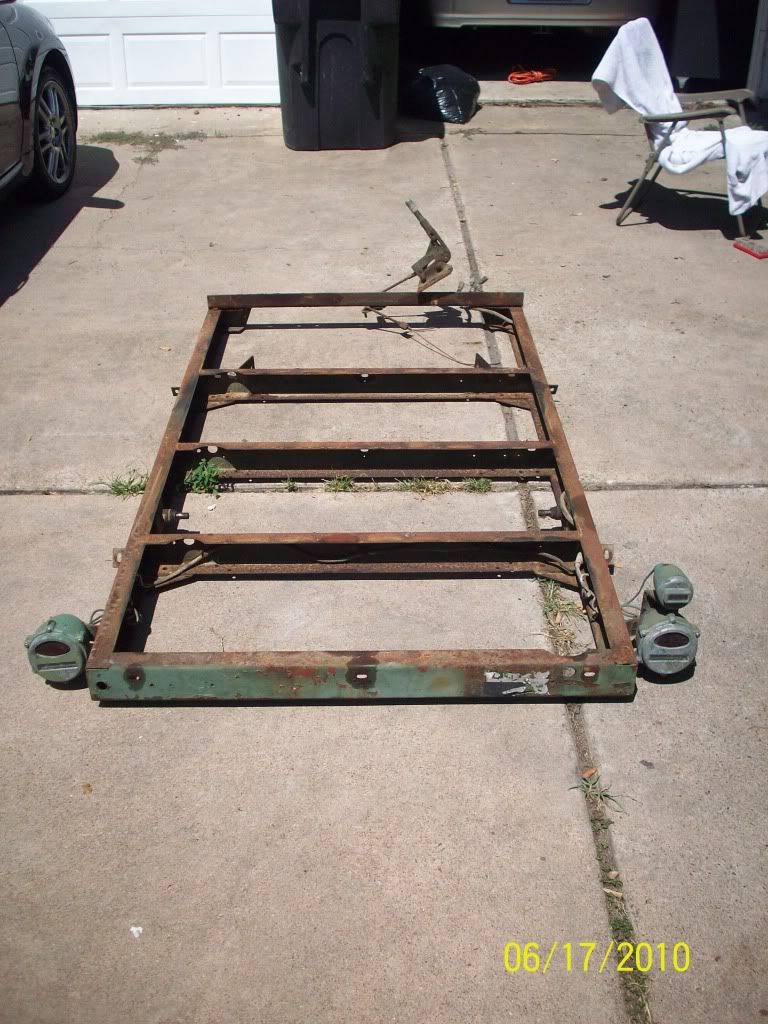
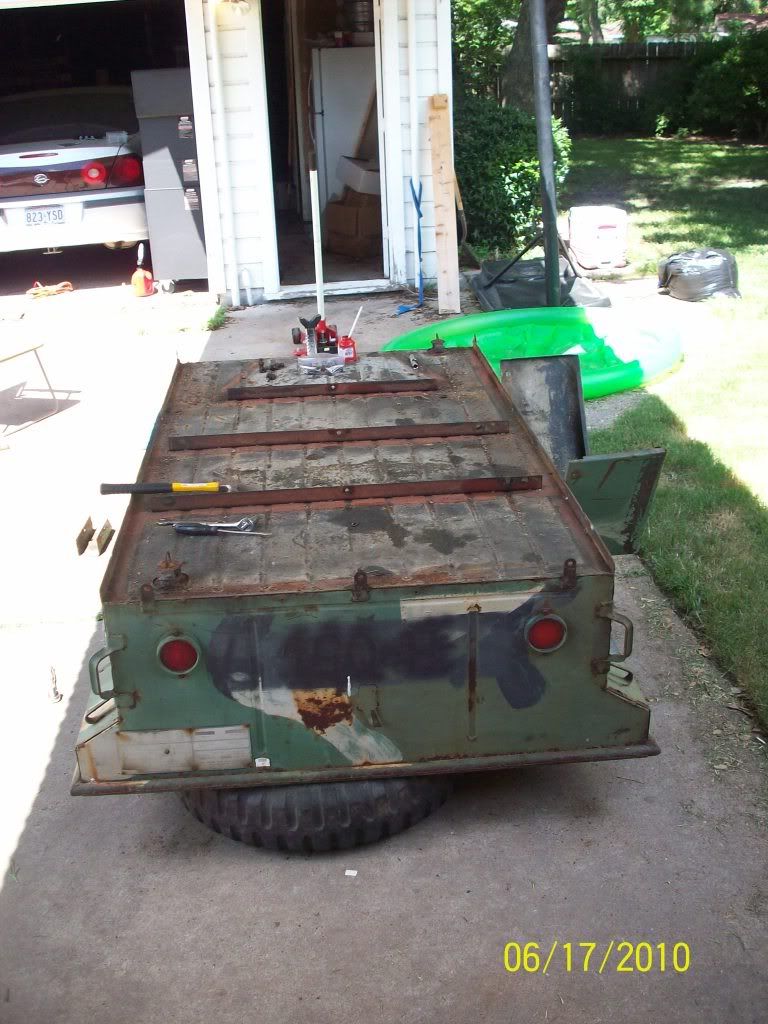
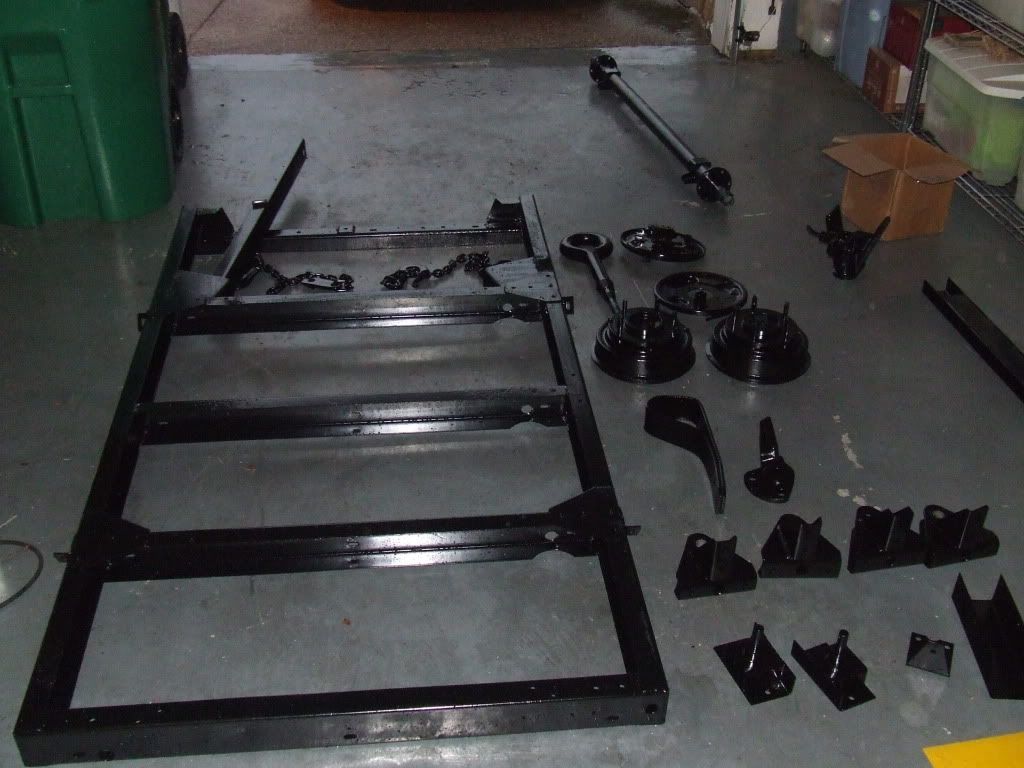
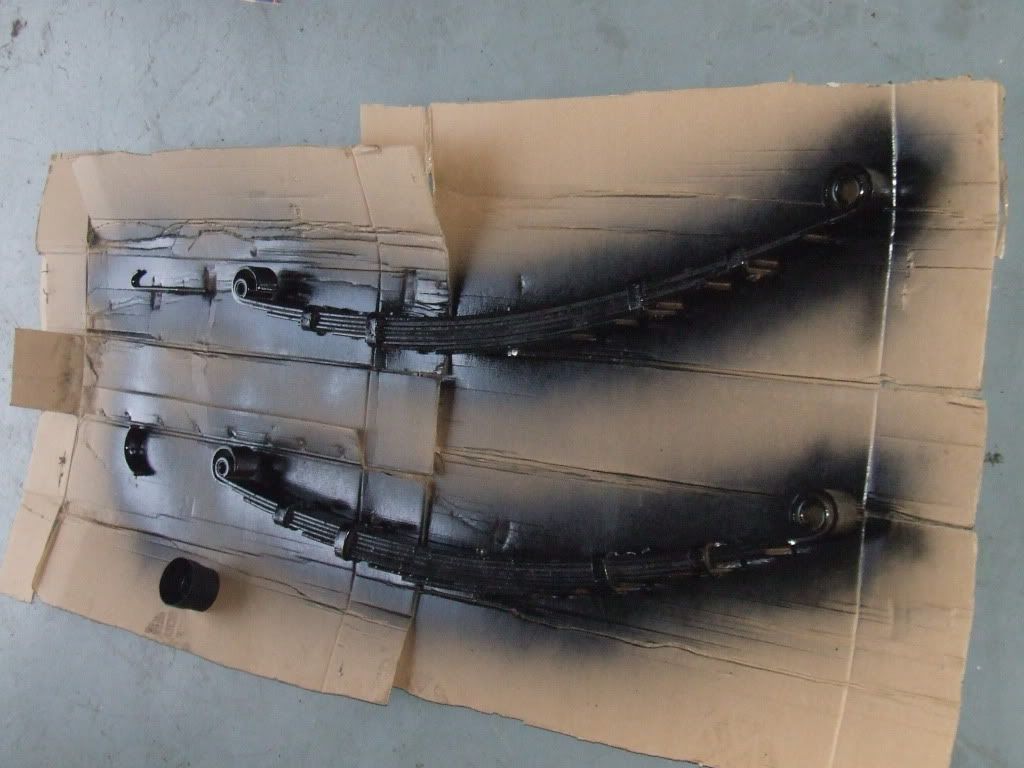
After a long discussion with my son, and heir to the trailer, we decided to completely tear it apart and clean and fix every part.

It soon ended up like this.

Frameoff.jpg


Framewfenderscomingoff.jpg


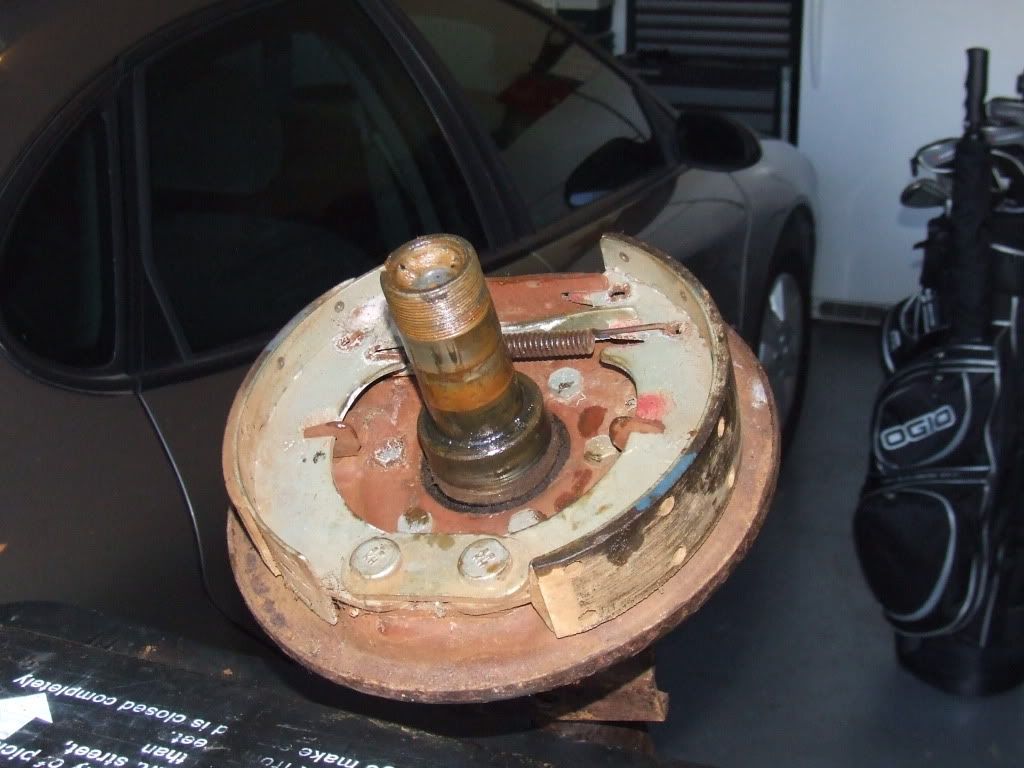
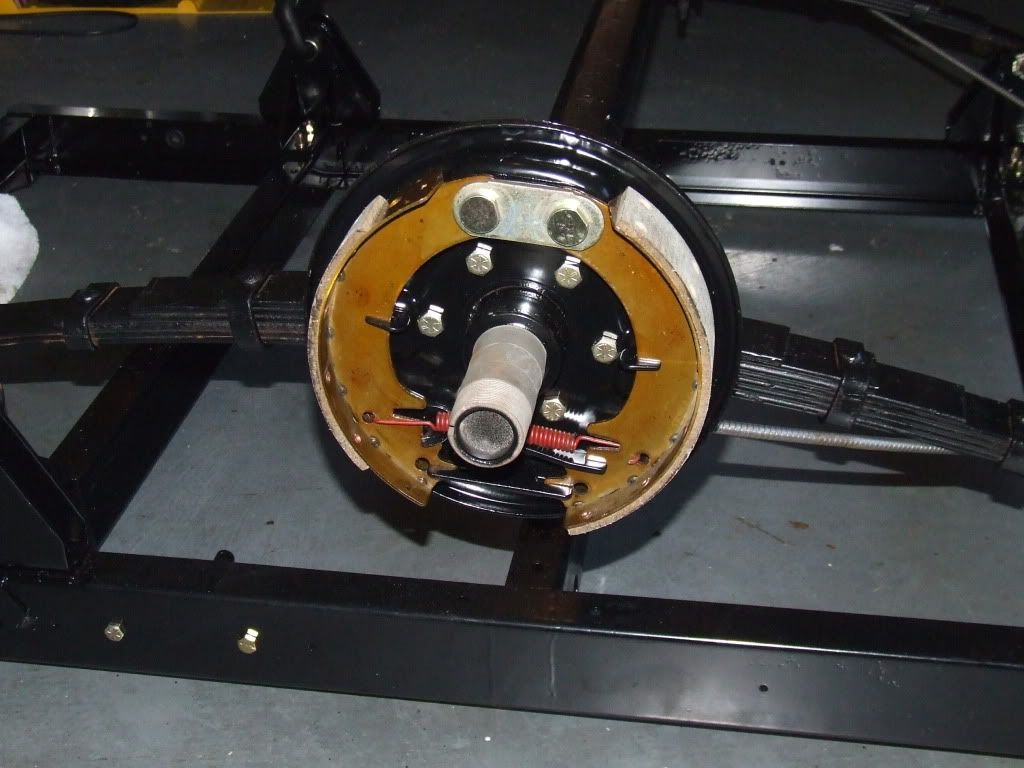
All of this took place in Houston so I went and picked up all of the frame pieces and started tearing them apart. The axle and brakes looked like this.

Brakecondition.jpg


MORE TO FOLLOW...........
 

DonBeasley

Adventurer
Part 2:

I had the frame in my garage and spent several long evenings tearing it completely apart. Every nut, bolt, and washer was "bagged and tagged" so exact replacements could be ordered. There is an online bolt company that now loves me!!!!!!

Once it was completely apart it was time to sandblast and powdercoat the frame and all of the small pieces. Here is what the pile looked like when it came back several weeks later.

JustPowderCoated.jpg


Even the NOS springs got a paint job.

NewSprings.jpg


And the original axles got converted to a springover and completely overhauled with all new parts.

NewBrakeAssembly.jpg


Here is what it looked like with the frame complete and the original rims still on it.

FinishedFrame2.jpg


BTW the original lights were disassembled, cleaned, powdercoated black and changed over to 12 volts. A NOS wiring harness was put in and wired with a 7 plug adapter to fit the jeep and my son's Taco.
 

DonBeasley

Adventurer
Part 3:

Since this trailer is designed to pull behind my jeep, I thought that it should look similar to it. Since I was buying new tires for the jeep, the trailer got its own set of BFG 33x12.5 with matching rims.

Here it is put back together and with the new wheels.

NewTires1.jpg


Since my son will be using the trailer behind his Tacoma, and he has several bikes, a bumper with d-rings and a receiver was needed. It is the same shape as the Wilderness Equipment bumper but I drew it in a scaled down version and had it fabricated to bolt on the back of the frame.

Newbumper2.jpg


Our goal is for this trailer to be for overlanding/expeditions (ie camping) so we needed a front box that will eventually house batteries, 12 volt plugs, charger, etc. The box comes from harbor freight and fits as if it was made for the trailer. It is set forward enough so that the e-brake on the M416 still works.

Toolbox2.jpg


Well with the frame and accessories pretty much complete for what I can do now, we turned our attention to the tub.

MORE TO FOLLOW
 

DonBeasley

Adventurer
Part 4:

With the vast majority of the frame done, I completed a few final touches like extending the front landing leg, getting custom TX trailer plates ("T Camp N"), and powder coating the fenders to black. They need some body work but I will wait until I paint the trailer to get this done.

The tub has been a big issue as I want a top and have had that in the plans from the beginning. I tried working with a local shop that built a fantastic aluminum one. I posted on expedition portal to see if I could drum up enough interest for a group buy but all of it fell apart with pricing at over $2K.

Finally I stumbled upon Sierra 4x4 trailers. While in Vegas on business, I took the day off and flew to Reno and drove out and saw them. After a lot of discussion I finally "bit the bullet" and ordered a metal lid for my M416. That was in late July and I am expecting shipment in the next week or two.

While all of this was going on I finally took the tub over for sandblasting and primer and put it back on while I waited for the lid. Here is what it looks like.

DSCF1090.jpg


The sandblasting revealed about 20 pin holes in the floor and it will soon go in for welding prior to the bedliner.

Since we had good weather this weekend and not too much heat, the propane tanks went on. There are 2 5 lb tanks in Powertank, black powder coated brackets; one on each side. In addition I mounted 2 Rotopax 3 gal. tanks on the trailer; one on each side. Here is what it looks like.

trailerwithpropaneandrotopax.jpg


All I need now is a lid. It will have a Thule permanent track on it with 2 bars for the eventual RTT. Once the lid is on, the whole trailer will be painted to match the jeep and body work will be done to remove all of the dents.

So that is where I am at as of today. I still have a lot to do, plans to make and change, and wiring to do. I also have quite a few camping items to buy to supplement my stash from back in my son's Boy Scout days.

Stay tuned for more and please send your suggestions. This is my first trailer build so advice from y'all is needed and appreciated.
 

RJ40

Adventurer
Very nice indeed! So, you used Power tank mounts for your propane tanks? Did I understand that right? I have a very similar trailer I've been working on and will do a build thread sometime this winter when things slow down a bit.

Cheers!
 

Hill Bill E.

Oath Keeper
Very nice! I also did the spring over on my M416. Along with extending the landing leg, I also extended the fenders using some sheet steel between the tub and fender.

(MN requires full tire coverage, and I hate the dirt/mud spray all over the RTT and trailer)

I bolted everything on, so it can be reversed back to 'stock' very easily at any time in the future.
 

DonBeasley

Adventurer
Everything so far is a bolt-on. I am debating the fender extensions for all of the same reasons you did. But since my Jeep tires stick out as well I am not sure I want to go to the trouble on the trailer. If I do I will have new ones made and keep the stock ones just in case I or my son want to go back to original.

It is killing me to drill holes in the tub but every one of them will be sealed after the tub is painted. It will remain waterproof and still float!!!!
 

46flattie

Observer
H20 can ?

Don,
I see you have a nice 20L h20 can (blue can) on the back of your Golden...I run the same can. Just curious if you do anything special to clean it, store it when not in use, etc. I only use mine a couple times a year and have always wondered what others do.

Thanks, sorry I'm off the trailer topic a little.

Scott
 

Hill Bill E.

Oath Keeper
........... If I do I will have new ones made and keep the stock ones just in case I or my son want to go back to original.
!

Don, I just used some sheet steel of the same thickness as the fenders, and installed it between the tub and fender. I used the same mounting holes as the fenders did, so no extra holes, no welding and completely reversible.

TrailerProject022.jpg


I had thought of just building new fenders, but the stock ones are very stout. Even with the extensions, I can still stand on them. (and I'm weighing in at 260#'s:snorkel: )

ETA: As a bonus on the M416 trailers, the small tab on the back of the trailer, for the tarp rope to run under, makes a perfect bottle opener for those beverages that are not 'twist off' style caps!
 

DonBeasley

Adventurer
For the water can, I carry it about half full most of the time and about every 2-3 months I change it out. I put about a capful of bleach in it each time. I have never had an issue and the can stays fresh with no real bleach smell or taste.

Great idea on the fenders. I will have to show them to the heir apparent and see what he thinks.
 

Mark Harley

Expedition Leader
Don:

Wonderful build and a very nice trailer. The rear bumper is great
I like the work you did on the frame, It looks like a little brother to my M101A2.
Keep us posted on the work.
Mark Harley
 

Attachments

  • don beasley.jpg
    don beasley.jpg
    176.8 KB · Views: 113
  • DSC05023.JPG
    DSC05023.JPG
    87.1 KB · Views: 116

DonBeasley

Adventurer
Yeah yours is great but just to big and wide for my little CJ. I like how you painted yours to match your truck.

I would kill for a tailgate but I cannot bring myself to cut the tub.

Lid should be here in another week or so and then more pictures on install will follow.
 

Dgurley2000

Adventurer
Don - love the the build. I have it bookmarked in case I decide to build a trailer! I go back-and-forth since we're a family of five :)
 

Smksignals

Explorer
In addition I mounted 2 Rotopax 3 gal. tanks on the trailer; one on each side. Here is what it looks like.

Stay tuned for more and please send your suggestions. This is my first trailer build so advice from y'all is needed and appreciated.

Don, I like the trailer. Great work. Rotopax has an extention so you can double up the packs. You could literally carry 12 gallons of xtra petrol, more than 2 jerry cans. Here's the link if you have not seen them -

http://www.rotopax.com/Pack-Mount-Extension.html
 

Forum statistics

Threads
185,829
Messages
2,878,662
Members
225,393
Latest member
jgrillz94
Top