'89 GMC Suburban restoration/build up project.

Rockhounder

Explorer
I've thought a lot about that, I like the idea of having protection up front. I'll leave it alone until I figure out what I want. I really want it to look right.


Not sure I'm going to go that far, haha! What's that bumper weigh?

I built the bumper out of 2" pipe on the corners and edges, 1/16" sheeting between, the vertical posts are 1/4" cold rolled steel. Then there is a hexagon mesh stamped steel screen in between the two center verticals. The total bumper weighs 84 pounds.

I think you made yours the same way as mine, starting with cardboard and 2' tube, and duct tape. I then took all the flat sheets and transferred the dimensions onto steel plate. Cut, weld, and grind. Primer, paint, install...

One cool thing about how I designed mine is that the bumper literally slides over the existing stock bumper, like a glove, then bolts into the upper and lower bumper mounts. There is about 6" of free space/crumple zone between both bumpers. Should attenuate impacts well. I have been thinking about changing the mounts to 6" compressible distance 600# 4" coil springs, inside a 14" compression tube. Then I could bang away all day and not care... just like a bumper car :smiley_drive:

20131125_095003.jpg

20131121_172910.jpg

20131113_101404.jpg

20141124_175037.jpg
 

Rockhounder

Explorer
I also designed/sculpted and cast vintage military looking makers badges and nameplates for it. Made out of a high impact black epoxy resin, painted with metallicized epoxy paint.


20150309_155543.jpg

20150309_155529.jpg
 

Bojak

Adventurer
Very well put. I've been thinking the same today. The longer I look at it, the more I like it. I'm gonna work on the winch cradle tomorrow.


What kind of bender were you using? My friend has a hydraulic JD2 that we used on the sliders and it worked just as it should.
We tried an ironworker, which if i could have found the right dowel might have worked. Tried using a manual bender with a serious cheater barr. Together it was 2 old tools that didn't have the right component to make it work to my liking. We do industrial mechanical work so we dont bend tubes alot. We break lots of sheet metal, cut fit weld, but not alot of tube bending. I'm also picky, a couple might have been passable but not what I thought it should lok like.
 

dieselfuel

Adventurer
well, it's been a while. again… i keep forgetting to update this thread, for mure current updates check out CK5. http://coloradok5.com/forums/showthread.php?t=287329&page=33 i'm going to do some copy/pasting from my thread over there to beth this caught up.


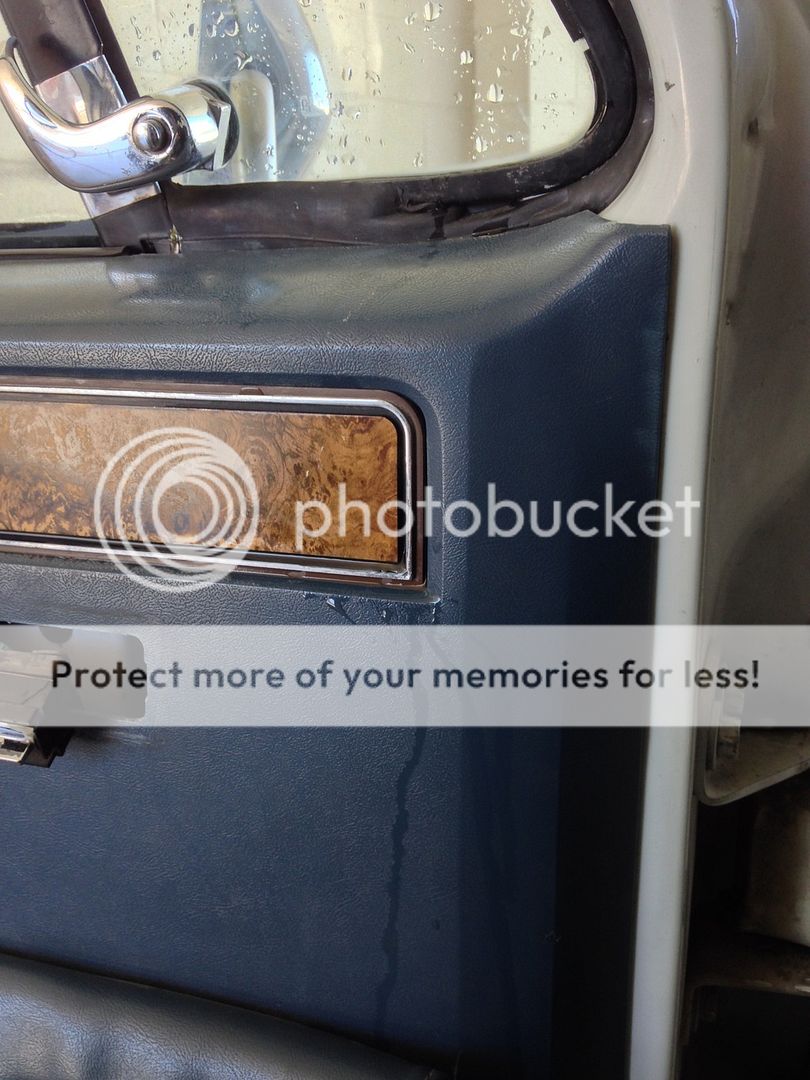
I spent the last few weekends out in the garage, working on interior stuff. Added sound deadener to all six doors, replacing window seals, and pulling the carpet to add sound deadener to the floor.

The stuff I'm using isn't really made for this application but it works really well. It's peel-n-seal window flashing. A friend of mine used to this all over the inside of his 78 C20, that thing sounds like a new truck from the inside and it's been holding up great for several years now. Here's a video after I finished the drivers door to show the difference that makes.
http://s413.photobucket.com/user/ca...4-4B18-9162-271228095B35_zpsqxbsjtrz.mp4.html

The new vent window seals are exactly what I hoped for. Along the back edge of the seal the new ones don't have the metal clips that the OEM units do. So you have to glue them in,which isn't necessarily a big deal but had I known I might have tried to find a different seal out there that might have those metal clips. So at the moment I'm waiting for glue to dry, figured I would post up some progress pics. Here you can see a piece of scrap metal but I've got clamped onto the vent window frame to hold the seal in place while the glue dries.


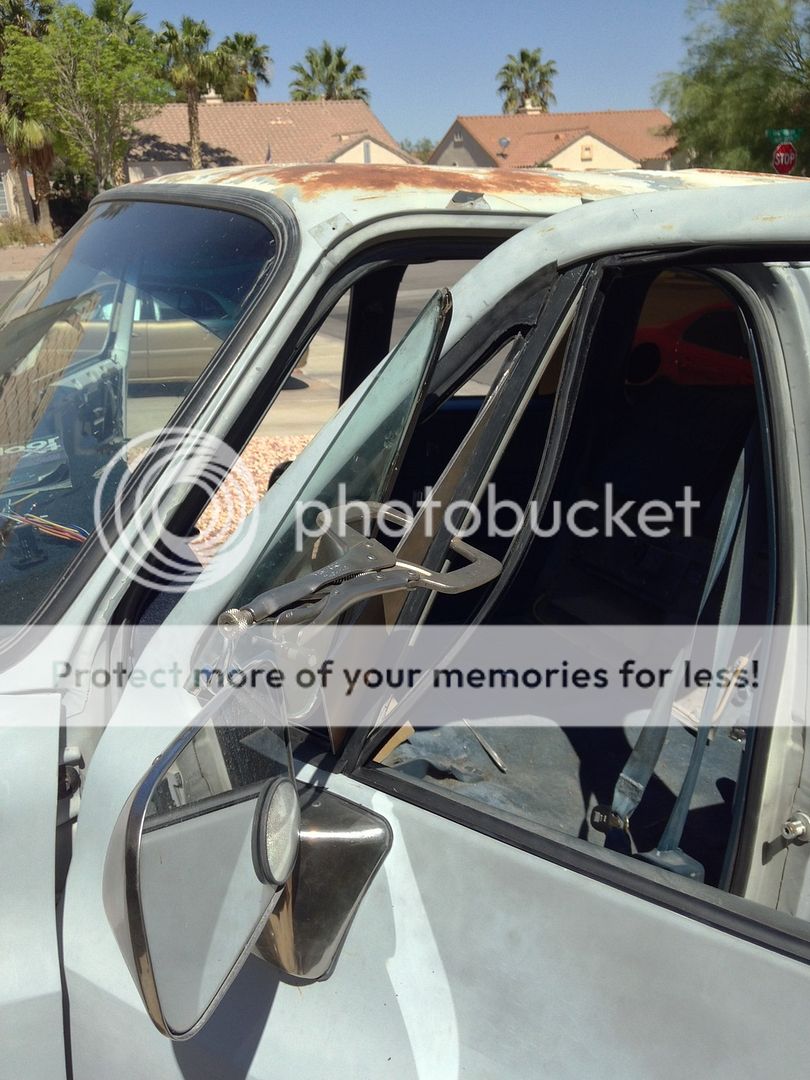
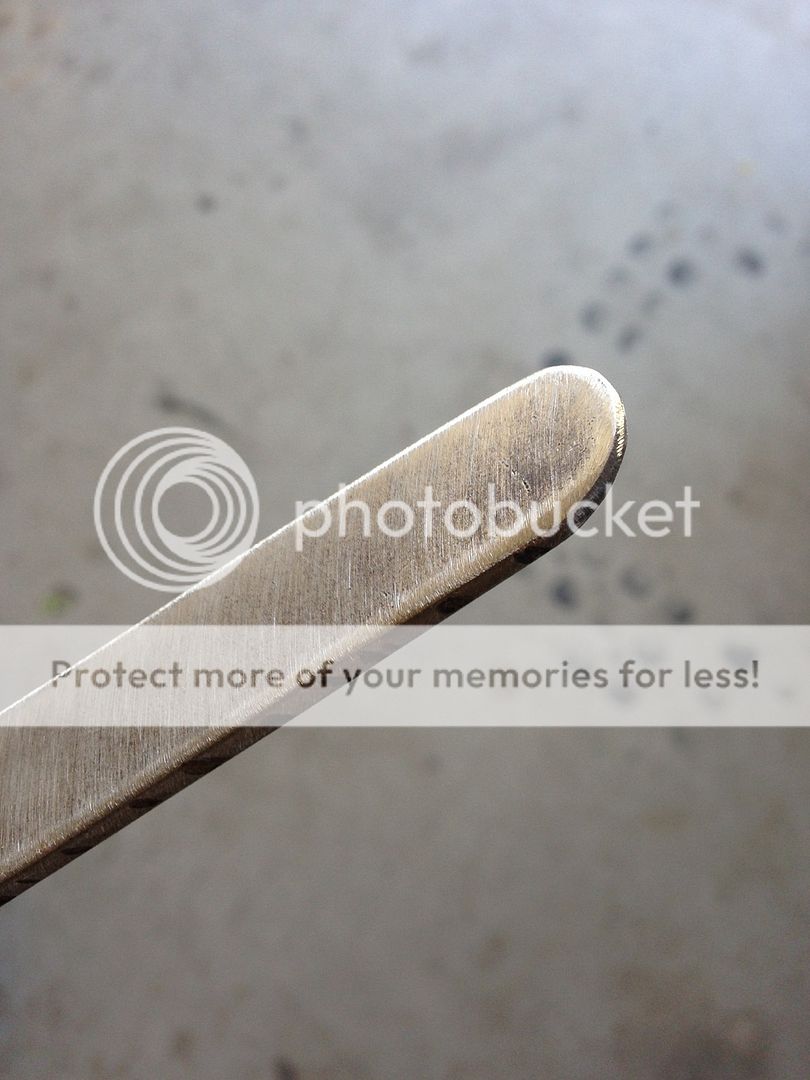
This is the first time I've replaced window seals, I ended up making myself a tool to make the process a little easier. I took a couple pieces of scrap metal here in the garage and shaped the ends to make things easier. I rounded off one and so I can slide it through the seal down the track, pressing the seal into the window tracks as it goes. The other and I cut a hook into so I can use it to grab things down inside the doors should I drop something.


i installed a 240a alternator and an a/c compressor, wired up all of the HVAC controls, replaced the heater core, replaced every wear part in the a/c system and soon i'll get a couple lines made and flush/charge the system.
engineatlhvac_zpsq58qylub.jpg


i gutted the interior and added sound deadener to the floor.
deadfloor_zpsg2ktw4yd.jpg


after 3 week out of service, she's back on the road!
7F11B13F-B31E-425E-8C85-F2BADB150318_zps6iixgmev.jpg


I've now got a stereo, i'll have a/c soon, i made some transmission tuning adjustments it's quieter inside and the window seals leak… the drivers vent window leaks, i kinda figured it would, it didn't fit worth a ****. the pass side just isn't pushing the window up hard enough into the seal, i'll have to relay mod the front windows, the rears are just fine. the exhaust and road noise is noticeably toned down by all of the window flashing, i need to do the rear floor still, that'll happen soon.
23EA701C-DFAD-456B-8DC7-F58DF388121B_zpsqzttditn.jpg

BFDDD51C-EBE4-47D3-893F-8A8F3EFA67A8_zps4acxbycn.jpg


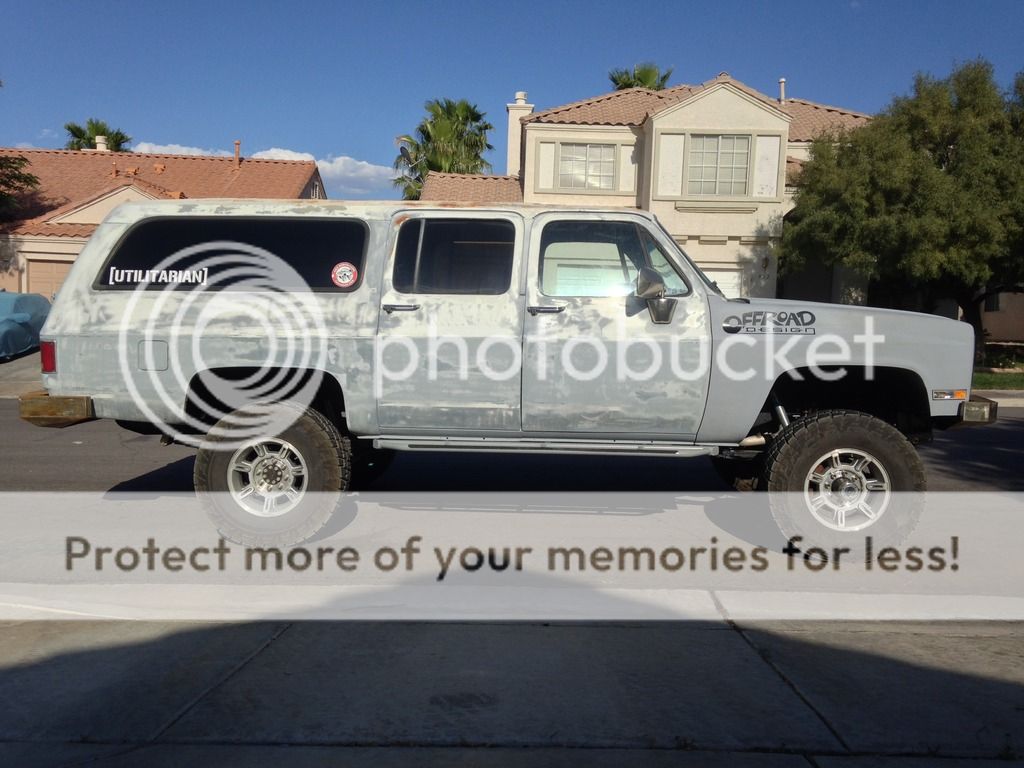
damn i wish my truck had paint on it, i'm so ****in sick of this primer.
AC27E264-293B-402F-826F-B51B9597CDD6_zpsjtghtysy.jpg


my wife and i headed out to boulder city just outside of town for dinner, with a view.
16BBAB34-2496-4879-BDC0-0A315A9CEB0E_zpslviwcd5o.jpg


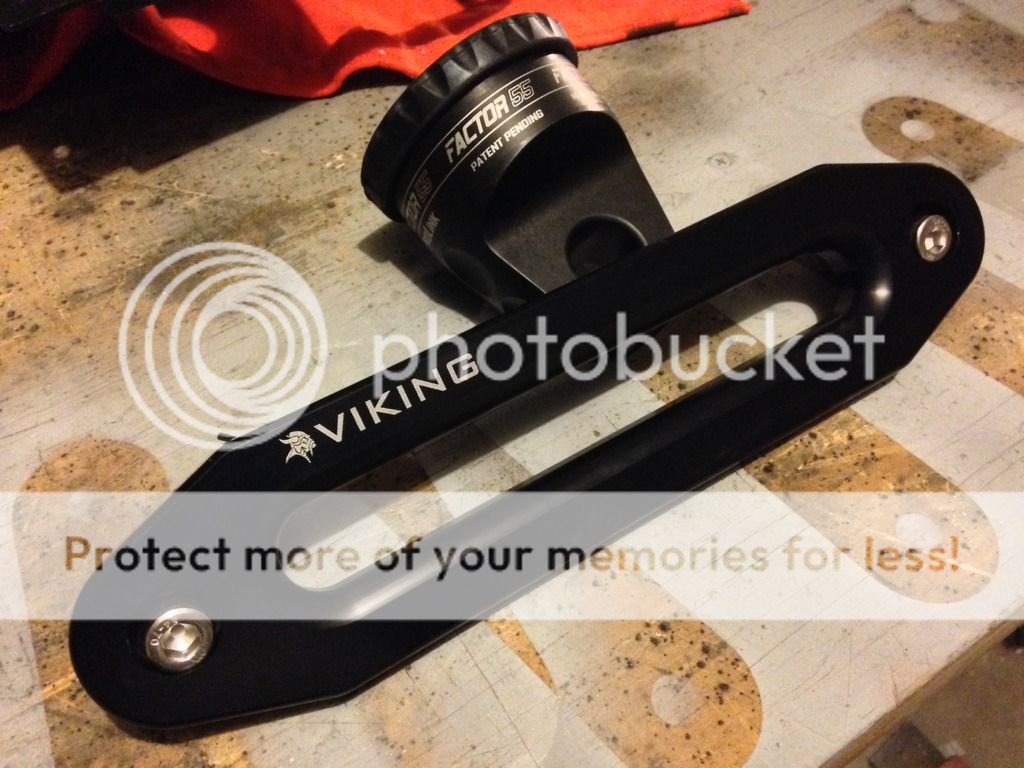
oh and i got some truck jewelry, i picked up a Warn VR12000 also, time to build a winch mount.
551C9C6B-E386-47FA-9FB7-0183939CE563_zpsinc8m51a.jpg


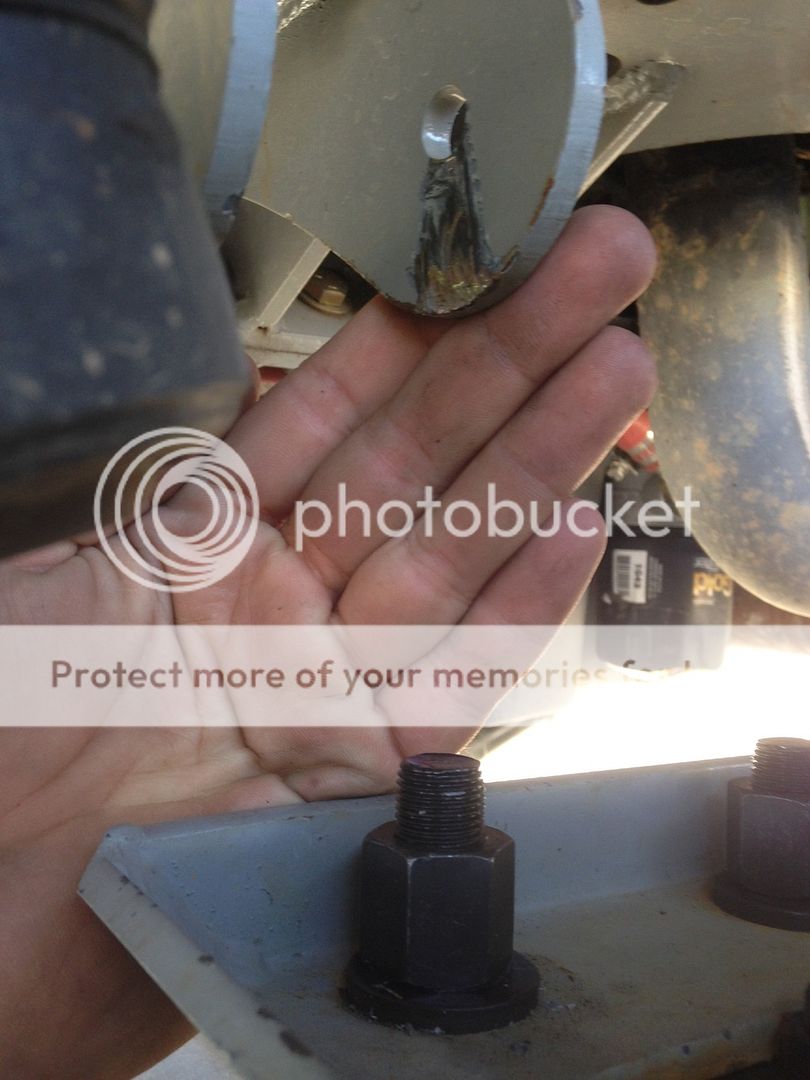
Sunday i met a couple friends at my shop and we added two recovery points to the front bumper.
12DA9340-1C41-4572-A32A-2F919454A227_zpsi2pbzyja.jpg


we also got my ORD springs installed! the new springs ride really nice, i haven't flexed them up yet, i'm gonna drive on em for a week or two first. i know i'm gonna need my front driveline worked on, it slips out at full droop. i'm sure it'd be worst in articulation. the ride height is a little lower, which is cool i'd rather have it shorter. the added thickness of the leaf pack has added an issue though, i'm going to have to change my pitman arm. Chris at ORD said i might have to and with only 3" between the spring and the drag link end, i'm gonna go ahead and change that out. the shocks only have 4.5" of shaft exposed at ride height, if the springs settle much i might have to add a zero rate. we'll see, i don't even have the winch on it yet, the new VR12000 is light though.
5E35C3B9-BA8A-4D8B-919F-9DECE250B3FE_zpst9okhphb.jpg


0371578F-0C26-49DF-9676-EBDB4B59F29C_zpsnlkhhsdm.jpg


here you can see where the old u-bolts were hitting the pan hard mount on my crossmember, i didn't know that was happening.
0CD58CC1-3A59-4678-88C5-799C43F48F7F_zpsbcwyw6am.jpg


here's my new shackle angle, much more laid back than it used to be. that's another thing i'll keep an eye on when i flex test it.
B84243D6-B490-40CB-8621-716CD08A03DD_zpsisqjqgt1.jpg
 

dieselfuel

Adventurer
The new springs brought along their own set of challenges. Steering and exhaust clearance, driveline length etc...

My new pitman arm came in from ORD the other day, it gave me another 1.5" of clearance. I'm gonna run with it, set up some cheap/easy bump stops and see how it does. I'll hit some dirt roads and give her a little shakedown before we head to overland expo next month.
I had to cut out the four blind splines in the pitman arm with a file, cut the end of the threads off the TRE and grind into the weld on frame plate a little. You might be able to slide a credit card between that nut and the frame. I'm going to have a small bend put in my drag link this weekend to ensure that it never hits the oil pan then have the driveline modified. I ordered some cheap poly bump stops tonight, I'll build some extended mounts for them and run it like that for a while. After expo I'll have to redo half on my exhaust because the driveline hits it.
I'm quickly learning that you can't just slap custom springs on a truck and be done with it, not at a short lift height anyway. Everything near the front axle is changed. I'll end up with 12" shocks as well, they're more suited to my ride height.
c0b1afde1817f4f68809c915f52b5b30.jpg

b3125101bb80db9d7e1542b880b63f7e.jpg

2d9e3a9f0f2bbe170f036434fa5de9dc.jpg

6168d3b4e3b91a8c7205b2f5faba202a.jpg
 

dieselfuel

Adventurer
Here's a little catch up of the last couple weeks.
I built bumpstop extensions.
b0057007ae372ddab44685c0b7ac609a.jpg


Painted the front bumper
a9b9c22d6c3cc954f5bde42ec1e57fc0.jpg


Then the rear.
b2fff2dce9db7b7109219796127df0db.jpg


I bent the drag link to clear the oil pan.
caec25c23173e9c08e96b49799a43c86.jpg


I went to the driveline shop to get measured, the front shaft needs to stretch 1.5".
26b93476594d885e2539806d20cc1c53.jpg

Steering, bump stops, exhaust, all work well together. The lower shock mounts need to change though, gonna have to build some that hang down another inch or two. I'll sacrifice a little ground clearance for a good working suspension.
9157b1fa166a7021a11dbccbdc30e89e.jpg


Then I went out into the desert for some pictures.
e98eb28f260c8a8b255dff7c0c7d1545.jpg

1141a33f203a11643fd0cee45c2250ed.jpg


Today I got the a/c hoses installed and scraped off a bunch of stickers to make way for something new. This weekend is gonna be a busy one, kind of a thrash fest before expo. We're replacing the rear expansion valve, flushing/charging the a/c system, building a license plate mount, possibly adding some lights and doing a pre-trip inspection/retorque on everything under the truck.
 

dieselfuel

Adventurer
Last Sundday, a couple friends and i got together and ran a local trail called Wheeler Pass. It starts in a tiny town about 40mi north of Las Vegas called Cold Creek. The trail winds back and forth up the mountain and tops out at the pass at 7600' before dropping down the west wide of the mountains and eventually leaving you in Pahrump, NV. From there its an hour drive back home, the whole trip was 8hrs by the time i was back in my driveway. The trail is a little tight in places, i brought home some shrubbery that came in through the windows and the pass side mirror got pushed in but no damage. I only had to skip one obstacle line as the trees were just too narrow, i would have broken some glass. None of it was very difficult, my friend tagged along in a 2wd 2013 silverado, he stuck to the road and didn't drive any optional obstacles. We had a good time and it showed me a couple things that i need to work on, i'll get to that…

It's cool driving towards a mountain range thinking, "i'm gonna drive other that mountain today."
B9C12088-BDCE-4692-8981-05F596D52BA4_zpswh17ghac.jpg


Wild horses are common out here..
BEC54111-0E8B-41C6-97CA-9F8BBA1720D2_zpsc8miryki.jpg


My friend Henri kept up just fine sticking to the road wherever possible.
027DFD2E-CAB3-41E2-B8DD-F8DC7C854938_zpsxzxlk5c1.jpg


Alex, playing around with his FJC. That thing is really well set up, icon coil overs, skid plates, snorkel, lockers, etc… It crawls well and handles great at speed, he jumps it on a regular basis.
DCE530F4-D0A6-44FC-B3D0-9D791BDD839D_zpspjsdkhb3.jpg


Twisting up the 2WD.
3816F839-BCE1-41CA-8A56-991557D1C5C3_zpshnvf5mqo.jpg


Diasy got to stretch her legs. The ORD springs are awesome!
559805E6-1D40-4468-B46D-BF3D7F9B3E08_zpsgmkq10vw.jpg


At the top of the pass, 7600 feet.
676CAFB0-2688-49B3-9957-FD248AD11B04_zpsml8f7g3e.jpg


Daisy's got a nice ***!
CC7F12C2-4F8F-47DC-B26F-575C1B3A8536_zpsaxvmvftq.jpg


The forest opens up on the other side, lots of sage brush and fewer pines over there.
ABFB30F8-CB36-44B9-9619-4557A28595B3_zpshcgvseez.jpg


The last few miles of the trail is a wide, graded dirt road. We stopped in Pahrump to air up the tires and bull**** about 4x4s for a while and headed home from there.
59AB6948-28EE-4DBA-879A-0B2CD959D1E4_zpsn3gdttgy.jpg


There were a couple times I felt the front end bottom out, further inspection when I got home revealed that my front lower shock mounts do in fact need to move (see the location of the zip tie?) and that the exhaust needs to be re routed sooner than later. Also my transmission cooler is getting replaced with one that doesn't leak.
C412ADD4-0C06-4F74-89BE-7A3FDE2FAEBC_zpsusu3ed9r.jpg


A5F1B815-DDEF-4C55-955D-D8B1C2A7AE91_zpszoxsum8x.jpg
 

Forum statistics

Threads
185,901
Messages
2,879,329
Members
225,497
Latest member
WonaWarrior
Top