70 C-20 4x4 Suburban Father/Son project

Larry

Bigassgas Explorer
That is looking great Lance! WOW, the center console is definitely the nicest homemade console I've seen yet. It's going to look very clean after you cover it with grey vinyl to match the seats. I'm surprised you moved to a floor shifter for the transmission?? Never been a fan of automatic floor shifters but if I remember correctly, when I swapped in a 700R4 in an '72 C20 I had for a few years the column shifter would not manually go into first gear with the Lokar linkages I used. Maybe that is why you went the floor shifter route. Not too sure about electrical center on the passengers firewall either. It's a clean organized mess that is for sure. Reminds me of our International ProStar and DURAstar model's underhood electrical center. A nice cover would fix that right up though. The idea of having all the electric bits in one spot is genius.

It's looking great! Nice work you and Nick have been doing! I can't wait to see it in the flesh
 

toddz69

Explorer
lance.jpg

Amazing who you see from time to time in this insanely large sea of humanity....

Don't know how to make it rotate correctly....

Todd Z.
 

1leglance

2007 Expedition Trophy Champion, Overland Certifie
Nick deserved all the kudos...I am around more for comic relief than anything else.
He won't know what to do with himself once his driveway is free of blue vehicles. Between my blue 72 C-10 and the Burb he has gotten a little twitchy about that color :)

I hope the center console turns out well. Been a long time since I did any interior work. If not then I can always build something else. Great thing about the way Nick sets up things is that they are modular and movable.

It will be really nice once we get back on the trail with these rigs instead of just wrenching all the free hours of the week.
 

1leglance

2007 Expedition Trophy Champion, Overland Certifie
I thought I would be interesting to lay out overall what has been done since I got this Burb and what is left to do on the plan...

Bought it a couple of years ago on the day after Thanksgiving...my kind of black Friday :)
It had a pretty fresh GM big cam crate motor so that we have basically left untouched..otherwise
New radiator with dual 12" Spal fans and a Dakota Digital Fan controller
New water pump
New Hi amp Alt
GM TBI that Nick completely rebuilt
Howell engine harness with GM computer & custom prom
rebuilt HD 700r4
208 t-case of course built by Nick
bought Nicks old super nice drive shaft
fresh rebuilt 14bolt rear axle...yeah Nicks that went to another guy then bought by me with ARB locker
Dana 44 same as above locker and all...yippy I have front disc brakes
custom leaf springs set to the height my fake leg can handle getting in the rig
Fox reservoir shocks
front active bump stops because I like to drive in a spirited manner
all new wiring harness that Nick then customized even more to handle all kinds of nifty stuff I want in my toy
Vintage Air in dash heater/AC with monster condensor and rear evap...gotta keep mama cool in the Phoenix summer
All new body mounts
paint by MAACO...pretty but fragile, scratches very easily
Very nice UV/heat blocking window tint everywhere including windshield
Latex paint with ceramic micro spheres on inside of body
then FATMAT
then aluminium coated bubble wrap with a couple of layers inside roof and other places
wood rear sleep platform on steel tube frame with removable inserts for access, covered with foam mat
ARB 65L fridge accessed through second passenger door
3 seats from some mini van on custom seat frames Nick built in case you doubted
black carpet with rubber floor mats
in process of building center console with B&M floor shifter...because I was a youth in the 70's and 80's and I want the column shifter out of the way of my laptop for navigation
switch panel on center console to control bumper LED's from Baja Designs, Extreme Outback On Board Air, electric fans, and a bunch more stuff
in process of building overhead console for ham & cb radios and hold other stuff
fairly new Unity spotlights in both A pillars with their super bright replacement bulbs
roof rack to hold Hannibal Awning
Front Runner stainless steel table nestled in my roof rack

To be done before Nick goes completely insane
Solar Panel installed
Roof rack side & rear lights
underbody water tank
rear bumper with tire swingout, propane tank for the fire pit and jerry can
moto carrier for front

So my wife has kept a rough track of the money going into this project not to be a nag but because I ask her to. Now I don't want to know down to the penny but we will be over $30k including purchase price which I think is a steal compared to anything I would buy off a dealer lot then bring to the same level of lockers, lights, fridge and other goodies.
If I get 15mpg or better I will feel great and if I don't I will still smile every mile....and this is the first 4wd that my wife has complemented on the looks of...that is a win right there.
 

Bojak

Adventurer
Cool rig and if the wife's on board then you are golden. Do you think you could see 15mpg? I have a 350 tbi and im trying to get there but am starting to doubt that it ever will. No real big deal if I don't get there but its good to have goals.
 

1leglance

2007 Expedition Trophy Champion, Overland Certifie
I drive like Granny going to church with the Pastor in the front seats and he puppy's in the back.
Slow and steady to see all the sights.

I hope for 15mpg but with 4.10's, 33's and the 700r4 I have no idea....but no matter what I will be happy with the fuel injection vs carb
 

snekvasil

Adventurer
first of all, i LOVE your build. the body style/lines of the GM trucks and burns from 67-72 are my absolute favorite. somehow (i don't know how) this is the first time i've read through this thread. i'm building up a '68 k10 at the moment.

have you considered rocker guards? the reason i'm asking is because i was contemplating them for my own build but not sure how they would look and/or if they were necessary. your thoughts?
 

njtacoma

Explorer
Lance,
I really appreciate this build, and your openness about costs and challenges. I'm curious if you could break out the pricing into broad categories like, engine compartment, drivetrain (trans, transfer case, axles), interior, exterior. Perhaps labor if you had to pay for work to be completed. My reason is that I have considered a build like yours, but with a different platform and would like to get a sense of where the money went.

I was surprised by the 30K number, but I agree you couldn't buy anything off the shelf like it.
 

Bojak

Adventurer
30k seems like alot. Owning an older truck myself I know its really not too bad. I bet 30k wouldn't get it from you, so using dumb truck guy math you are not upside down in your investment. Well done sir.
 

1leglance

2007 Expedition Trophy Champion, Overland Certifie
My wife will get a kick out of helping me put the numbers in print....I might not though.

Some things to note...
I spend ALOT on custom suspension since I am very picky...just enough lift to keep it easy to get in but plenty of quality to handle Baja washboard.
I am paying Nick for his work...sure some things a buddy will help you with to be nice, but when a rig is at someones house for 2 months and sucking up evenings and weekends then you better be throwing cash at them.
I spread the money out over 3yrs so don't think of it as buy & build non-stop run...more like building, playing and more building....
So I will get the wife to pull some info and get this out to everyone soon.
 

NOIBN

Observer
Well, since the owner found it necessary to take yet ANOTHER vacation during this project, I figured it would be a good time to add a little color to the story from the guy in the trenches here (he's not here to protest and once he gets back, maybe he'll fire me!!). Several pics were posted that didn't really come out too clear, so I'll add some that are a bit easier to look at. Anyways, lets take a quick look at some of the behind the scenes action taking place on this janke hooptie.

We started with a NOS TBI intake manifold from my inventory:

IMG_20140116_201502Medium_zpsa0fd69d6.jpg


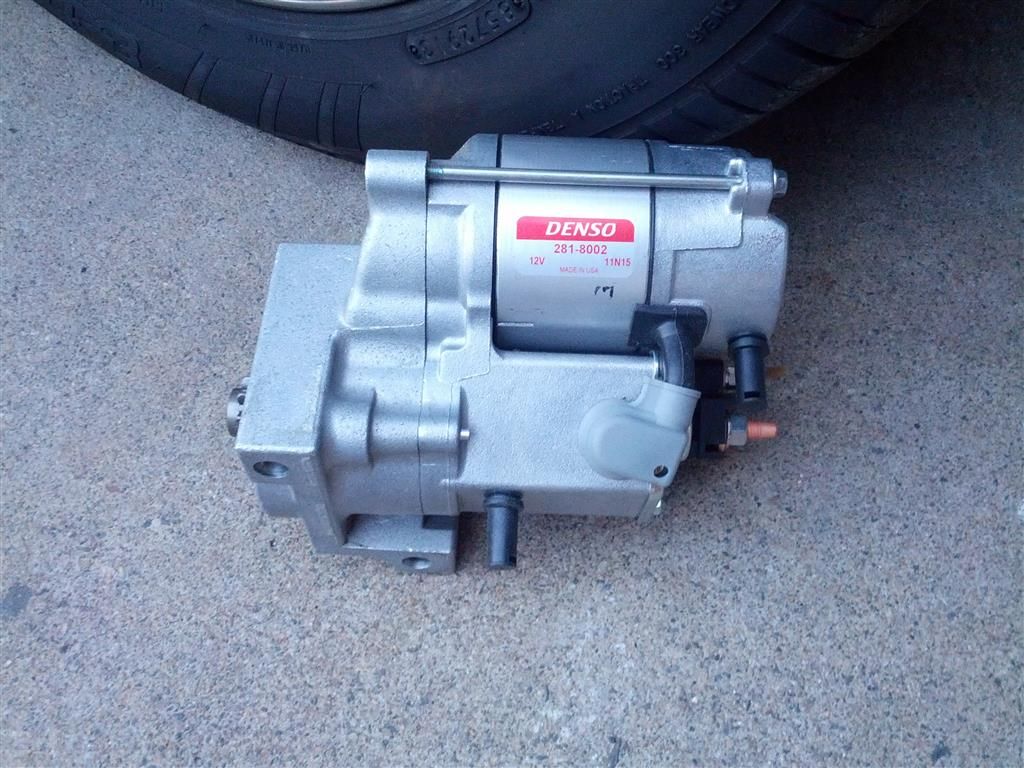
This truck also got a Denso H/D starter:

IMG_20140520_190242Medium_zpsc13dd536.jpg


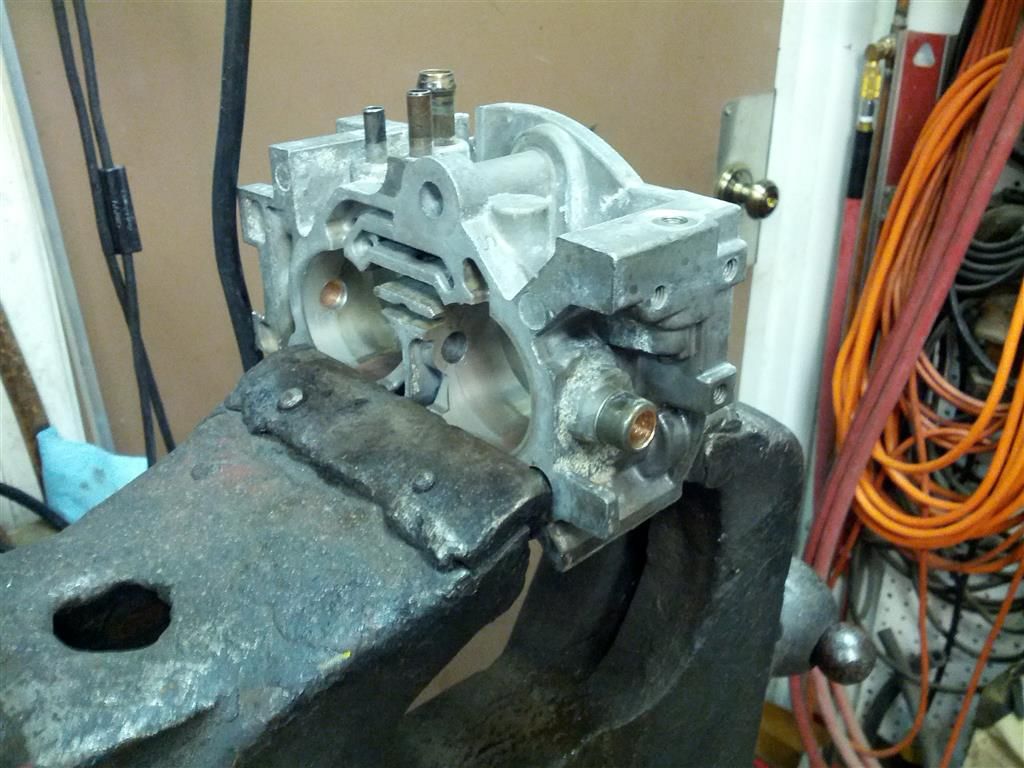
We scrounged our parts out of some local wrecking yards and I proceeded to go through all of them before installation. Here is the throttle body when I was installing new shaft bushings:

IMG_20140809_125115Medium_zps7224fc47.jpg


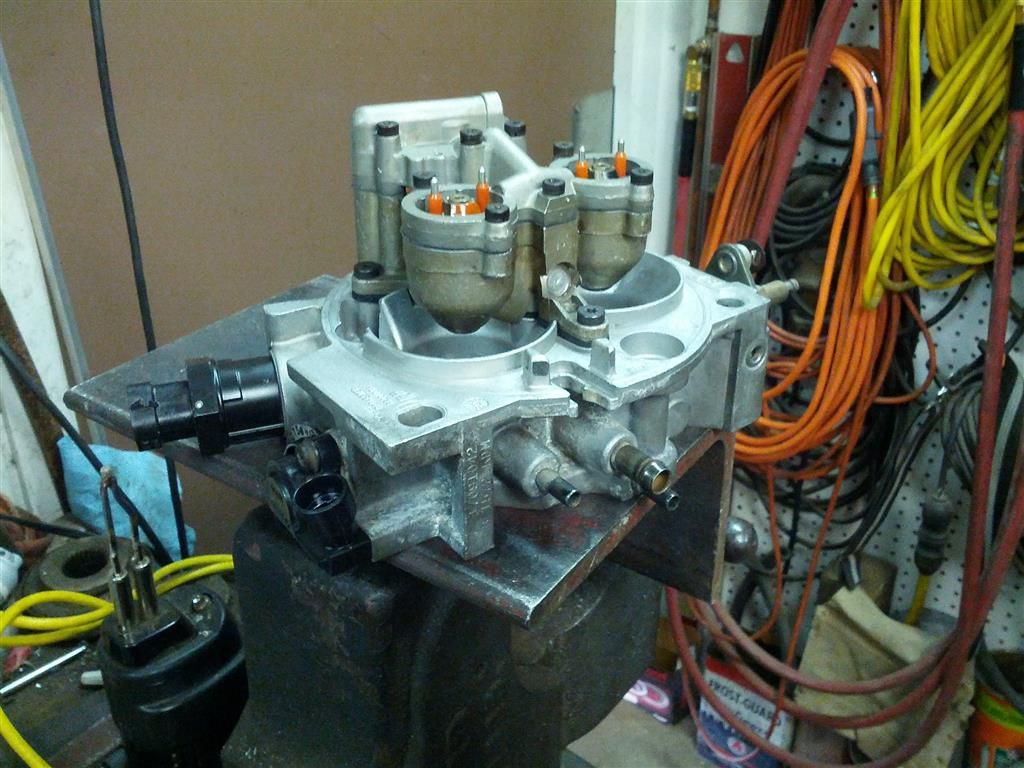
I also modified the original pressure regulator so it is adjustable now:

IMG_20140823_130513Medium_zpsd4bc5ada.jpg


Here it is with its new Delco IAC and TPS on it:

IMG_20140823_133915Medium_zpscb40e49c.jpg


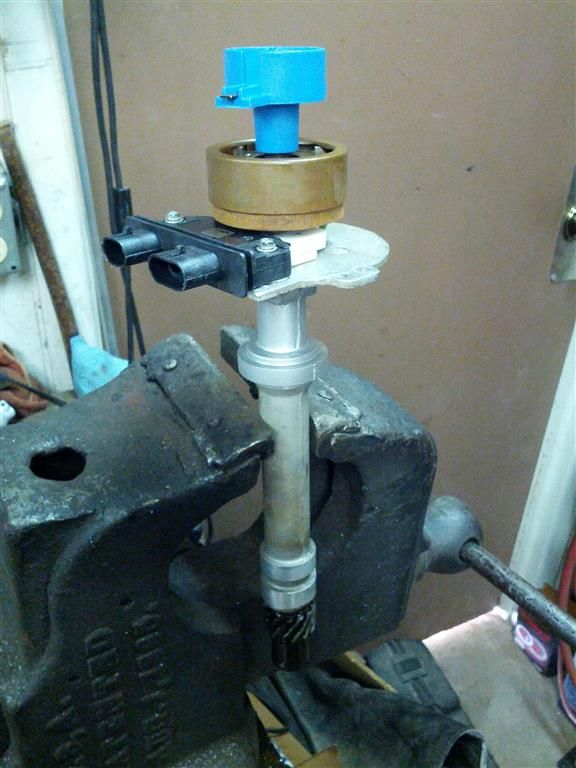
I went through the distributor using all new Delco components (except for the Blue Streak cap and rotor):

IMG_20140823_120451Medium_zpsbf2f2da2.jpg


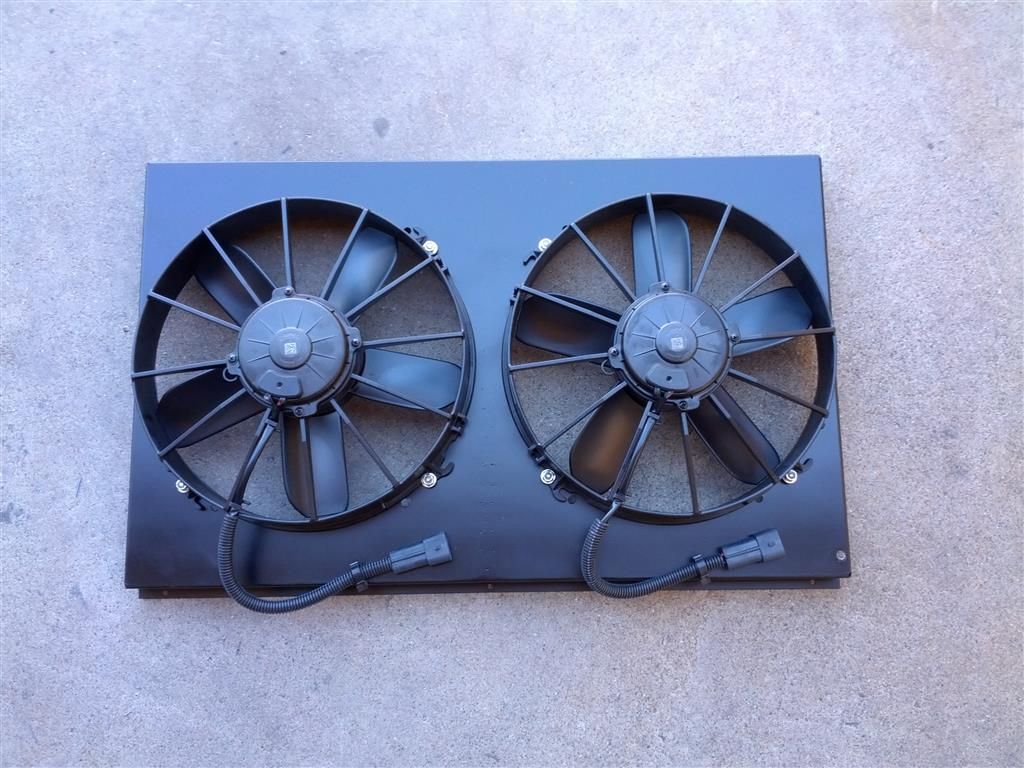
Shot of the dual electric fan setup that got installed. He bought the shroud from somewhere and it is set up for some other brand of 12" fans. These Spal hurricane machines I found which are also 12" require a larger hole in the shroud, so I plasma cut a 3/8" ring out of the inside diameter of the fan holes in the shroud. I got those mounted up then I converted the connectors on the fans over to a MetriPack 630 setup so the connectors will be the same as a factory electric fan setup and weatherproof as well.

IMG_20140824_142642Medium_zps1c7ae3de.jpg


The radiator was found to be junk, so it was replaced also.

In order to convey how nice this is turning out, one must understand what the raw material consisted of. The following pics are some of what was removed to try to de-janke this thing:

IMG_20140829_161556Medium_zpse2232a34.jpg


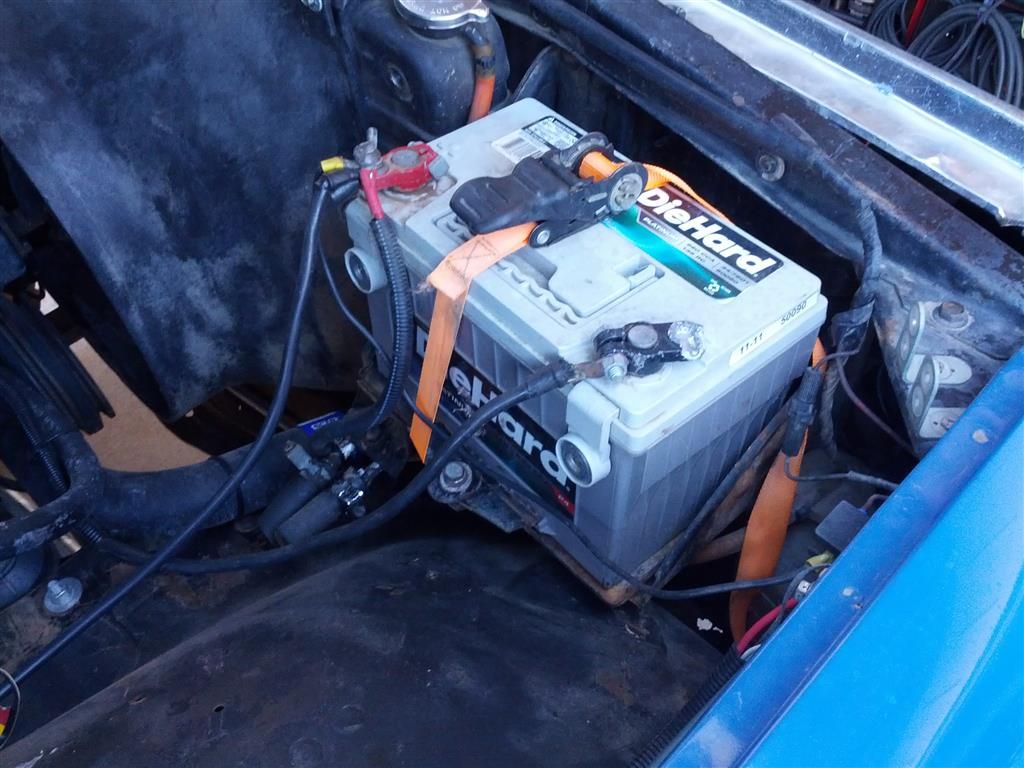
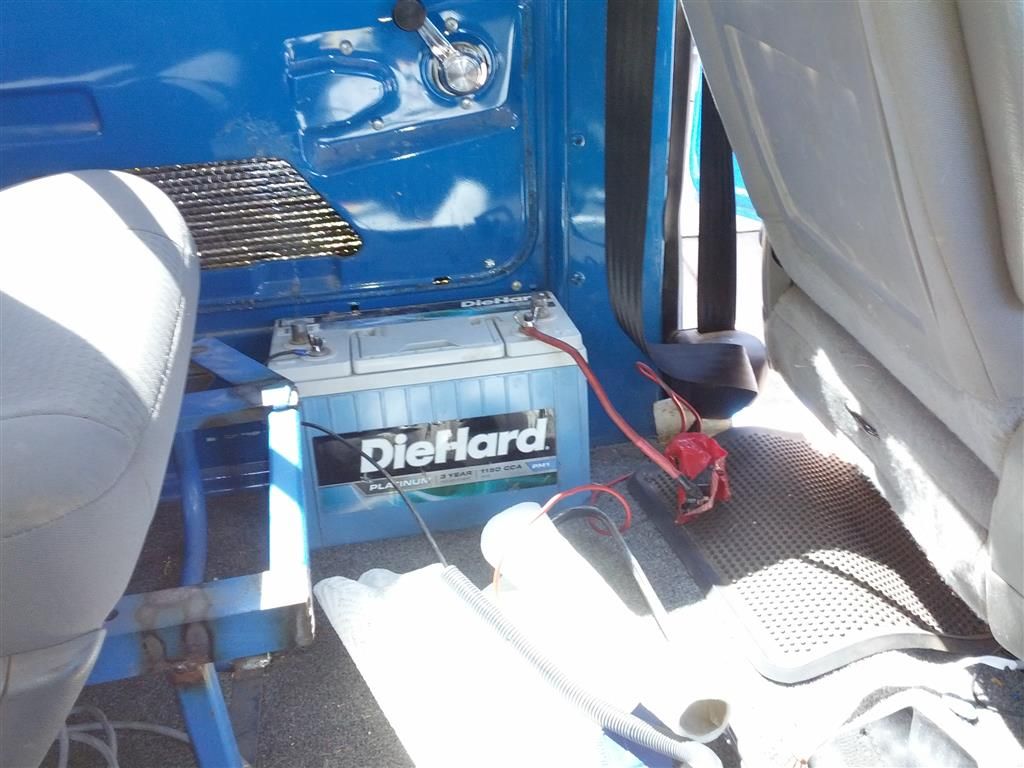
High-speed, light weight battery hold-down:

IMG_20140829_161626Medium_zpsfca2f5ac.jpg


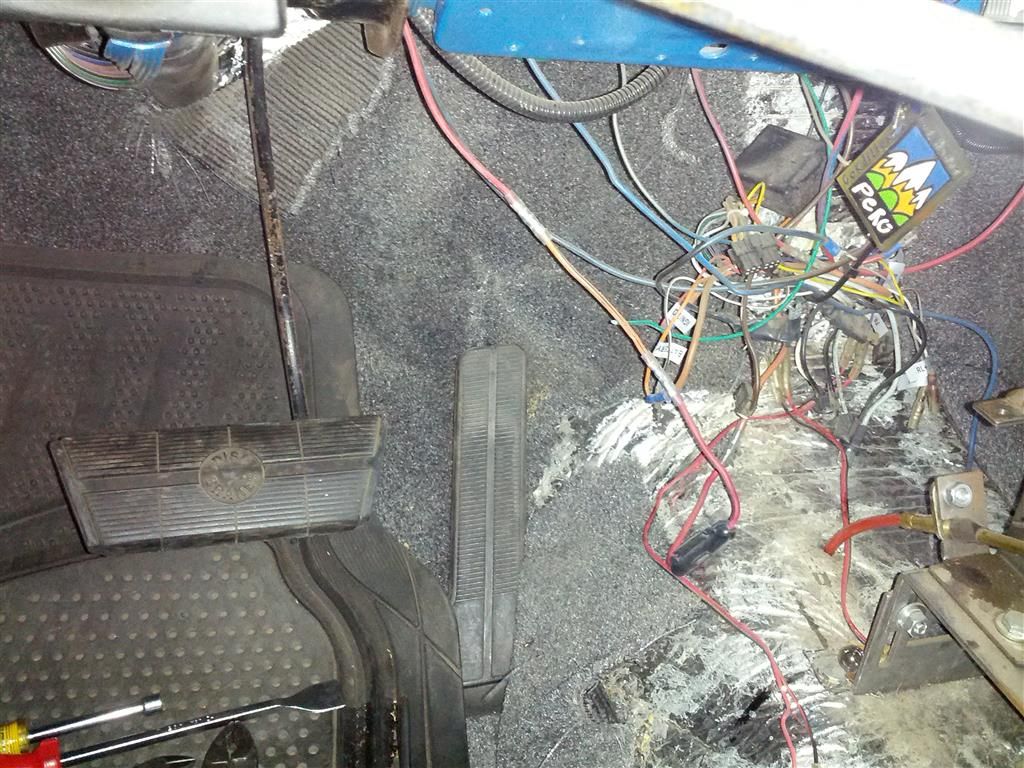
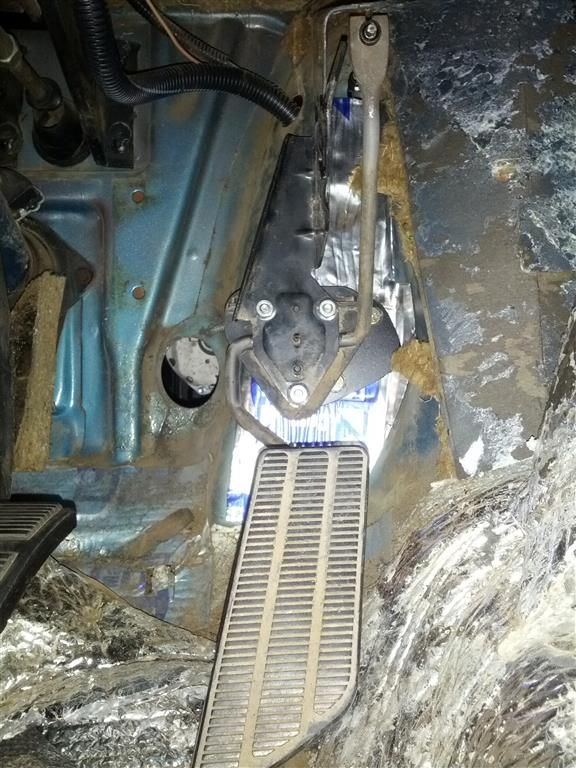
Uh, <facepalm>: (The brake pedal was his birthday present from me last year. Having an aftermarket left leg makes hitting the tiny stock brake pedal very difficult, so I figured this would be a good addition to the truck)

IMG_20140831_195618Medium_zps6d2592b7.jpg


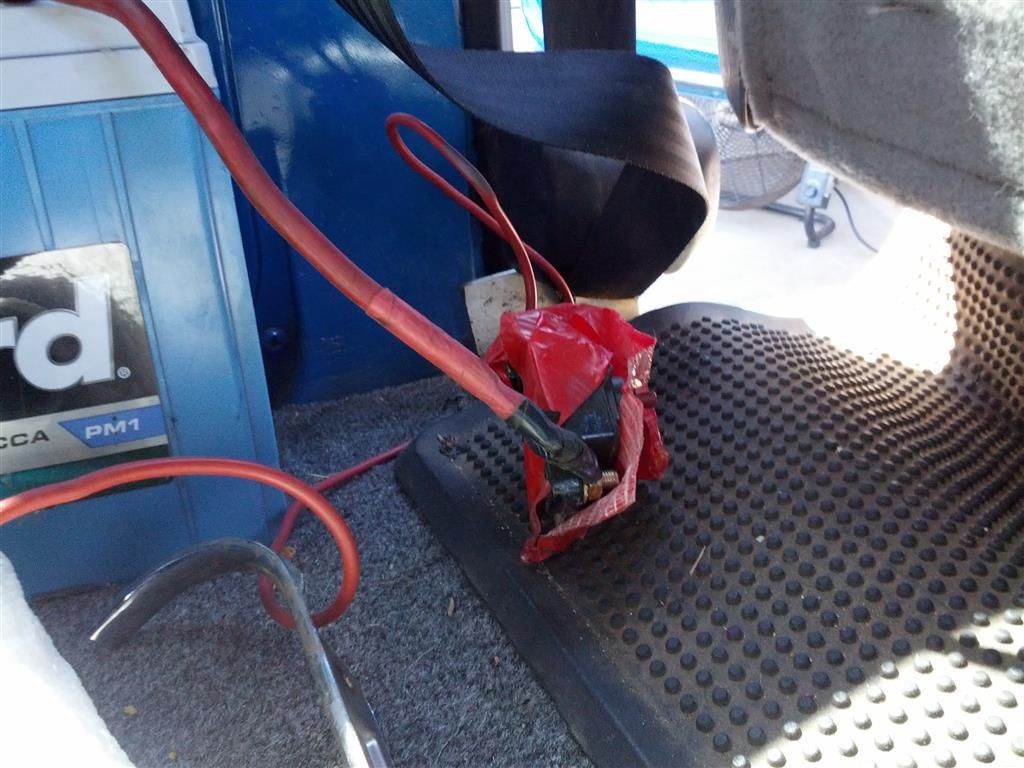
Dual battery setup: Safety third!!

IMG_20140901_104621Medium_zpsb467698c.jpg


Nothing but the best:

IMG_20140901_104612Medium_zpsc447cc4c.jpg


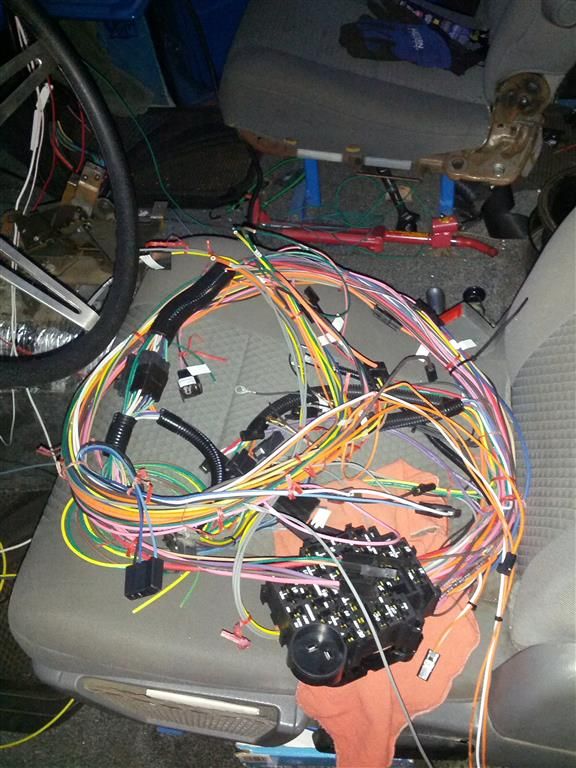
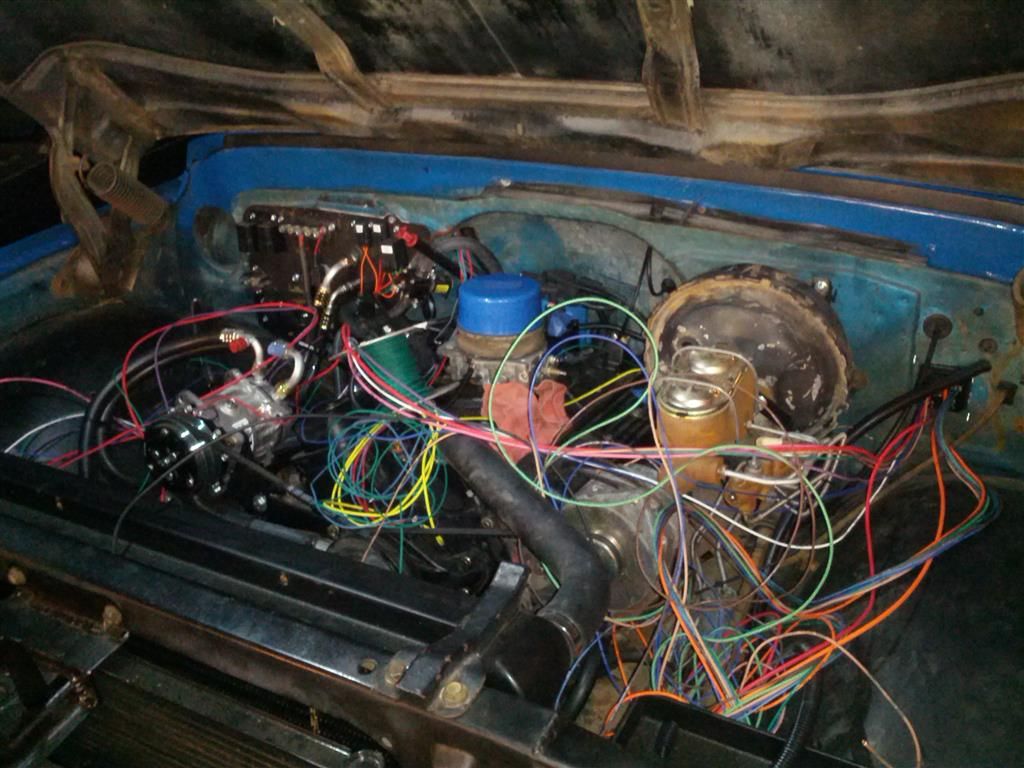
Now the wiring was a challenge as there are so many accessories in this particular truck that many modifications had to be made before a harness could be installed. We started with an American Autowire setup that we got from tkorinek. It is a real nice setup, it uses high quality GXL wire, but I had to put a bunch of hours into modification to make what we needed to run all of the electrical crap in this truck. Just a note, if you don't have a bunch of weird stuff in your rig, the harness goes in very easily--I highly recommend them. So anyways, I put a bunch of time into the harness and the end result looked like this:

IMG_20141003_182624Medium_zps6e2bbd55.jpg


Getting a bit closer:
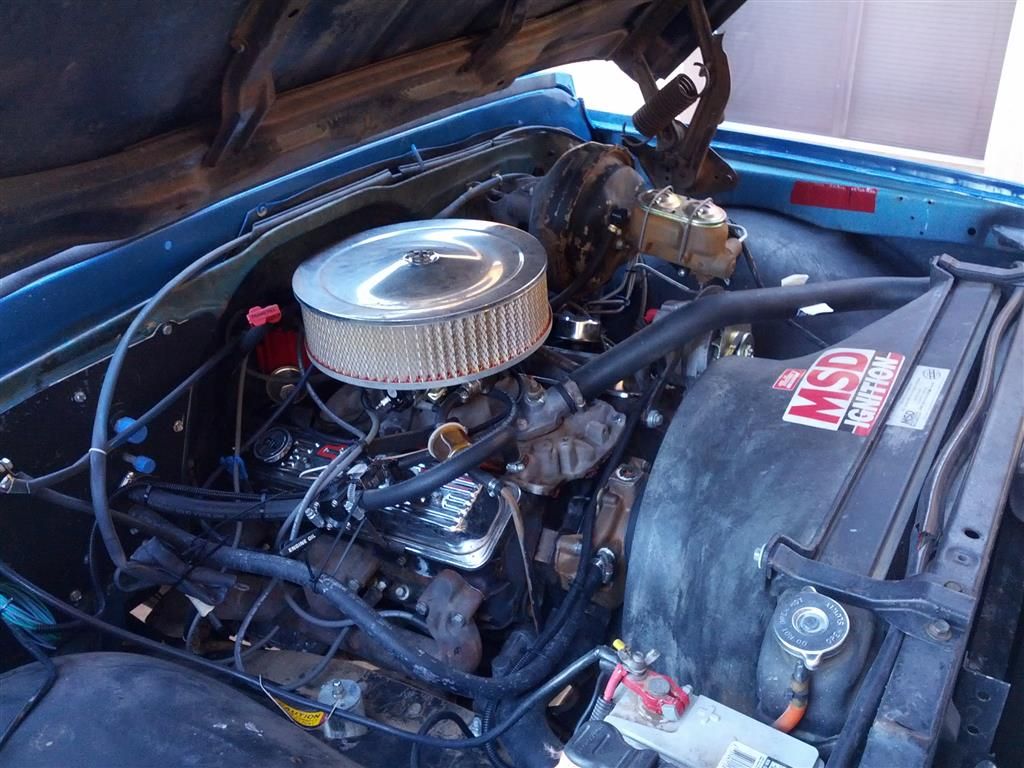
IMG_20141004_134428Medium_zps74e2a867.jpg


Underhood rough-in:

IMG_20141009_214407Medium_zps8cbc8946.jpg


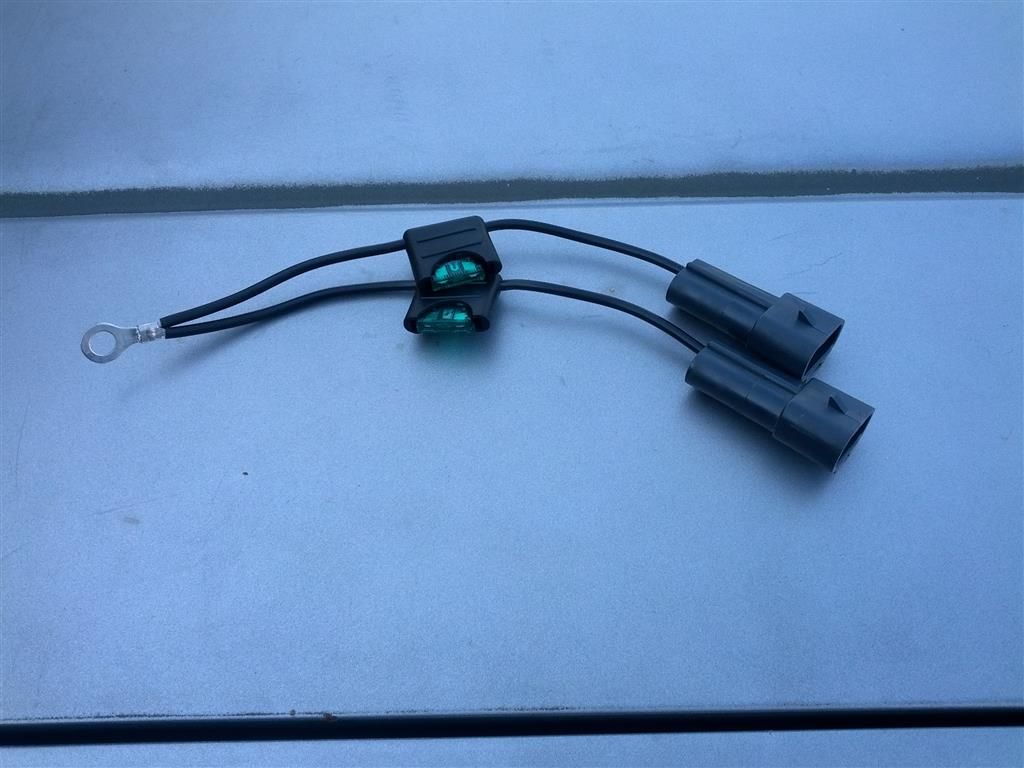
We used a really neat Dakota Digital fan controller to control the electric fans, but with where this hooptie is going to be taken, I figured an emergency bypass of everything fancy in the fan circuit would be a good idea. The fuses get pulled out of the Weatherpack fuse holders and those connectors get installed in these female connectors. The ring terminal gets connected to the main power distribution bus bar with a wing nut and the fans are on, period. No switches, no relays, nothing. If the fan motors work and the truck has 12 volts, the fans will be on.

IMG_20141019_161459Medium_zps6d76f573.jpg


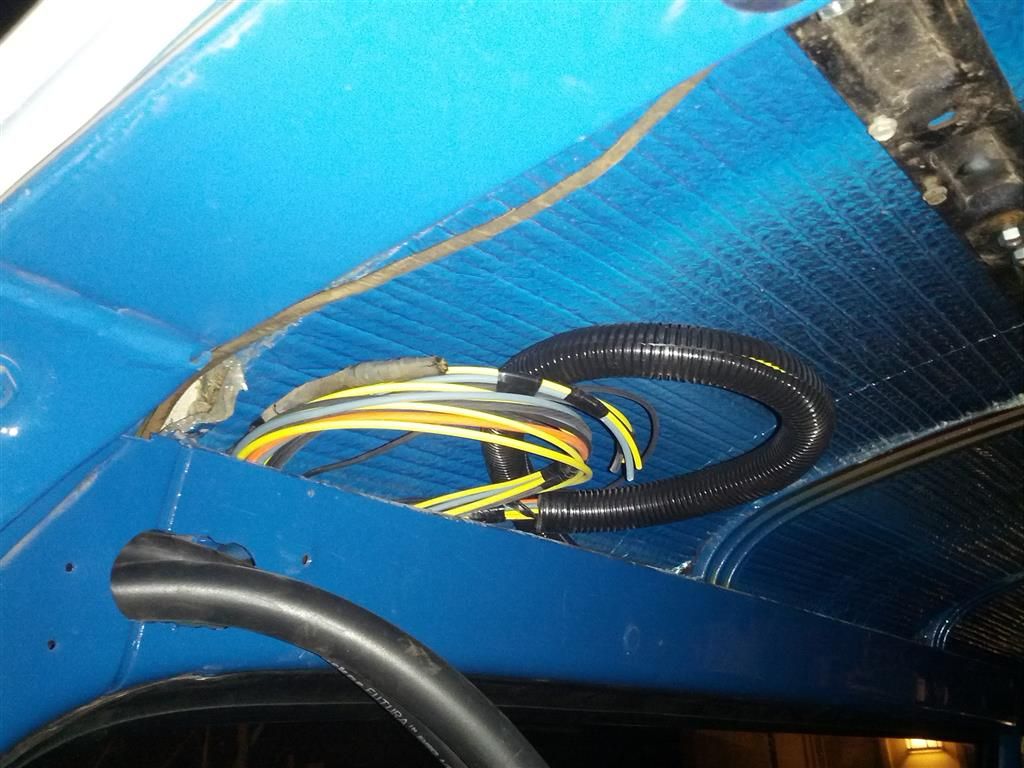
All of the wiring for rear ac, roof rack lights and solar panel. All run in appropriate size and color codes using the OE thermal cross linked polyethylene jacketed wire: (the remnants of the stock lamp harness has been removed since the pic was taken...)

IMG_20140924_193531Medium_zpsfdd518ff.jpg


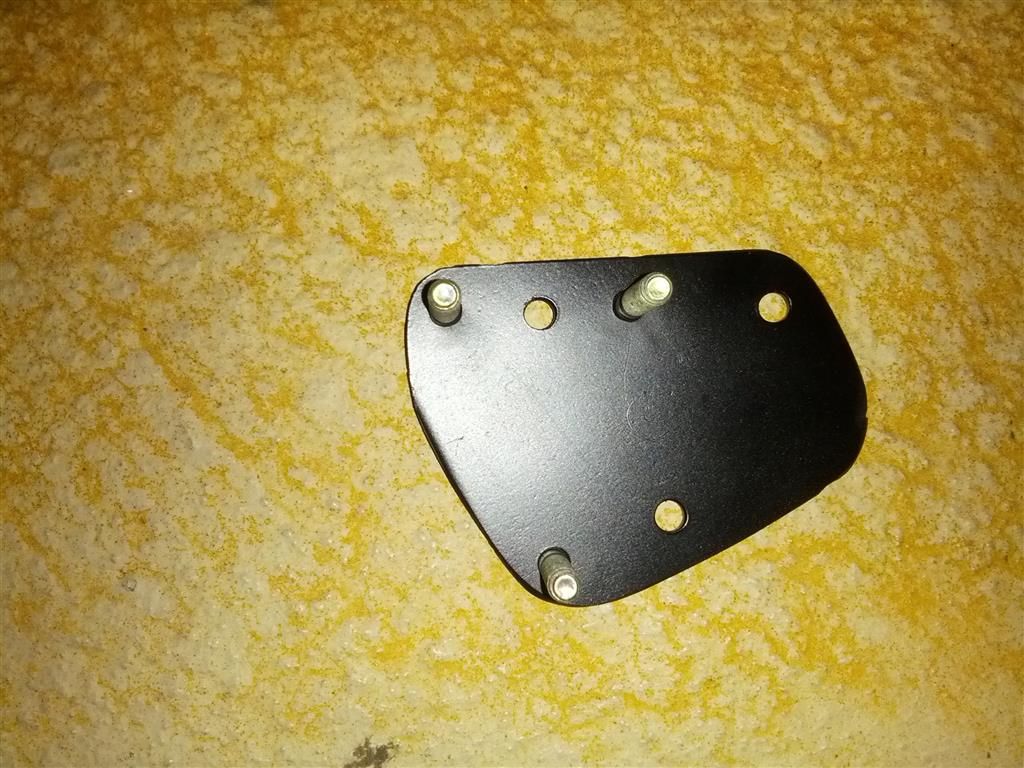
The fuel injection setup needed a cable style gas pedal setup, so I made and adapter to run the cable setup mounted to the mechanical pedal mounts in the firewall:

IMG_20141007_191523Medium_zpsddbe808a.jpg


Installed:

IMG_20141007_203742Medium_zps473d74e6.jpg


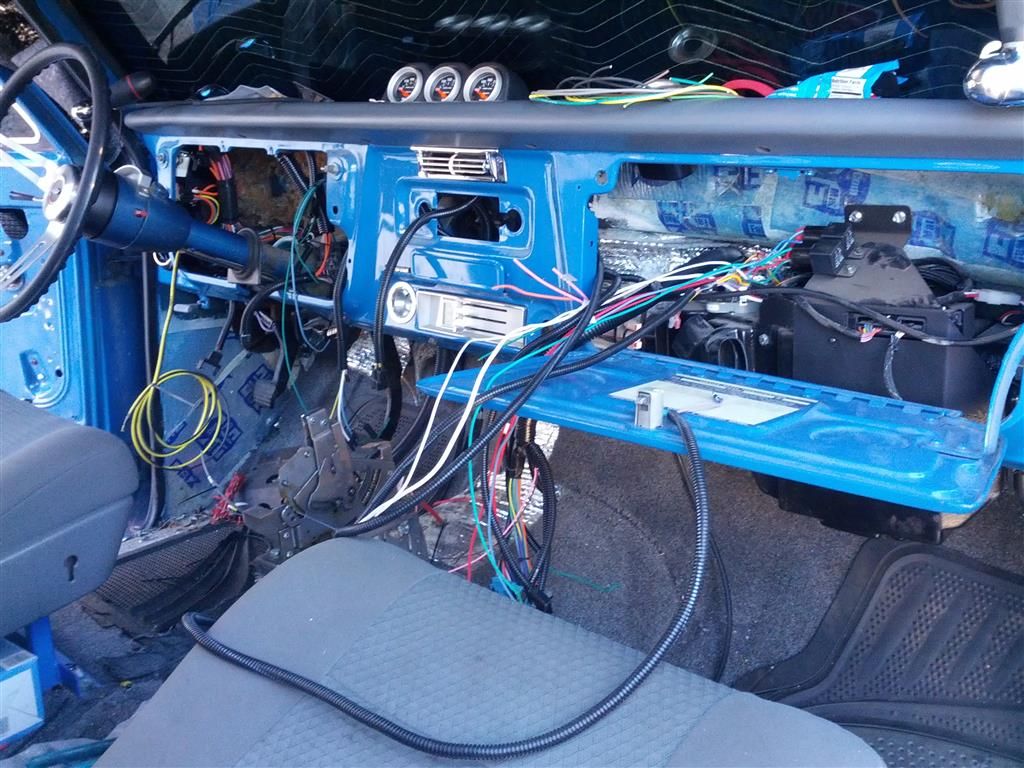
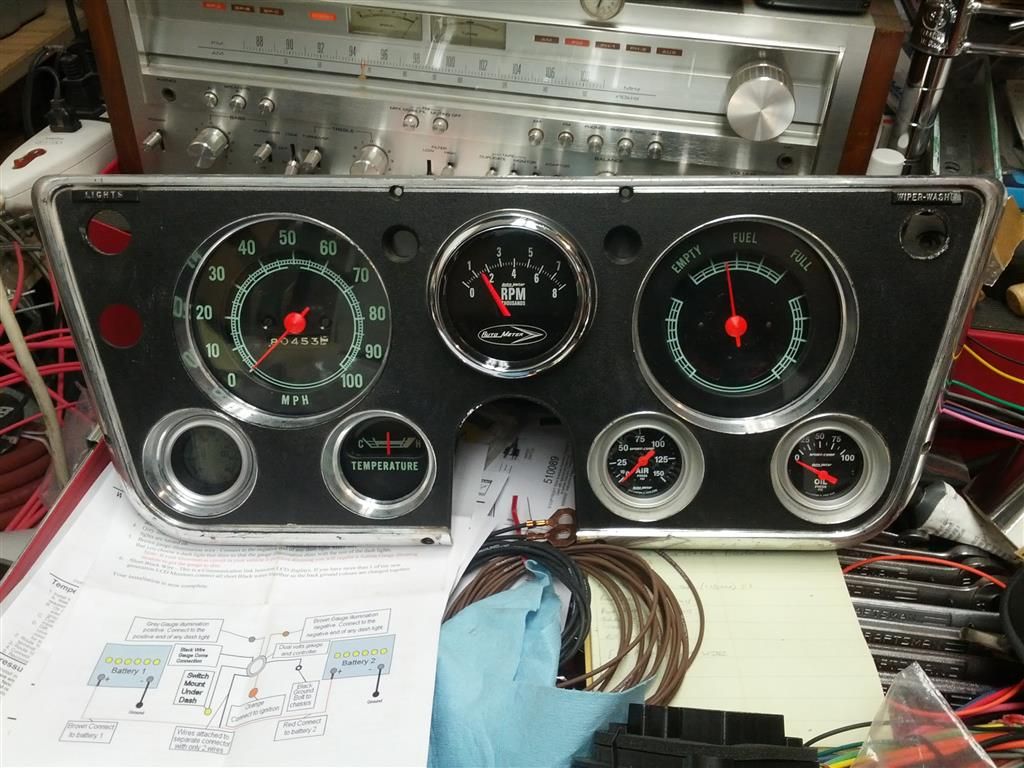
Here is a little clearer photo of the cluster I built for this thing. Lance wanted the tach hose clamped to the column.....Ugh. I couldn't do that, so I mounted it in the dash. It is one of those Autometer retro series pieces. Looks kind of neat in there:

IMG_20140930_232847Medium_zps309144c4.jpg


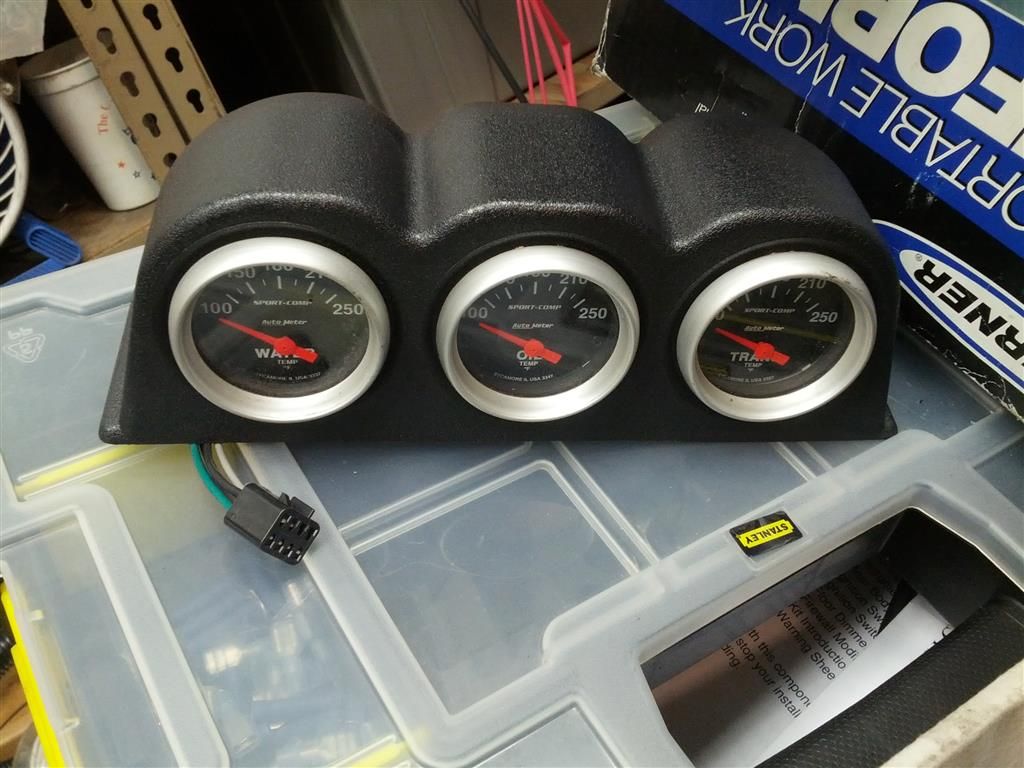
A three gauge dash-top cluster:

IMG_20140919_211819Medium_zps355187de.jpg


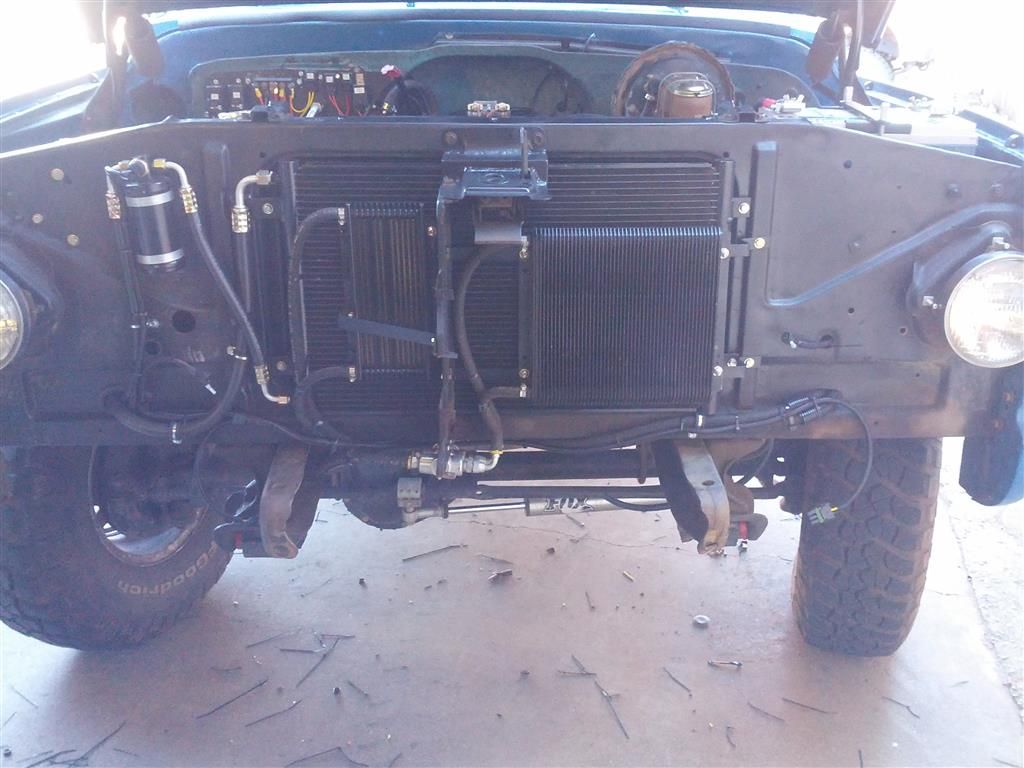
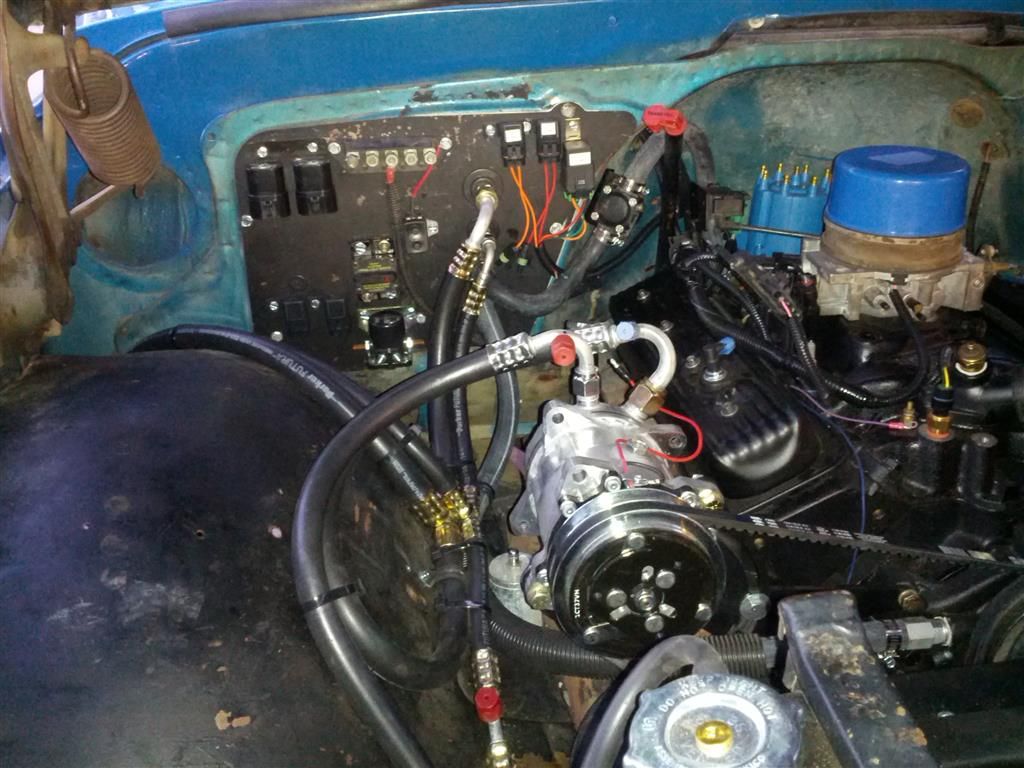
A slightly clearer pic of the cool pack I built for the truck. It consists of a full-height condenser. I had to modify the hood latch for clearance of the condenser. The large heat exchanger on the driver side is the 10 x 11 x 1-1/2" thick trans cooler with a thermostat visible at the bottom of the center grille support. The heat exchanger on the passenger side is for the power steering fluid. Here in the desert, power steering fluid gets insanely hot, so a cooler is a good addition to prolong the life of o-rings in the pump and box. I made all of the ac lines to fit the specific areas where they could fit into.:

IMG_20141031_160648Medium_zpsa351f3d9.jpg


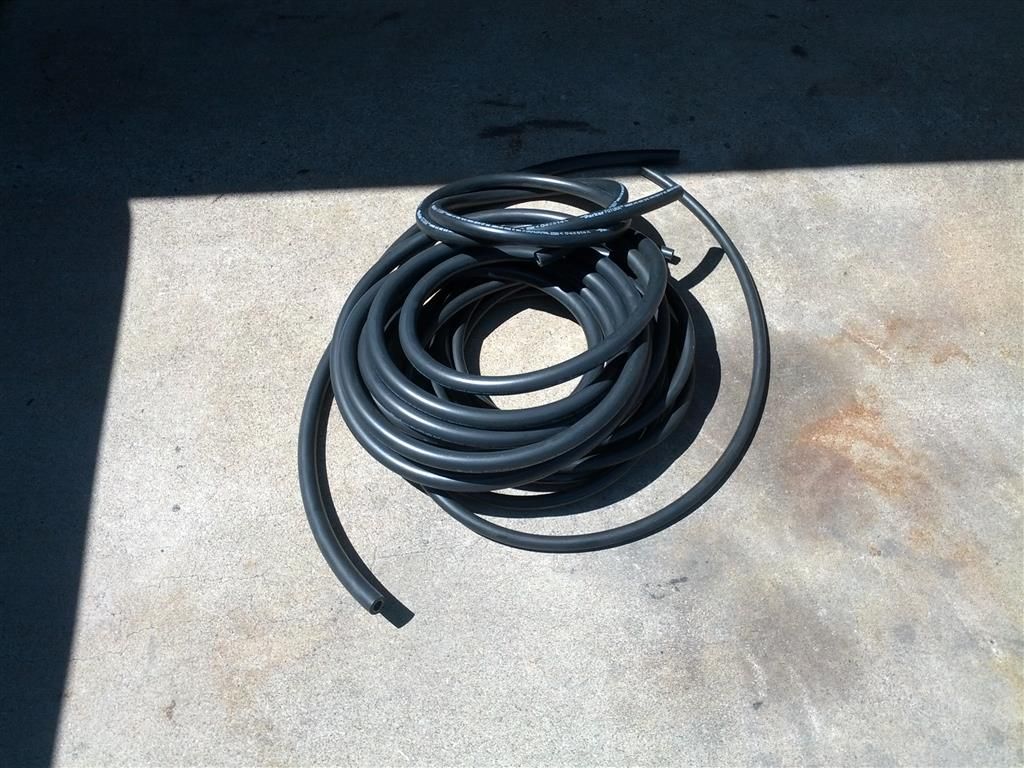
Speaking of ac hoses, here are the underhood hoses complete with tees for the rear ac lines:

IMG_20140921_182956Medium_zpseb35136b.jpg


This is what they looked like when I brought them home:

IMG_20140913_120116Medium_zpsa33c6e72.jpg


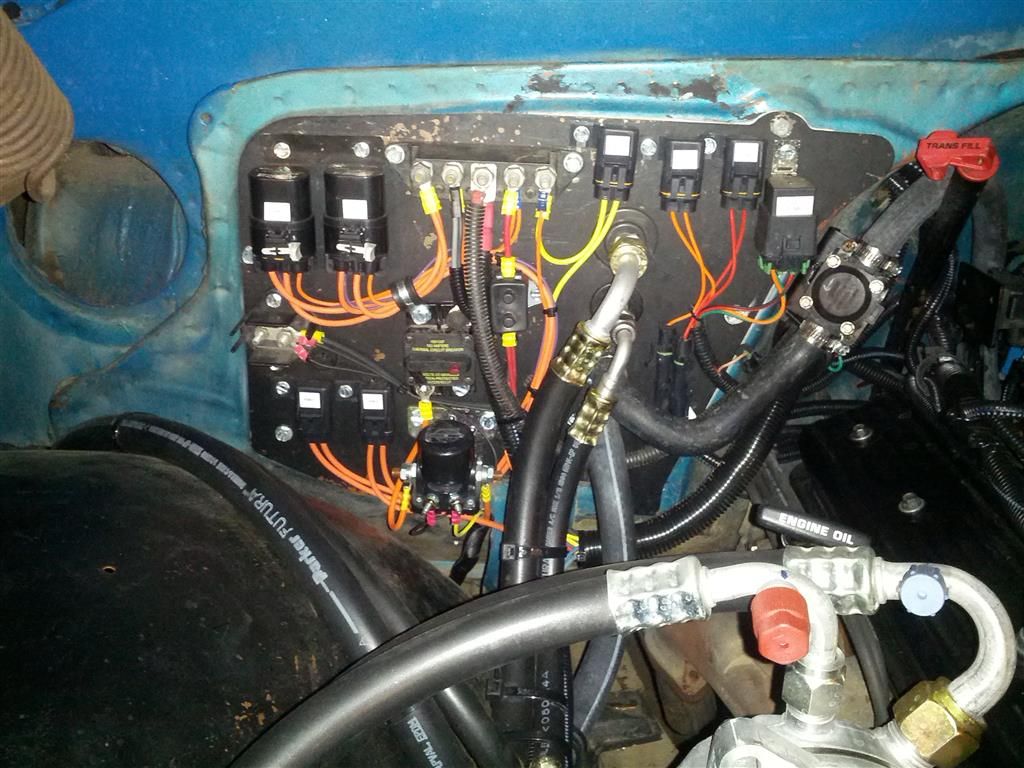
Here is a better pic of the electrical "sub-panel" on the passenger side of the firewall:

IMG_20141105_222714Medium_zpscce6e733.jpg


So I think I have caught up to where Lance has posted without getting ahead of him on it. Maybe if I do he'll fire me!! Woohoo!!
 

Forum statistics

Threads
185,837
Messages
2,878,719
Members
225,393
Latest member
jgrillz94
Top