Airmonger's LX450 Build

Airmonger

Adventurer
Hi, my names Dan and this is my build. It's a 1997 Lexus LX450 with front/rear factory lockers, broken 6 disc changer, no leg room, sluggish inline 6 engine and many other shortcomings that leave much to be desired. In other words its "perfect" in every way. With the addition of a 4th little one my Tacoma would no longer cut it as a family get-away-moblie. We live in the SE corner of Washington state near the Oregon and Idaho Boarder. I wanted to get a rig that I could use to take the whole family out for day trips and for myself to use on longer excursions. There is so much wilderness only a few hours away and I want to be able to see and explore with children.

blackbetty.jpg


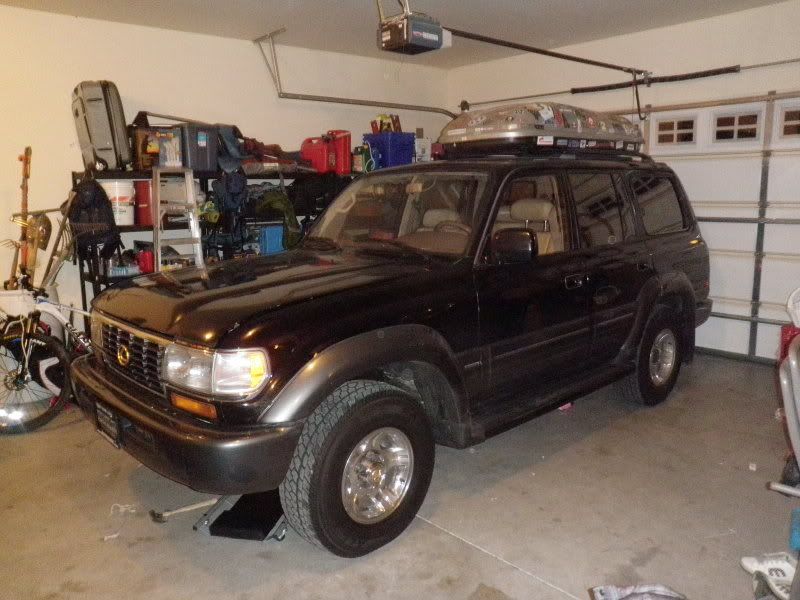
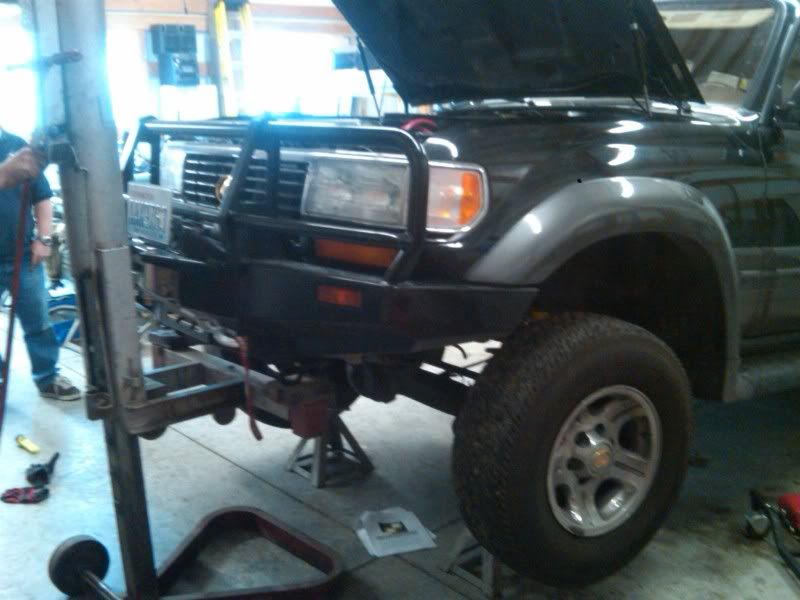
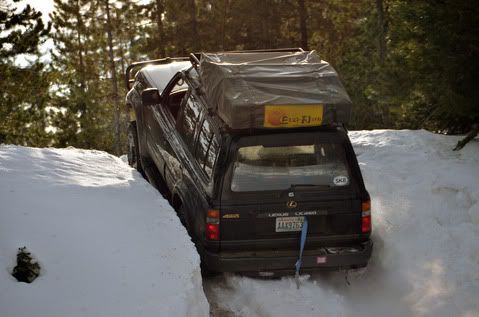
The day it came home.
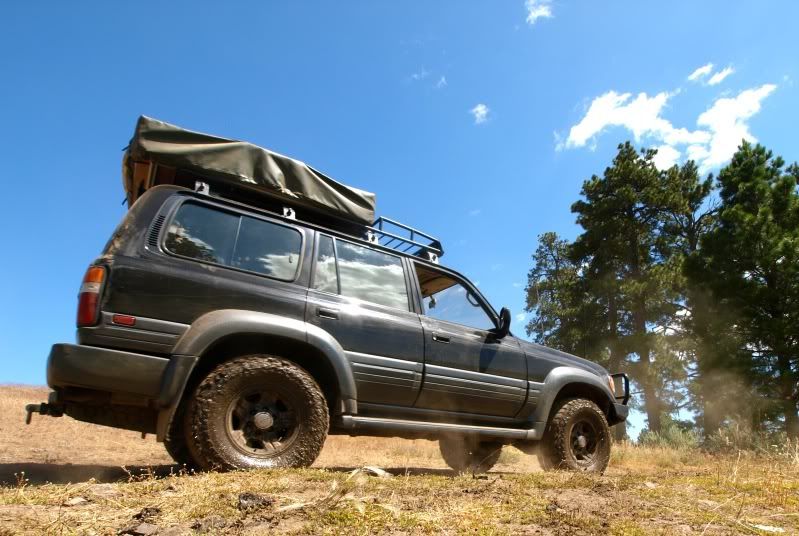
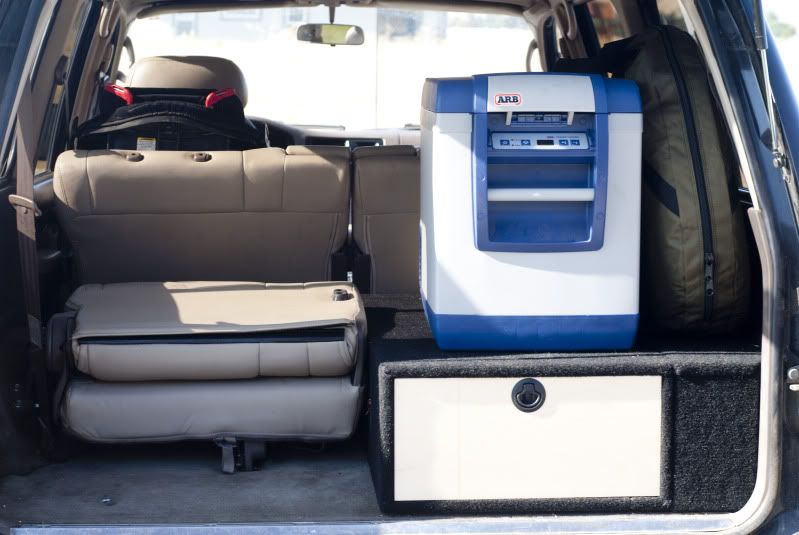
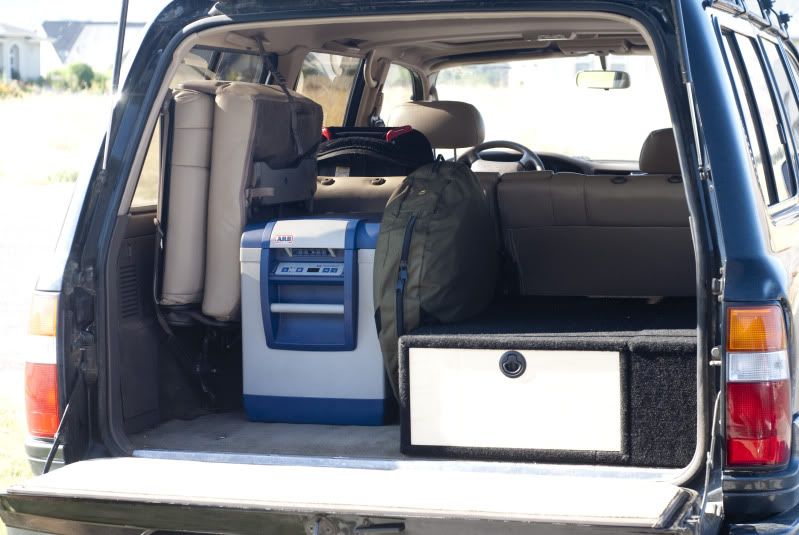
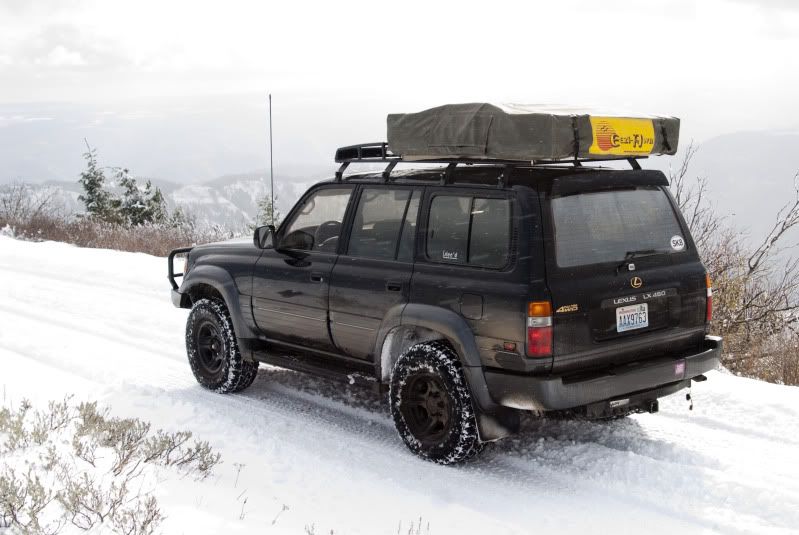
rayhadley.jpg


Current Set up.
 
Last edited:

Airmonger

Adventurer
IBS and Dual Battery install

ibs.jpg


Dual Battery with slee offroad battery tray and bottle washer relocation kit. One thing I love about the Landcruiser/lx450 is the amount of aftermarket support. You can get anything easily.


ibscontroller.jpg


The IBS battery Monitor. in the cab from Sierra Expeditions. The reason that I choose this over the national luna is that the "brains" of the unit ride in the cab and not in the engine bay.
 
Last edited:

Airmonger

Adventurer
ARB Bullbar, Warn M12000 & Old Man Emu Lift

Last Fall Will at Sierra Expedition was having a free shipping sale so I pulled the trigger on bumper and winch. 300 lbs of steel shipped for free, why not?

lift.jpg


We did the install and my friends shop. If you dont have all the tools I suggest you take up a hobby like homebrewing, you make friends quick.

suspension.jpg


Now I have some protection up front as well as some capable recovery when the time comes. I talked with Cristo Slee and went with a heavy coil set up front to hand the weight of the bumper/winch/battery combo. The rear has a medium spring set that I will upgrade if I get a rear bumper.
 
Last edited:

Airmonger

Adventurer
ARB Fridge and Warfield Offroad custom 80 series rear half drawer

There are a few odds and ends that need to stay in the vehicle no matter what. They are items like tools, recovery equipment, lantern and a few other bulky items that I consider necessary for daily travel or extended trips. I wanted a place to put these thing securely so that in case of an accident they don't end up in my lap or my kids. I went with a half drawer setup so that I could still use one of the rear jump seats so that we can fit all 6 of us. Remember It's my wife, Myself and our four kids, Maria(age 6), James(age 5), Alice(age 2), Charlotte(age 7 months).

-5.jpg

6 person configuration

-7.jpg

3 person configuration(most trips of any length are attended my camping buddies, Maria and James. Mama likes to sit those out.)

-14.jpg


-10.jpg

Flip up side makes the most of the wheel well while providing for as much flat storage as possible.
 

mainefj40

New member
Nice Job, I like the Drawer set up and ability to keep one of the Jump seats. I am looking forward to getting started on modding my 97 LX450 as soon as I get home this weekend. Planning for some PM's on the EGR system and correction of a few leaks then it is time for the Storage and Armor.
 

VanGo

Explorer
Your build considerations mirror my current set up- literally. Good work! Is the half cargo drawer your craftsmanship?
 

Airmonger

Adventurer
Cooper St Maxx and Powdercoating

Since I have had the LX450 for about a year I am kind of doing these post backwards and not necessarily on in any particular order. One thing that did bug me about the ute was the mag chloride corrosion on the stock rims. I liked the look of the stock rims however and didn't want to spend the money on replacements so I had them powder coated while she was getting new shoes. I got the tires from Ted at Perfection Tire in Lewiston, he even took the rims down to the powder coating shop for me.

lexus-10.jpg


One thing to consider is that when you powder coat a hub centric rim they don't like to go back on. I tried removing them in the shop but to no avail. I figured that if I can't remove them in the best circumstances then I'm going to have a hell of a time changing a tire on the road or in the woods. Once they were pried loosed(back at the tire shop) I had to file the paint(is it paint?) of the center of the rim so that they would go on and off. I even remembered to do the spare. Nothing like taking the armor off a fresh powder coating.
 

Airmonger

Adventurer
I received an Extreme Air high output compressor as a generous gift for the holidays. I'm going to ditch my clunky CO2 bottle that required refilling after each trip. I also scored two aluminum air tanks for free! This prompted me to complete upgrade my air system so I called Sierra Exp. and ordered the assorted parts required for an install as well as a new coiled air hose, Arb tire inflator and an Arb tire repair kit. Now I'm just working on where to mount the compressor. I was thinking of putting it in the back, away from the engine heat. The downside is I need to figure out some airflow to the box. Probably in the form of a few 12v computer fans wired to the relay. Also it's at least a 16 foot run from the battery to the compressor so I will need some heavy gauge wire, maybe 4 gauge.

7d9f6989.jpg

This is where im thinking of mounting the compressor. I think the vent to the side could be aided by a small fan. Im just not sure if the vent flows in or out. I can't feel anything when my hand is against it.
 
Last edited:

Airmonger

Adventurer
Photos!

A few photos from my most recent trips up to the Umatilla National Forest in SE Washington State. The first photo is from a snow run with the local 4x4 club and the next couple are from a family outing after the first snow storm in Nov.

cruiser-1.jpg


snowday-58.jpg


snowday-92.jpg

Not happy about cold hands.
 

Airmonger

Adventurer
Air Tank Mounting

I'm Looking at the for a possible mounting location for the 2 air tanks that I have. I want to mount them behind the spare tire on the passenger side. Directly below where I plan to mount the compressor. I can either do a bracket or just tig the two tanks together and tig some mounting brackets to the sides to it bolt the floor. Also I was planning on running a copper line to connect the two tank. I figured that fatigue wouldn't a problem and that it would out last a hose jumper. Idea? Comments?

6598af03.jpg
 

Airmonger

Adventurer
47722f14.jpg


I got the switch wired up this afternoon and the relay mounted. Now I just need to get the compressor hooked up and I'll be read to roll.

wiring02.jpg


I followed this to hook up the switch. I even got the dimmer working.

e1e3cbcb.jpg


6a184152.jpg
 
Last edited:

TexasD-90

Adventurer
great work. this is the vehicle i am searching for, and you just convinced me to wait for the right one. beautiful!
 

Forum statistics

Threads
185,840
Messages
2,878,749
Members
225,393
Latest member
jgrillz94
Top