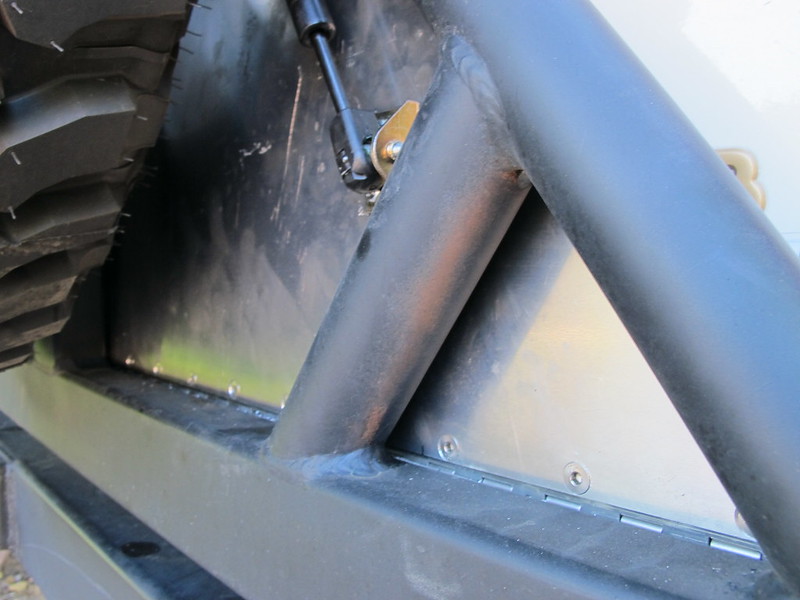
The only thing left was to add the struts and the locking system. I realized that the top was going to rattle unless I placed some rubber bushings in place to keep it from doing so. I picked up a couple of rubber bushings from the local hardware store and immediately threw them in the freezer
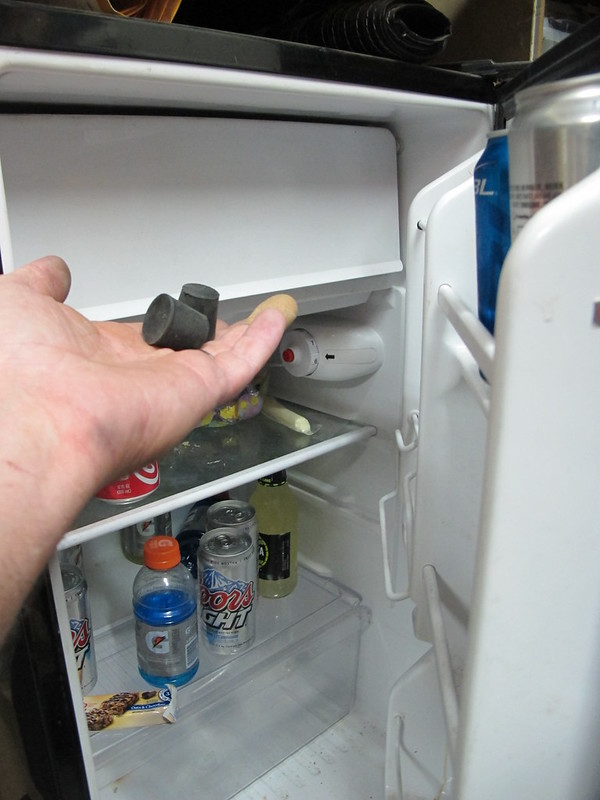
The reason for doing this is so when I drilled holes in them, and cut them down, they would retain the holes and be easier to cut without just melting them. They came out just right
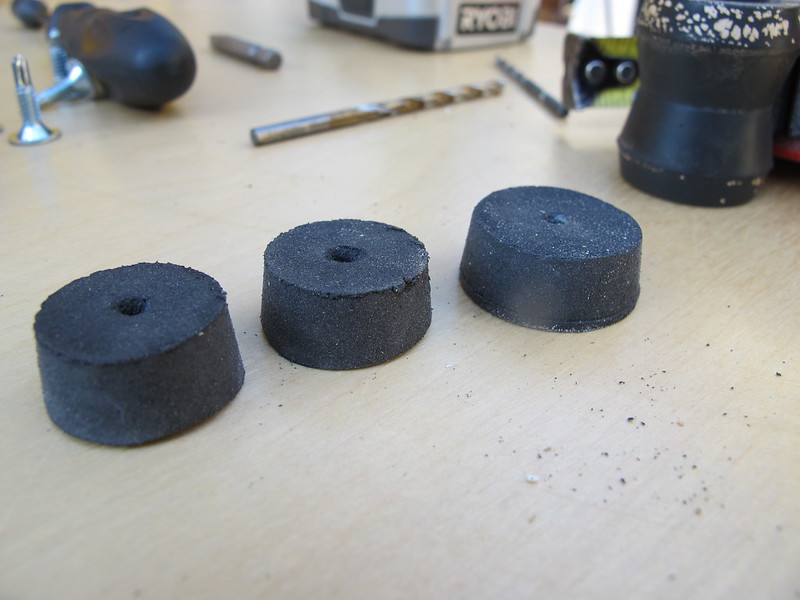
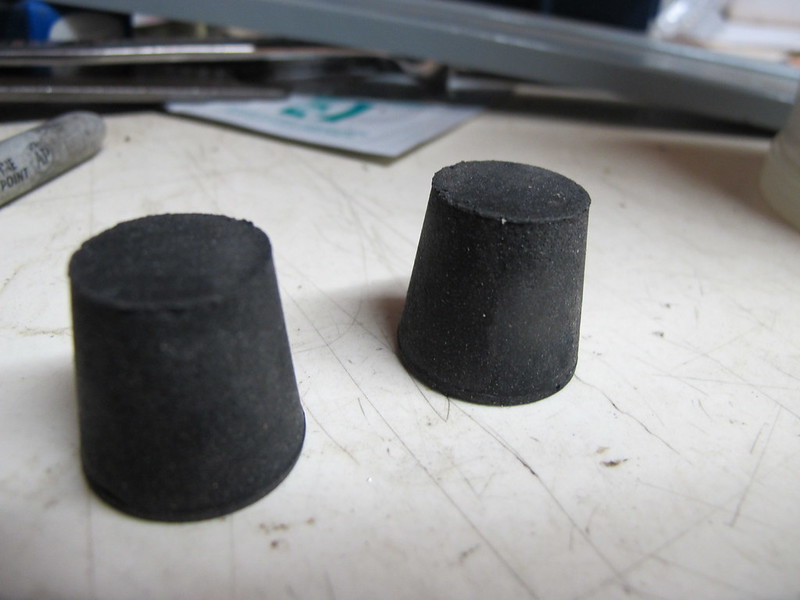
I made 3 bushings, one for each spot the table could come into contact with the frame. I mounted each of them with self tapping screws after drilling small pilot holes for the screws
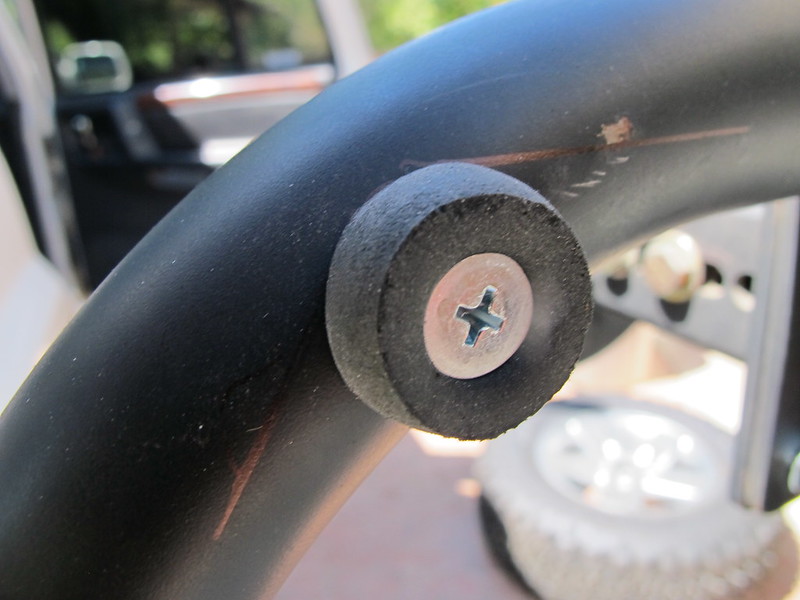
The screw pulls down the center leaving the outside rubber exposed to make contact with the aluminum
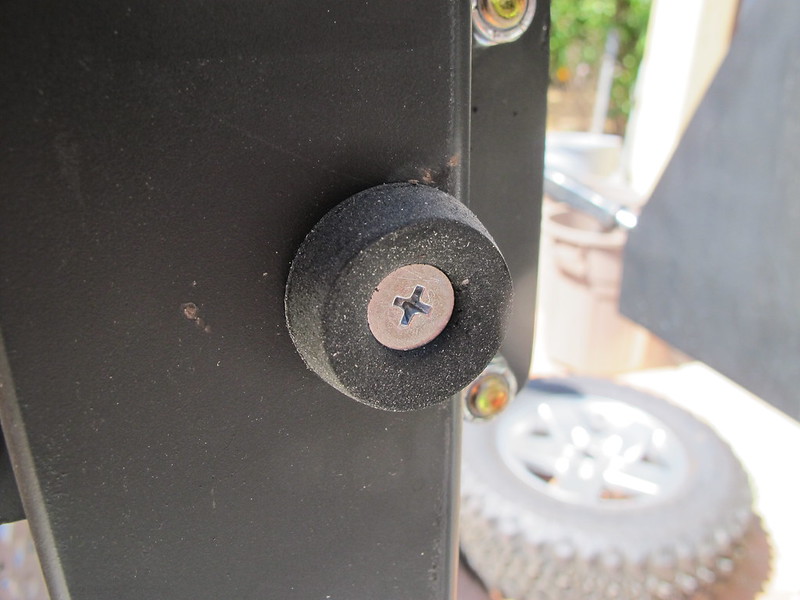
This should warn away any unwanted rattles
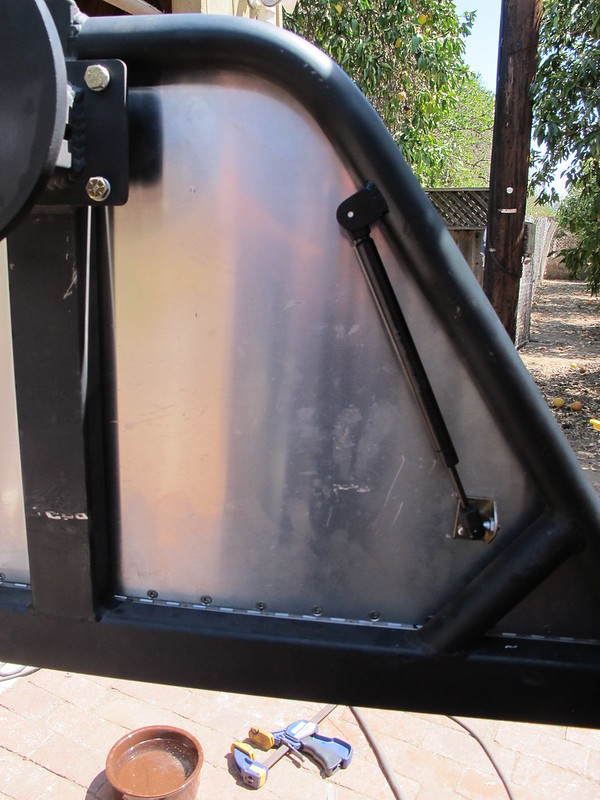
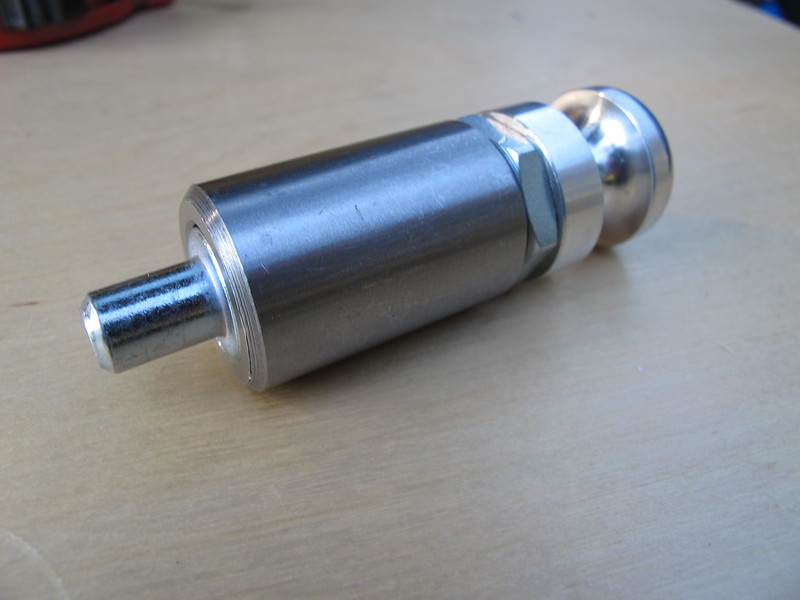
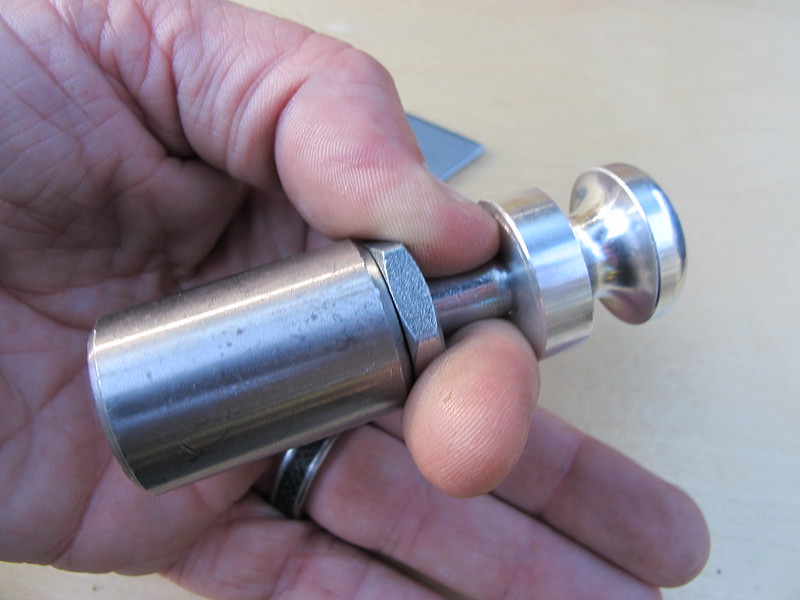
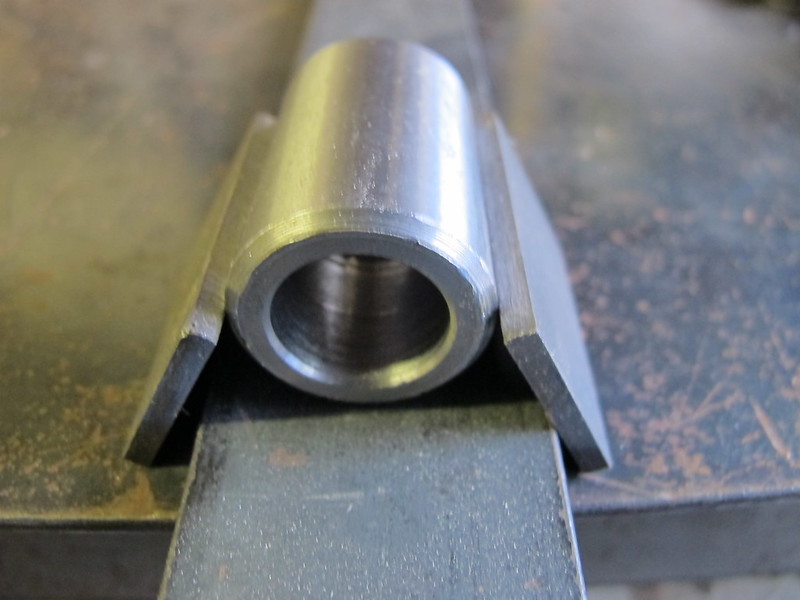
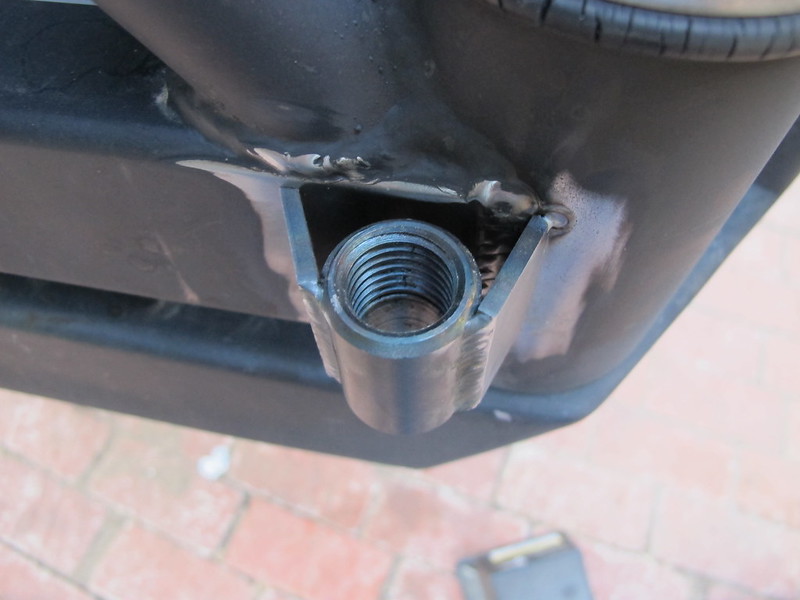
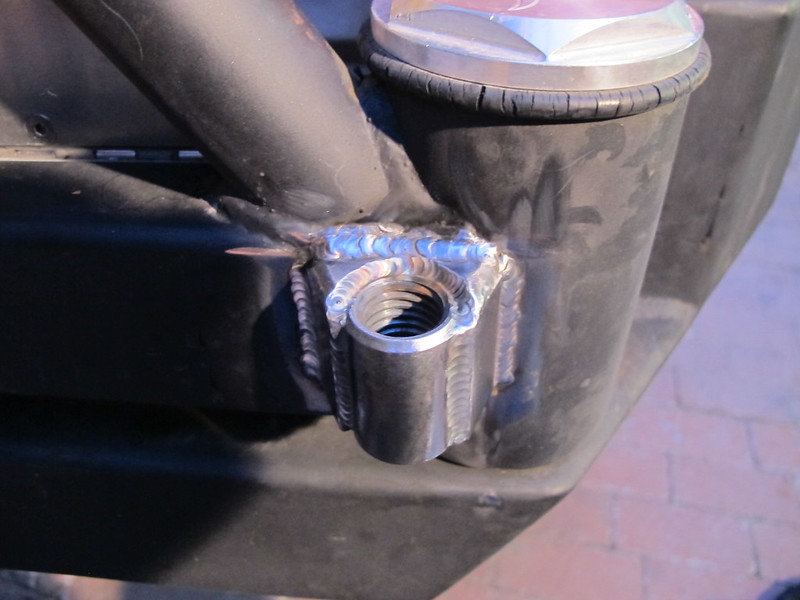
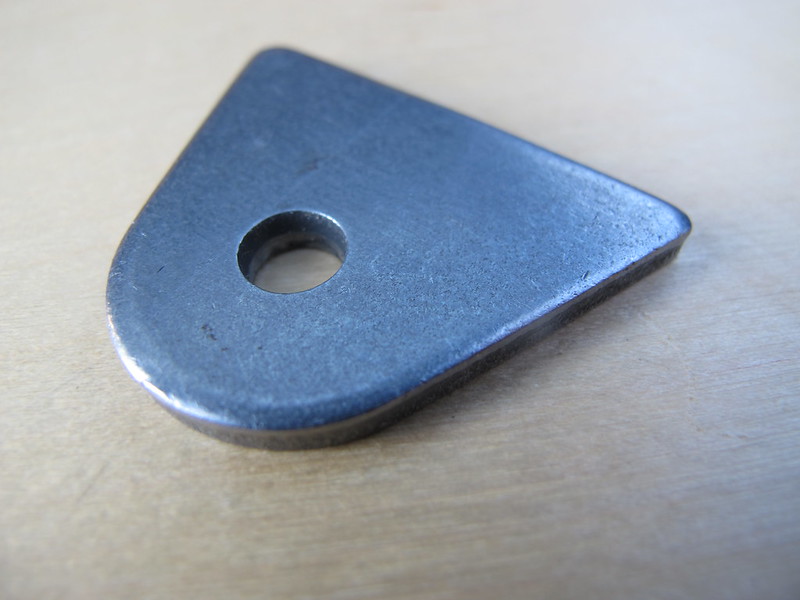
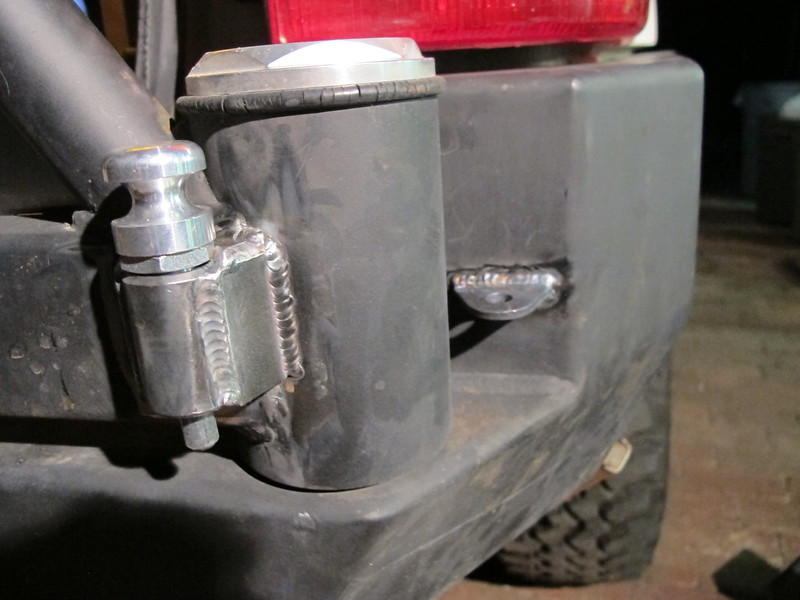
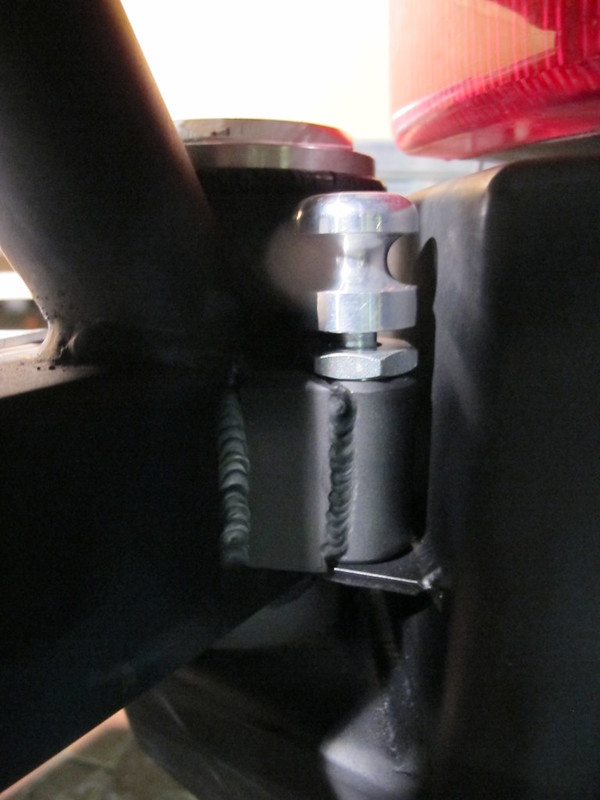
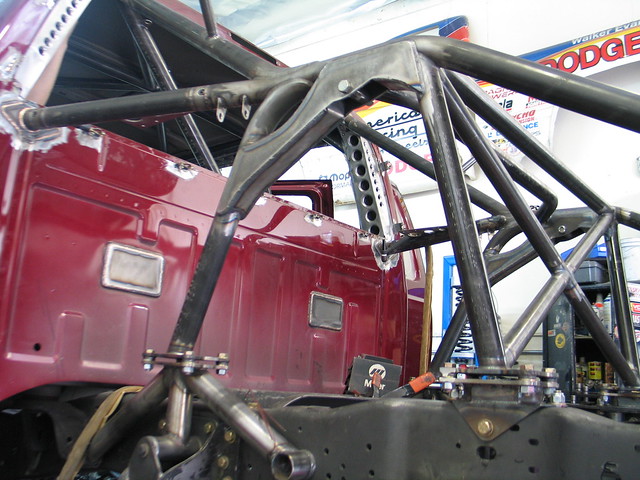
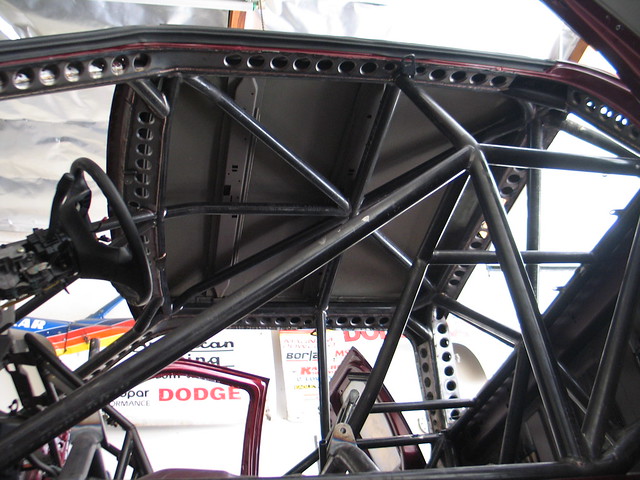
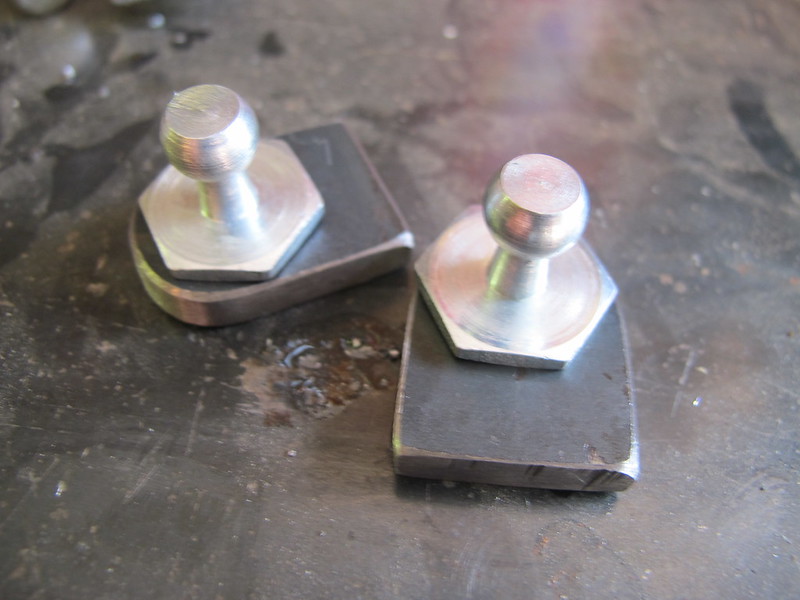
Now the fun part, figuring out the struts. I started with the top mounts, cutting 1/4" material, drilling and tapping it to hold the 1/4 20 threaded ball ends
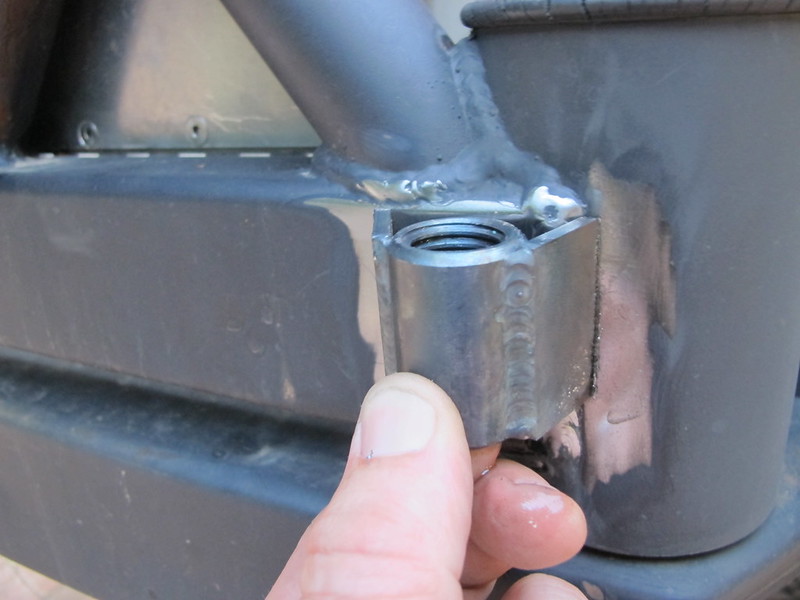
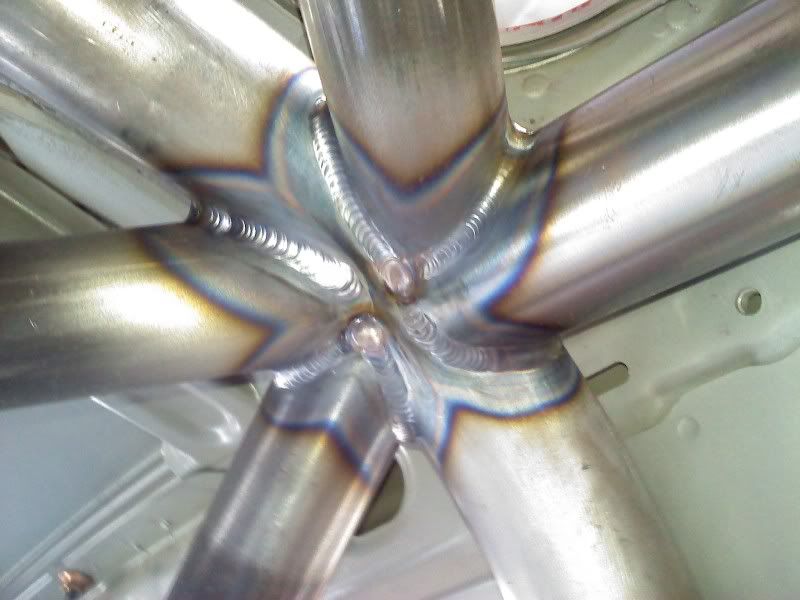
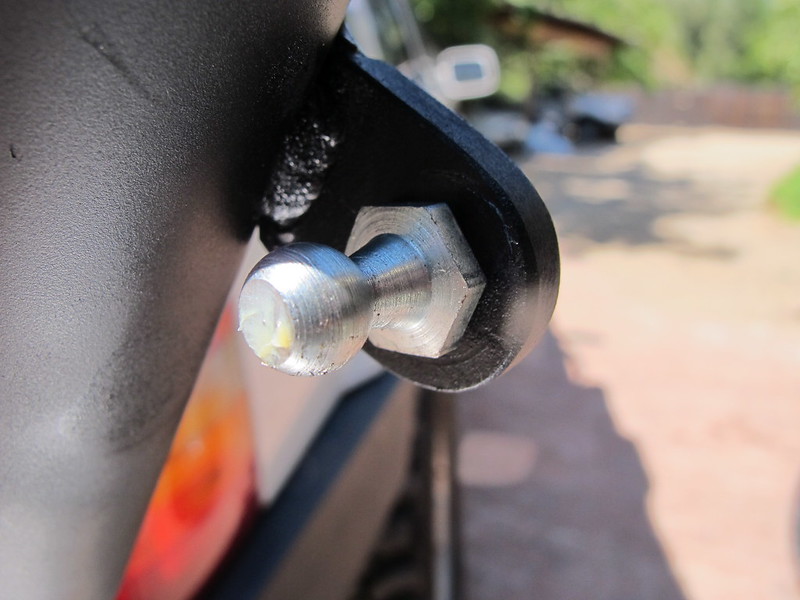
Next I welded the tabs to the frame and painted them in place and installed the ball ends
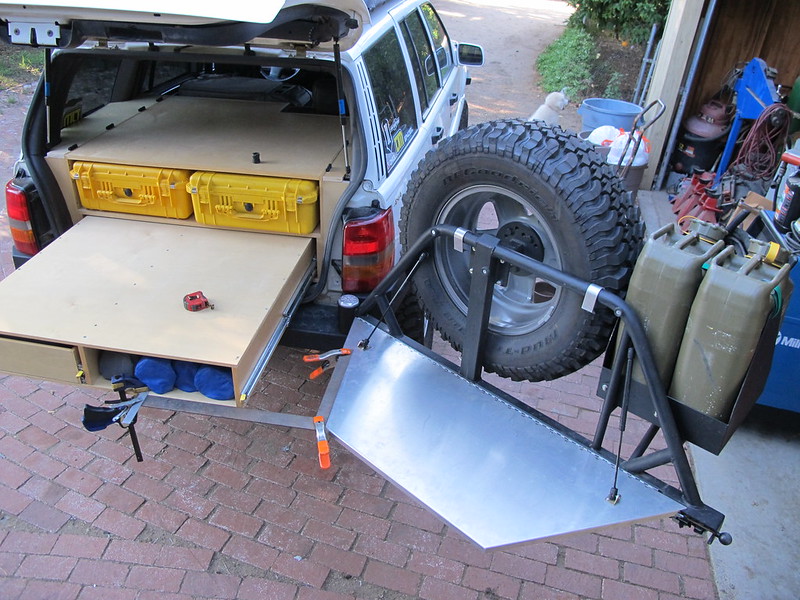
I placed a square on the frame and the table to make sure the table hung level before mounting the bottom of the struts
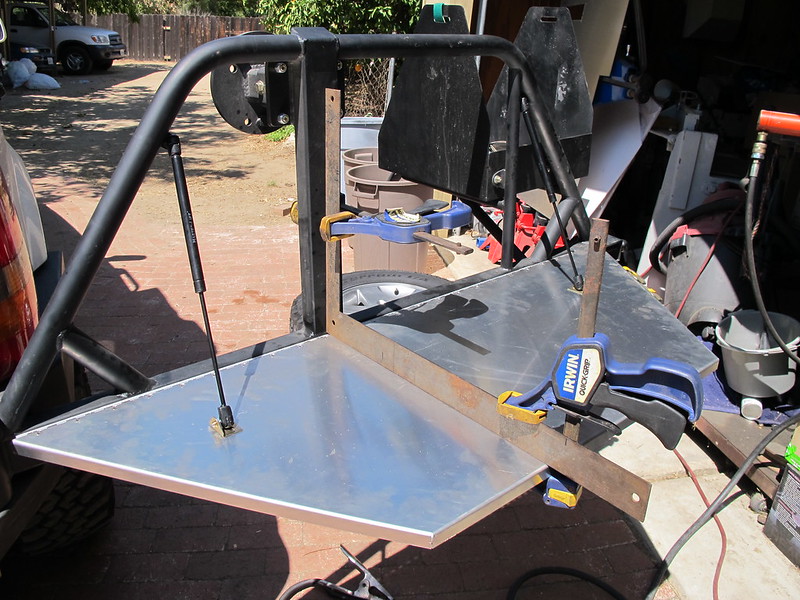
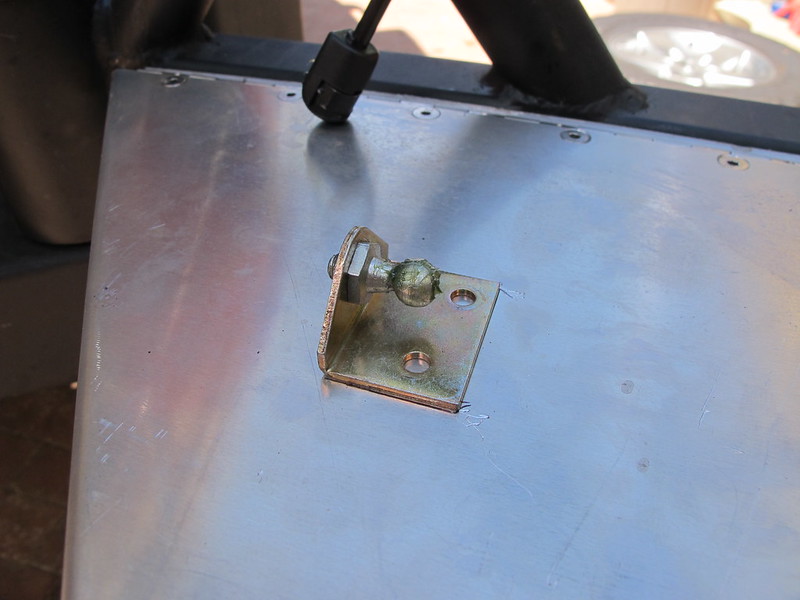
After deciding to mount them at an angle I drilled the holes to mount the bottom mounts
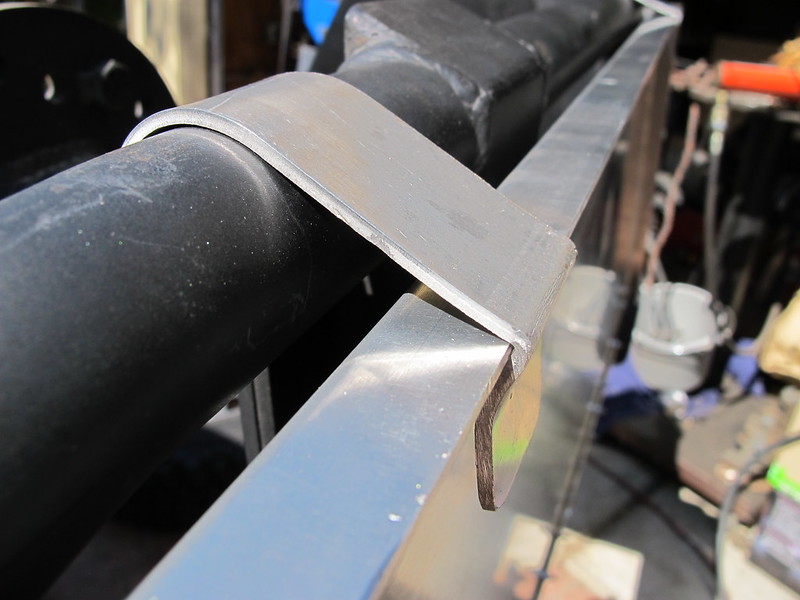
The final step was to make the top mounts to hold the table shut during travel. I tried to cheat and cut up an old aluminum ruler and use that as a temporary mount, but the ruler failed during the breaking process. I guess that is what I get for trying to take a short cut. It was kind of nice having the measurements built in to the material LOL

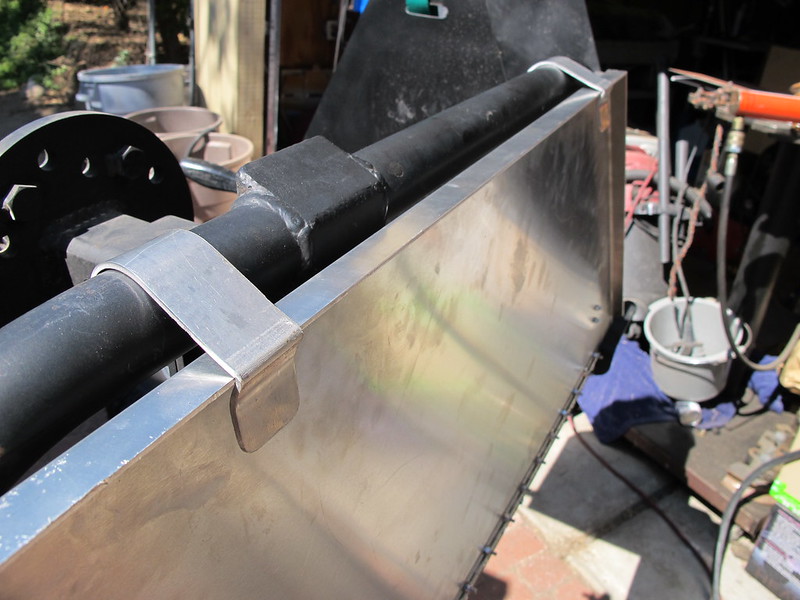
I immediately pulled out some proper 5052 .090 aluminum and made versions that would not crack or be destroyed when breaking the angles

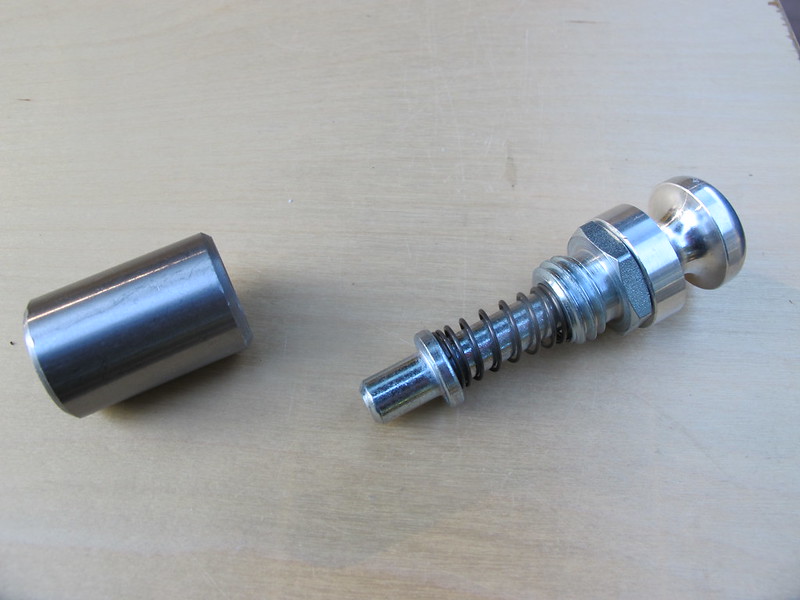
These were designed to be very basic over center clamps to hold the table until I could come up with some spring loaded pins to use as a permanent solution
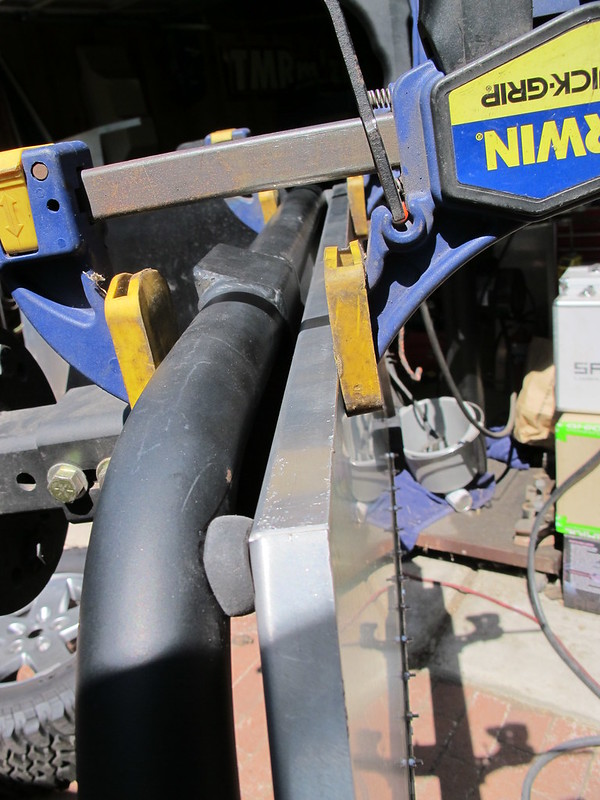
The compress the rubber just enough to eliminate any chance of a rattle
The reason for doing this is so when I drilled holes in them, and cut them down, they would retain the holes and be easier to cut without just melting them. They came out just right
I made 3 bushings, one for each spot the table could come into contact with the frame. I mounted each of them with self tapping screws after drilling small pilot holes for the screws
The screw pulls down the center leaving the outside rubber exposed to make contact with the aluminum
This should warn away any unwanted rattles
Now the fun part, figuring out the struts. I started with the top mounts, cutting 1/4" material, drilling and tapping it to hold the 1/4 20 threaded ball ends
Next I welded the tabs to the frame and painted them in place and installed the ball ends
I placed a square on the frame and the table to make sure the table hung level before mounting the bottom of the struts
After deciding to mount them at an angle I drilled the holes to mount the bottom mounts
The final step was to make the top mounts to hold the table shut during travel. I tried to cheat and cut up an old aluminum ruler and use that as a temporary mount, but the ruler failed during the breaking process. I guess that is what I get for trying to take a short cut. It was kind of nice having the measurements built in to the material LOL
I immediately pulled out some proper 5052 .090 aluminum and made versions that would not crack or be destroyed when breaking the angles
These were designed to be very basic over center clamps to hold the table until I could come up with some spring loaded pins to use as a permanent solution
The compress the rubber just enough to eliminate any chance of a rattle
Last edited:
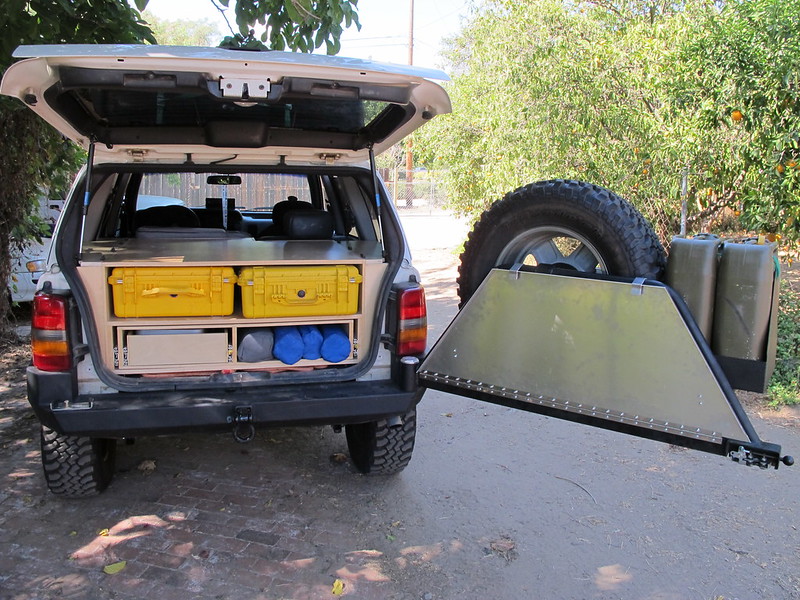
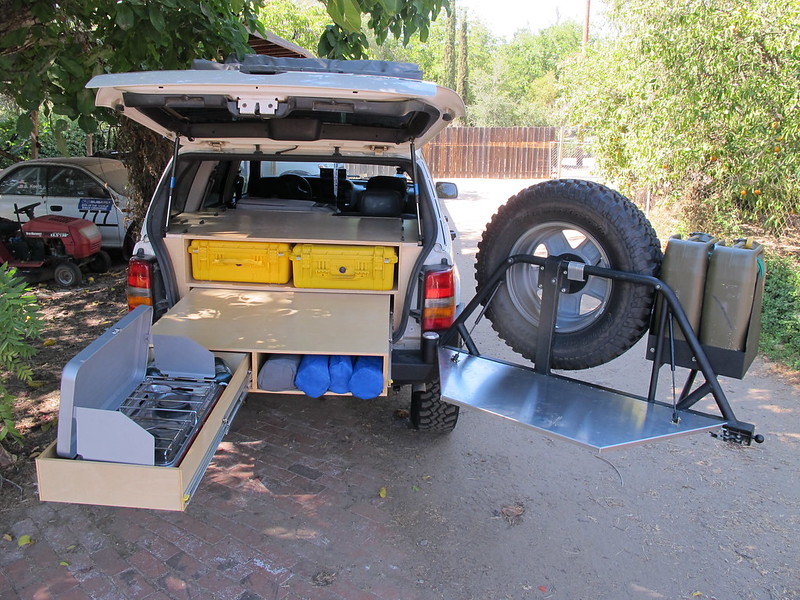
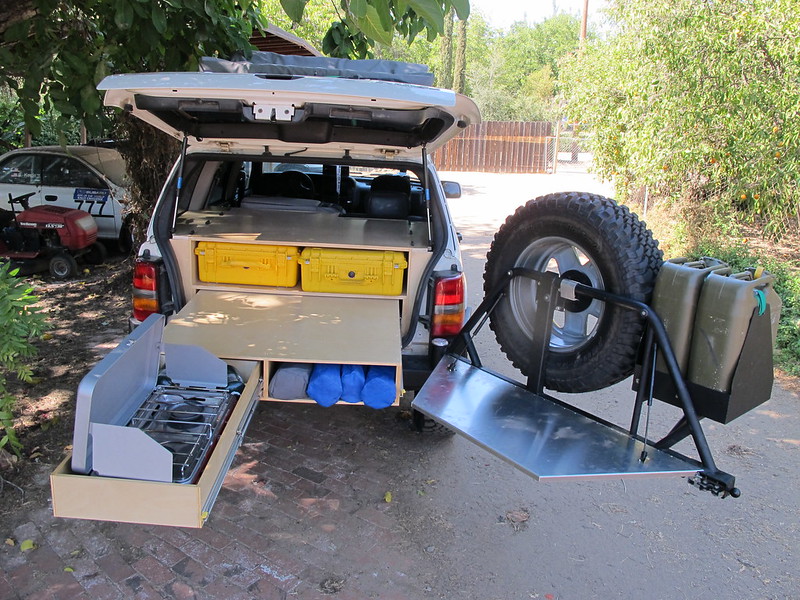
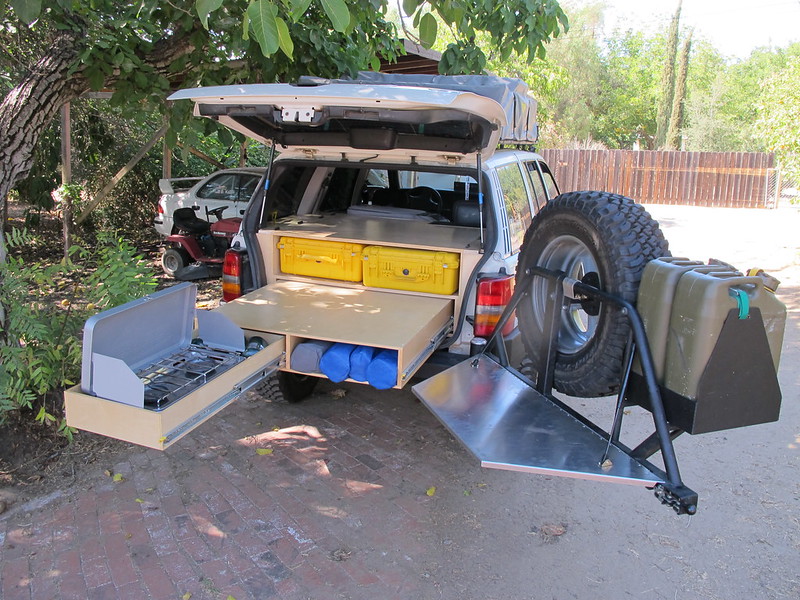
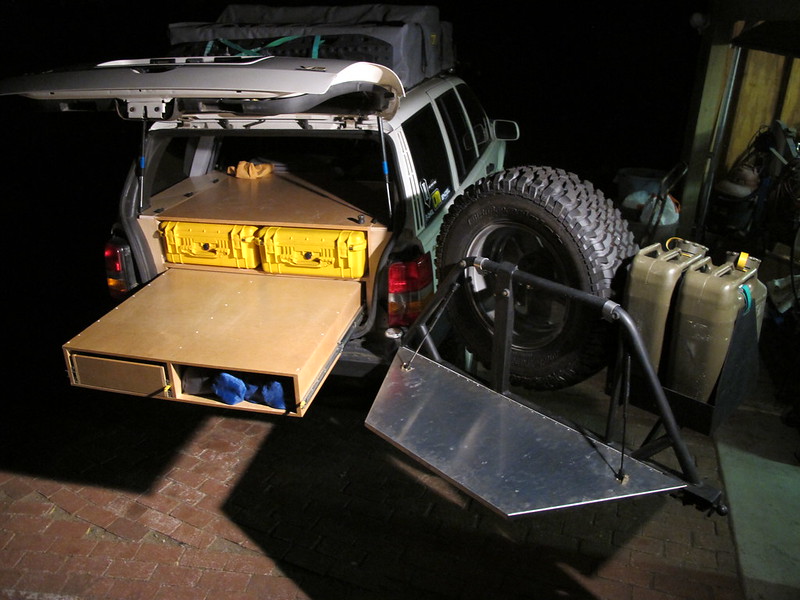
") The next step will be to add some locking pins to the table and to the carrier so it locks in place when opened. The struts are quite interesting, they fling the table open quite quickly and then slow it down as it nears level. This will take some getting used to, because if you are in the way when it comes down, there will be blood. I guess after thinking this over, it is quite silly to have used the struts, but I am really into mechanical goodies like this and the fact that this addition is completely rattle free. If we had elected to use some basic cables to hold the table, then there would have been an element of rattling cables against the aluminum no matter what. For now, we are stoked!
The next step will be to add some locking pins to the table and to the carrier so it locks in place when opened. The struts are quite interesting, they fling the table open quite quickly and then slow it down as it nears level. This will take some getting used to, because if you are in the way when it comes down, there will be blood. I guess after thinking this over, it is quite silly to have used the struts, but I am really into mechanical goodies like this and the fact that this addition is completely rattle free. If we had elected to use some basic cables to hold the table, then there would have been an element of rattling cables against the aluminum no matter what. For now, we are stoked!