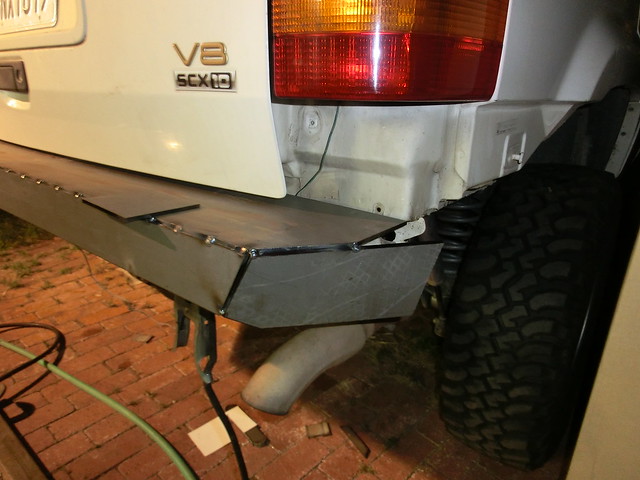
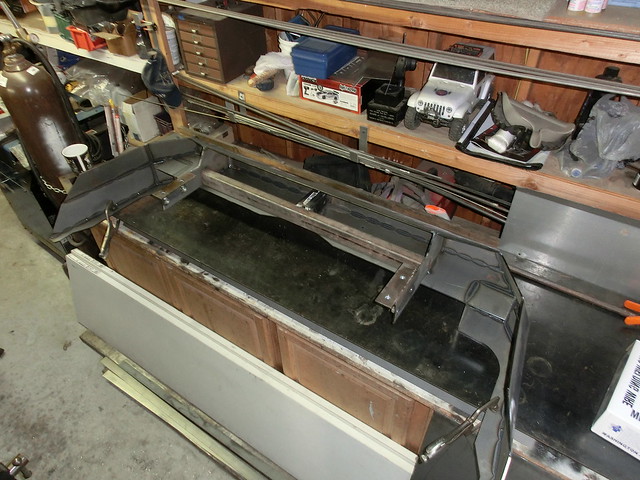
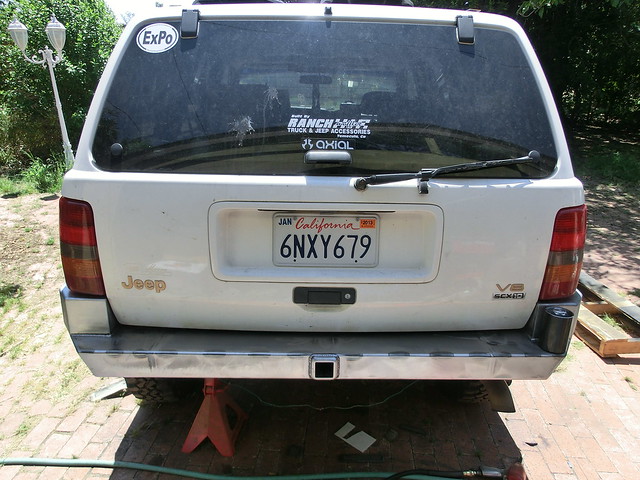
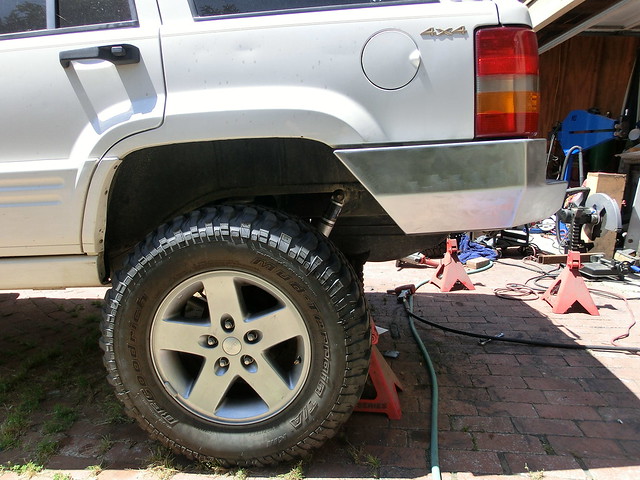
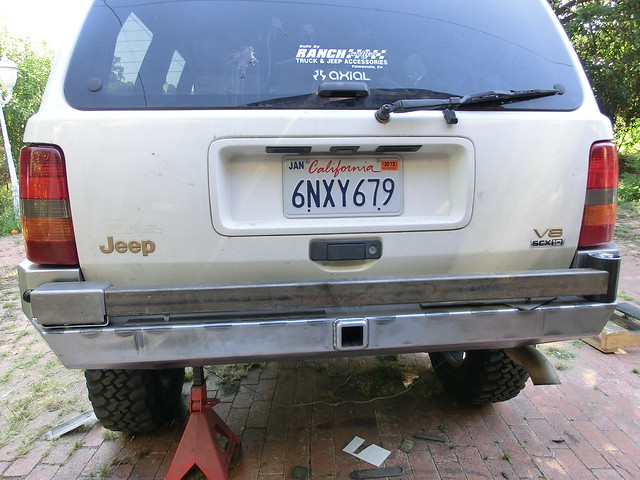
Rear Bumper Build process
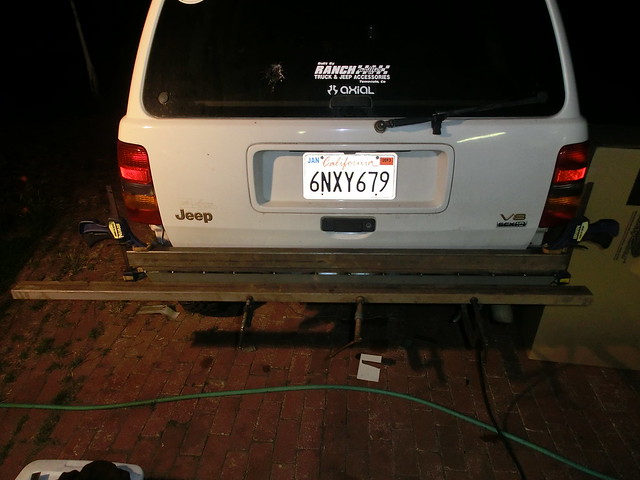
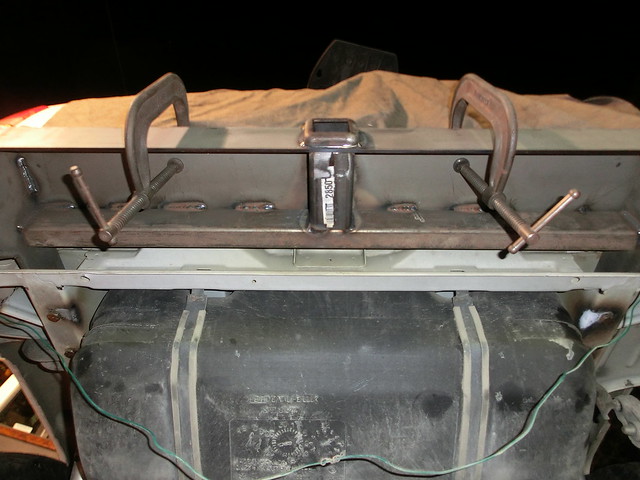
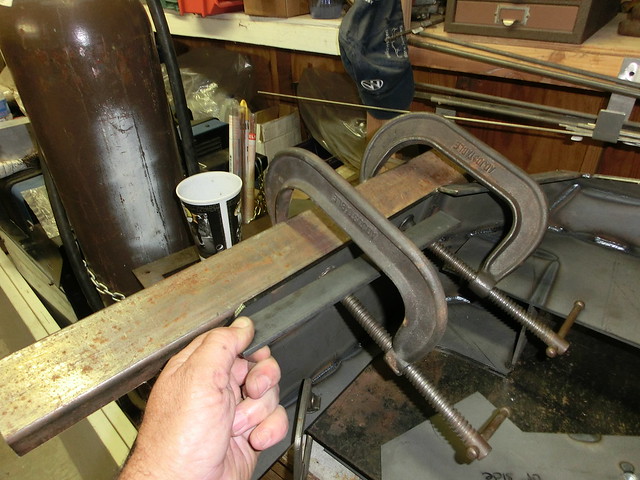
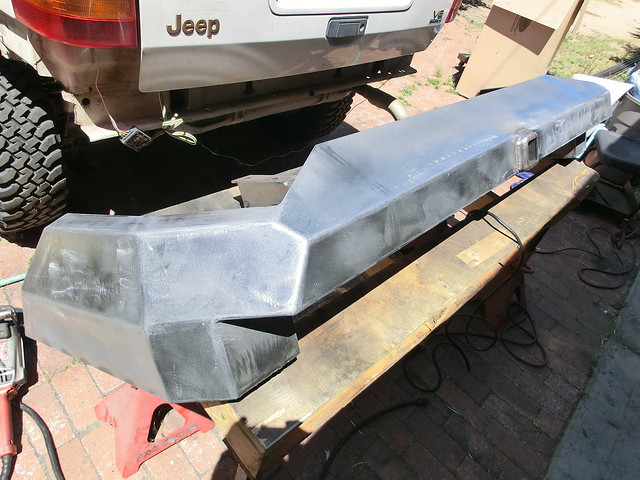
The next step was to add the rear plate. Due to the length of it, it too was bent a little. Not as much as the top plate, but still bent. I decided to clamp this one up as well for the tack welding process. It would likely result in a much more even and square bumper!
Sure, it looks rediculous but it does the job and does it well!
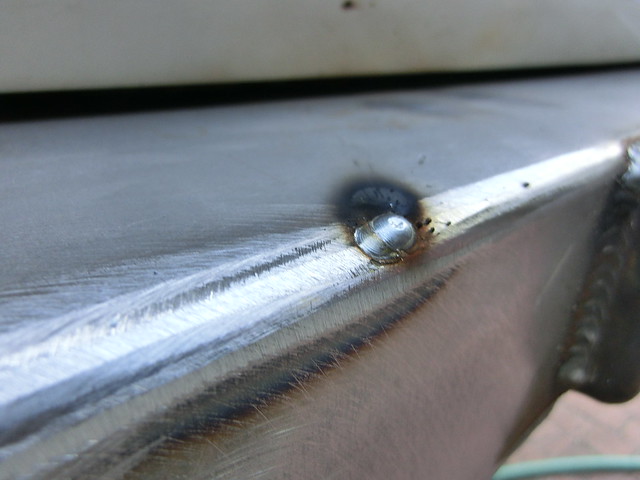
I took the oppertunity to tack weld that joint about 25 times to make sure it didn't move.
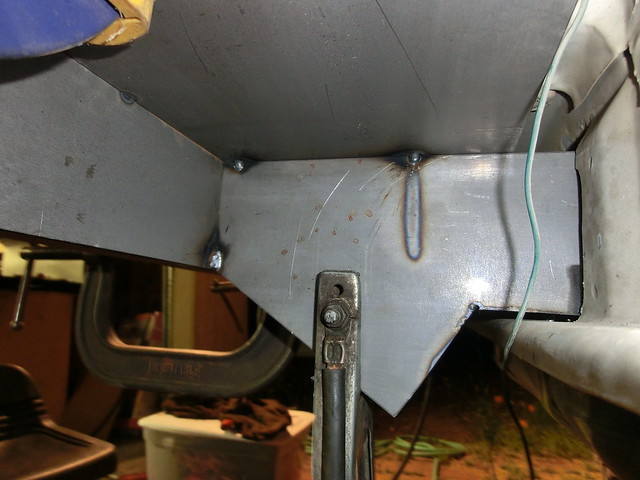
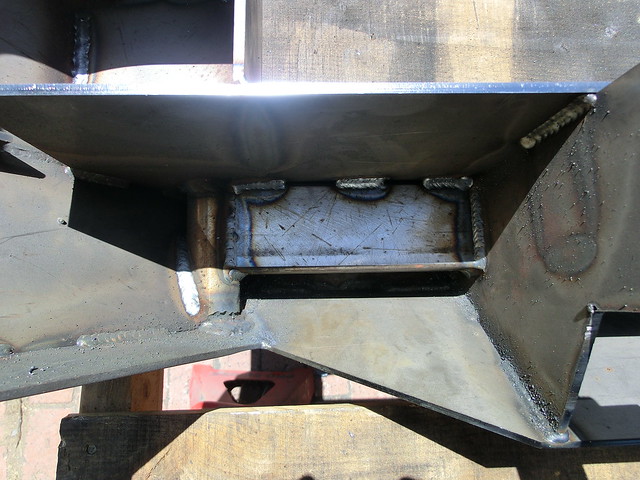
The inside looks like this
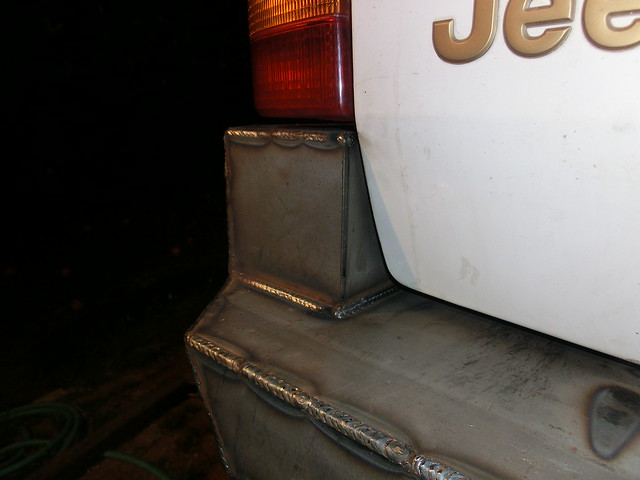
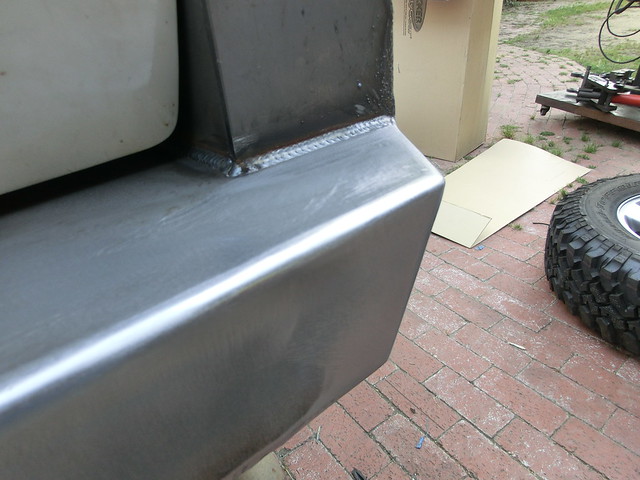
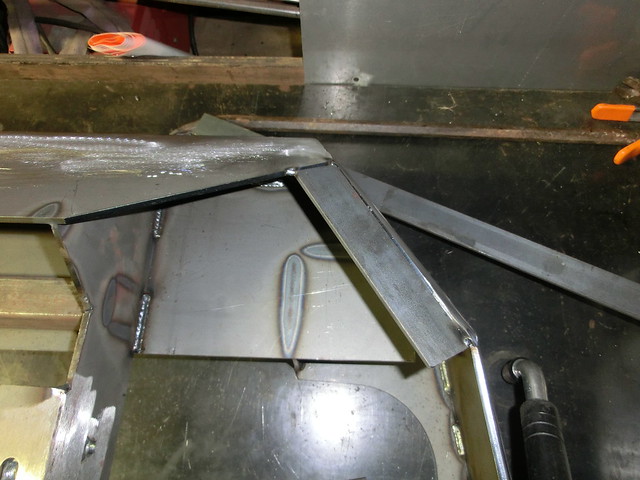
In order to retain the 90 degree angle of the plates, I decided to tack weld on the angled end caps
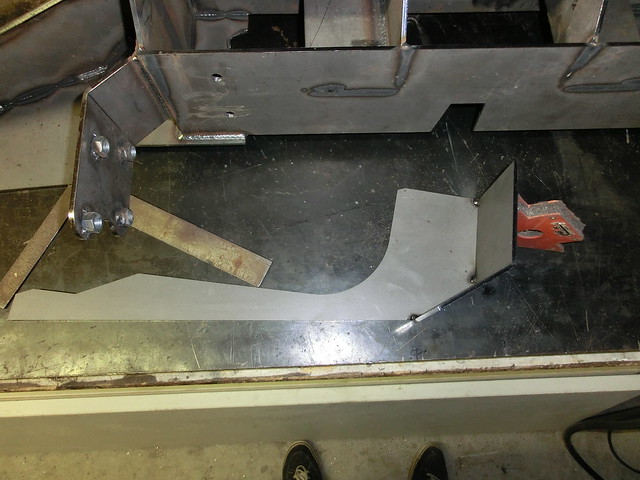
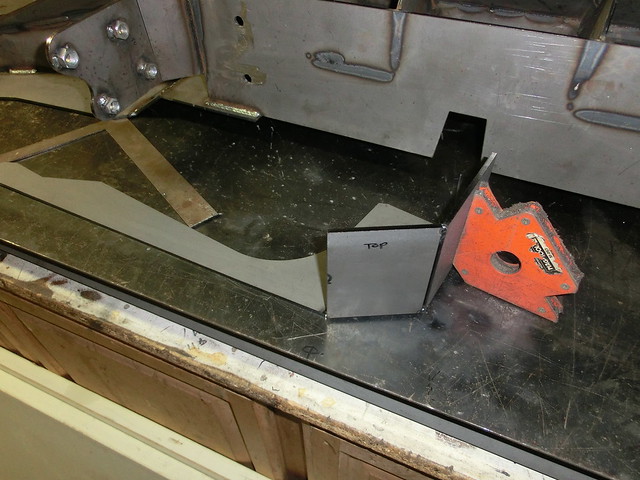
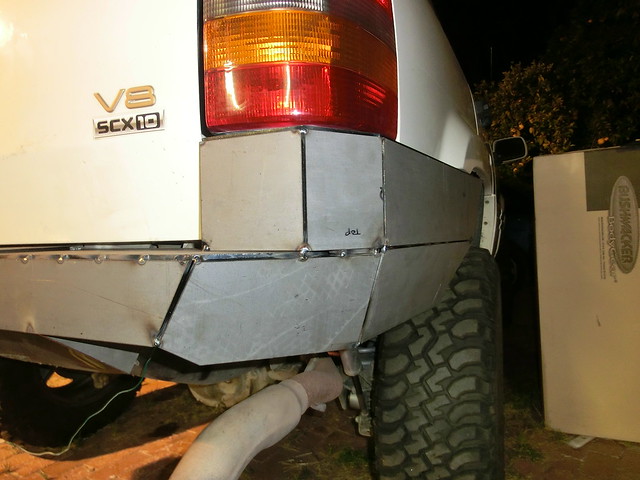
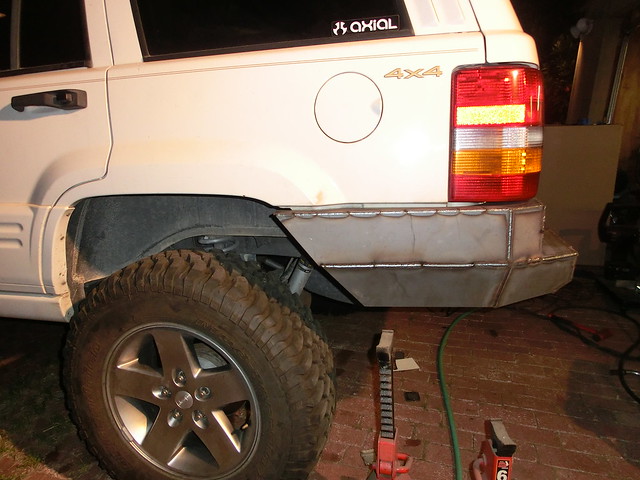
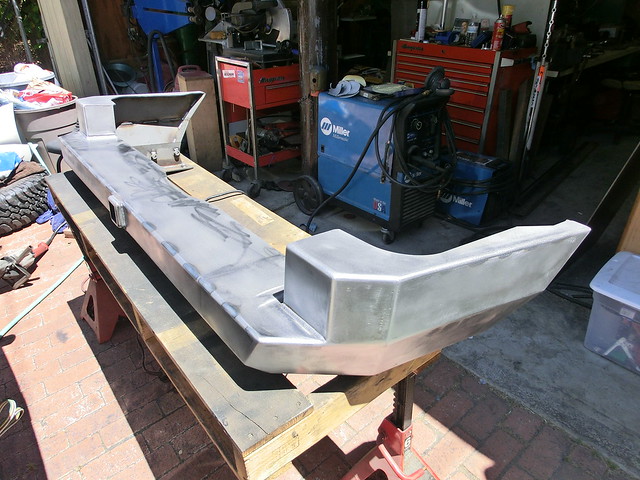
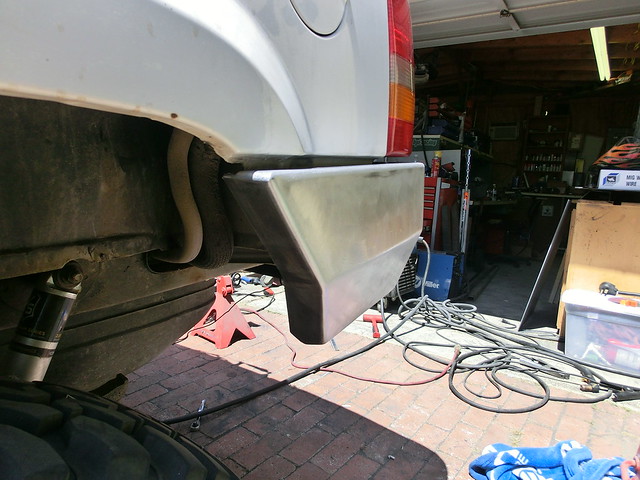
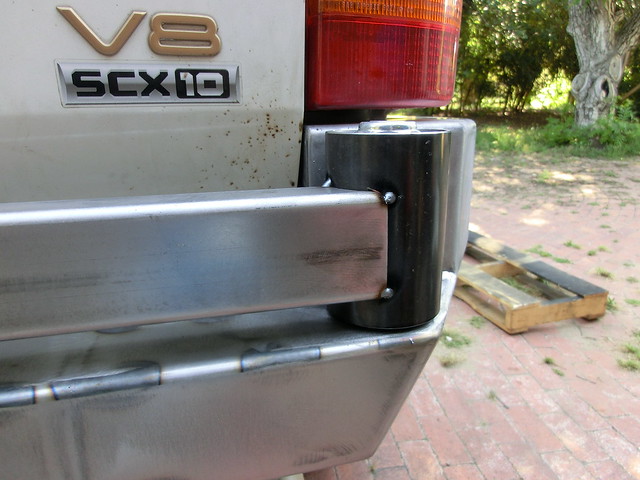
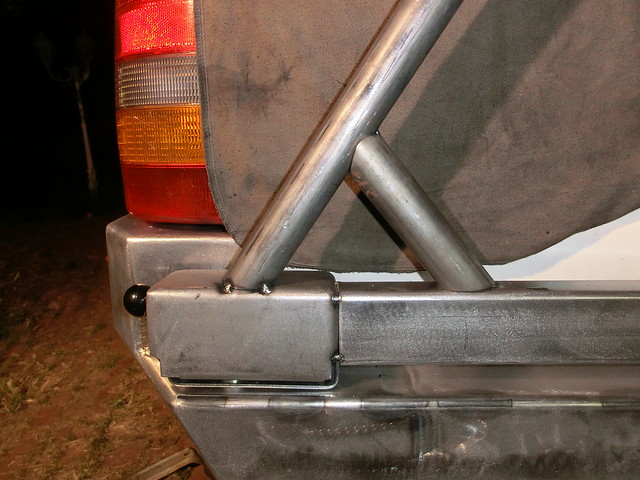
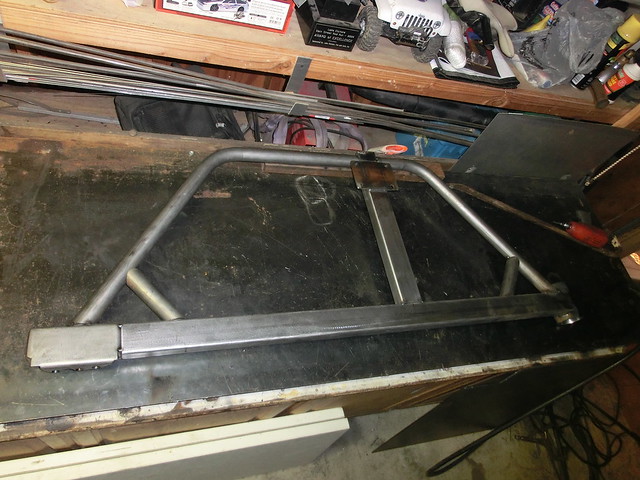
I knew that I had to do a lot more welding underneath the bumper still, so I decided to work on the side pods. I didn't know exactly where the side pods were to be mounted so I elected to make them on the bench first.
This was done 1 piece at a time
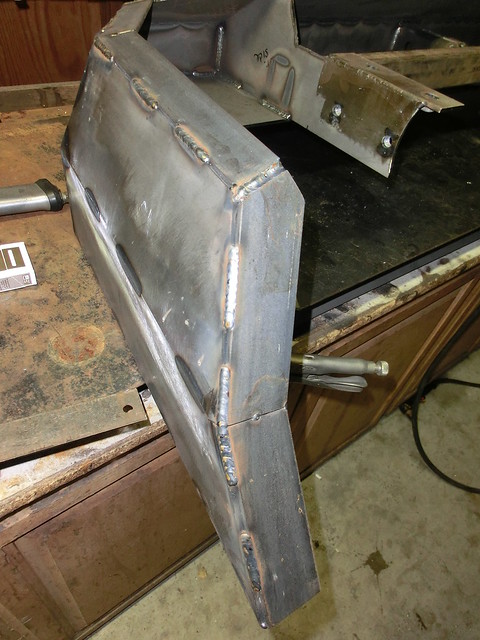
The tacked pods look kinda cool!
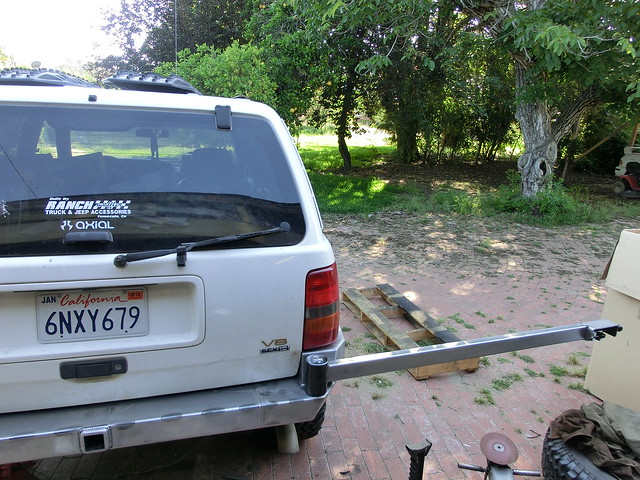
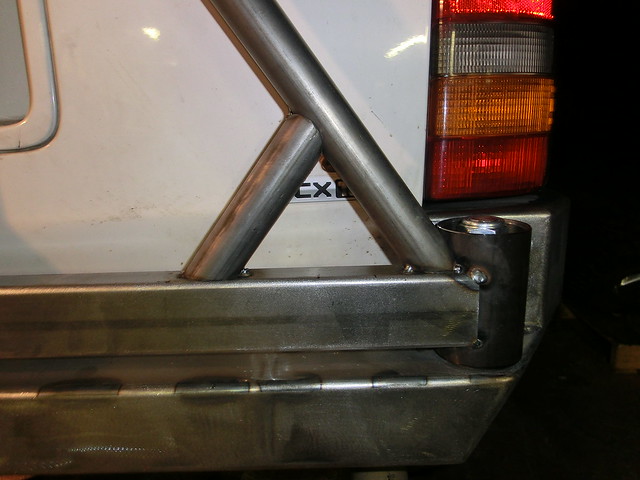
The next trick was to figure out exactly where it was meant to go on the bumper. This is the disadvantage of forgetting to take better measurements and notes during the planning process. It is way easier to replace blue painters tape and move patterns around than it is to weld, cut, move and weld again.
The next step was the lower side angled plates. I did very minor trimming to adjust the angle before tack welding them
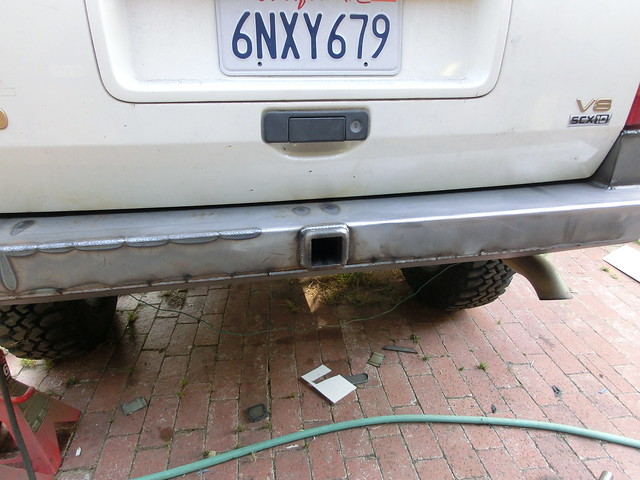
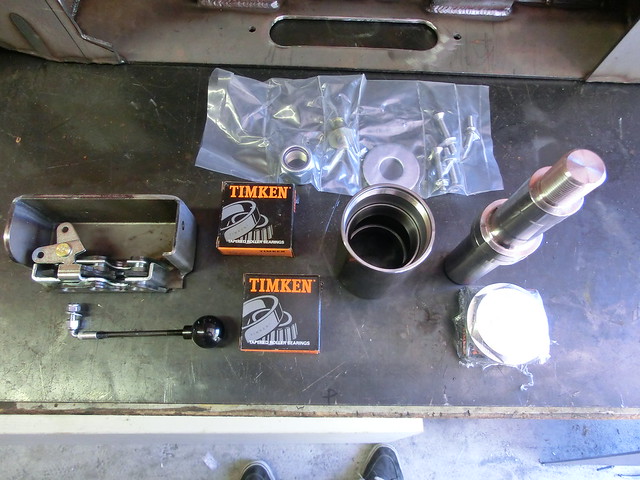
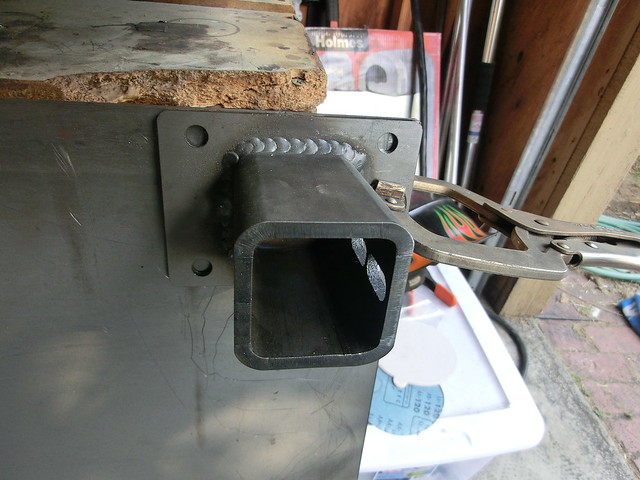
I finally got back to another one of those moments where I didn't want to weld myself into a corner. If I welded the lower angle plate on now, I would not be able to weld the receiver tube in very well, so I elected to put the receiver tube in at this point
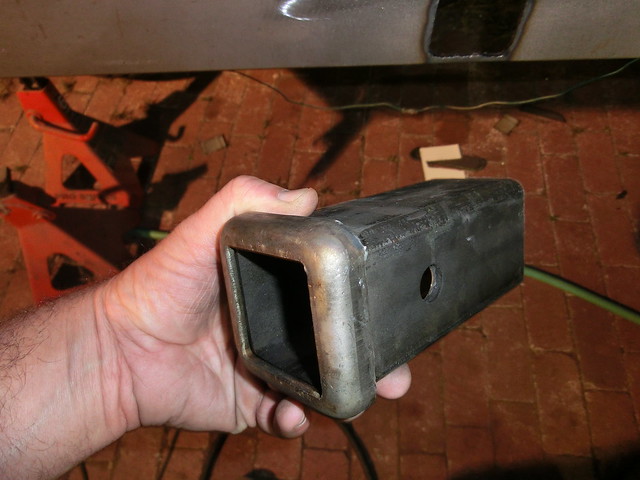
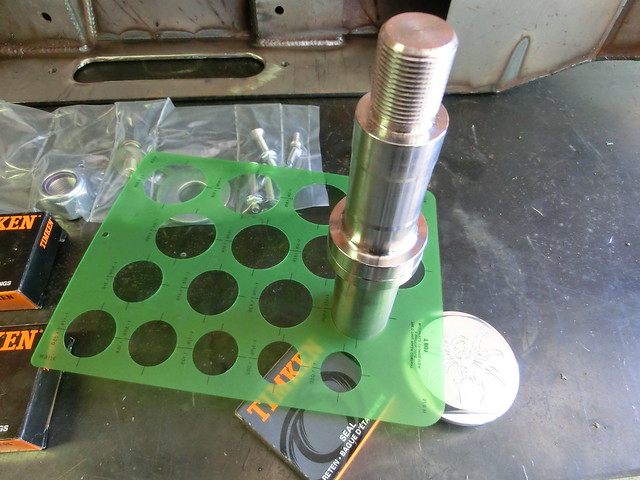
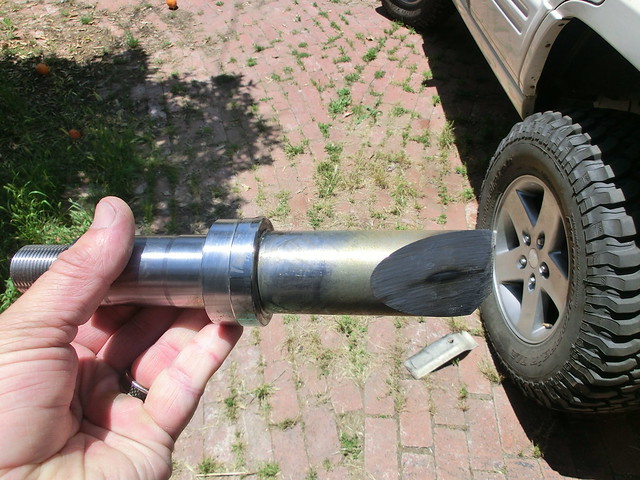
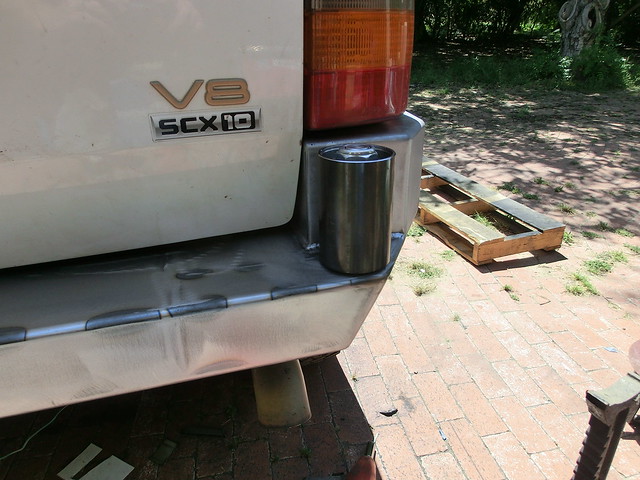
I used a standard 6" pre-fab receiver tube
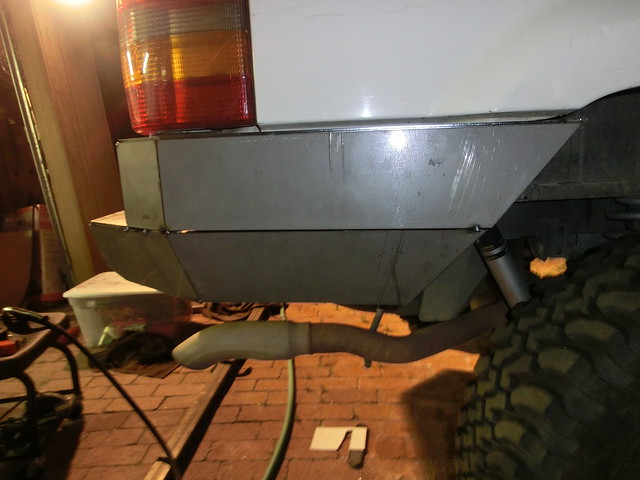
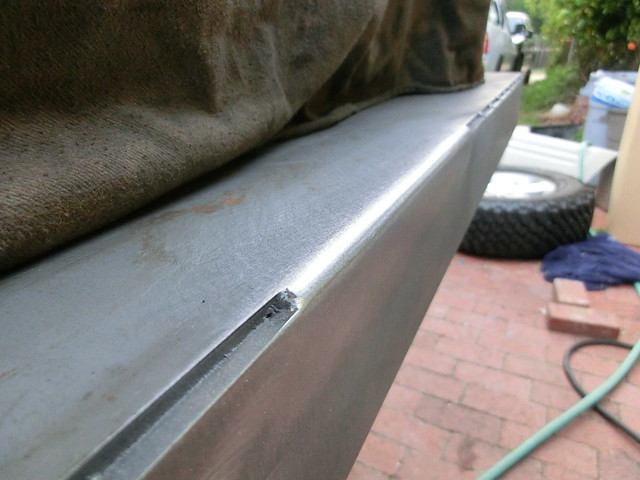
This brought me to another thought. I had to weld and grind the center section of the bumper, or I would never be able to grind it round after the receiver tube was in, so I decided to weld a section about a foot long. So the clamps and rectangle tubes go back on (To minimize warping) and the section was welded
After welding I got after it with the grinder and smoothed it out nicely
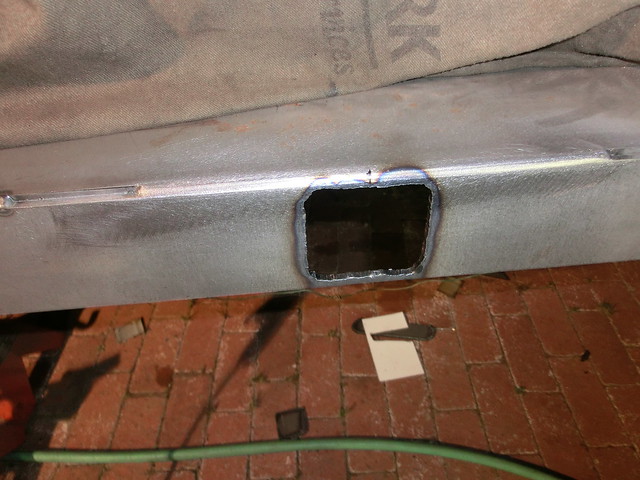
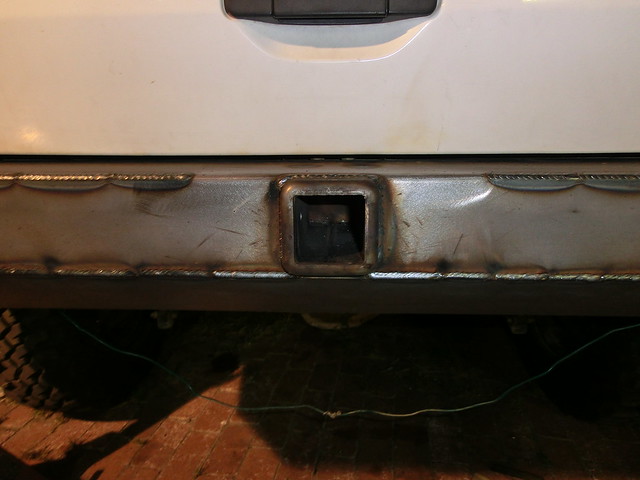
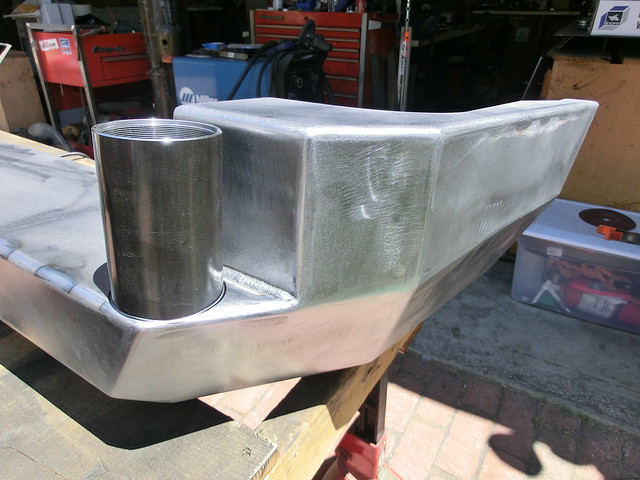
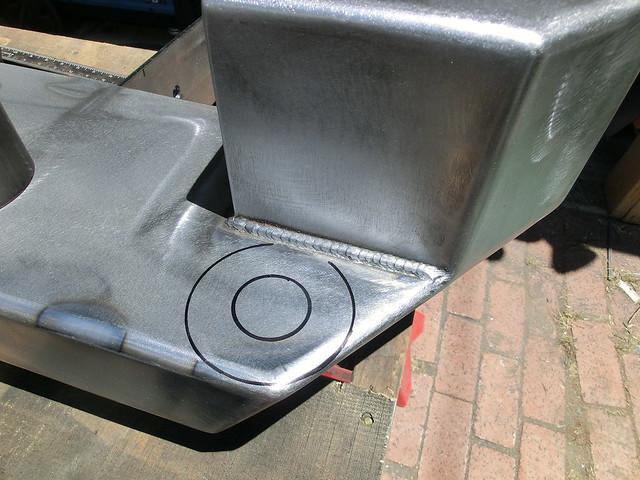
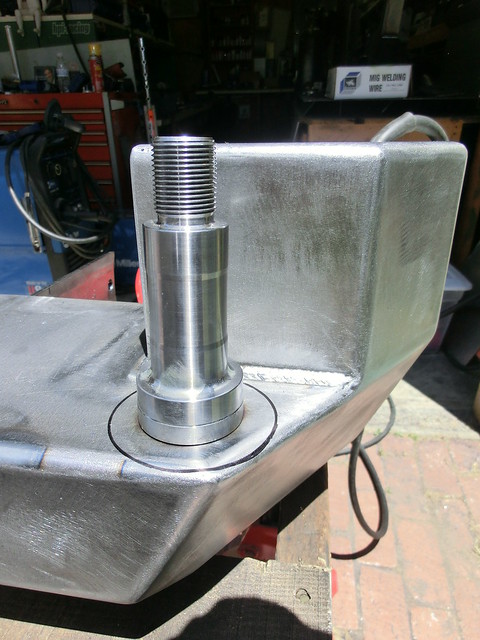
Next I got to bust out the Plazma cutter again and make my square hole for the receiver
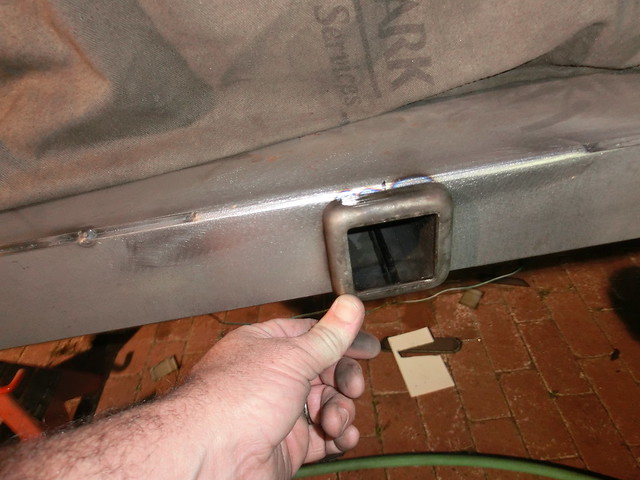
Then install the tube and weld it up as much as I could
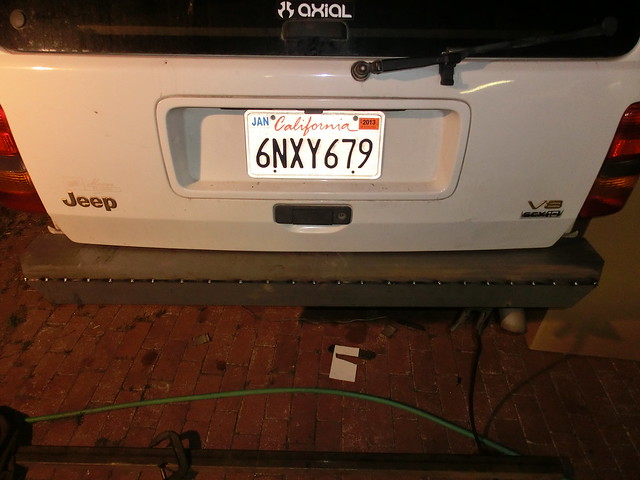
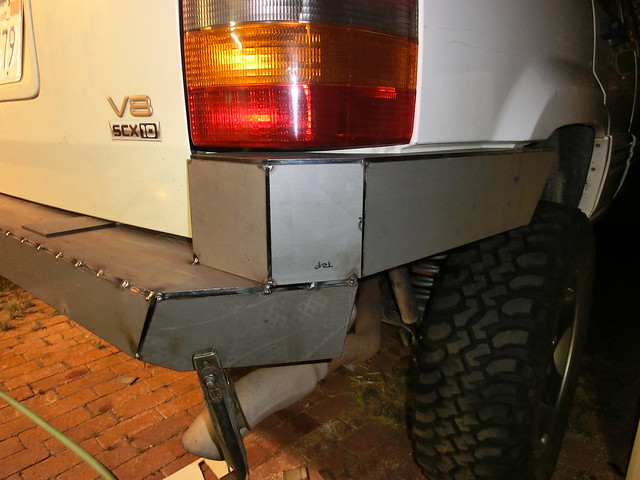
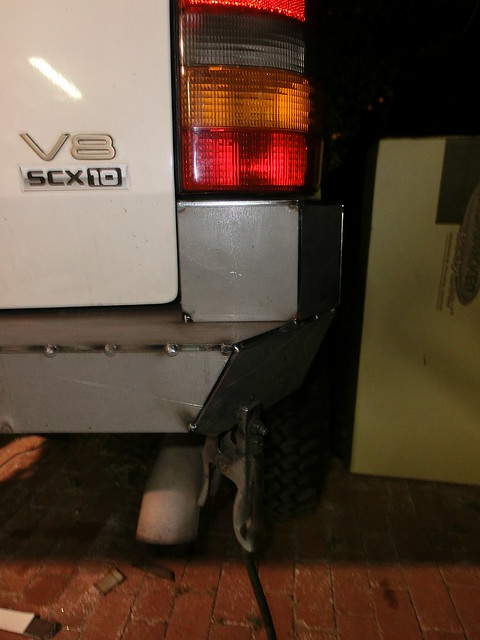
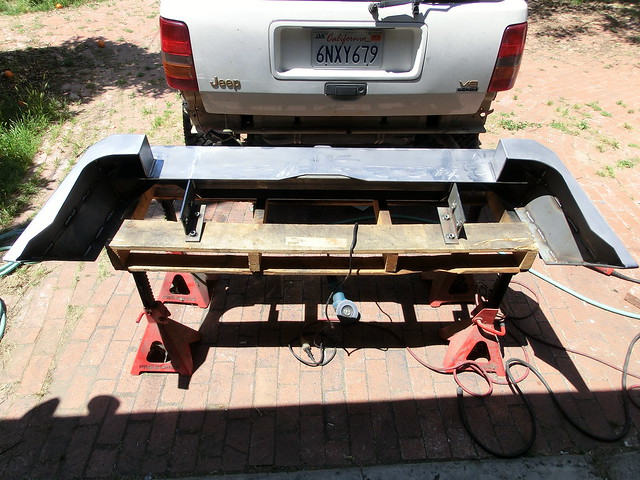
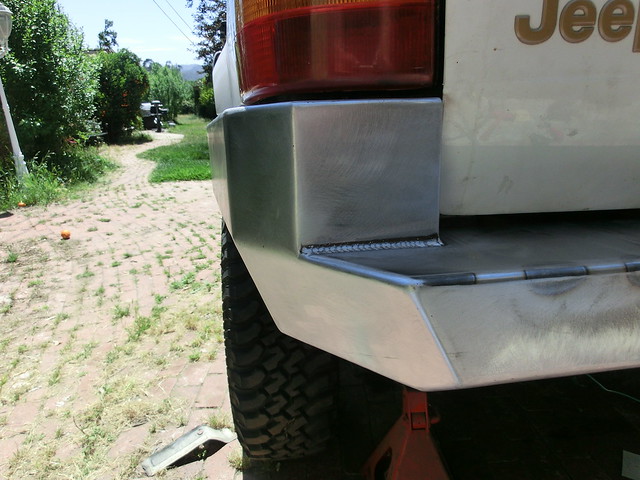
One of the final plates to be installed on the bumper while it was still on the vehicle was the lower angle plate. Lucky for me, it fit right in, no trimming!
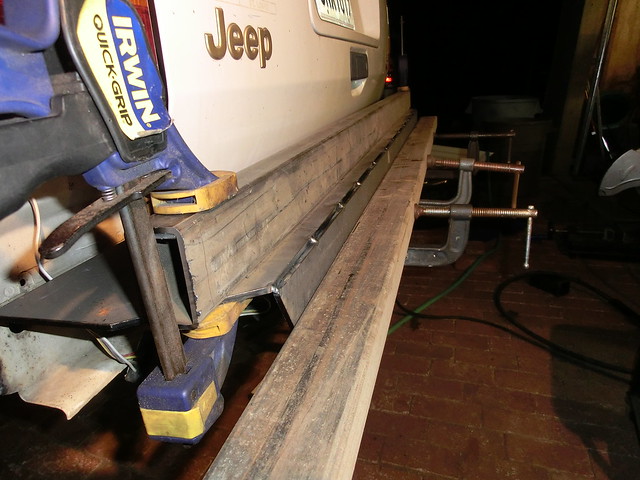
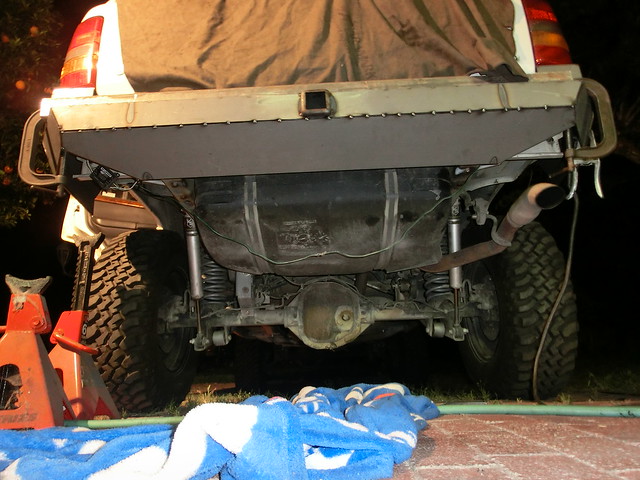
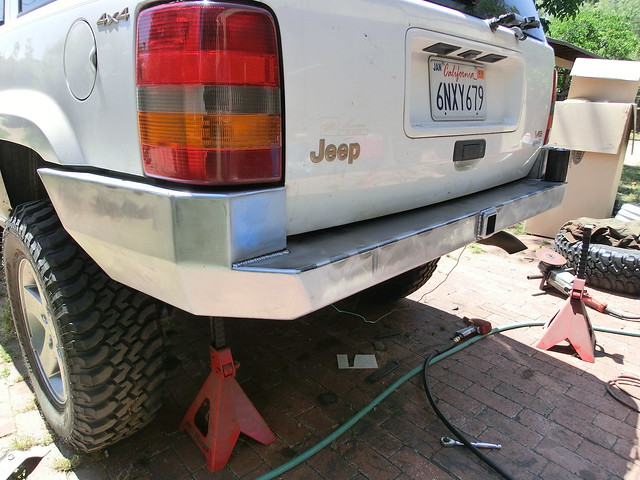
All that was left for this step was to replace the clamp, and weld it up! I used this cloth to keep the body and windows from getting showered with sparks and welding turds
Next time, I will go through the welding process and the addition of the final plates once the bumper is on the bench! Thanks for looking
")