jeepdreamer
Expedition Leader
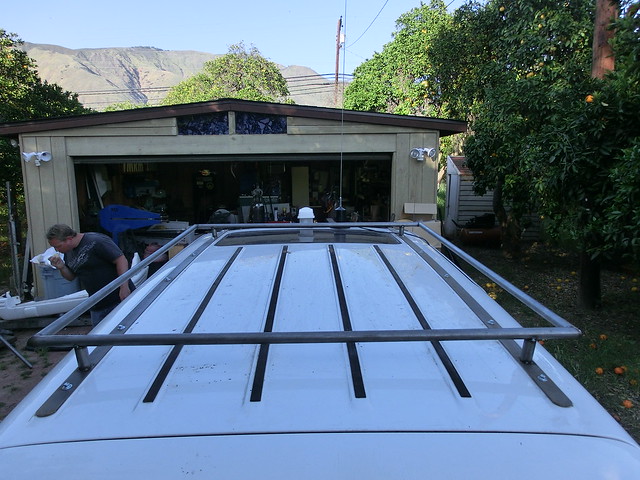
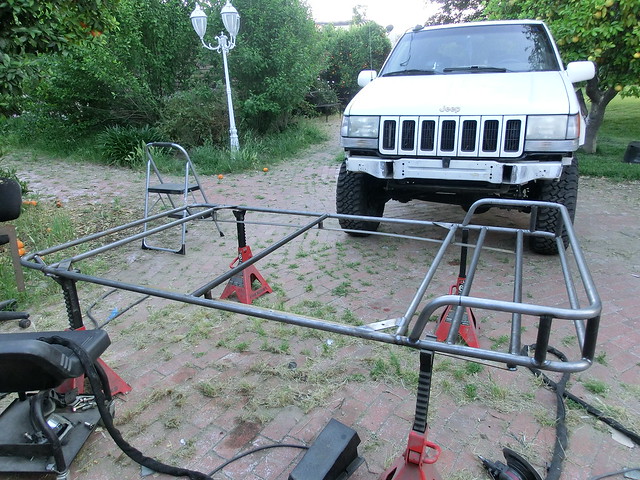
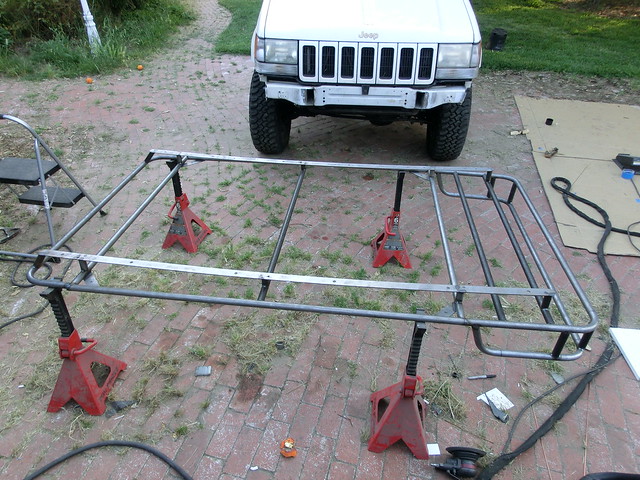
I really love watching this thread. Your work is amazing and the "how I done it" is well documented! Best of luck hitting your deadline and I can't wait to see the roof rack etc!
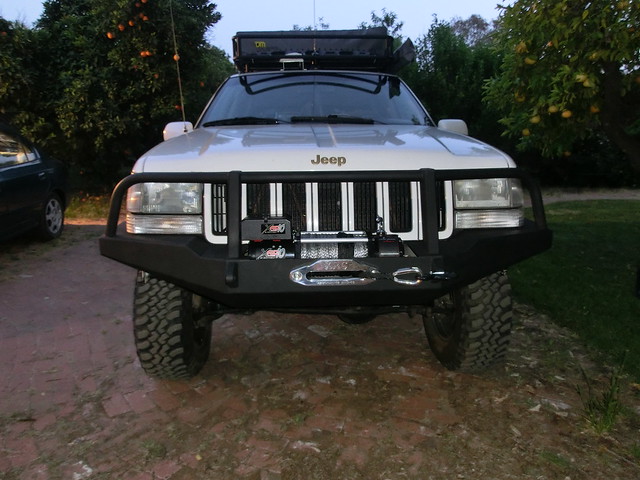
Hi Ted! I appreciate the insight, and can forsee potential drama if I make harsh contact with the earth. I tried to leave just under 1/2" clearance between the bumper and tail lights. I can already forsee issues with the gate, and will likely make a fairly significant change on the dimensions if I make any more. Do you have a build thread? I would love to see what you did with your ZJ! Thanks Ted!
I really love watching this thread. Your work is amazing and the "how I done it" is well documented! Best of luck hitting your deadline and I can't wait to see the roof rack etc!
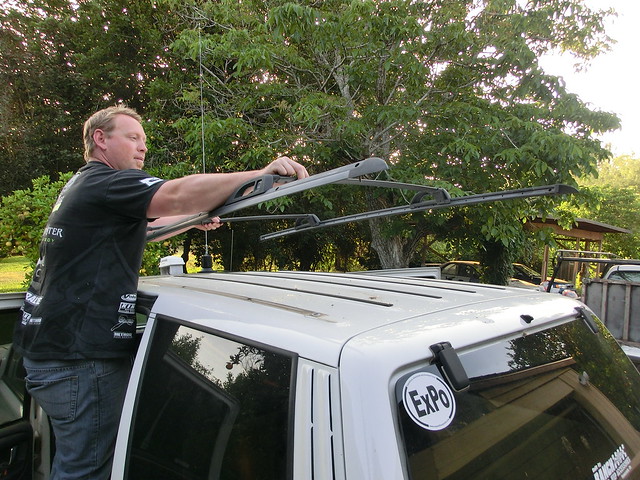
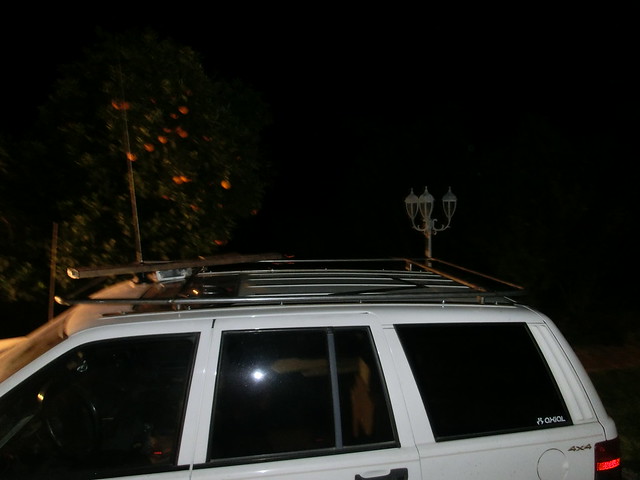
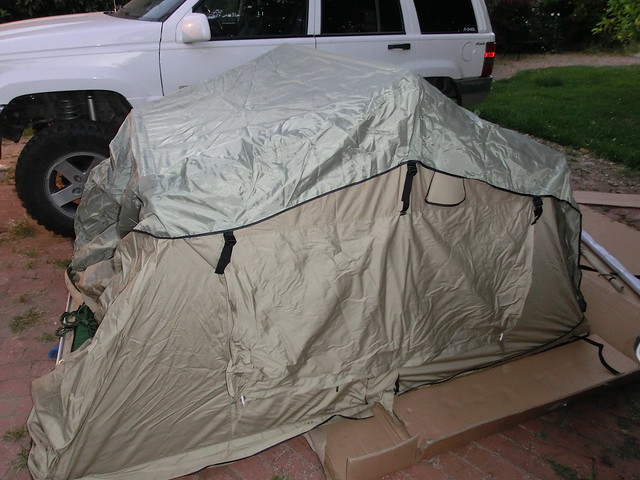
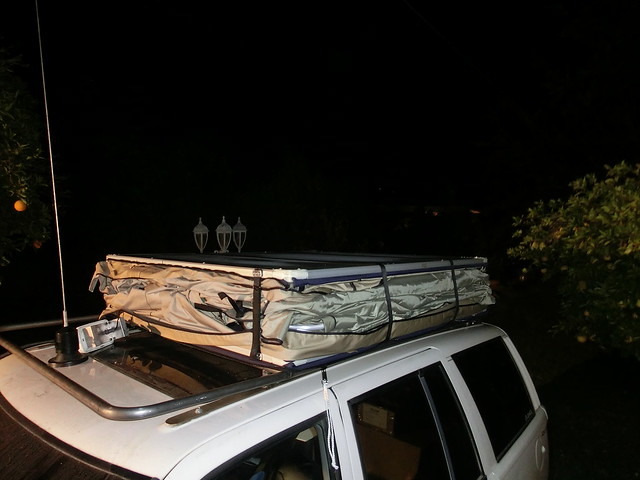
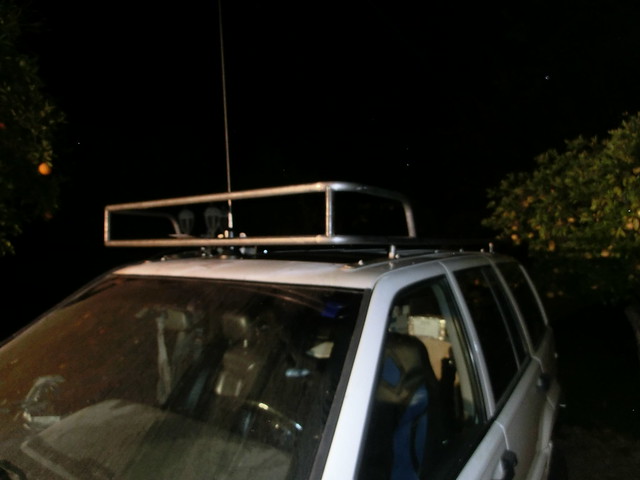
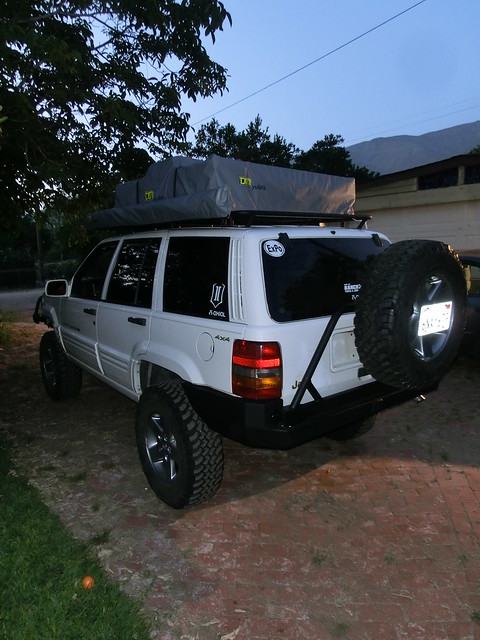
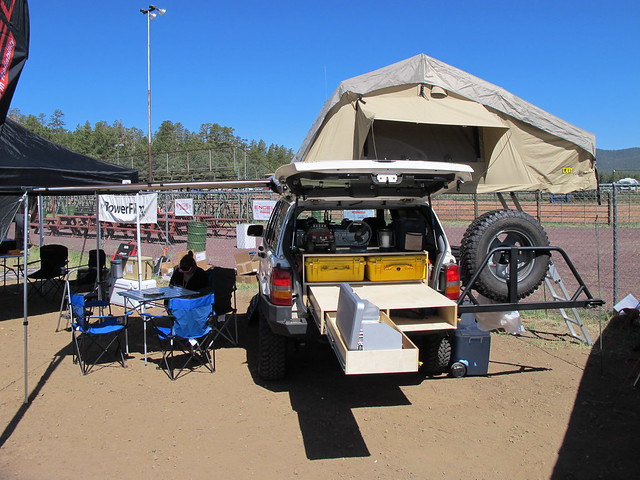
I mounted mine up last night and I can't shut the hatch! The sides pulled in, and I also see me cracking some taillights.
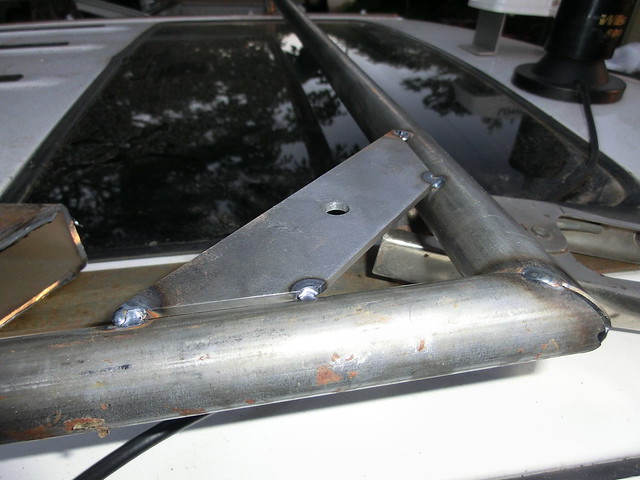
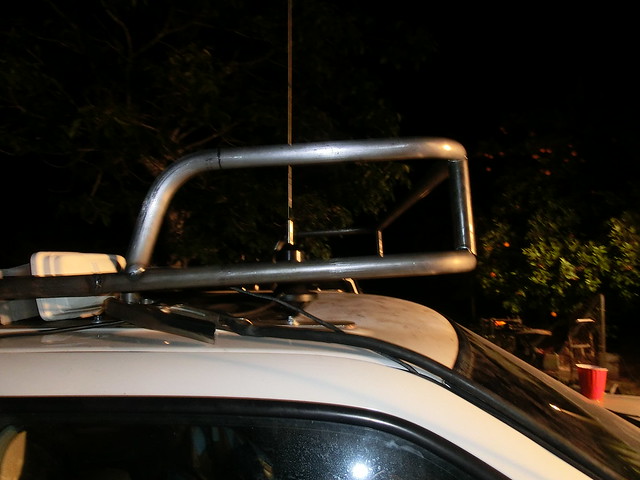
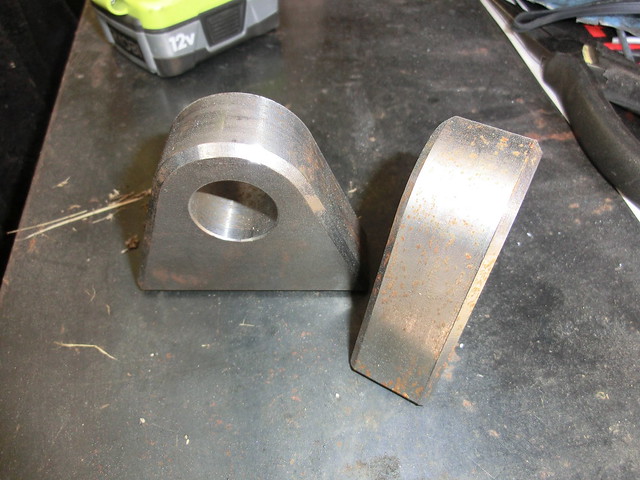
you wouldnt want to mail me those templates would you? :drool:
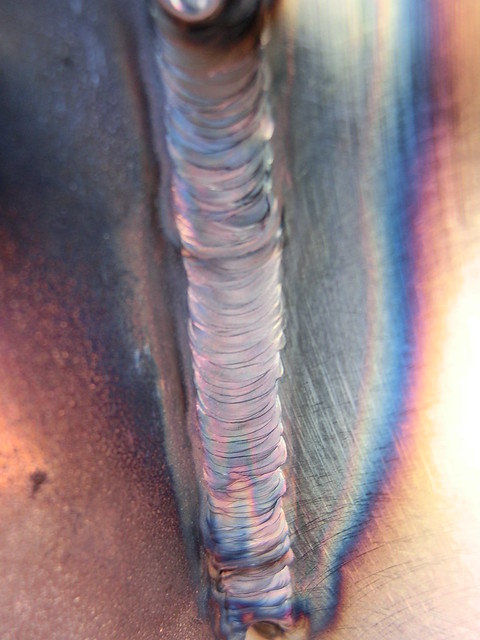
and very nice build. love the attention to detail. you did it right.
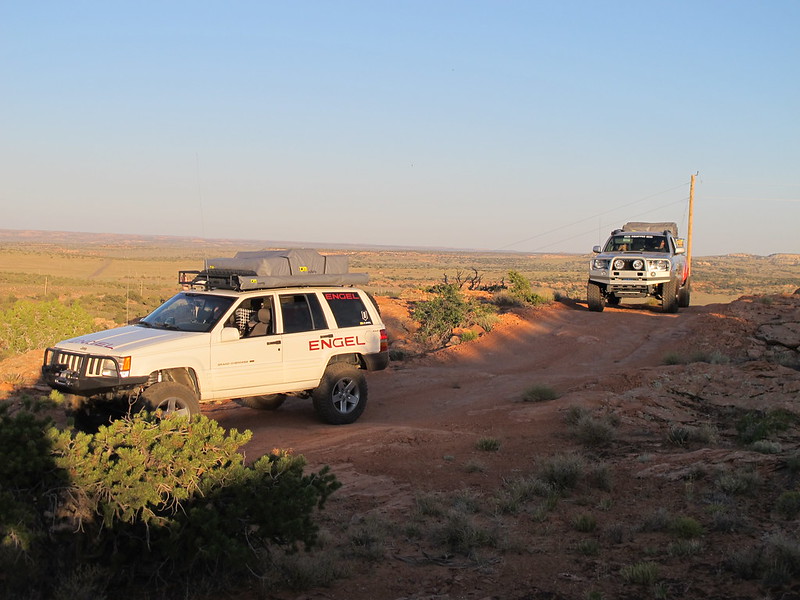
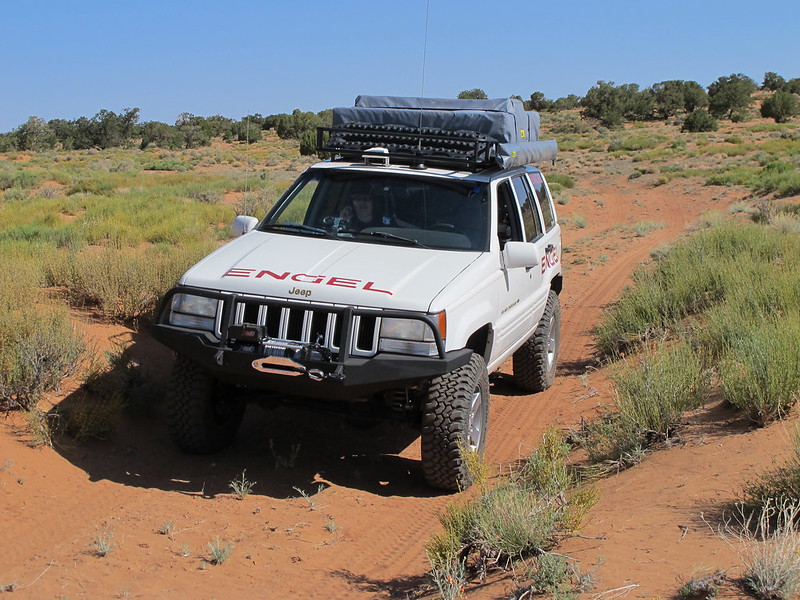
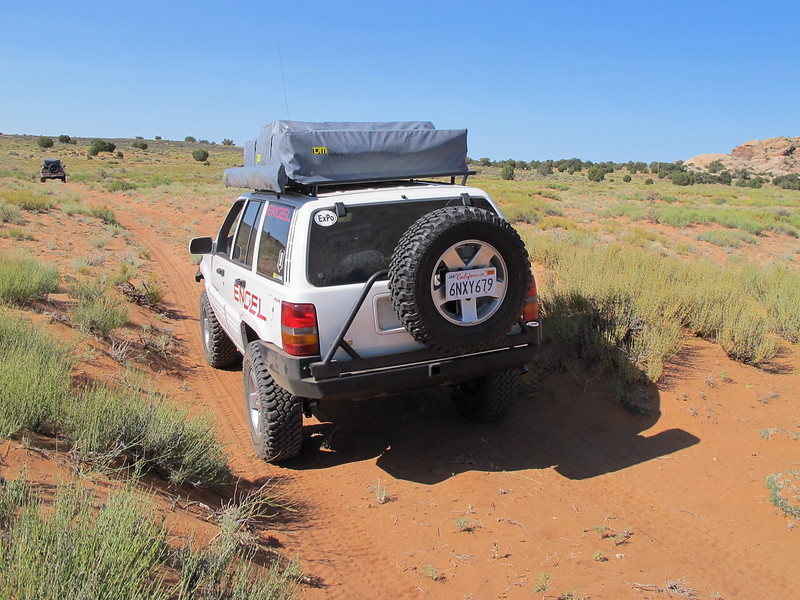
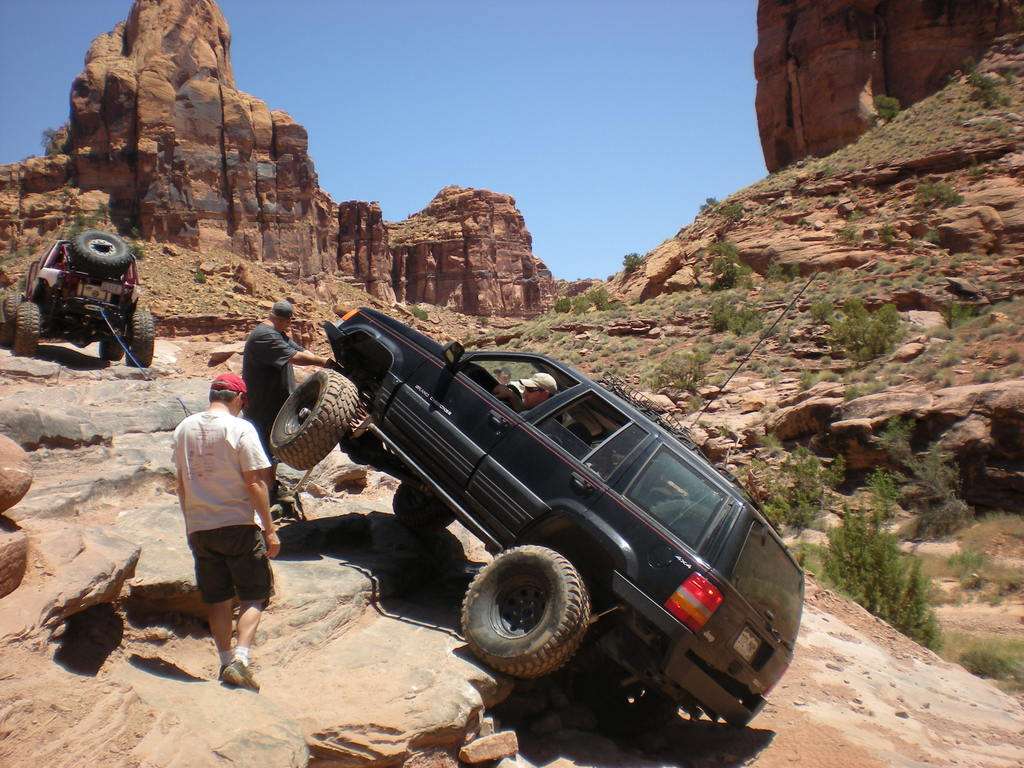
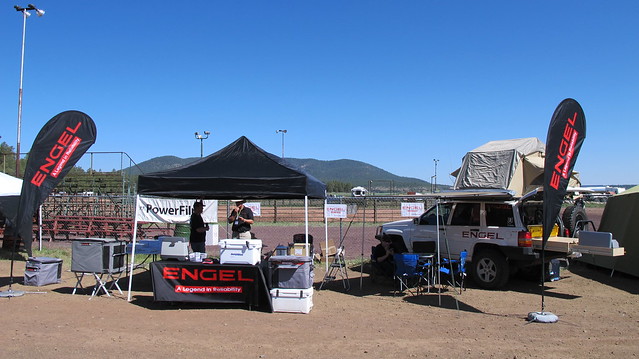
I don't have a build thread, but here is an action shot that you can see the rear bumper rather well. BTW, this was a serious Oh-$#it moment.
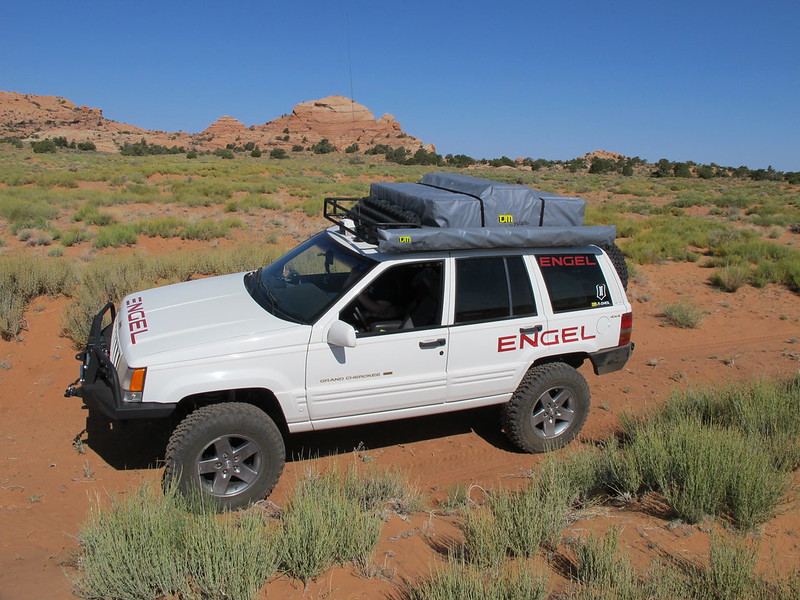
") That is a nice rear bumper though, way more clearance than mine! I hope you had fun out there, sure looks like you did!
That is a nice rear bumper though, way more clearance than mine! I hope you had fun out there, sure looks like you did!


*Question*
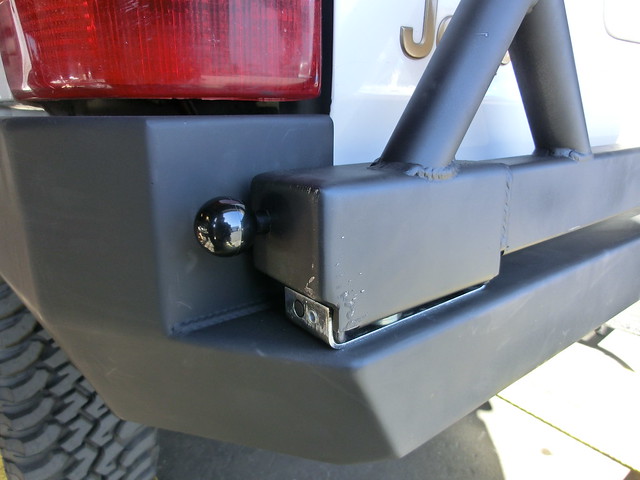
Earlier when you were building the swing out you said you used Poison Spider's parts.... I like the way that stuff works but couldn't find it available on their site? Do you have a part number to order this stuff?
I'll pop you a PM shortly. Thank you!Hey Recce, if you are interested in building another rear bumper PM me with pricing, might be time for a rear tire carrier.
haha! I'd think they would be interested in jumping on marketing something like this since so many people are trying to save some money by going the DIY route? Seems pretty easy to assemble the parts and build the bracket that holds the latch. Then they could have a DIY kit to sell, less in house fabrication needs, and maybe a larger profit margin on something way easier to ship? guess I'll see when I hear back from them. Thanks Reece... I sent them a message begging them to help.
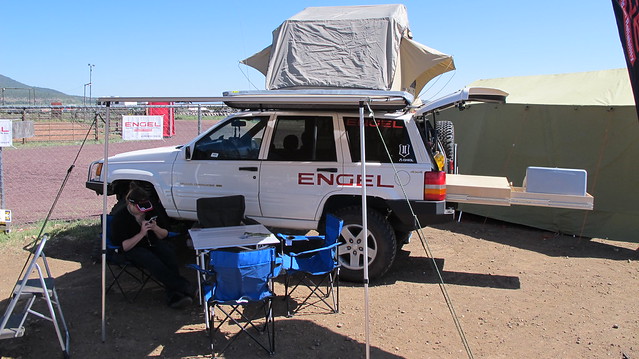
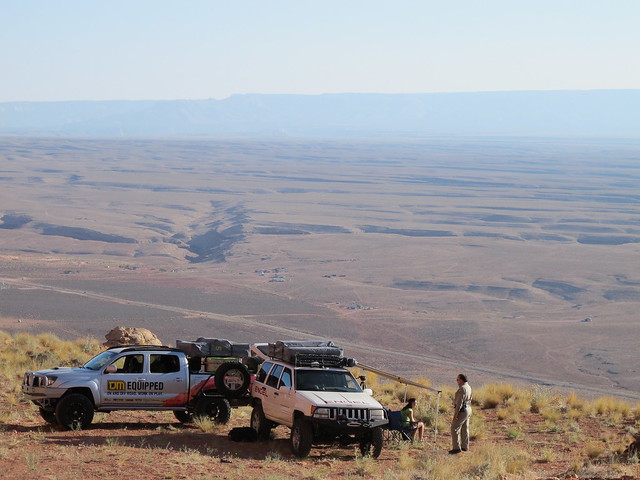
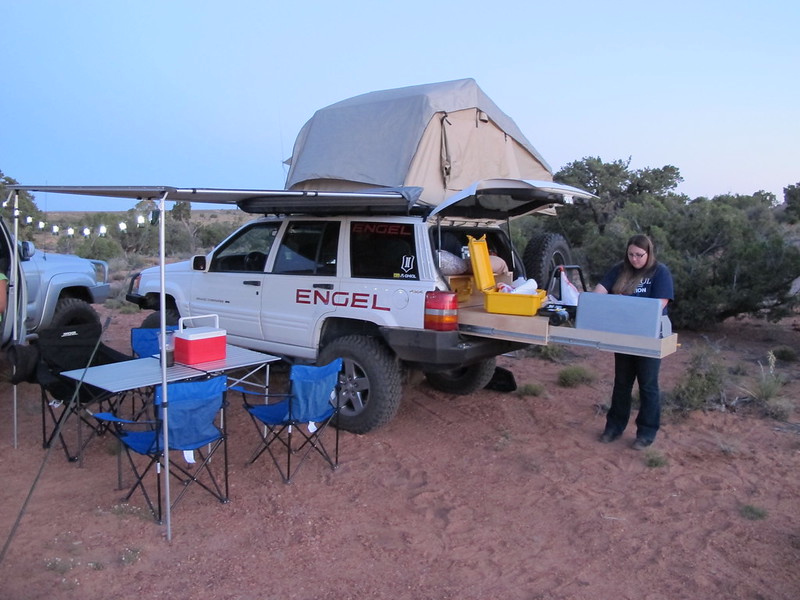
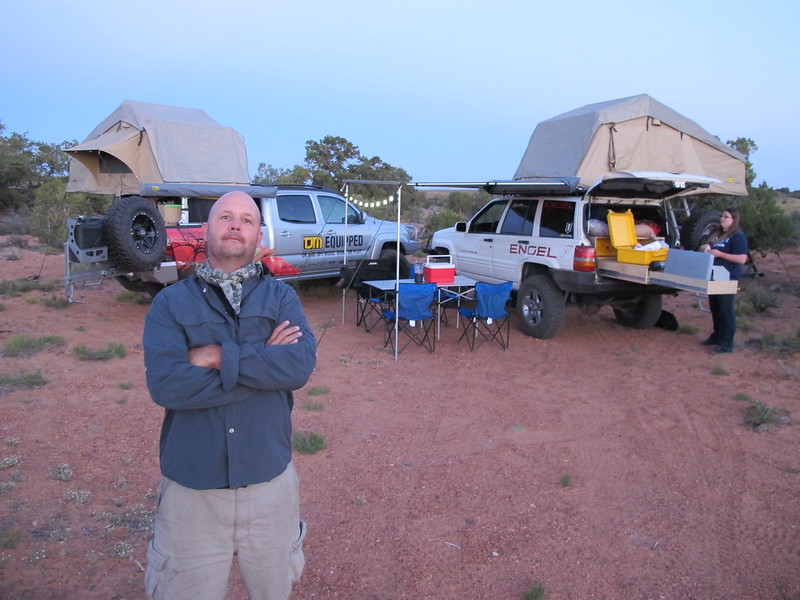
 I did get a shot of our rigs. My co-worker was driving the TJM Tacoma, and the law is reading the riot act to my wife.