Fred's M-416 Build

FredB

Observer
I've had this trailer for about 6-7 years. Used it the way I bought for a little while, and then started changing it. As they are for many of us, my trailer has to be dual purposed both as a hauler for general use, as well as a camping trailer. I've used my XJ, also, as a tractor for yardwork, pulling stumps and fence posts. Just don't have the parking for a truck.

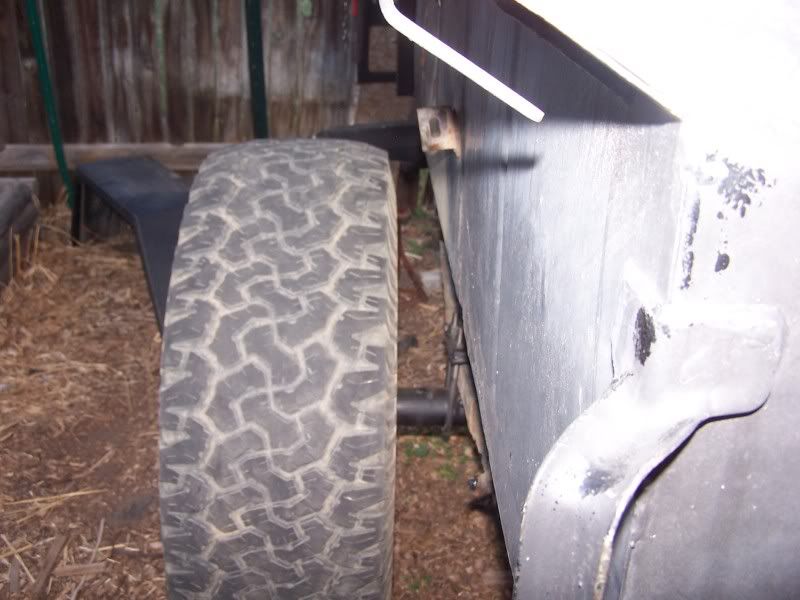
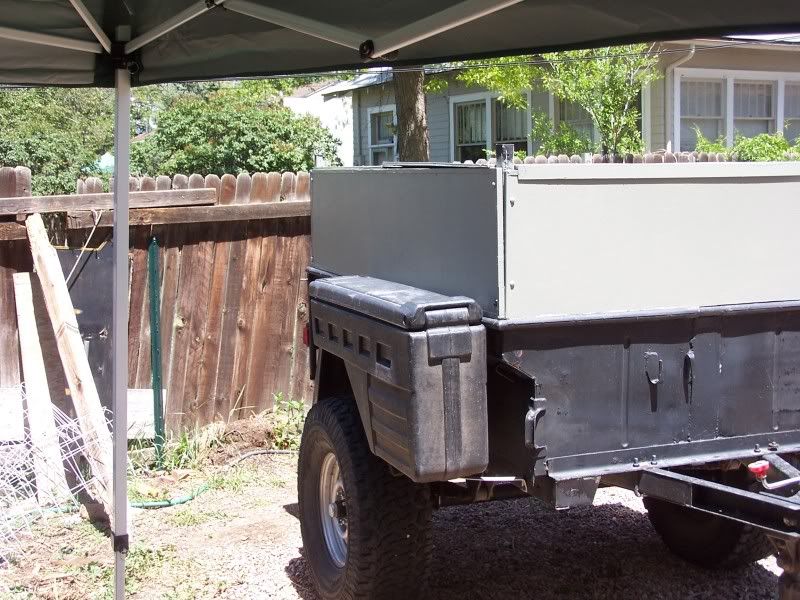
I really wanted to take the bed from a MJ and make a trailer from it, but when a friend built a truggy he got rid of the bed before I could grab it. So this M-416 came along next from another friend, and I grabbed it instead. The PO had widened the bed, and cut off the tailgate to use it to haul an ATV. He welded some steel across the back so it was enclosed again before I bought it. I don't think I have any pic's of as recieved.

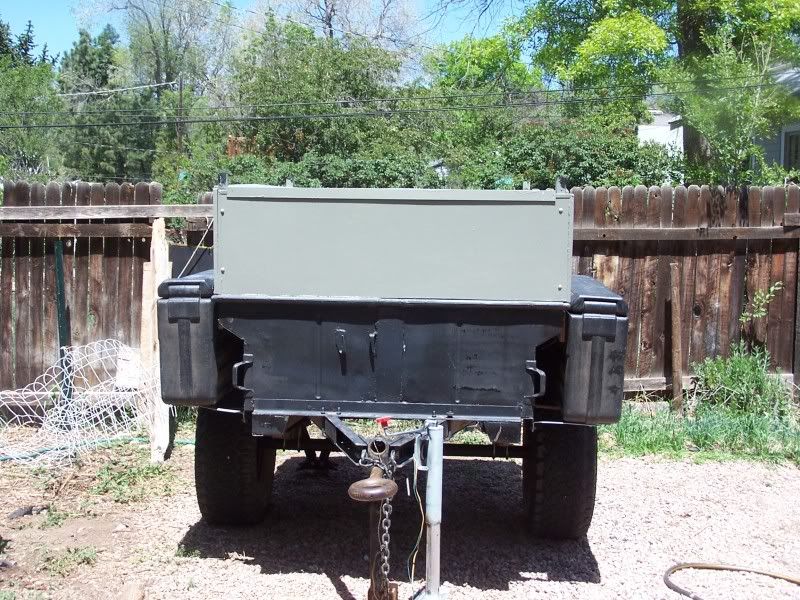
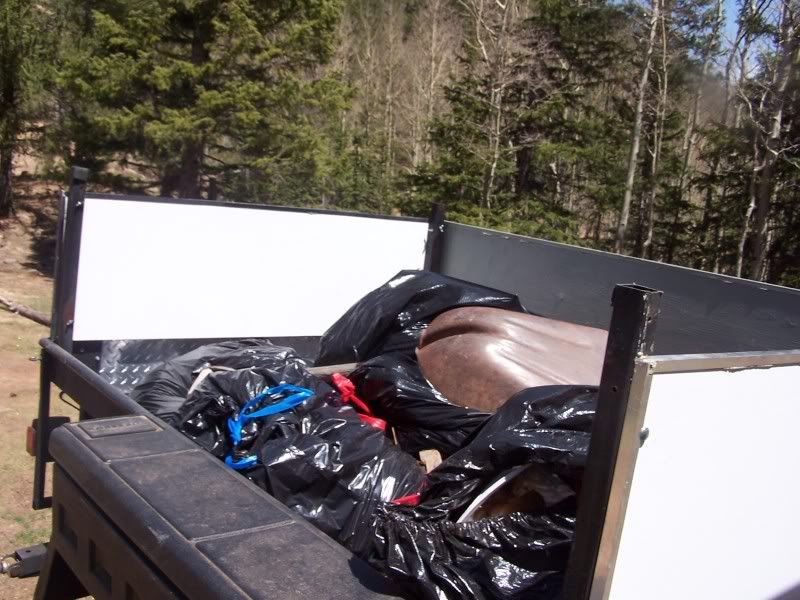
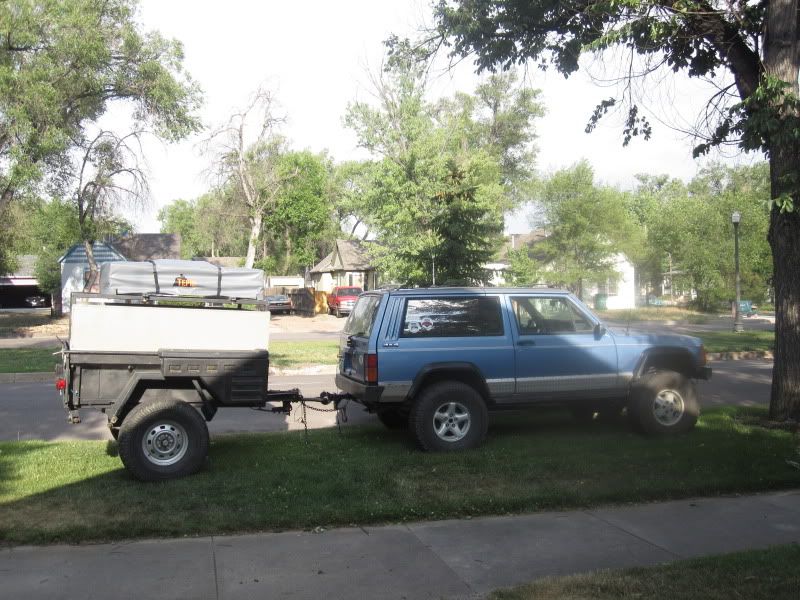
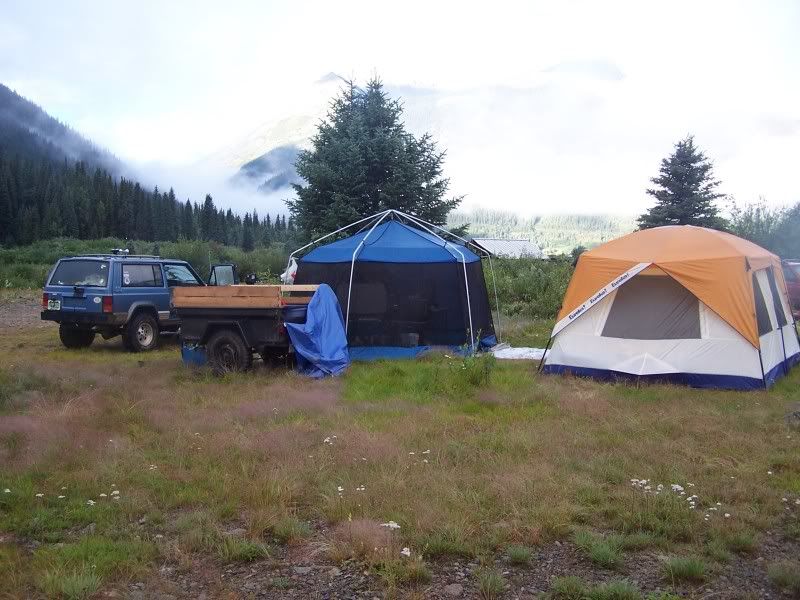
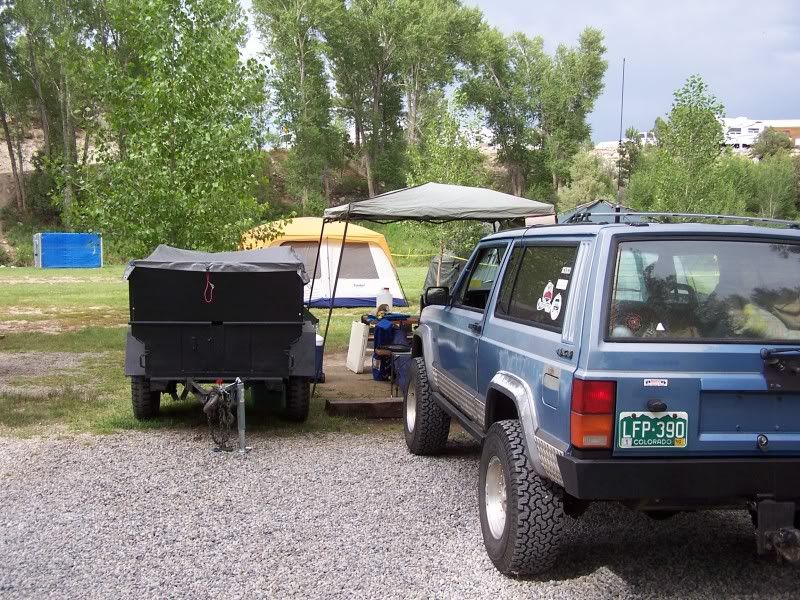
Here it is in Silverton for a week long trip at the Cofest with NAXJA. I added the stake sides before the trip since I was camping with two young boys and needed more carrying capacity. Realized from this trip that lifing things over the back side of the trailer wasn't much fun.

100_2826.jpg


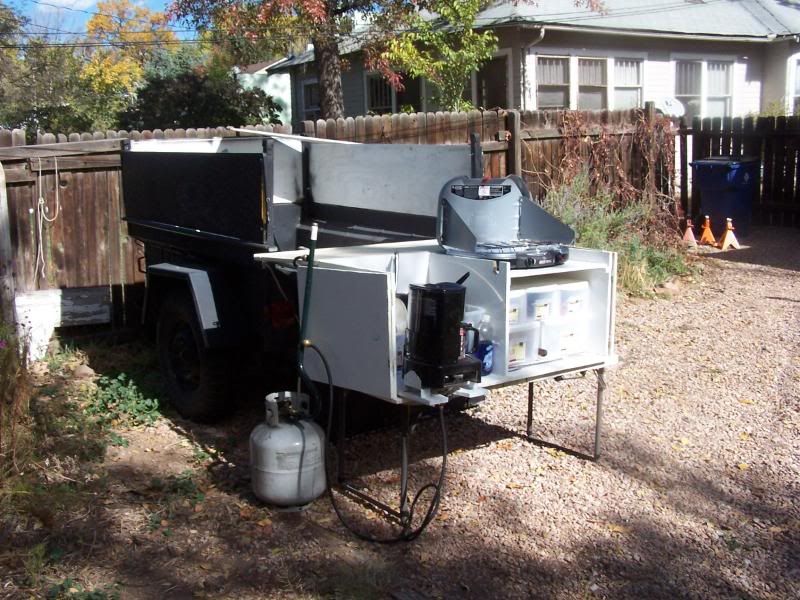
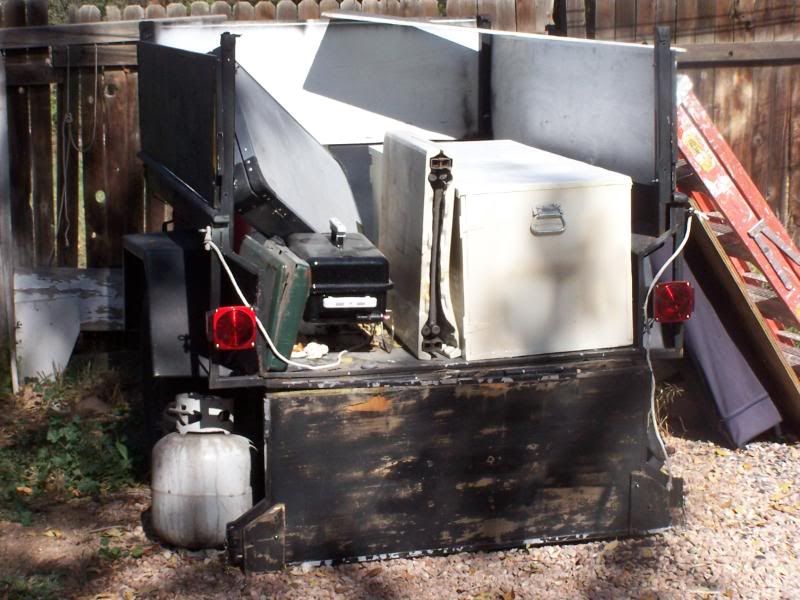
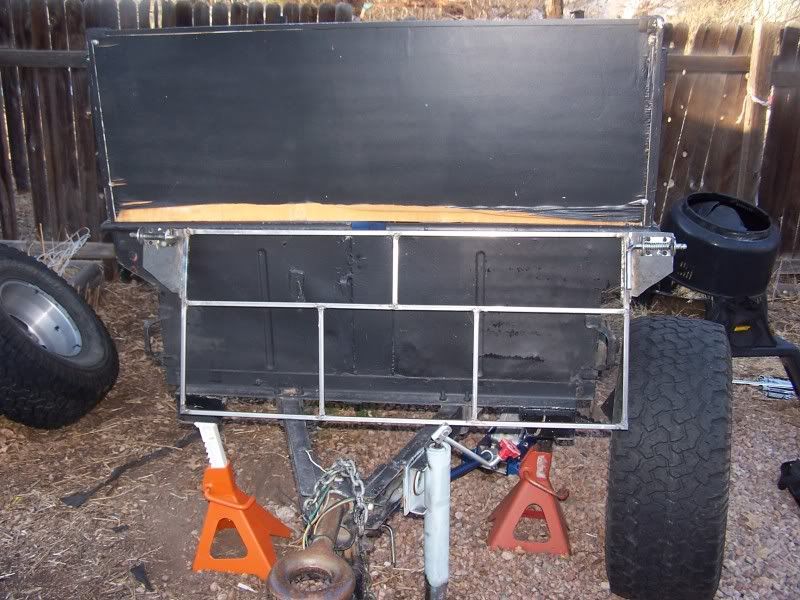
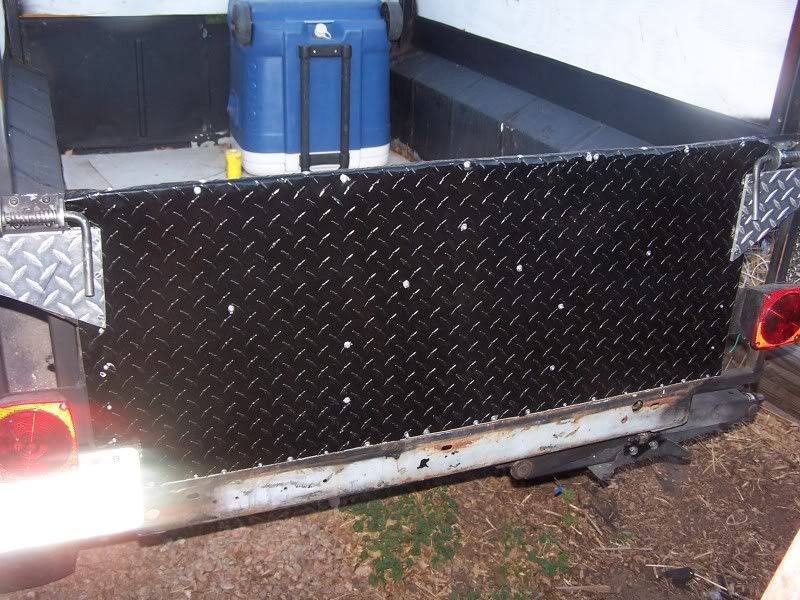
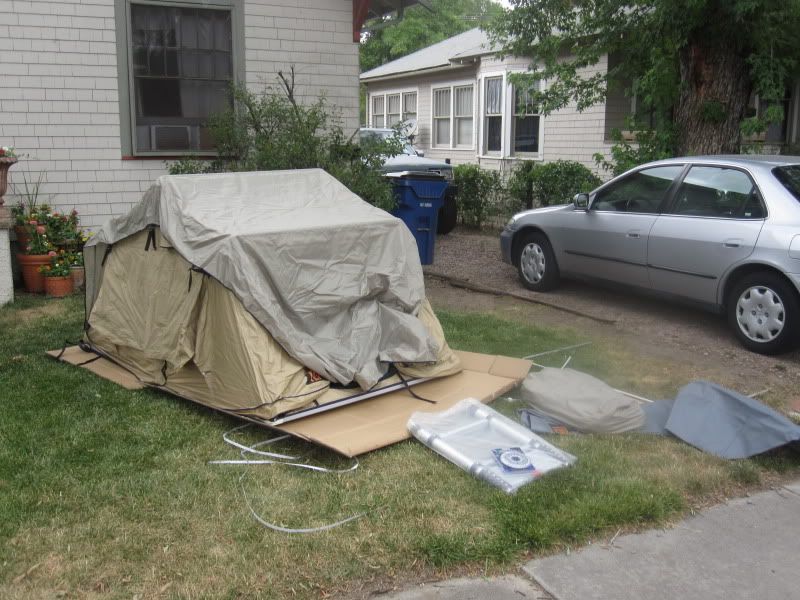
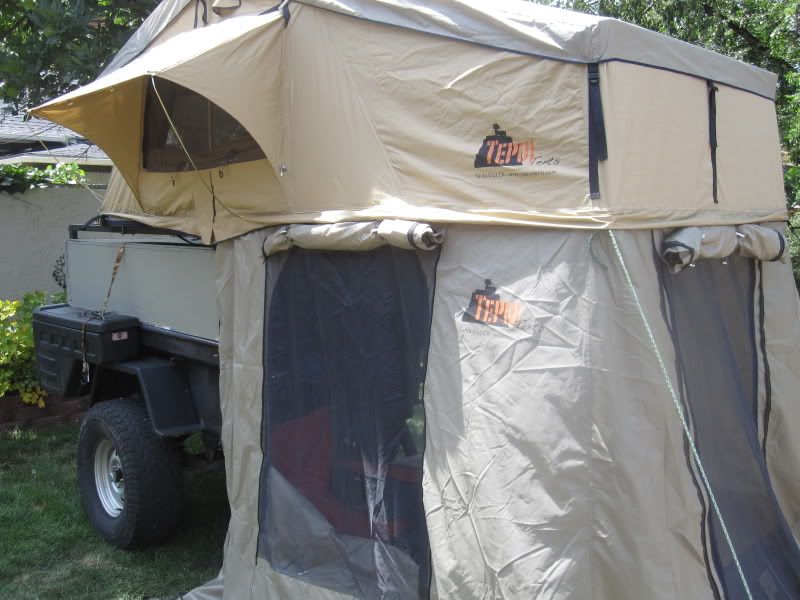
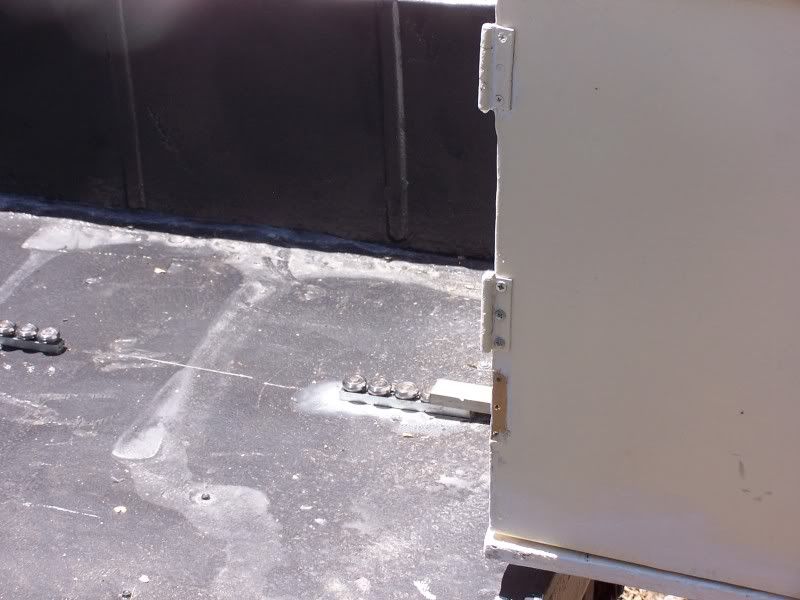
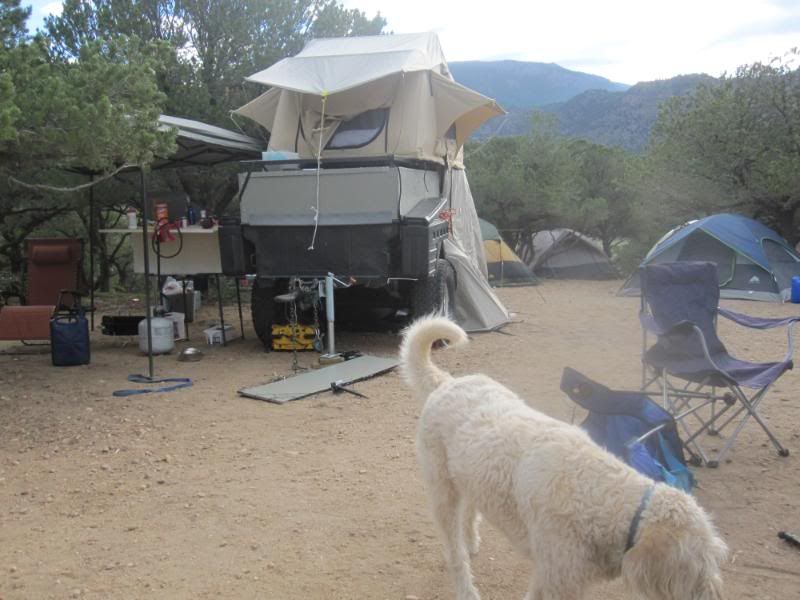
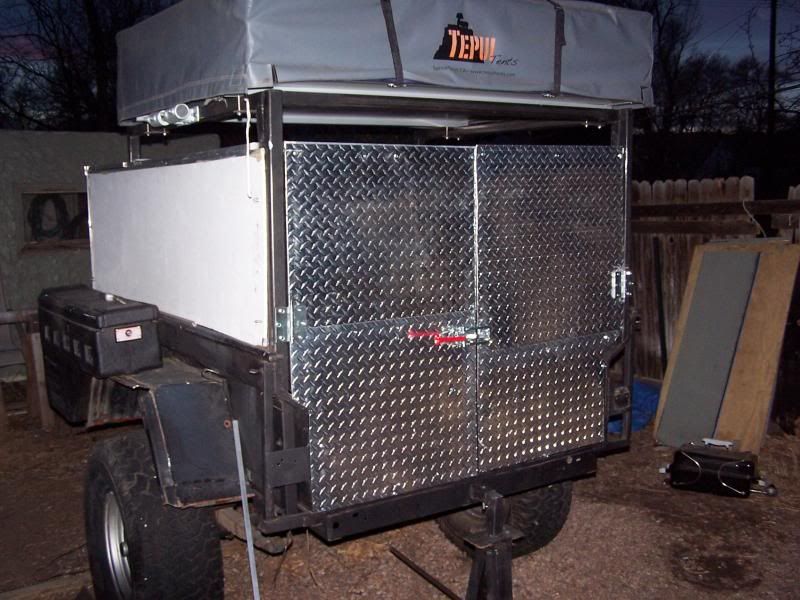
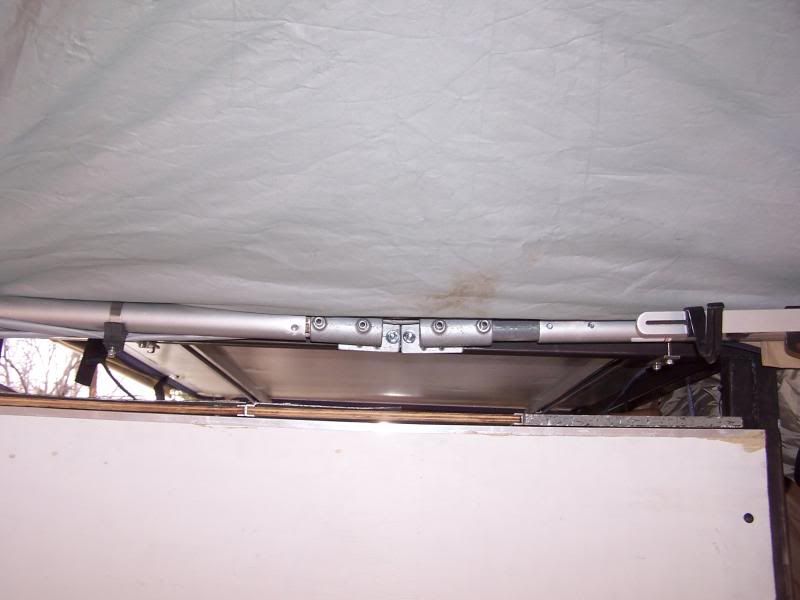
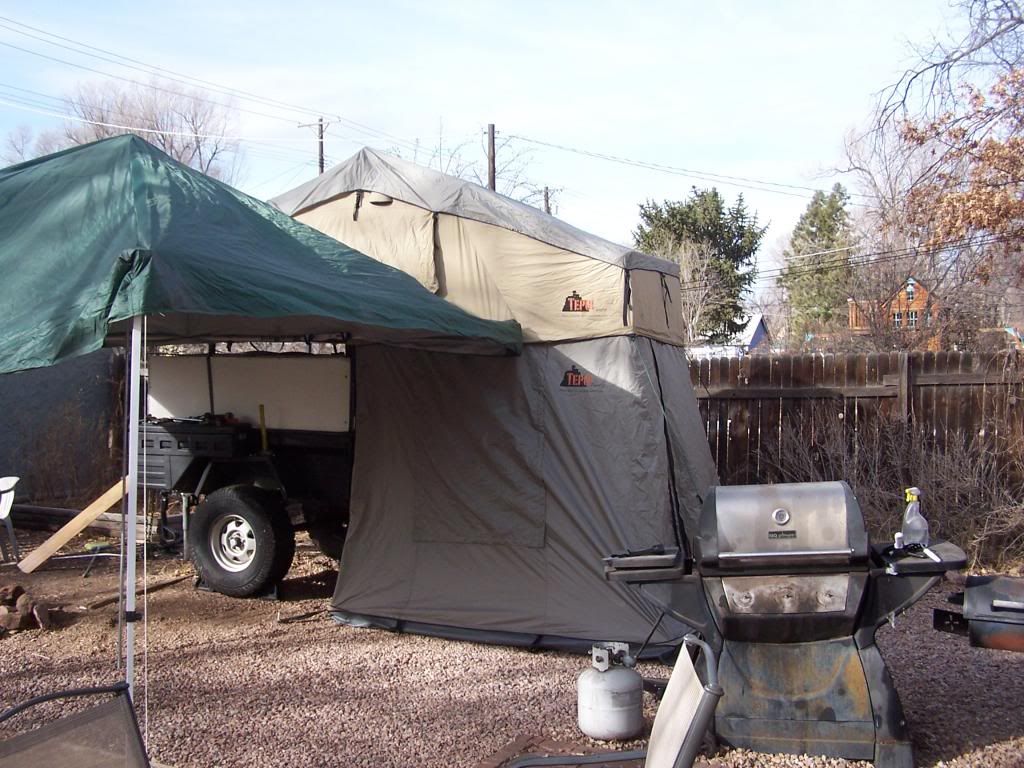
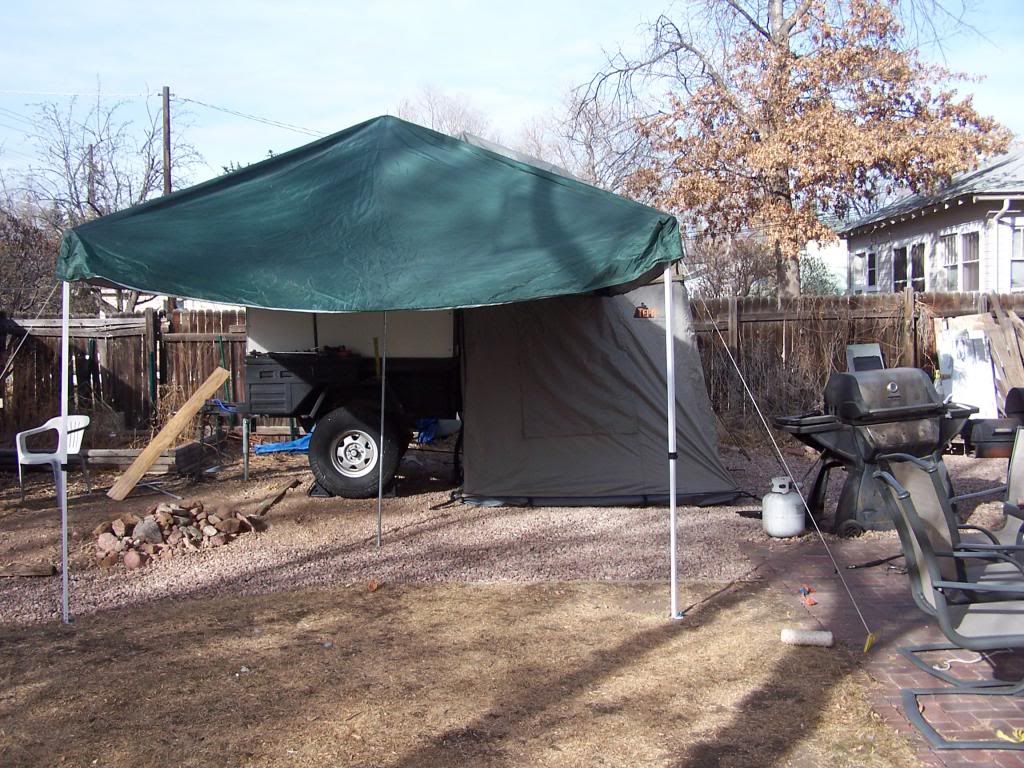
For the next iteration, I cut off the back off and replaced it with a wooden tailgate that was hinged to fold down. I started having ideas about building it into a camping trailer. I had some plan that I don't remember completely, but it involved 1.5" square steel tube, with 1.25" square tube sliding inside, which my minimal research on the net seemed to indicate that it would work. I had a HF flux wire welder, so I added four 1.5" uprights, discovered that 1.25" square tube would only fit inside with a bunch of work, despite it's nominal dimensions, and moved on the fix some stuff on the bed of the trailer, and then painted it with cheap bedliner. Here it is another week long camping trip in Buena Vista with wife, kid, and 80 pound dog.

100_3603.jpg


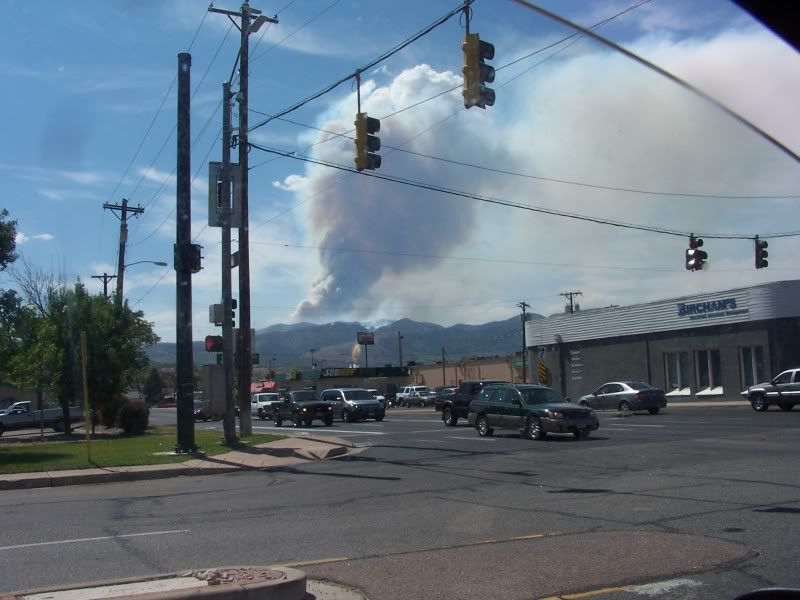
The dog at the end of a hike on a hot day.

100_3687-1.jpg


Next interation to come. :rolleyes:
 

FredB

Observer
The trailer worked pretty well in it's current configuration for hauling stuff around, and I was fairly busy with work, so it stayed the same for a couple of years. I did decide one winter to make a kitchen box in the basement while I was wait for good weather.

I ended up with this. It's crude and heavy, made out of plywood, but it holds everything I use in the kitchen including a seperate burner for the coleman drip coffee maker. The top folds out into a usable counter. It works fairly well for being crude. I catered a friend's bachelor partry on the trail, Penrose/Indepedence, with about 25 people, dinner, and breakfast in a cold rain while either drunk or hungover. :)

100_4176.jpg


Inside the second iteration of the trailer.

100_4177.jpg


It also fits in this extended hitch carrier.

100_4168.jpg


After a couple years of use, weather, and finally hauling trash from a shop to the dump, the tailgate bit the dust, and it was time to move on to the third iteration.
 

FredB

Observer
In the meantime, I had bought my kid a 97 XJ, which proceeded to breakdown before the next two years Colorado fests, which used up any trailer time and money. After getting laid off last year and getting my 95 year old mother into a nursing home, I started working on it again. I had no clear vision of where I wanted to take it, but at some point I visited this site and had some ideas. :) I kept trying to think of ways to incorporate a tent on the trailer to make some kind of easily deployable camping unit. I ran across a reasonable tent in Australia that was designed to be mounted on an offroad trailer, but with dealing with import duties and shipping, it became too much trouble and expense.

I proceeded to fix up the trailer. After reading some builds on here, I decided I wanted to be able to run the same wheels and tires on the trailer as on the Jeep. I've only owned XJ's and WJ's, so hubs are not something that I think about. I found a spacer I thought would work, and bought it. Aside from the lug pattern and hub, there was another issue I hadn't condsidered, the widening of the tub by the previous owner. This shows the 1.5" that the tub was extended on each side.


003-2.jpg


The company I bought the spacers from wouldn't make a spacer that would work for me, so I decided to buy a new axle. I didn't get one with brakes, as it appears fairly simple to add them later. I also did a spring over. I had to have custom u-bolts made, the standard ubolts for the axle were too short because of the spring pack.

100_4244.jpg


Comparison of axles.

100_4242.jpg


I'll need to extend the fenders. I'm running 33x12.5x15" tires on stock jeep backspacing, 5.25", the backspacing was part of the problem.

100_4258.jpg


More to come on V.3.
 

FredB

Observer
For V.3, I decided to make the tailgate removable, instead of hinged(just gets in the way when opened), and made it out of 1/2" square steel tube and skinned it with some cheap aluminum I found at a clearance sale. I put the skin on with rivets to try to avoid the corrosion potential that occurs with zinc coated steel bolts and aluminum. I reused the latches from the previous tailgate which latch into the top tube frame of the trailer.

Frame

002-2.jpg


On the trailer.

100_4259.jpg


I think it turned out pretty good. My expertise does not extend to making things look good or fit well, for that matter.

I looked into the truck boxes and other storage ideas, but they were too rich for my blood. I decided that I would just redo the wood sides and add a removable top for basic weather protectio of the contents. Then I ran across a CL ad for two fenderwell boxes for an S-10. I checked them out on the web, and realized they would fit on the side of the M-416, and provide accessible storage when the trailer is buttoned up. When they dropped their price to $50 for both, I couldn't resist.

100_4279.jpg

100_4280.jpg


V.3 isn't quite done, but here the trailer is being used to clean up trash in the national forest.

100_4273.jpg
 

FredB

Observer
Sometime this last spring, I looked at the uprights, and decided they were tall enough, with the spring over and 33's, to use for mounting a roof top tent. I added the tube, and shopped around. I was looking for a unit that was less than $1500 shipped, with a bottom entrance and an attached annex. The Tepui Autana fit the bill. I think that quite a few people sell this tent under their own names.

Just arrived.

0032.jpg


I was in a hurry to get it mounted on the trailer, since we were only a mile from an evacuation area. The wife was packing the family relics. :)


100_4333.jpg


On the trailer.

0052.jpg


After the fire, in the backyard.

025.jpg


I have it mounted so that the rear of the annex can access the trailer. I thought I wanted to put the kitchen in the annex, so I mounted some bearings for an industrial slider on the floor of the trailer. Not fun when the mounting surface is far from flat or level.

100_4286.jpg


Dr. Moab on NAXJA convinced me that the kitchen in the annex is a bad idea since the cooking odors would saturate the roof top tent. The slider does make the box easier to pull out of the trailer so it wasn't a total waste.

We finally made to a COfest. Here is it set up in campground.

CampingtripinBuenaVista048.jpg


It was quite comfy, and survived the mountain summer thunderstorms, with some help. The front awning of the fly had to have a tie down added to it to keep the fly in place in very strong winds. The biggest issue I have with is that the front window, exit(over the trailer), has a zipper so that when unzipped the window/door rolls up the top of the window to be tied up. When the weather is coming from that direction the window must be entirely closed to keep the rain out, where if it rolled to the floor of the tent, it could be partially zipped up to keep out the weather. Similarly, the door on the annex that accesses the trailer rolls to the top, so that if it is open to the trailer, the entire area between the bottom of the trailer and the ground is open into the back of the annex.

With the height of the bars for V.3(~6'), the annex droops onto the ground. This is a problem because the floor of the annex is zipped on, so the zipper will leak when the runoff is strong, as is frequent with mountain thunder storms. So the previous problem and this has led to V.4
 

AA1PR

Disabled Explorer
nice build so far

I like the fender boxes, may have to steal that idea if you dont mine
 

FredB

Observer
Version 4.1.
There were a bunch of things I wasn't happy with in version 3. The enclosure wasn't very good, the mounting rails weren't high enough for the proper set-up of the annex, and I wanted a different way of accessing the rear of the trailer.

So:
100_4438_zps24c86521.jpg


The rear doors are removable. I just used a standard hinge, but to make removable pins, I had to order 7 mm stainless steel rod from Amazon, where the latch also came from. The reason each door is made from two pieces of sheet aluminum tread, is because I buy left overs from the steel shop, which are sold by the pound. The doors still need a little work, but overall I"m happpy with them. The aluminum sheet isn't very strong so I had to weld in some reinforcements to use that style of latch.

I also came up with an awning for the trailer. I had one of those pop-up shelters that the wind had destroyed, and some miscellanious fittings from HF, intended to contructing items from 1.25" plastic pipe, and aluminum tube from a bike stand a neighbor discarded when he moved.

100_4429_zps3c778474.jpg


Still working on the enclosure here, as you can see. :)

100_4416_zps33a81f24.jpg

100_4415_zpsa2ae9602.jpg


As you can see the zipper for the floor of the annex is off of the ground, which was my goal with the modification. I need to work some on the awning, but if it is staked down correctly, it hold up in the wind, a big concern in the mountains.

I've done some work on the electrical stuff. Bought a 15 W solar panel with a controller and connectors for less than $4/watt. It's on a temporary mounting. I'm using for maintaining the optima battery on the heep. Optima's aren't real happy when they sit around unused.
100_4424_zps70c6c905.jpg

100_4445_zpsae99feea.jpg


12 volt outlet for a boat. I've got more stuff for the system, but I haven't bought the HF box yet, and put it together. When I do, I'll post a schematic, it's pretty simple stuff.

Here are my water tanks. The aquatainers are reasonable, and hold 7 gallons each. While an installed tank is attractive, filling it is problematical if you aren't in a campground with a spigot. With individual containers, they can be carried to the pump as needed. The plumbing will take more work.

100_4426_zps986bf815.jpg


I still need to make the fenders. My first attempt isn't looking too good. I'll mount the propane tank when the fenders are done. I'd like to make a new kitchen, extend the tongue, paint it, etc., etc.

It's a hobby. :)
 

Mark Harley

Expedition Leader
Many good ideas. I like the rear receiver jack mount.
Did you remove two legs from your EZ Up canopy?
 
Last edited:

rockwood

Adventurer
The stake sides give me a solution to a problem. I'm going to create a fold down wall, that will double as a kitchen table for the cooker, bar for drinks etc. Hinged at the bottom and held like a drop down tailgate from the top of the stakes.
Thanks
 

FredB

Observer
The EZ up is no longer on a frame. I did take two corner legs off of the frame to use at the two corners. I also had to put a pole in the middle by putting a Very reinforced grommet in the center and using some poles I saved from another canopy the wind destroyed years ago. :)
 

FredB

Observer
I've been getting the trailer ready for COfest 2013 the end of July. Following others on this forum, I extended the tongue of the trailer. I read one thread where he thought you could fit 60" rectangular tube and still use the stock coupler. I tried that and ended using 52" rectangular tube, 3" x 1.5" x 11 gauge.

Testing the fit.


Comparison to original tongue pieces.


Had to bolt it to the bottom of the bracket instead of the sides like originally.


Installed.


Made a holder for a propane tank. It's just 1/2" tube welded into a square that fits tightly on the bottom of the tank and attached to the tongue and trailer. It's strapped down using existing tie points. It's not going anywhere.


More to come.
 

FredB

Observer
I finally realized(after heading to a machinist friend and having it pointed out to me) that the original wheels off of the jeep would fit over the hubs. I kinda like the jeep engraved on the wheel. :)


I bought one of the flow through water heaters sold as pet washers, and put together a water system.


Tried it out on the dog, but I'll spare you the pictures of the wet dog. I didn't take any pictures, but took the cap for the aquatainer spigot, and made siphons from 3/4" water pipe, Y adapters for faucets, and some custom adapted garden hose. I had to brace and weld the stand that came with the heater.


Honestly, the flojet pump will only pull siphon from two of the tanks. It might work better with the tanks in the trailer and the pump on the ground.

I had a two room shower enclosure I got from K-mart some time ago. I set it up, made a little mod to get the shower head in the enclosure.


Turning on the water at the shower head turns on the pump and the heater. It all works pretty well, compared to a camping shower I bought quite a few years ago.

I pondered how to store the solar panel safely in a bumpy environment. I hit on a fairly simple and functional solution. I'd leave it mounted on a board, and hold it facing the front of the trailer with it's removable panel. The first pic is of the stop to hold the board.


Pretty crappy pic, but on the right of the board is a fence latch that holds onto a bolt in the upright.


And buttoned up.


I've added LED tail lights and I'm in the process of wiring them. I also will be wiring and installing the harbor freight box with the electronics for the next update. Hopefully. :)
 

FredB

Observer
Bit of an update. The improvised awning lasted one night in mountain winds. Added the standard Harbor Freight box on the tongue and put in some basic electronics. The battery is a HF sealed lead acid battery rated at 35 Amp hours. The first pick shows the switches and outlets I installed. All sourced from Amazon, all claim to be marine grade, none of the covers stay on while traveling.


The upper left is the input that goes to the solar regulator, the lower right is a USB charger port.

All the various adapters, and an extension cord for the solar panel.


The inside, inverter that I've yet to need or use on the left with a charger for my 12V lithium ion portable tools, the solar controller on the right of the batter. In the middle is an LED light that comes one when the lid is opened, mercury switch on the lid. It is also switched from the panel. Another LED light mounted over the side of the trailer is switched and that's it so far.


What happens when your solar panel isn't really held in place and the wind blows it over. I glued a piece of glass over the major breaks and attempted to seal the other cracks. It still works, but I'm sure it's output is less than originally. :)


Forum statistics

Threads
185,828
Messages
2,878,635
Members
225,393
Latest member
jgrillz94

Members online

Top