Arndog123
Arndog123
He probably got it from here,
http://cruisercrap.com/
http://cruisercrap.com/
He probably got it from here,
http://cruisercrap.com/

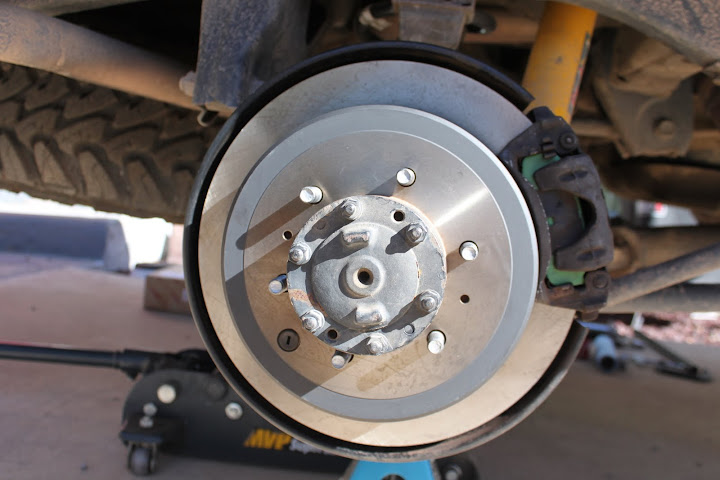

Today I got some new stoppers put on! New OEM rotors and pads. Brakes seem to be overlooked some times but once you start adding a bunch of extra weight to a truck it is a bit more noticeable when your brakes get warn or damaged and when it comes to parts no short cuts can be made here, cause its your brakes and you got to be able to stop! :sombrero:
No more noise and smooth stopping is always a good thing.
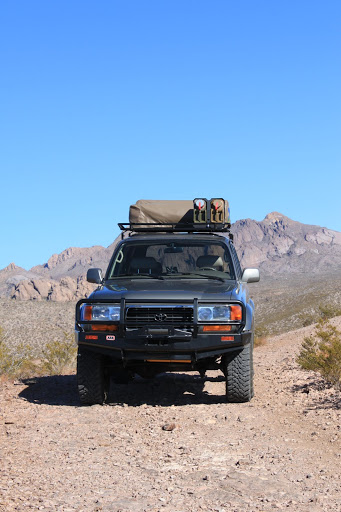
Also got out on a shake down run on some local trails, sunny and 60* it was nice!
Lexus,
It wasn't that hard at all. I did a ton of research on mud and found a few good step by step threads. My screws came out with no problem. The biggest thing was sourcing all the tools a 3/4" socket, breaker bar and torque wrench are not as easy to come by as you may think, in Cruces at least. I ended up buying a 300ft-lb torque wrench at Harbor Freight, not my first choice but I couldn't even find one for rent or sale any were else, but it seemed to do the trick. Took 3.5hrs total including lunch and drain and refill with 5w30.