You are using an out of date browser. It may not display this or other websites correctly.
You should upgrade or use an alternative browser.
You should upgrade or use an alternative browser.
Soon To Be Owner of H3T Alpha
- Thread starter Expedition.Report
- Start date
Expedition.Report
Explorer
A clamp for the steering rack you meaning?
Sure have, went with outfitter designs and it seems to be holding up well
Sure have, went with outfitter designs and it seems to be holding up well
Expedition.Report
Explorer
I should be getting the T back from the shop today once they finish up the alignment to Rancho's specs.
It should feel like a brand new truck!
I had to replace the following:
To be honest that is a lot of parts to replace for only having 110,000km's (68,000 miles). But it needed to be done.
Still on the list of things to do this summer/fall SOA in the rear (have all the parts together but just not the space to do the work myself) and upgrading the OEM CV joint on the half shafts to some RCV CV's.
After all that I will be focusing in on building up my trailer to get it outfitted the way I want.... there is always something else!:snorkel:
It should feel like a brand new truck!
I had to replace the following:
- Upper control arms (ball joint is not individually replaceable)
- Lower control arm ball joint (wasn't required but would need to be done within the year anyway)
- Lower control arm bushings
- Steering rack
- Went back to OEM inner and outer Tie Rods while I am waiting for the replacement Outfitter designs HD tie rod kit to come in (somehow bent the 1'' thick 1144 stress proof) ** If anyone is interested, the guys at Outfitter Designs were great to work with and got back to me almost instantly when I emailed them about bending the rod**
- Swaybar end link bushings
To be honest that is a lot of parts to replace for only having 110,000km's (68,000 miles). But it needed to be done.
Still on the list of things to do this summer/fall SOA in the rear (have all the parts together but just not the space to do the work myself) and upgrading the OEM CV joint on the half shafts to some RCV CV's.
After all that I will be focusing in on building up my trailer to get it outfitted the way I want.... there is always something else!:snorkel:
Expedition.Report
Explorer
I was out doing more work to the T thid evening; Cleaned my throttle body, looks like l'm going to have to set up a oil catch can though, getting way too much blow by!
This is in the supercharger after the throttle body:


I broke the little plastic tab on the throttle position sensor on the side... got the connector zip tied and taped to the trotted body but who knows how long that will last for... sure hope the local shop has one in stock!!
This is in the supercharger after the throttle body:


I broke the little plastic tab on the throttle position sensor on the side... got the connector zip tied and taped to the trotted body but who knows how long that will last for... sure hope the local shop has one in stock!!
silvrzuki77
explorer
Glad your replacing the power steering pump. Mine failed on me for no reason in Death Valley. Special order of course!
Expedition.Report
Explorer
Well its been a while since my last update, but the truck is going through a bunch of minor changes now that we have had some time to try out various setup and get settled into Island life.
Major changes:
I have a few beef-up parts on the way to help reduce the number of trail repairs and the need to keep so many spares on hand:
Upgraded drive shaft & adaptor is on its way

The new unit is the one on the left, the OME unit coming out is the one on the right... the driveshaft itself is fine, its the damn CV joint that keeps braking (due to the increased angle caused by the Rancho lift)

This ^^ is the adaptor that's required to run the 1310 Tap and Hack driveshaft made for certain Jeeps (30'' long pictured on the left).
Next major steps:
Major changes:
- Decided to keep the CDN M101
- Moved the RTT over to the trailer
- Got rid of the bed cage
- Removed the huge tool supply & heavy tool box
- Removed Roof Rack
- Removed 40" light bar
I have a few beef-up parts on the way to help reduce the number of trail repairs and the need to keep so many spares on hand:
Upgraded drive shaft & adaptor is on its way
The new unit is the one on the left, the OME unit coming out is the one on the right... the driveshaft itself is fine, its the damn CV joint that keeps braking (due to the increased angle caused by the Rancho lift)
This ^^ is the adaptor that's required to run the 1310 Tap and Hack driveshaft made for certain Jeeps (30'' long pictured on the left).
Next major steps:
- Get the trailer setup to our liking
- I will also be working with RCV to get a better CV shaft & boot installed on the OEM half shafts (that's proving to be another weak area)
- Currently working with a fabricator that will adapt his awesome skid plates to work with the rancho lift
- And eventually I will get these SOA parts burned into the frame and axle for additional articulation!
Expedition.Report
Explorer
Got the new drive shaft in and so far it has been working flawlessly!

I also figured I better get my dogs under control while in thw truck now that we have two of them (when there was just the one she had a cage in the back seat...just like the gf.... did that just get weird)
Do I went to the hardware store and cruised around looking for what might work....
I think I have a winner but I am going to test it out for a bit to confirm its not going to bug the ******** out of me before I paint it black and install it more permanently...
On the plus side I can also use it for molle packs for some extra organization
Pic's:


Now the Orca doubles as a puppy pound!
Once I decide to keep it I will pant it black and add a removable flat surface for the dogs rather then just the seat backs... buy for now this will be good enough to test with
Expedition.Report
Explorer
New update, new tent!

Sent from my SM-G935W8 using Tapatalk

Sent from my SM-G935W8 using Tapatalk
")
Expedition.Report
Explorer
So I have a couple of interesting project for the Hummer on the go at the moment, and I am certainly pushing my skills and the boundary of what I know how do to... but its great and I keep learning things all the time!
A little about the up coming updates:
Suspension- after sourcing replacement bushings from Russia the rear end of the suspension will have be 100% polyurethane and the front will be converted to be 80% polyurethane, which I am told will last longer and change the way the truck feels (some say some extra road noise and feel is a byproduct, but so far it has not bothered me). Also I am going to remount the external shock reservoir, this is mostly for ascetics, but I have been wanting to do this for a long while now
Roof Rack -I am currently waiting in line for the water jet to cut out the side rails of the roof rack that I designed on the computer, it will have lights incorporated into it and will keep an ultra low profile while still allowing me to run a host of the FrontRunner rack accessories... which I plan to do
Bed rack - Once the roof rack above is finished and tests well then I will be doing something similar with a bed rack, the best part is that I have come up with a way to quickly move a RTT from the bed rack to the roof rack with only minor adjustment (and of course the physical act of moving the tent!). The end goal is to be able to move the tent from over the bed to over the cab at a moments notice while also freeing up the space directly above the truck bed to not limit the height of cargo to that can be loaded up.
Switch panel - I have been working on and customizing a 6 switch "touch screen" and control box for accessories, right now the circuits are limited to 10A per line, so basically LED lights, but I hope to work in a system that will allow me to use this for the ARB OBA setup. I put touch screen in brackets since it is super simple and is just six buttons and there is no LCD image or anything displayed. When the ignition is on and the buttons are on standby then they have a white background that light up the button, then when you touch them it turns on the accessory and backlights the button blue....and you can pick a stick on button cover to customize the switch labels.
There is plenty more to come but I have enough work ahead of me and I don't need to pile on a huge list!
Expedition.Report
Explorer
Here is a teaser of the switch panel, still waiting for new labels but put these on to help get the effect across.... the top left button is "on" the rest are all on stand by

Sent from my SM-G935W8 using Tapatalk

Sent from my SM-G935W8 using Tapatalk
Expedition.Report
Explorer
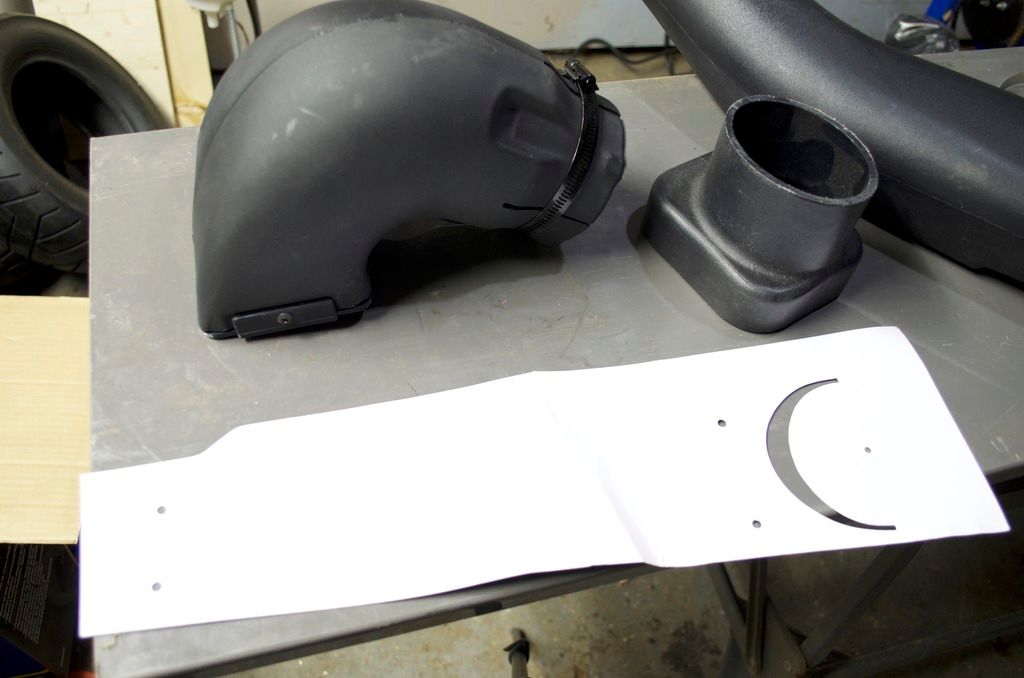
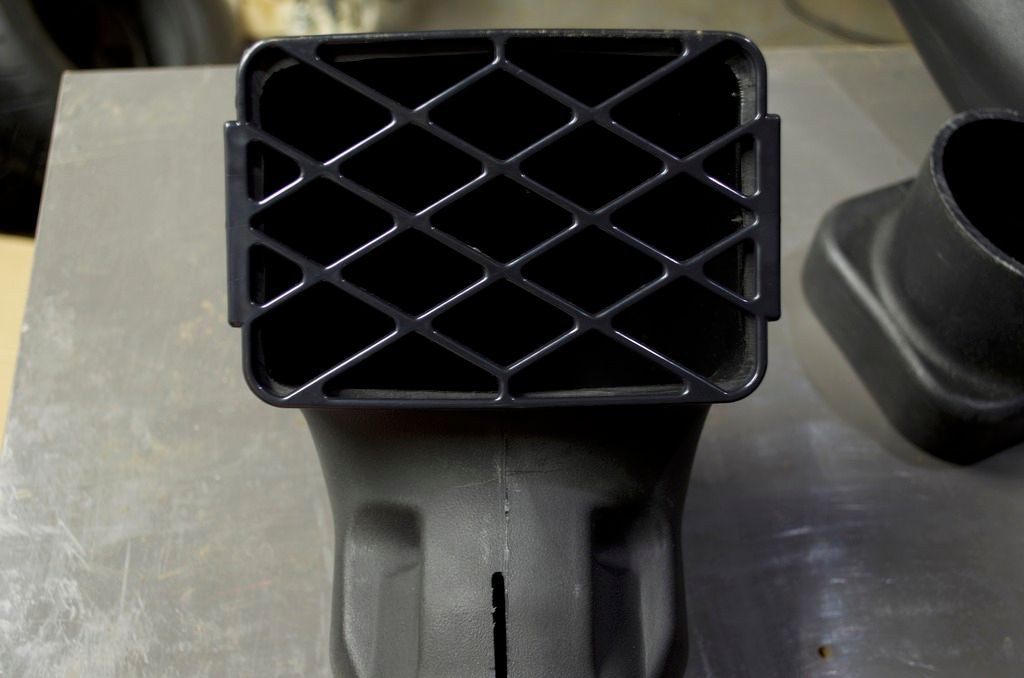
So here is the new snorkel that is waiting to go on.
Its from China, but the quality seems to be top notch so far! Stainless steel hardware and the plastic does not have any bubbles or markings other then at the seam, which I 100% from any product manufactured this way.
Here are some photo's prior to installation to give more detail
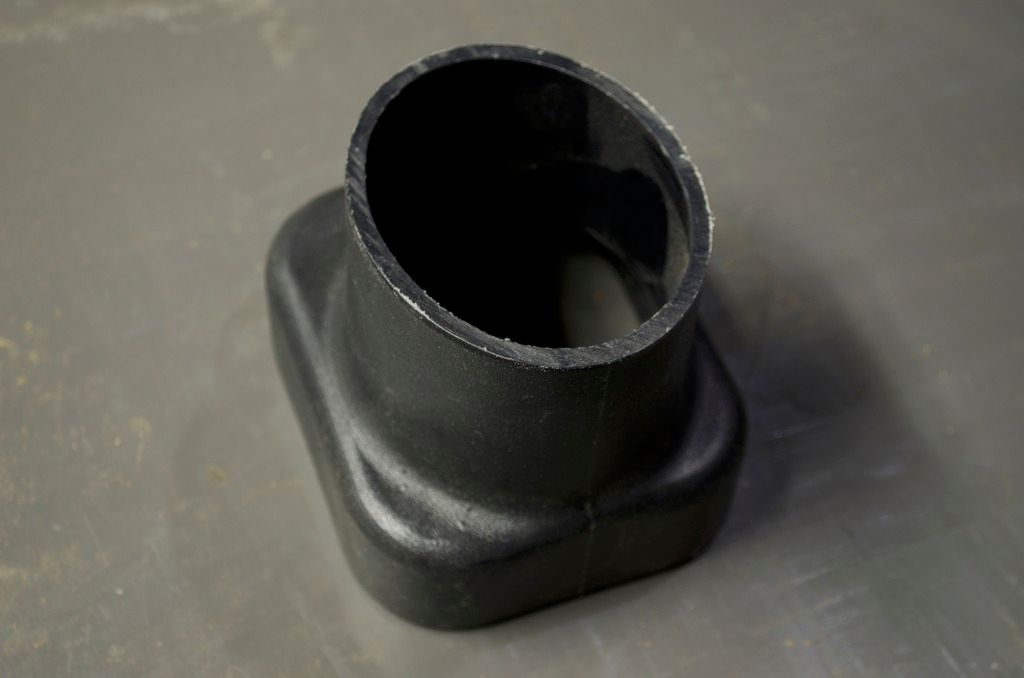
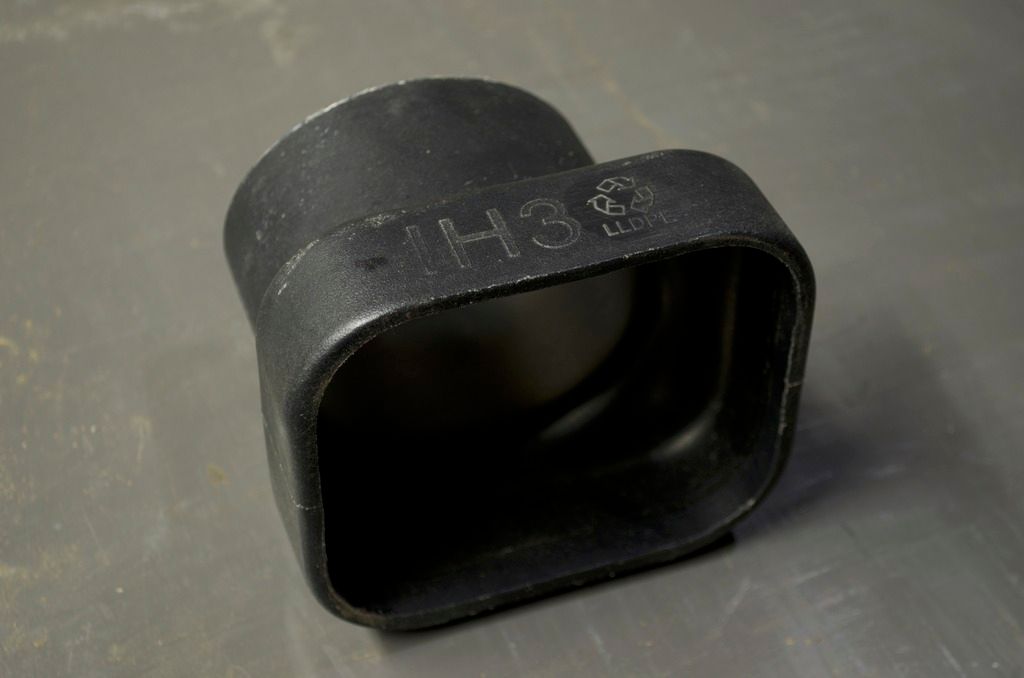

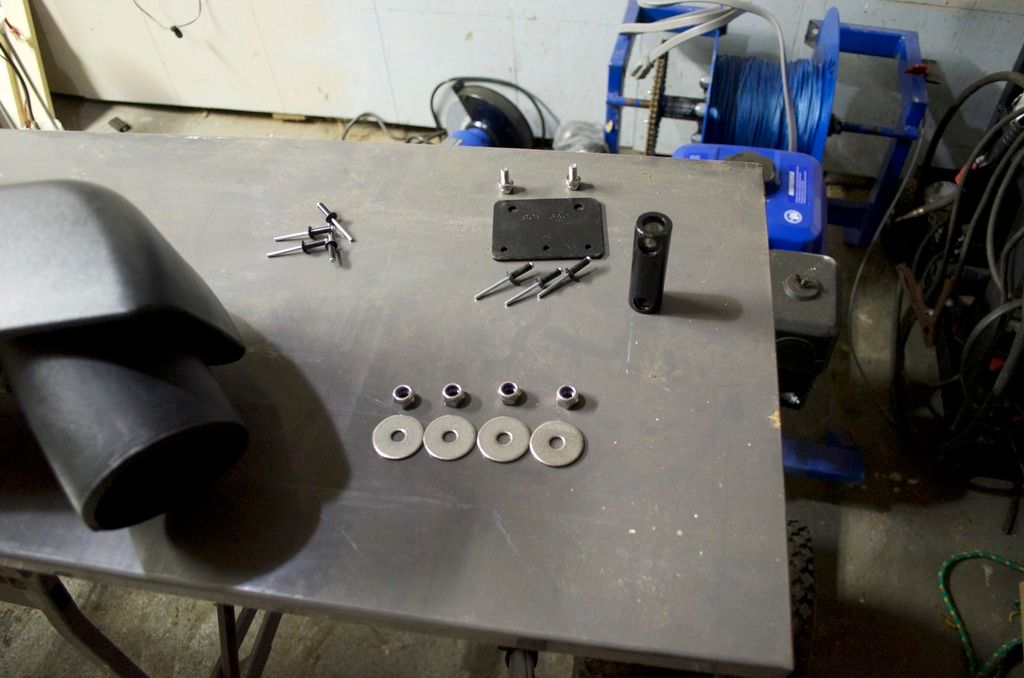
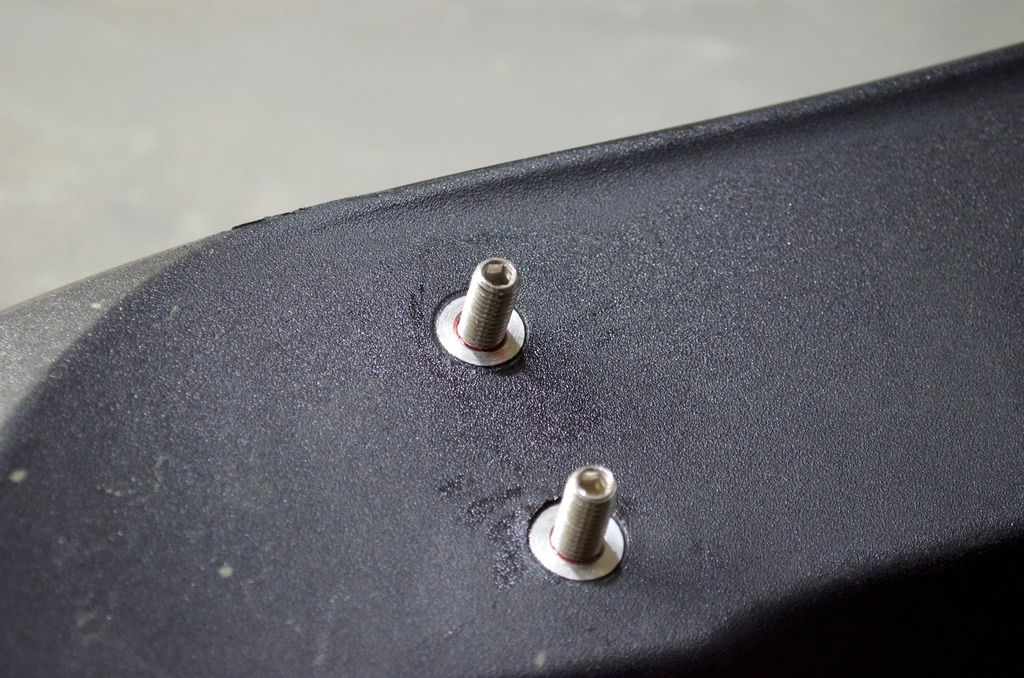
Its from China, but the quality seems to be top notch so far! Stainless steel hardware and the plastic does not have any bubbles or markings other then at the seam, which I 100% from any product manufactured this way.
Here are some photo's prior to installation to give more detail


Expedition.Report
Explorer
Here is the finished product...
I am very happy with the result, but man it is nerve wracking drilling a 90mm hole in a perfectly good fender but it got easier with each hole drilled!

Sent from my SM-G935W8 using Tapatalk
I am very happy with the result, but man it is nerve wracking drilling a 90mm hole in a perfectly good fender but it got easier with each hole drilled!

Sent from my SM-G935W8 using Tapatalk
Expedition.Report
Explorer
From the weekend


Sent from my SM-G935W8 using Tapatalk


Sent from my SM-G935W8 using Tapatalk