Sewing Thread....A discussion on making your own adventure textile gear.

BritKLR

Kapitis Indagatoris
Nice concealed armor idea. These days you almost need hard armor.

Thanks! We still manufacture those holsters on a client by client, weapon system by weapon system basis. We no longer do the soft armor jacket concealment systems due to the popularity and weight (clutter) of the plate carrier LBV systems that have flooded the market. We do still modify off the shelf systems for certain clients and those are bouncing around dark corners of the world.
 

BritKLR

Kapitis Indagatoris
A question came up on the Nate's "Webbing" thread about sourcing the correct texture webbing for a project. Here's a couple of comments that may apply to this sewing thread-

Nate -

I'm looking forward to this answer as well! Seriously, it's been my experience that no two manufacturers classify webbing beyond widths, lengths, tubular, nylon, poly, etc.....the same. They all seem to describe light weight, mid weight, heavy weight, soft, stiff, hard, course, smooth, 3 or 4 panel slightly differently. Even when they state it's Mil-spec it may not have the same characteristics of another manufacturers mil-spec webbing. In the end, I've always had to get samples or visit the distributor to determine what was going to work with the hardware for a project.

Good luck and looking forward to others experiences!

I forgot to mention, when talking with distributors and retailers ask for the manufacturers samples catalog. They are usually free. They will have every type and piece of webbing they produce glued into a folder with product descriptions, widths, lengths and colors. I have a small library of these catalogs for textiles, webbing, metal and nylon hardware, thread, tape, etc...good luck!

 
Last edited:

GregSplett

Adventurer
I have one of the old Singer thread injectors that Juki cloned out in the garage along with a couple of sewing machines for lighter projects.I sewed two home depot paint sticks together with the old Singer. I make anything I need custom or that I can save money on.
 

dwh

Tail-End Charlie
In the 70's as a teenaged aviation buff, I landed a summer job at Bill Bennett's Deta Wing Kites and Gliders in Van Nuys, CA.

Spent the summer up in a sailmaker's loft with polished wood floors that served as the worktables for the sewing stations inset into the floor. Don't remember the make of the machines. Double-needle rigs.

I've done tons of repairs over the years on whatever machine was handy. Or by hand if I had to.

The only thing I ever made from scratch, I was quite proud of. I had built a .50 cal. Hawkins black powder rifle from a kit, and it needed a case. I used the canvas from an old ripped WWII cot, along with some brass buckles and straps from other old gear at the surplus store, and fabbed up a "saddle style" (flap-end, no zipper) rifle case

I was chuffed at getting everything done in the right order, but my crowning achievement was figuring out that I could sew that last long seam with...get this...the case inside-out! Then turn it rightside-out and the seam would be hidden! Woot!

Looked a bit like this, but old faded green canvas. Looked like it was 100 years old...


SCAB902-1__00965.1515709262.png
 

BritKLR

Kapitis Indagatoris
Burnt ends-

Not the tasty BBQ kind.......a lot of time when people finish an exposed seam/stitch/bartack, etc, they will trim the thread as close to the finished stitch as possible. This has worked for centuries. But, if you take Bic lighter and simply burn/melt that slightly exposed thread end it cleans up the small loose end and fuses the melting nylon/poly thread into the other seam or material and "locks" it in so you don't get a loose/dangling thread a couple of uses down the road. Good luck!
 

GregSplett

Adventurer
A couple of years ago I tried my hand at sewing a bike packing tarp. I'm not the world's greatest sartor but I get along and inheriting a Pfaff from my family makes normal stuff almost look passable.

However I found working with Ultrasil exceptionally difficult. Are there any tricks to working with such light and mainly slick fabric? I just had trouble even pining the heck out of seams, particularly long ones, keeping things straight and square.

Happy I did it and would again, but wish it ended up looking a little less DIY-esque.

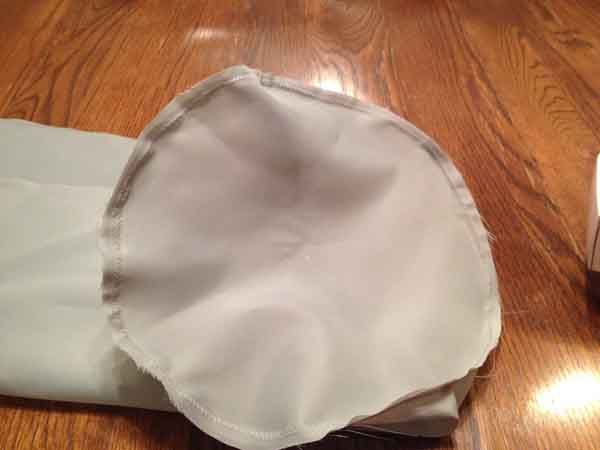
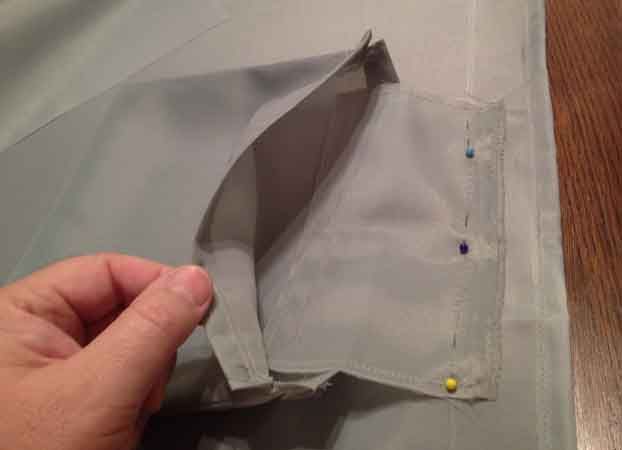
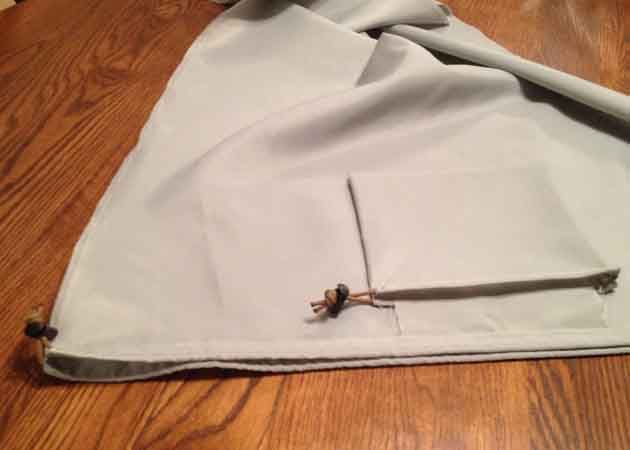
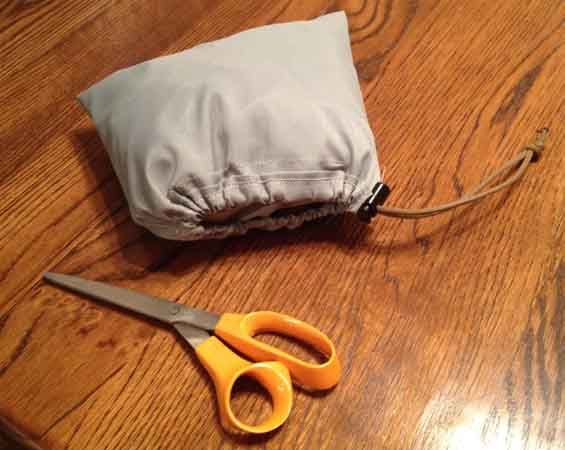
View attachment 508486
Looks good from my house!Looks like you cat cut the ridge? I like it. I made a Sil-nylon tarp once and only once. I saved maybe thirty dollars when it was all said and done. Not worth the struggle of learning how to deal with the super slippery xtra thin material to me. Mine is 12'x 12' with closed ends for winter hammock camping.I do bags and smaller stuff all day but the long hems and seams of that tarp left me stumbling around in circles talking to my self. If you ever get the itch again and you probably know this but the DIY community over on the Hammock forum are the best.
 

rayra

Expedition Leader
Has anyone sown a winch cover?

Should be pretty straightforward. Gauge the overall shape of the winch / control box, rough cut some patterning material and pin / staple the edges together until you get an overall snug fit, trace some finalized seam lines on it, pull it apart and make your final fabric cuts from teh pattern and add some lap-over at the bottom edges to make a drawstring cover.

I've done a few telescope cover and they've come out pretty well and pretty easy to do. You just have to figure out where you can tuck fabric together and where you need to add an additional panel to flesh out the shape / volume

I'll see if I can find some pics, they used to be on photobucket, it was a cover for an 8" dobsonian scope on its base with attachments and I built a stuff-sack right into it so tucks away right into itself.

cover05_zps73352b13.jpg
cover04_zps5f41f025.jpg
cover08_zpscf69c0f6.jpg
cover09_zps9823c3dc.jpg
cover10_zps124920dd.jpg
telescope on pedestal prototype.jpg
 
Last edited:

BritKLR

Kapitis Indagatoris
I was putting together a custom Tarp this morning and got to thinking about the comments of "stapling/pinning" a long seam in order to hold the seam together while sewing and realized that I've been sewing so long I didn't think about mentioning another technique.

I simply use the needle and walking foot to hold the two peices together, sew about 6-8 inches, keep the needle down and the walking foot down, align the two ( or more) pieces, pull tight towards yourself against the needle/walking foot and sew another 6-8 inches, repeat. (The Tarp is 8'x10' with six webbed handles)

When patterning you would have chalked/marked the placement of straps, cords, etc. so no need to pin/staple in since once you reach the chalked/marked location you lay in the piece that gets sewn in. A lot of this has to do with speeding up manufacturing of large quantities, but it also works for single projects. Good luck!


509809P
 

rayra

Expedition Leader
As long as the fabric / pawl feed correctly. I was pre-ironing creases to help and discovered I needed to pin as much to keep the panels matched in length as in left-right alignment. First very long seam I tried to do with the lightweight ripstop wound up with the bottom layer scrunched up a bit and the top layer wound up 6-7" longer. Had to pull that stitch and try again.
 
As long as the fabric / pawl feed correctly. I was pre-ironing creases to help and discovered I needed to pin as much to keep the panels matched in length as in left-right alignment. First very long seam I tried to do with the lightweight ripstop wound up with the bottom layer scrunched up a bit and the top layer wound up 6-7" longer. Had to pull that stitch and try again.

That's an issue I always have with thin materials, and occasionally with heavy materials. I tend to use the seam tape frequently, because I need all the help I can get!
 

VerMonsterRV

Gotta Be Nuts
We have a Sailrite LZ1 that we bought years ago to do canvas work on the sailboat. Just finished a replacement dodger for the cockpit. Not anywhere near perfect but was way cheaper than having one made. One nice thing about Sailrite are all the videos they have for free about various sewing projects (if you are new to sewing you should check them out, mainly revolves around sailing but a lot of the techniques are the same). They also have some nice attachments for the machine that help make things a bit easier for the novice. When we get to the point of interior cushions for the RV we are building I am planning on giving those a try. Also will make a motorcycle cover for the Kawasaki Sherpa that will live outside on the rear rack.
 

GregSplett

Adventurer
As long as the fabric / pawl feed correctly. I was pre-ironing creases to help and discovered I needed to pin as much to keep the panels matched in length as in left-right alignment. First very long seam I tried to do with the lightweight ripstop wound up with the bottom layer scrunched up a bit and the top layer wound up 6-7" longer. Had to pull that stitch and try again.
Exactly! Pulling stitches and poking needle holes into your waterproof tarp is counter-intuitive, to say the least. I ended up with a combination of painters tape and my wife's two hands to get the seams of the tarp to agree at the end. The hems I did by my self.I have wondered if starting on both ends and meeting in the middle would be better.LOL.
 

BritKLR

Kapitis Indagatoris
We have a Sailrite LZ1 that we bought years ago to do canvas work on the sailboat. Just finished a replacement dodger for the cockpit. Not anywhere near perfect but was way cheaper than having one made. One nice thing about Sailrite are all the videos they have for free about various sewing projects (if you are new to sewing you should check them out, mainly revolves around sailing but a lot of the techniques are the same). They also have some nice attachments for the machine that help make things a bit easier for the novice. When we get to the point of interior cushions for the RV we are building I am planning on giving those a try. Also will make a motorcycle cover for the Kawasaki Sherpa that will live outside on the rear rack.

This is an excellent example of what these types of forums/threads are about and the sharing of knowledge, information and tips! While I'm familiar with the Sailrite machines I had no clue about their tutorial sewing videos. If you haven't seen them, take a moment and look through them.....some great stuff!

Thanks for the tip VerMonsterRV!
 
Last edited:

Forum statistics

Threads
185,914
Messages
2,879,576
Members
225,497
Latest member
WonaWarrior
Top