barlowrs
Explorer
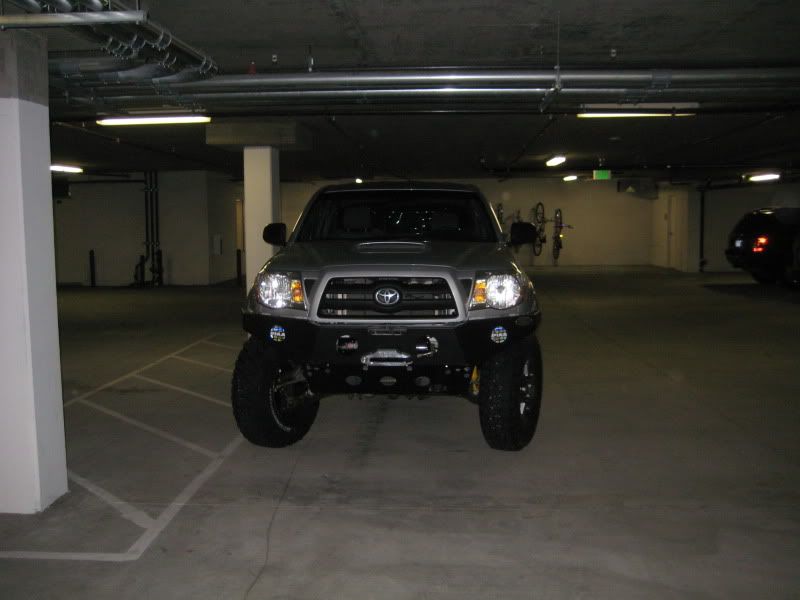
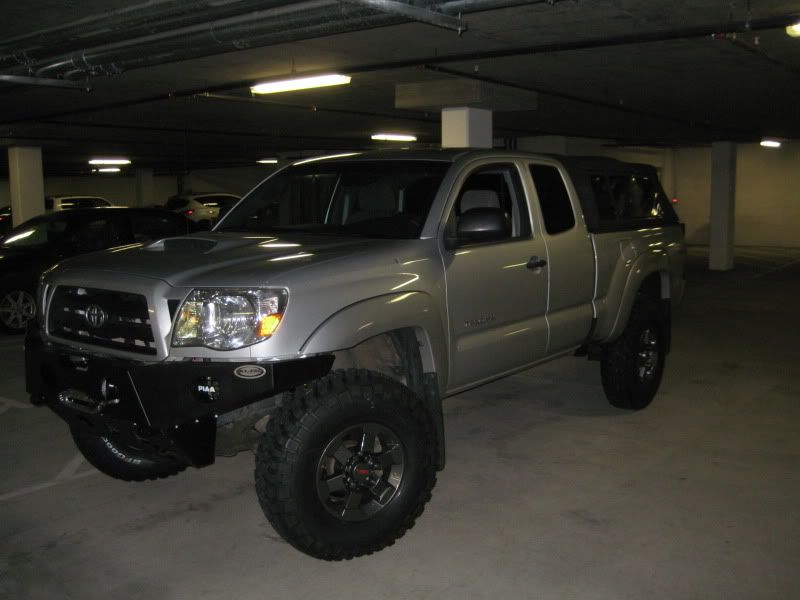
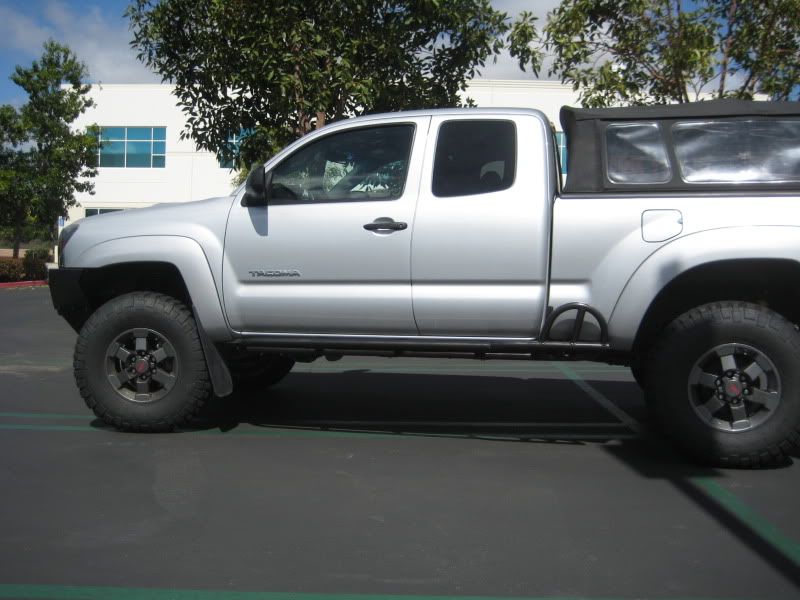
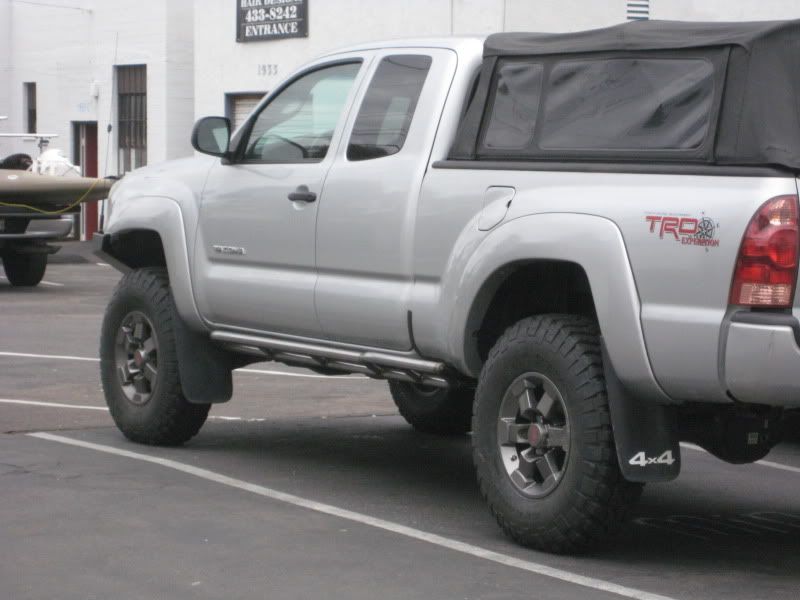
After much research, the lift I chose was a OME lift. All in all, the parts I used were as follows:
Thanks to Wil from Sierra Expedition:victory::
OME front coils (886 due to winch and bumper)
OME 90000 Nitrocharger Shocks
OME 182 Rear Shocks
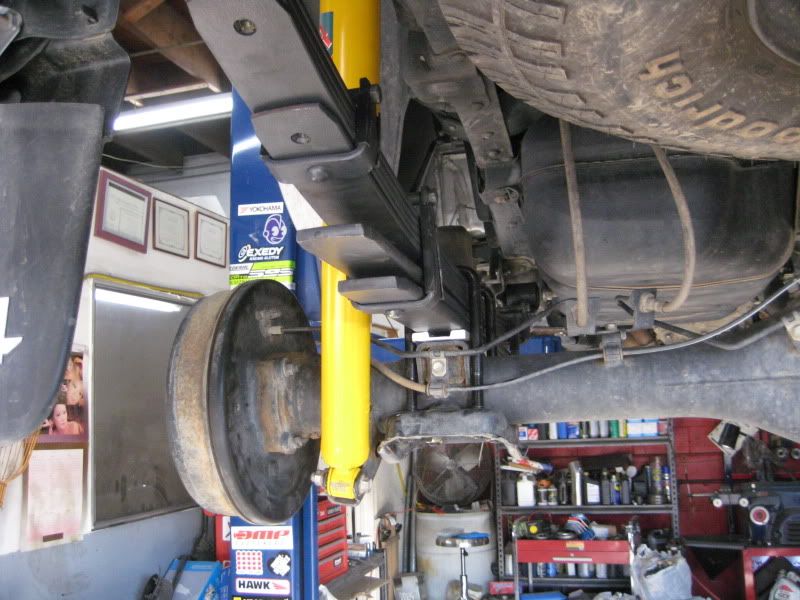
OME Dakar Spring set (CSO47R no extra leaf set)
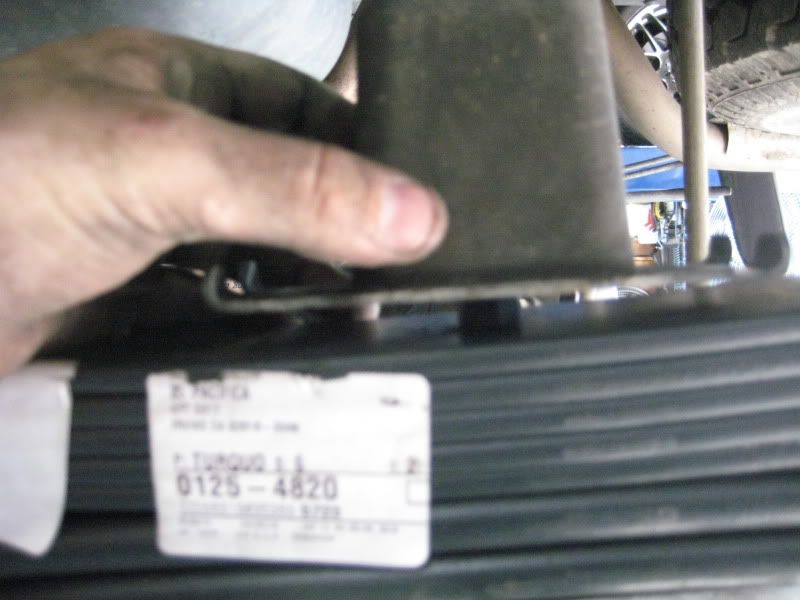
OME Driveshaft Packer Kit (FK29)
New U-bolts (supplied by Sierra Expedition)
Toyota Bushings
Toyotec 3 degree axel shims
10mm lift enhancer kit from wheelers (http://www.wheelersoffroad.com/05upometaco.htm)
I opted to not go for a diff drop as I have heard they are pretty useless on the 05+ Tacomas.
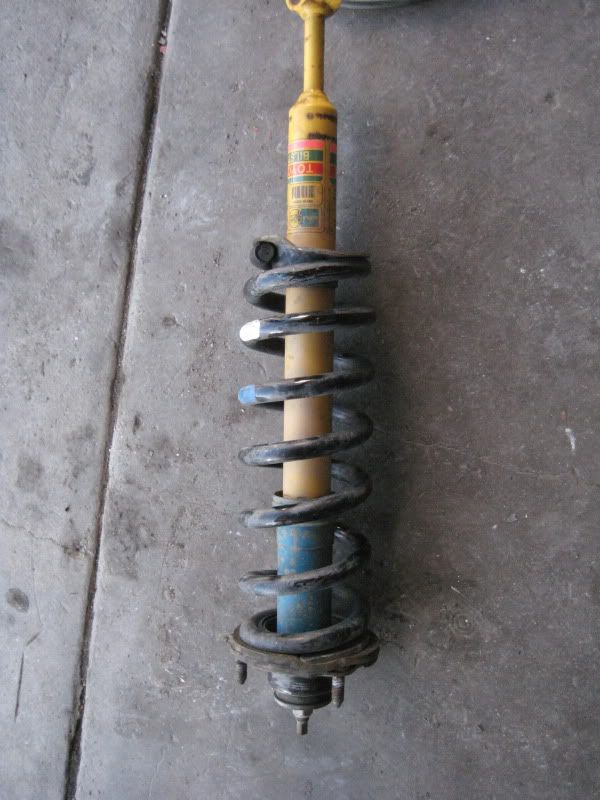
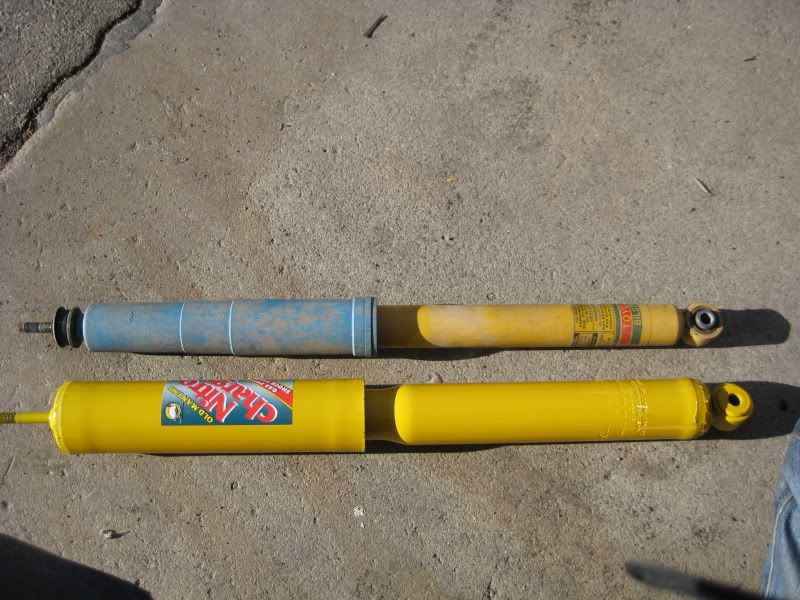
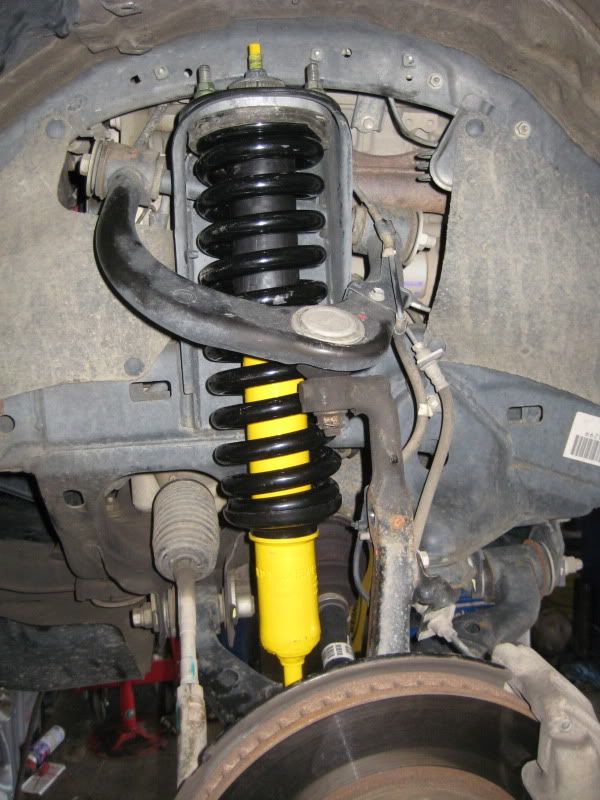
As you can see below, the OME components are CONSIDERABLY larger and more robust than the stock bilsteins.

Lessons Learned/Advice from Install
I will not get into the details of how to install the lift, its is pretty strait forward, a few bolts come out, new parts go in, and the bolts go back in. I think instead, I will discuss some unforeseen issues/lessons learned for people that are planning on doing the lift themselves. Hopefully you find this useful:
General:
First thing is first, there is no way you are going to be able to do this alone, this is at least a 2 person job. My friend has an auto shop so I was able to use a FULL lift, and it still took two people. I would HATE to have tried this with a small jack and some jack stands! So, besides the obvious tools, you will need a friend and of course a pack of your favorite beverage:
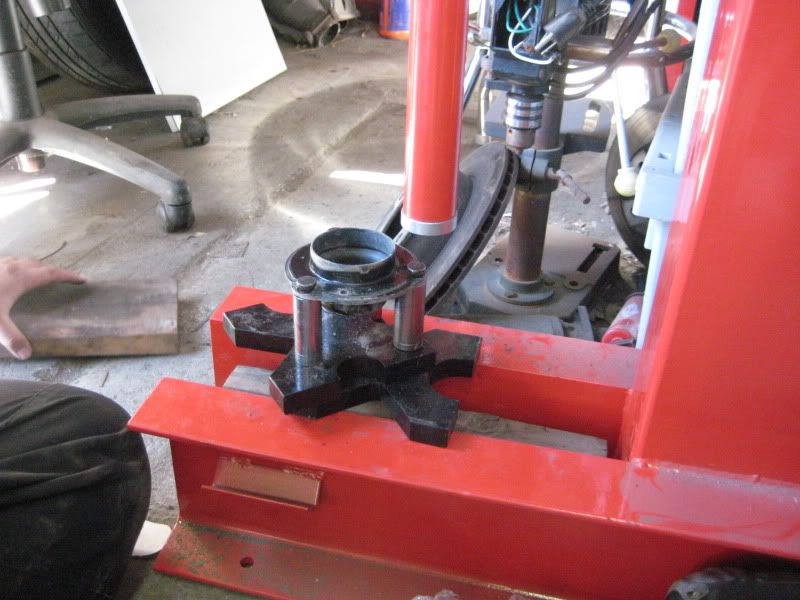
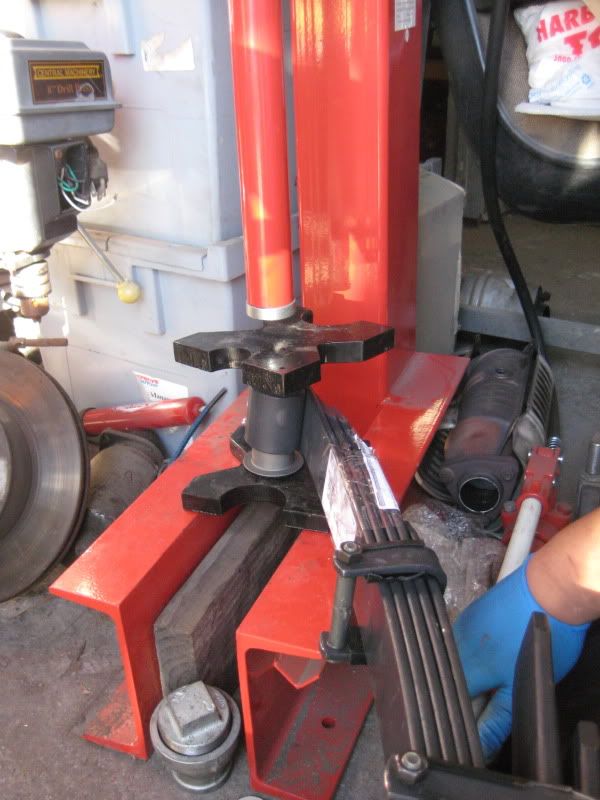
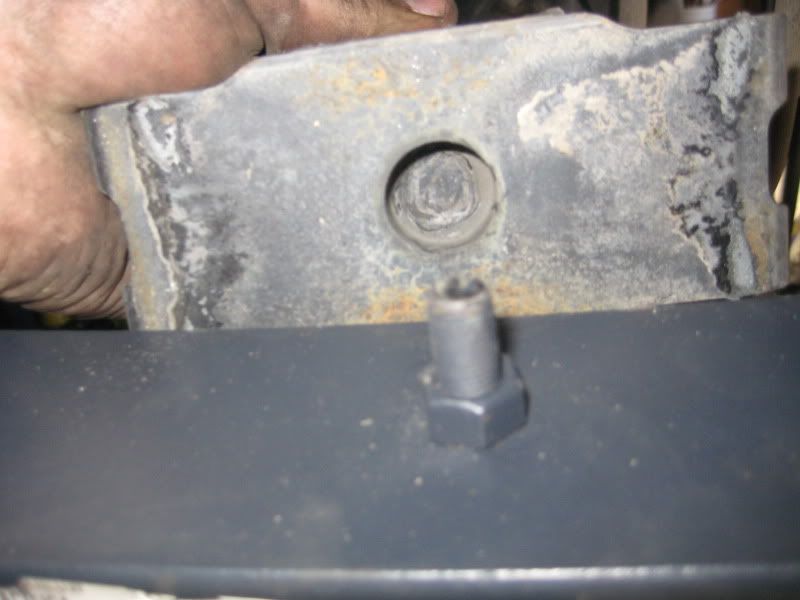
As far as the install goes, I HIGHLY recommend you get access to a press, you will need it for the bushings for sure. If you are like me and you purchased the 10mm lift enhancer, you will also use it for that, as you must press the stock bolts out of the spline and install longer ones:
Front:
As far as actually installing the front, the sway bar must be removed (I left mine off…review of this further down) and I also found it easier to remove the tie rod as the OME shocks are considerable longer than the OEM ones and they are hard to jockey into position.

Once they are in position and you get the top loosely bolted into place, you must use a LOT of brute force (2 people with pry bars in my case) to force the lower A-arm down enough to seat the shock.
Thanks to Wil from Sierra Expedition:victory::
OME front coils (886 due to winch and bumper)
OME 90000 Nitrocharger Shocks
OME 182 Rear Shocks
OME Dakar Spring set (CSO47R no extra leaf set)
OME Driveshaft Packer Kit (FK29)
New U-bolts (supplied by Sierra Expedition)
Toyota Bushings
Toyotec 3 degree axel shims
10mm lift enhancer kit from wheelers (http://www.wheelersoffroad.com/05upometaco.htm)
I opted to not go for a diff drop as I have heard they are pretty useless on the 05+ Tacomas.
As you can see below, the OME components are CONSIDERABLY larger and more robust than the stock bilsteins.
Lessons Learned/Advice from Install
I will not get into the details of how to install the lift, its is pretty strait forward, a few bolts come out, new parts go in, and the bolts go back in. I think instead, I will discuss some unforeseen issues/lessons learned for people that are planning on doing the lift themselves. Hopefully you find this useful:
General:
First thing is first, there is no way you are going to be able to do this alone, this is at least a 2 person job. My friend has an auto shop so I was able to use a FULL lift, and it still took two people. I would HATE to have tried this with a small jack and some jack stands! So, besides the obvious tools, you will need a friend and of course a pack of your favorite beverage:
As far as the install goes, I HIGHLY recommend you get access to a press, you will need it for the bushings for sure. If you are like me and you purchased the 10mm lift enhancer, you will also use it for that, as you must press the stock bolts out of the spline and install longer ones:
Front:
As far as actually installing the front, the sway bar must be removed (I left mine off…review of this further down) and I also found it easier to remove the tie rod as the OME shocks are considerable longer than the OEM ones and they are hard to jockey into position.
Once they are in position and you get the top loosely bolted into place, you must use a LOT of brute force (2 people with pry bars in my case) to force the lower A-arm down enough to seat the shock.
") ?
?