Build - Fiberglass & Foam Truck Camper

underkill

Active member
Yeah I hear you. Are you going to put any kind of framing in or out side? or is it totally just the glass and foam. I see a lot of guys using alloy angle on the corners but if you don't need it it looks much nicer with the smooth finish. Cheers Leon
We were watching one build thread with an aluminum framework and i believe Nidacore panels. We considered that pretty strongly since I can weld aluminum, but decided it would take so much time and be really hard to keep it square. The fiberglass shell seemed easier even though we didn't have any large fiberglass experience before. In hindsight we were right. The camper shell went together very quickly, it was the interior fit out that took the most time by far!
 

underkill

Active member
Our goal for today was to completely finish the main part of the camper shell. To start, I cut and glued in the very front part of the cabover.
camper621-05986.jpg

We had debated for ages now about what to do at the very front of the camper. Essentially we wanted to do a "nose cone" to give it a super cool molded look like the high end campers have but we were still arguing about how to do it and what it should look like etc. In the interest of actually finishing this thing we voted to just make the front flat and graft something on later once we made our minds up. ;)

The cabover part is like 4' long, but this is what it looks like. Eventually there will be a bed slider.
camper621-05992.jpg

This thing also needs some windows! I bought one larger one meant for DIY teardrop trailers (same company as the door I think.. from Ebay) and the other side is where our cooler is going to go, so I found the smallest one I could. This ended up being a small boat hatch (for waterproofing) from Amazon.
camper621-05989.jpg

camper621-05991.jpg

camper621-05995.jpg

camper621-05997.jpg

camper621-05999.jpg

I cut out of work early today to just come home and work on this thing. After I finished the windows I started cutting pieces for the perimeter seal for the pop up. The type and method of pop up was debated probably the most out of this whole build. We started with a hinge at the front, and then moved to a kind of offset angled pop up like the VW vans have... The first one I didn't know if we could get it to seal and fit with the nose cone we were planning and the second we couldn't find hinges that we liked that weren't expensive and meant for VW bus restorations. So we're going to do a straight vertical pop up. Might as well make the engineering easy AND get a ton of interior space, right?
 

underkill

Active member
The sealing surfaces for the gasket took way longer than I thought it would by far. Tons of finicky little pieces and I'm getting very tired of stabbing myself with the toothpicks.
IMG_9591.jpg

IMG_9590.jpg

IMG_9593.jpg

IMG_9595-1.jpg

Now that gets to cure and then get sanded. Tomorrow the plan is to finish up all of the fiberglass. Eventually we're going to put a piece of angle around the perimeter to have something to bolt the canvas to and to help keep water out.
 

underkill

Active member
We still had a few finishing details to attend to before the final fiberglassing of the main shell. We needed to test fit all the windows and doors to make sure they were going to work and for once in my life I cut something to small instead of too large! The window had a small seal piece that I didn't notice, so we had to cut another 1/4" out of the window. Better than cutting it too big!
IMG_9598.jpg

There I am making sure this is definitely going to fit!
IMG_9601.jpg

We have a window! It should be really nice to be able to slide that open and still have a screen and everything.
IMG_9602.jpg

IMG_9603.jpg

IMG_9606.jpg

There's the other window. That one's not going to leak. It's pretty cheap feeling, so I wouldn't actually use it on a boat. Honestly, in hindsight I wouldn't have bothered. It's so small that it really serves no purpose.
IMG_9627.jpg

Still need to trim the loose ends off some of the corners.
IMG_9612.jpg

Remember the big laminated beam? It's time to trim that up... I thought about just leaving it, but it would look much nicer rounded off.. so we did it.
IMG_9614.jpg

IMG_9615.jpg

I didn't finish the beam. It's a total pain in the ass so I'll start back on it later.
 

underkill

Active member
Now we're ready to restart the fiberglass! We're beginning with the main joints and the inside part of the cabover.
IMG_9620.jpg

All done! The area around where the cabover meets the shell ended up with two layers, which is good.
IMG_9622.jpg

We also realized that the 1708 glass mat isn't going to work for the top gasket section because of the sharp bends that I can't really radius out. We changed over to multiple layers of 6oz weave and actually found that you can buy rolls of that stuff in 3" wide sections that were super easy to cut to length. Thanks again Amazon!
IMG_9623.jpg

IMG_9624.jpg

This picture shows how we numbered each section and sheet of glass so we could keep track of them.
IMG_9630.jpg

It looks like someone TP'd our camper, but it gets the job done!
IMG_9631.jpg

IMG_9632.jpg

We're going to have a lot of little ends to clean up.
IMG_9633.jpg

IMG_9635.jpg

We finished the outside edges, but couldn't get the inside edge to stick because gravity just kept pulling them off and it wasn't working. tomorrow we're just going to flip the camper upside down and eliminate that problem!
 

CoyoteThistle

Adventurer
Thanks for posting, I really like this build. All the little pieces of glass and the 3" tape brings back memories of our build. Can't wait to see how you got to a nice smooth finish. I see lots of sand paper use in the future ;)
 

Leonmac

New member
Good Morning mate.
You are motoring along well, Quick question, what thickness will the glass end up being? You talk 6oz for your glass weight we work in Grams so not sure how they relate. Making my molds I used 250 gram cloth and about 6 layers comes to about 4mm thick makes for a lot of work laying up but it has a lot of angles. When we layed up the Body itself we used 450gram cloth much quicker and 3 layers were enough came to about 3mm thick. What do you feel with the double skin and the foam will be a thick enough glass shell, even a 2mm skin both sides will be very strong. Love your work, Cheers Leon
 

rruff

Explorer
You talk 6oz for your glass weight we work in Grams so not sure how they relate.

I think he said he was using 1708 which is 17oz biax + 8oz matt, for 25oz/sq yd total. Would be ~780g/m^2, and a bit thick because of the matt. Spec is .044" or 1.12mm/layer.
 

underkill

Active member
Thanks for posting, I really like this build. All the little pieces of glass and the 3" tape brings back memories of our build. Can't wait to see how you got to a nice smooth finish. I see lots of sand paper use in the future ;)
Thanks! It looks smoother in pictures than it is up close. We reached the point of diminishing returns and went ahead and painted it. You're right about the sand paper... :eek:
 

underkill

Active member
Good Morning mate.
You are motoring along well, Quick question, what thickness will the glass end up being? You talk 6oz for your glass weight we work in Grams so not sure how they relate. Making my molds I used 250 gram cloth and about 6 layers comes to about 4mm thick makes for a lot of work laying up but it has a lot of angles. When we layed up the Body itself we used 450gram cloth much quicker and 3 layers were enough came to about 3mm thick. What do you feel with the double skin and the foam will be a thick enough glass shell, even a 2mm skin both sides will be very strong. Love your work, Cheers Leon

If you're asking about dry thickness, I think RRUFF answered that pretty well above. I have a cut out chunk floating around in the garage still so I could measure actual laid up thickness if you're interested in that. I only used a single layer of 1708 on each side of the foam. More layers of the 6oz at the top obvoiusly. maybe 3-4 layers depending? It's definitely super strong.
 

underkill

Active member
So today we wanted to get the beam between the cabover and the main shell finished. We flipped the camper over upside down in the yard. It's definitely starting to get a lot heavier now with all of the fiberglass, but it's mostly just obnoxiously large to manage. It takes both of us.

I tried to shape the beam the other day and after hitting it with power tools it looks like a used a chainsaw... completely terrible.
IMG_9638.jpg

IMG_9640.jpg

We ended up with a few gapped spots and lets just say this was challenging and painful to sand. I keep telling myself how nice it's going to look when it's done...
IMG_9641.jpg

The gap isn't working for me, so I decided to fill it with some resin and chopped up glass. No one sneeze!
IMG_9639.jpg

While waiting for that to cure, we went out and cut the rest of the pieces we'd need to finish the outside of the shell. It's a lot of fiberglass. I bought a brand new pair of heavy duty shears. I love them. Well worth the money!
IMG_9643.jpg

We had to get it off the ground somehow.
IMG_9645.jpg
 

underkill

Active member
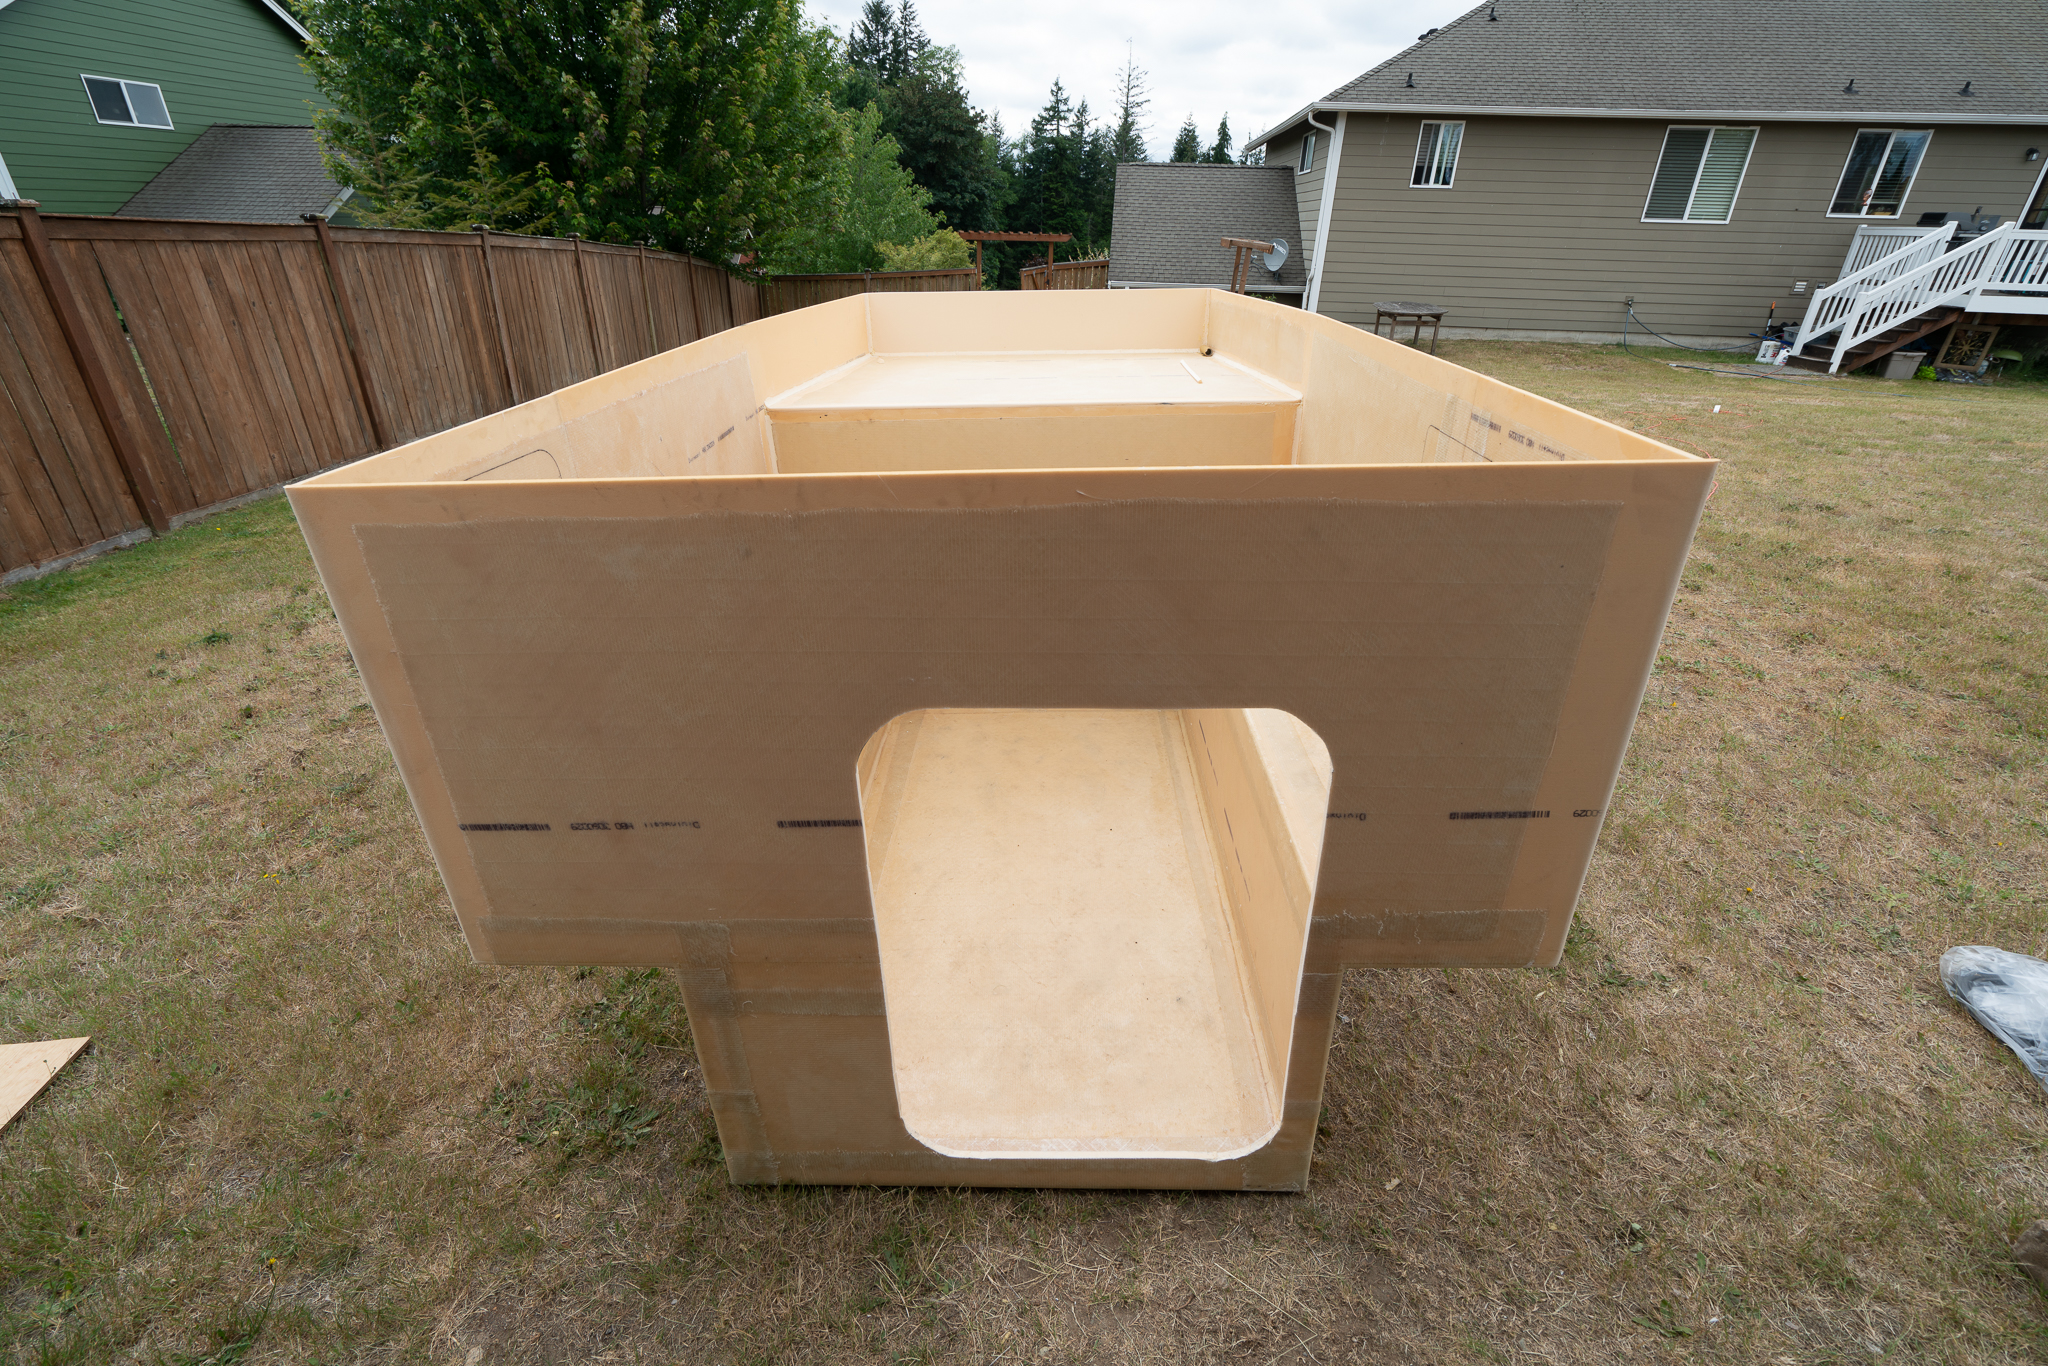
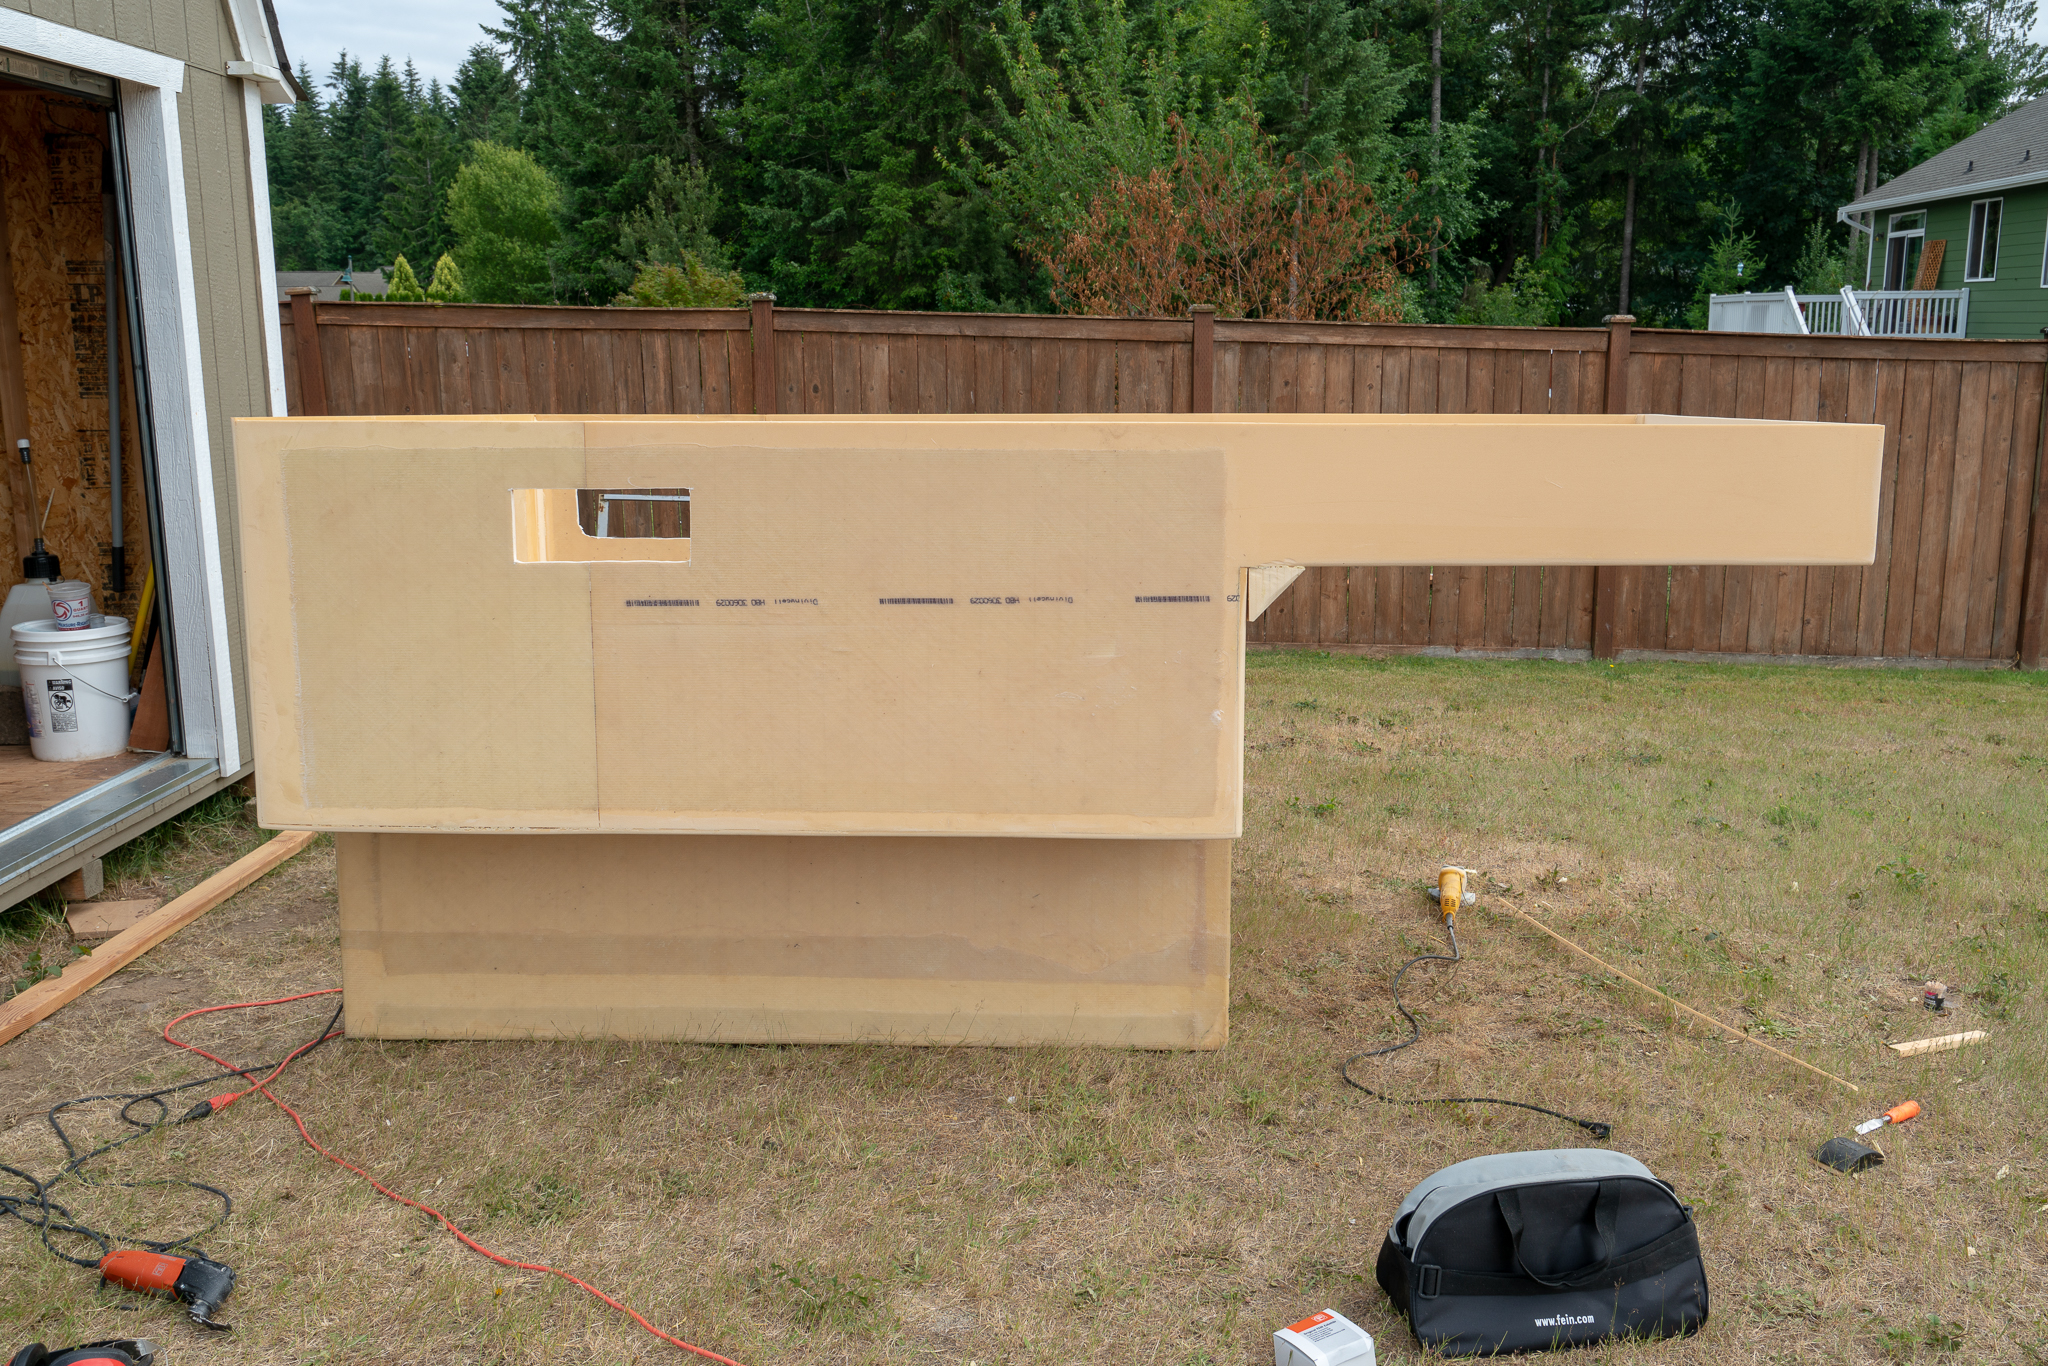
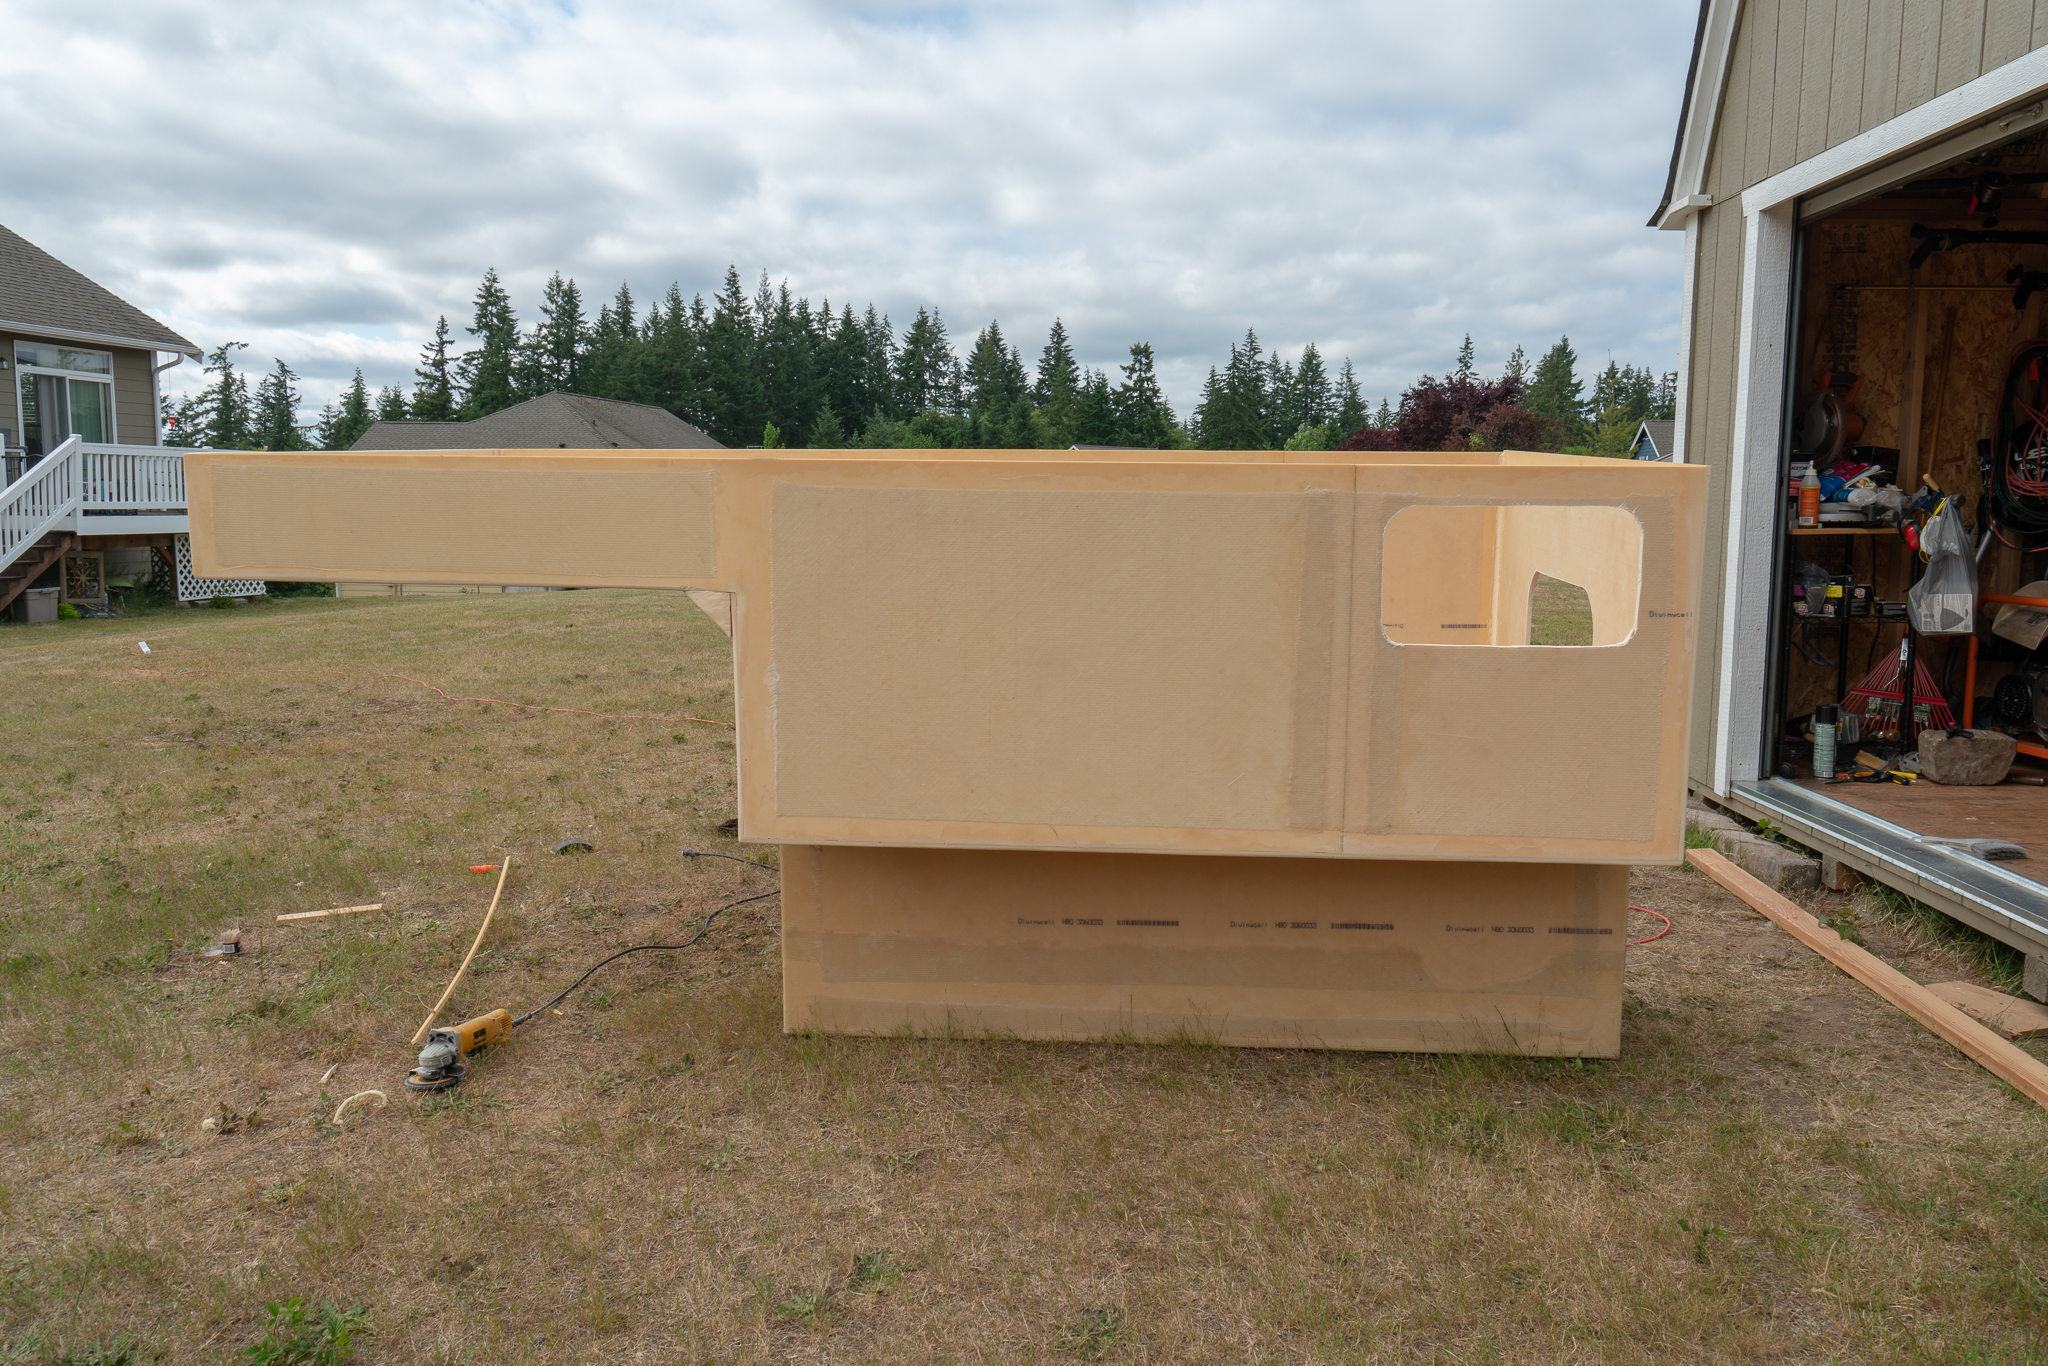
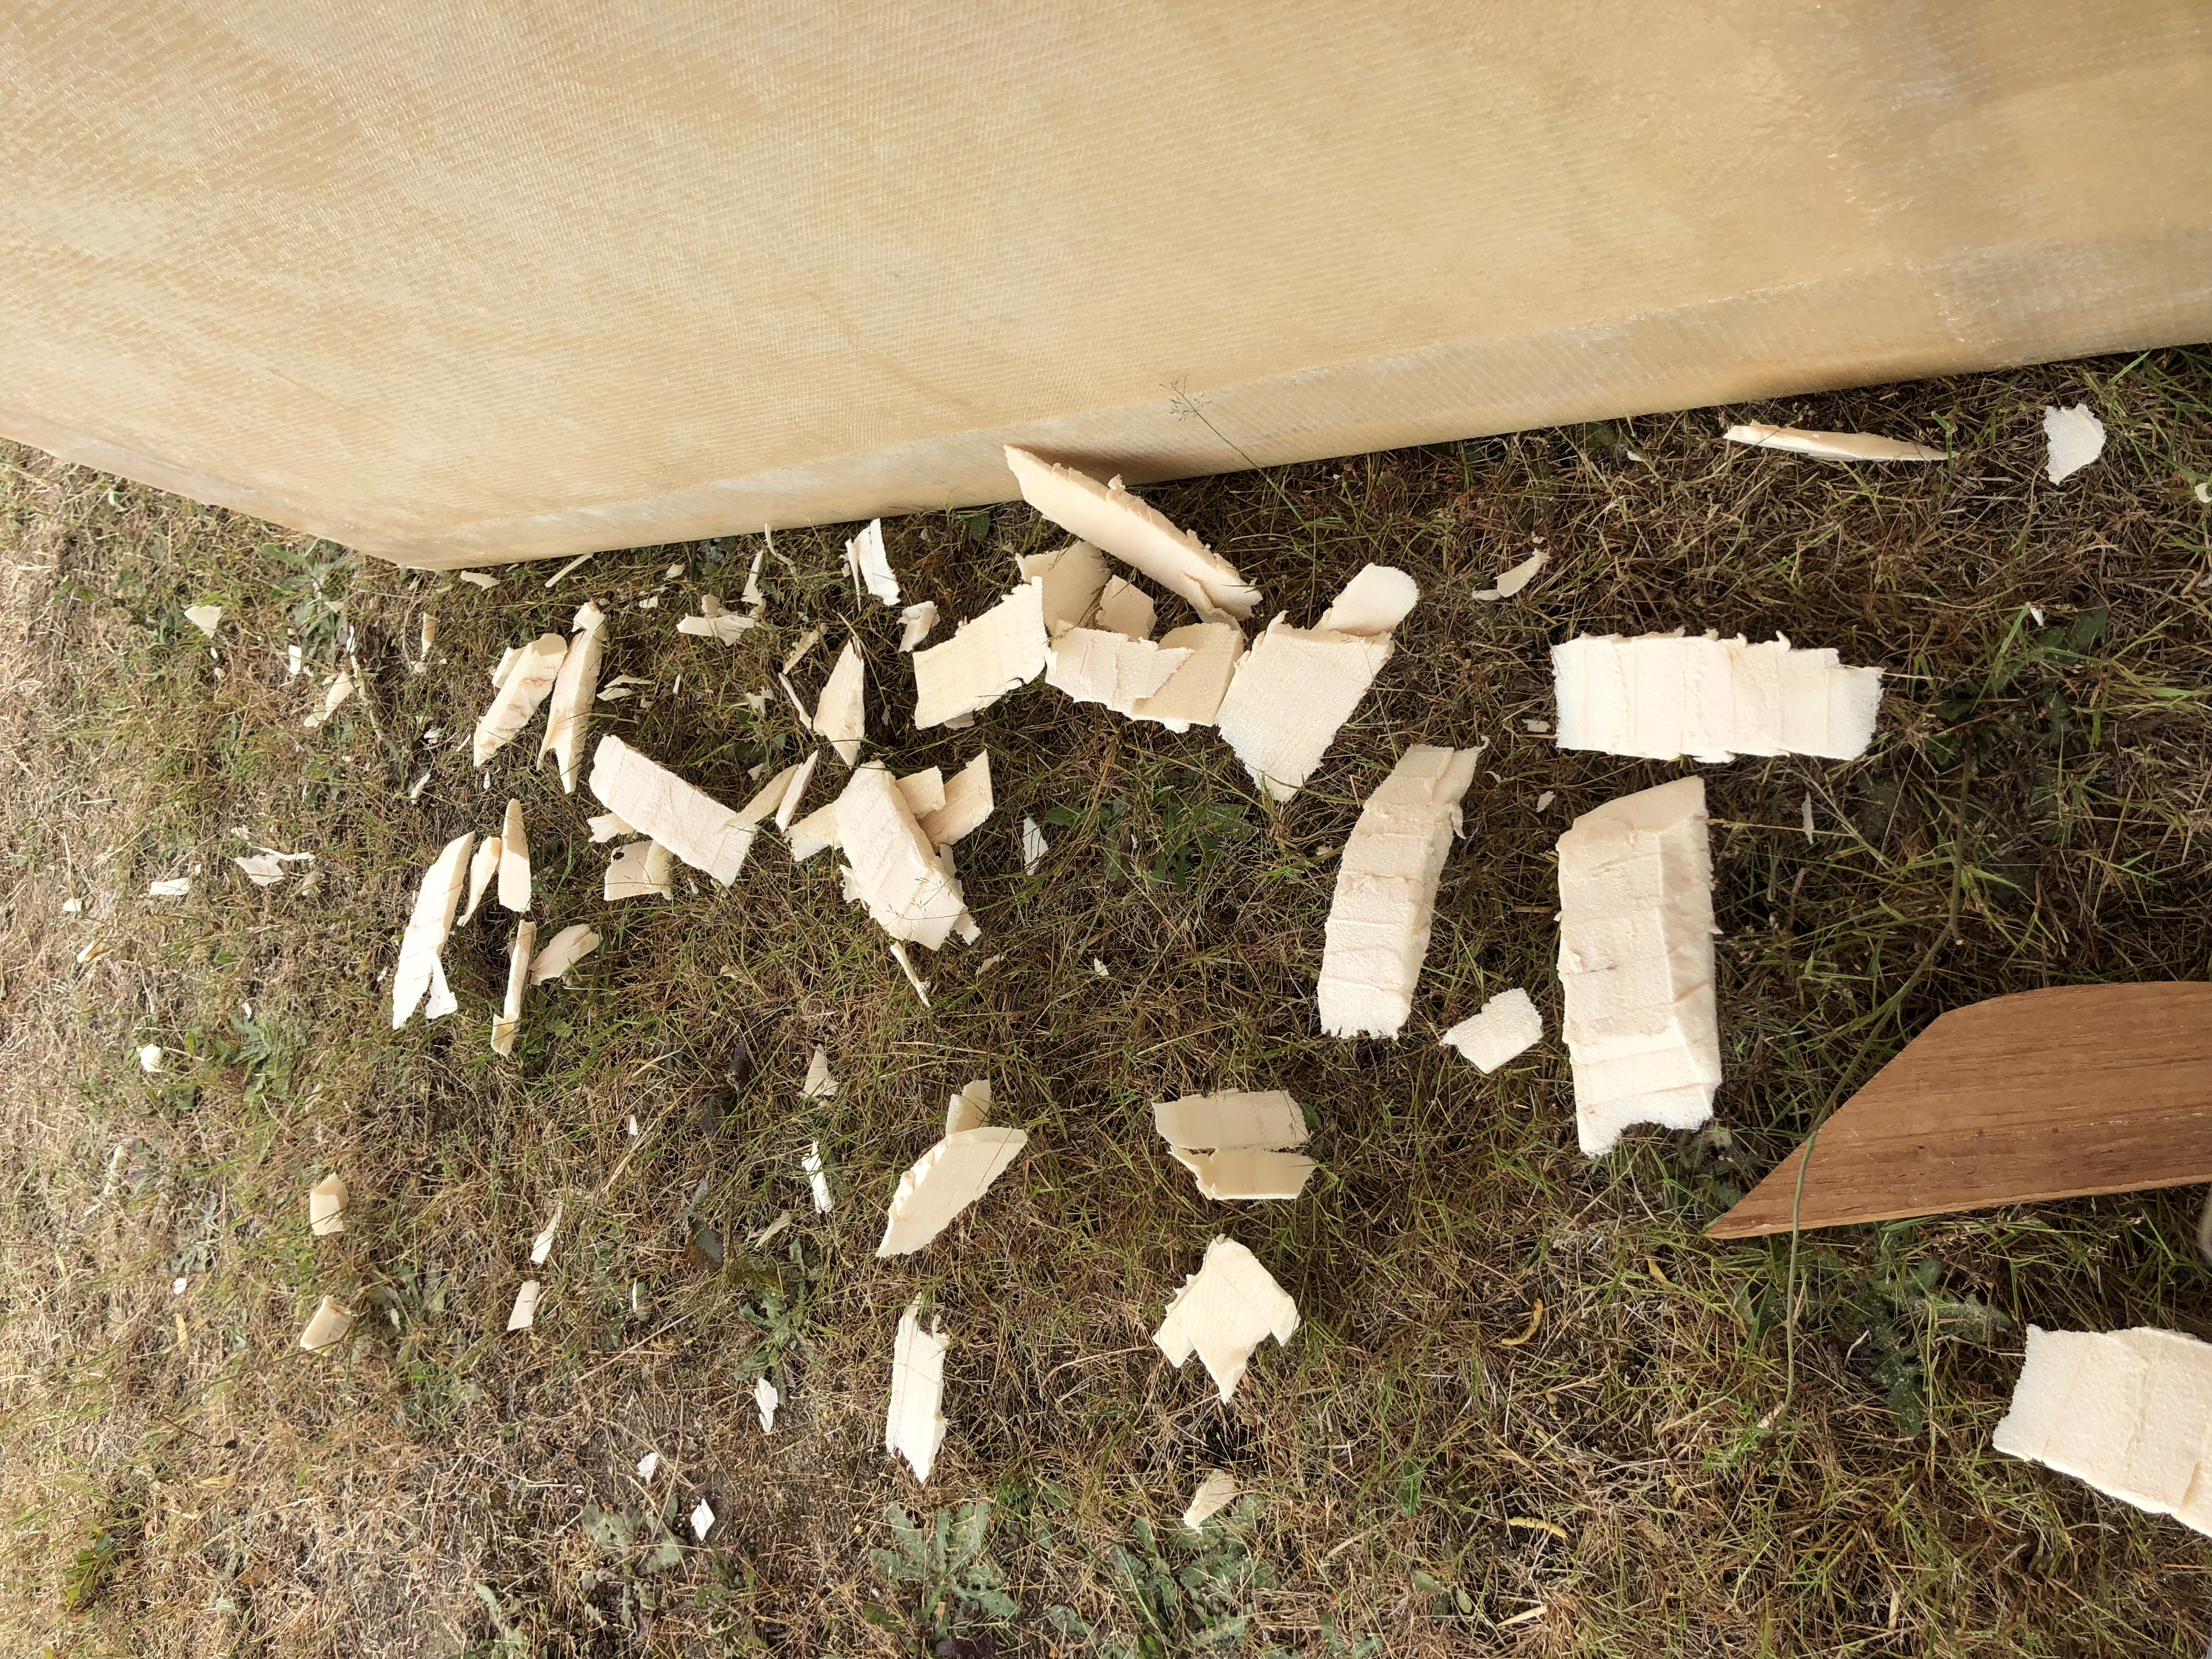
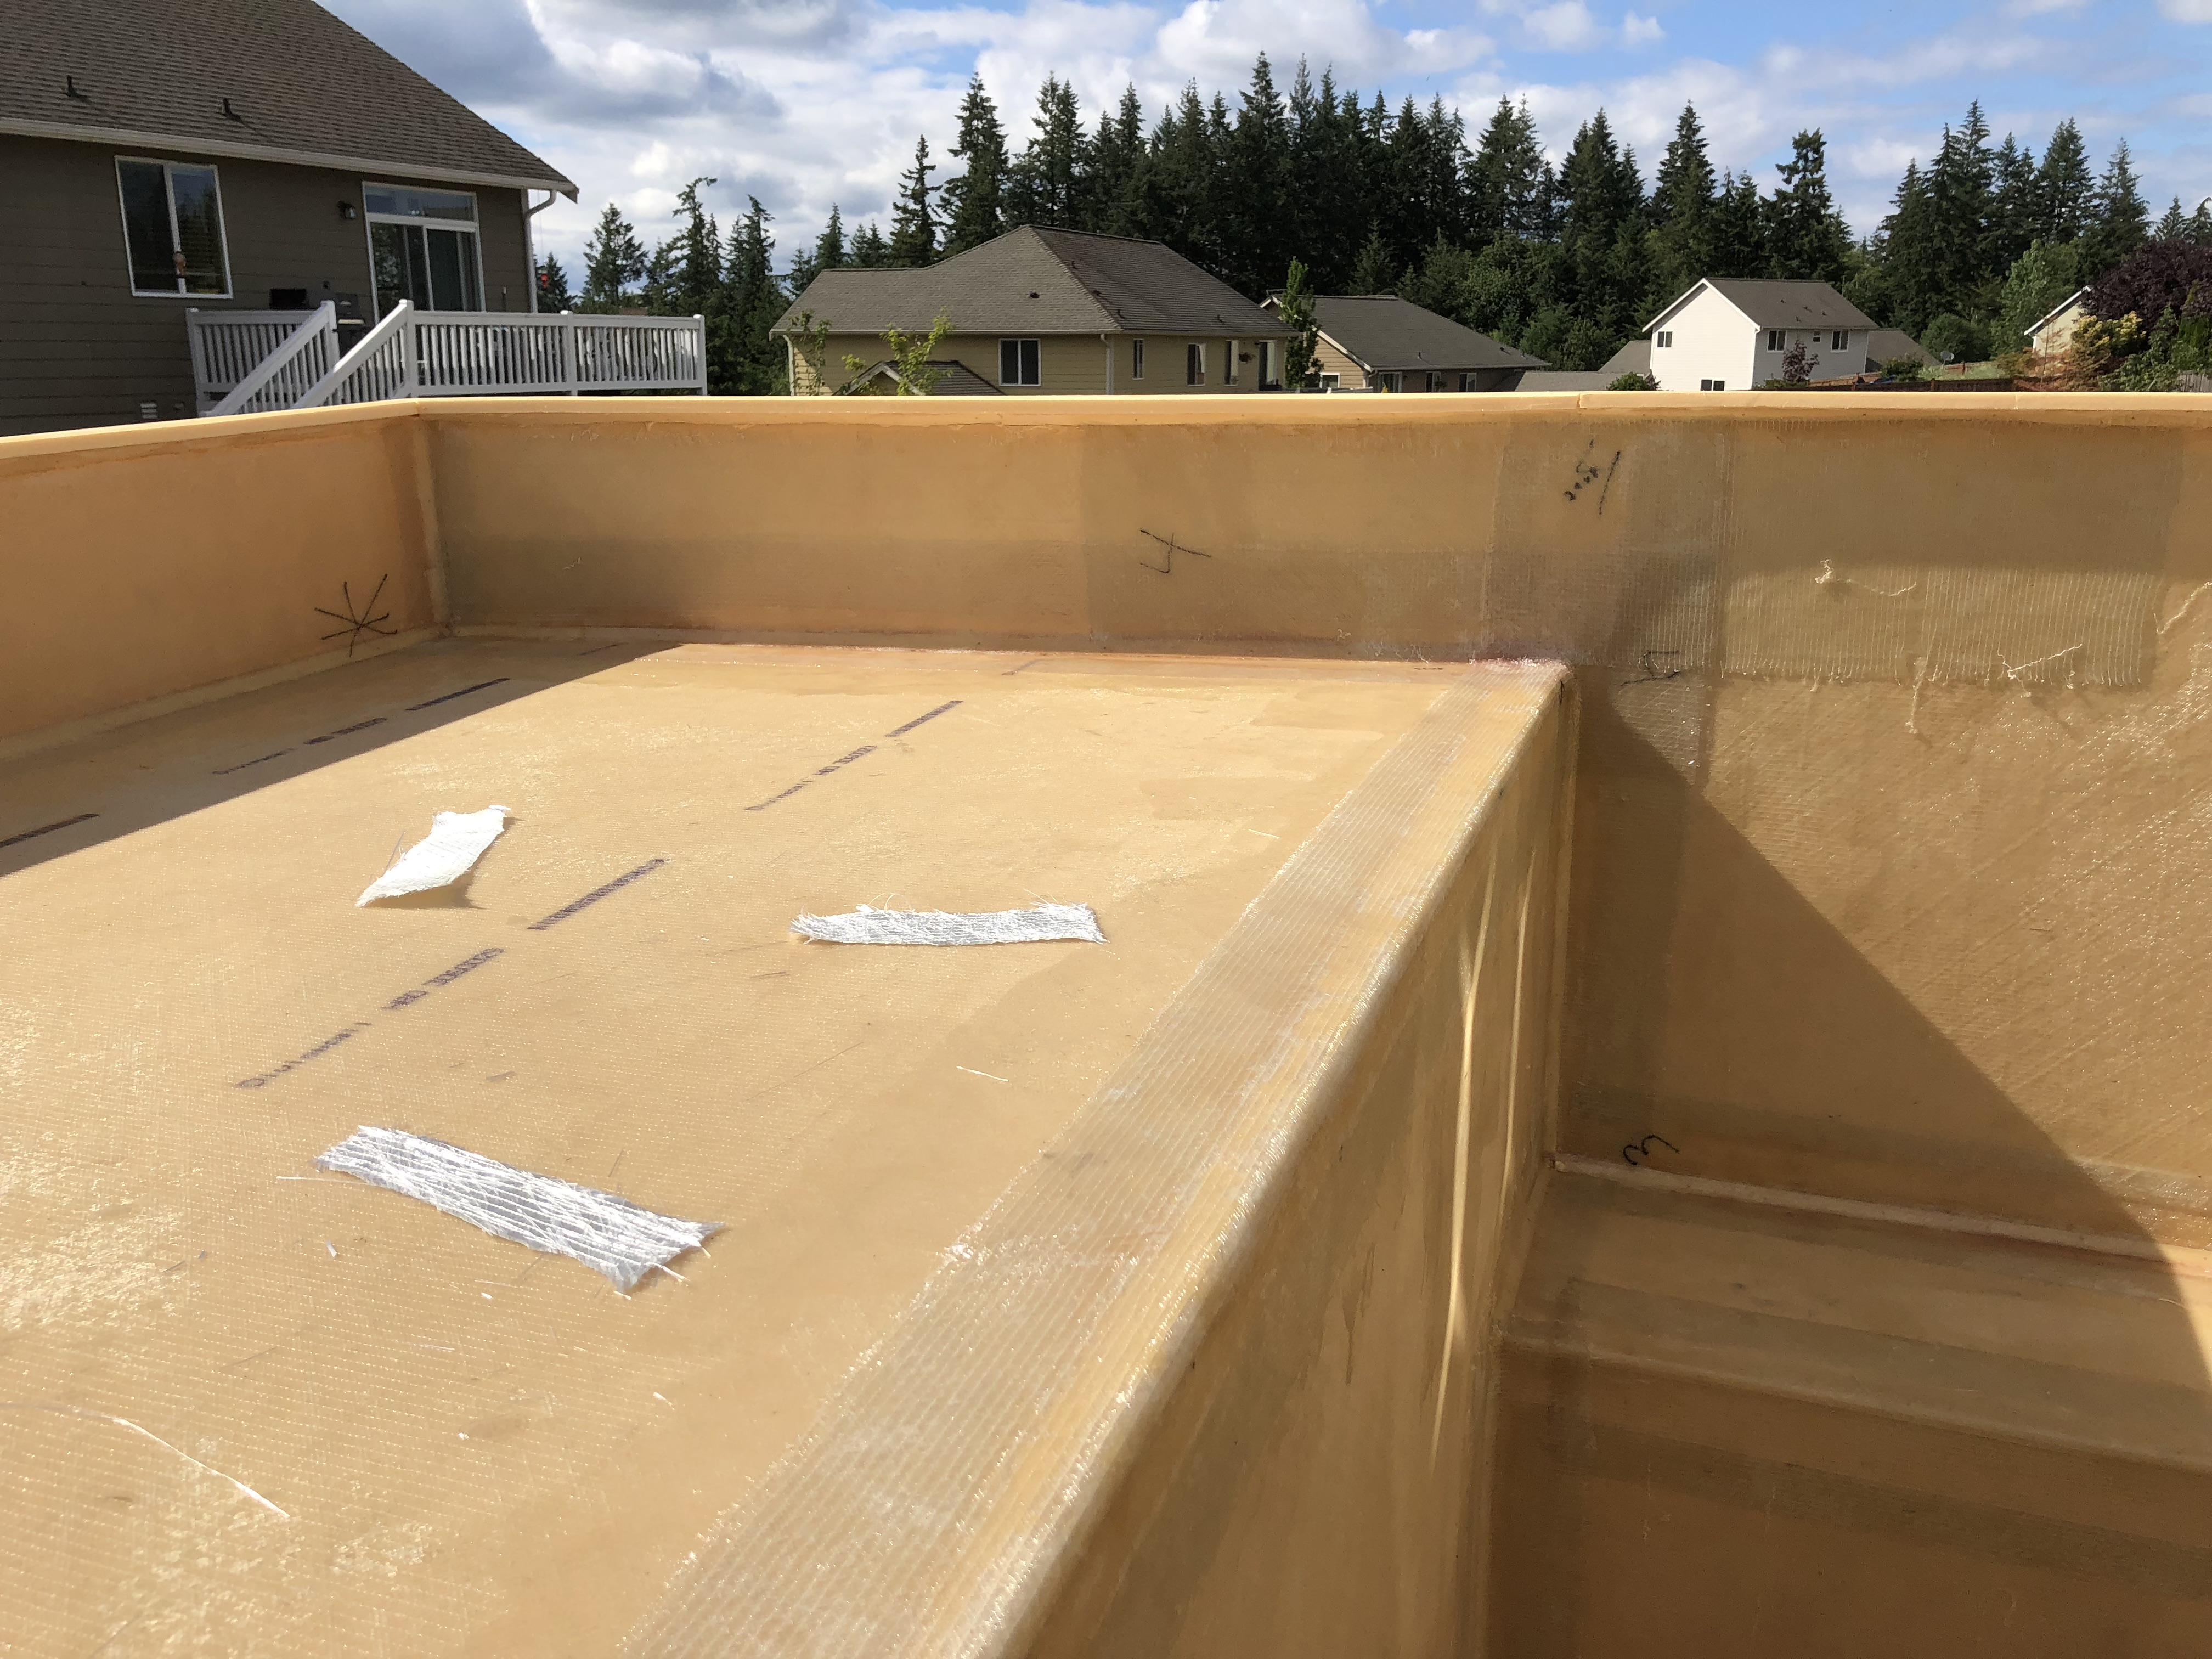
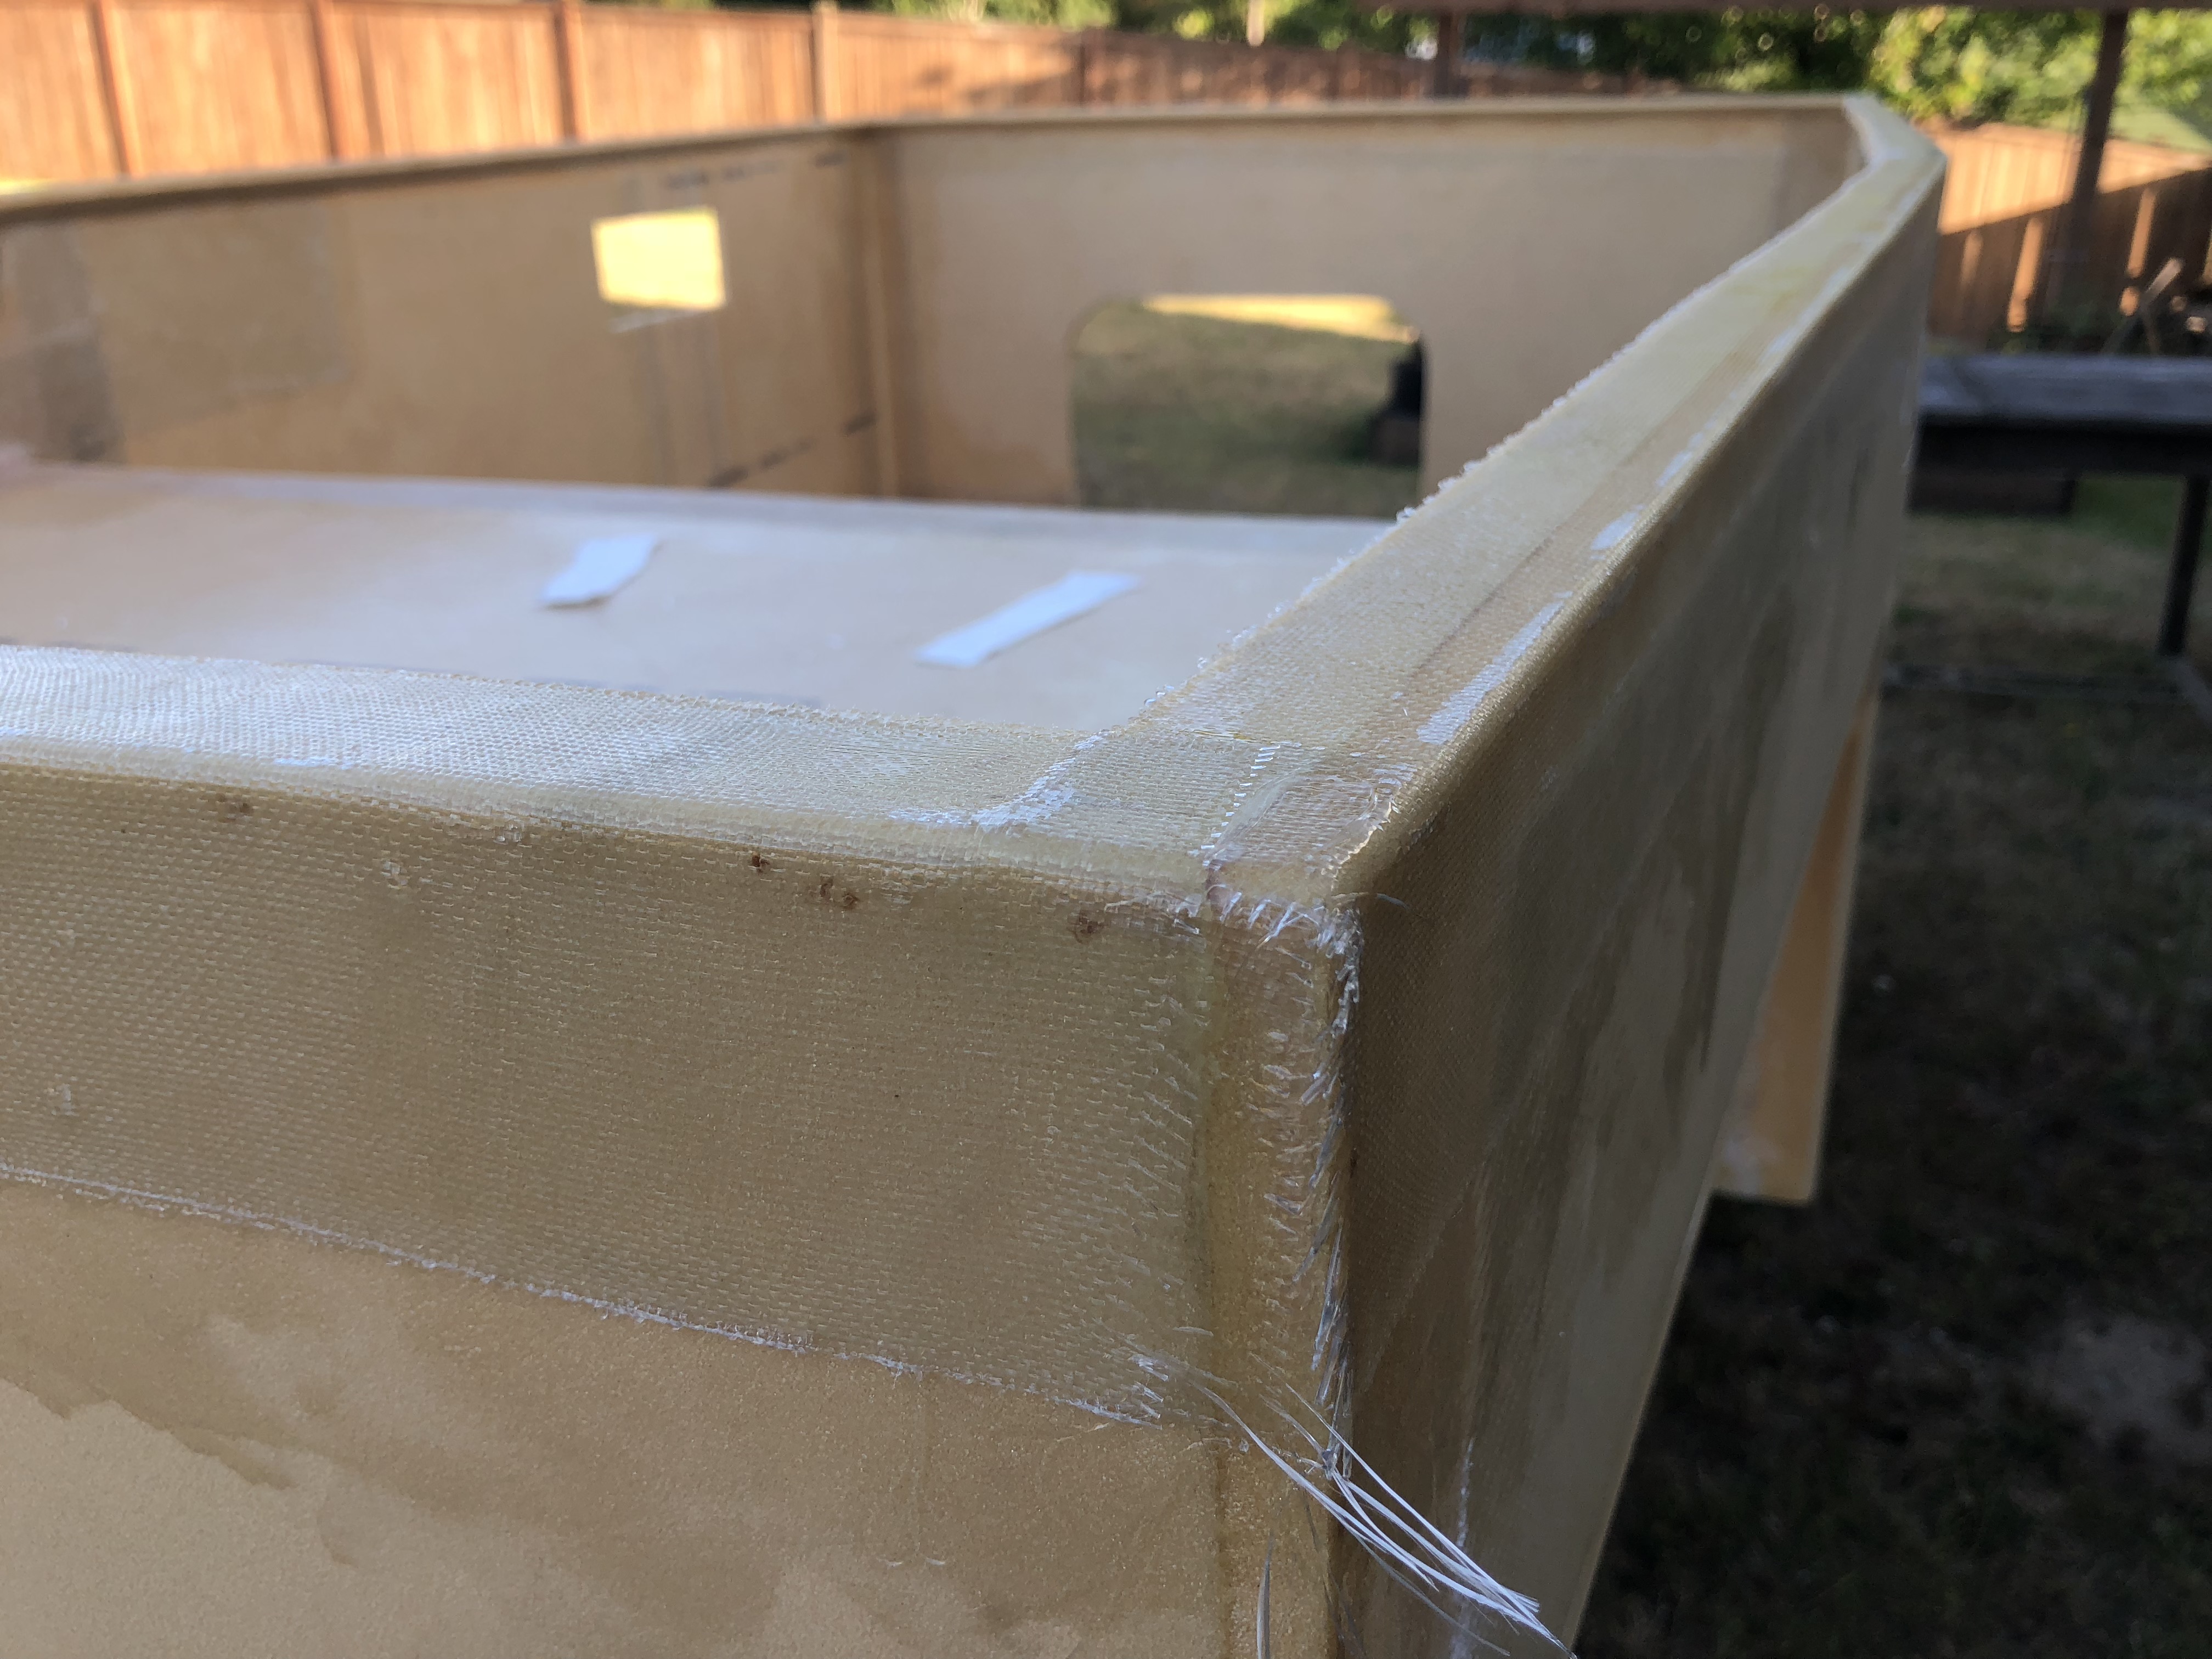
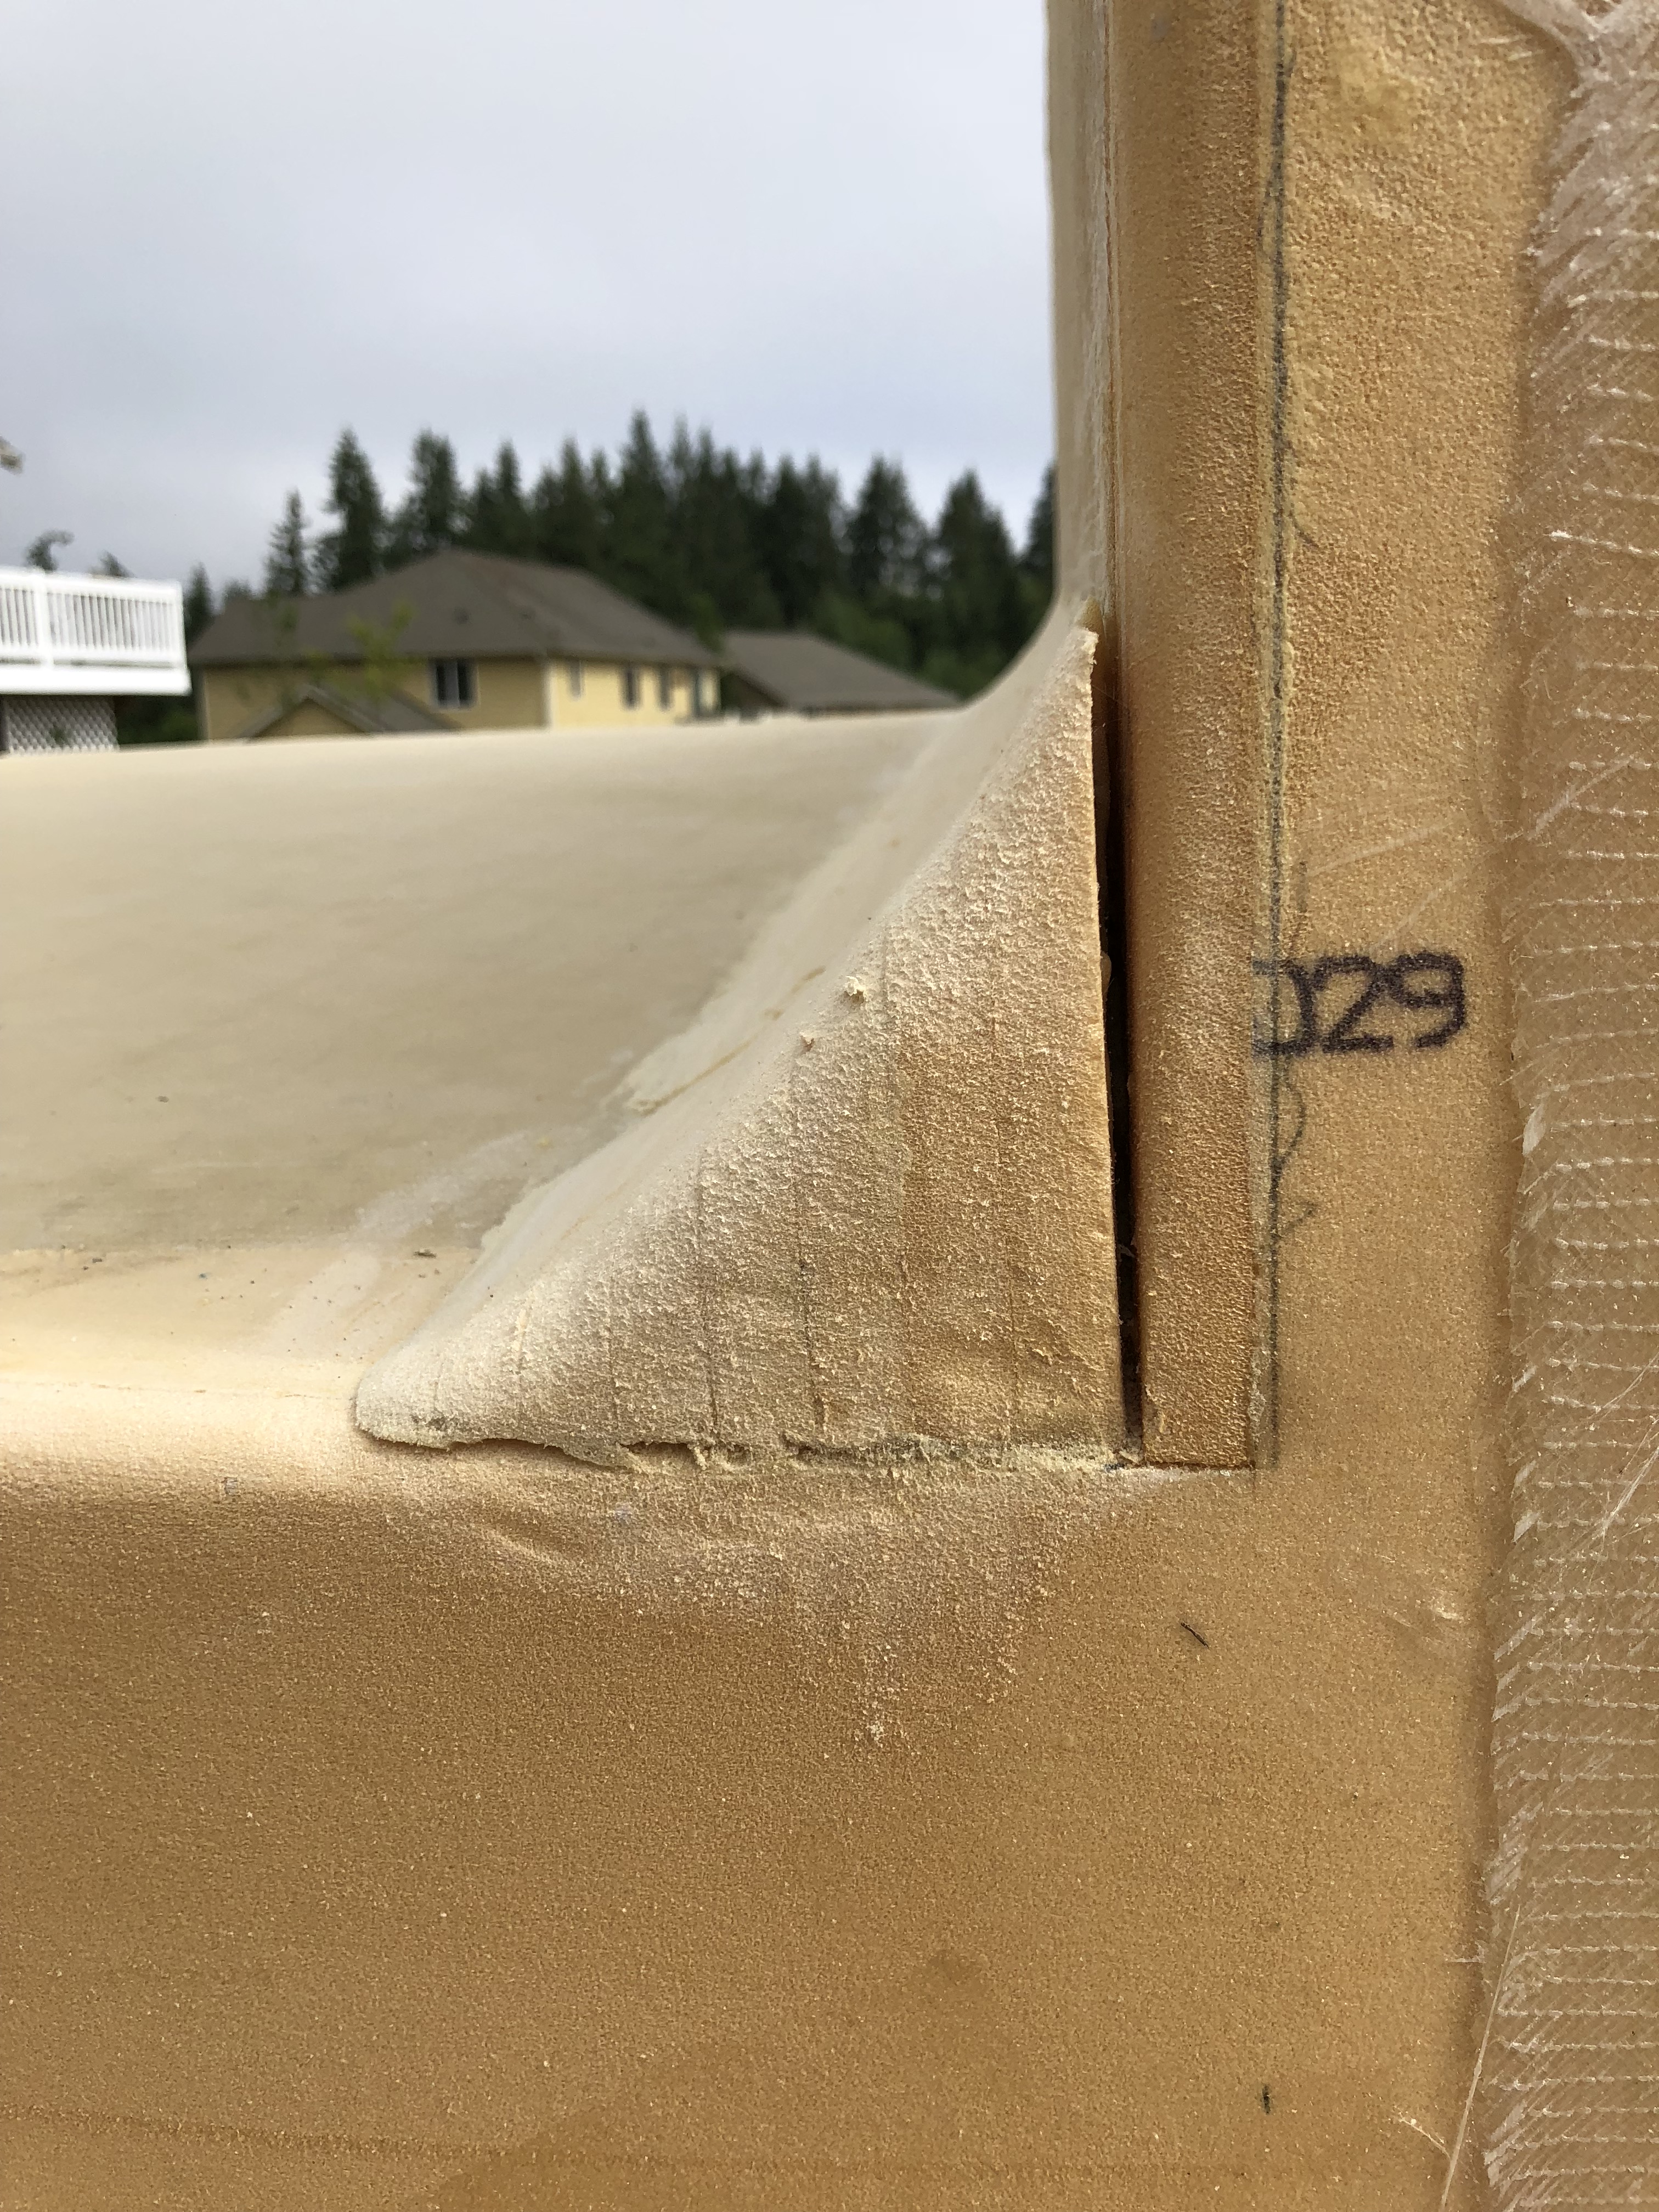
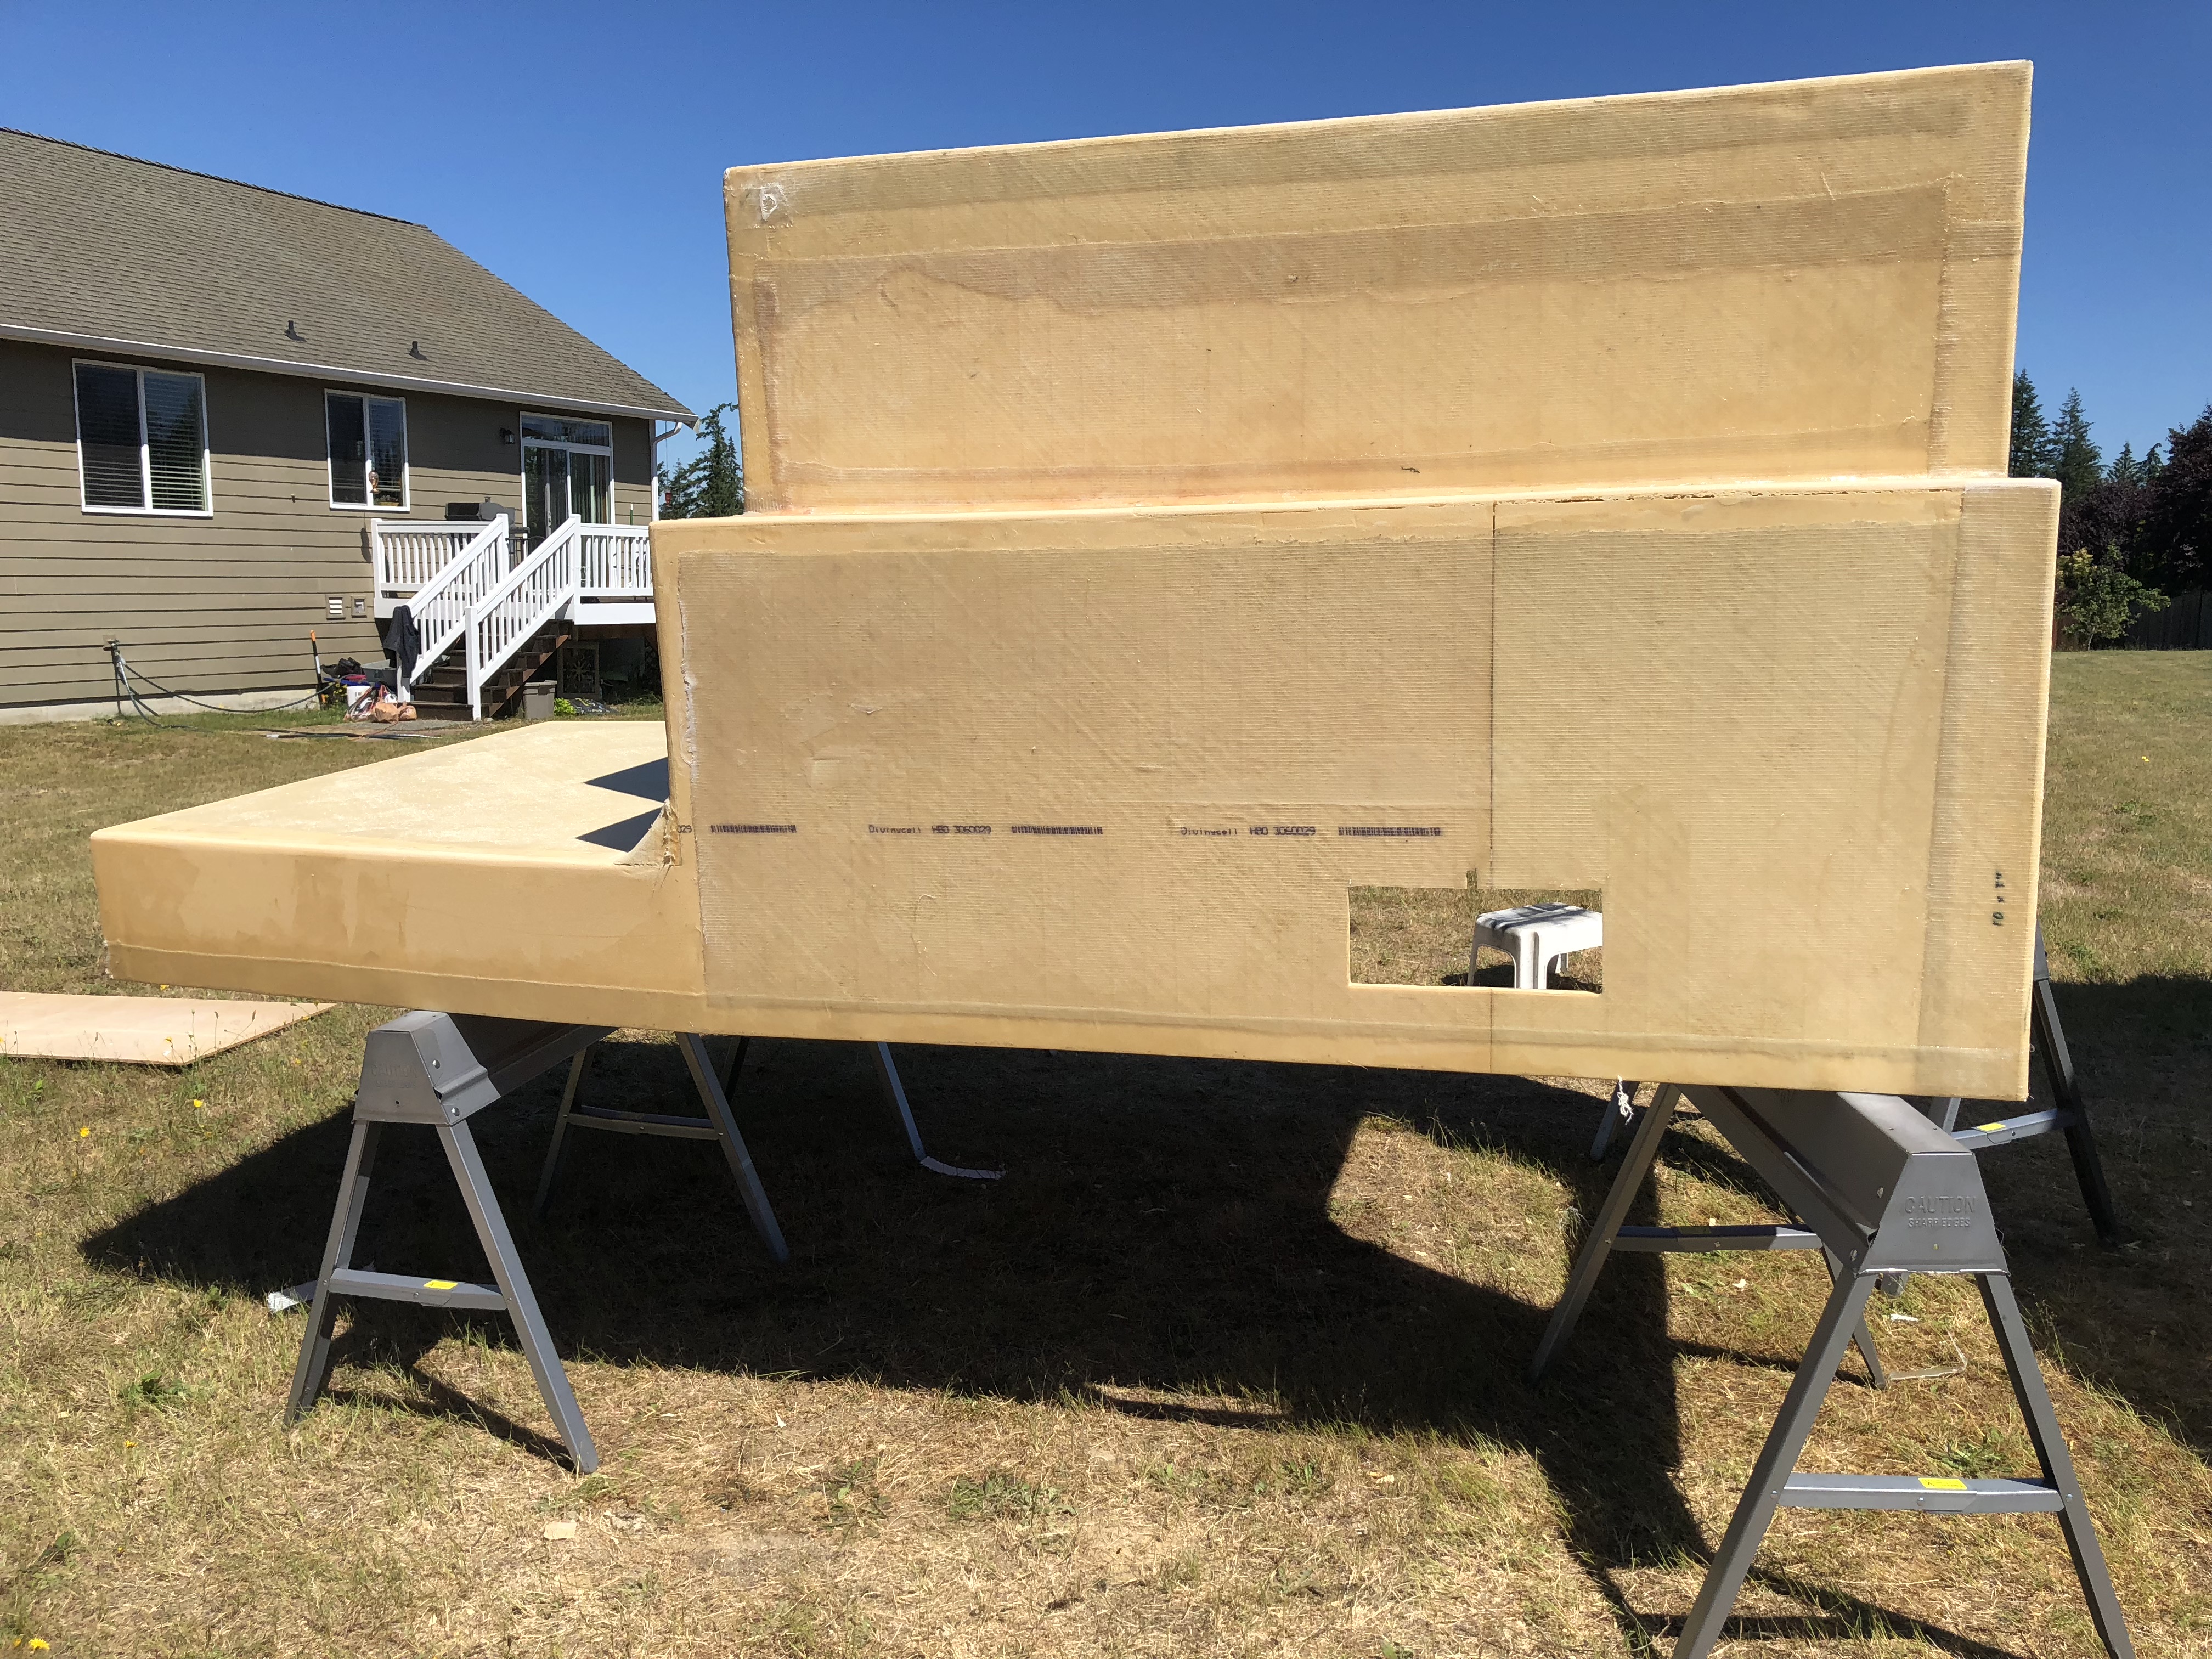
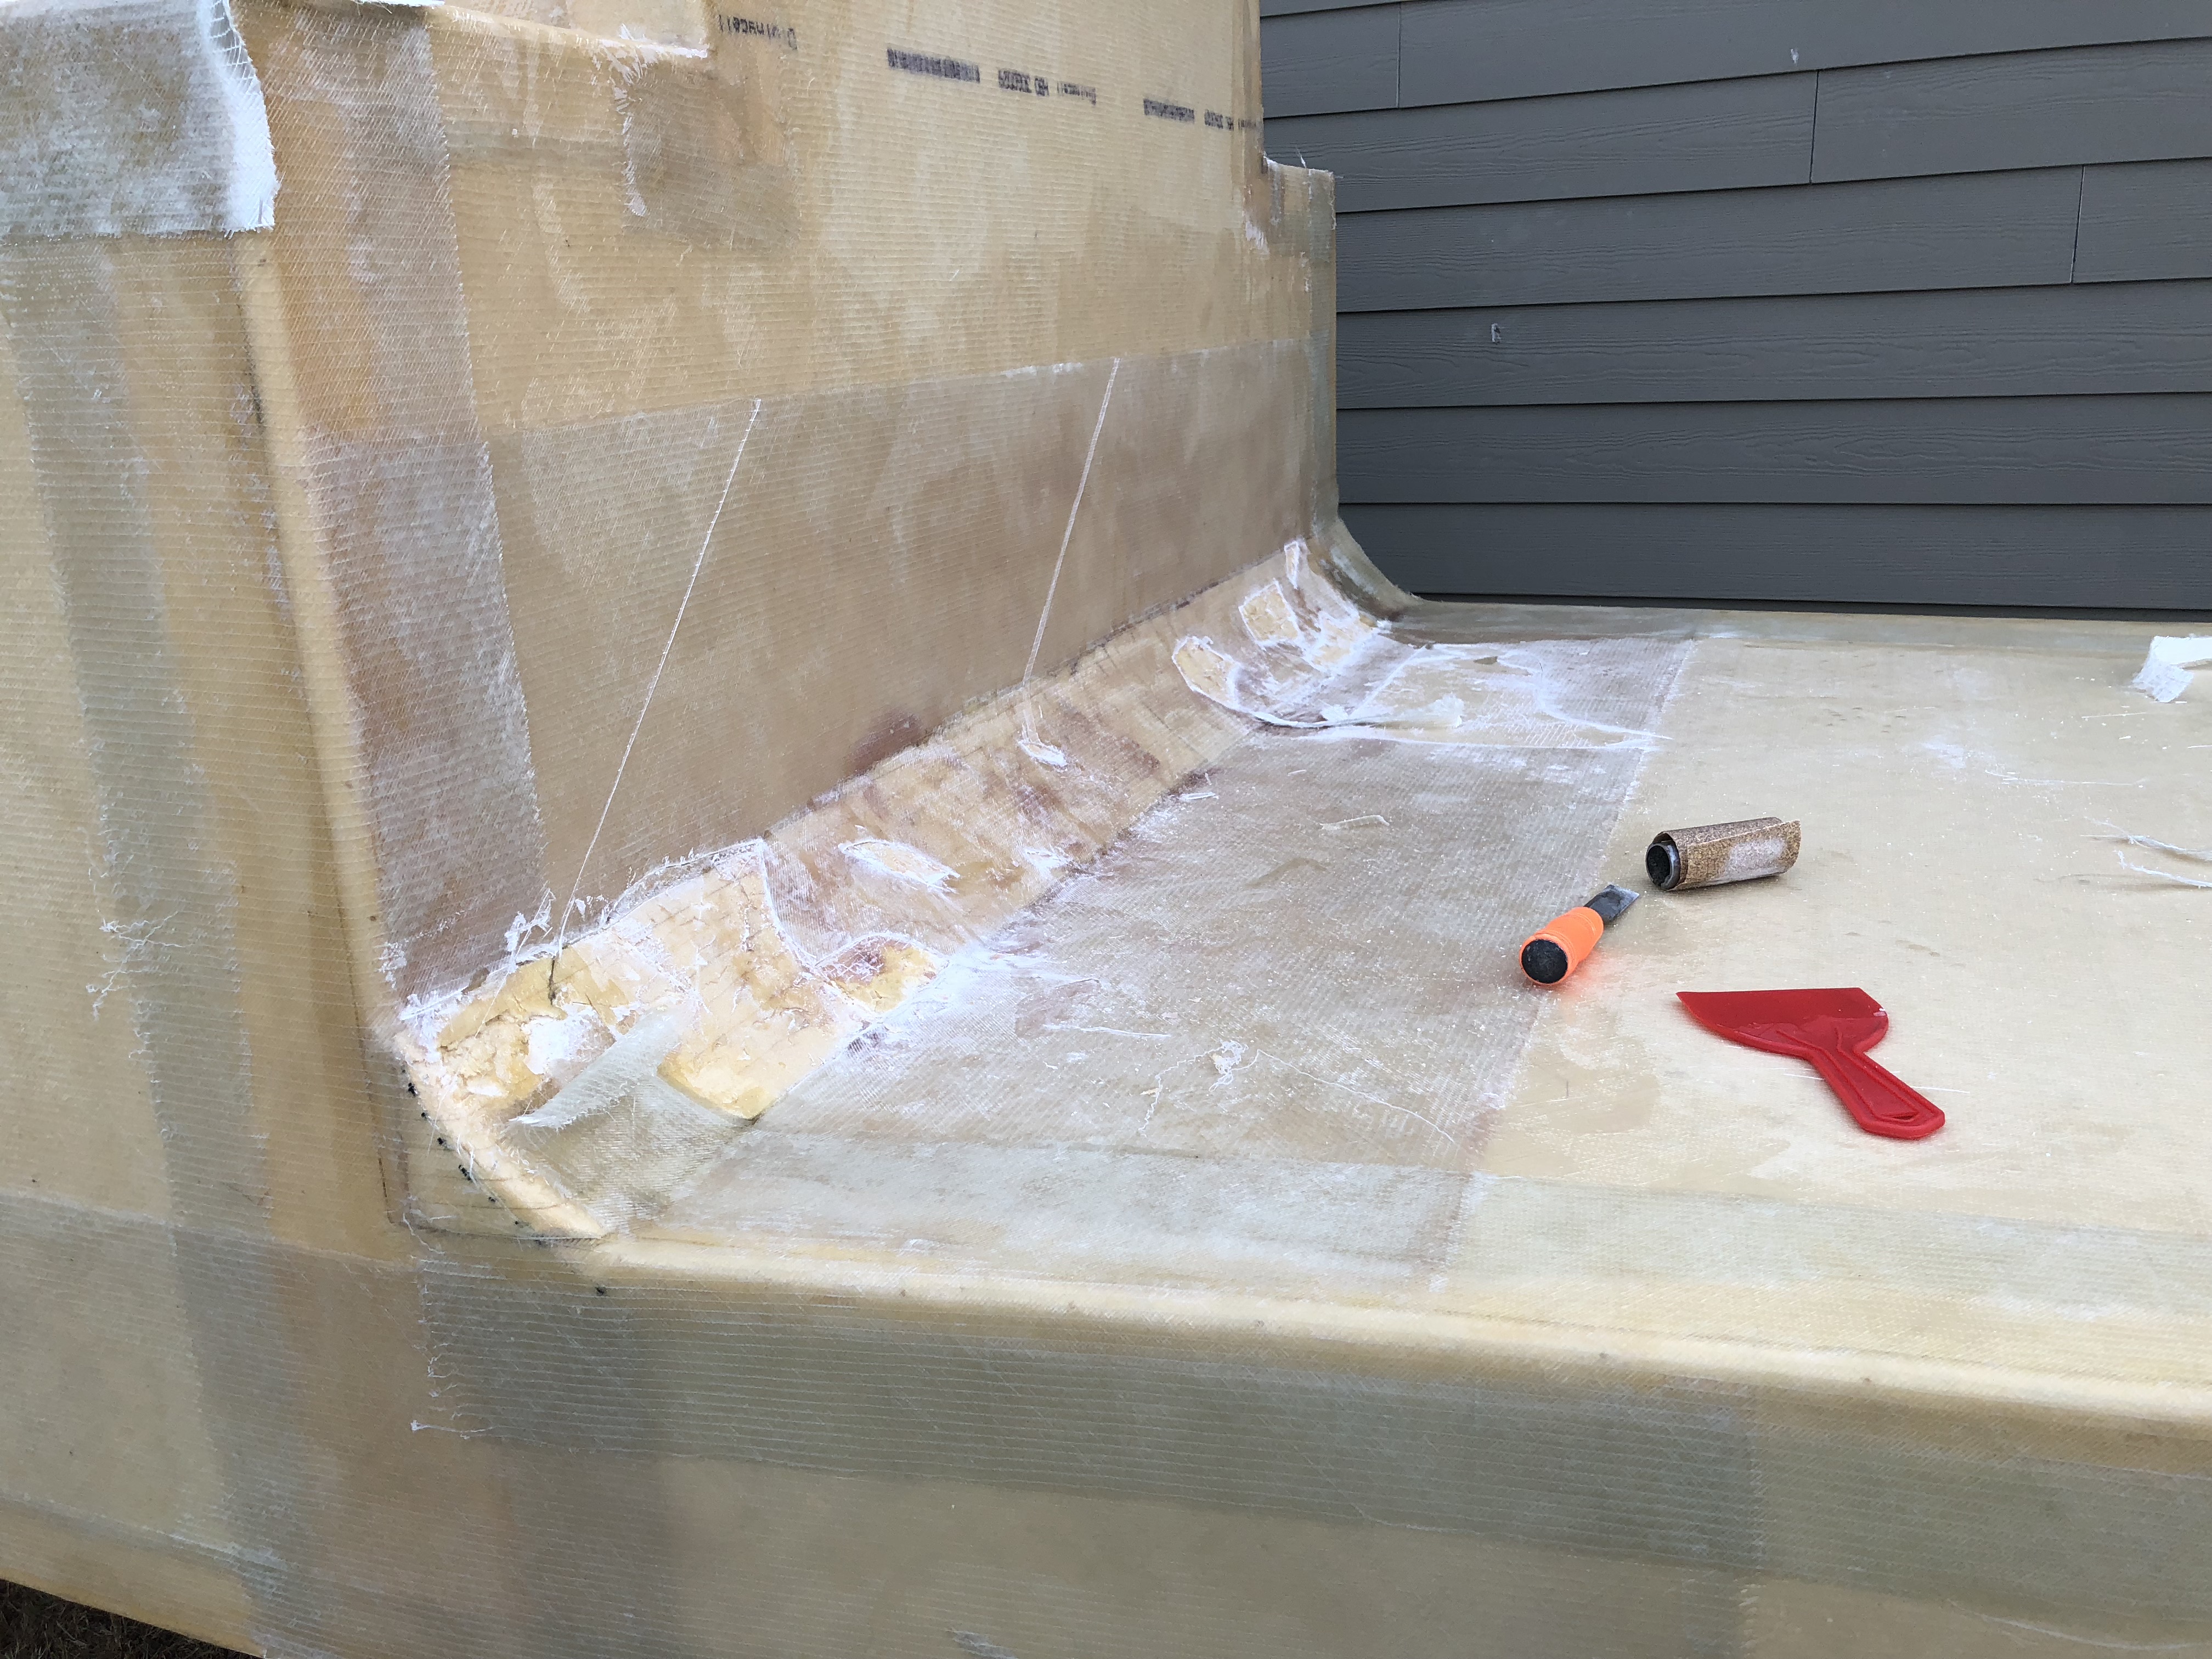
We decided to start with the largest piece first, which is the forward vertical edge of the shell, over the beam, and the underside of the cabover. We started with the vertical edge because it's so hard to get the resin not only on the fiberglass, but to get it to soak in. We did manage it, but vastly underestimated how rough the beam still was from the sanding. Apparently all I had managed to do was smooth over the giant lumps and I somehow failed to notice this. So now we have a huge sheet of fiberglass dripping with resin that we're trying to roll out and every time we pull one direction, it pulls off the foam in another spot. To make matters worse I guess we just picked the absolute perfect conditions for the resin to set up because in less than 5 minutes, our bucket of mixed resin, the huge clumps on the glass, and anything on the camper that we're trying to work are all hard. Complete freaking mess of a disaster... Bubbles and resin everywhere. Nothing to be done about it now except let it set up and deal with it later.
IMG_9653.jpg

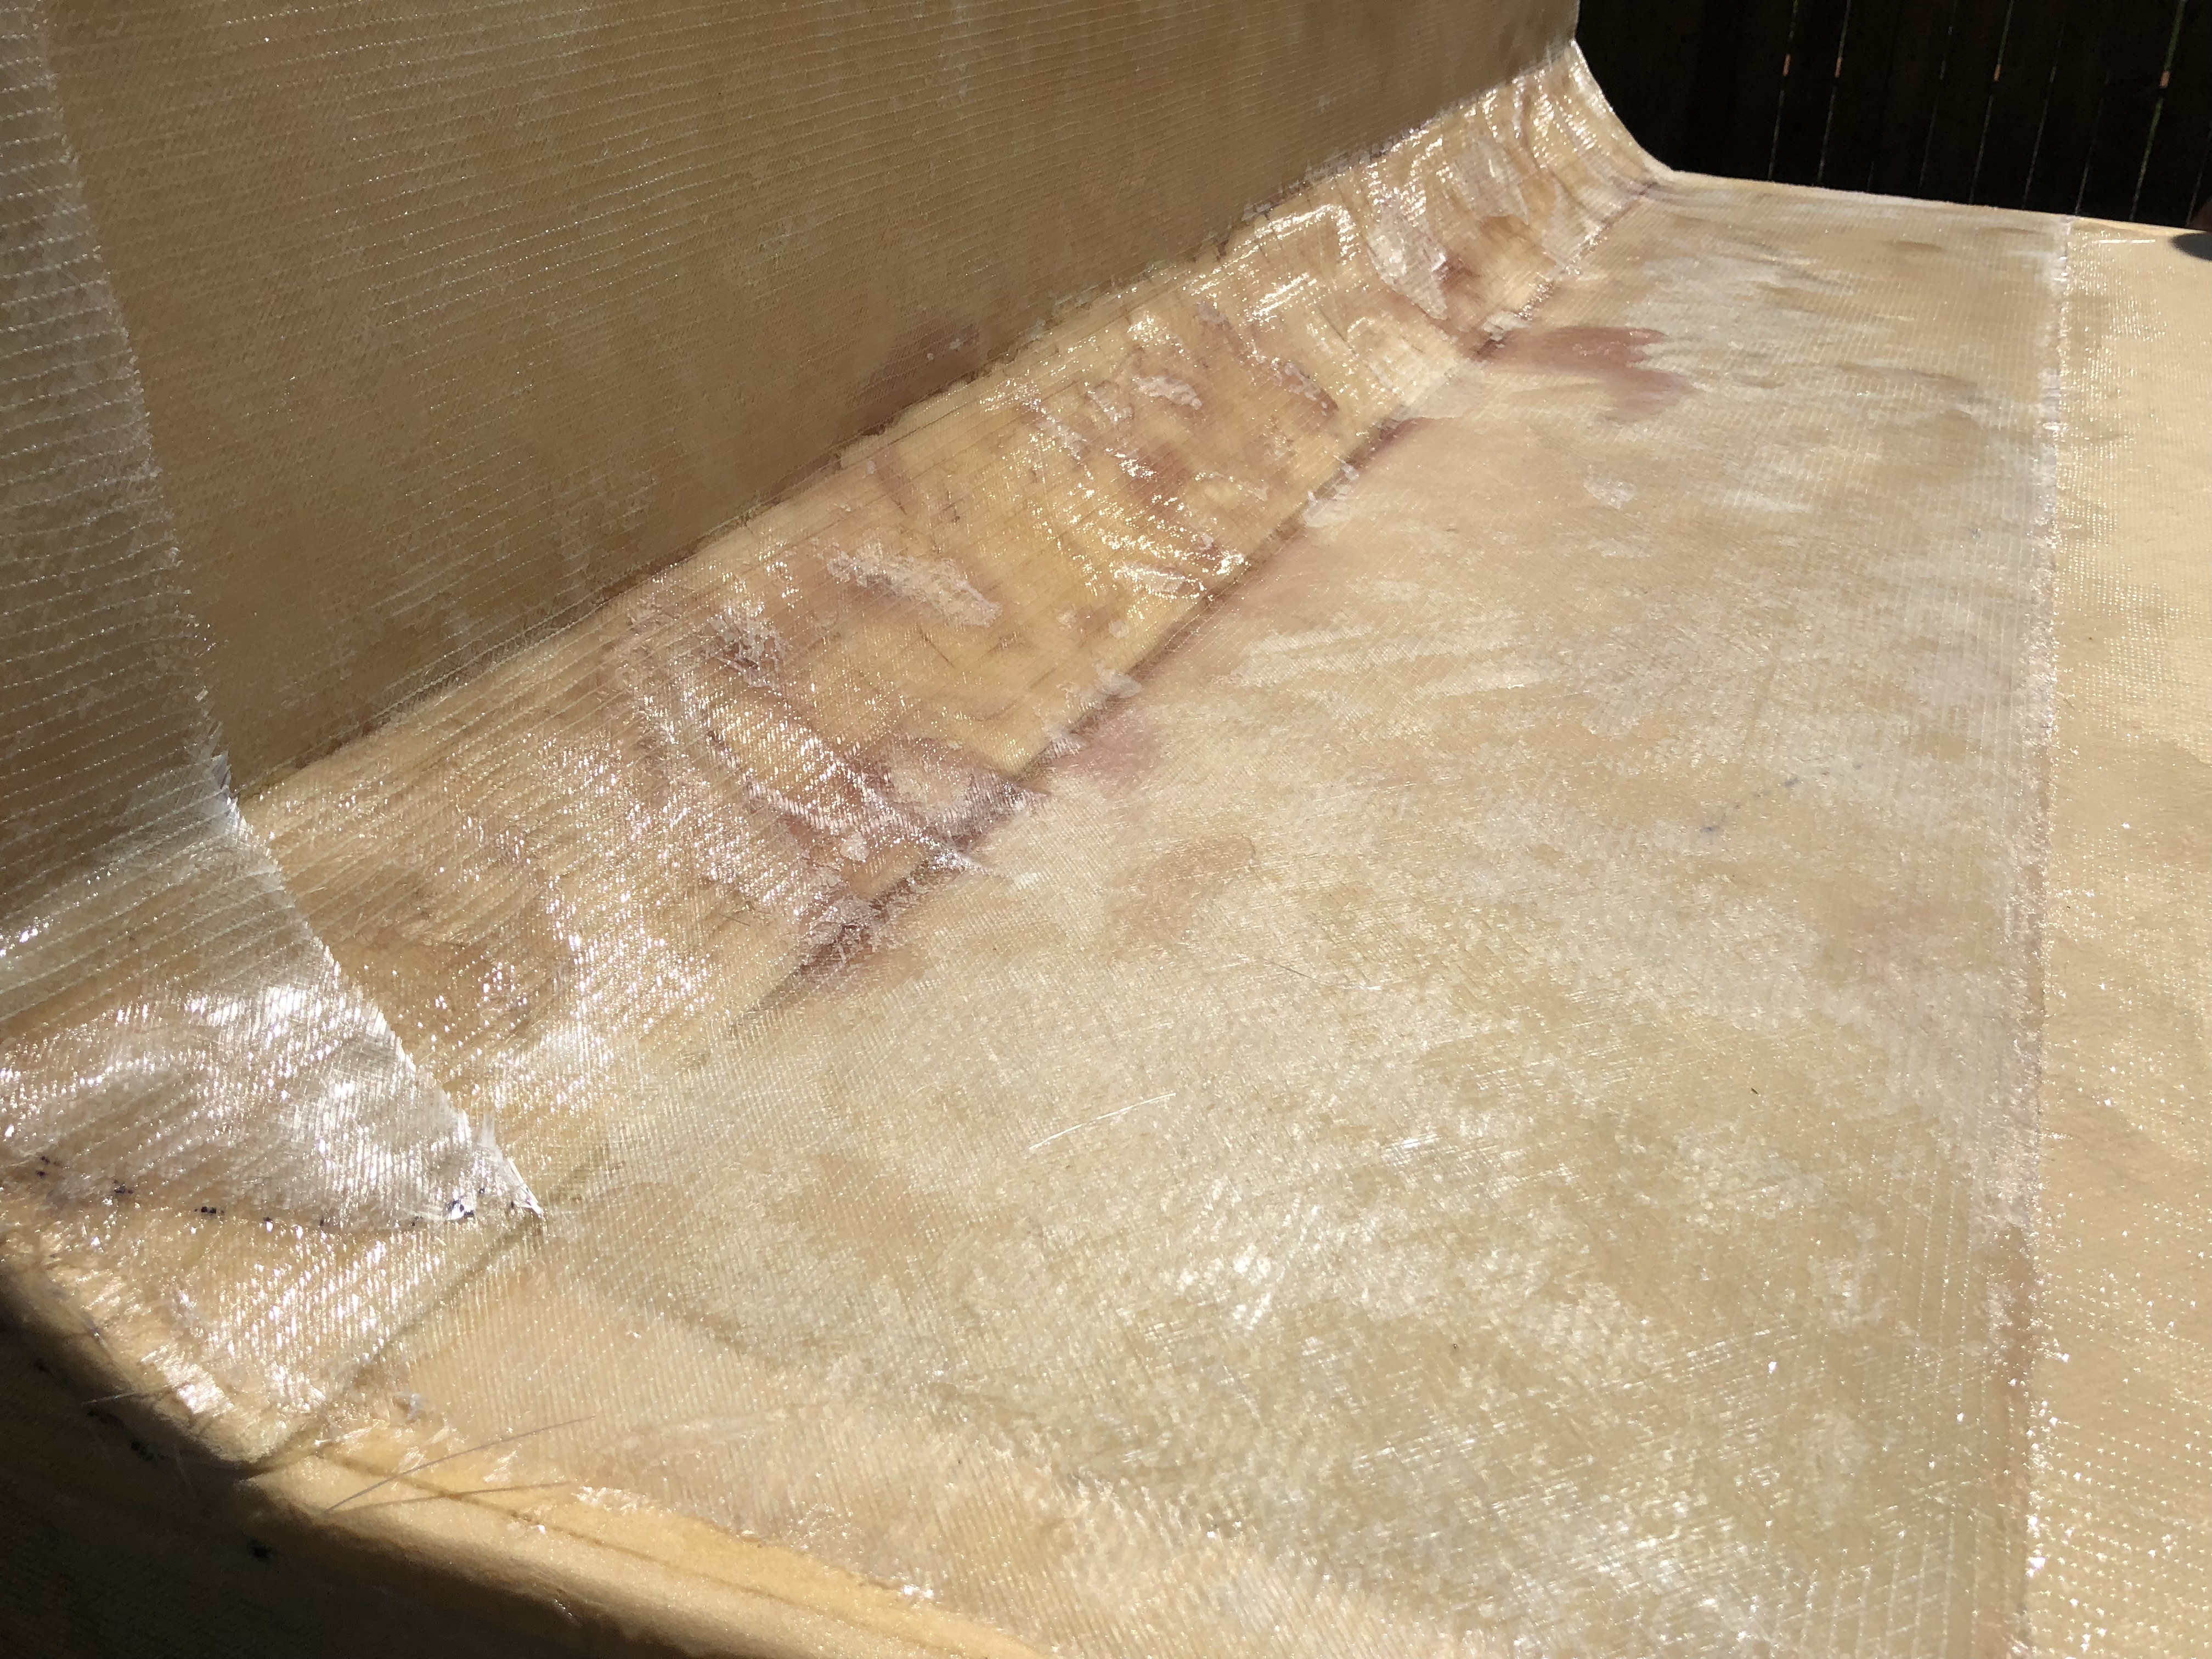
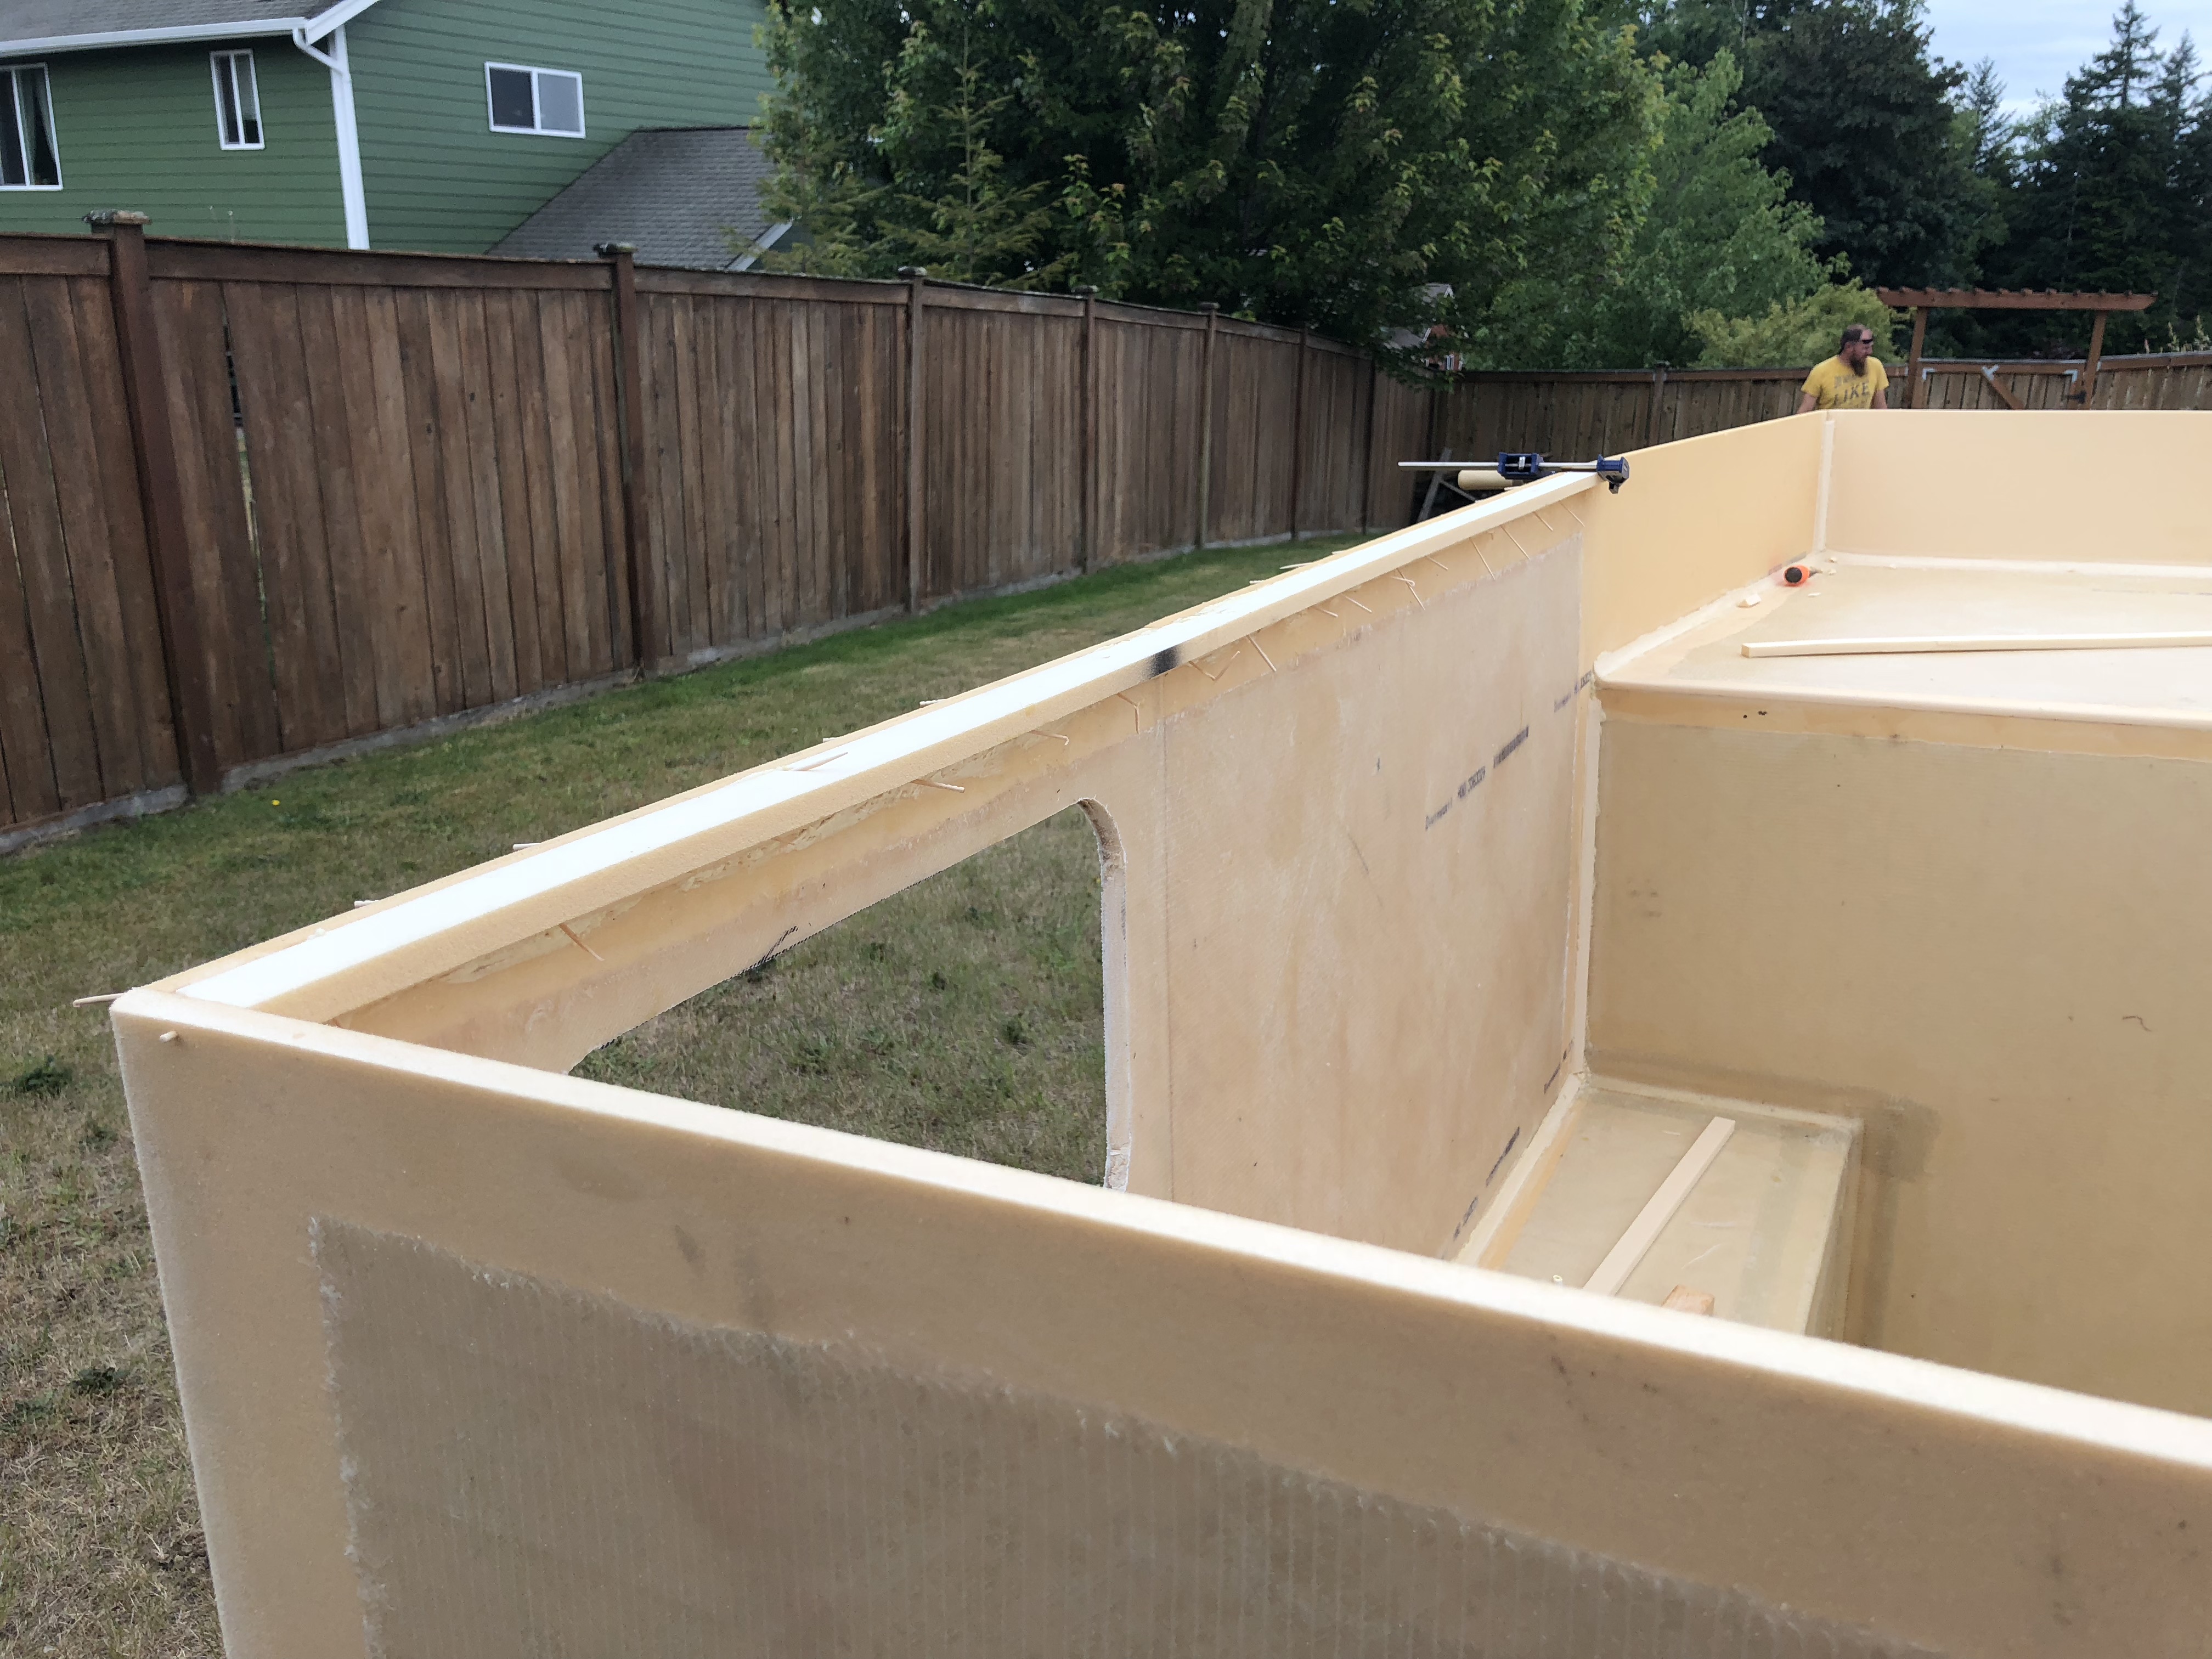
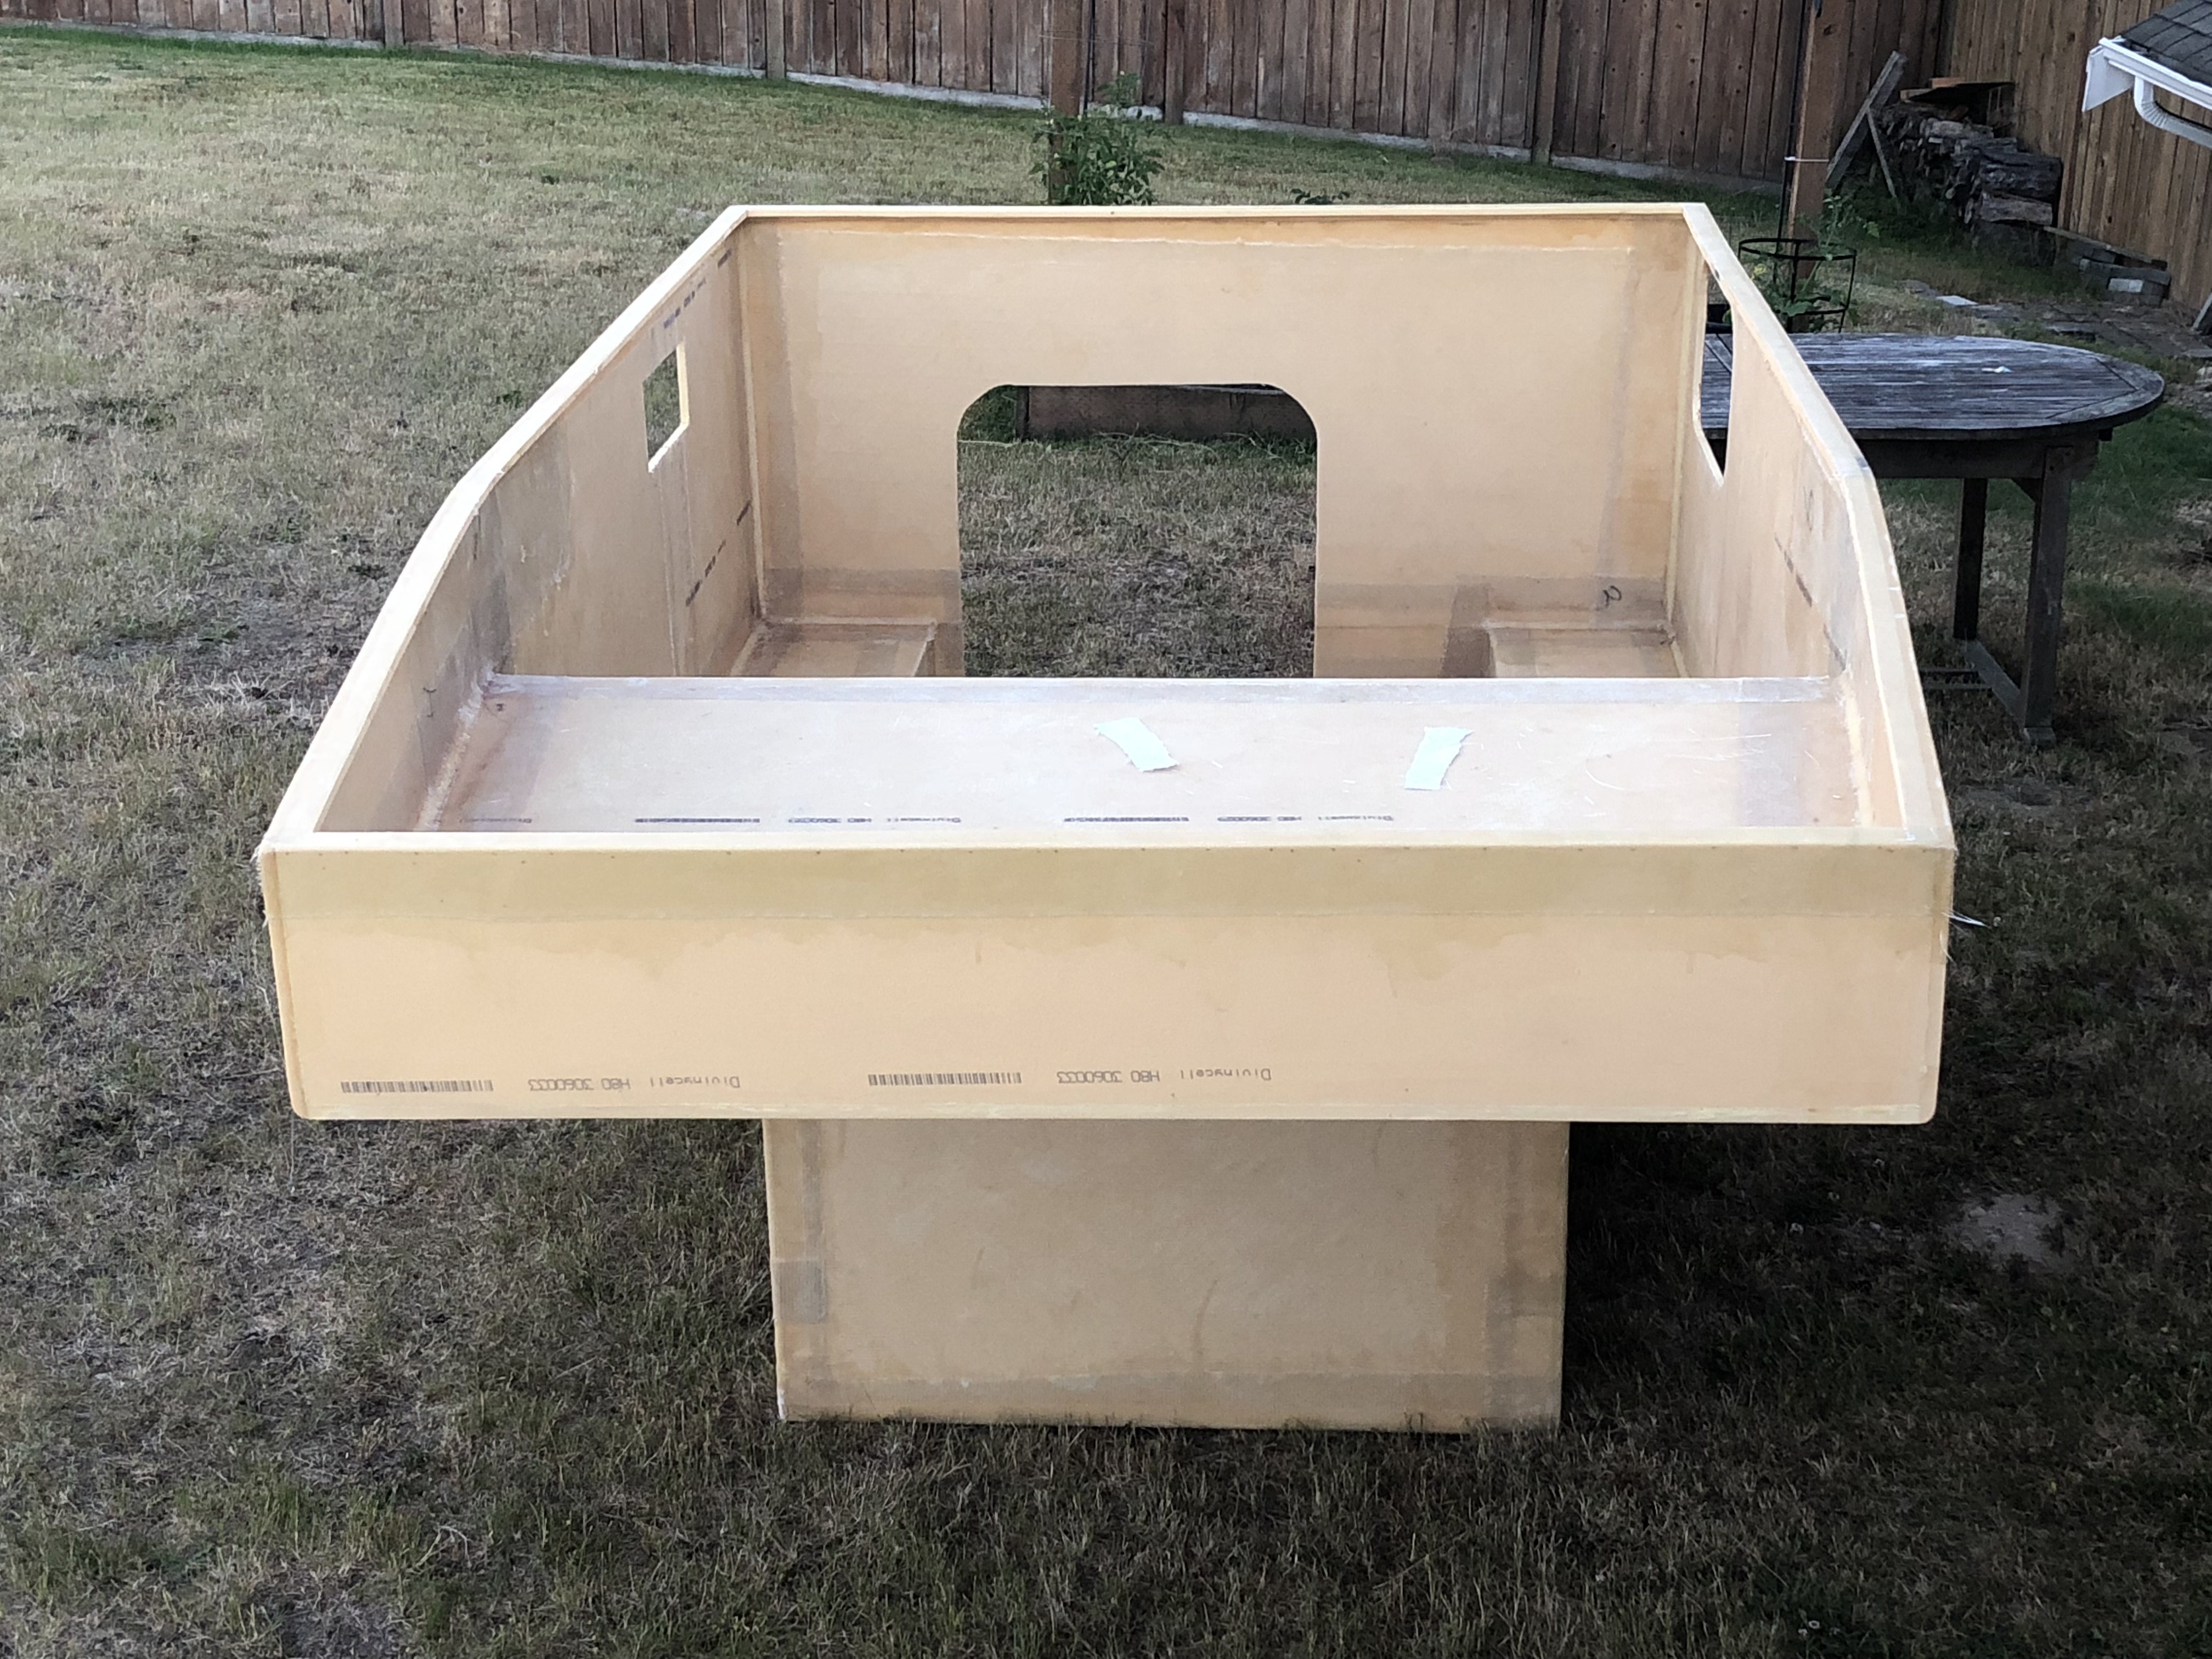
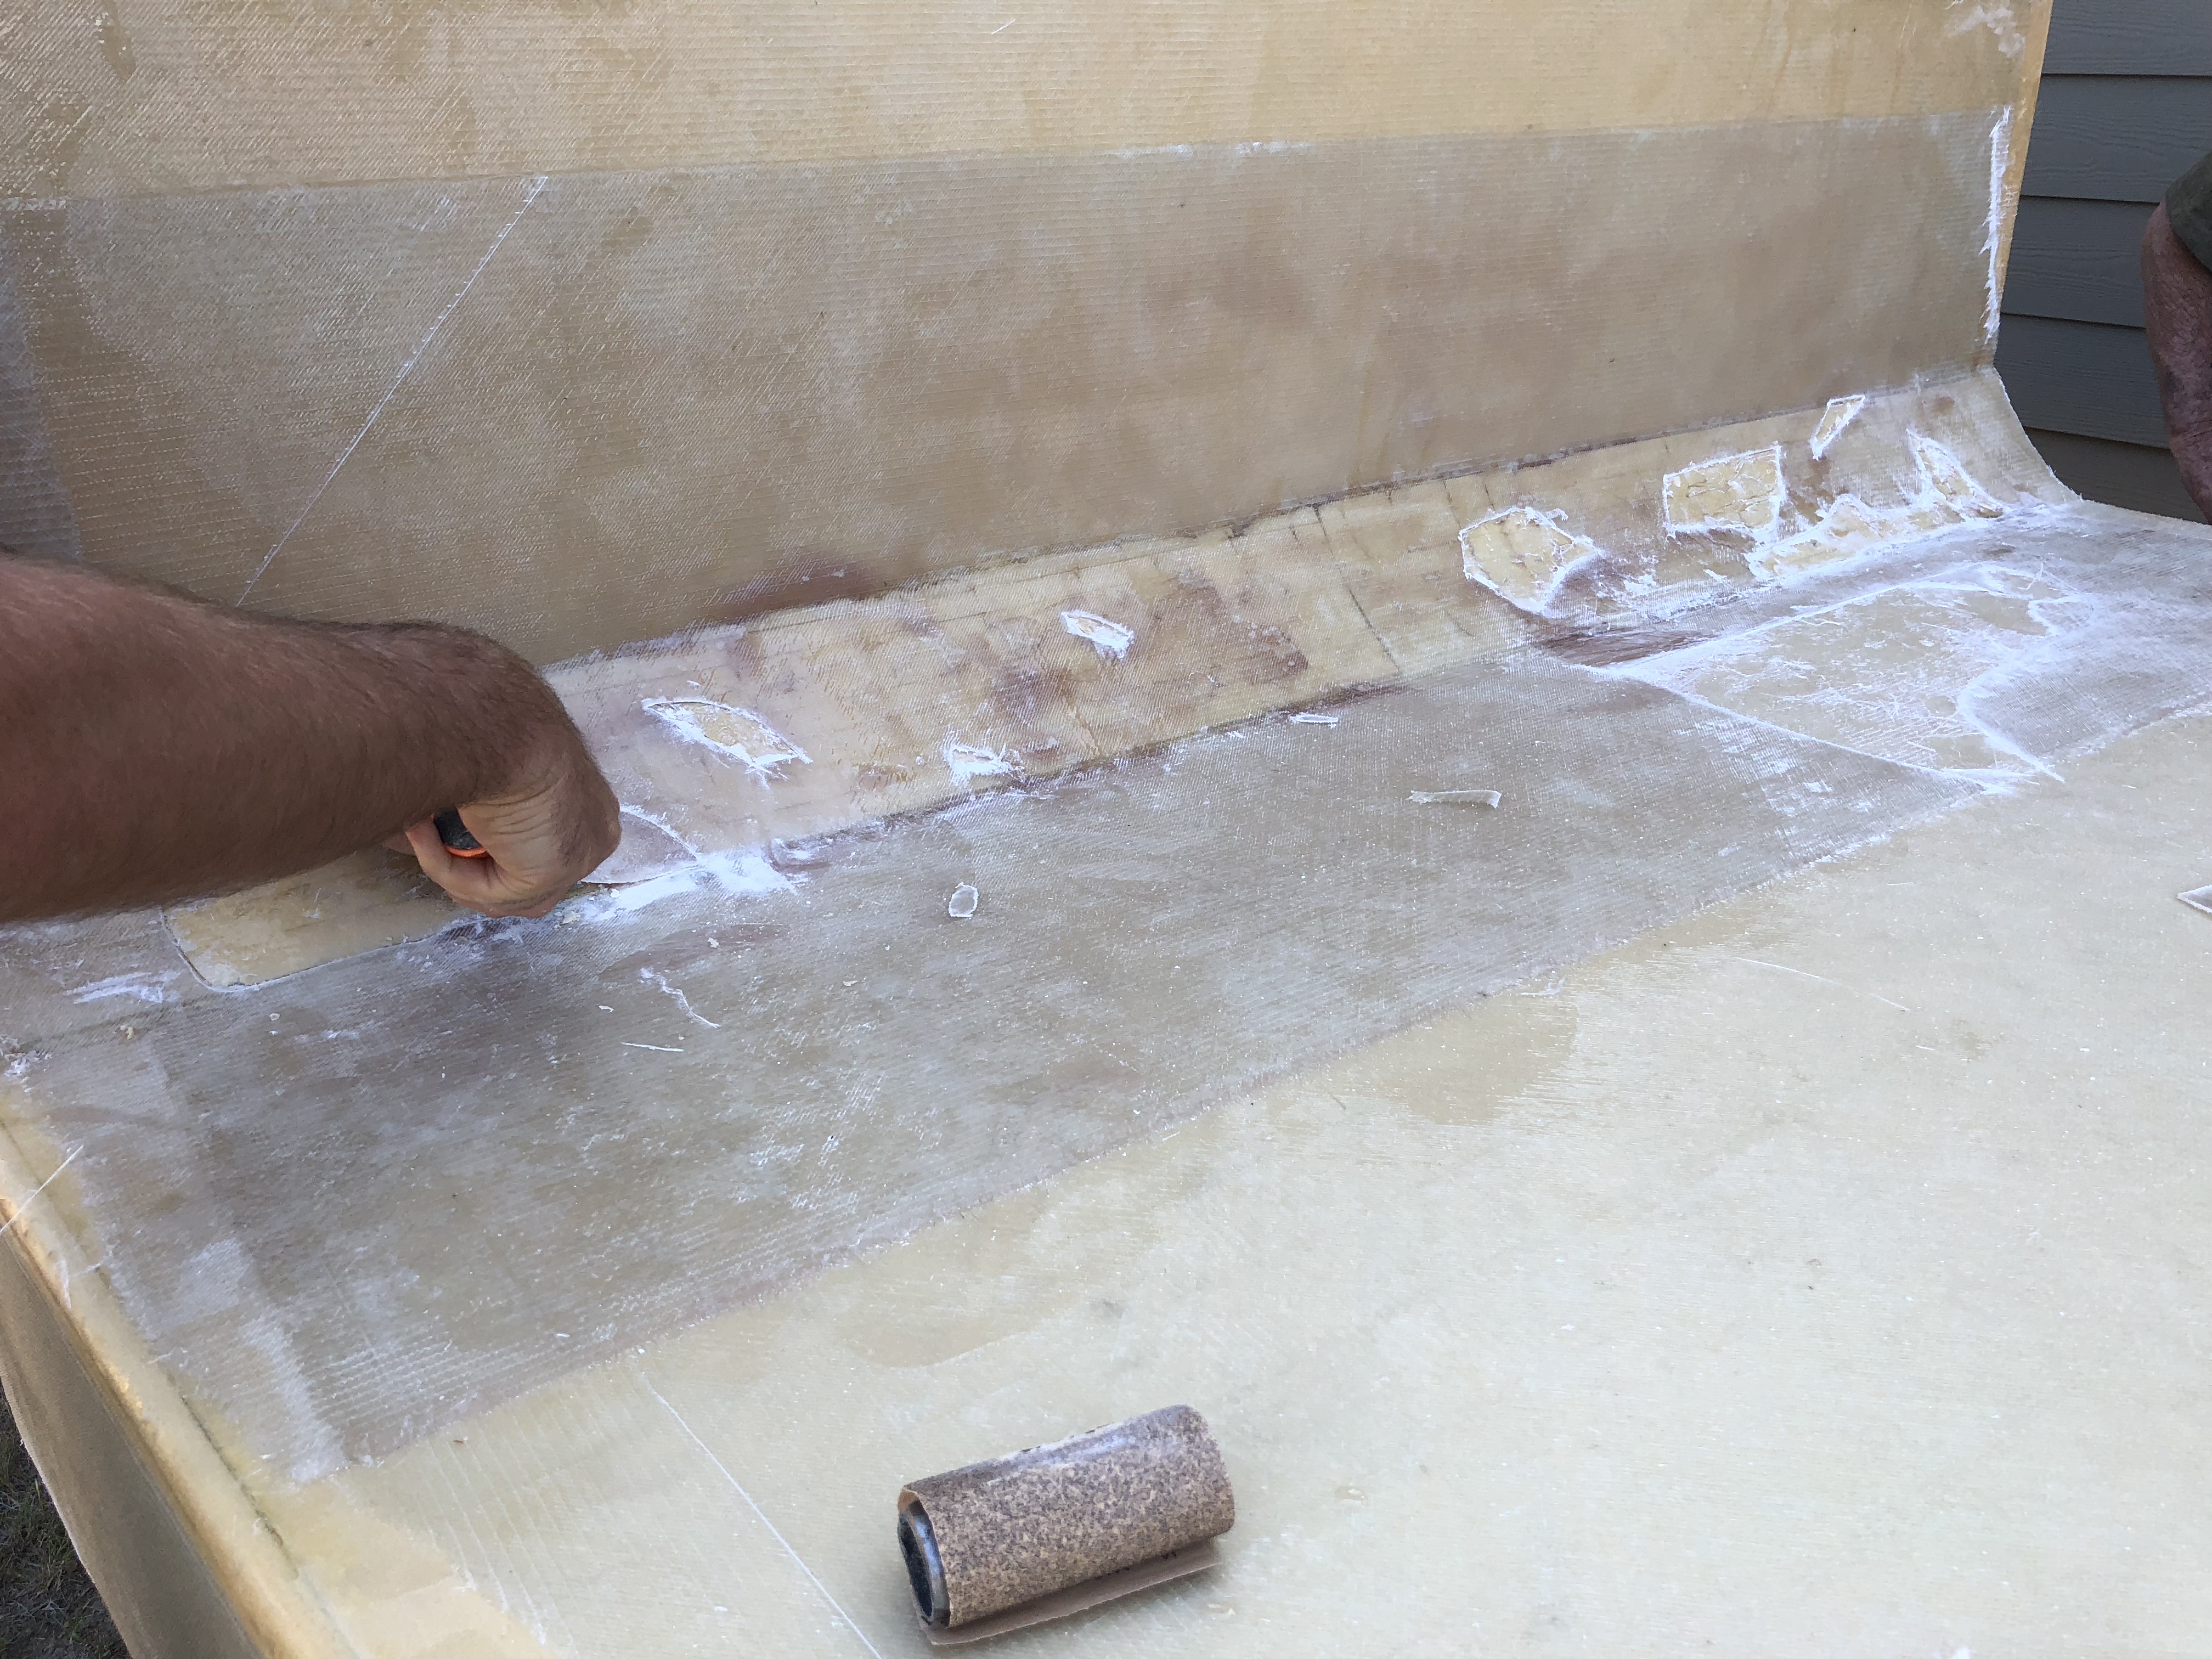
After we spent enough time glaring at our mess, it was time to start cutting out the spots that were bubbled, or had too much resin.
IMG_9657.jpg

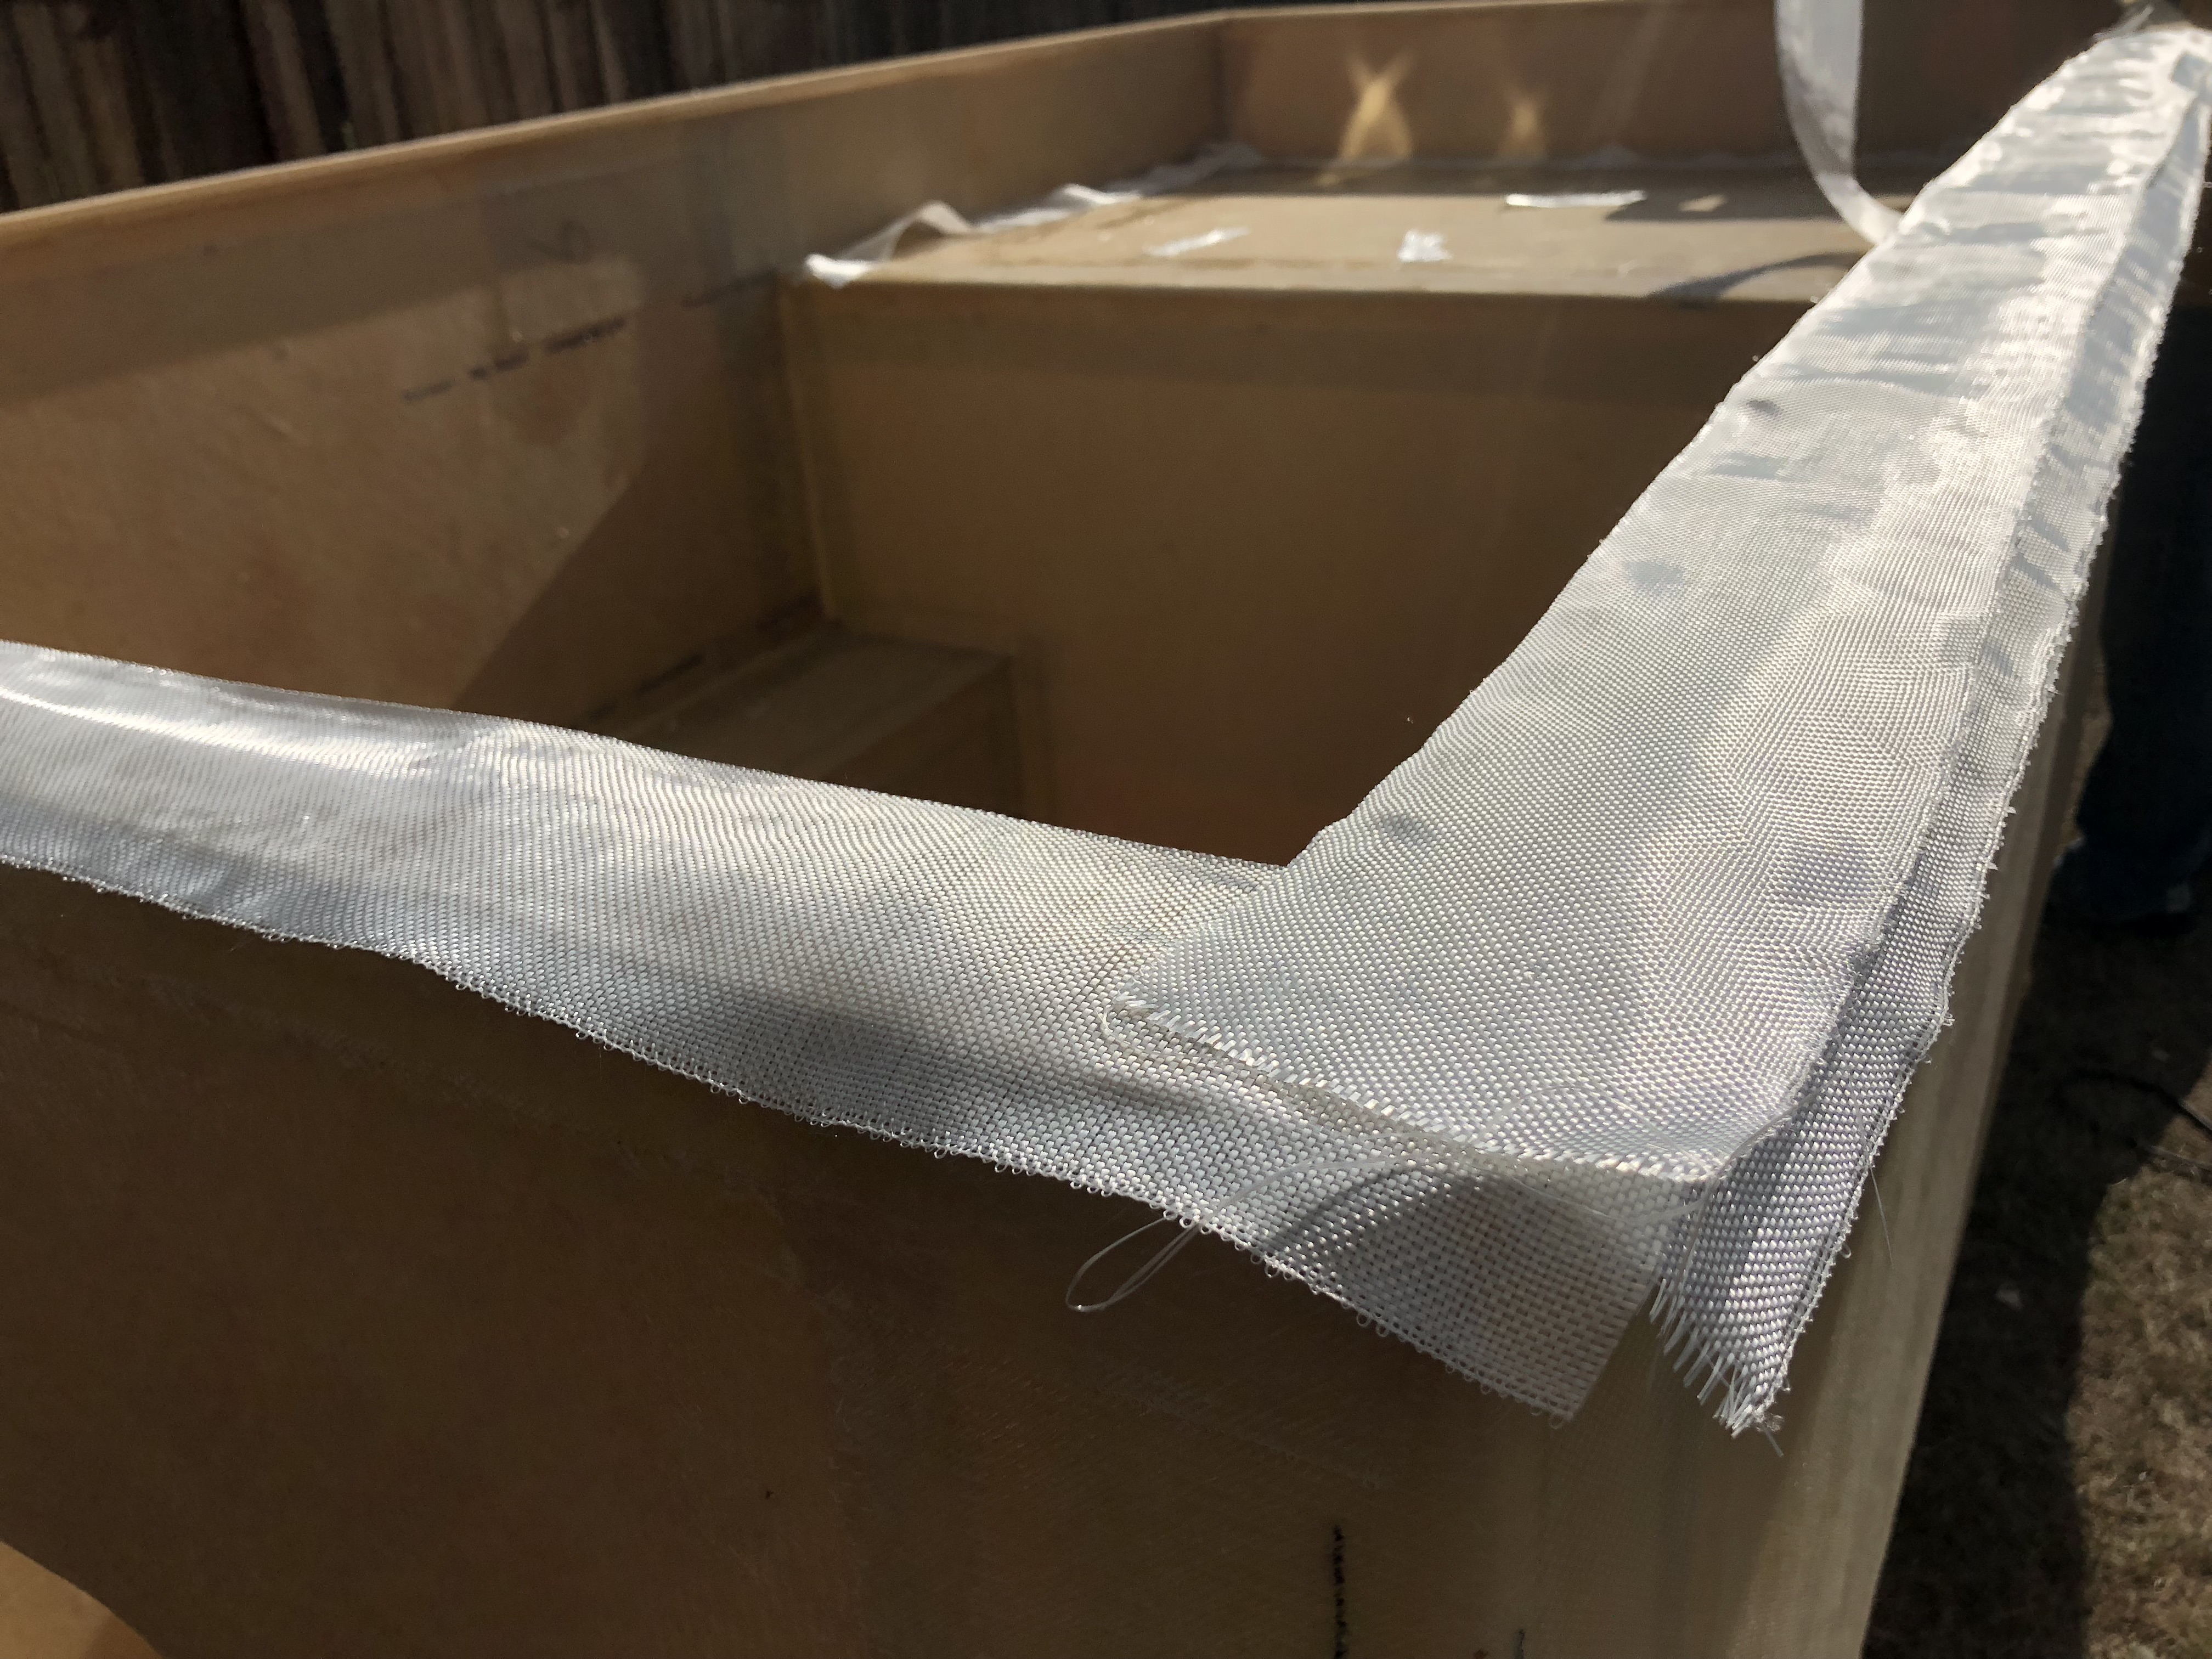
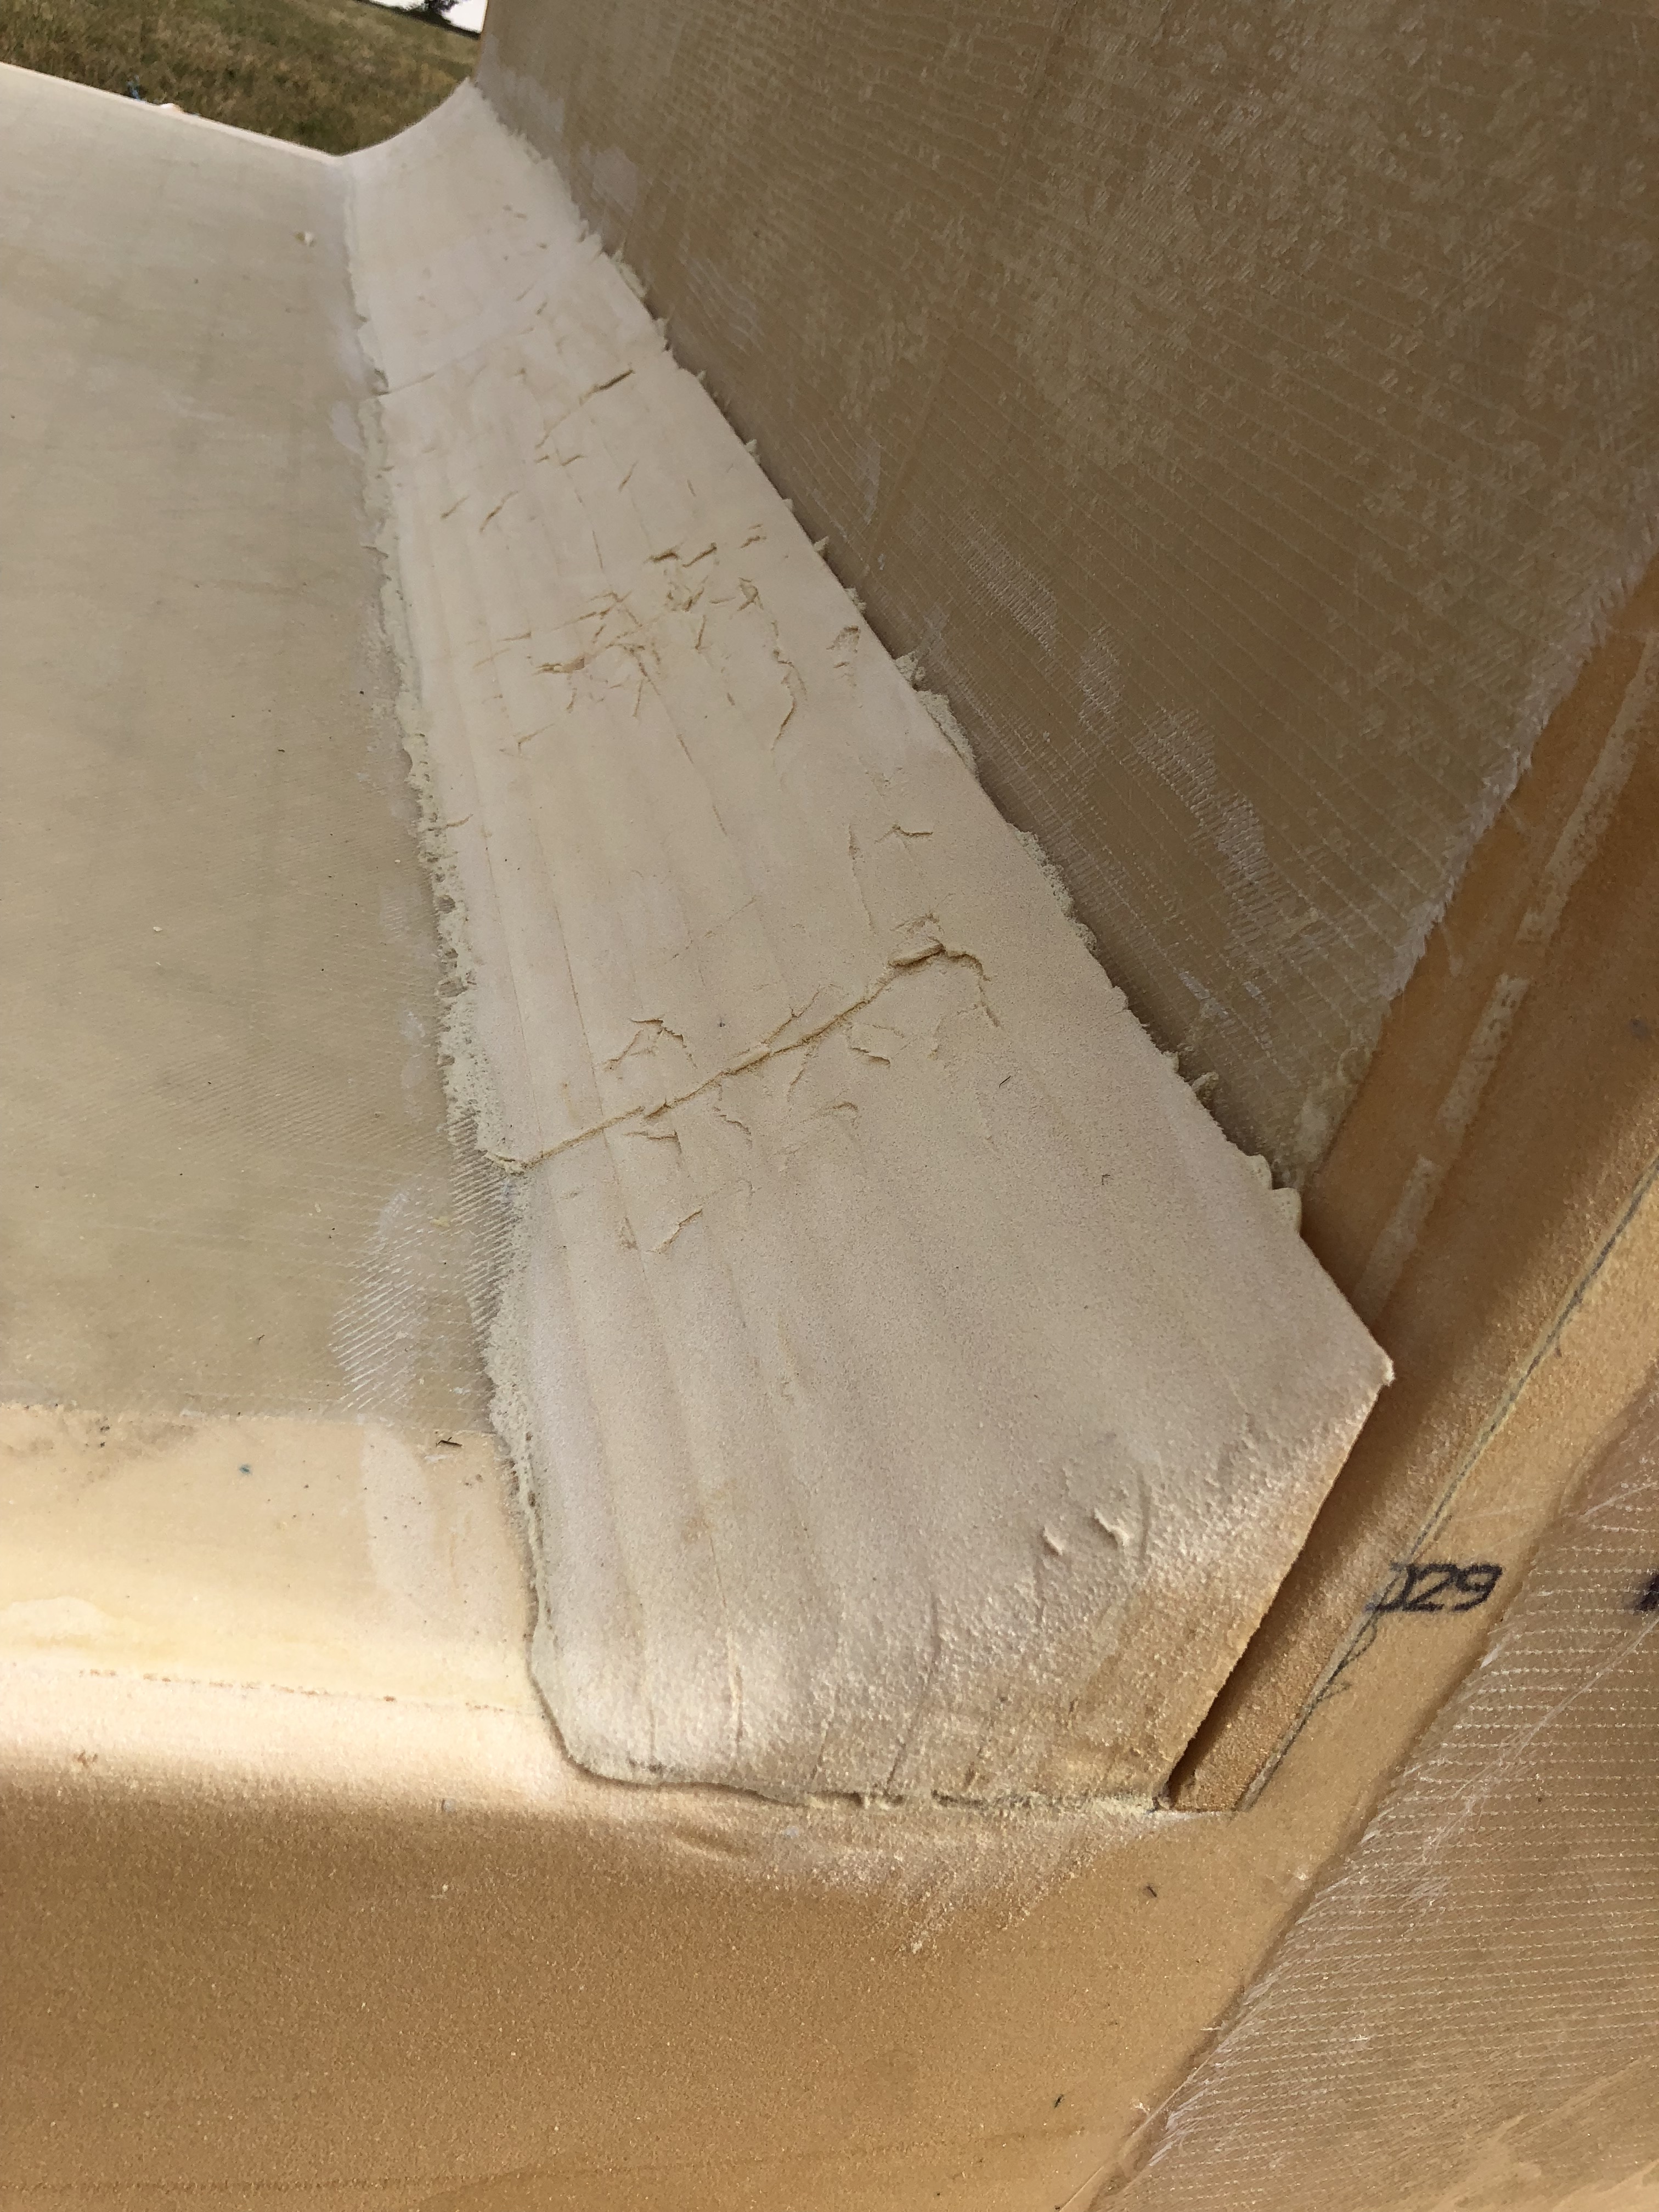
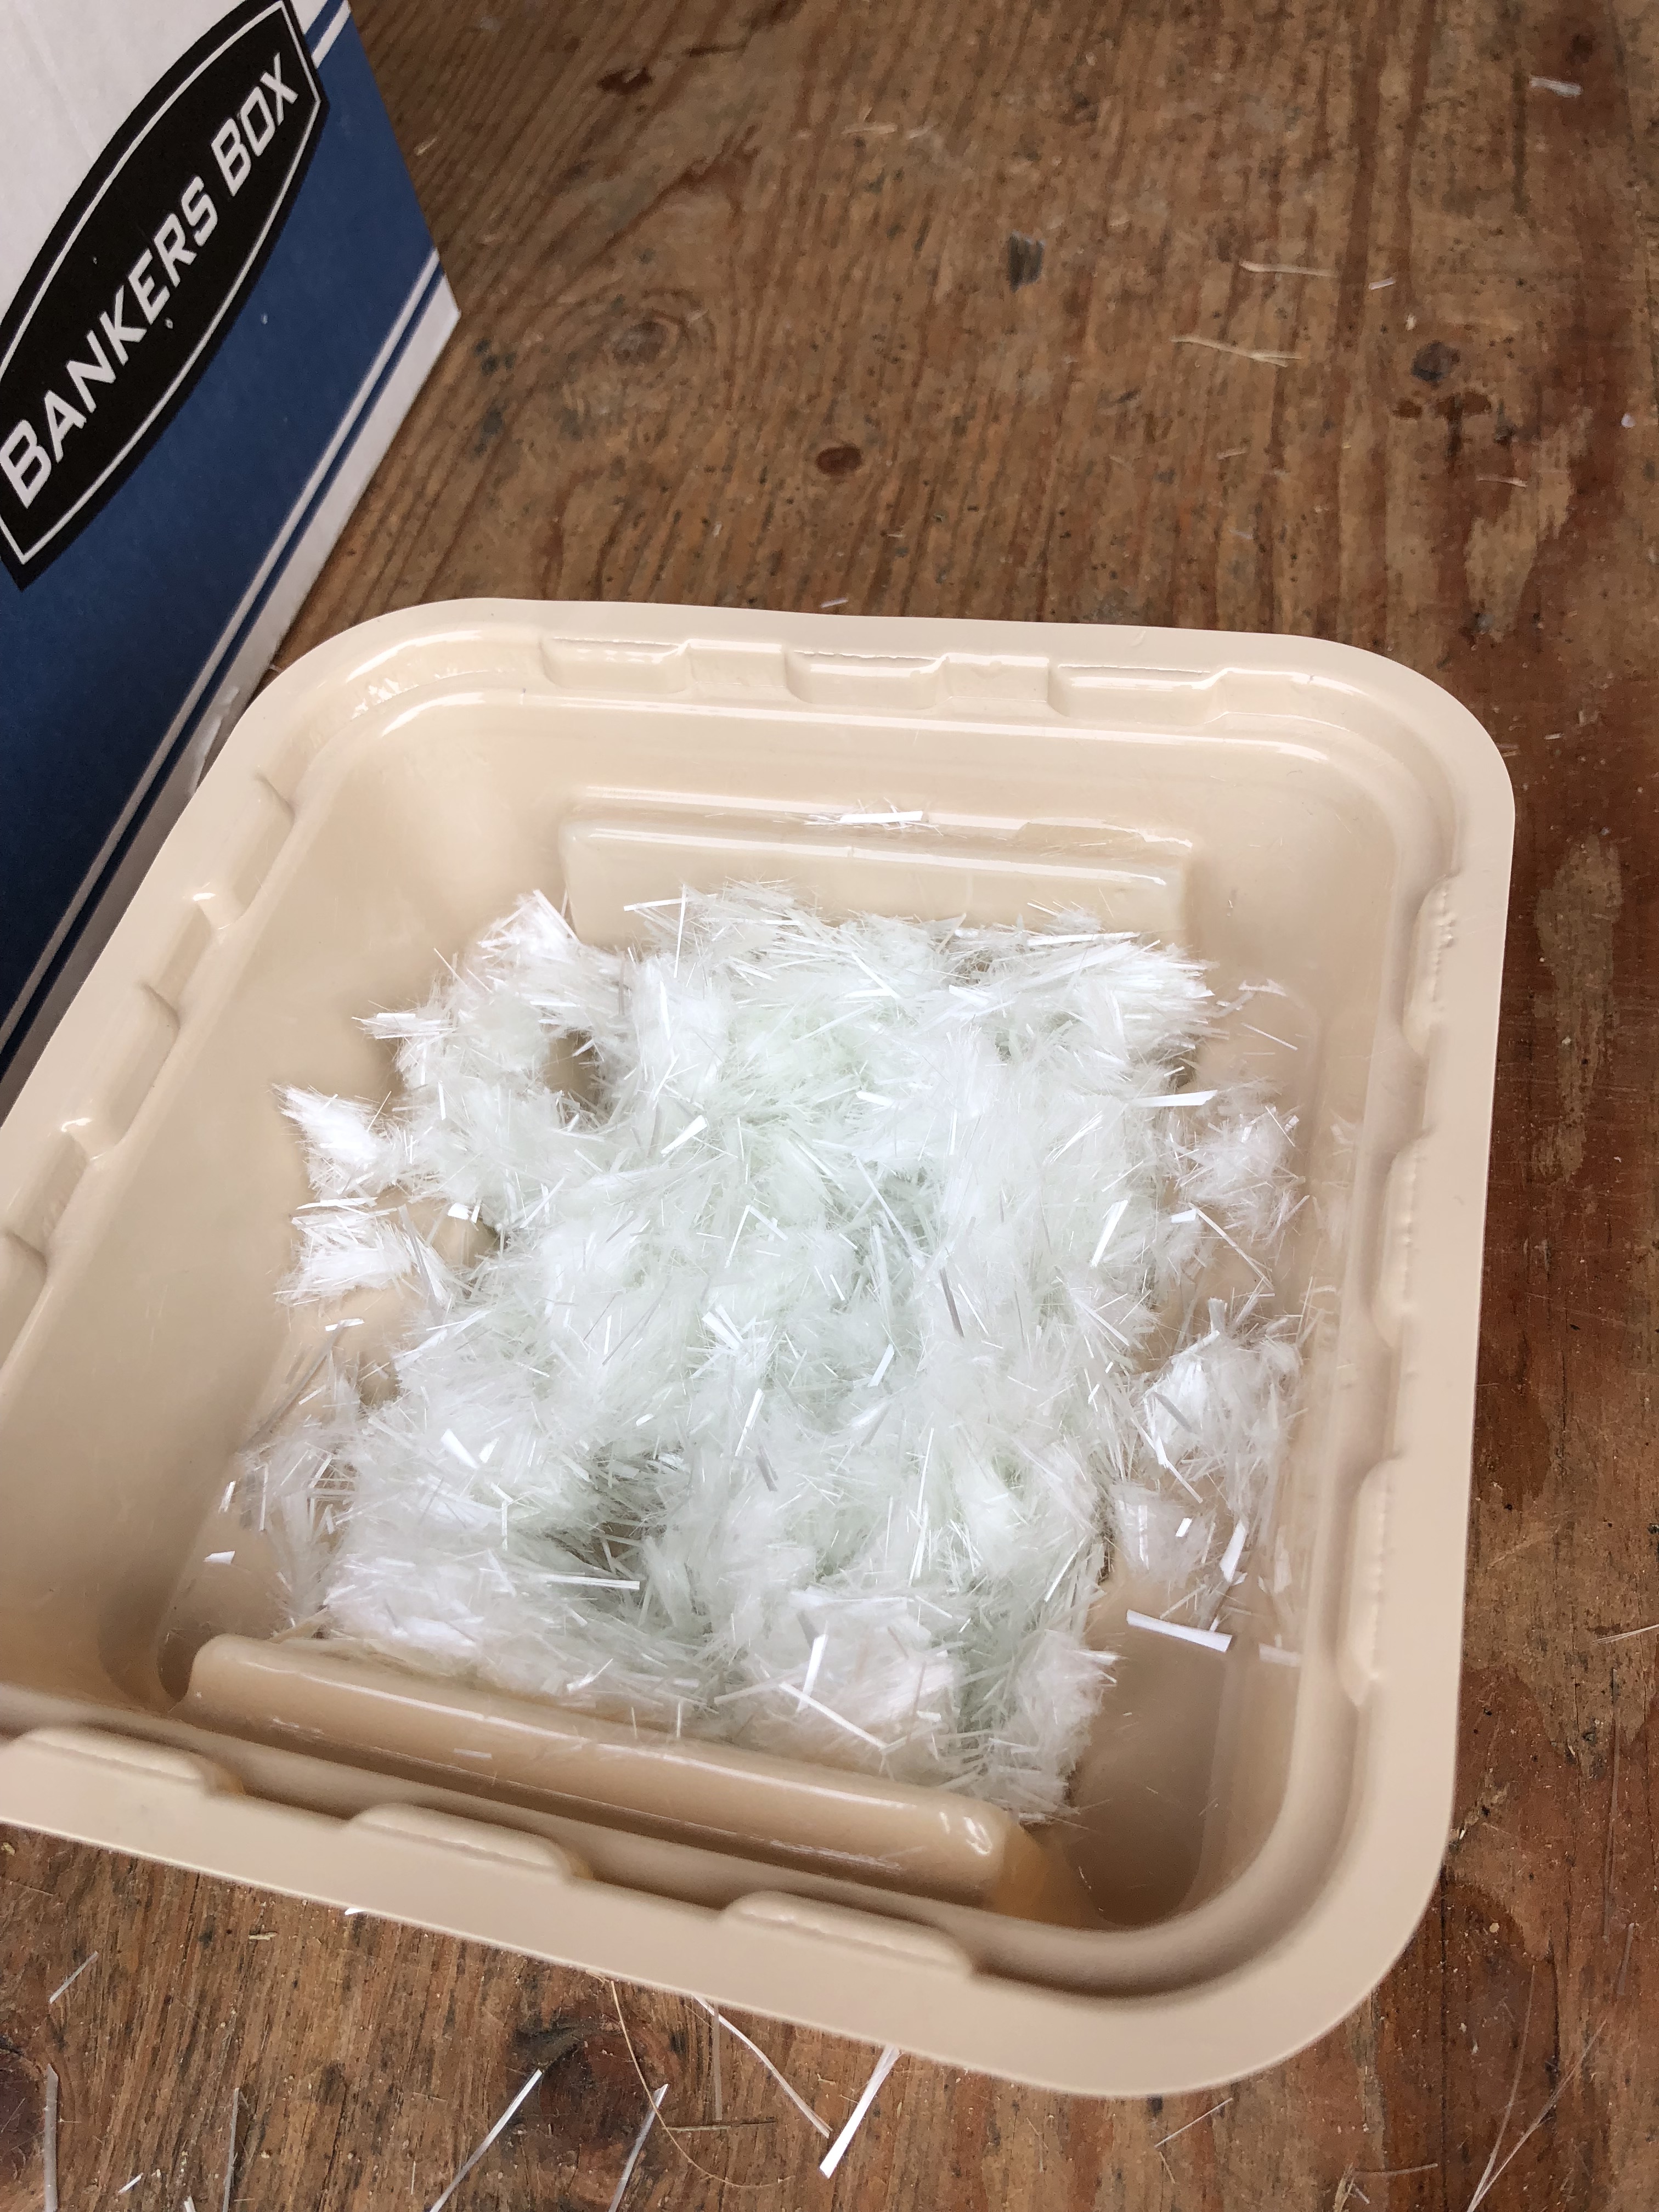
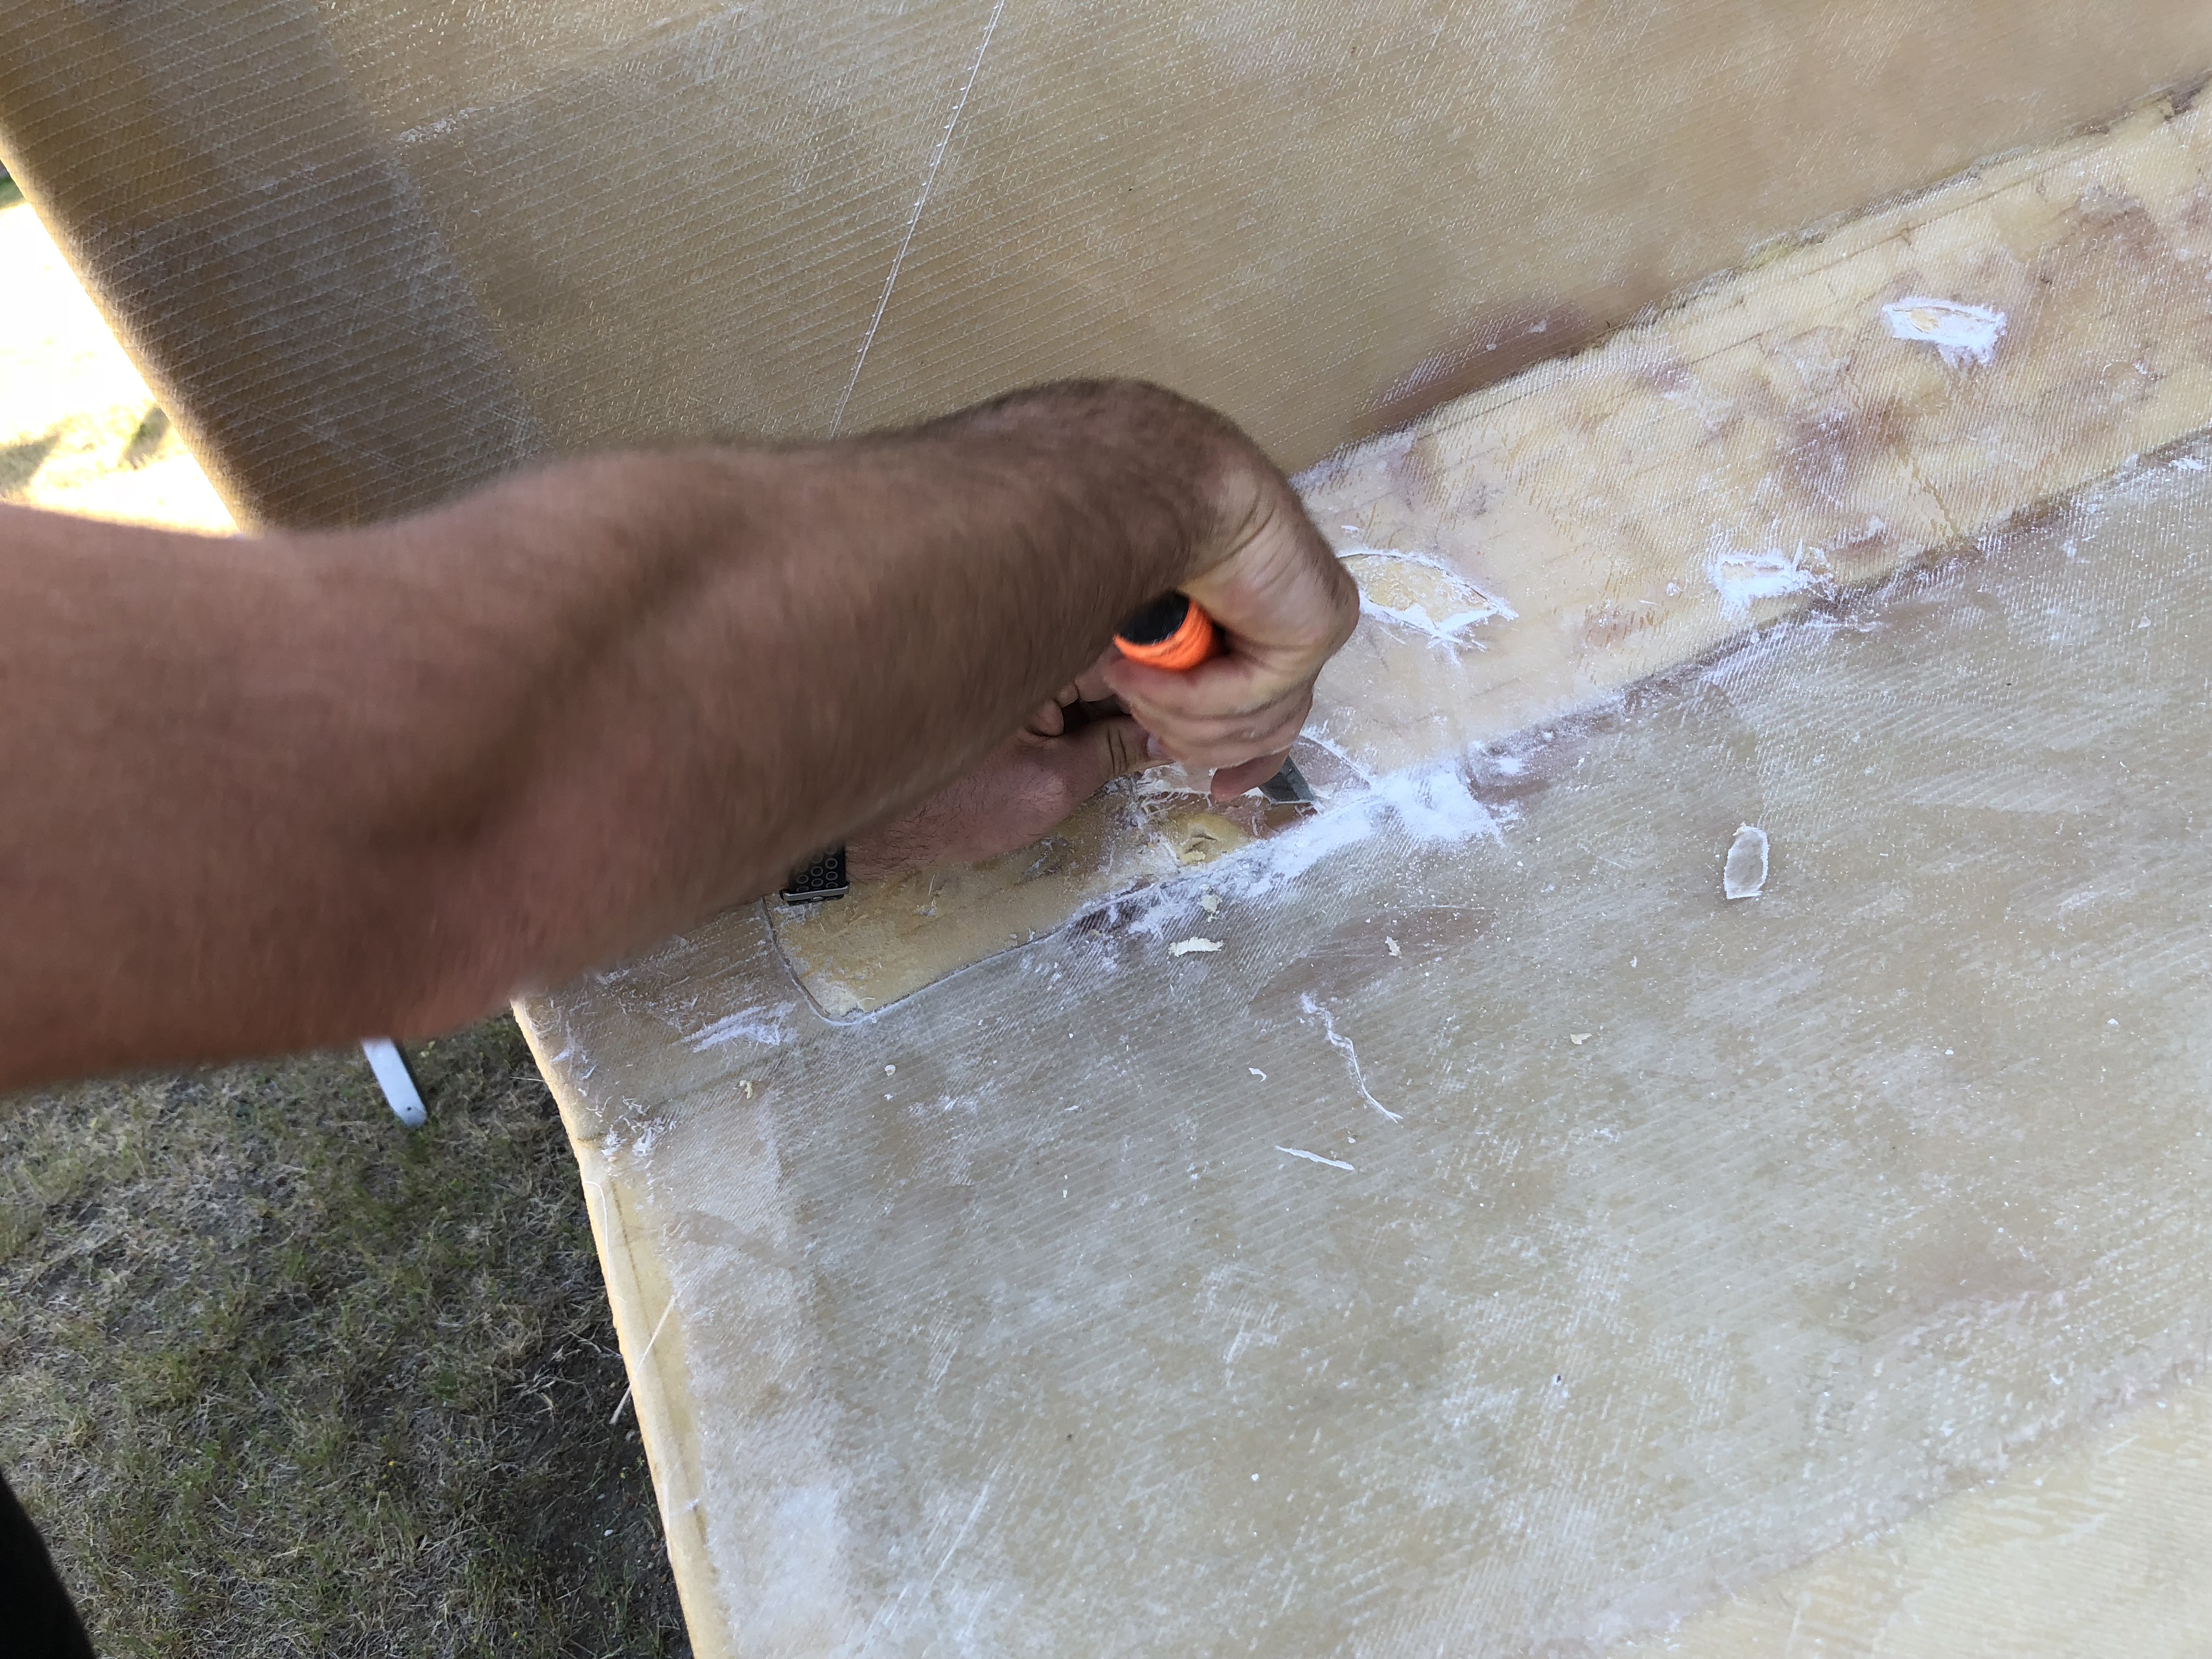
After we cut the sides, the glass just peeled off the foam gently with a chisel. Awesome...
IMG_9658.jpg

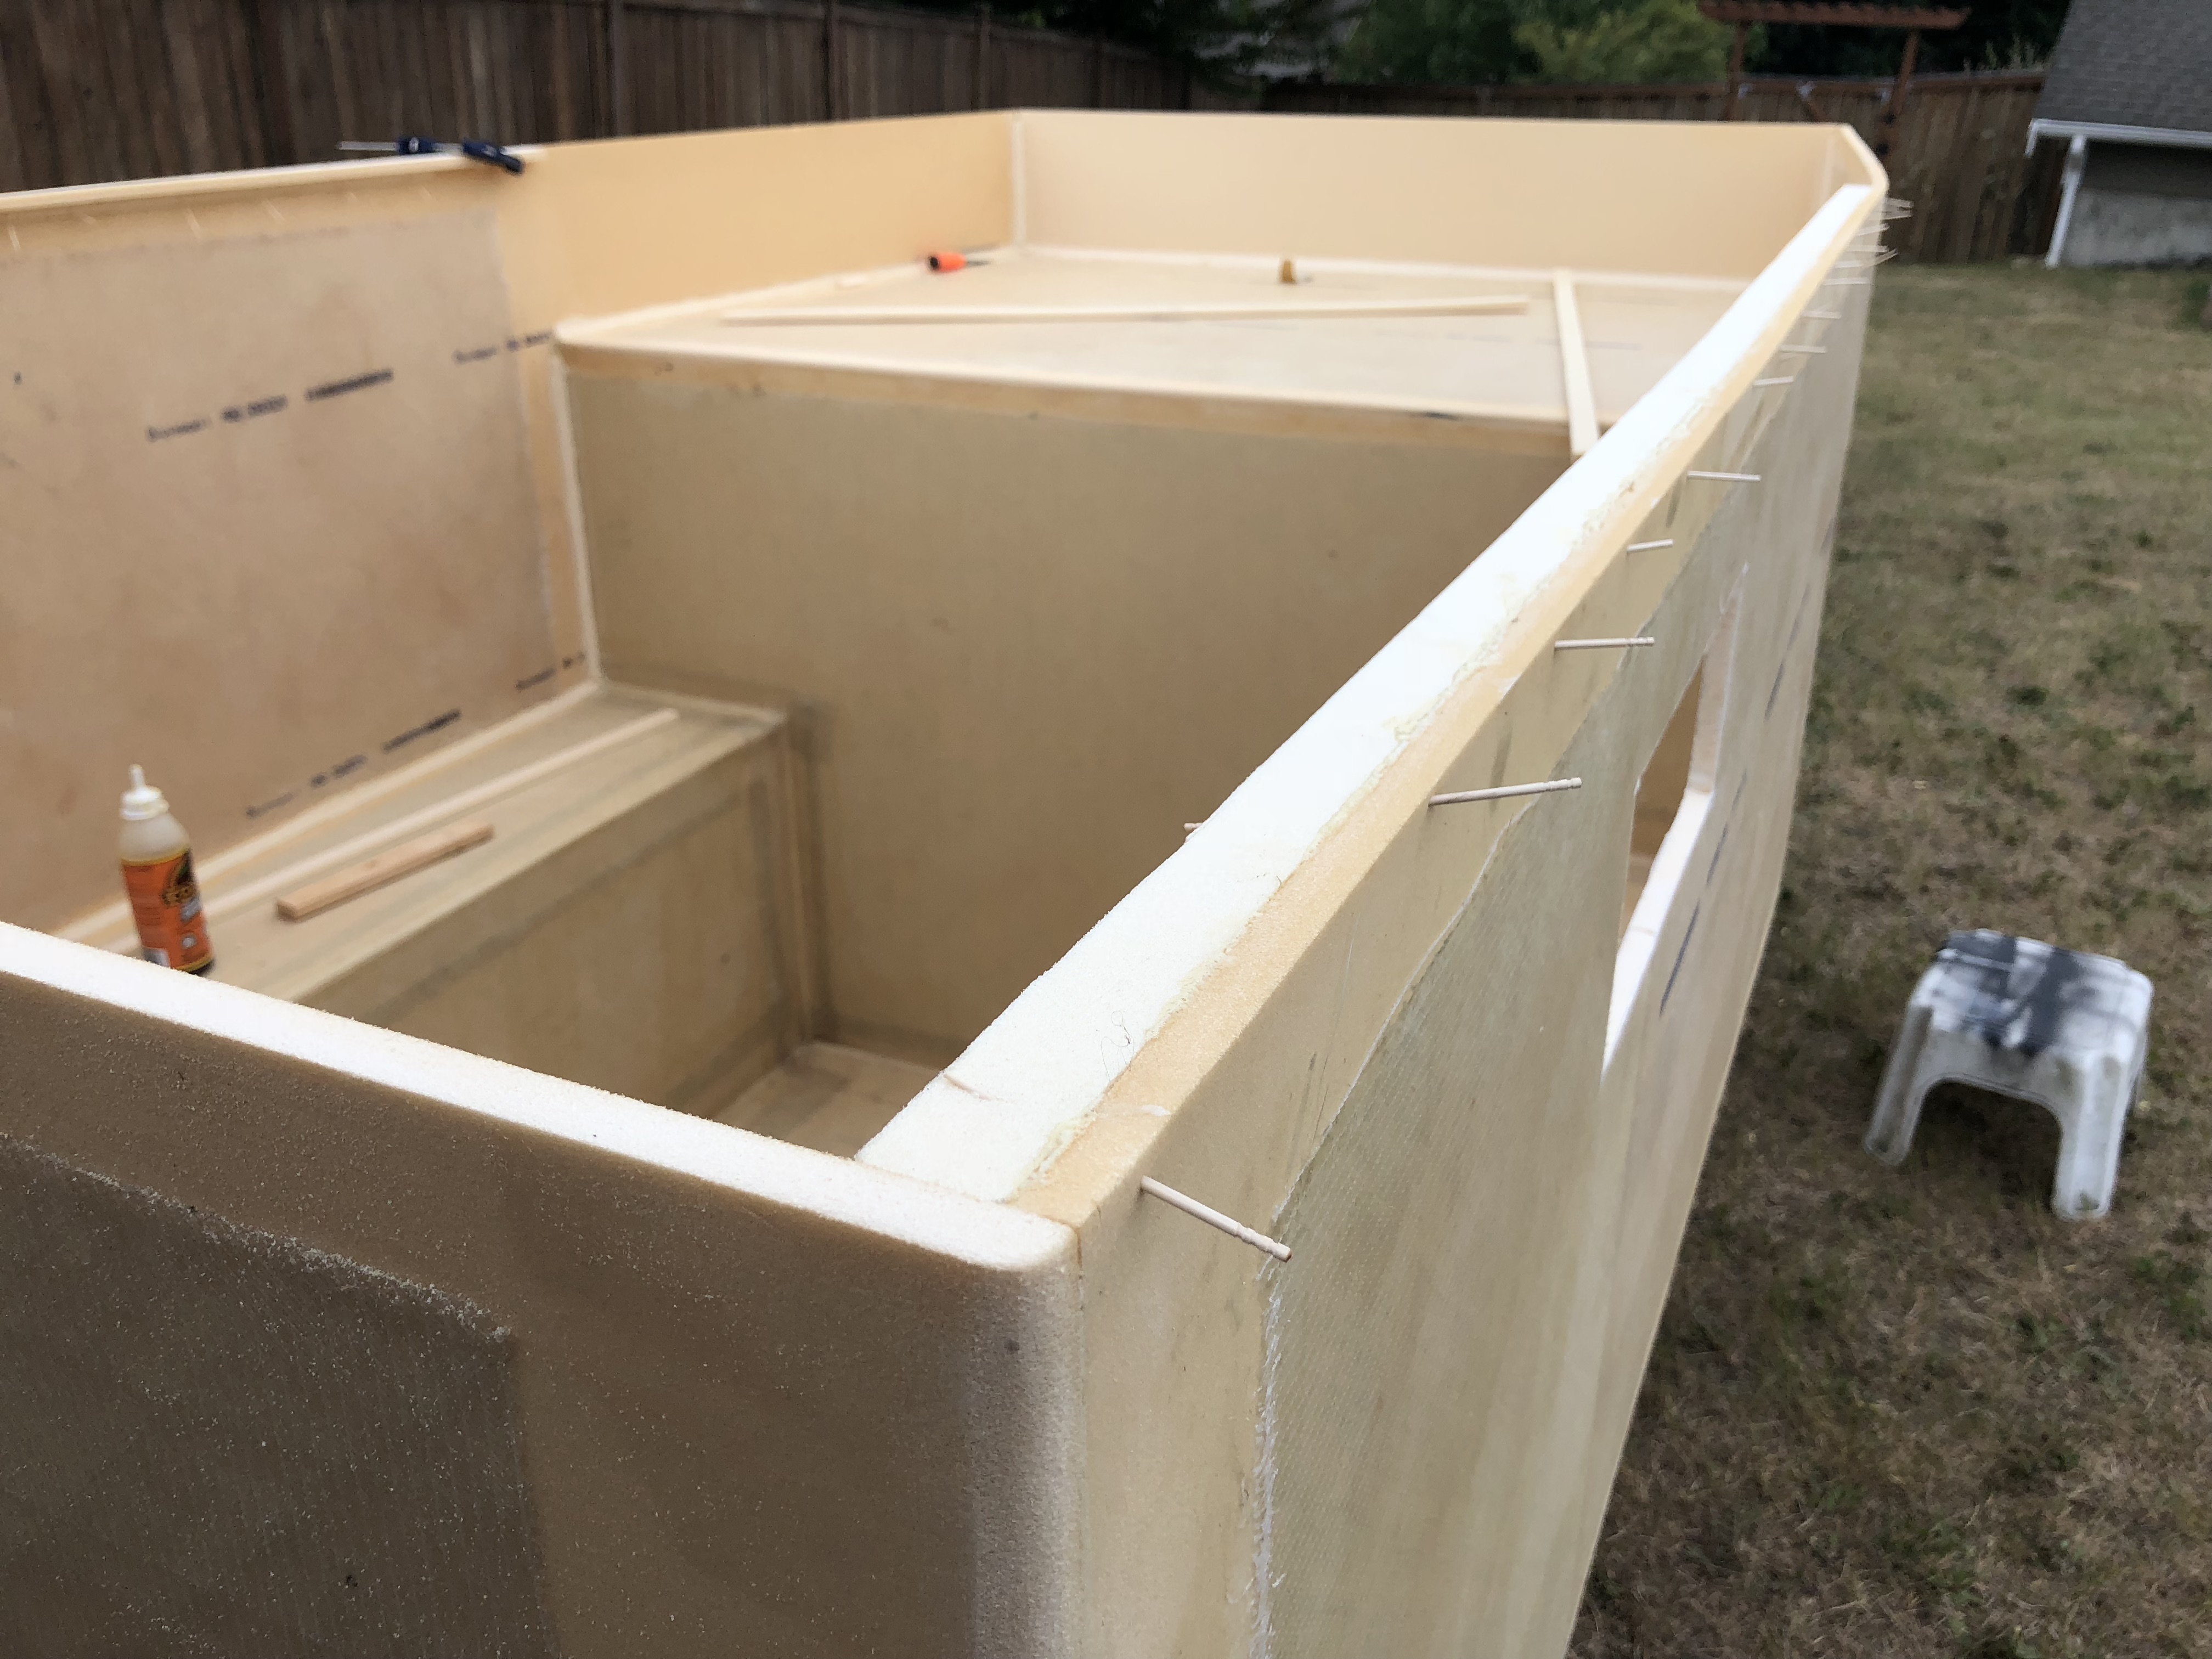
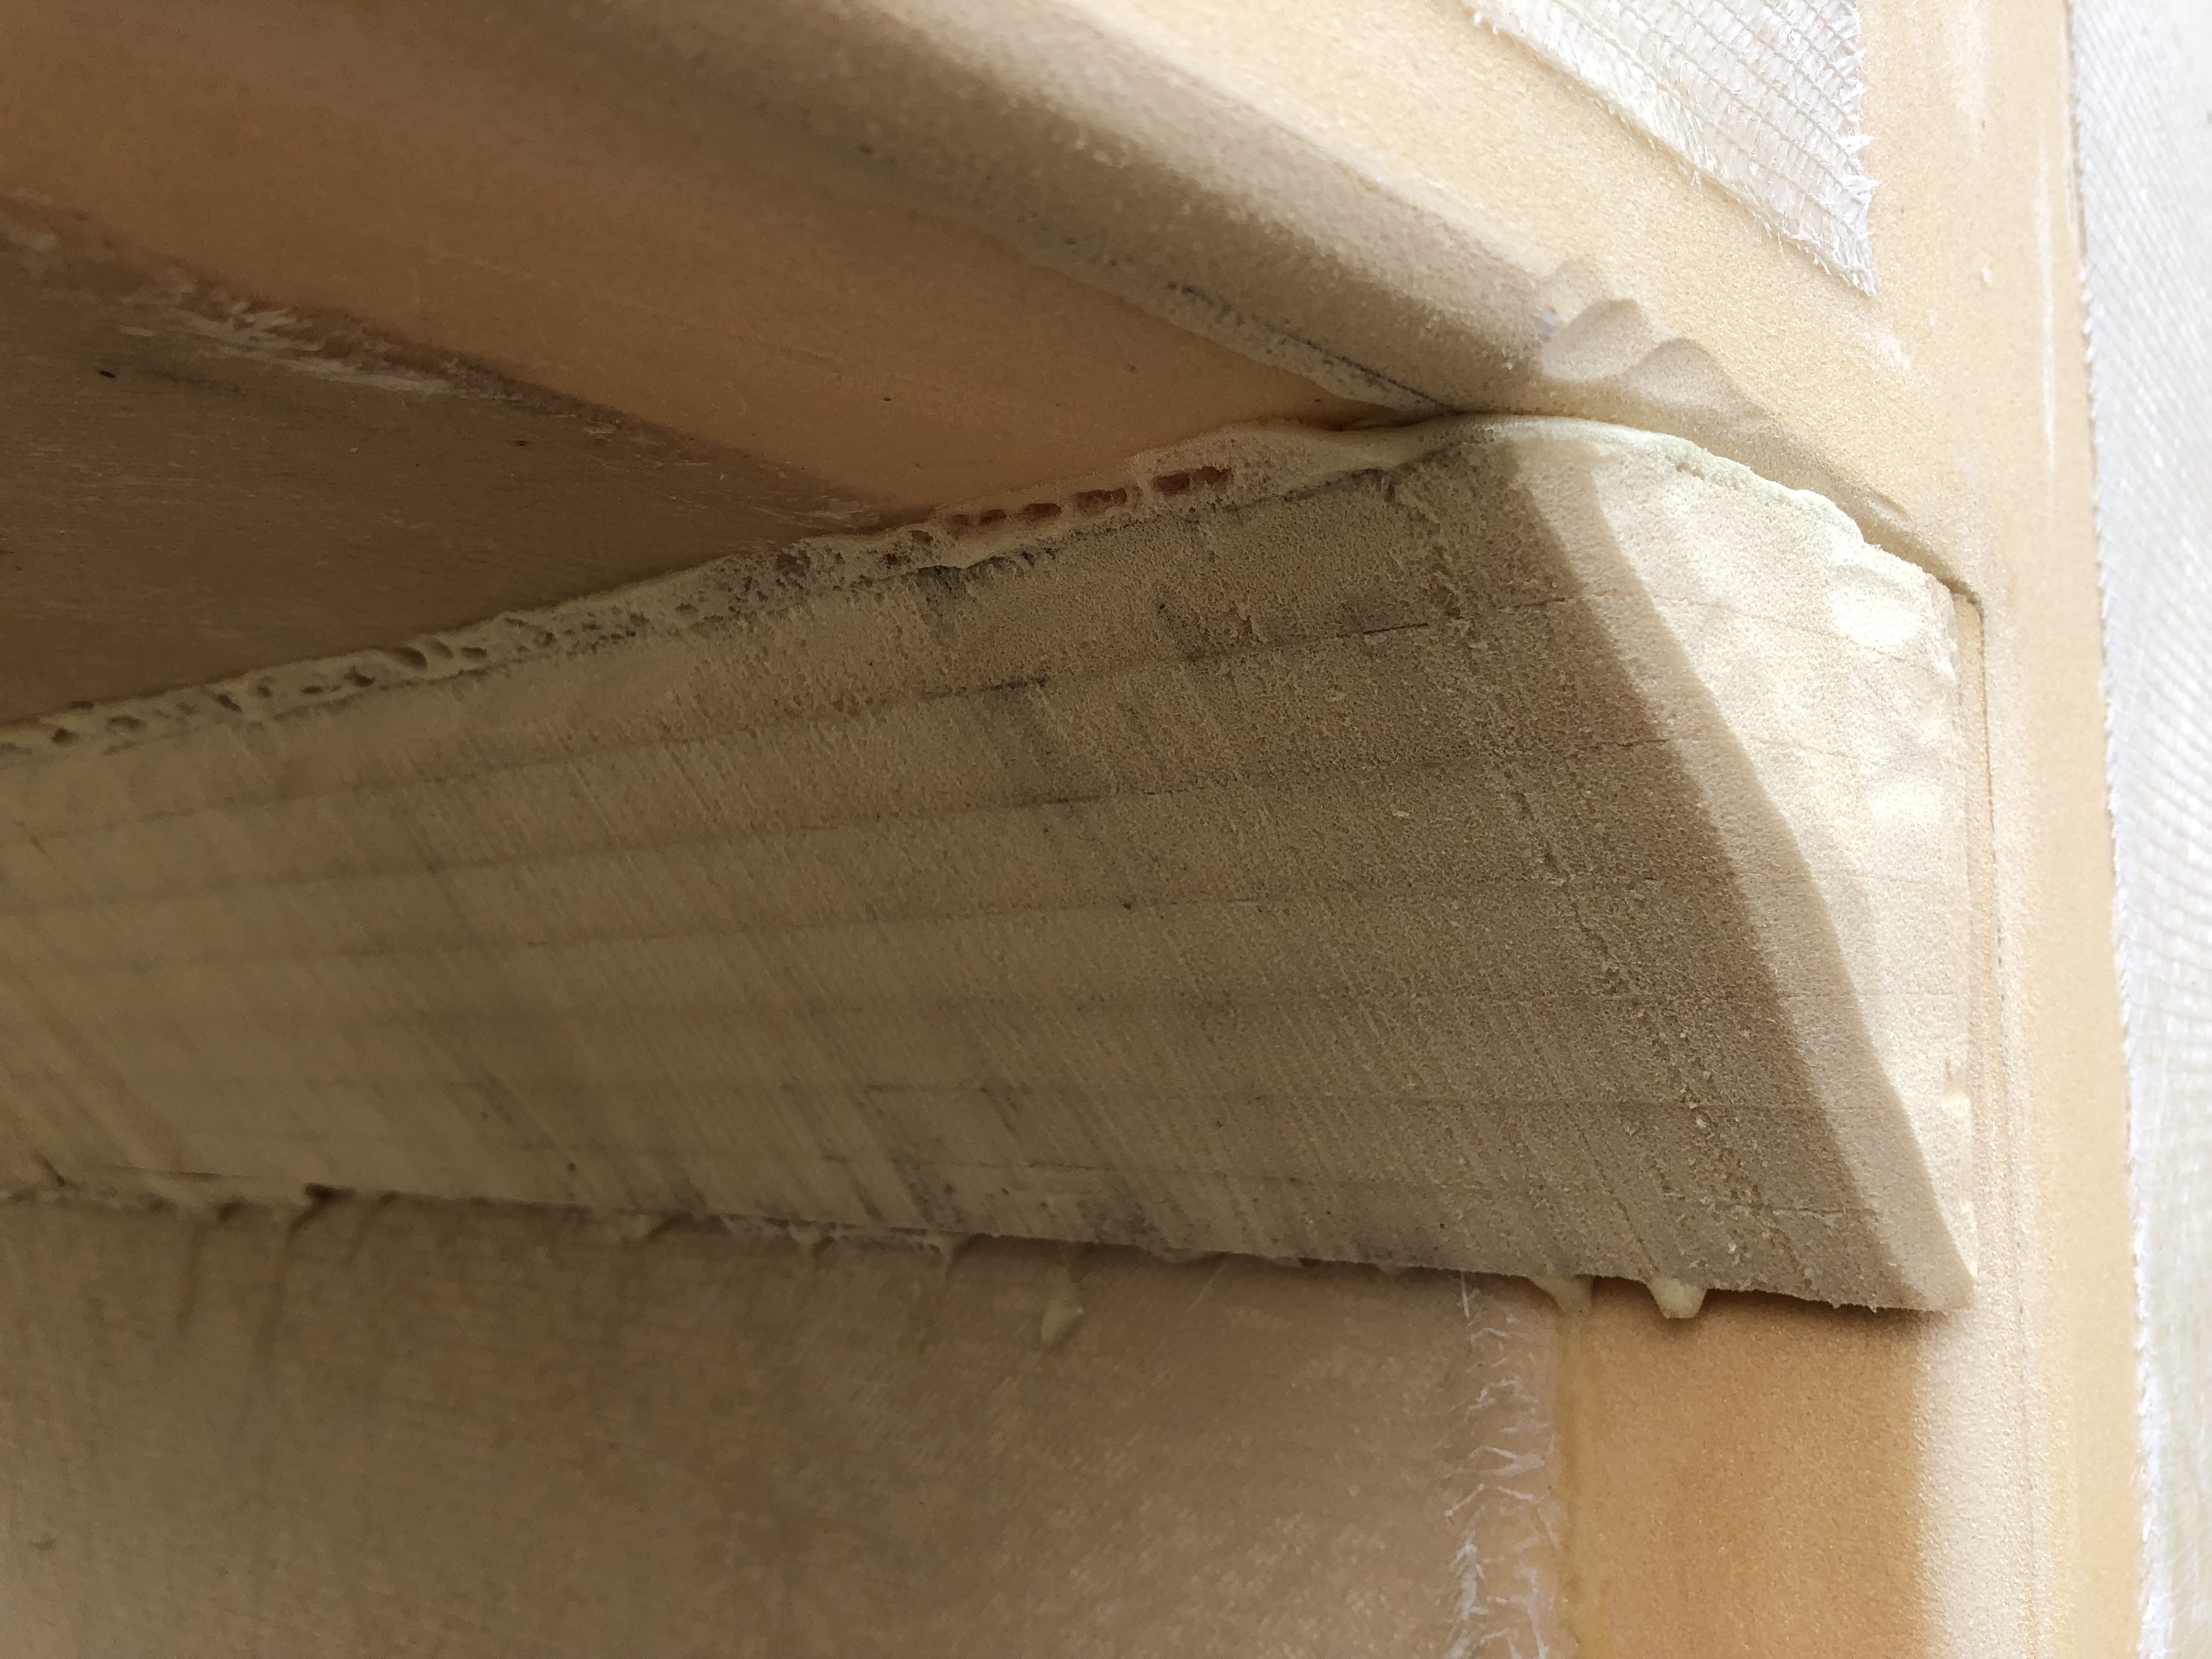
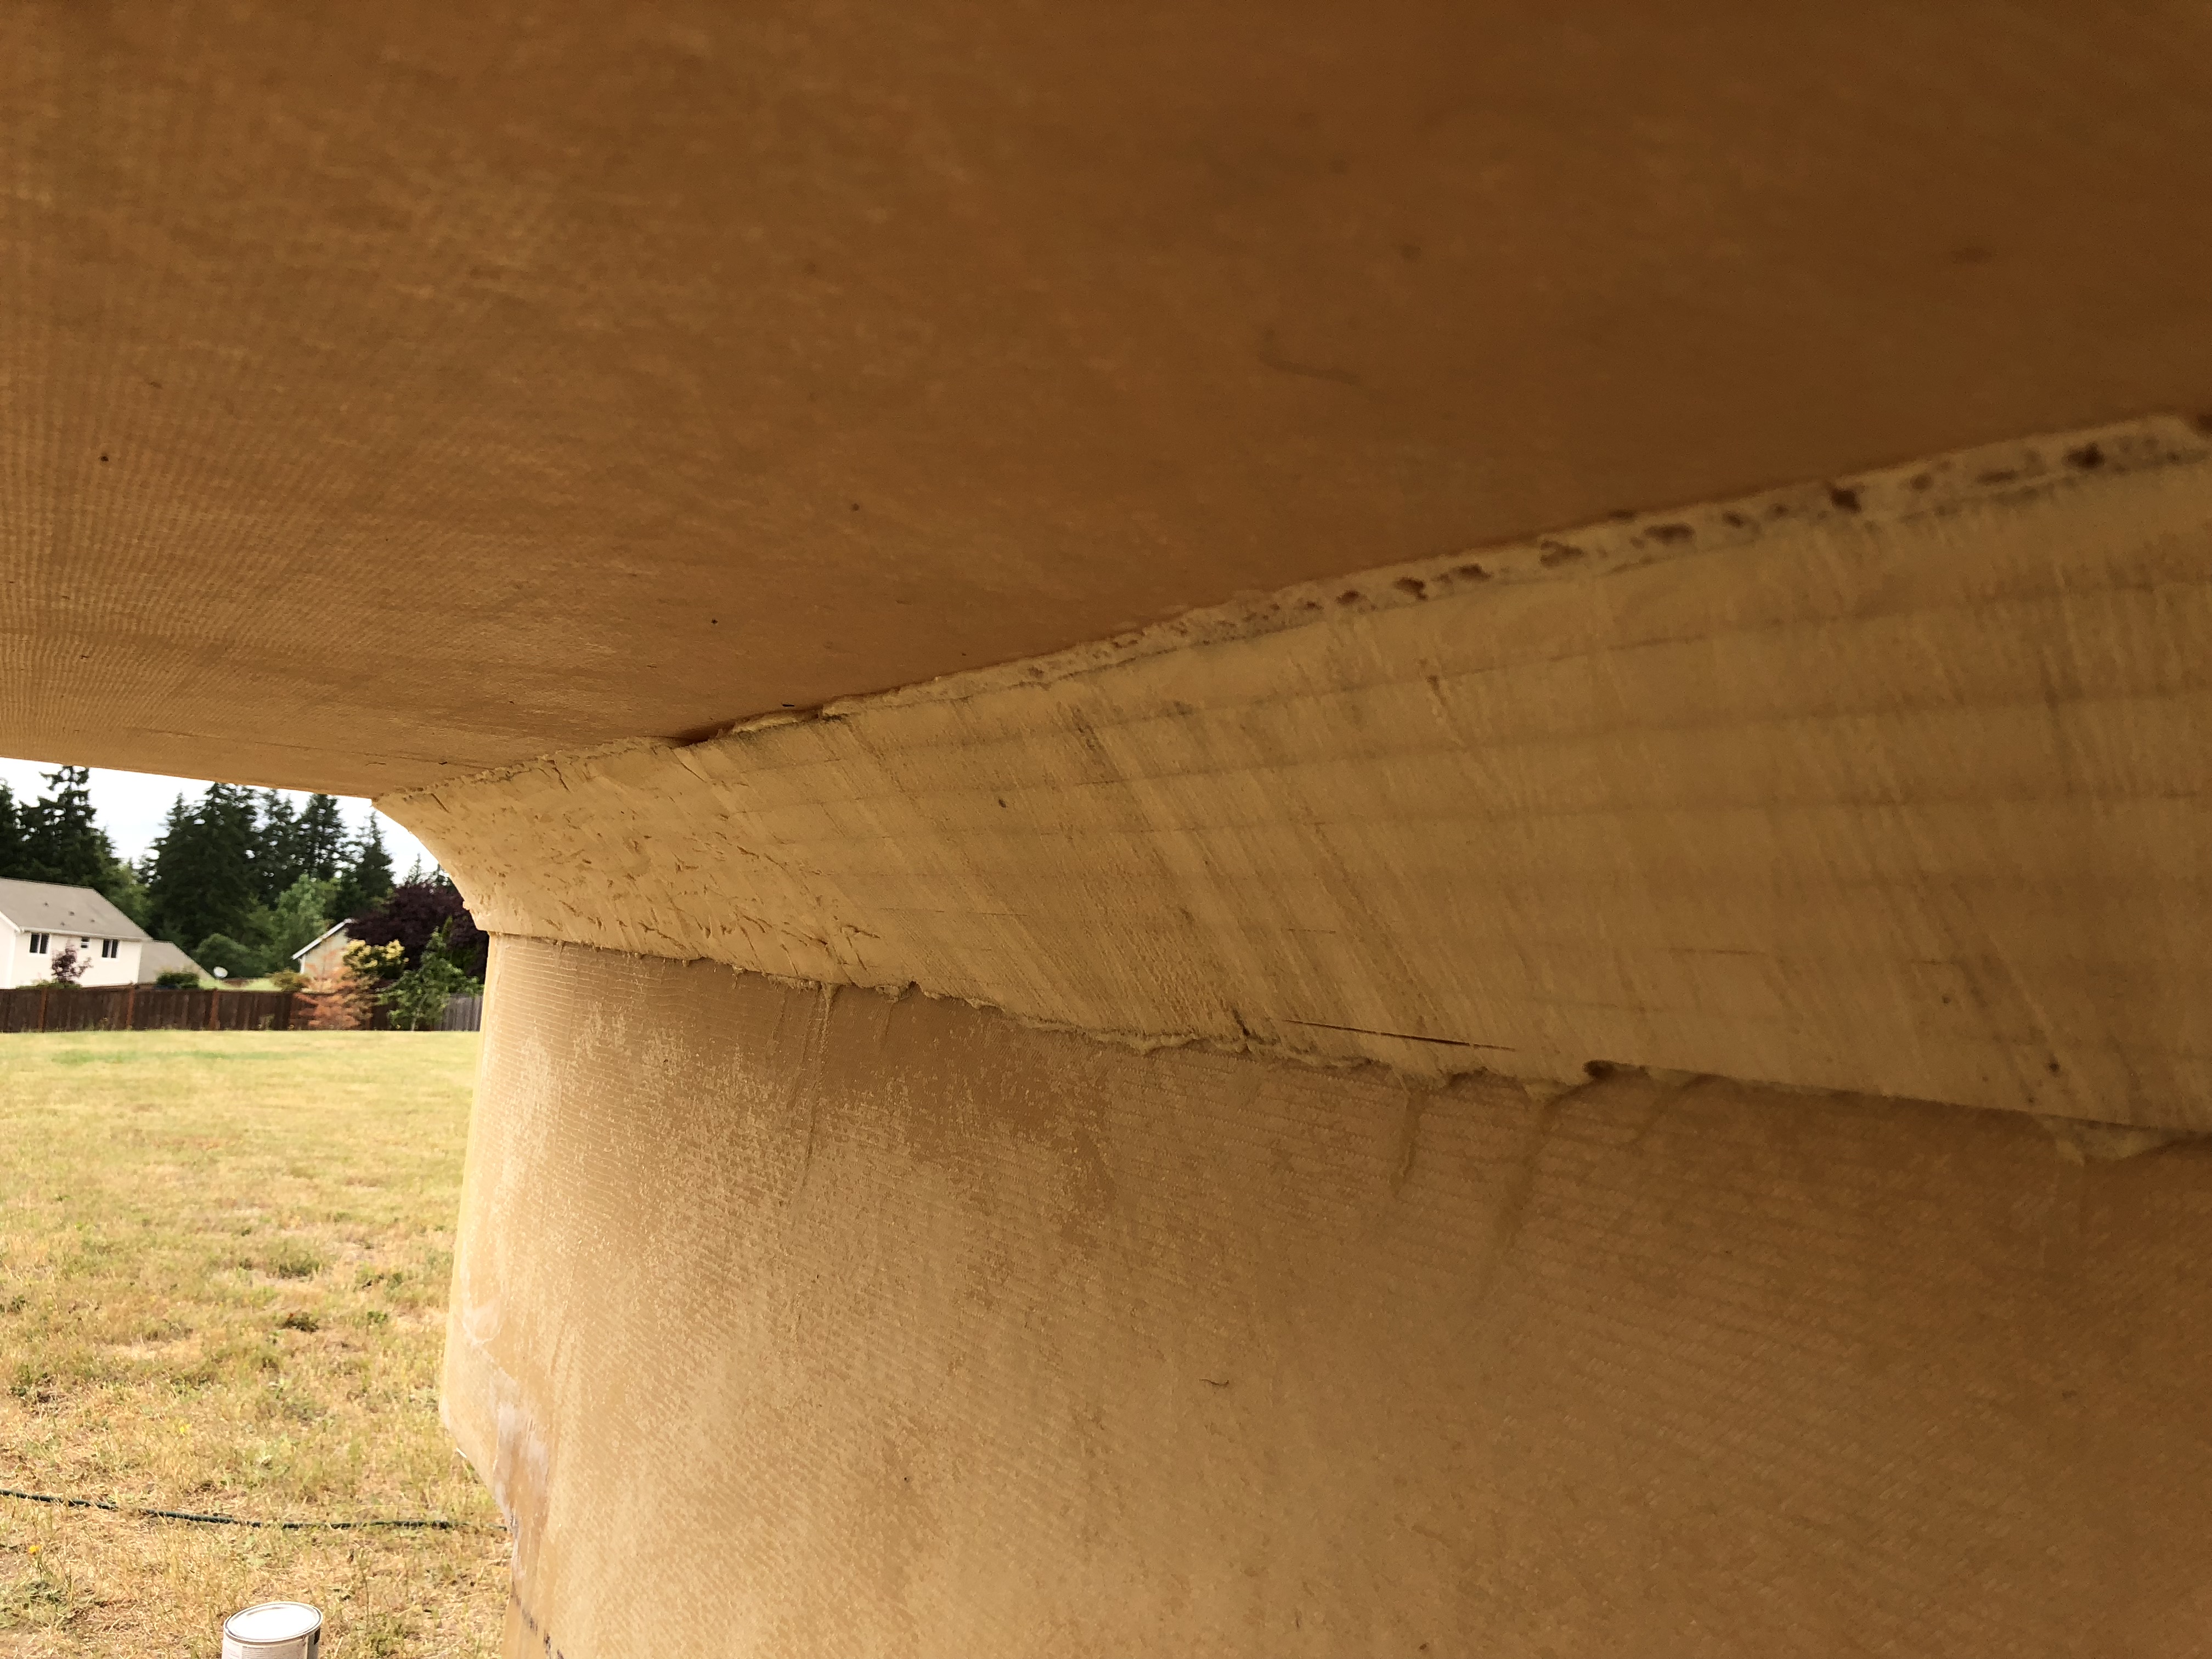
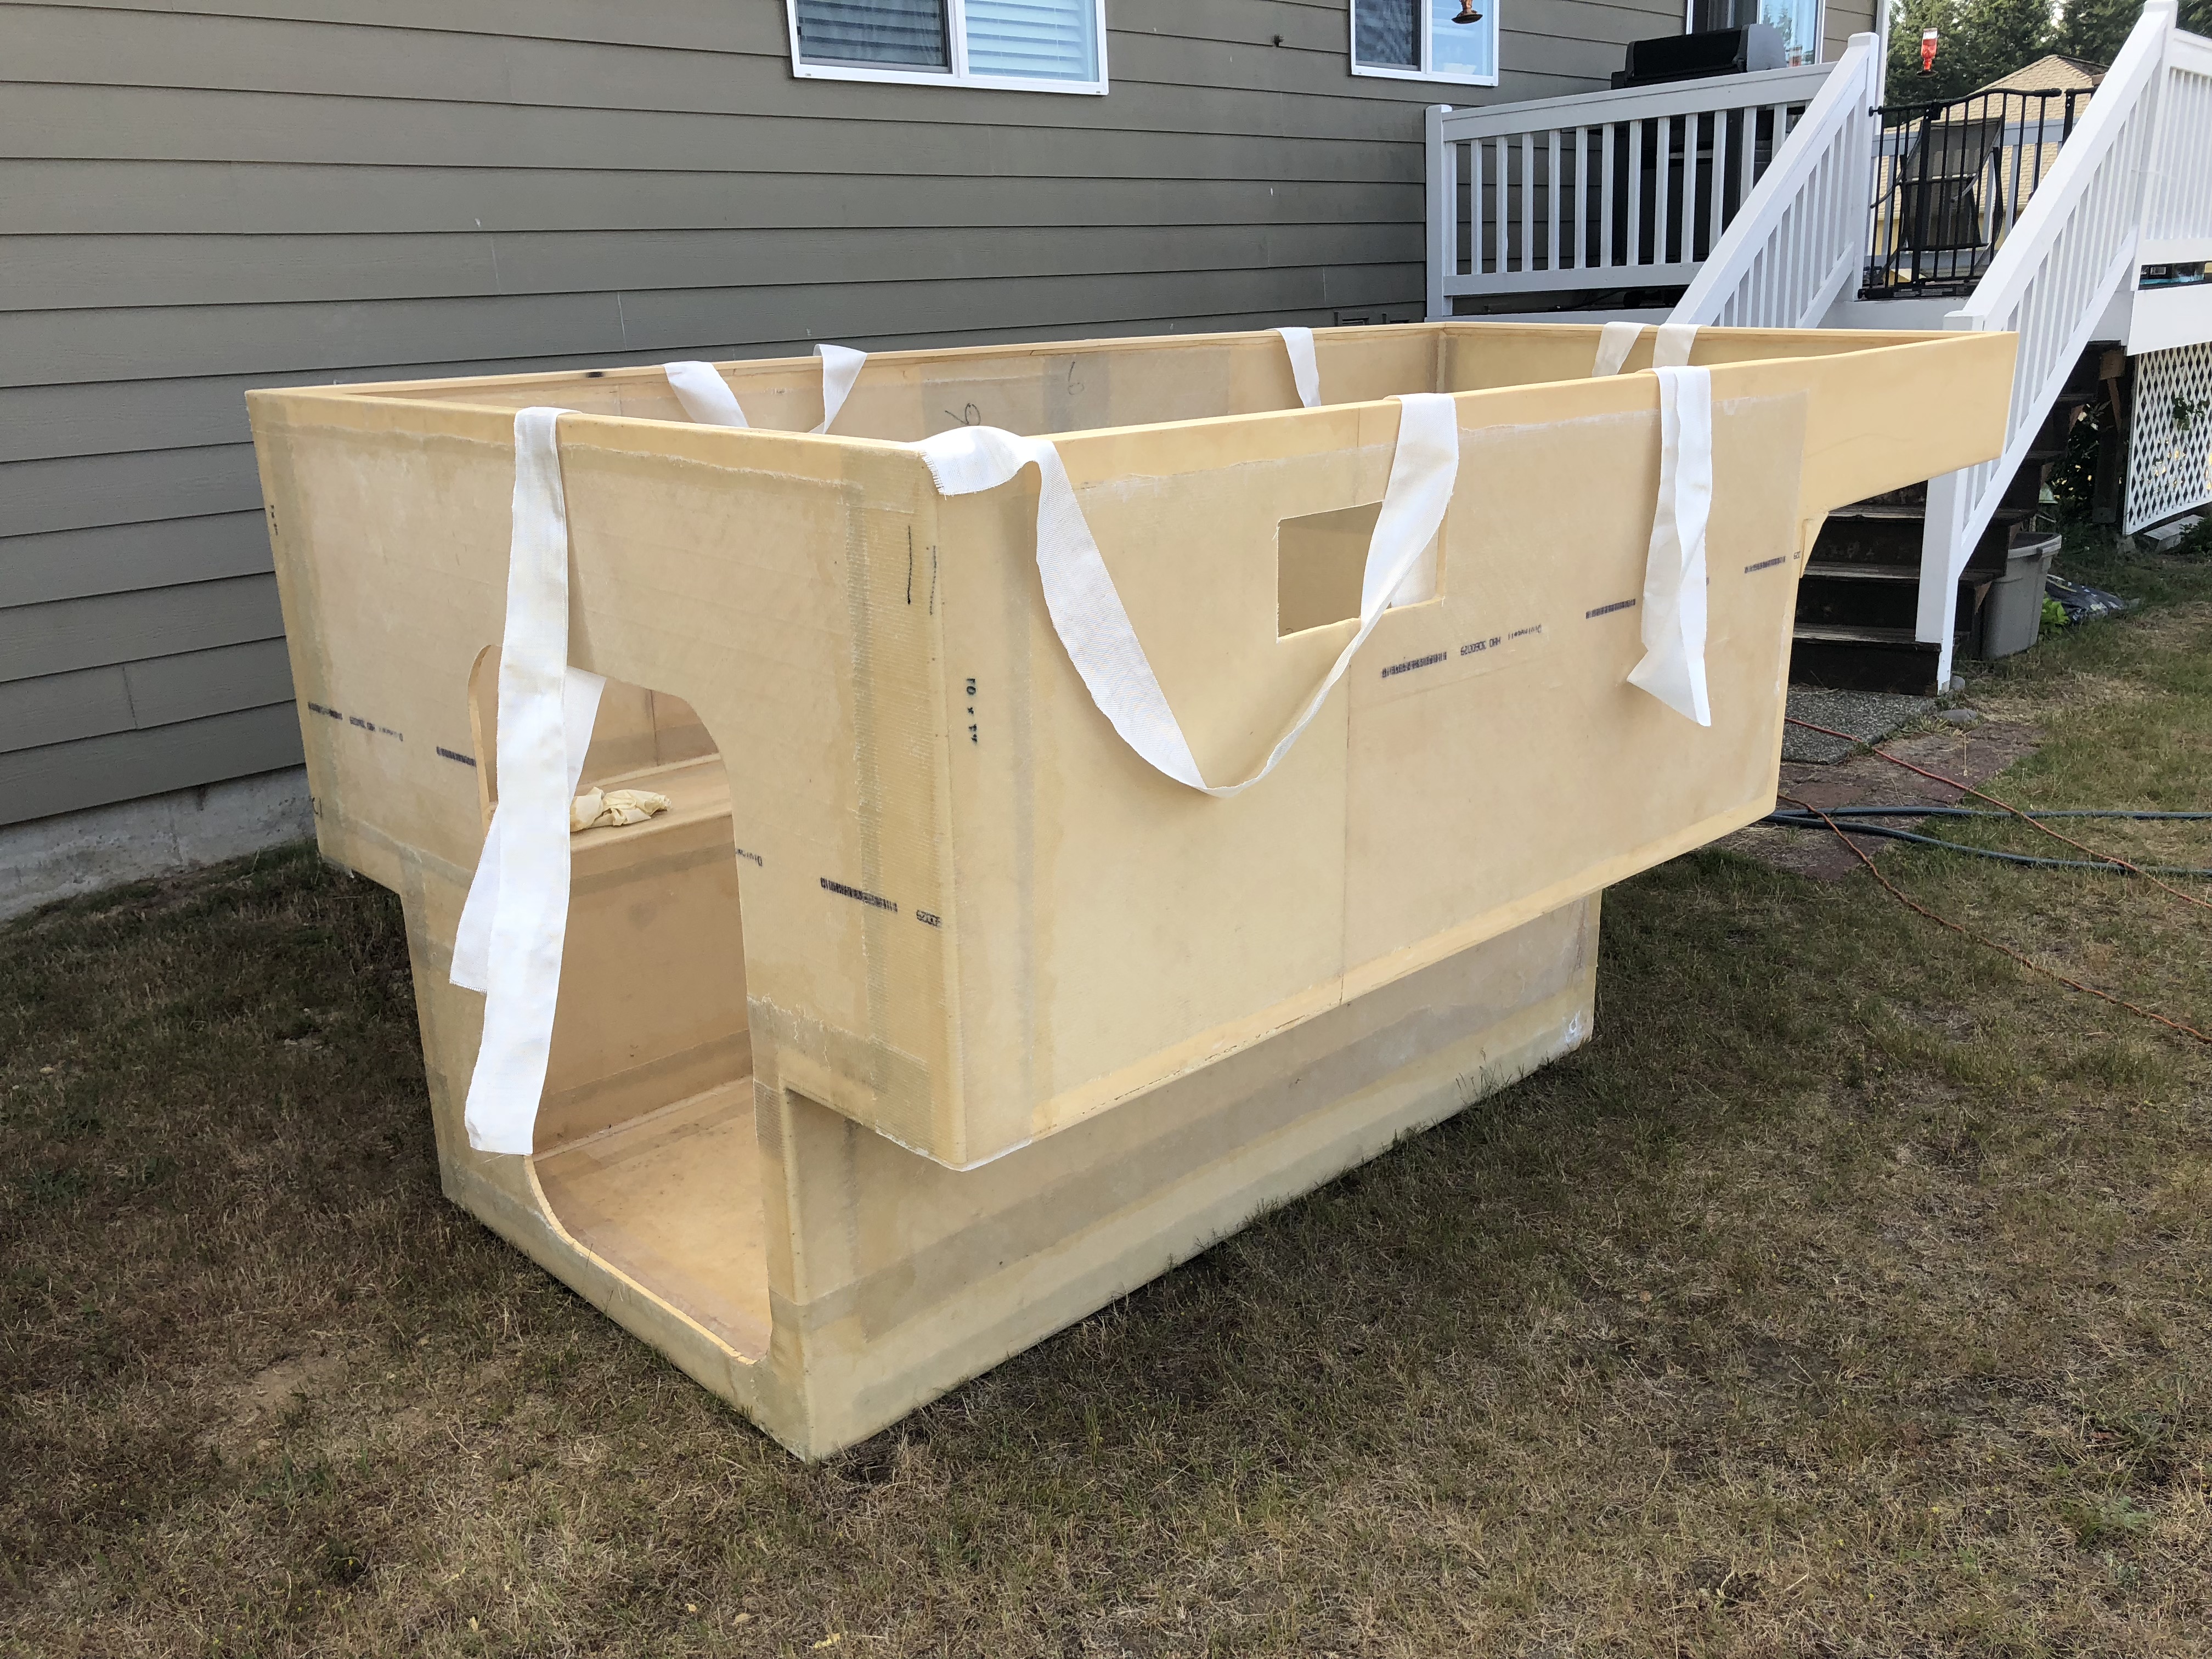
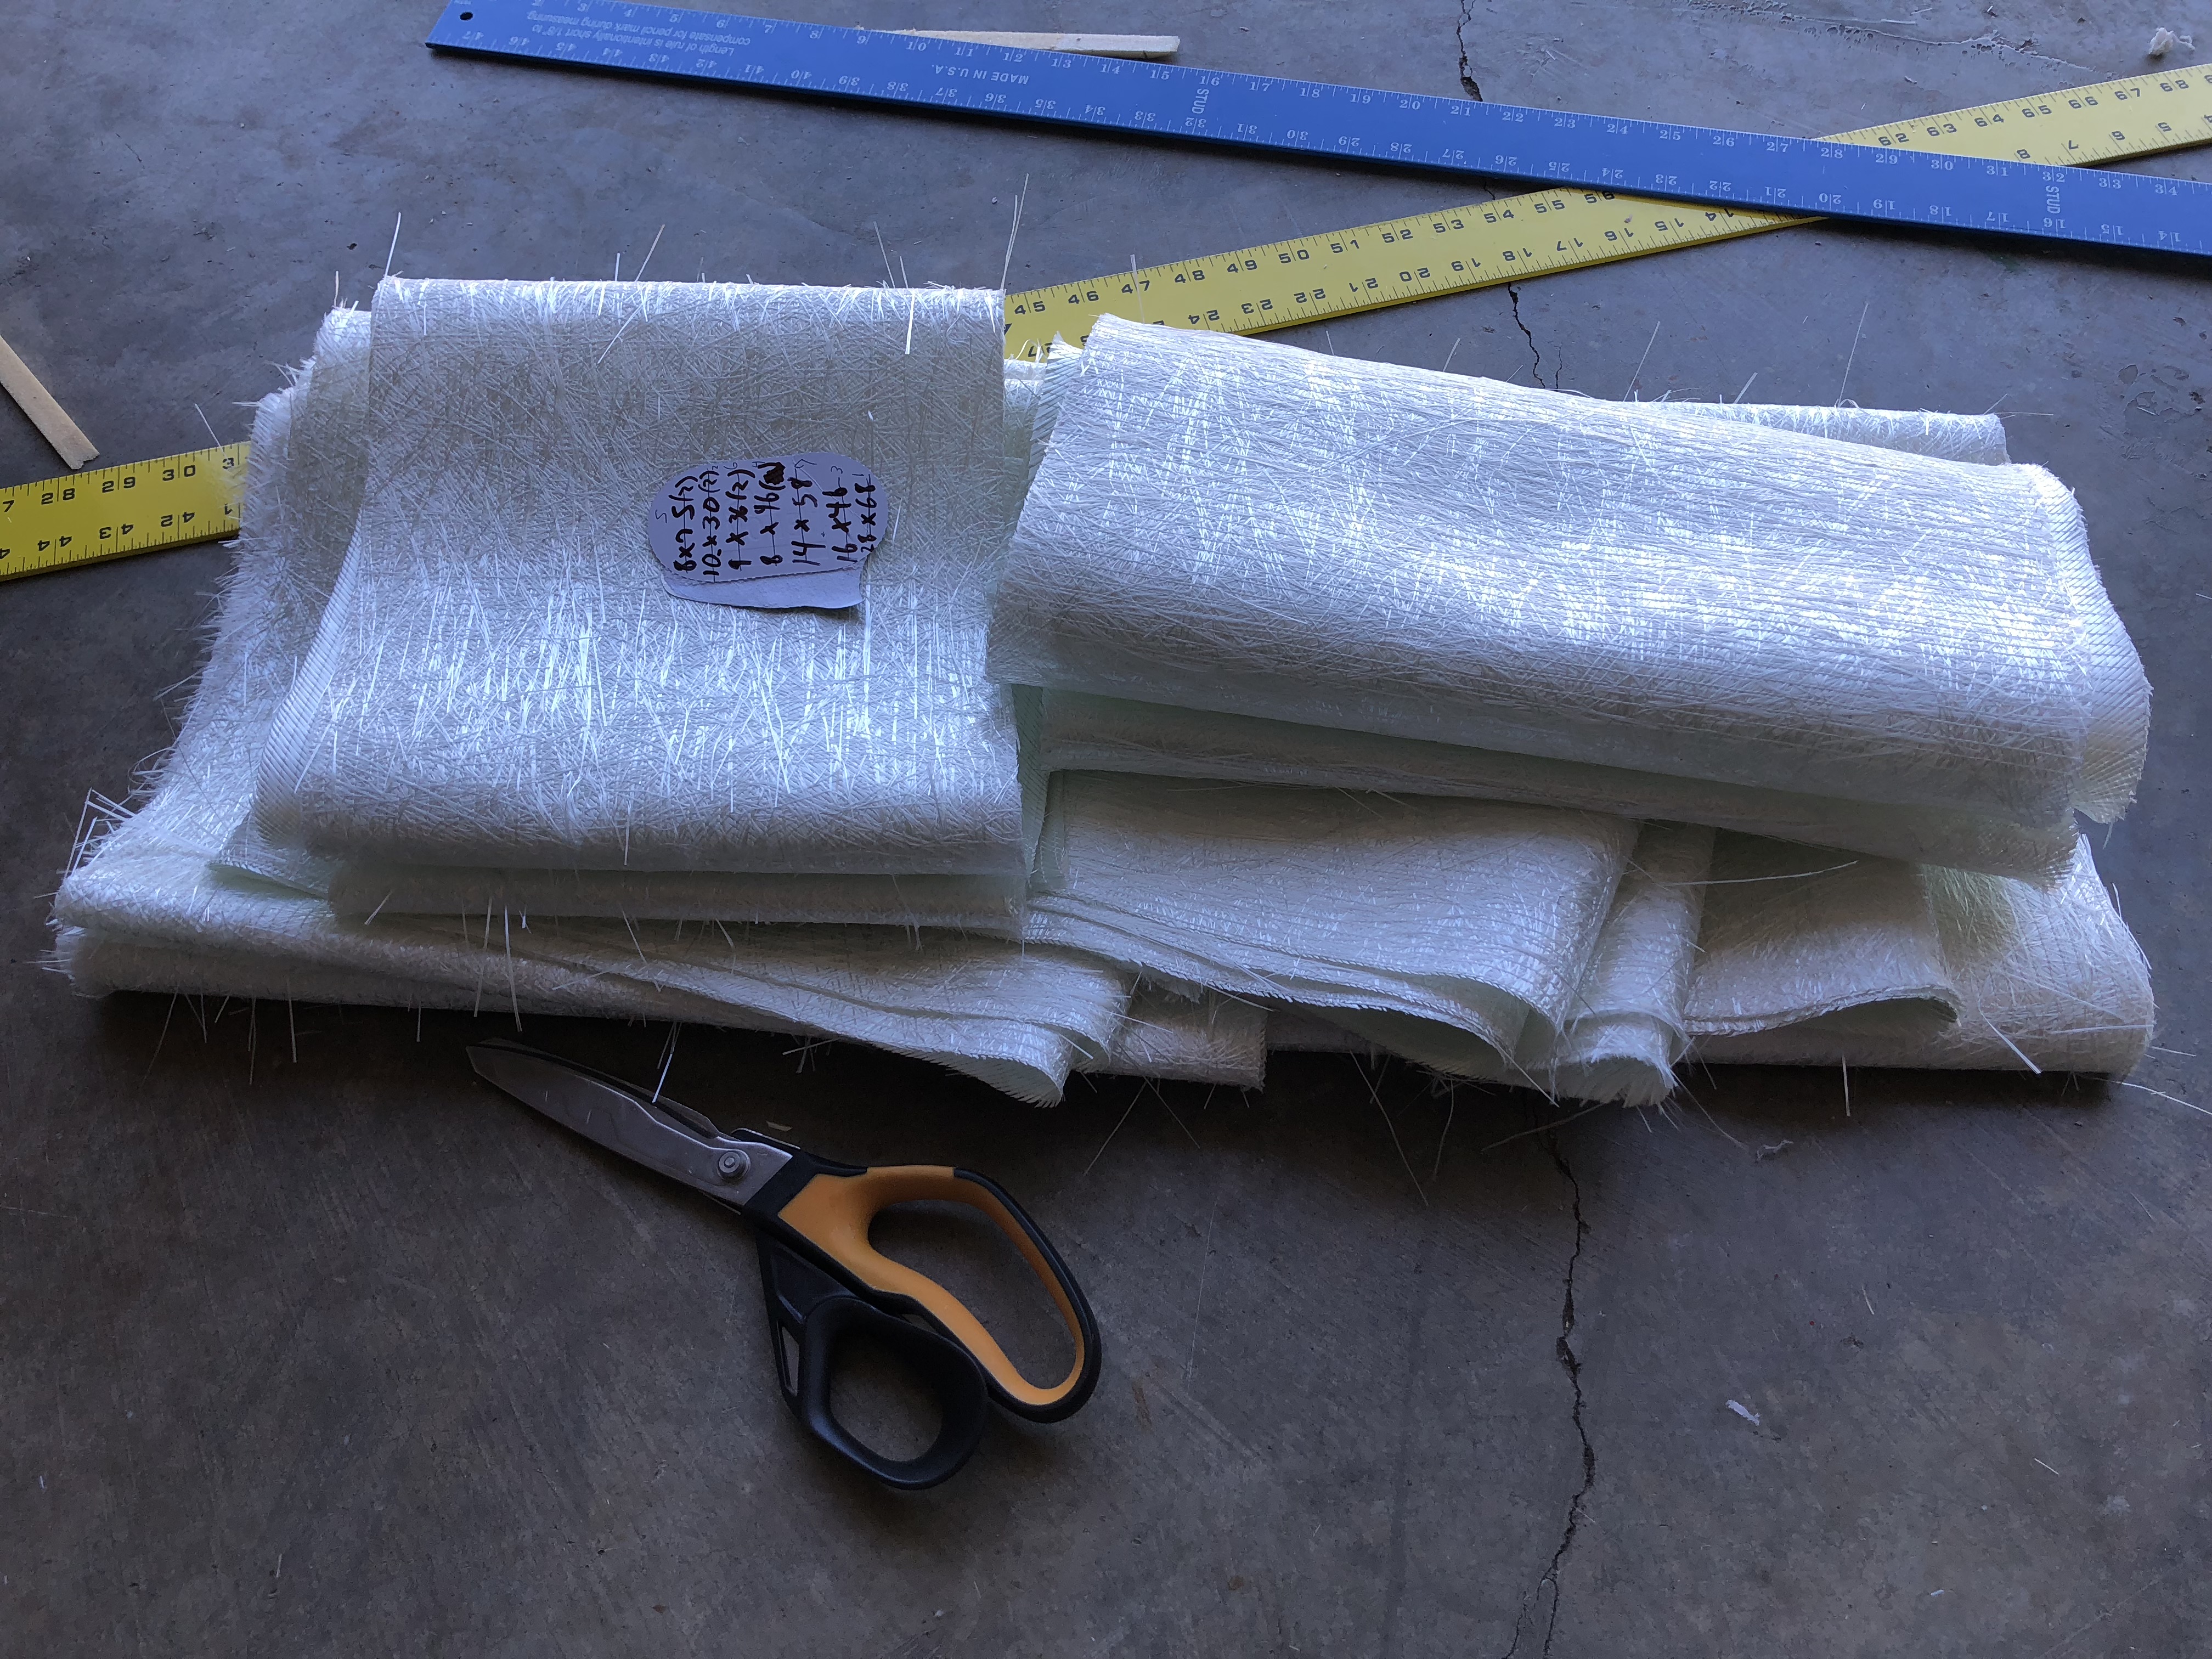
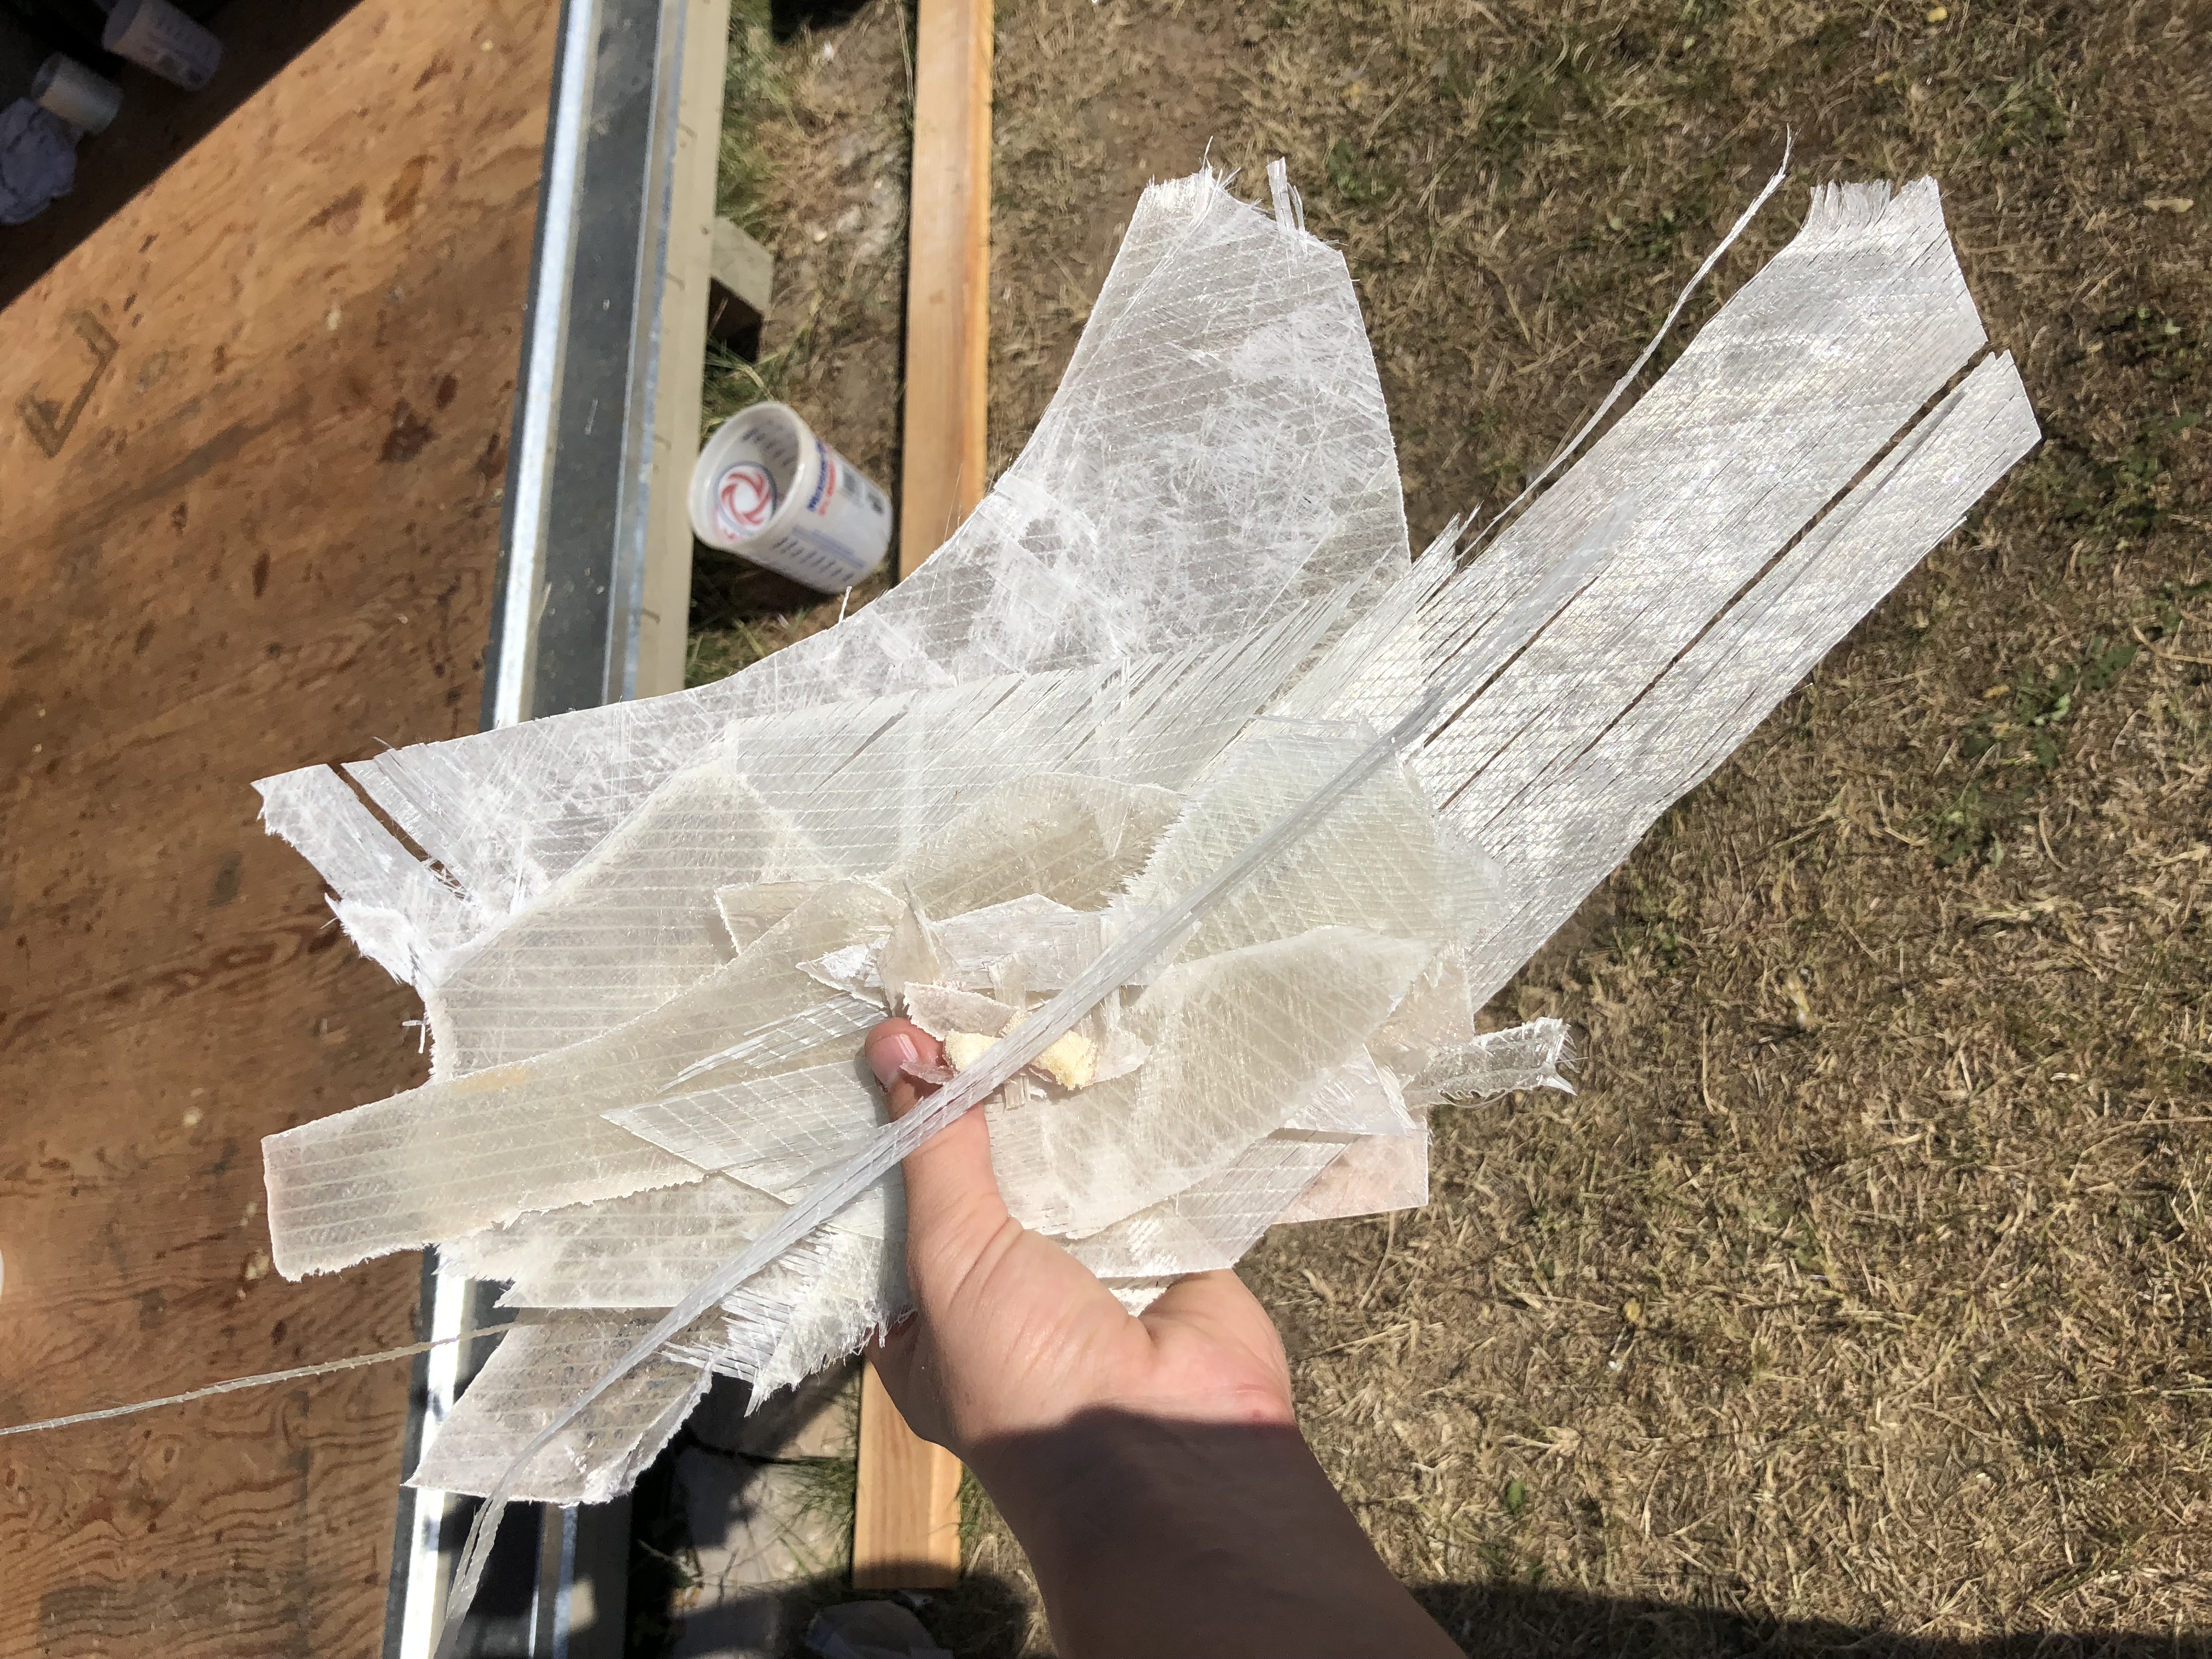
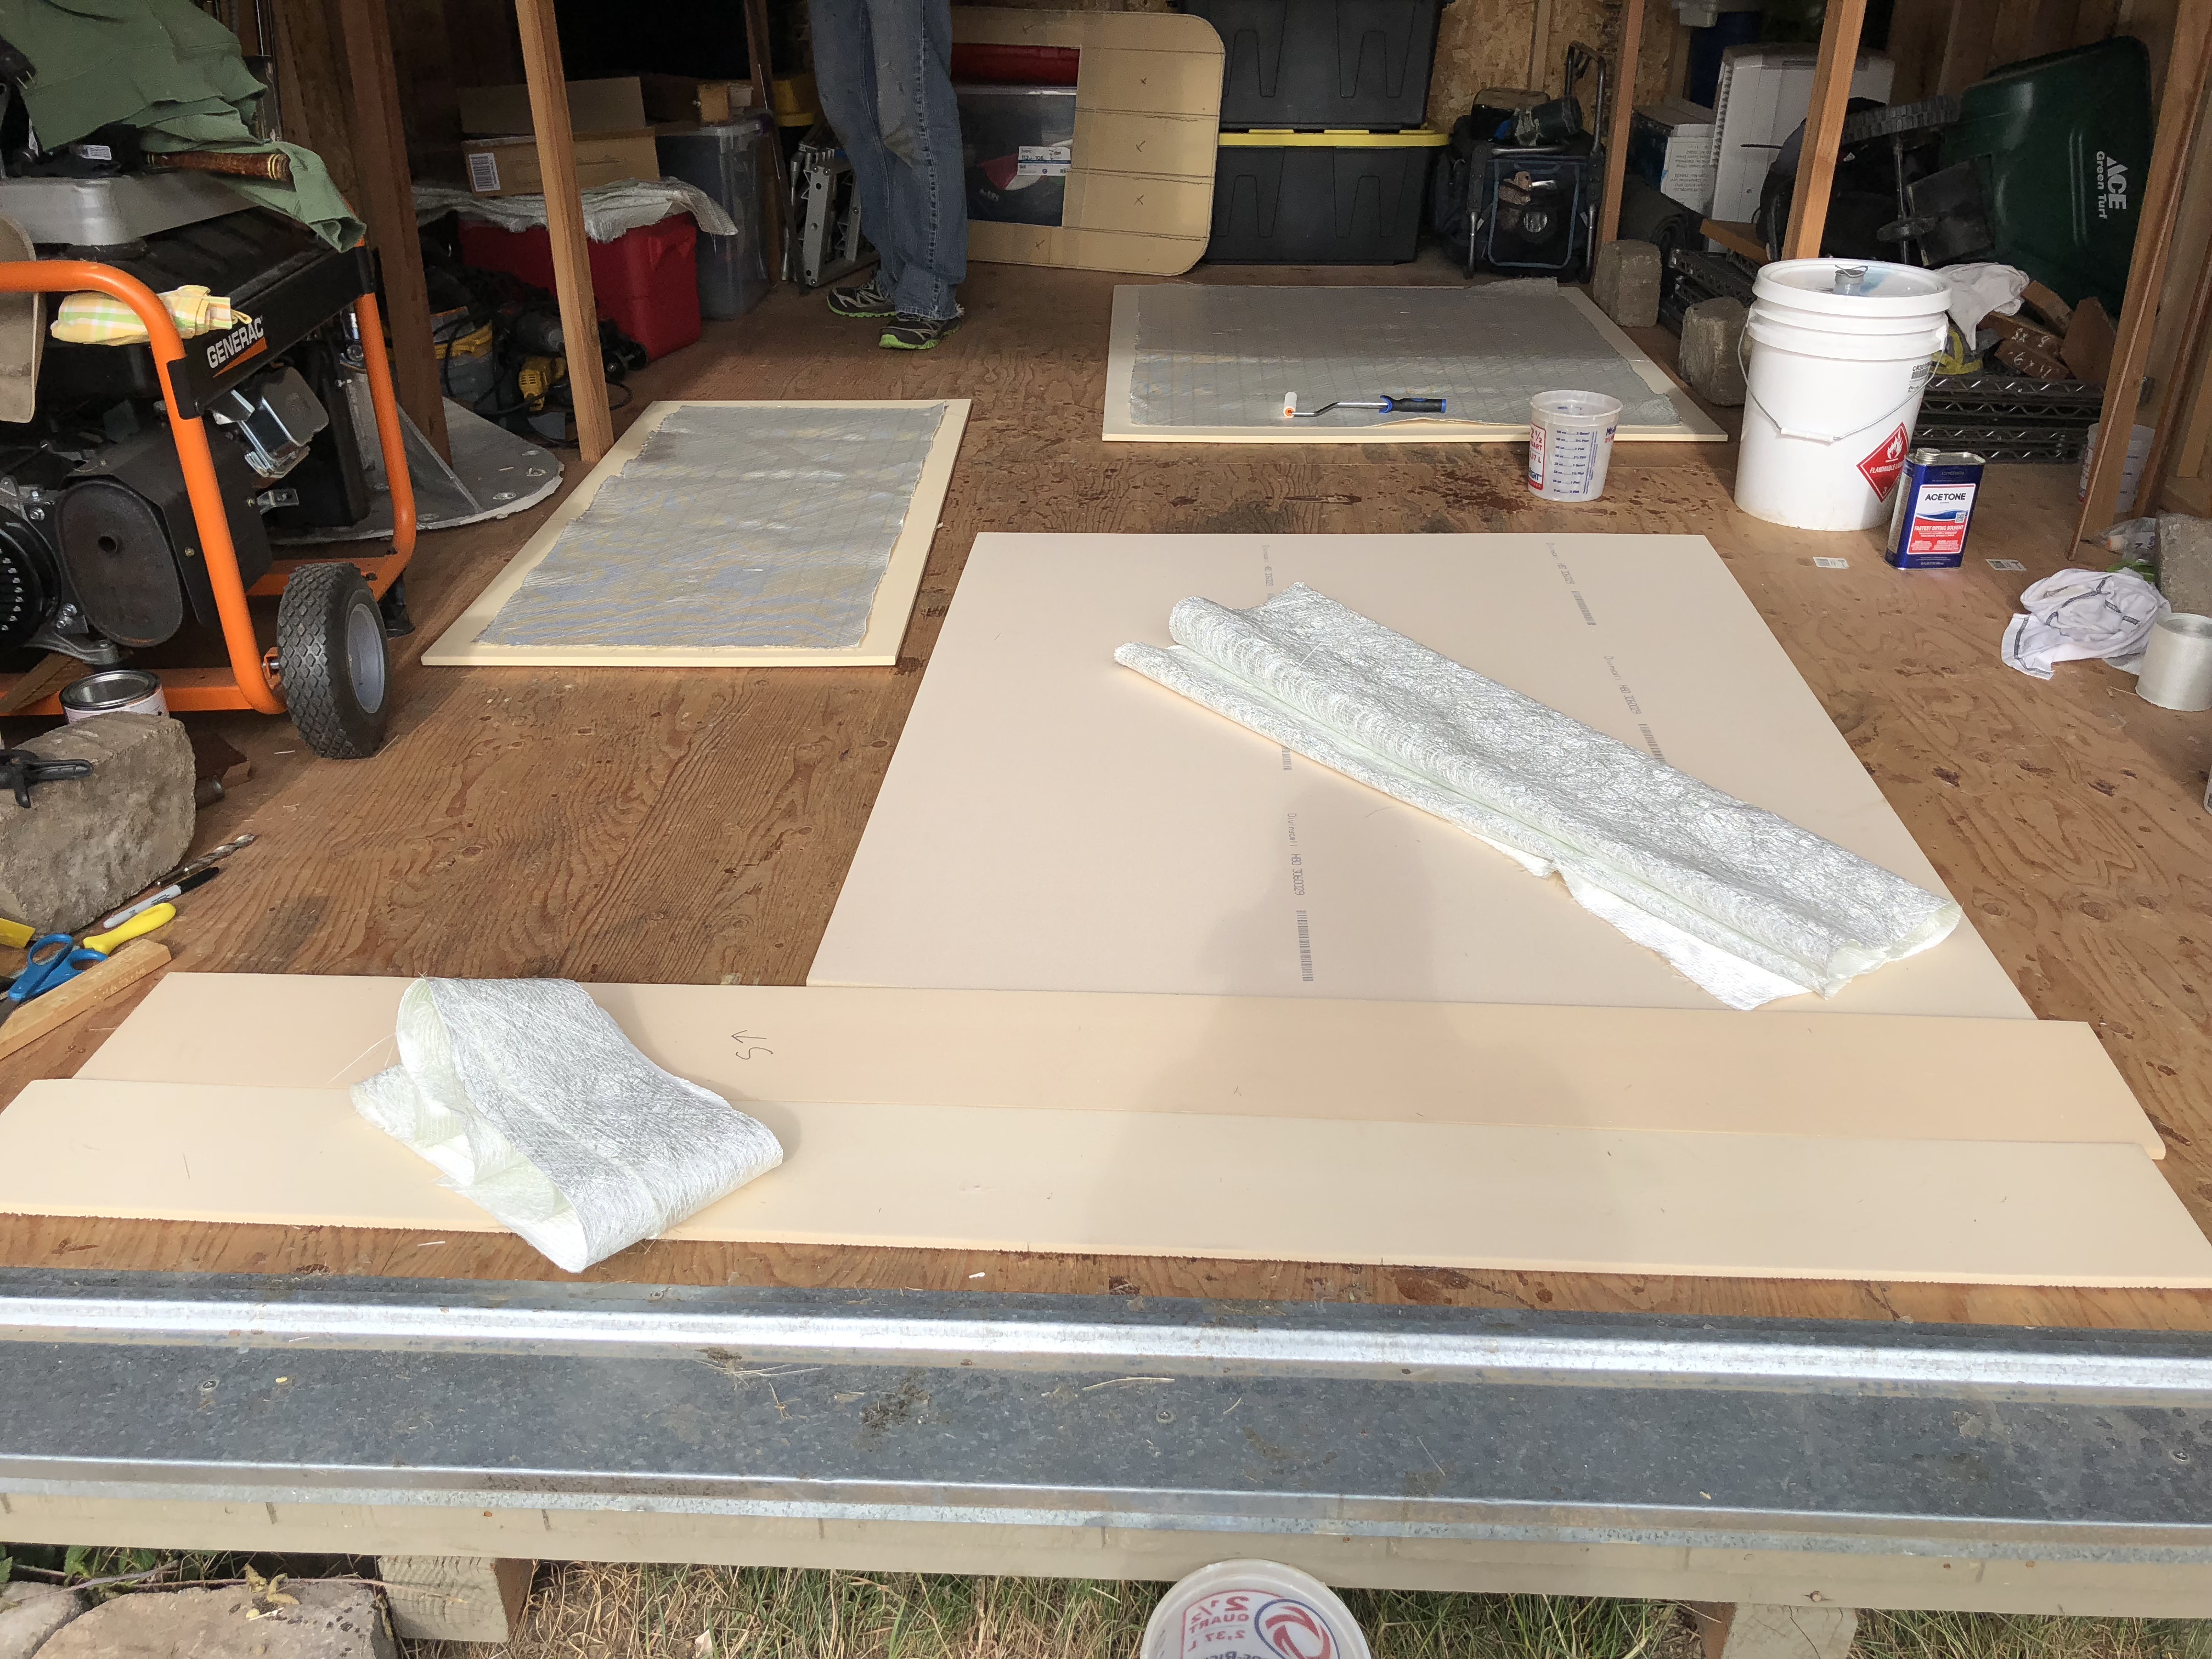
This is all we have to fix...
IMG_9659.jpg

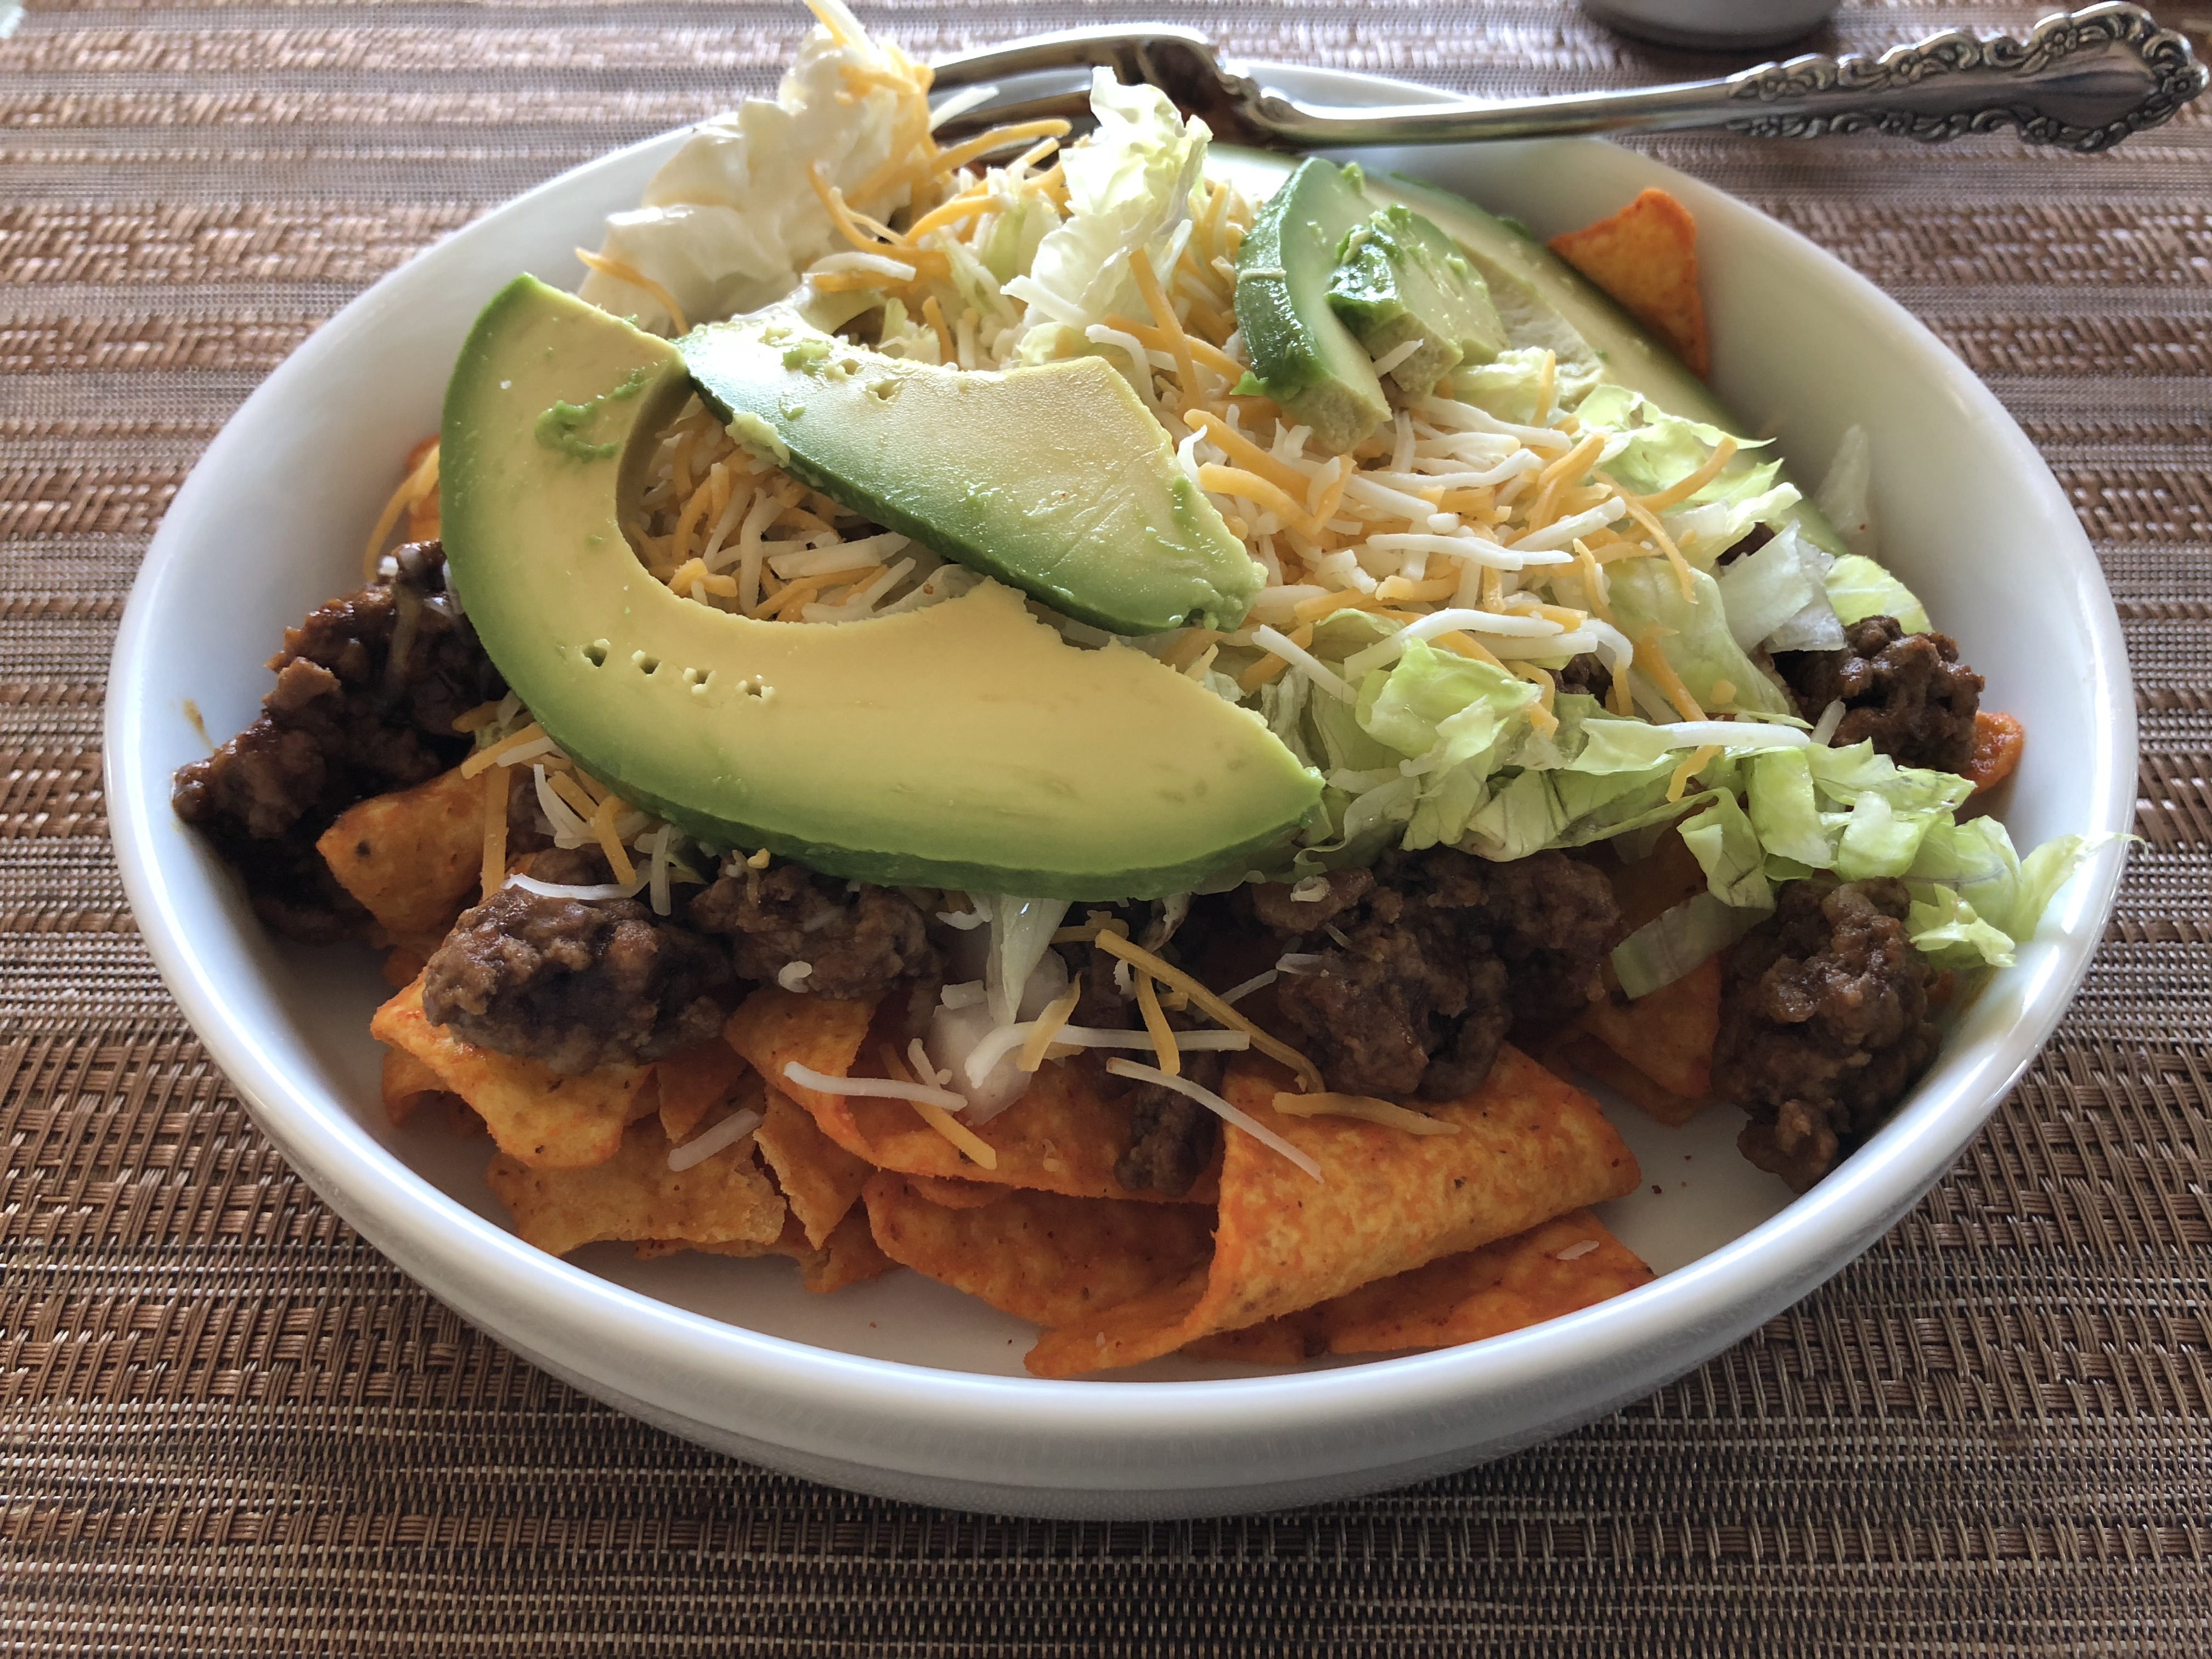
After about 2-3 in the afternoon it gets way too hot to be out by the shed working, so we made some taco salads and took a break.
IMG_9660.jpg

Yes those are Doritos...

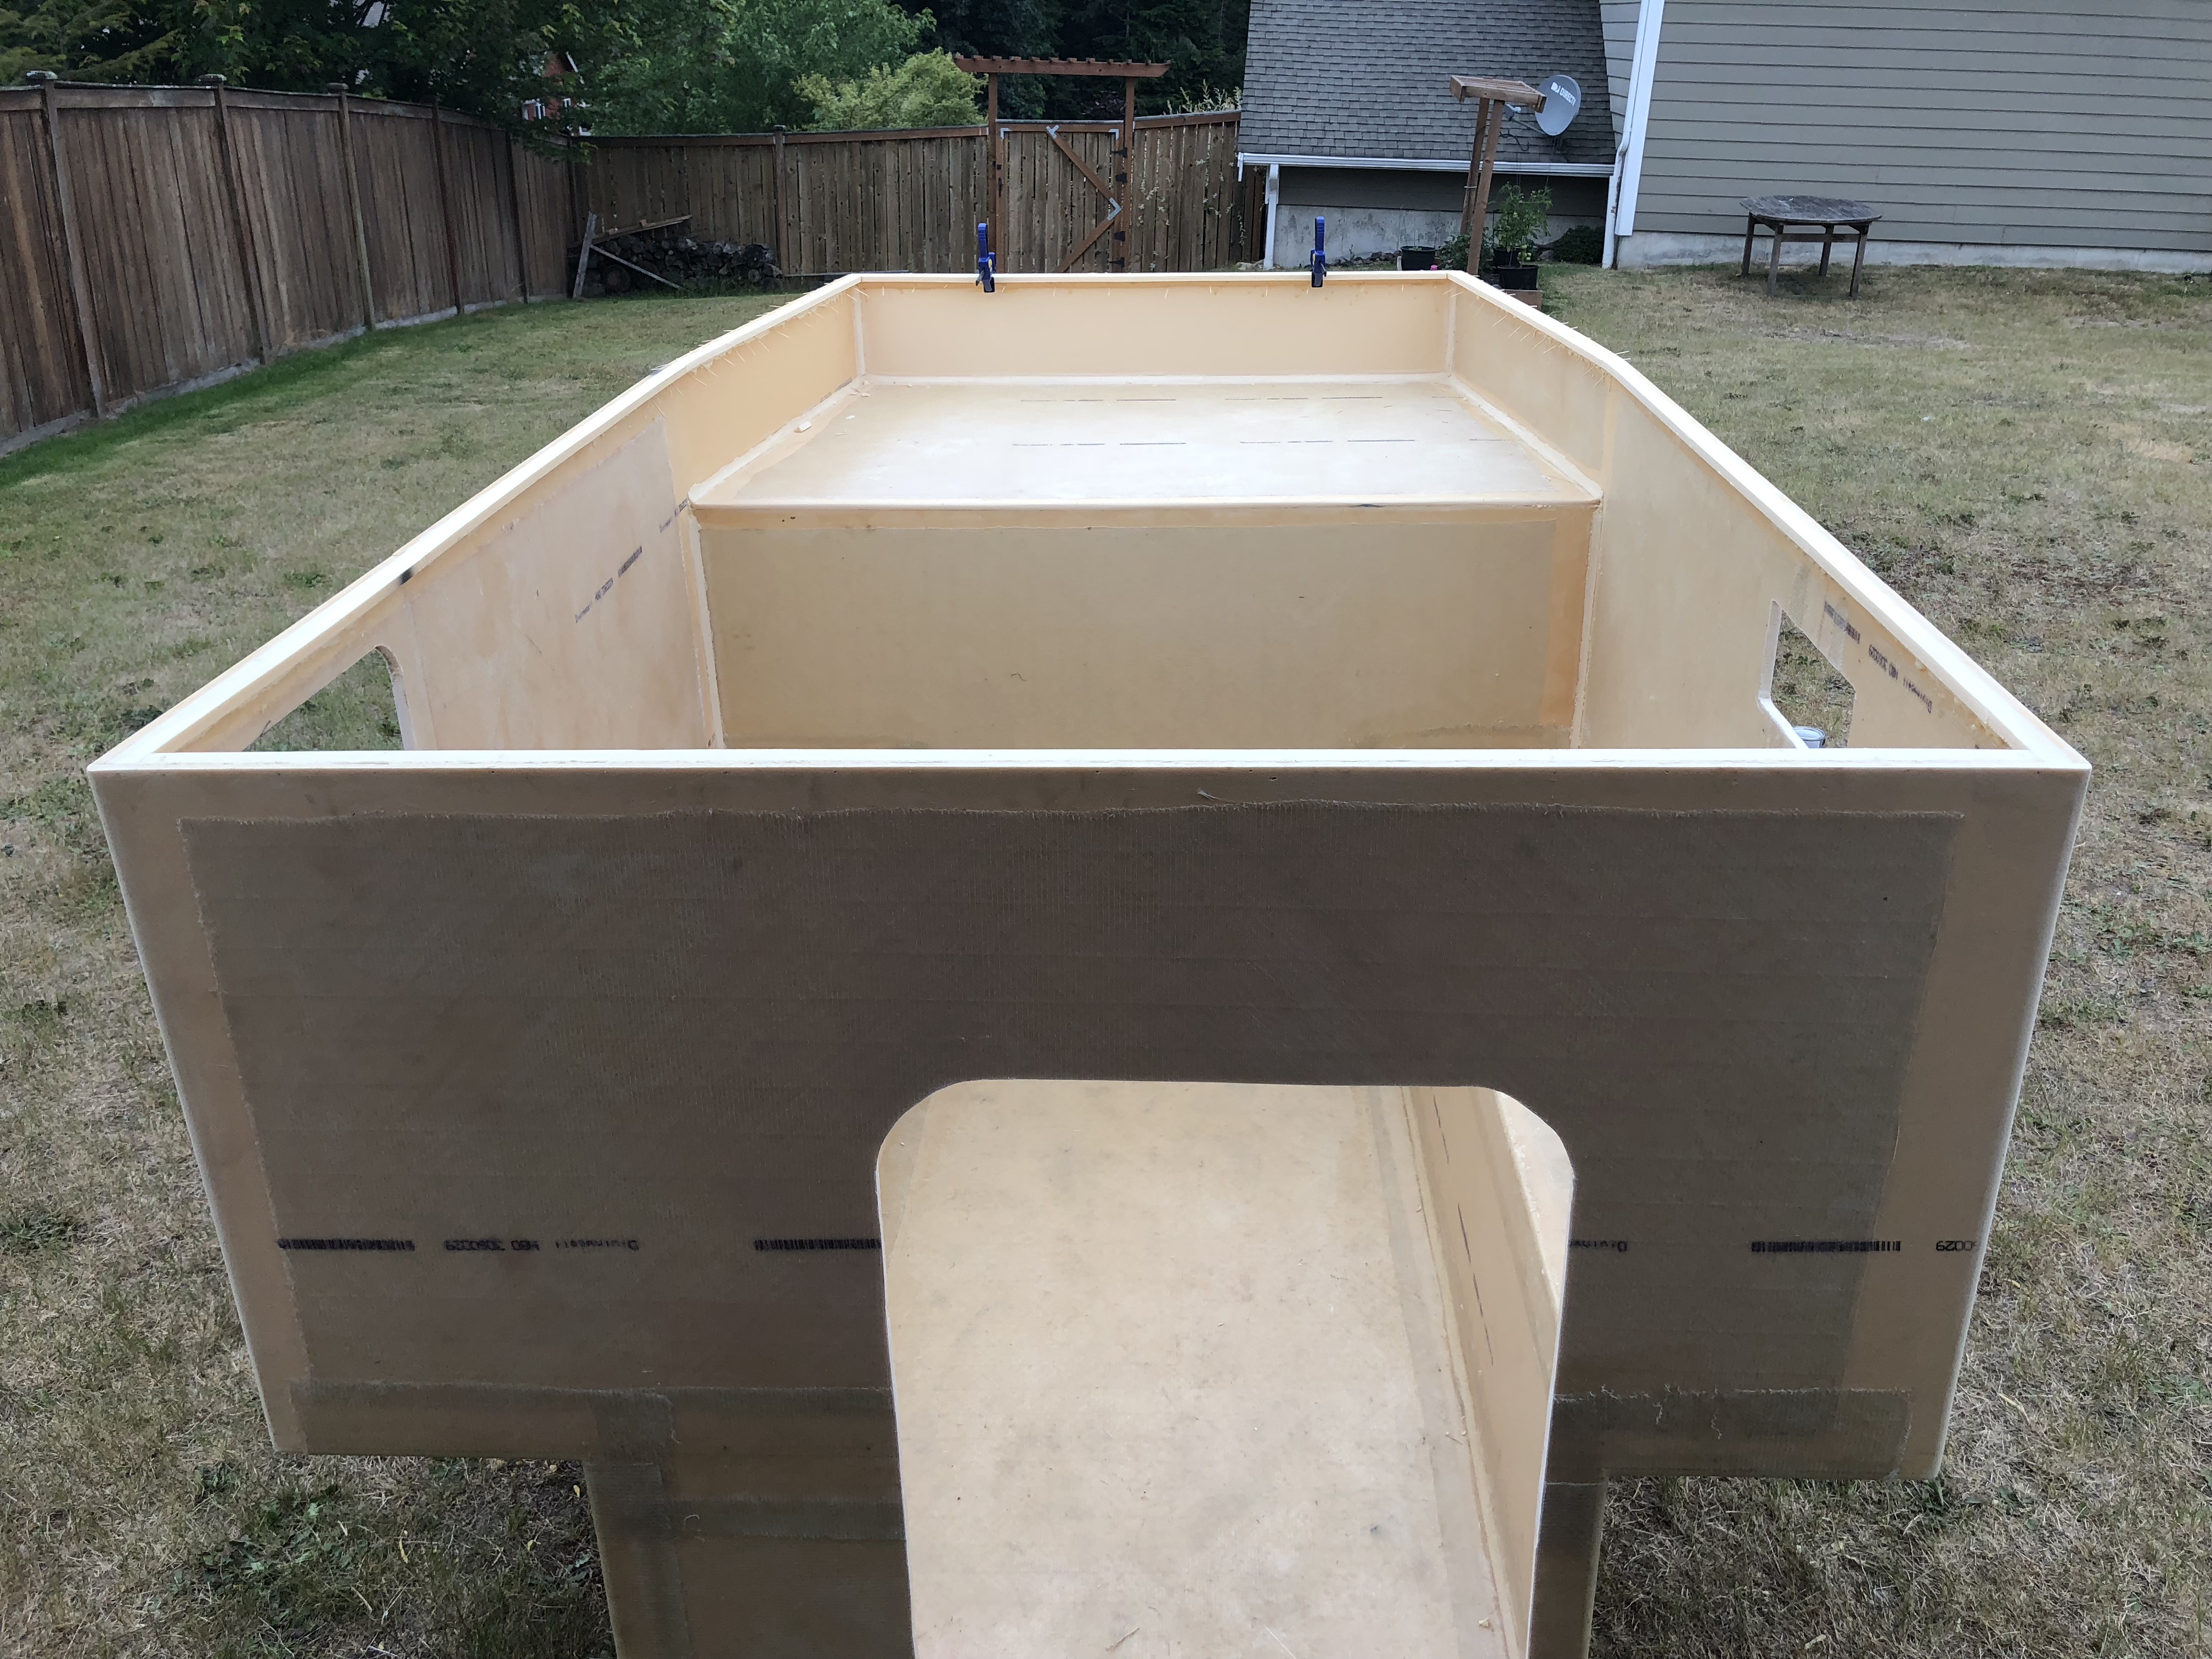
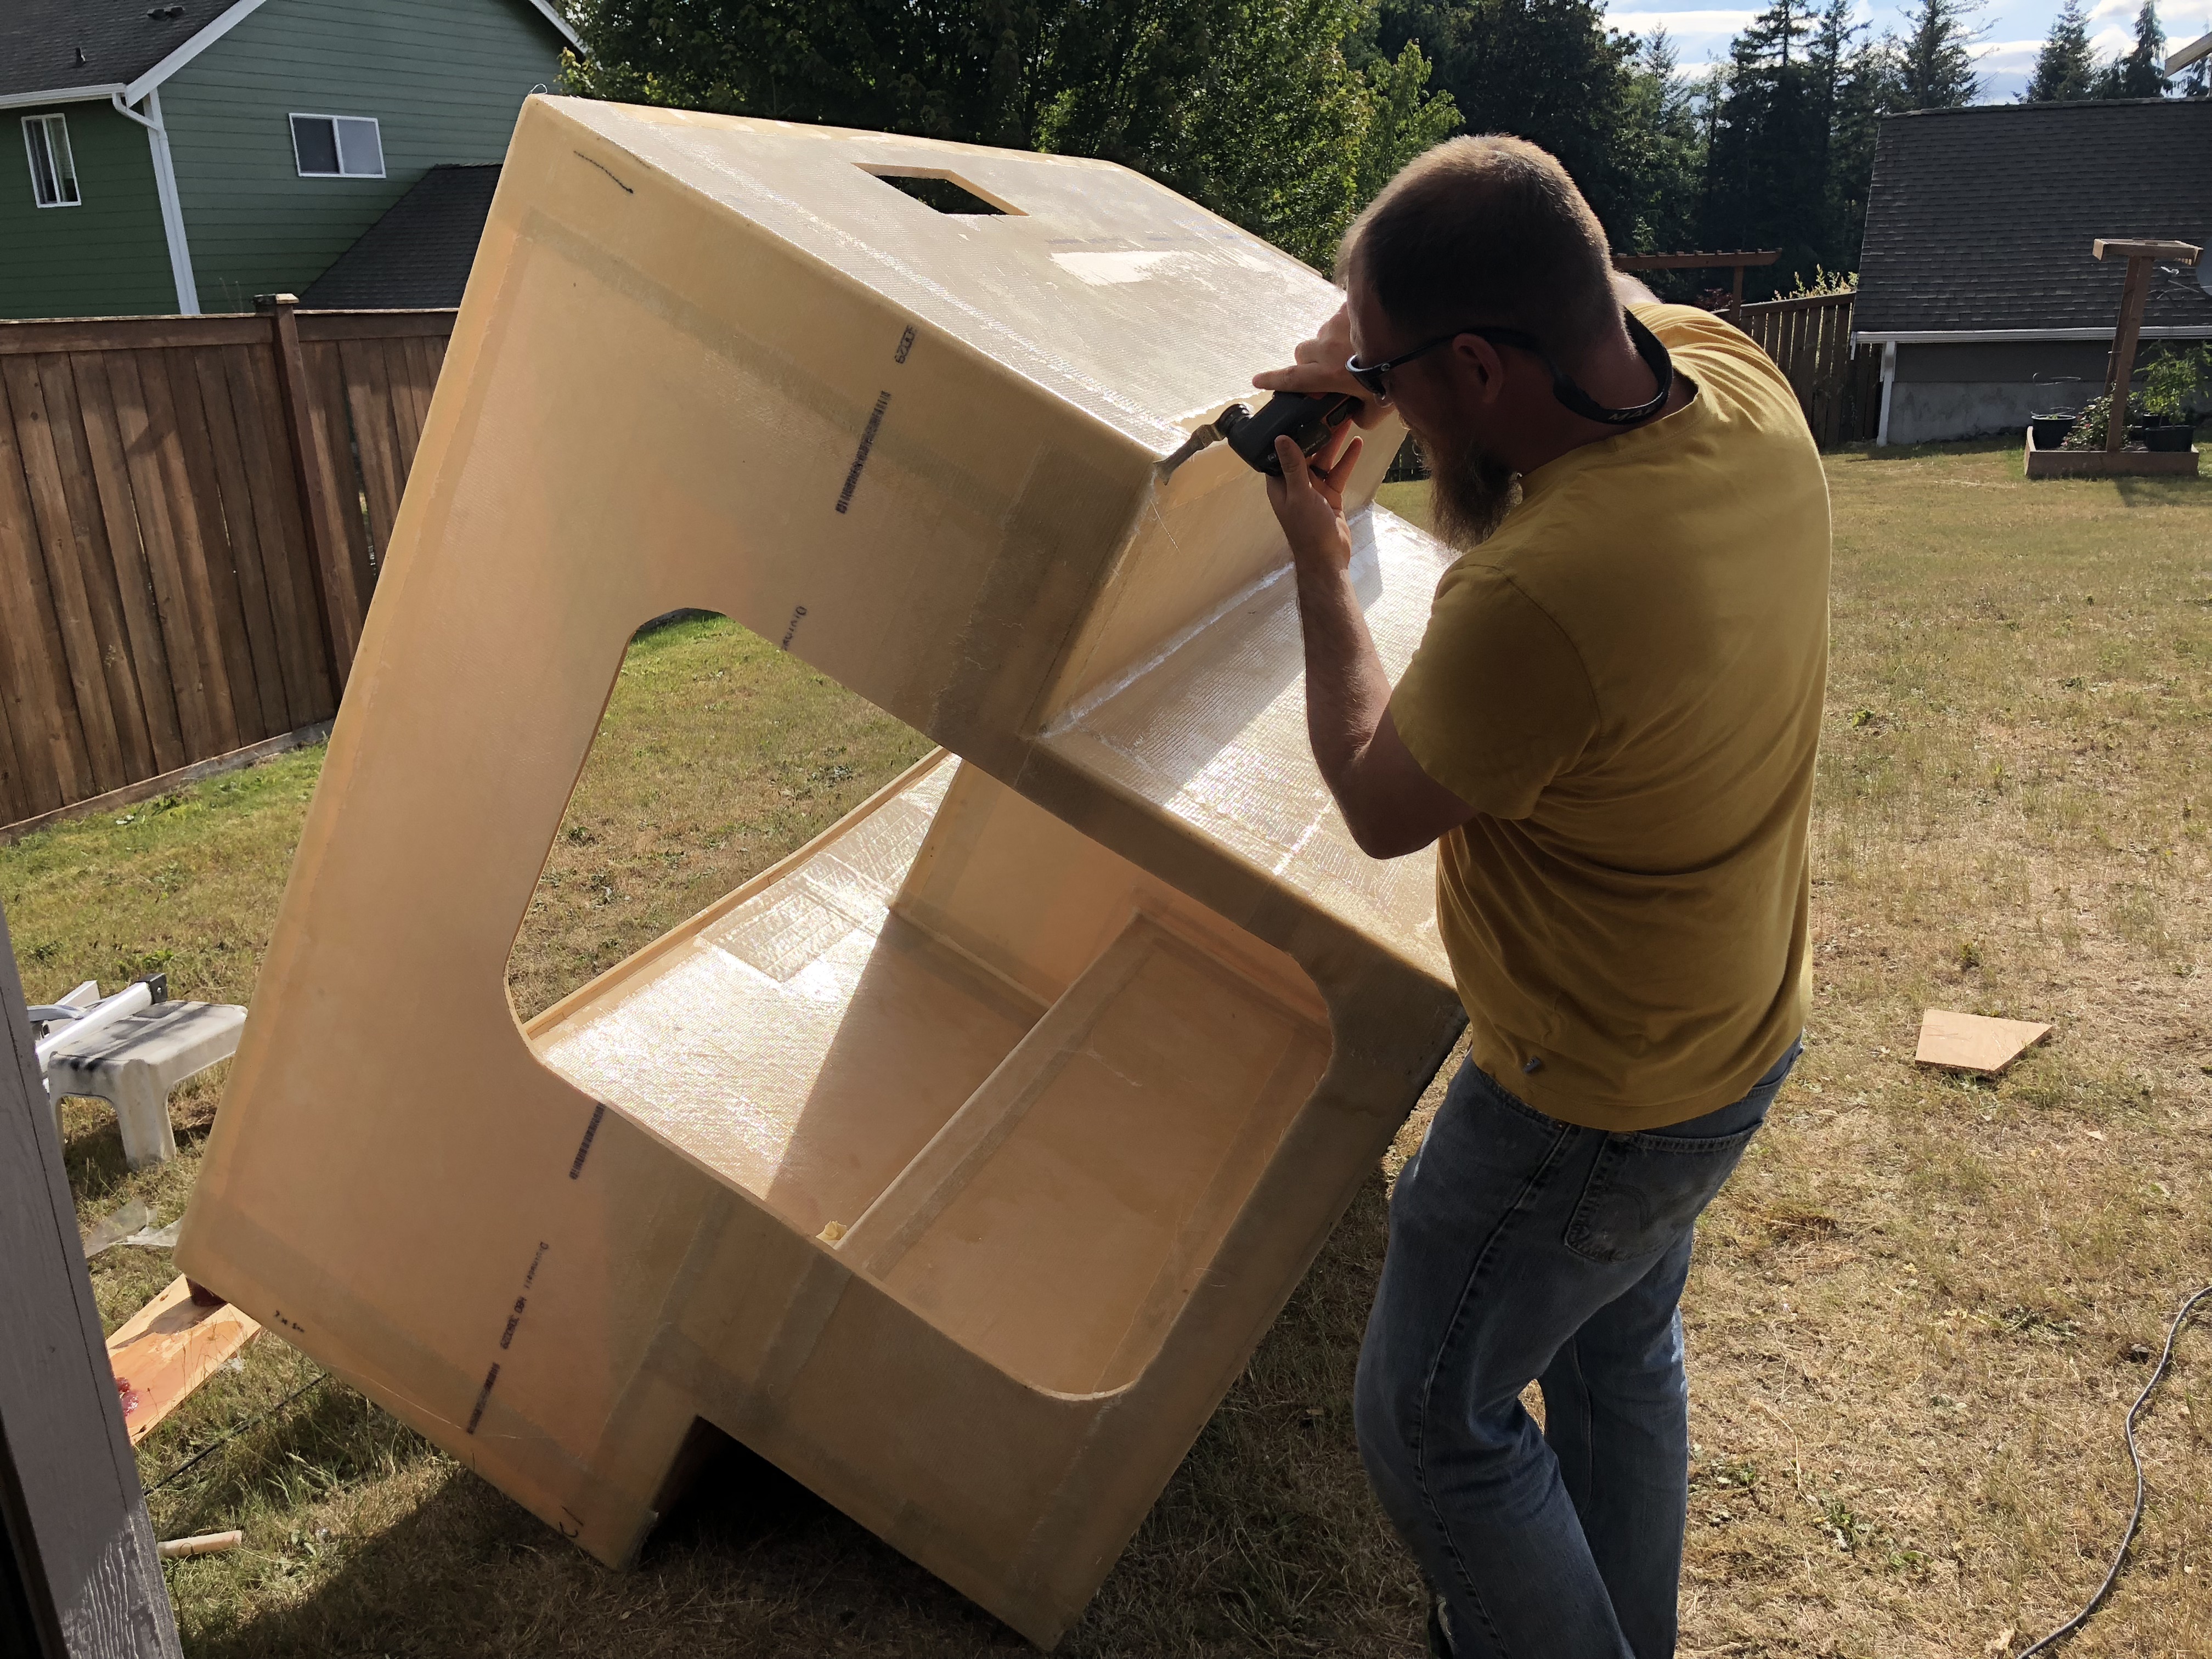
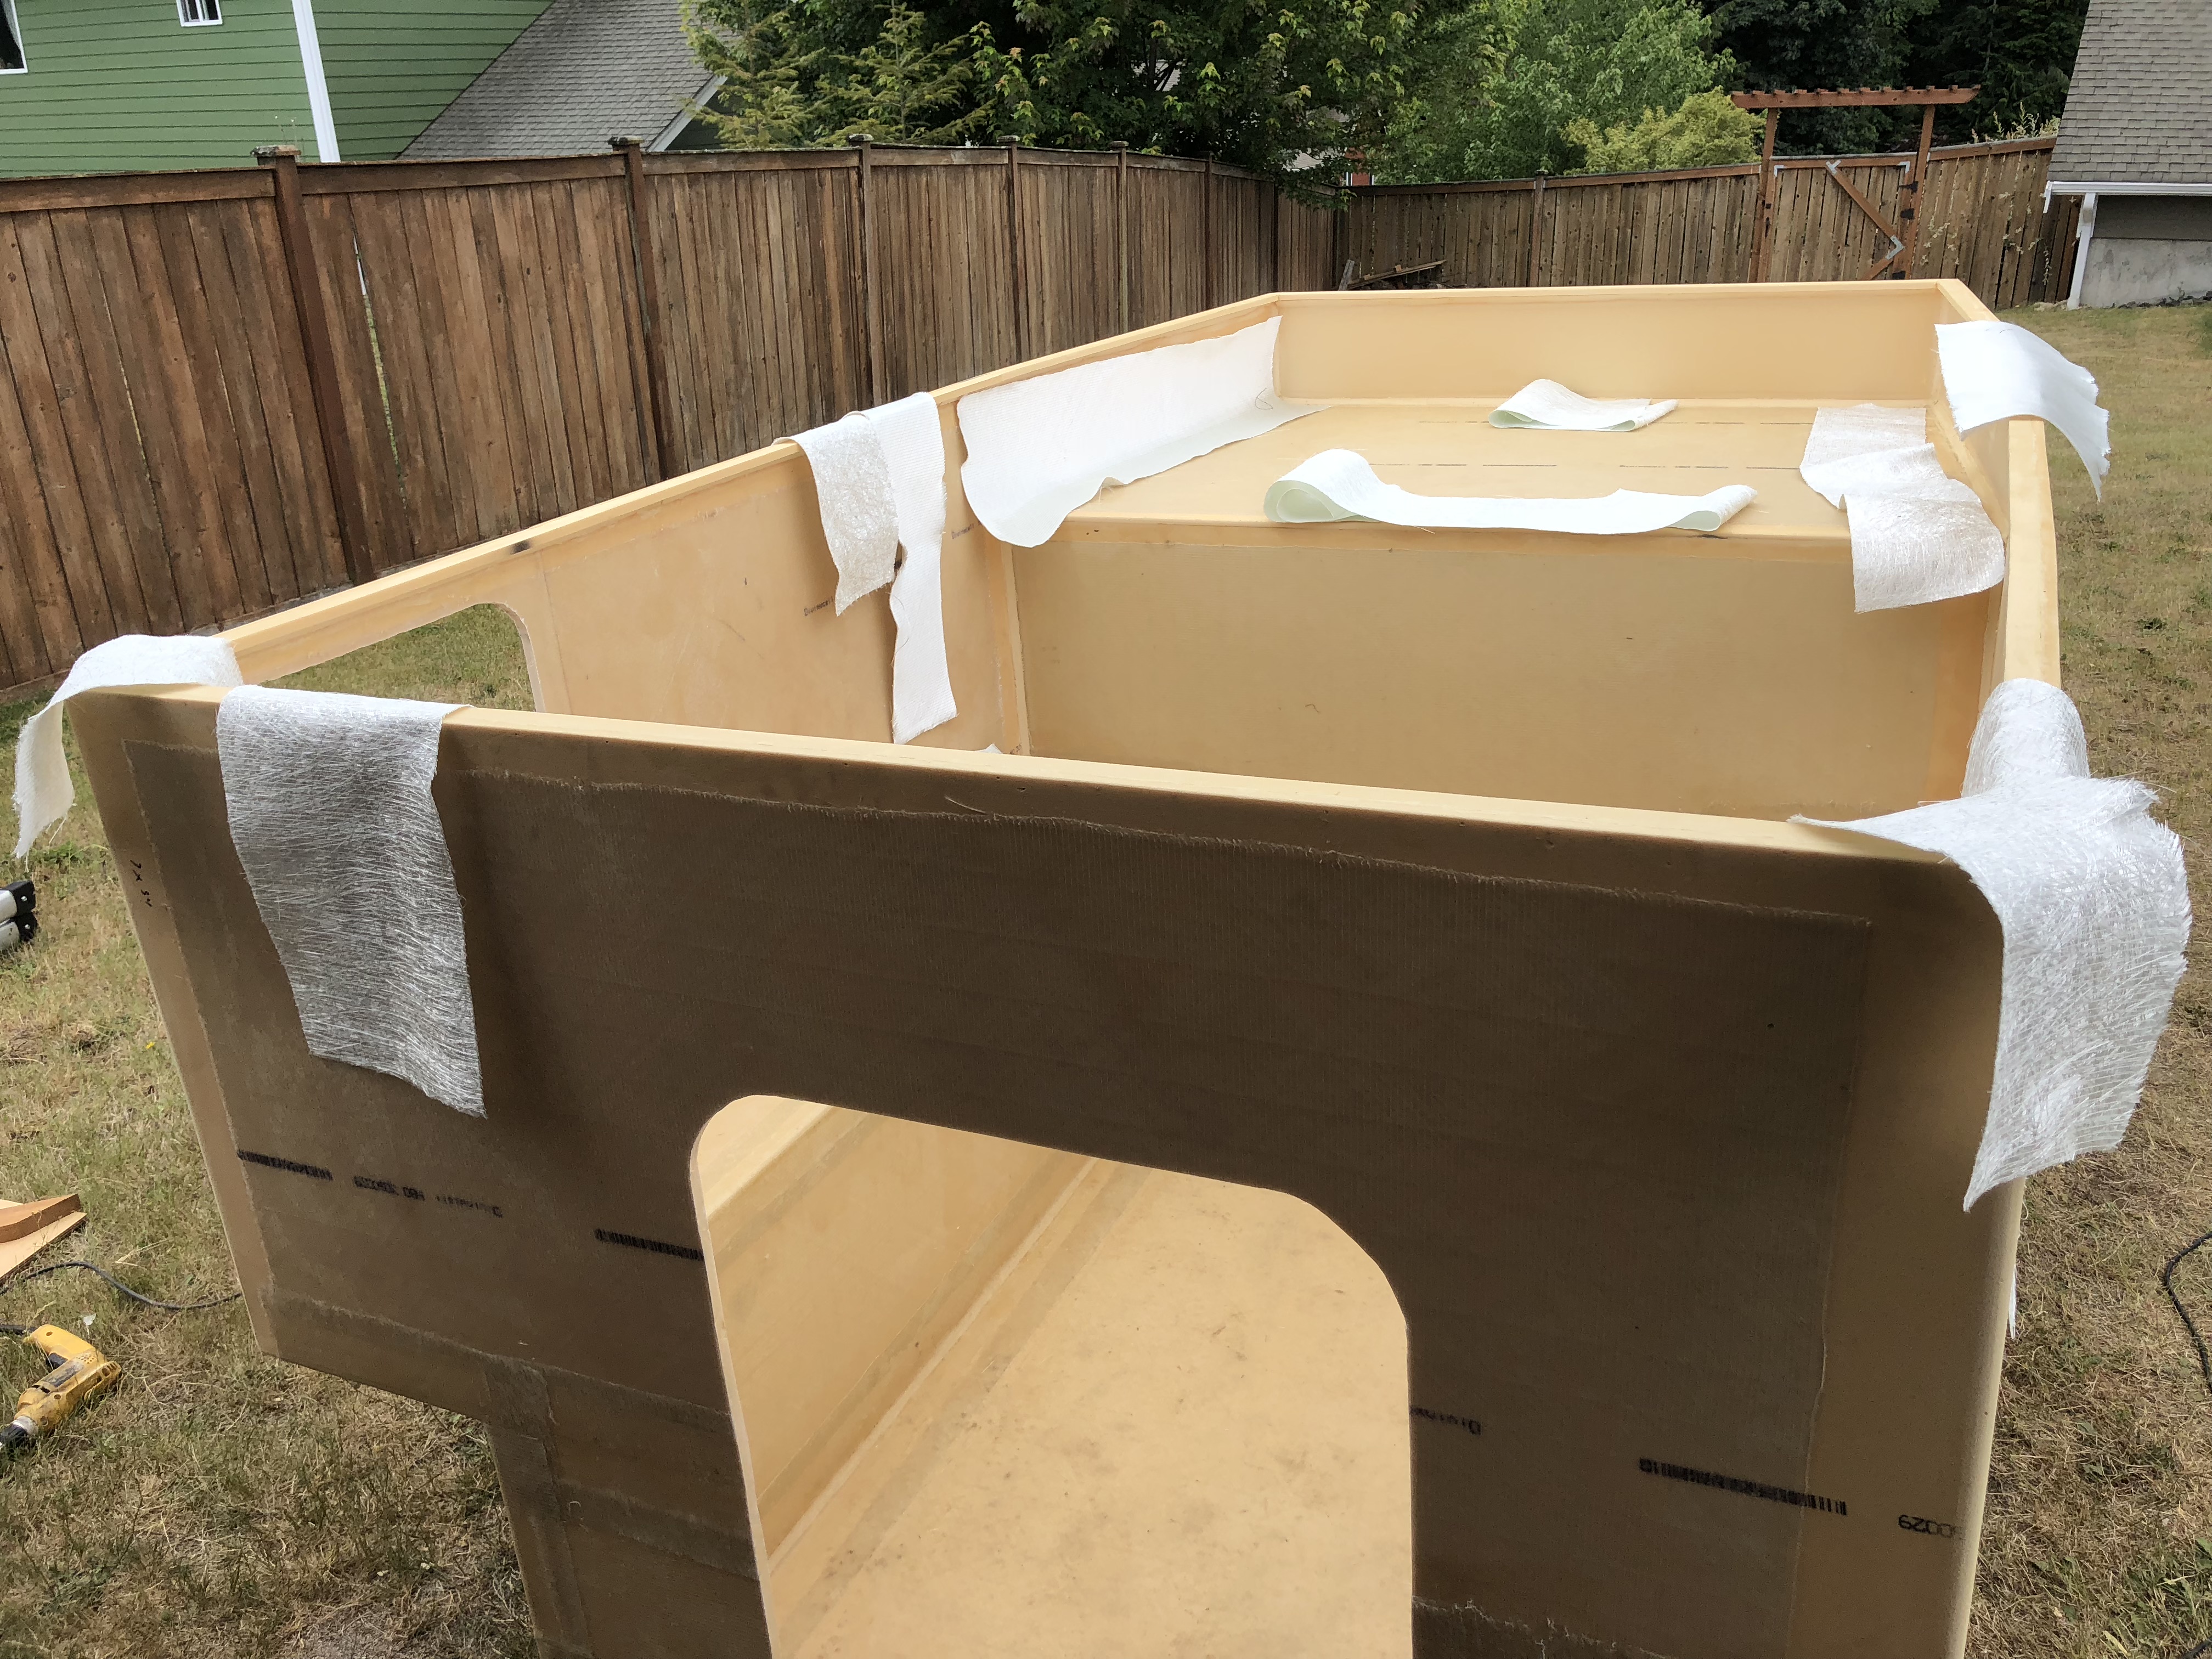
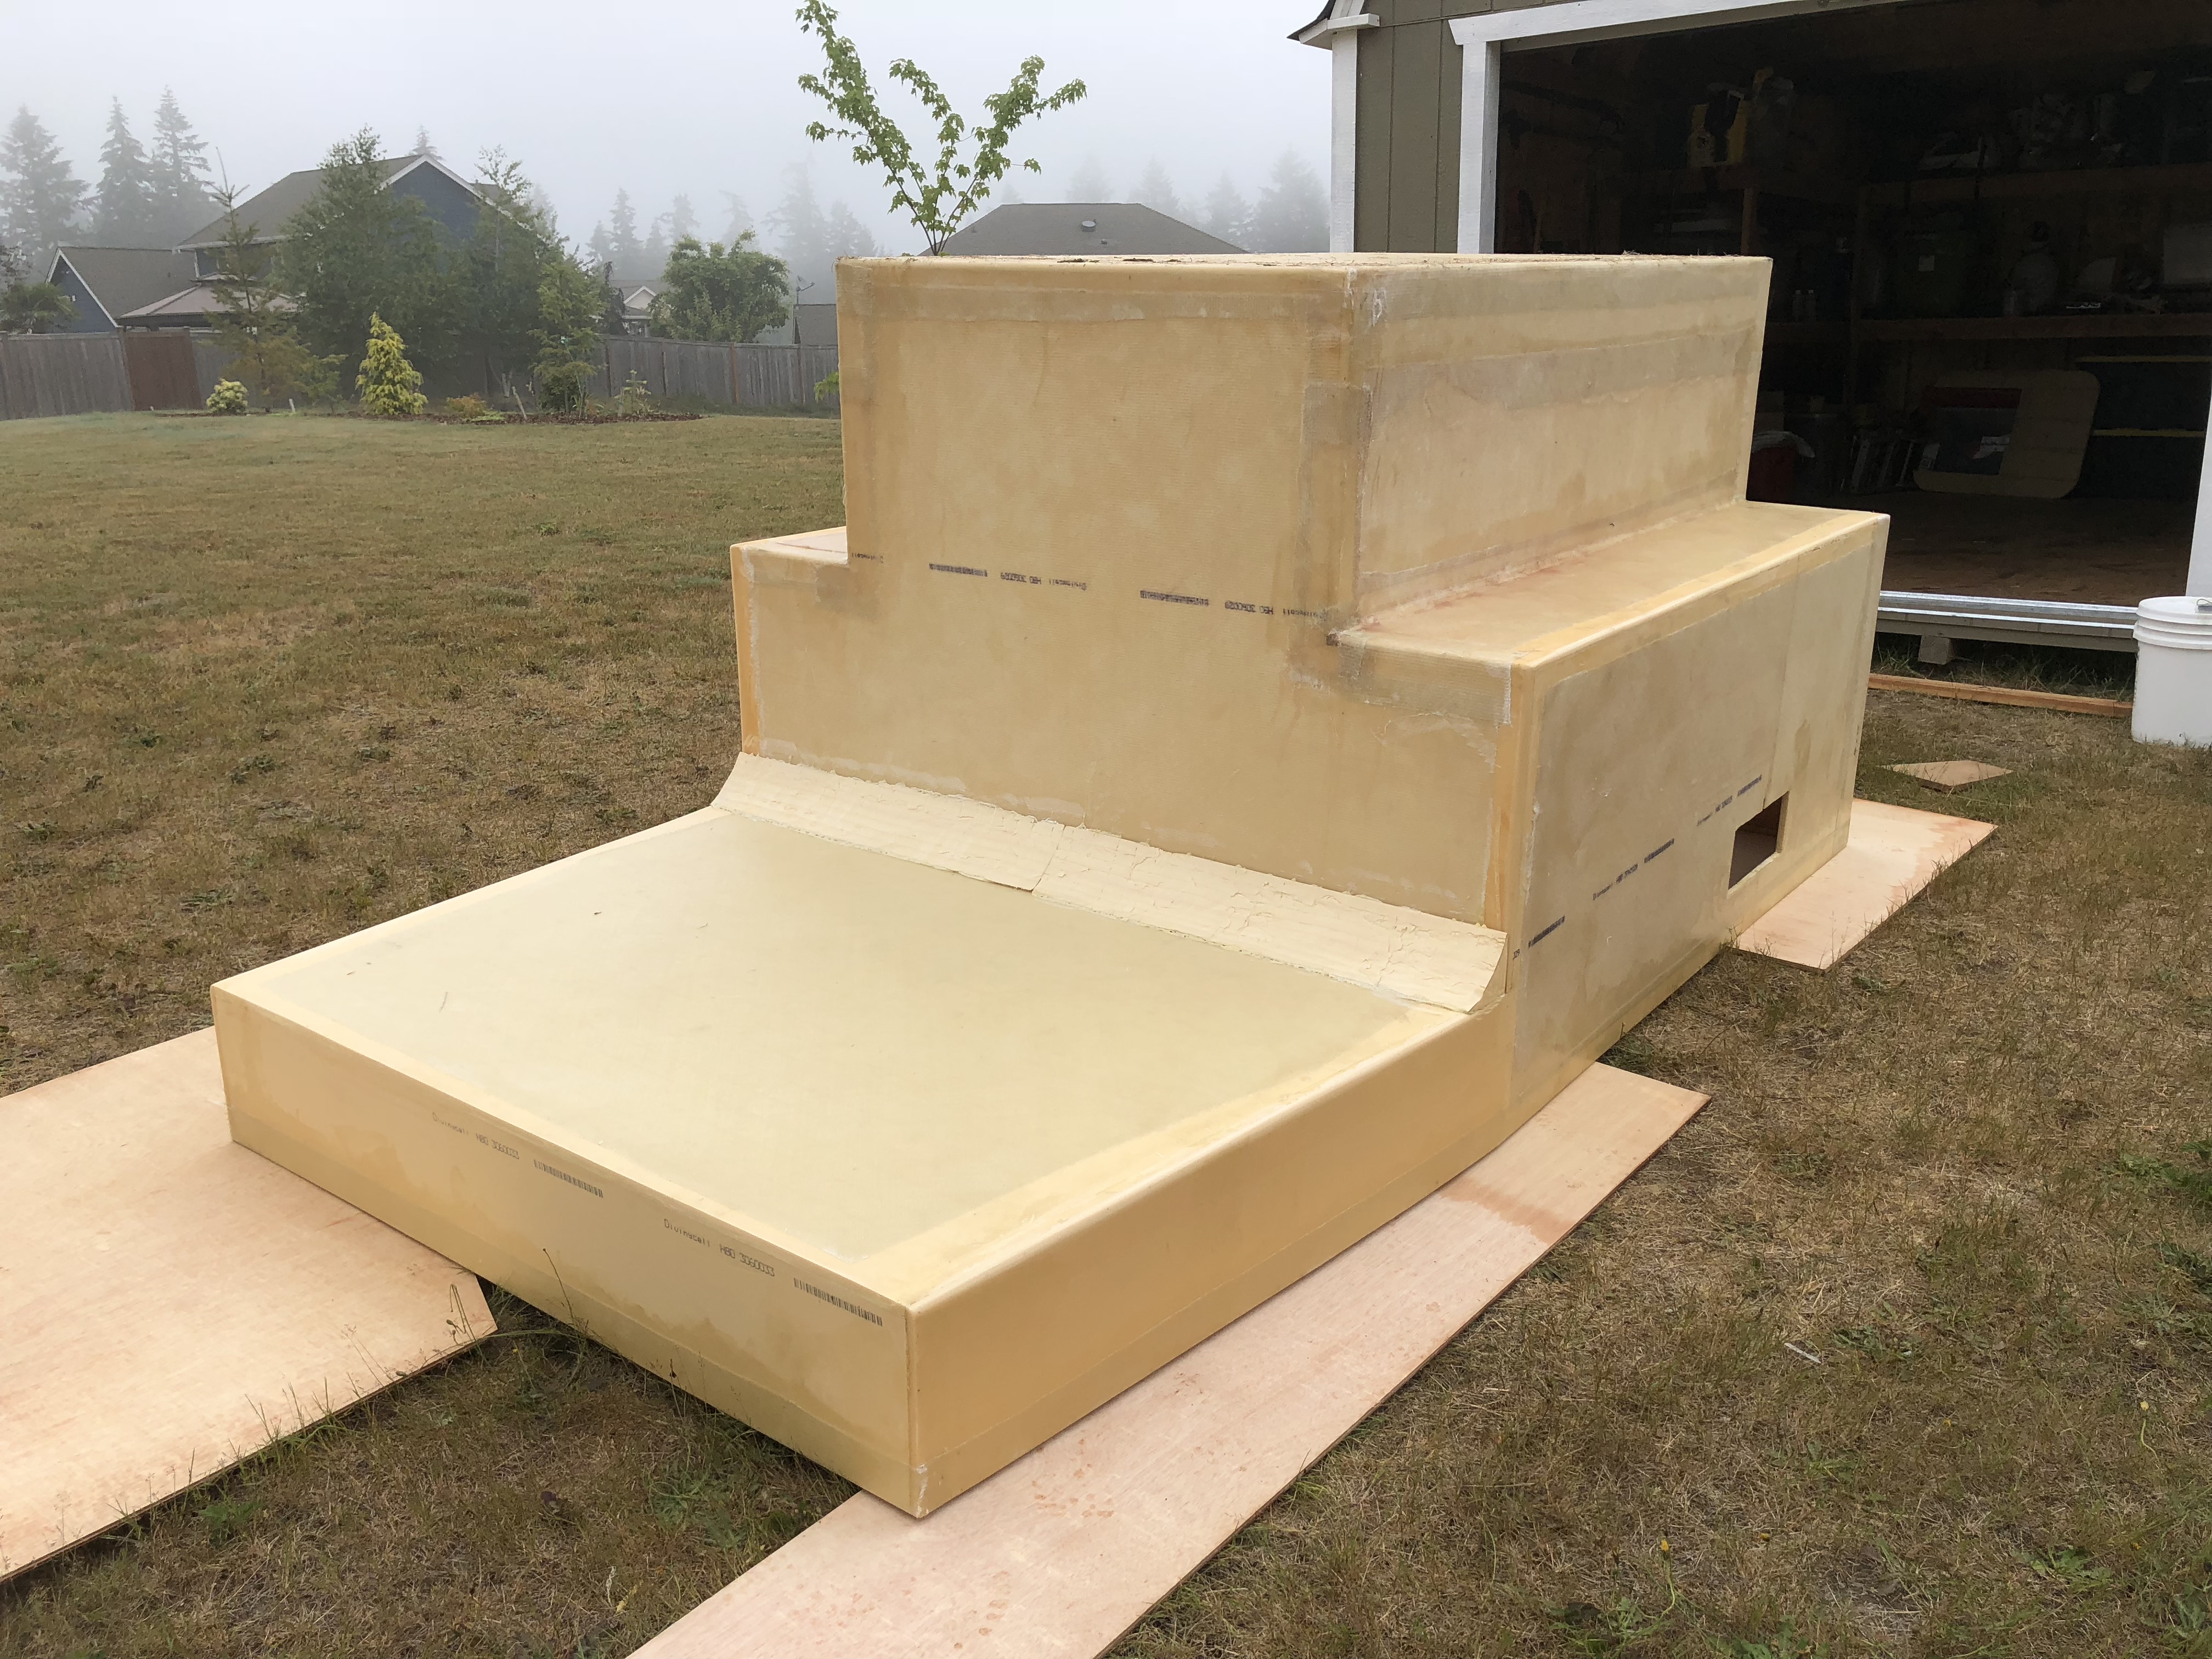
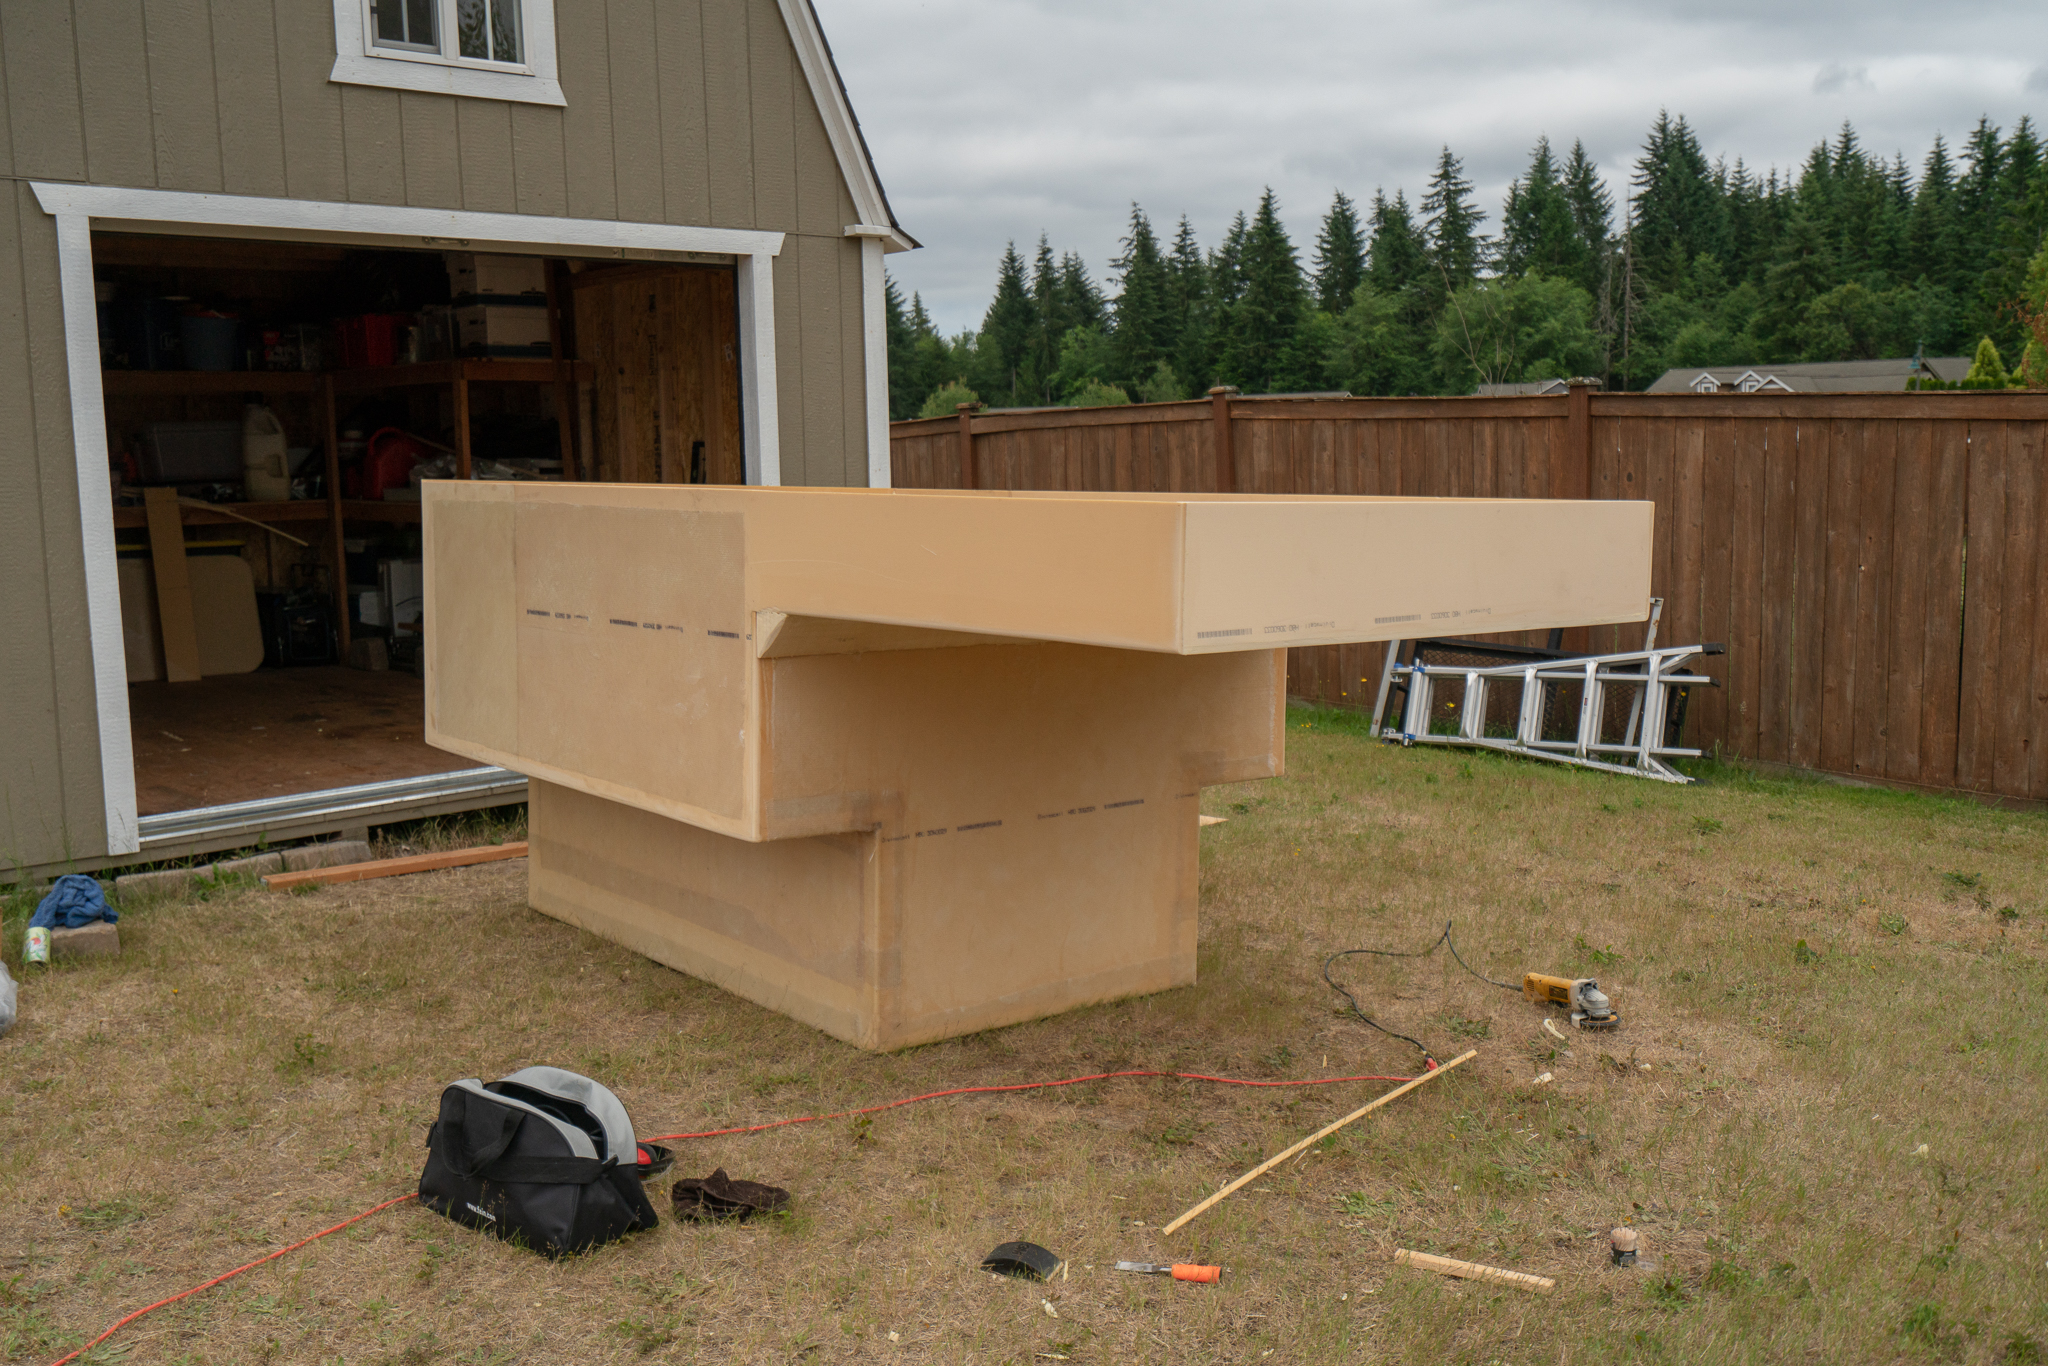
After dinner, we moved the camper over to the house in the shade to keep cleaning up the damaged beam and sand everything down to where it should have been to start with.
IMG_9664.jpg

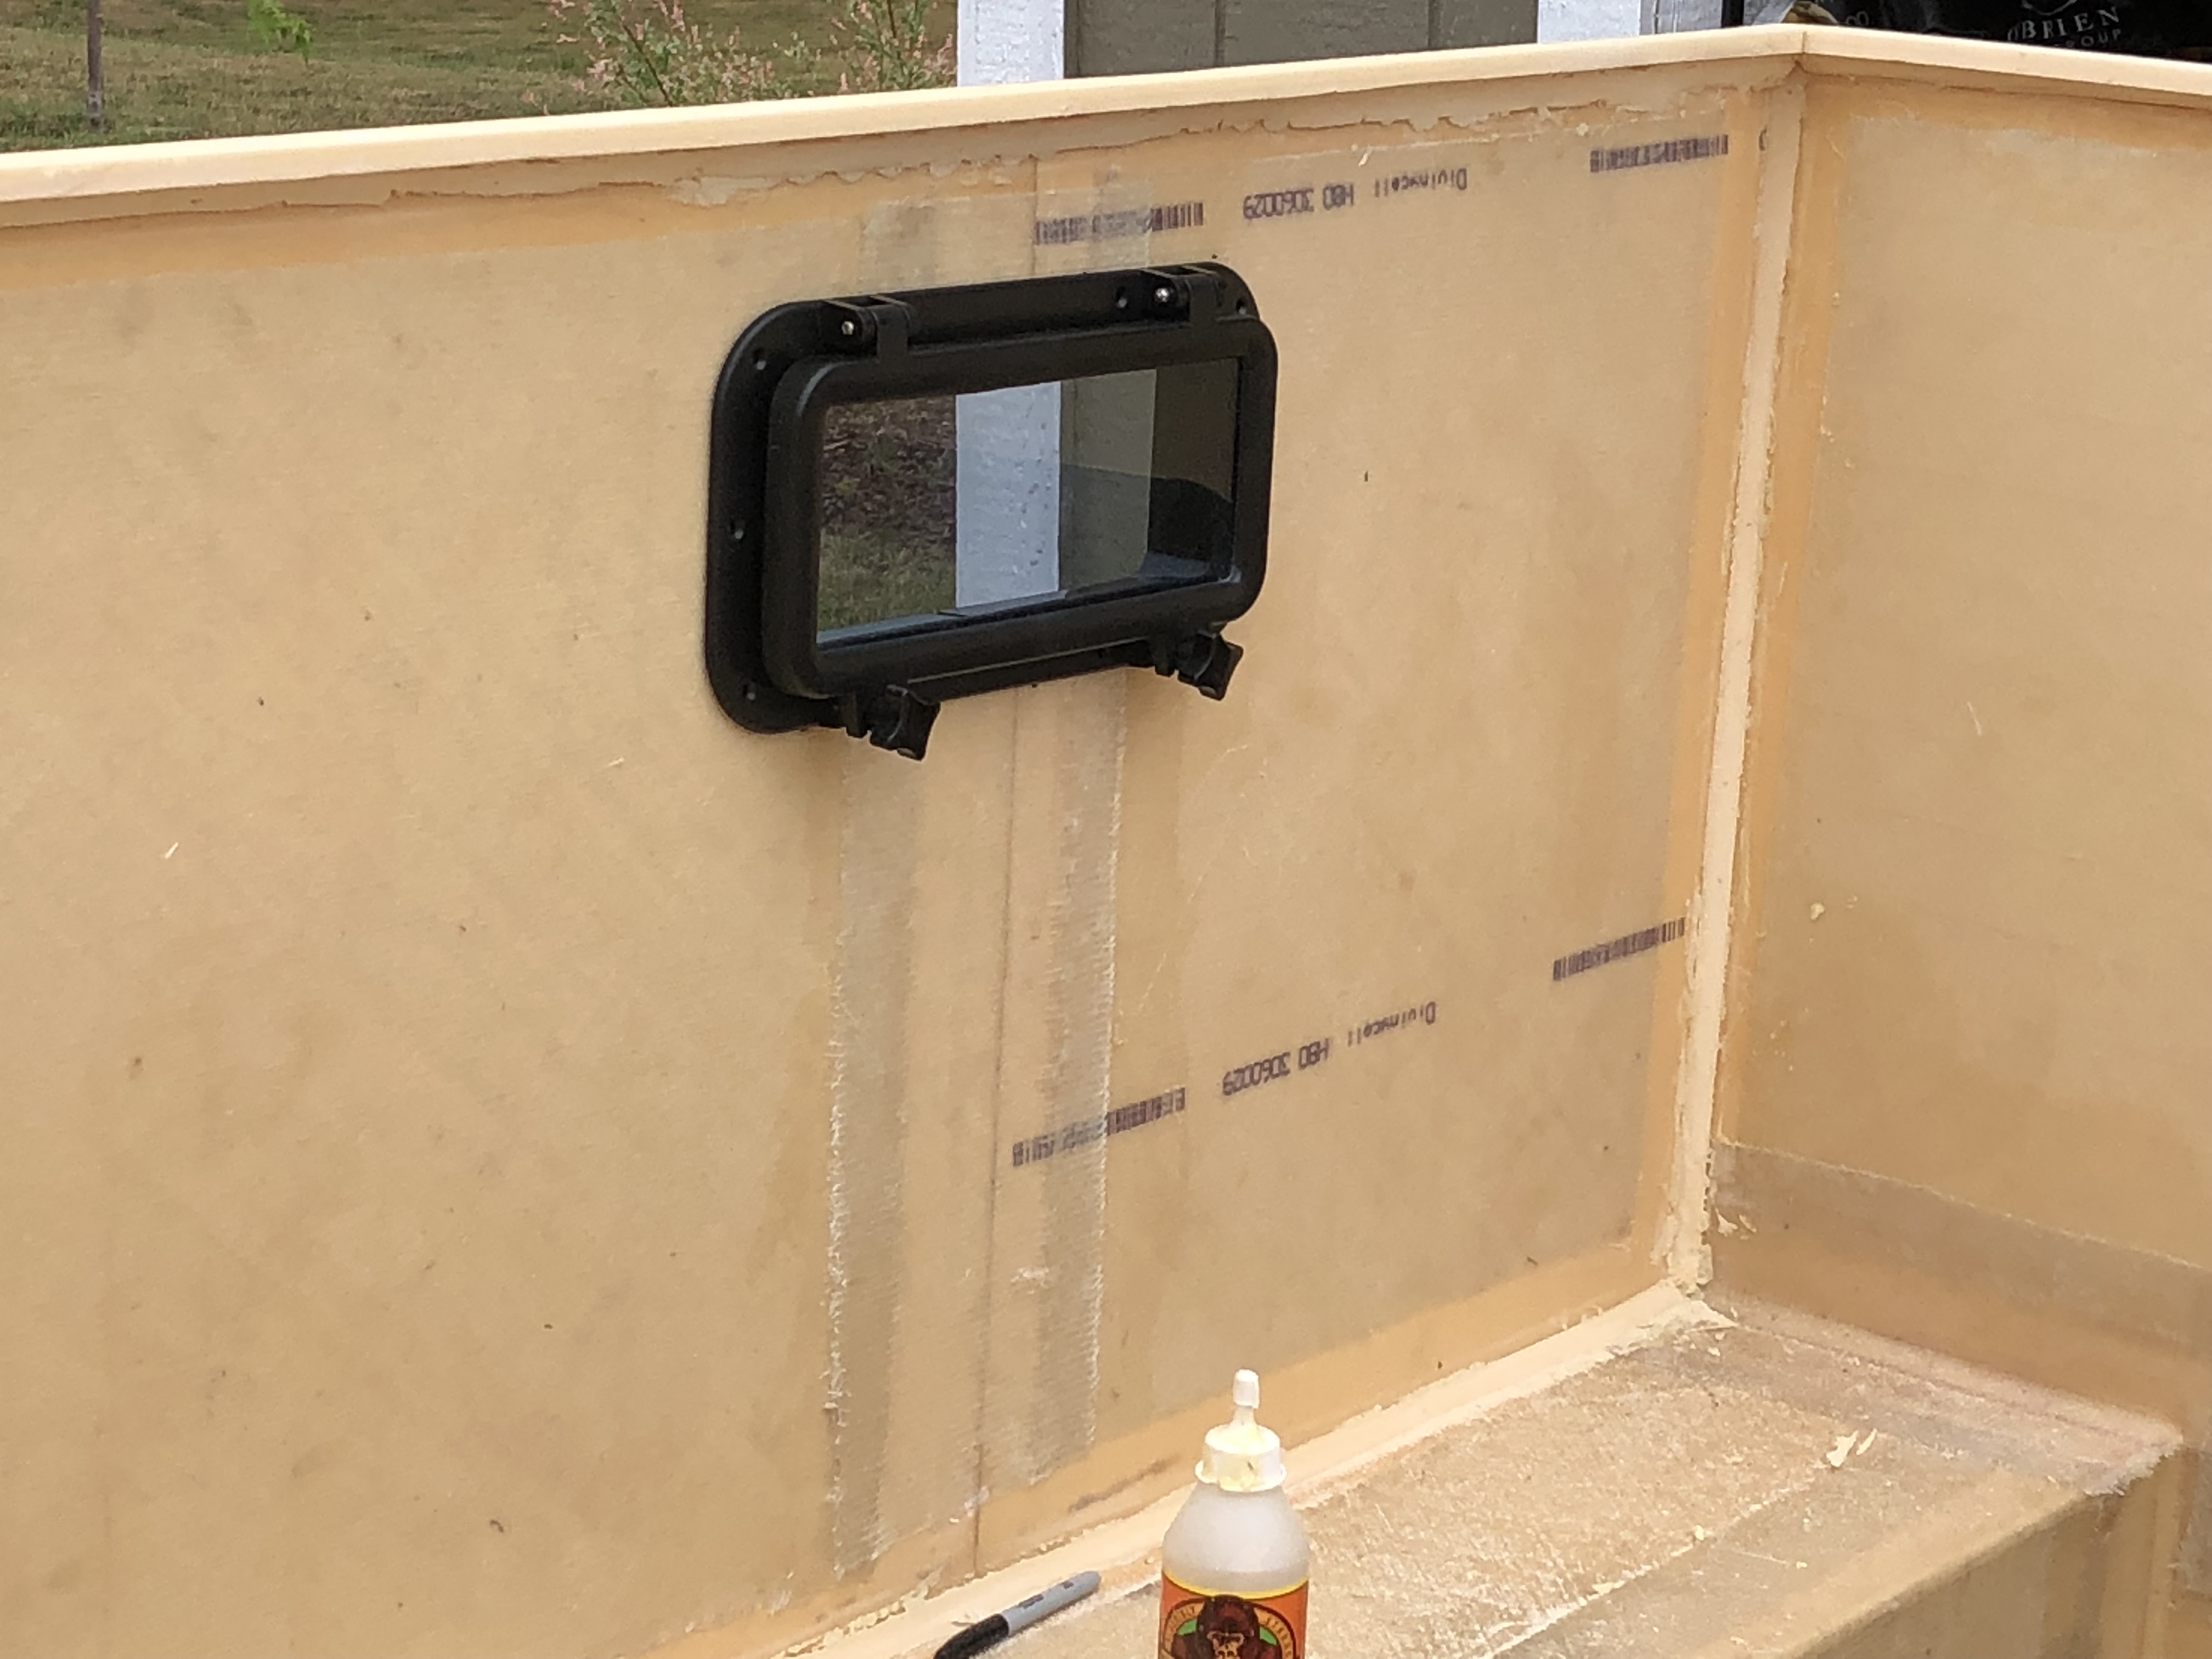
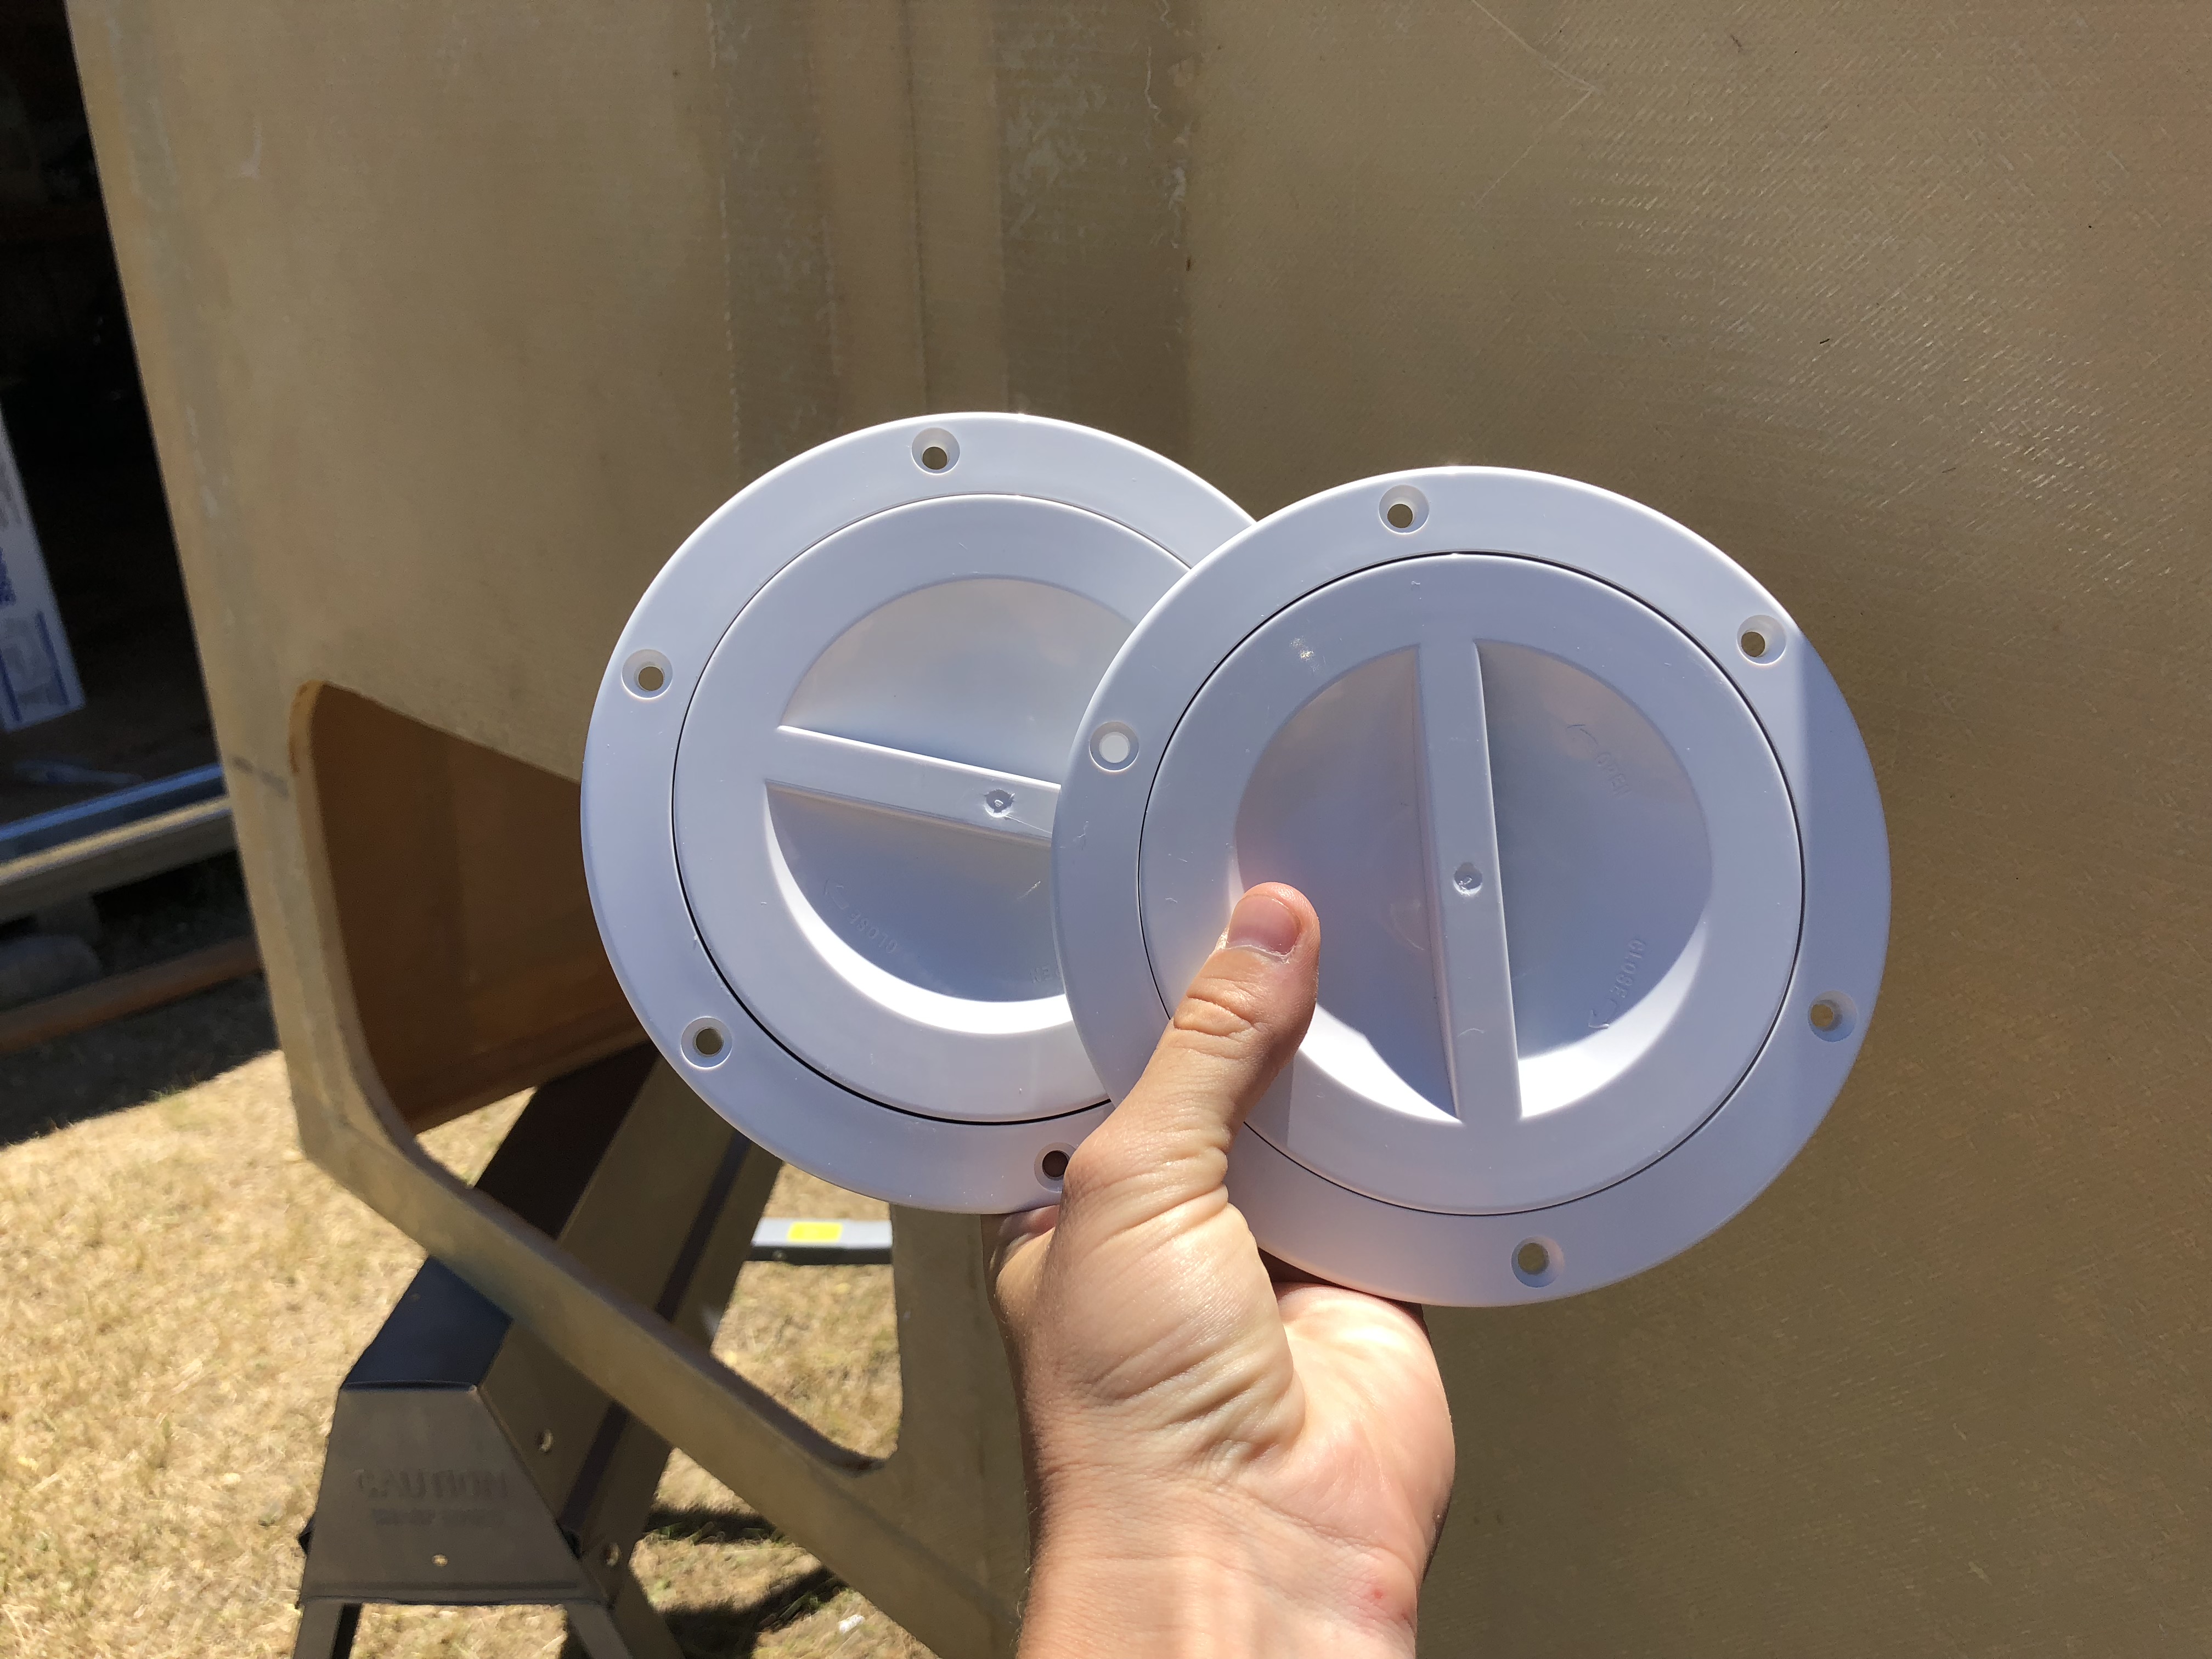
The sanding took the rest of the evening, but on a fun side note, I ordered two small waterproof hatches so I can access the tie down points inside the truck cab. Those came in today!
IMG_9648.jpg
 

underkill

Active member
The thread has mostly been about the camper shell so far, but it IS actually going to be a pop-top which means it's going to have some sort of roof. Jason said he had a plan for this, so I just stepped out of it and let him do what he wanted. Not only does the front of the cabover pinch inboard, the roofline is going to do the same thing. The front third of the roof will be angled down. It should be more aerodynamic than a large box, but it's also going to look way cooler. I'm ok with anything that looks cool, so we went with it!

He used the sheets of Foamular 250 that we originally bought for testing as the template for the roof sections!
IMG_9594.jpg

IMG_9596.jpg

In hindsight here I'm very glad we didn't go with the Foamular. The Divinycell is a great product to work with. Using the pink foam as a "jig" he's going to glue the sections of roof panels together and make it one solid chunk.
IMG_9647.jpg

The front piece was at all kinds of odd angles and required a lot of measuring.
IMG_9649.jpg

IMG_9650.jpg

IMG_9652.jpg

We definitely complicated things with the taper in both directions on the roof, but it made it look so good! Definitely worth the effort. It hasn't been too bad to cut the panels, until we get to the very front triangle pieces. Luckily Jason had the perfect little woodworking tool to measure those complex angles correctly. (I would have just guessed and sanded until it didn't look like crap.)
IMG_9654.jpg

IMG_9655.jpg

So now that all of the pieces fit, we managed to find enough room in the shed to lay them up in there all at once! (our bedroom is above the garage... we really try to not have fumes in there!)
IMG_9661.jpg

IMG_9662.jpg
 

rruff

Explorer
Thanks! It looks smoother in pictures than it is up close. We reached the point of diminishing returns and went ahead and painted it. You're right about the sand paper... :eek:

A light coating of microsphere filled epoxy, and then texture the final coat... covers a world of sins... ;) I think I'm going to use gelcoat on the exterior of mine. Should stick well to epoxy so long as it's rough sanded and cured.
 

Forum statistics

Threads
185,825
Messages
2,878,599
Members
225,378
Latest member
norcalmaier
Top