SONICMASD
Adventurer
10/7/18: Front Suspension Update - One of the things that was apparent this vehicle needed during my test drive was an alignment since the steering wheel was about 20 degrees off center. So I took it in for an alignment but the shop said there was no point in aligning it because the front suspension had worn out parts - Upper Control Arm Bushings, Outer Tie Rod Ends, and Inner Tie Rod Ends.
Ernest had just replaced the Driver Side ITRE and both boots so I really only needed one ITRE.
Shopping List:
Mitsubishi Upper Ball Joint x 2
Mitsubishi Inner Tie Rod End
Mitsubishi Inner Tie Rod End Boot Band Clamp
Mitsubishi Outer Tie Rod End x 2
Siberian Front Upper Control Arm Bushing Set x 2
Now, you might be wondering - why not just order the pre-built Mitsu UCAs with ball joints and bushings already installed? This is definitely the way to go because pressing out bushings is a huge PITA and worth avoiding whenever possible. BUT, speaking with Toasty, he tells me that he recently bought new complete Mitsu UCAs for his 98 and within a few months the bushings tore. He suspects that although they were indeed New, they were probably old stock that was manufactured many many years ago and had been sitting in a hot warehouse somewhere. So not wanting to risk that, I went with Siberians.
You also might be wondering why not use Moog or any other aftermarket brand that is much cheaper than OEM - Because I've seen Moog's quality go way down over the years and I only want to do this job once. I know the Mitsu parts are expensive but Suspension/Steering is on a fully independent suspension vehicle that I use to fly down corrugations is not something I wanted to skimp on.
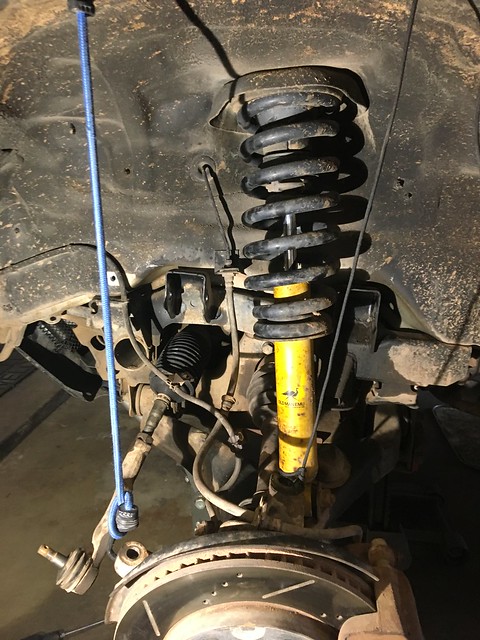
Removing the components is very easy and straightforward on the Gen3. I used a 3# sledge to break the OTREs and UBJs free from the knuckle but if you live in a rusty environment you may want to invest in Harbor Freights ball joint tool which would make short work of it as well.
You'll also want to borrow an ITRE tool from your local autoparts store for this
 IMG_2245
The hardest part about removing the UCAs is getting a socket onto the 22mm nut and bolt since there is not a lot of room to work with because of the coil springs. I used a crescent wrench on one end and a deep wall socket with 26" breaker bar on the other end and soaked the bolts in homemade penetrating fluid (acetone + atf) the day before.
Here is everything apart:
 IMG_2217
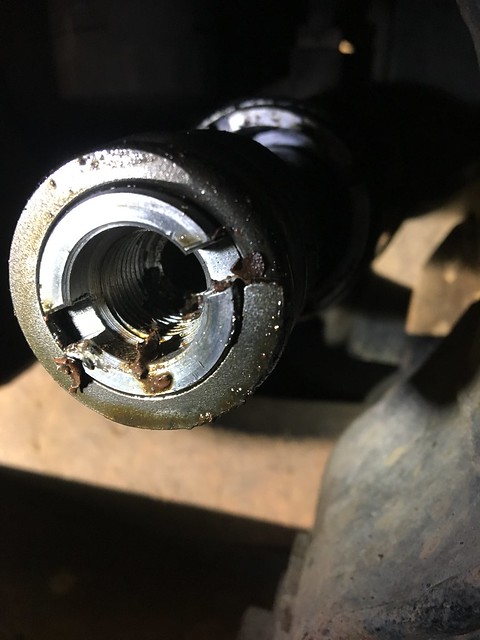
Inside the passenger side ITRE hole there was some debris from the old unit. I cleaned it up before installing the new one.
 IMG_2244
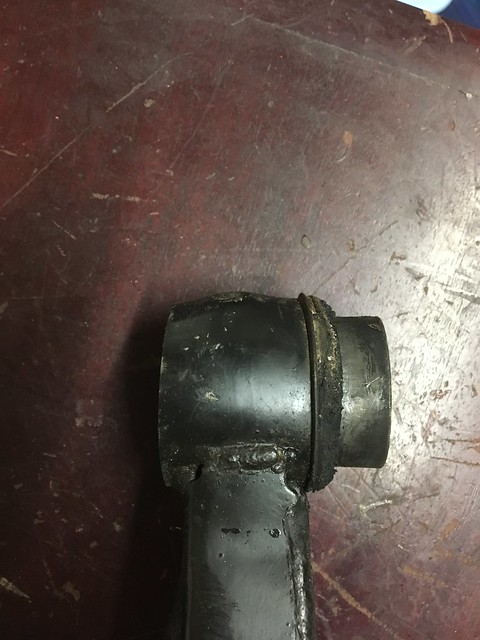
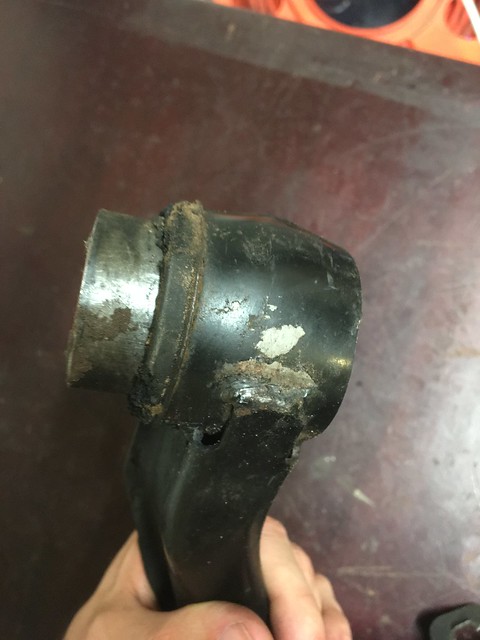
The UBJs just unbolt from the UCA so the only hard part of the disassembly process is getting the bushings out. Ernest and I made an attempt at pressing them out with a 20ton press but didn't choose a good socket size and ruined the passenger side UCA. Word of advice, don't push on the rubber part of the bushing hoping it will remove the metal case, it won't. It will just deform the entire control arm. That silver cylinder you see sticking out of the arm is the socket, it's in there good and not going anywhere now.
 IMG_2524
 IMG_2523
 IMG_2528
 IMG_2527
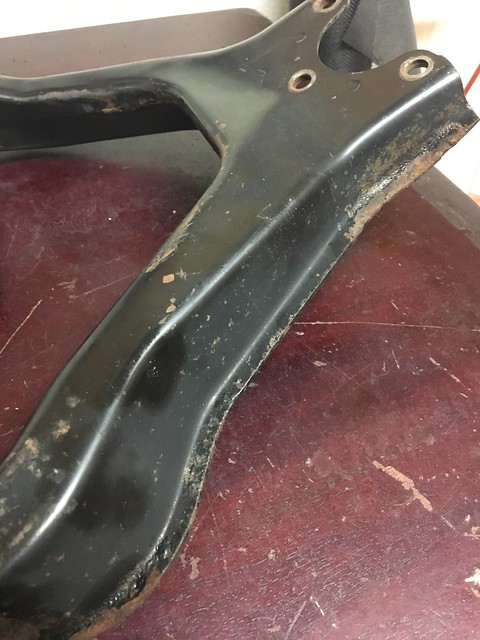
So lucky for me I knew of a guy parting out a 2001 so I went over there and removed another UCA. But the good news is this one came off an AZ truck with 25,000 less miles and has zero rust. The original UCAs have a little light rust on them from their time in UT and WA.
Ok, so not wanting to attempt the bushing removal again I dropped the UCAs and Siberian Bushings off at a local auto repair shop. The owner said he would get them done in a day or two.
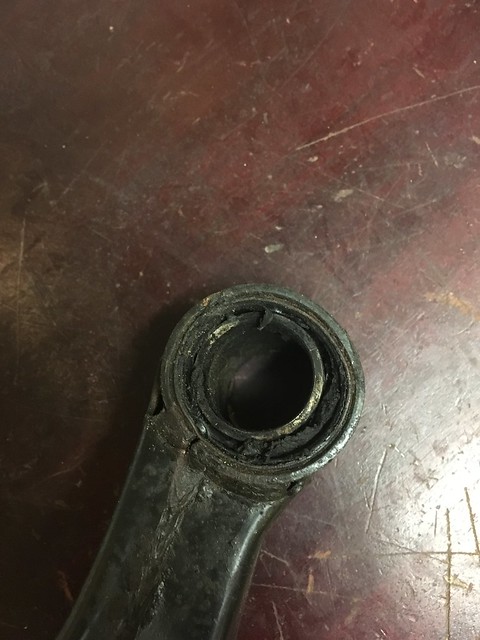
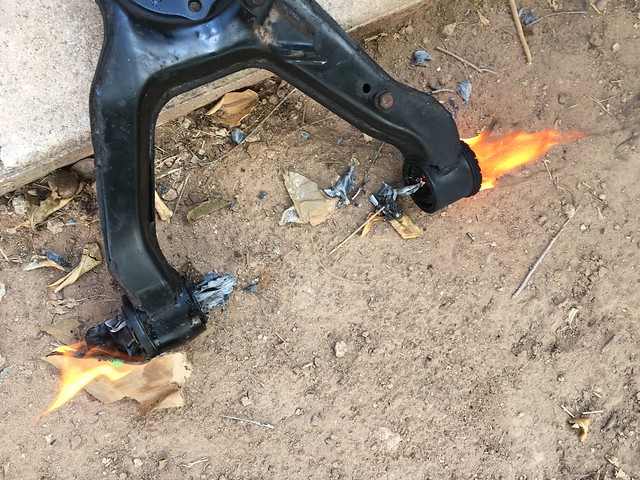
In the meantime, just for fun and research, I doused the messed up UCA in gasoline and made a half-assed attempt at burning out the bushings.
 IMG_2231
Conclusion - a torch is necessary and you don't want to breathe this stuff in so my recommendation is don't do it. You would still need to punch out the metal bushing case and it will be covered in gooey gross rubber ashy stuff so it's not worth it.
Ernest had just replaced the Driver Side ITRE and both boots so I really only needed one ITRE.
Shopping List:
Mitsubishi Upper Ball Joint x 2
Mitsubishi Inner Tie Rod End
Mitsubishi Inner Tie Rod End Boot Band Clamp
Mitsubishi Outer Tie Rod End x 2
Siberian Front Upper Control Arm Bushing Set x 2
Now, you might be wondering - why not just order the pre-built Mitsu UCAs with ball joints and bushings already installed? This is definitely the way to go because pressing out bushings is a huge PITA and worth avoiding whenever possible. BUT, speaking with Toasty, he tells me that he recently bought new complete Mitsu UCAs for his 98 and within a few months the bushings tore. He suspects that although they were indeed New, they were probably old stock that was manufactured many many years ago and had been sitting in a hot warehouse somewhere. So not wanting to risk that, I went with Siberians.
You also might be wondering why not use Moog or any other aftermarket brand that is much cheaper than OEM - Because I've seen Moog's quality go way down over the years and I only want to do this job once. I know the Mitsu parts are expensive but Suspension/Steering is on a fully independent suspension vehicle that I use to fly down corrugations is not something I wanted to skimp on.
Removing the components is very easy and straightforward on the Gen3. I used a 3# sledge to break the OTREs and UBJs free from the knuckle but if you live in a rusty environment you may want to invest in Harbor Freights ball joint tool which would make short work of it as well.
You'll also want to borrow an ITRE tool from your local autoparts store for this
IMG_2245The hardest part about removing the UCAs is getting a socket onto the 22mm nut and bolt since there is not a lot of room to work with because of the coil springs. I used a crescent wrench on one end and a deep wall socket with 26" breaker bar on the other end and soaked the bolts in homemade penetrating fluid (acetone + atf) the day before.
Here is everything apart:
IMG_2217Inside the passenger side ITRE hole there was some debris from the old unit. I cleaned it up before installing the new one.
IMG_2244The UBJs just unbolt from the UCA so the only hard part of the disassembly process is getting the bushings out. Ernest and I made an attempt at pressing them out with a 20ton press but didn't choose a good socket size and ruined the passenger side UCA. Word of advice, don't push on the rubber part of the bushing hoping it will remove the metal case, it won't. It will just deform the entire control arm. That silver cylinder you see sticking out of the arm is the socket, it's in there good and not going anywhere now.
IMG_2524
IMG_2523
IMG_2528
IMG_2527So lucky for me I knew of a guy parting out a 2001 so I went over there and removed another UCA. But the good news is this one came off an AZ truck with 25,000 less miles and has zero rust. The original UCAs have a little light rust on them from their time in UT and WA.
Ok, so not wanting to attempt the bushing removal again I dropped the UCAs and Siberian Bushings off at a local auto repair shop. The owner said he would get them done in a day or two.
In the meantime, just for fun and research, I doused the messed up UCA in gasoline and made a half-assed attempt at burning out the bushings.
IMG_2231Conclusion - a torch is necessary and you don't want to breathe this stuff in so my recommendation is don't do it. You would still need to punch out the metal bushing case and it will be covered in gooey gross rubber ashy stuff so it's not worth it.
")
 IMG_2494
 IMG_2499
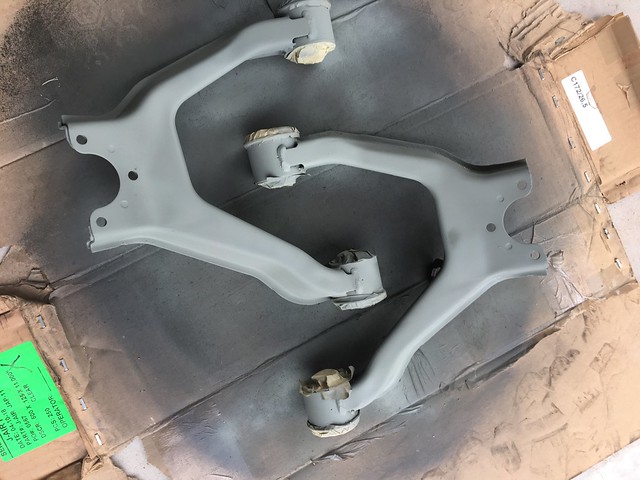 IMG_2500
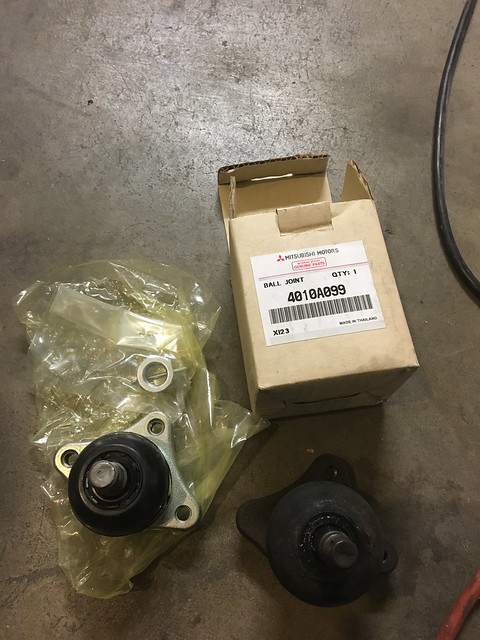 IMG_2522
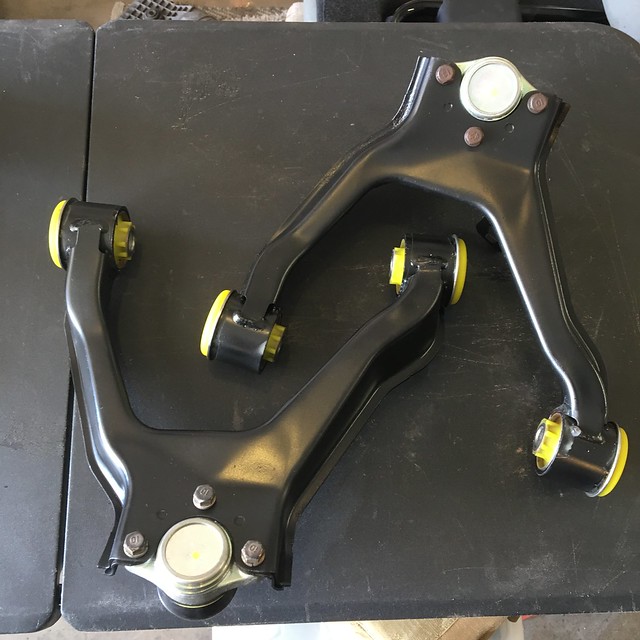 IMG_2530
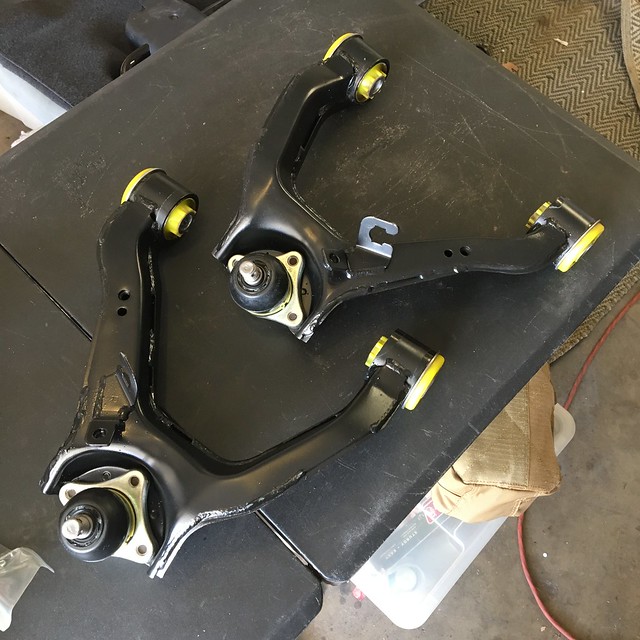 IMG_2531
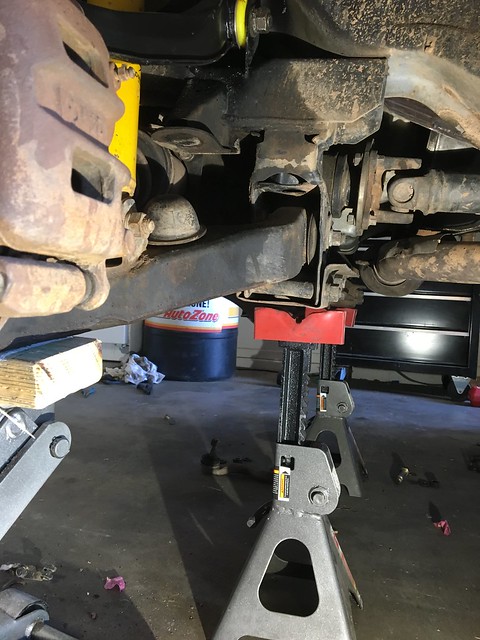 IMG_2532
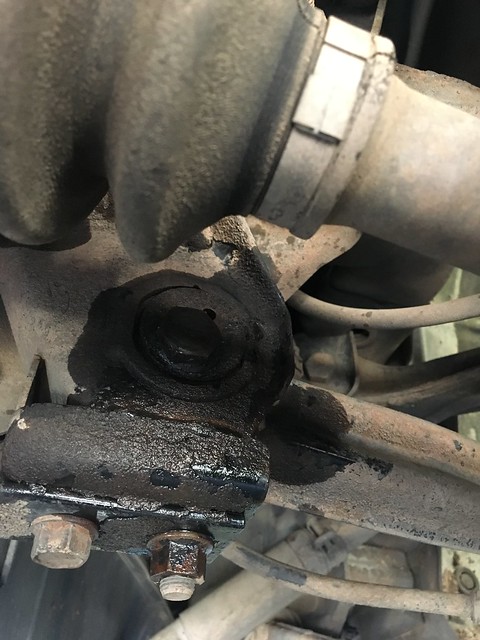 IMG_2540
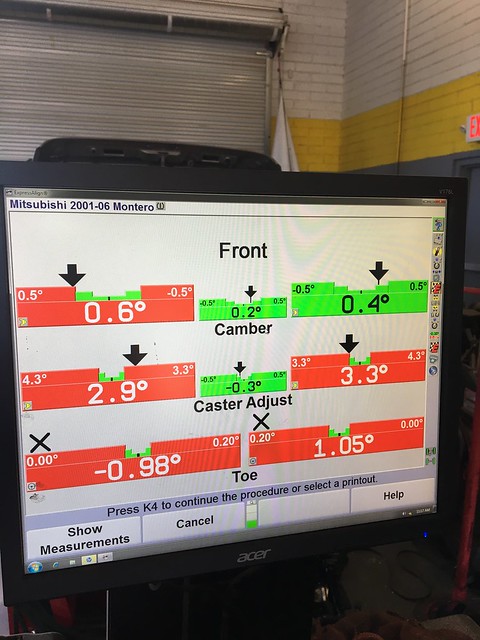 IMG_2541
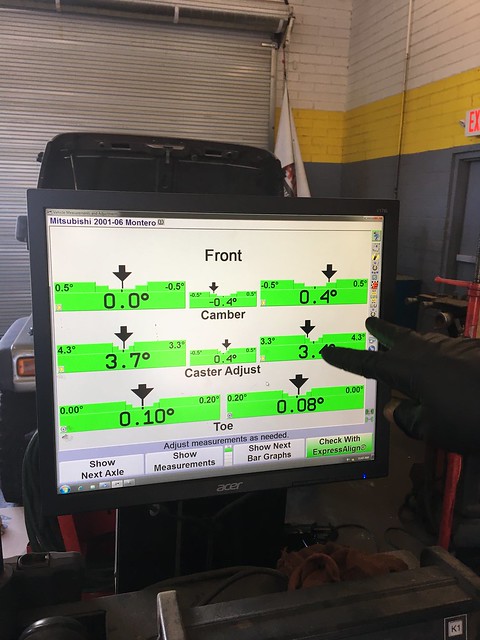 IMG_2543
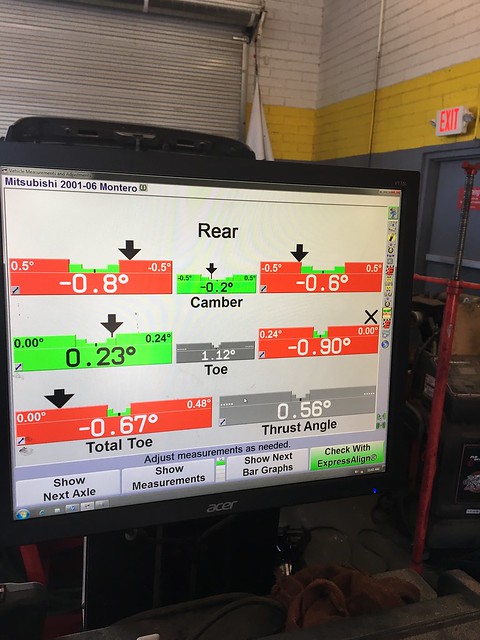 IMG_2544
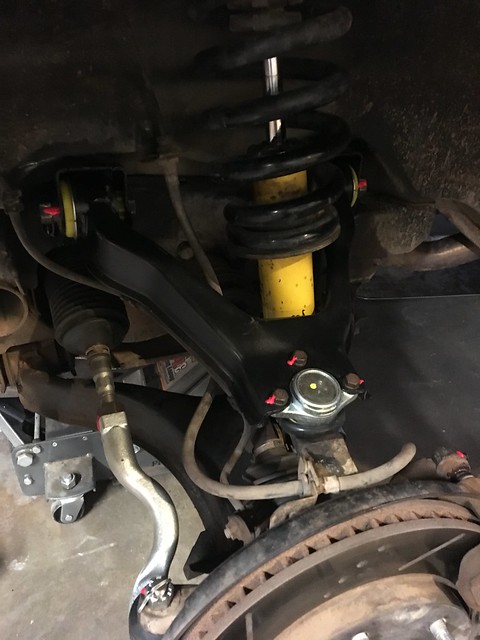 IMG_2547
 IMG_2582
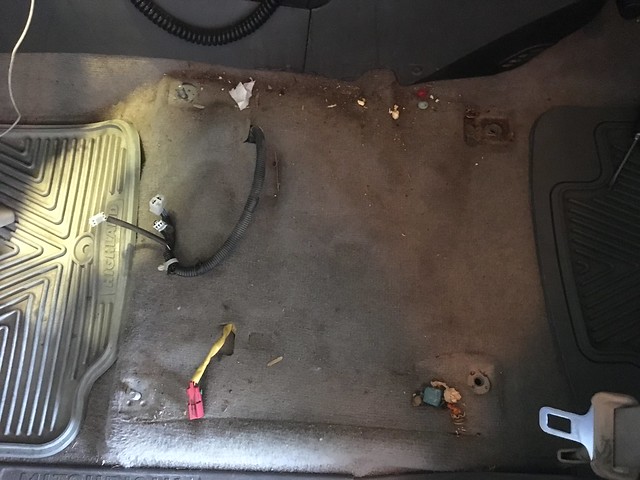 IMG_2583
 IMG_2584
 IMG_2587
 IMG_2589
 IMG_2591
 IMG_2629
 IMG_2574
 IMG_2578
 IMG_2570
 IMG_2580
 IMG_2581
 GYUT1138
 ROEM5340
 IMG_0858
 IMG_0869
 IMG_0875
 IMG_0916
 glasspack
 IMG_1359
 IMG_1382
 IMG_1379
 IMG_1377
 IMG_1314
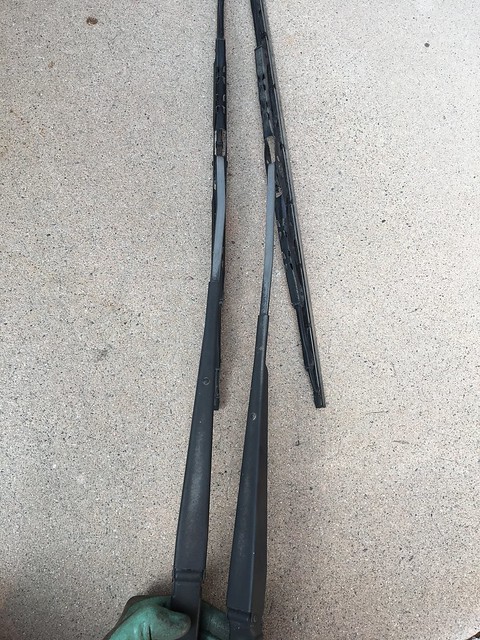 IMG_2681
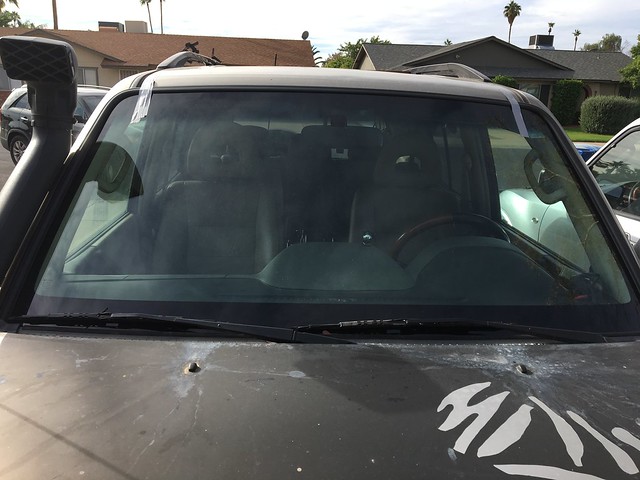 IMG_2833
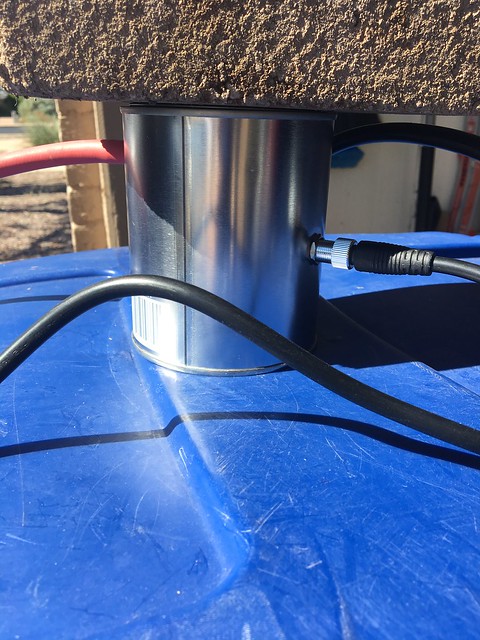 IMG_2801
 IMG_2803
 IMG_2820
 IMG_2808
 IMG_2811
 IMG_2814
 IMG_2817
 IMG_3649
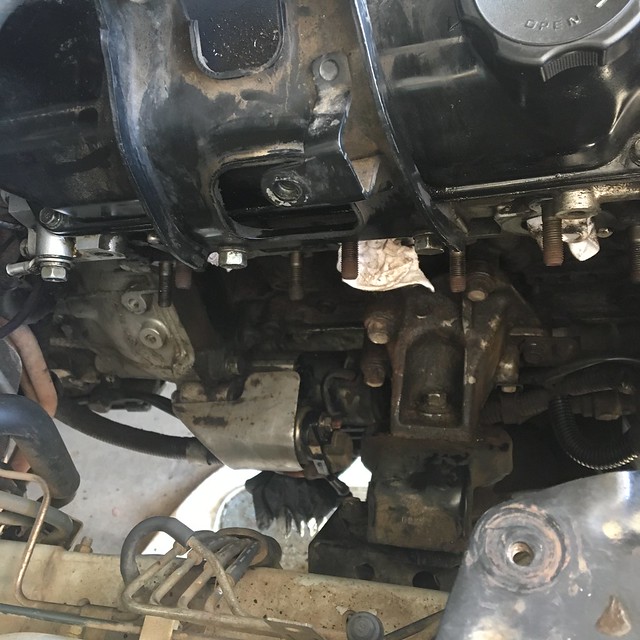 IMG_2863
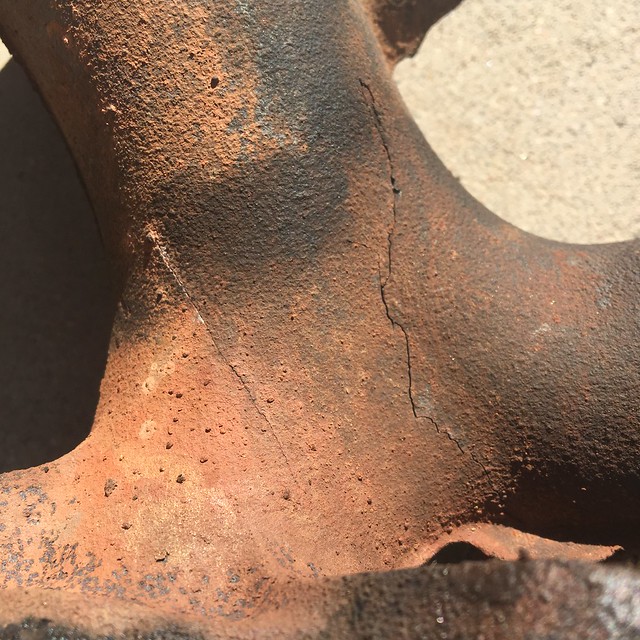 IMG_2862
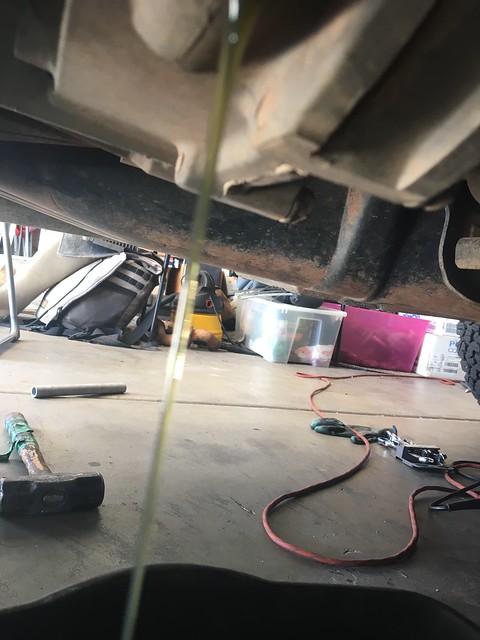 IMG_2865
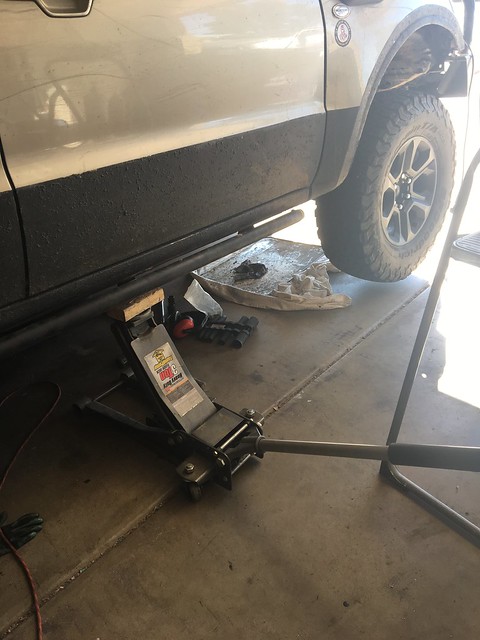 IMG_2867
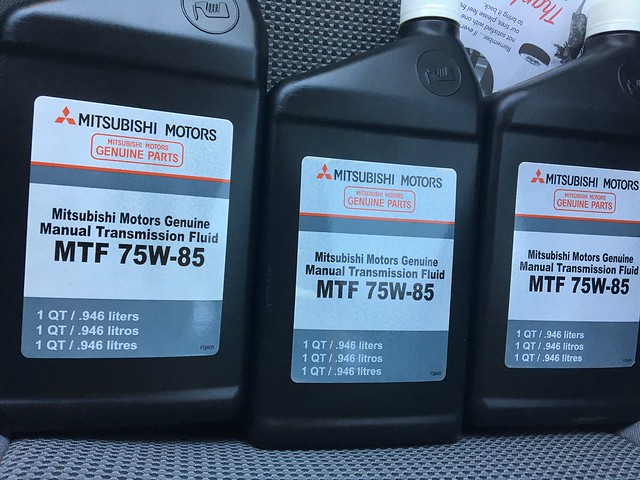 IMG_2859
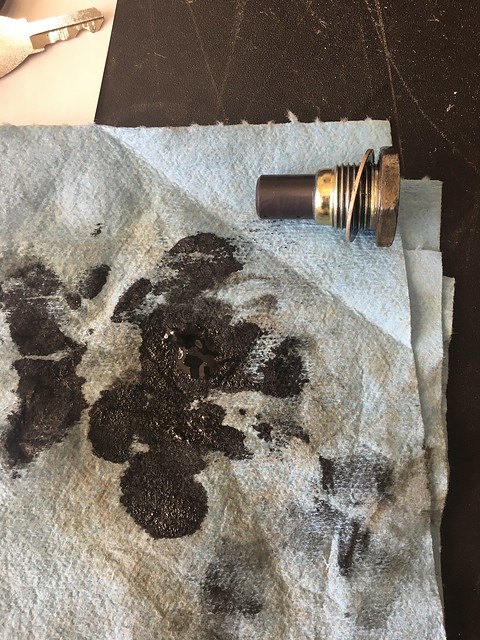 IMG_2866
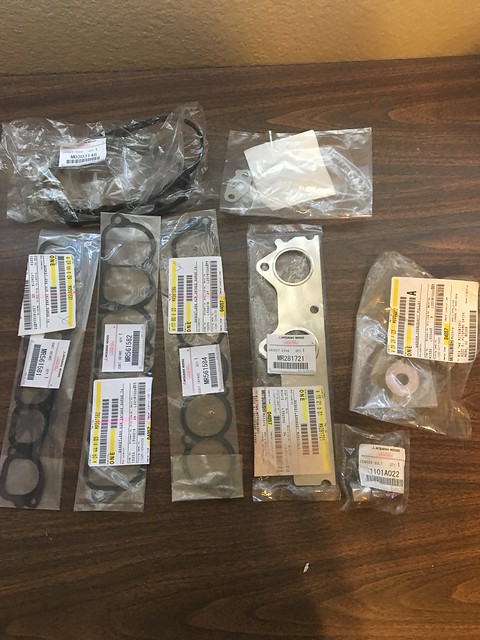 IMG_2889
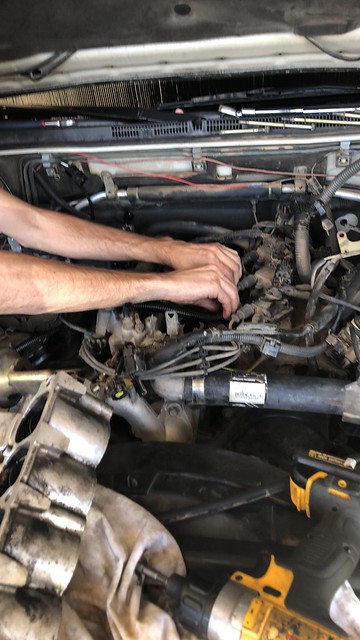 IMG_3202