98 Jeep ZJ "SHTFV"

Recce01

Adventurer
fender flares final fitment

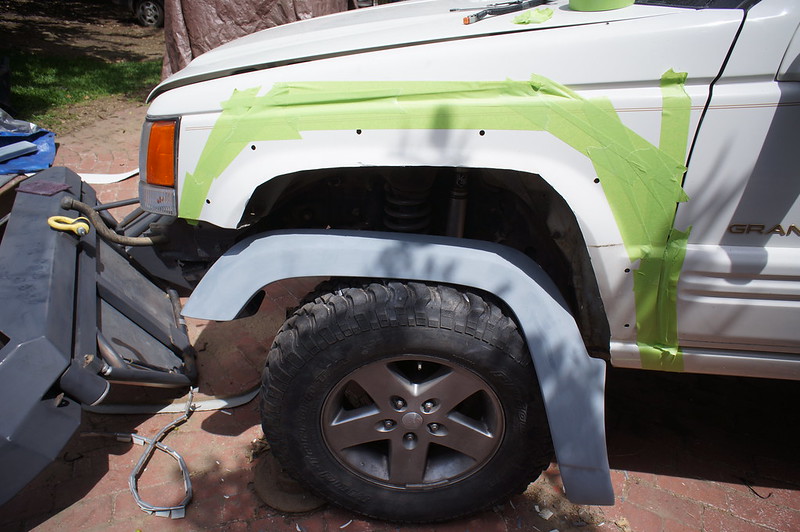
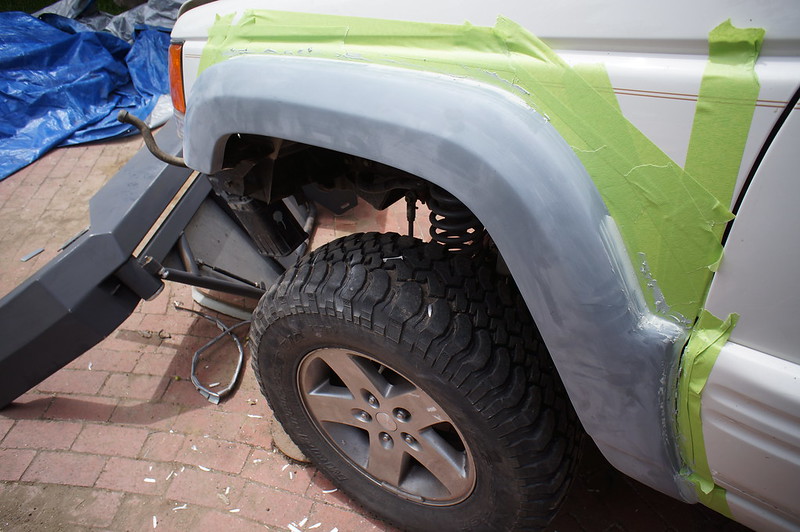
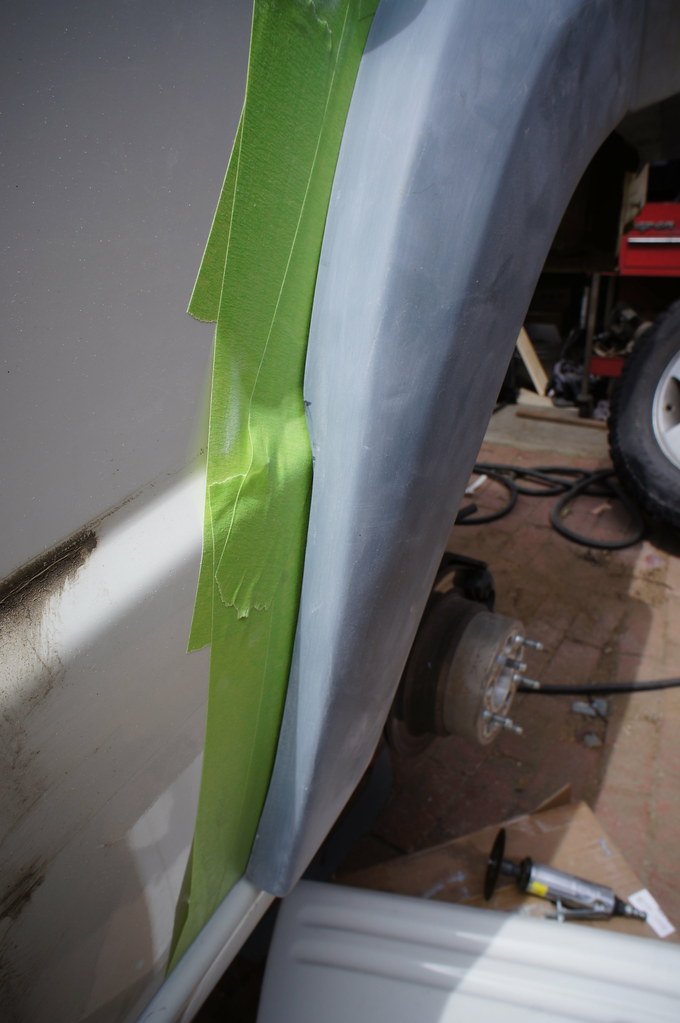
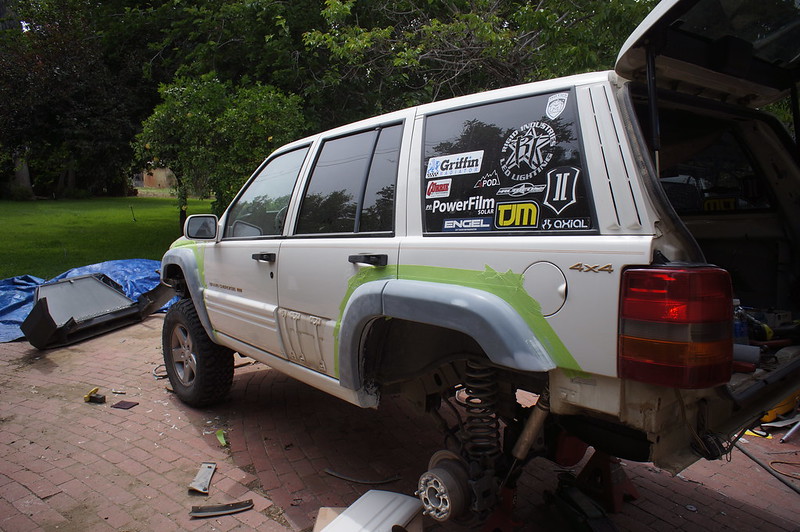
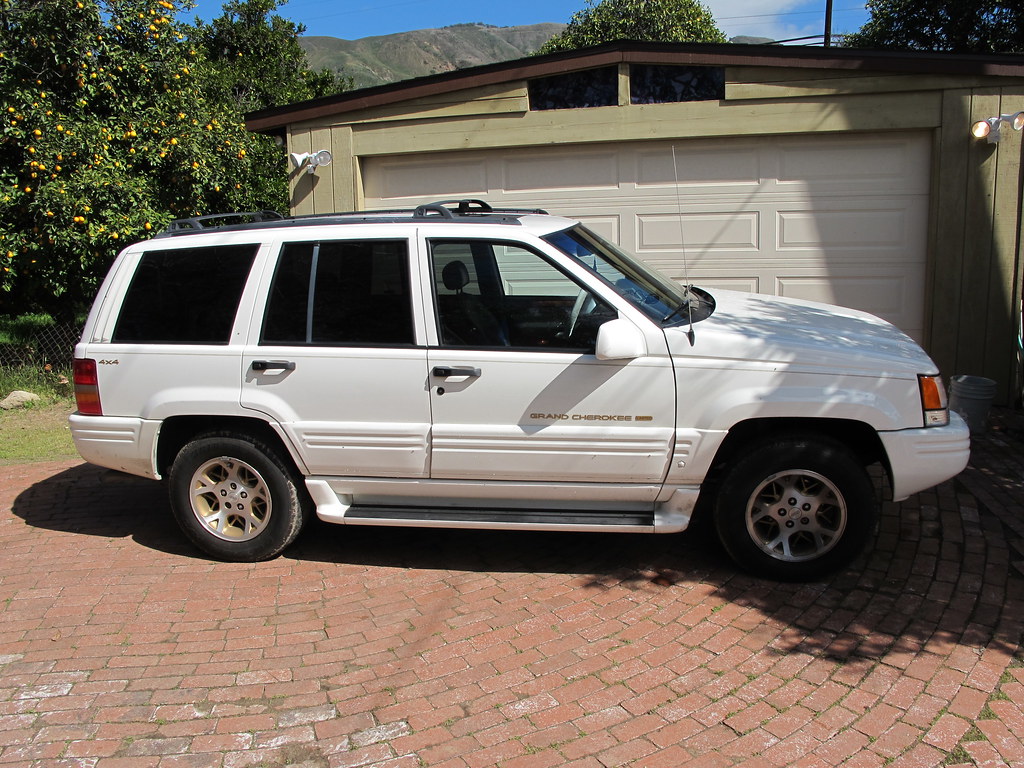
The flares are made of fiberglass. and they are pretty damn strong. The key to this step was to snug them up to the fenders without putting too much stress on the studs. Then you need to take body filler and fill the gaps between the body and the flare. I used masking tape on the body so there would no be any issues with the filler sticking to the body instead of the flare.
//
20716668270_8bcb68cc72_c.jpg

//
Once masked up and the fenders bolted on, I used filler to close up all the gaps. Then all I had to do was pull the flares off and sand off any excess filler. The end result is a perfect fit to your body, where you decided to install them...
//
20283687743_41c63b743f_c.jpg

//
20904667725_38286a5e57_b.jpg

//
20911929801_d4d2dbb49d_c.jpg

//
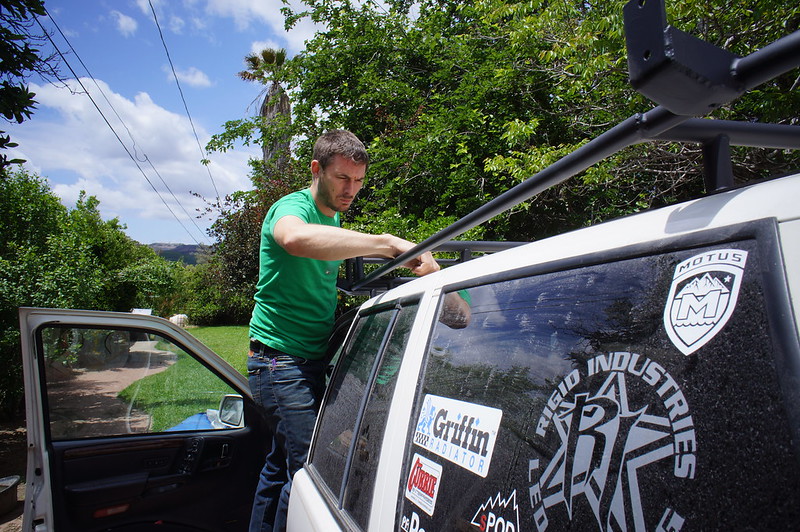
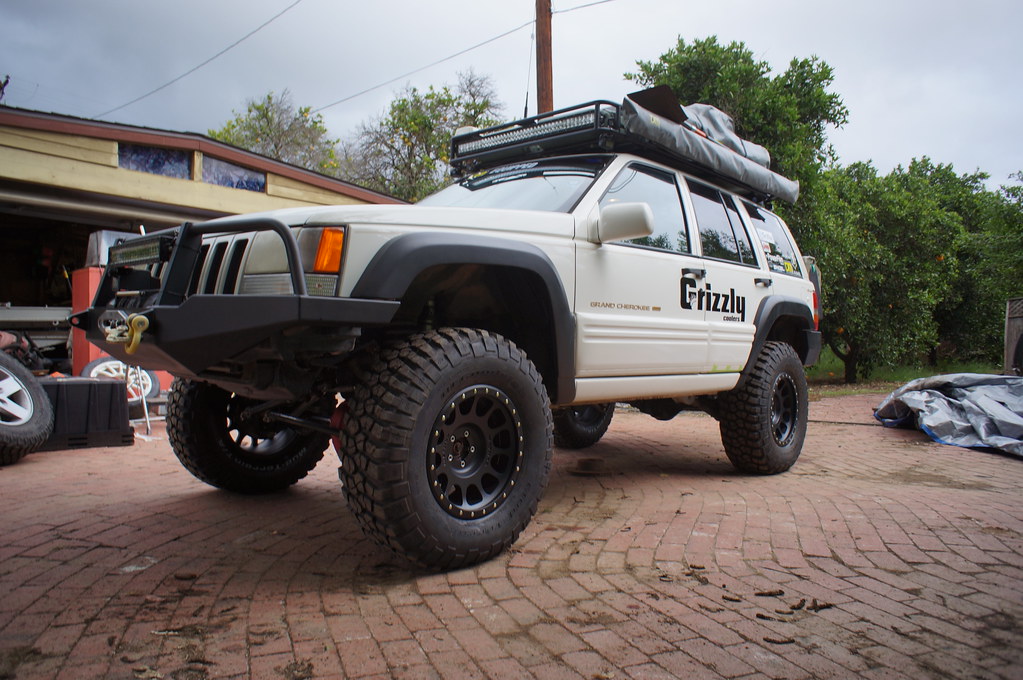
From this point, a tremendous amount of thrashing ensued to sand and paint the fender flares, cut, re-weld and repaint the bumpers for install. I decided to focus on the job, and didn't really take photos during this process. We were running out of time and still had lots to do. Of course when repainting bumpers, may as well repaint the roof rack as well. This would mean a completely fresh look upon completion! I totally suckered my neighbor into helping.
//
20716489170_9ef53cde86_c.jpg

//
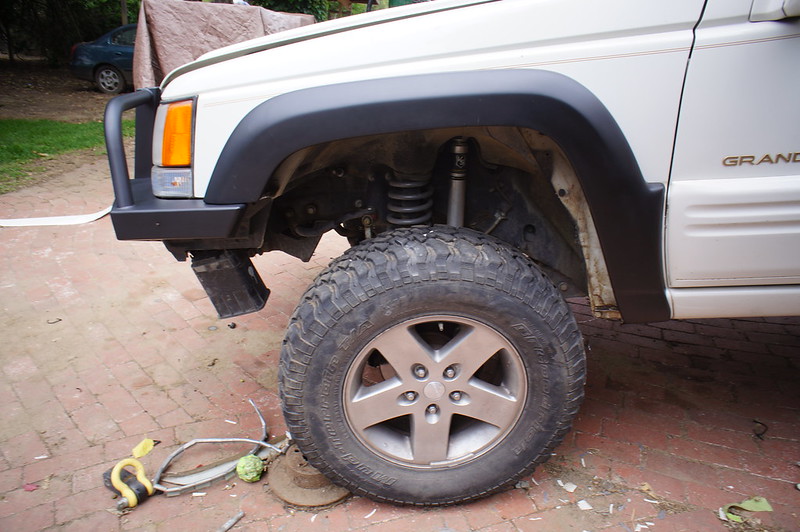
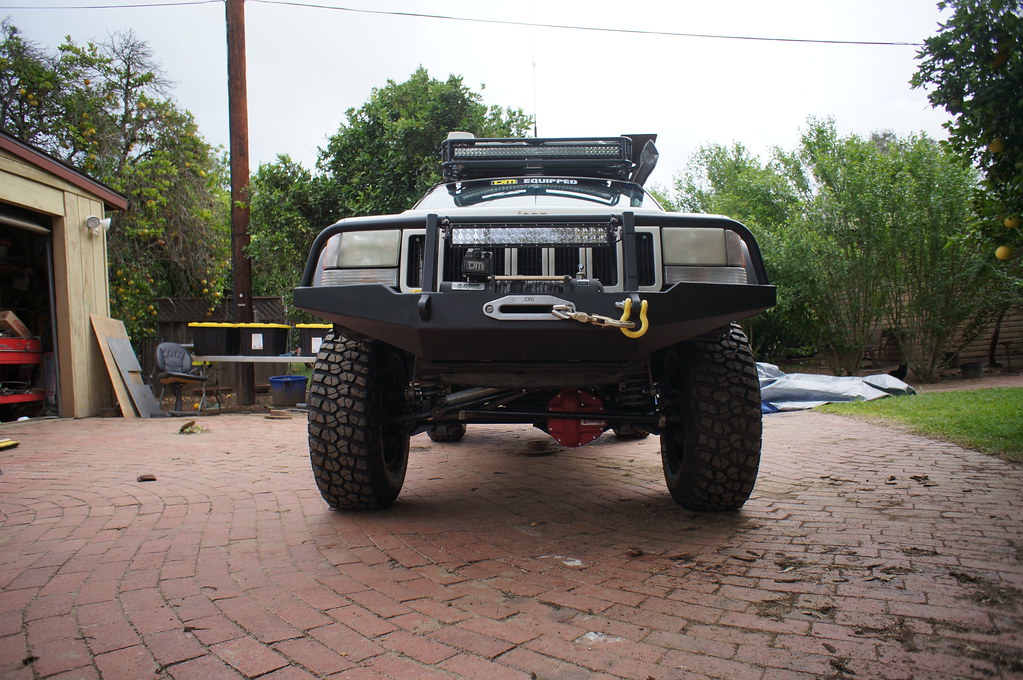
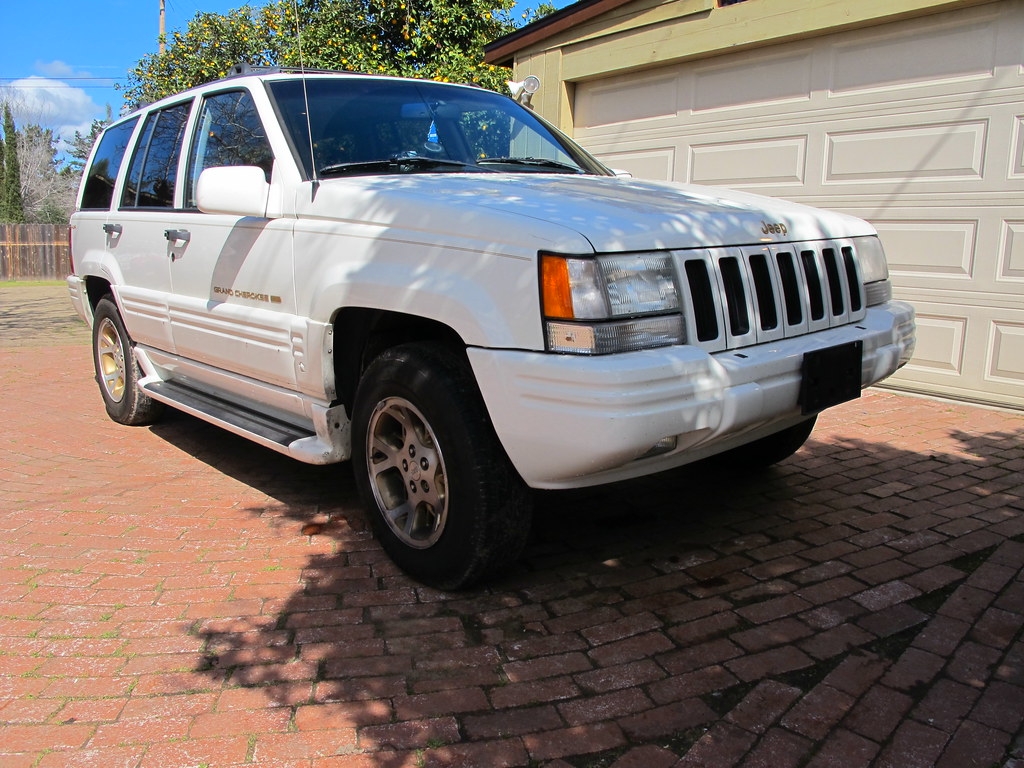
Front flares done and bolted on... (front bumper just slid on, not back far enough, it lines up perfectly after some trimming)
//
20716450850_c9e453edf1_c.jpg

//
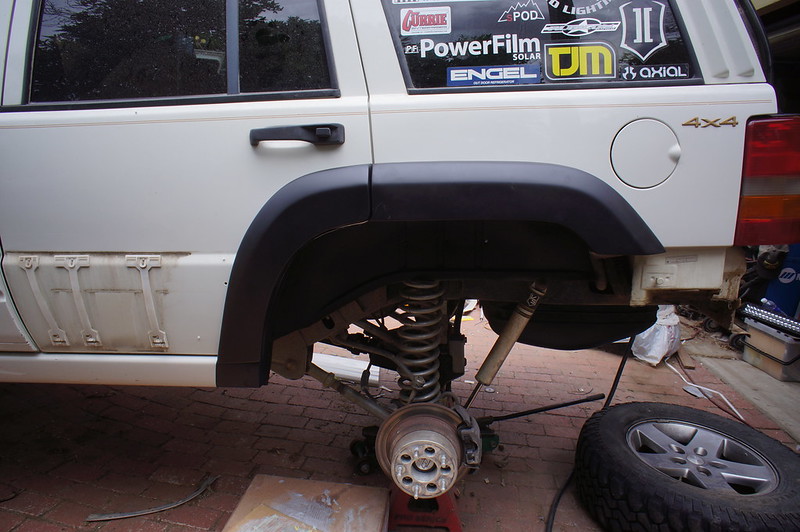
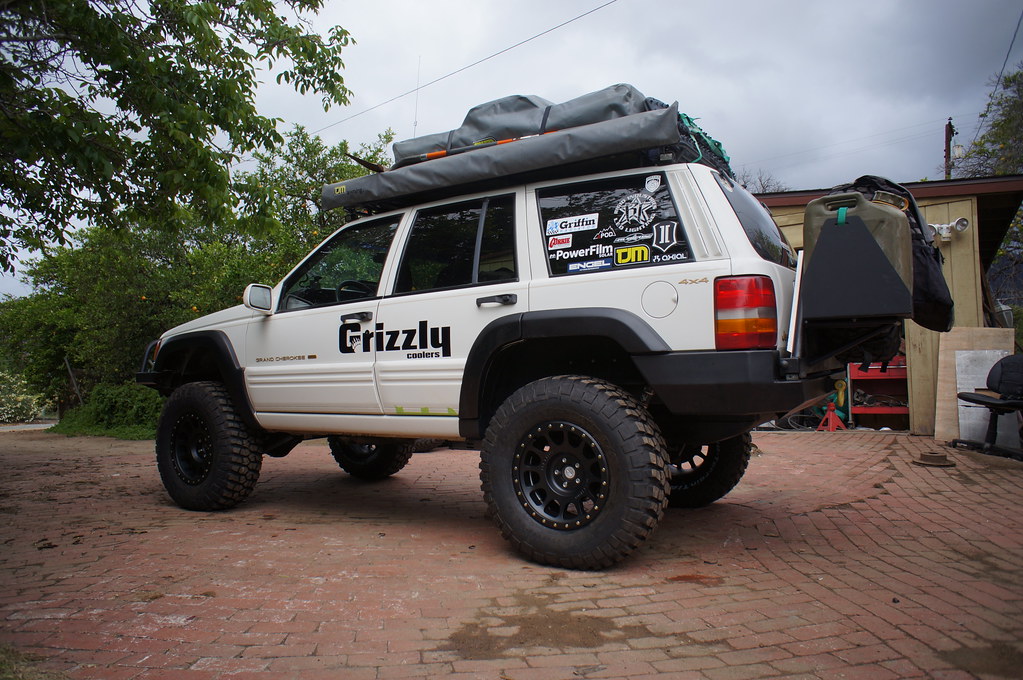
Rear flares done and installed...
//
20894798482_db4d8eb350_c.jpg

//
Looking back on this, I must admit and also suggest that it was not the best idea for me to install these flares myself. If you happen to buy them, take them to a body shop to have them installed. If they say it will be $5000 to do the job, pay them $6000 and smile while handing it over!
 

Recce01

Adventurer
at last!!!!

After a massive mission of ridiculousness the rig was finally ready. We threw on a little Vinyl for Grizzly and were ready to hit the road! Here are a few shots of the SHTFV all dressed up and ready to roll!
//
20283436313_4abdf4bca7_b.jpg

//
20878142636_33454f42a1_b.jpg

//
20911766941_2cc70370f9_b.jpg

//
Just realized I am a binge poster.
 

mtbxj87

Adventurer
The flares look good. I'm sure you'll do much better with the body work next time. I think better way would have been to drill out the spot welds in the wheel opening and separate the inner and outer quarter panels. Then Cut the just the inner up as far as you want. Then relief cut the outer panel that would have a few inches of over lap and fold that in and burn it to the inner panel. Seam seal and under coat or whatever 👍
 

Recce01

Adventurer
Super nice rig. Has come a seriously long way
Thank you, and....ya it has, we still remember it like this....
//
5468665701_7e70989b41_b.jpg

//
5469261658_de2aa3dcb3_b.jpg

//
LOL
//
The flares look good. I'm sure you'll do much better with the body work next time. I think better way would have been to drill out the spot welds in the wheel opening and separate the inner and outer quarter panels. Then Cut the just the inner up as far as you want. Then relief cut the outer panel that would have a few inches of over lap and fold that in and burn it to the inner panel. Seam seal and under coat or whatever ��
//
I was thinking the way you mentioned when I first started the project. The problem was how rounded the inner fender well was (It quickly migrated away from the outside shell), I was either going to have to fill a huge pie shape missing piece with sheet metal at the back, or fill lots of small ones with seam sealer. This way also offered the option of welding from the outside versus up underneath. IMHO, this was the most efficient way to get the job done. The flares looked much better once I got some real tires under there. I was super nervous when I saw them with the 32's. They are meant to fit 35's, but I don't see that happening unless you don't need to turn. I beat the living crap out of the seam of the shell behind the front tires to get them to clear during articulation.

Looks good, but MAN that looks like a lot of work. Worth it though.
I wish I could afford to paint match them, but they wanted $700, and couldn't guarantee they would match the OG paint. The flat black has grown me, Thanks man!
 

Recce01

Adventurer
Now I need to post these in succession, this is kind of crazy to look back...

//
5468665701_7e70989b41_b.jpg

20911766941_2cc70370f9_b.jpg

//
//
//
//
The evolution of a ZJ, and the thinning of my wallet hahahahaha.
 

elliottblackwood

Adventurer
Great work! I remember what a PITA chopping my rear fenders were on the ZJ. Did you end up pulling the charcoal canister or just relocating it?
 

ReconZJ

Observer
Now I need to post these in succession, this is kind of crazy to look back...

//
20911766941_2cc70370f9_b.jpg

//
//
//
//
The evolution of a ZJ, and the thinning of my wallet hahahahaha.

Really nice ZJ, and good job on the flares! Looks like Notch Customs bought the rights to the old Iceland Offroad flares, as they seem to be exactly like mine. I had IO's owner install mine at his house, and it took him 11 hours start to finish. Granted, he spent a good amount of time on the phone with customers, but it was a job that I wouldn't have tackled.

I slid sideways into a rock really hard on Pritchett at GSW the following year (after I'd had them painted to match my bumpers), and the only damage was about an1/8" deep gash in the passenger side rear - but no cracking of the fiberglass. I'm very pleased with them. I also POR'd the cut seams when I pulled them off to have them painted. Checking last year, so far there isn't any rust apparent.
 

Recce01

Adventurer
Thick wallets are overrated...that thing looks SICK!

hahahaha right!?!?! That's what I have been telling myself for years now :)

Great work! I remember what a PITA chopping my rear fenders were on the ZJ. Did you end up pulling the charcoal canister or just relocating it?

I laid it up flat just behind the front bumper on the drivers side. That reminds me, I need to put my horns back in on the other side. I cant seem to remember that, until I am on a trip, second in line at a stop light and someone is more concerned with their phone than the green light in front of them :/

Really nice ZJ, and good job on the flares! Looks like Notch Customs bought the rights to the old Iceland Offroad flares, as they seem to be exactly like mine. I had IO's owner install mine at his house, and it took him 11 hours start to finish. Granted, he spent a good amount of time on the phone with customers, but it was a job that I wouldn't have tackled.

I slid sideways into a rock really hard on Pritchett at GSW the following year (after I'd had them painted to match my bumpers), and the only damage was about an1/8" deep gash in the passenger side rear - but no cracking of the fiberglass. I'm very pleased with them. I also POR'd the cut seams when I pulled them off to have them painted. Checking last year, so far there isn't any rust apparent.

Yes! That is what I heard. I am glad someone was still making them. They are the only flares I have seen that I actually like. I had no idea what I was in for regarding installation though. I couldn't imagine trying to do this job without the tools I have.
 

VanIsle_Greg

I think I need a bigger truck!
Now I need to post these in succession, this is kind of crazy to look back...

//

20911766941_2cc70370f9_b.jpg

//
//
//
//
The evolution of a ZJ, and the thinning of my wallet hahahahaha.

Honestly, that is probably the nicest looking ZJ I have seen yet. Nice work...and remember, you can't take money with you when you go, but you can probably be buried in your Jeep.
 

Bretthn

Explorer
Love the flares!

All this time and work yet you still haven't gotten to polishing the headlights. :sombrero:
 

GCRad1

Adventurer
OK, I see your point now! I too have the non-bluetooth version and is supercool. I thought the bluetooth version was a bit gimmicky and or car-show-guy'ish, but having access to light from within your TT makes good sense!

So, to date one of my favorite mods has been the S-Pod. After doing tons of DIY work, wiring has always been a real pain in my a s s. The S-Pod has made wiring fun, easy and quick. I noticed that they released a Bluetooth system to control the pod, and I couldn't resist. We have actually been actively searching for a better way to light up our camp area from inside the tent at night. We have a few motion sensor lights that we set up around the perimeter of our site in effort to alert us to visitors. This works pretty well, although we have wanted the ability to turn on all of our vehicle lights in the event of an unwanted visitor. This would give us 360 degrees of good light to see what is going on. With the addition of the Bluetooth system, we simply pull out the phone and push buttons, and we have full light!

//

20913073881_239dfee8d2_c.jpg
 

Forum statistics

Threads
185,844
Messages
2,878,792
Members
225,393
Latest member
jgrillz94
Top