jscherb
Expedition Leader
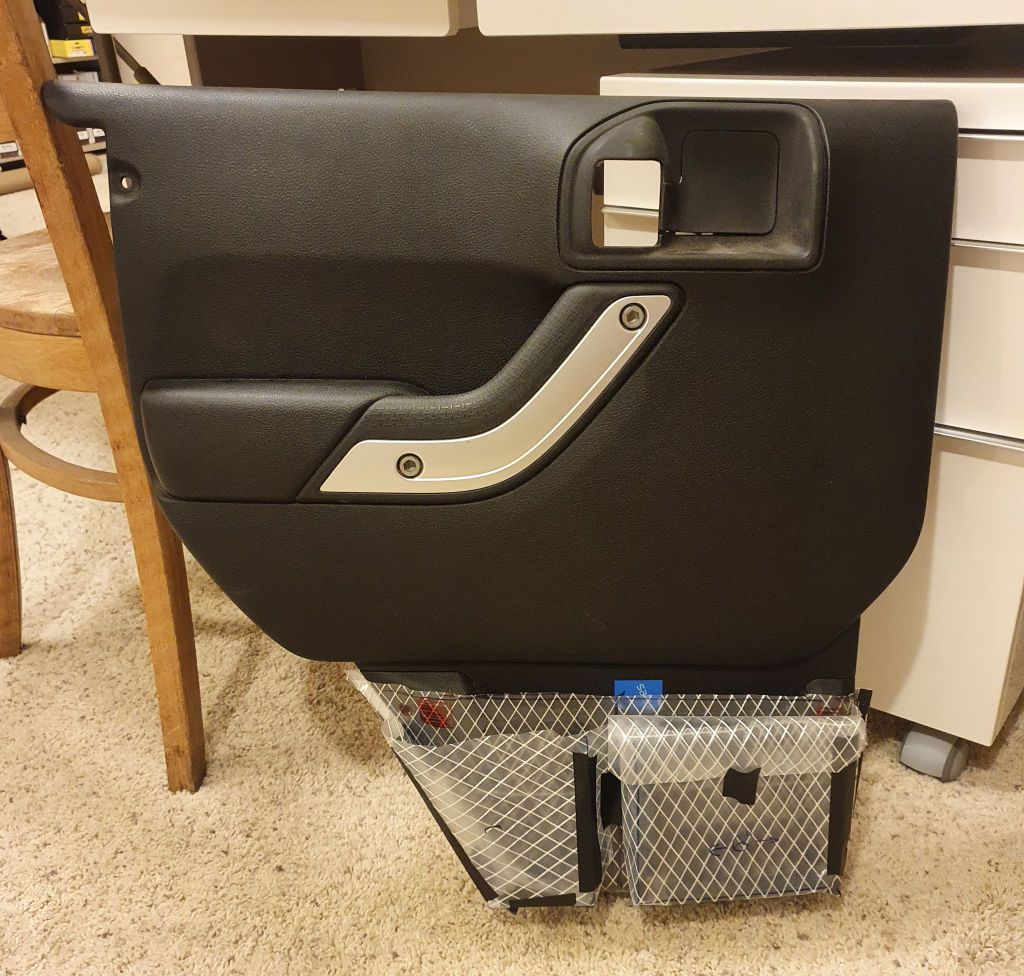
A while back I posted a few very simple sewing projects that even a beginner with a sewing machine could easily do: https://expeditionportal.com/forum/...factory-hardtops.127687/page-324#post-2951881
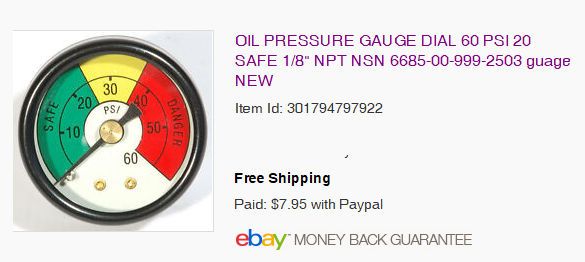
Here's another one. The other day a flyer came in the mail from NAPA and on the cover was this multi-tool hammer:
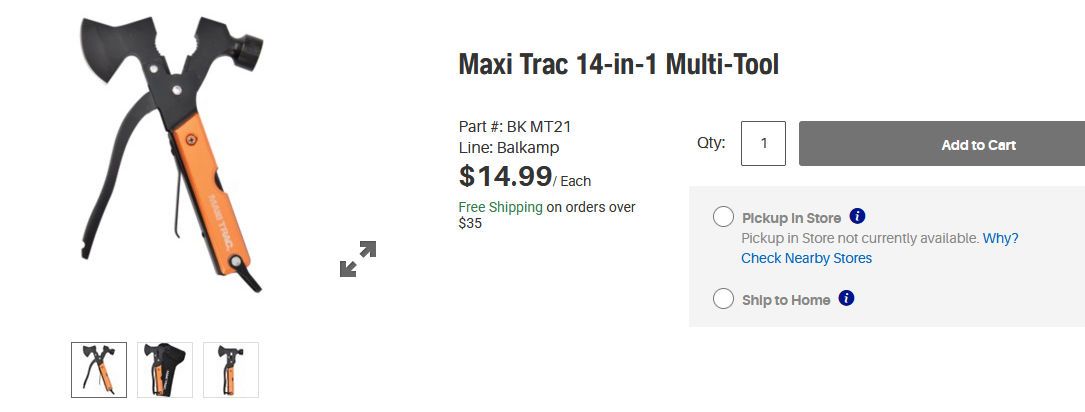
It looked like it might be useful at a campsite so I checked the local store and they didn't have it so I checked NAPA online and it wasn't available there either. Probably tied up in a supply chain delay since it comes from China. I found the same tool on Amazon for $12, and on Amazon it also included two other small tools:
It's a very cheap tool as you might guess; the knife and saw blades might be good for cutting butter (no worries, I've got better multitools for cutting up front in the Roll Bar Buddies I posted about the other day), but the hammer/pliers/cutters aren't too bad. It comes with a nice pouch with a strap on the back for hanging on a belt or a PALS/MOLLE panel, but I wanted to hang it on the roll bar, so I sewed two pieces of double-sided hook & loop on the back.
Sewing the hook & loop on the back doesn't prevent it from hanging on a belt or MOLLE panel, in the right photo above the hook & loop is folded on itself. The hook & loop I used is from Harbor Freight:https://www.harborfreight.com/3-4-quarter-inch-x-35-ft-roll-hook-and-loop-cable-strap-96215.html
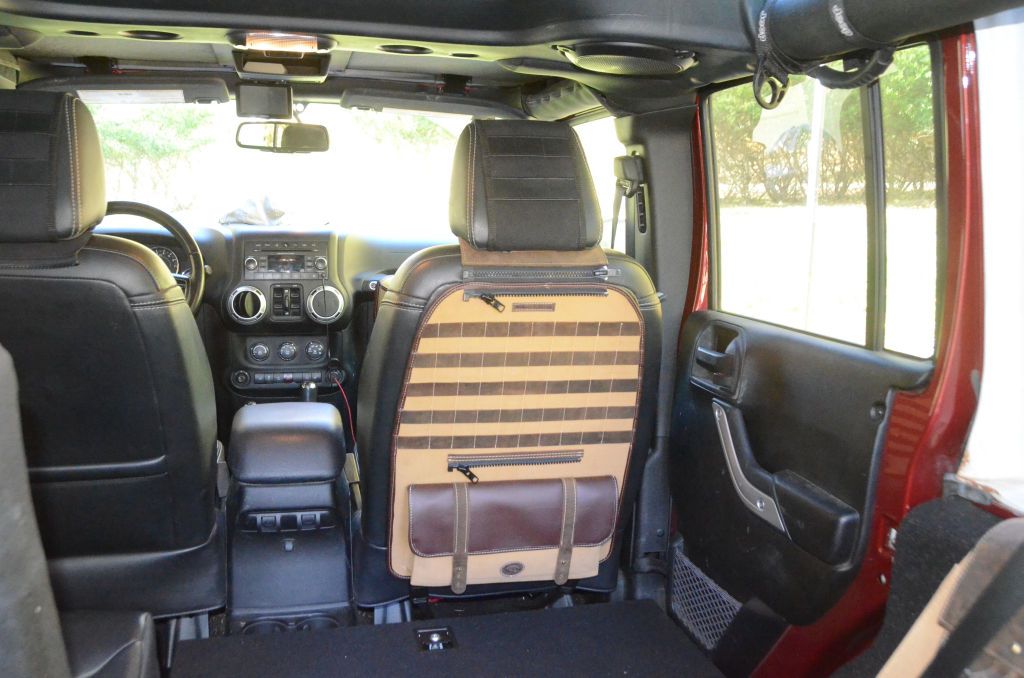
Attaches very nicely to the roll bar now. Out of the way but always handy.
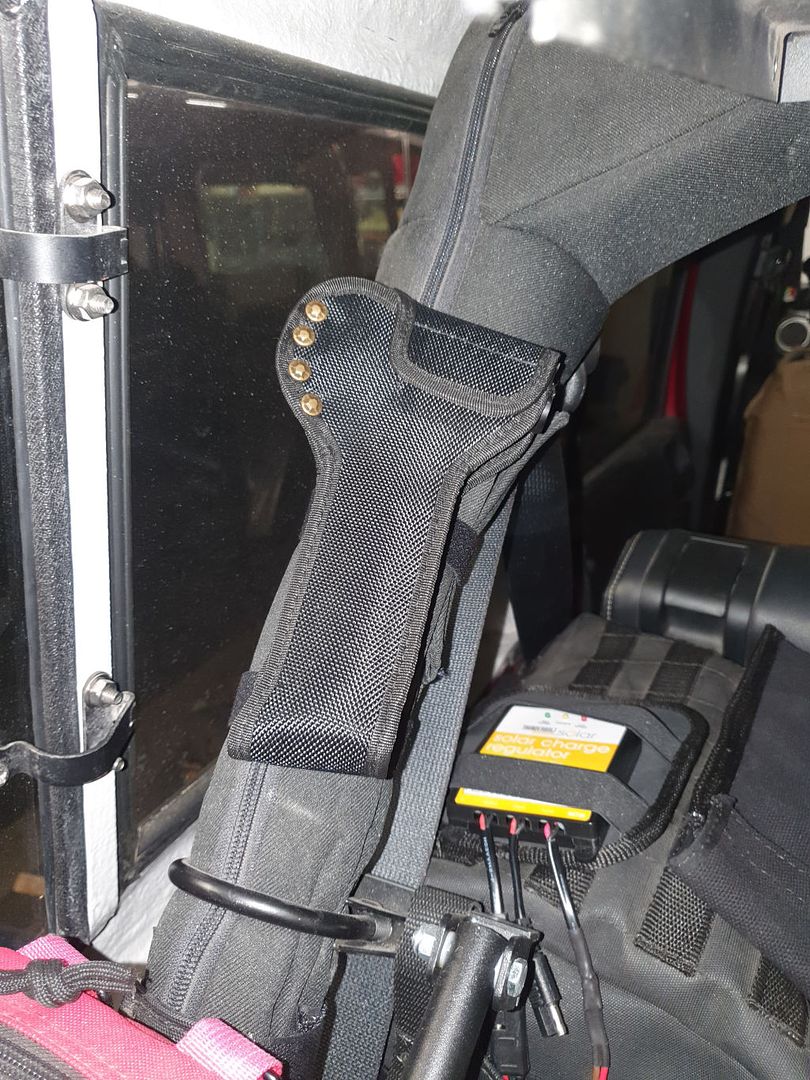
BTW notice in the first photo of the hammer the pouch has very shiny rivets, I didn't like them so I replaced them with nicer brass rivets.
A 5-minute sewing project that a beginner could succeed at.
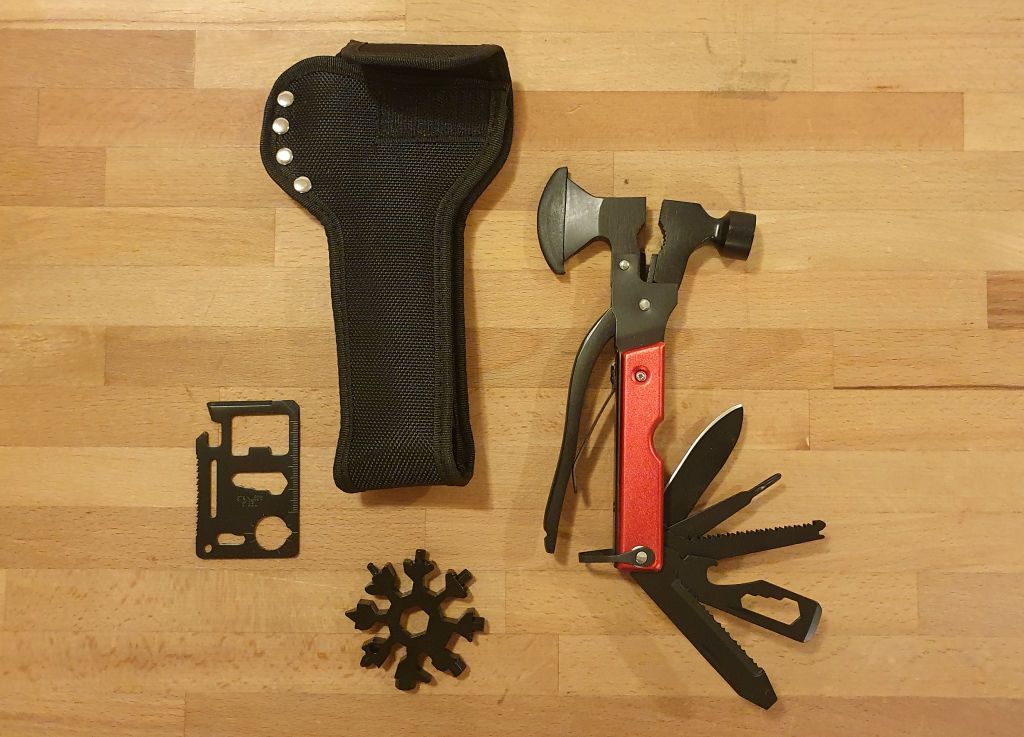
Here's another one. The other day a flyer came in the mail from NAPA and on the cover was this multi-tool hammer:
It looked like it might be useful at a campsite so I checked the local store and they didn't have it so I checked NAPA online and it wasn't available there either. Probably tied up in a supply chain delay since it comes from China. I found the same tool on Amazon for $12, and on Amazon it also included two other small tools:
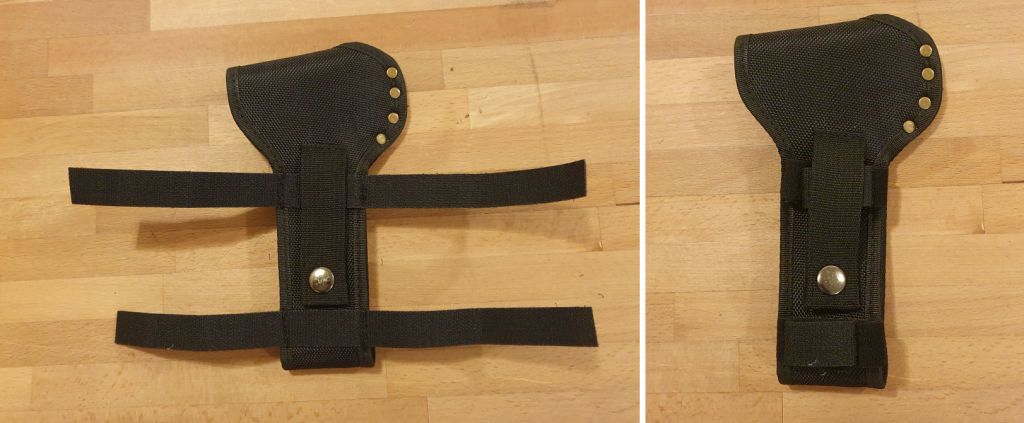
It's a very cheap tool as you might guess; the knife and saw blades might be good for cutting butter (no worries, I've got better multitools for cutting up front in the Roll Bar Buddies I posted about the other day), but the hammer/pliers/cutters aren't too bad. It comes with a nice pouch with a strap on the back for hanging on a belt or a PALS/MOLLE panel, but I wanted to hang it on the roll bar, so I sewed two pieces of double-sided hook & loop on the back.
Sewing the hook & loop on the back doesn't prevent it from hanging on a belt or MOLLE panel, in the right photo above the hook & loop is folded on itself. The hook & loop I used is from Harbor Freight:https://www.harborfreight.com/3-4-quarter-inch-x-35-ft-roll-hook-and-loop-cable-strap-96215.html
Attaches very nicely to the roll bar now. Out of the way but always handy.
BTW notice in the first photo of the hammer the pouch has very shiny rivets, I didn't like them so I replaced them with nicer brass rivets.
A 5-minute sewing project that a beginner could succeed at.
") .
.