Box Rocket
Well-known member
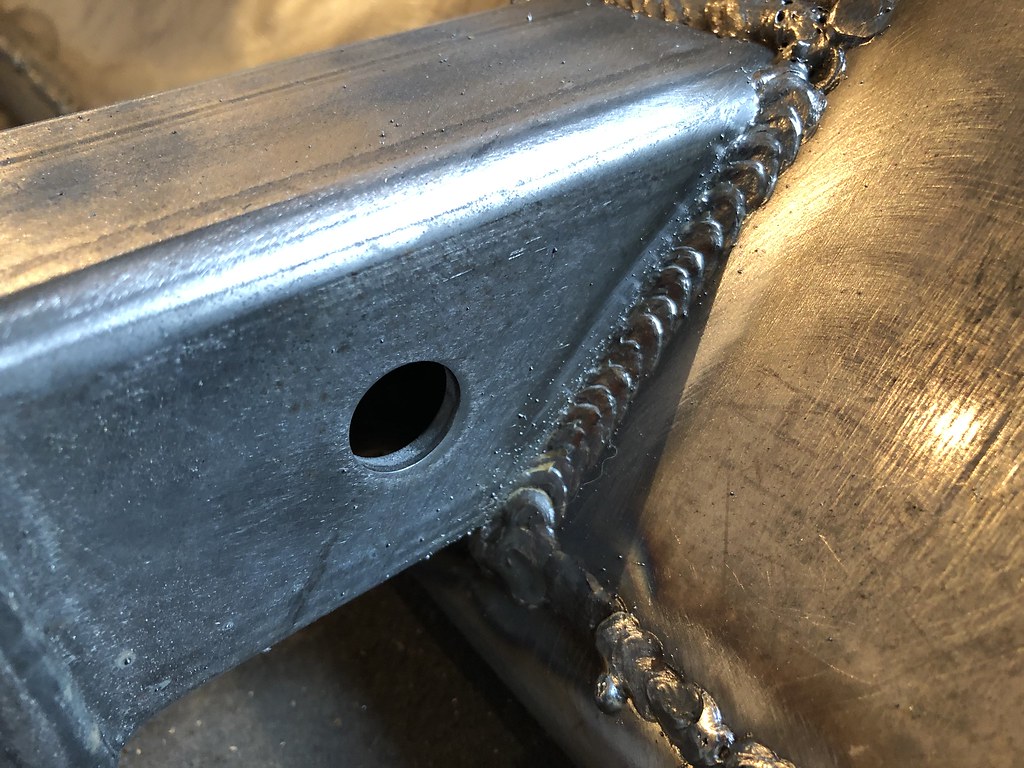
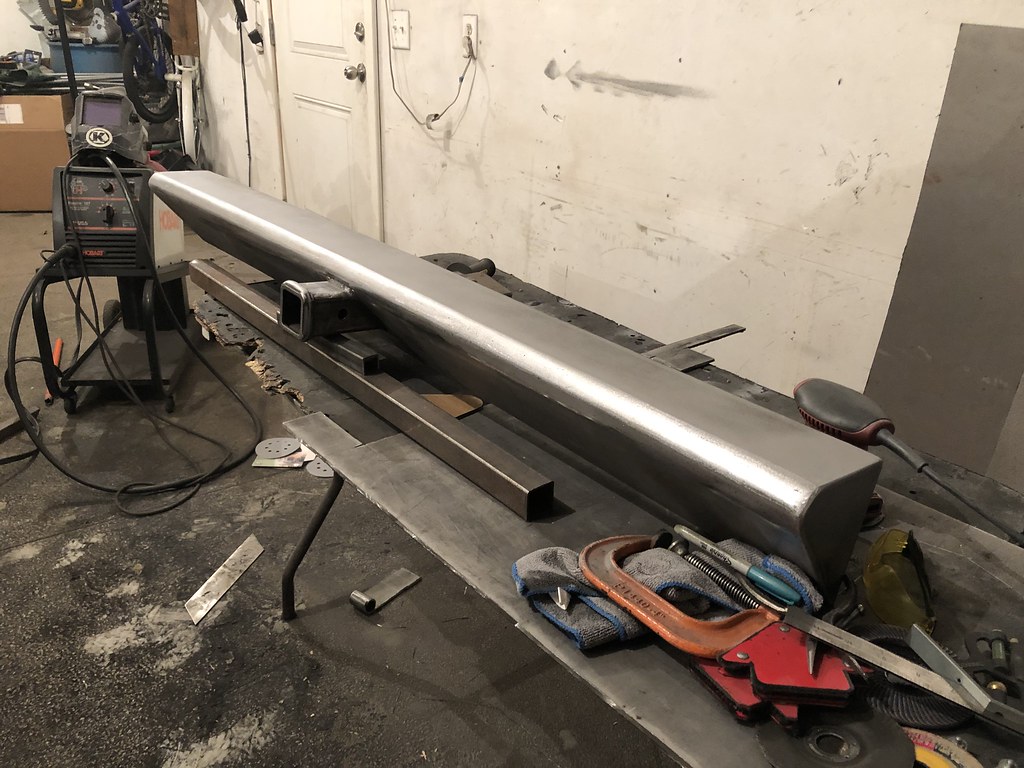
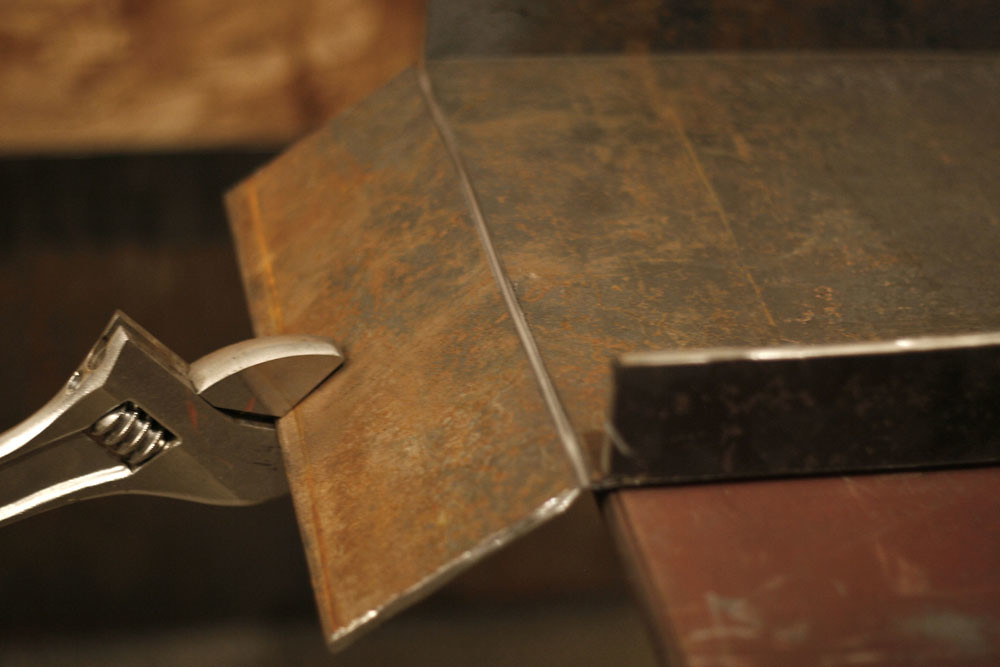
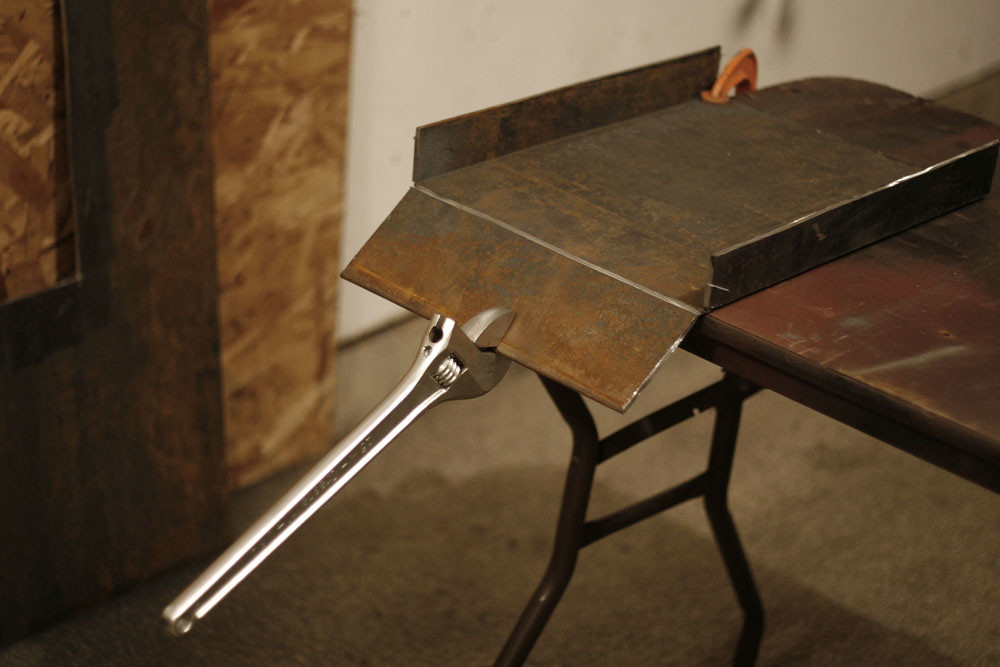
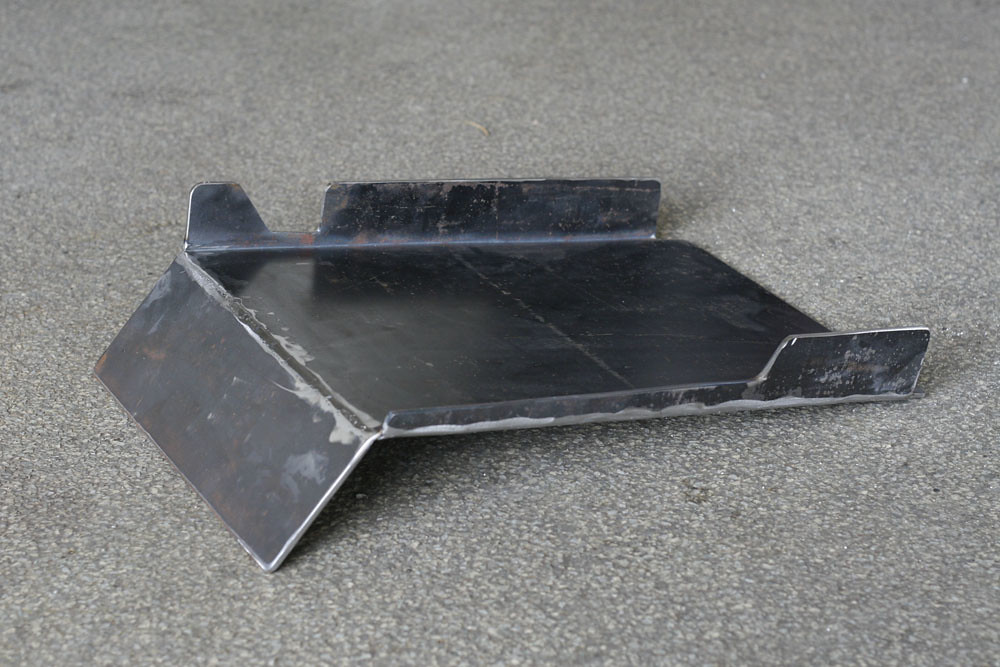
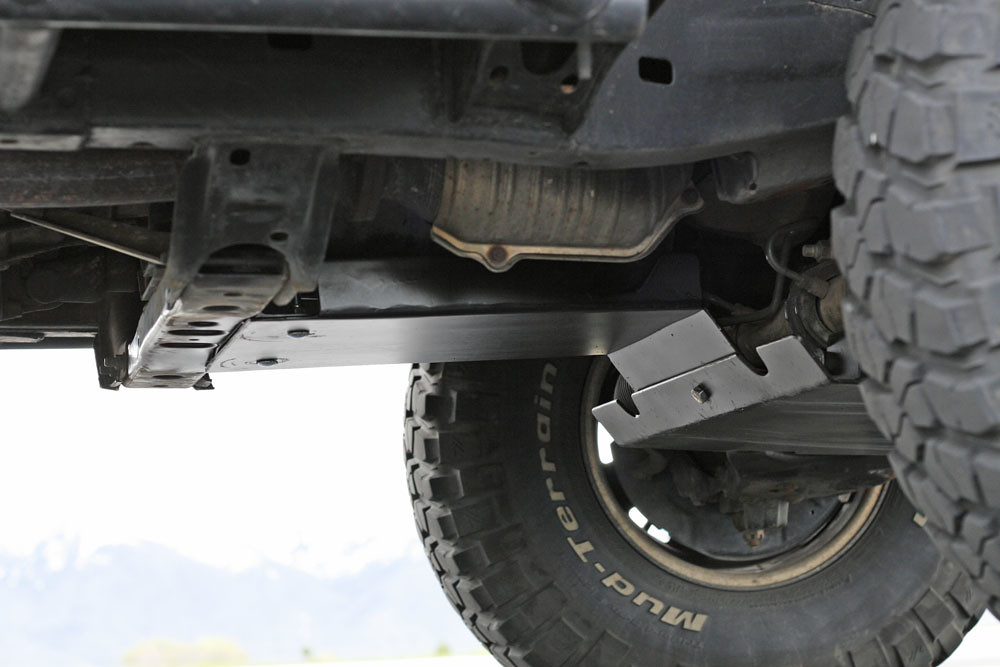
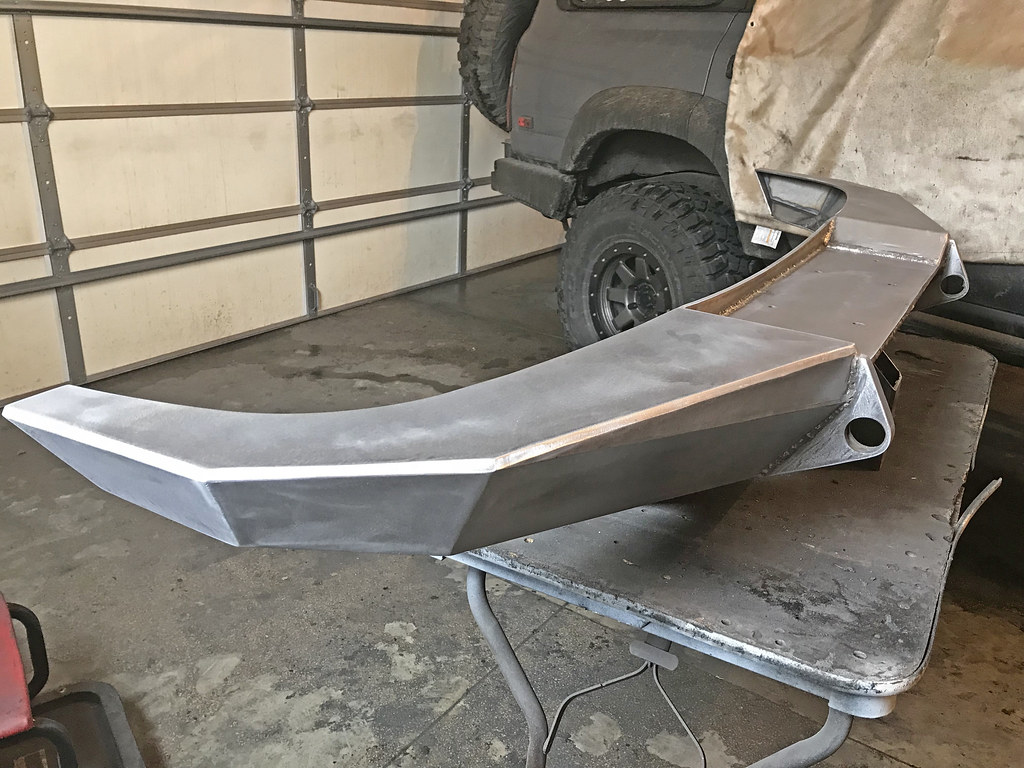
The front part of the bumper wing (where is meets the wheel arch) is there anything to tie that back to the frame? Or just the bracing at the corner near the hinge?Yeah, I got triangulation back to the frame and I'm exaggerating the amount of fore/aft movement. But, during certain fwy corrugations, the spare tire falls into a resonance frequency of some sort and I can tell it's moving more than it should. I found some pics back from when I built it. One picture shows the side view, the other pic shows the bumper upside down. You can see the spindle gusseting and also how the wing is attached to the chassis (look to the right).View attachment 503713View attachment 503715View attachment 503718View attachment 503719
I was shocked when I first built my bumper how much leverage was transferred through the entire wing. My spare would wiggle more than I liked on the highway like you described. I traced it back to twist in the corner so the front edge of the bumper wing was moving up and down about .5". I tied the front of the wing back to the frame and it stiffened everything up significantly and the wiggle of the spare tire was almost completely gone.
")


 Untitled
 Untitled
 Untitled
 Untitled
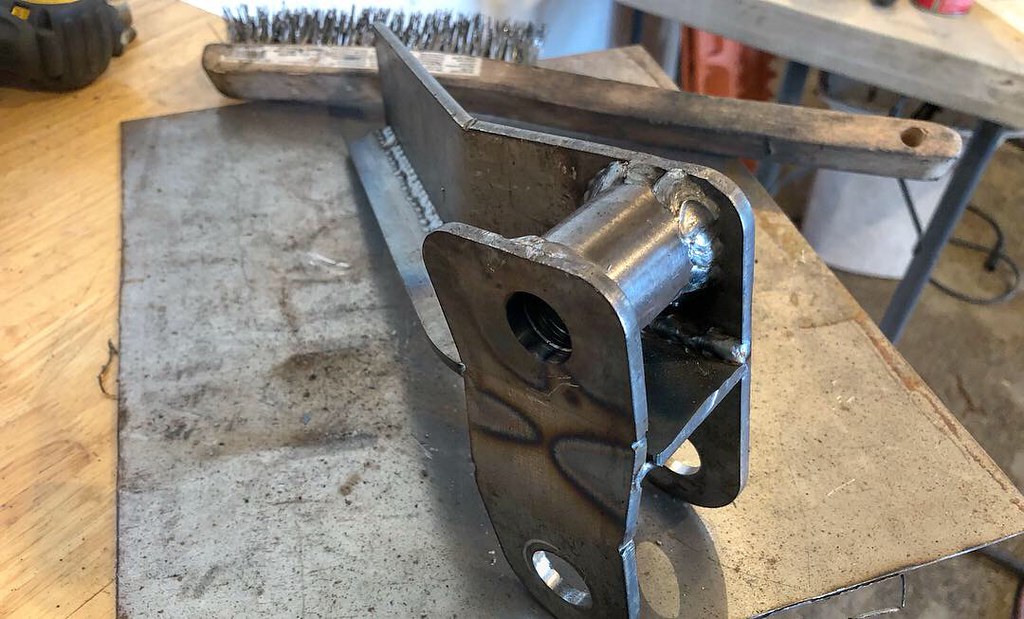 Untitled
 Untitled
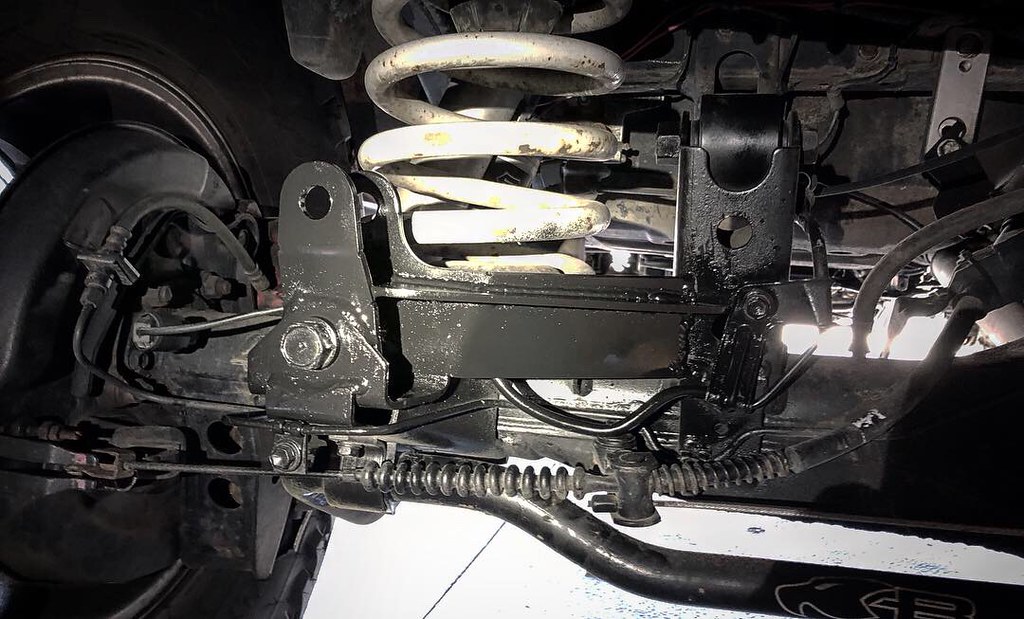 Untitled
 Untitled
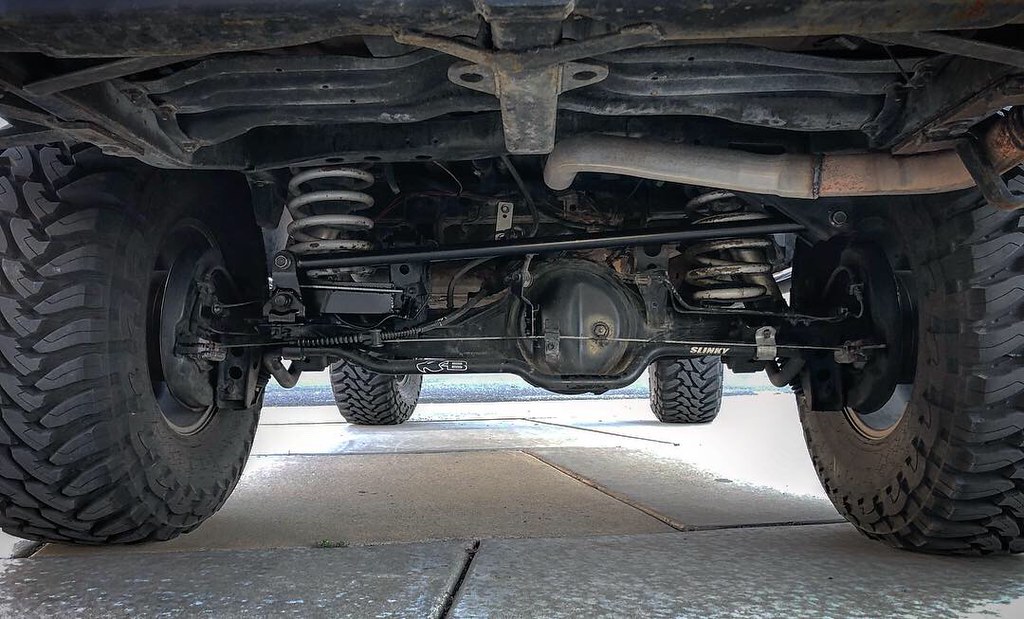 Untitled
 Untitled
 IMG_2436
 IMG_2432
 Untitled
 Untitled
 IMG_2488
 37’s and bumpstops
 37’s and bumpstops
 37’s and bumpstops
 37’s and bumpstops
 37’s and bumpstops
 37’s and bumpstops
 Untitled
 Untitled