GCRAD1's ADV80

Mauka2Makai

Explorer
The big white gate of chance [happiness or sadness] depending on if it's open or closed and being this is Southern California, who knows...

4007901695_0357705b2f.jpg


4008023787_9a616a5675.jpg

I like this image as we are looking out to the Orange County side and we are above the clouds rolling in, but it looks more like a lake back home with the fog rolling across the top of the water. It was be a massive harsh drop if I was to get all dreamy and try to wade out into the "water"...

4008772846_0941ffc0aa.jpg

It's cool to see the clouds coming over the hills like this. It's cool that we are on a dirt road in ORANGE COUNTY, CALIFORNIA!!!


Wow:Wow1:, Awesome jaunt for a quick little getaway close to home. I live in Northern OC and would like to know how to get there. Any GPS coordinates or additional info as to where this big white gate and amazing sunset pics can be seen? Your 80 is coming along very nice, Keep the pics and updates flowing. :)
 

GCRad1

Adventurer
Big White Gates of Saddleback Mountain - Santa Ana Mountains

Hey Mauka2Makai,

I have the gates saved to my Google Maps as I do not have GPS cords for these. I've just cruised around and found these over the past few years looking for all the closest dirt roads to my house and exploring as much of Santa Ana Mountains as possible in my "backyard" for those little quicky-ADV missions when you can not do the longer over-nights. I've seen all the dirts roads up here for years every time I fly in and out of John Wayne Airport, so I started exploring.

408448204_989e4f3644_z.jpg
Silverado Canyon Big White Gate:
https://maps.google.com/maps/ms?msi...ll=33.747621,-117.58274&spn=0.000939,0.001742


4007901695_0357705b2f_z.jpg
Skyline Drive Big White Gate:
https://maps.google.com/maps/ms?msi...l=33.837047,-117.601786&spn=0.000913,0.001742


526528675_15f5f0ad51_z.jpg
Main Divide Truck Trail Big White Gate:
https://maps.google.com/maps/ms?msi...l=33.661835,-117.448495&spn=0.000915,0.001742

Those three are the main gates I use. The following two I have passed through but rarely and they seem to be closed more often than the first three:

Bedford Motor Way Big White Gate:
https://maps.google.com/maps/ms?msi...l=33.796791,-117.531331&spn=0.000914,0.001742

Indian Truck Trail Big White Gate:
https://maps.google.com/maps/ms?msi...l=33.730089,-117.456082&spn=0.000457,0.000871


Wow:Wow1:, Awesome jaunt for a quick little getaway close to home. I live in Northern OC and would like to know how to get there. Any GPS coordinates or additional info as to where this big white gate and amazing sunset pics can be seen? Your 80 is coming along very nice, Keep the pics and updates flowing. :)
 

GCRad1

Adventurer
freshy-starter!

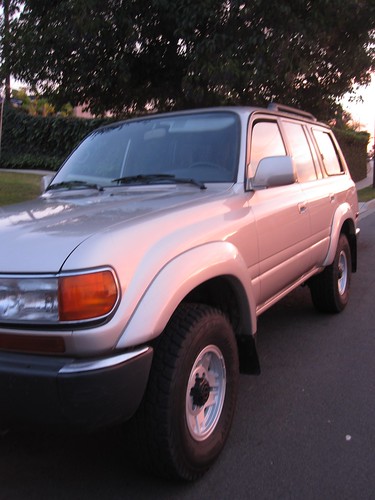
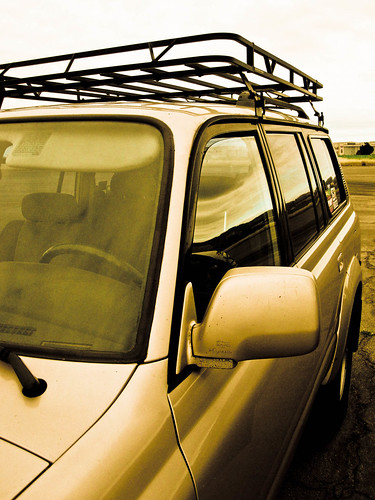
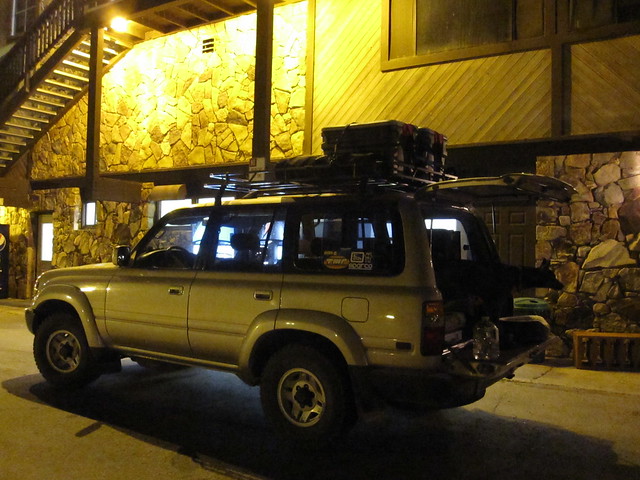
The Toyota Land Cruiser ADV80 finally gave up in the starter department.

Thought I was having battery issues but after taking the rather new Optima battery out and heading over to the local Pep Boys, had it tested and passed with flying colors.

So, I placed the battery back it the truck and it started again, so while it was running I disconnected the battery to see if the alternator could be the culprit. Alternator seems to be working and the gauge inside indicates it is working. So, after that, it has to be an issue with the starter.

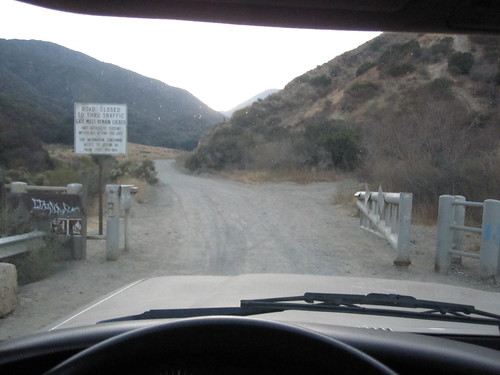
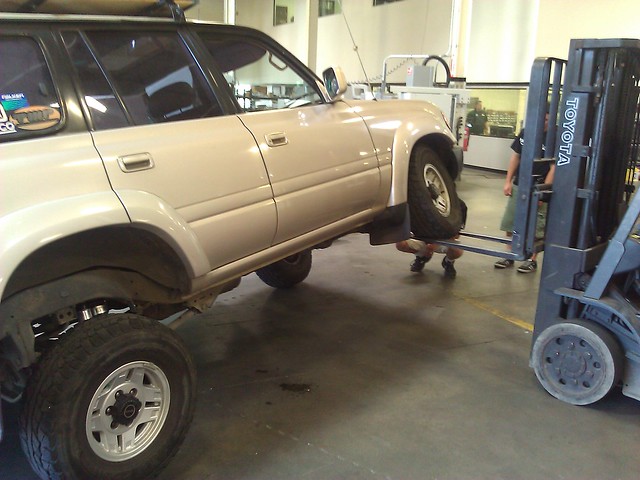
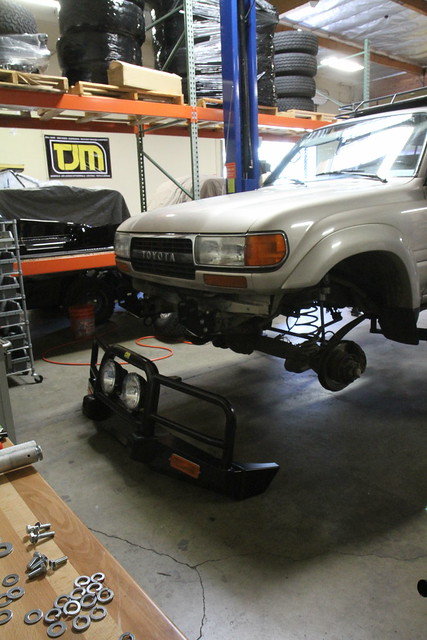
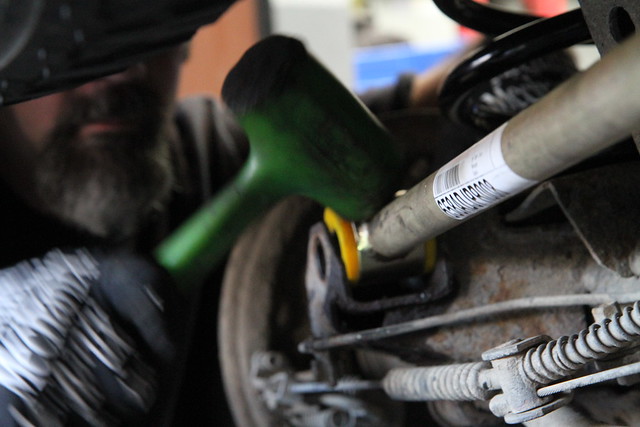
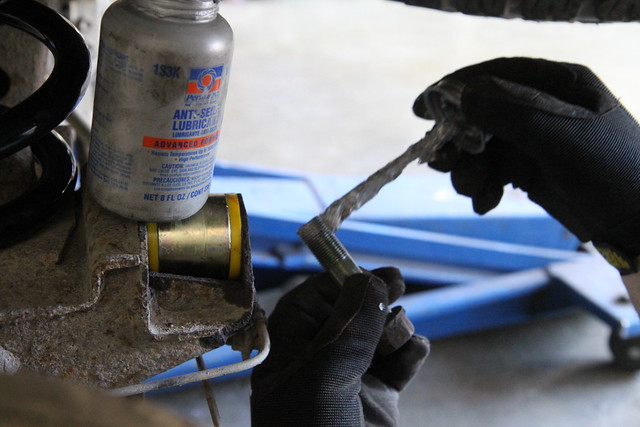
So, I call my trusty crew at Yota Masters in Corona, CA and ask if they have re-build parts as they do not have a new starter in stock nor is a new one available at a couple of dealerships around me. They have a few in stock and they advise to get out there to them quick. I get the wrenches and get the starter out and shoot out to see them!

4296764946_5c3b0eeddf.jpg


I've read the rebuild thread, but my starter was not the stock one and not a nice DENSO one... so, off to see my guys at Yota Masters to get a new one. I pulled it out myself and took it down to test it.


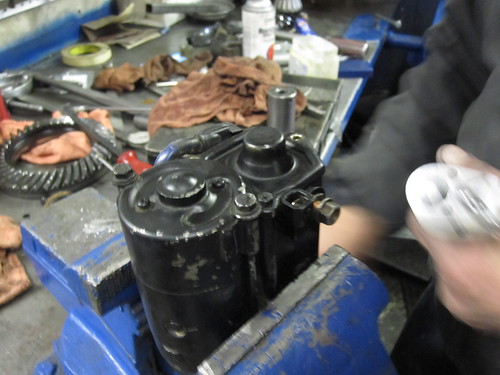
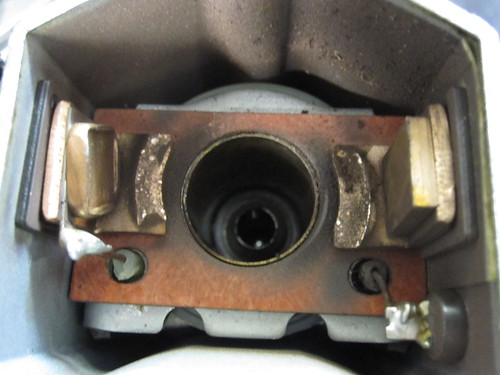
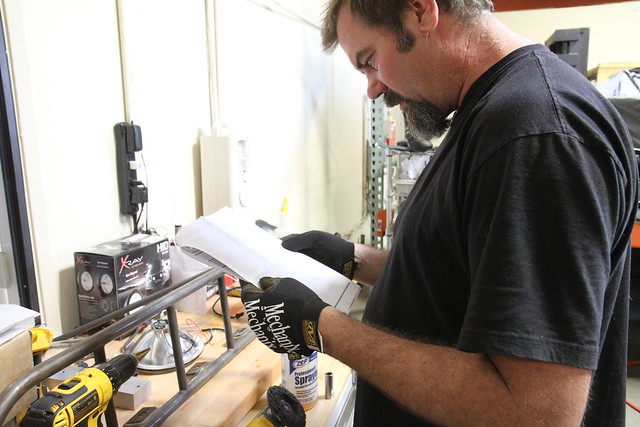
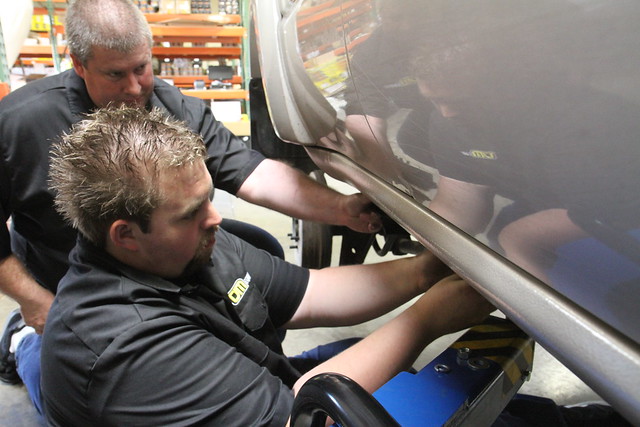
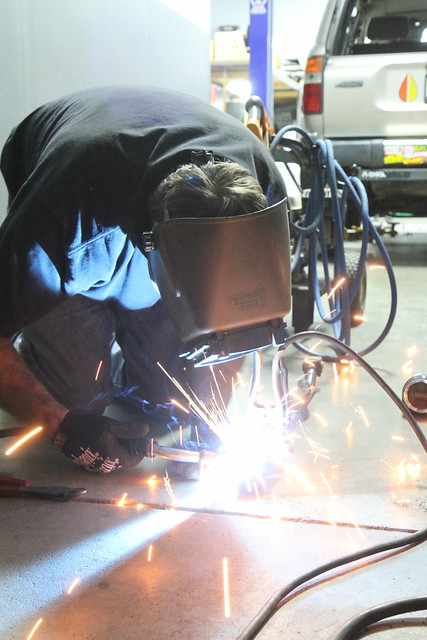
Top Tech Jay of Yota Masters is about to pop off the back cover to asses the situation.

4296019477_c751df1eb9.jpg

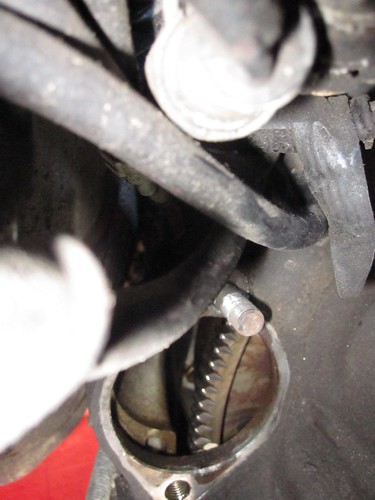
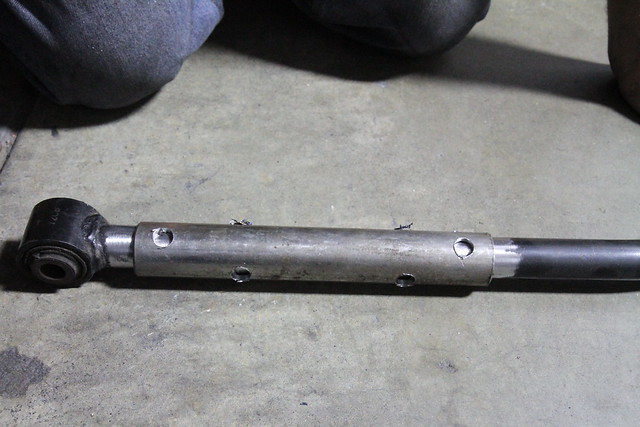
Backplate off and sorting the issues.

4296765384_591189d1b0.jpg


4296765646_5f04970331.jpg

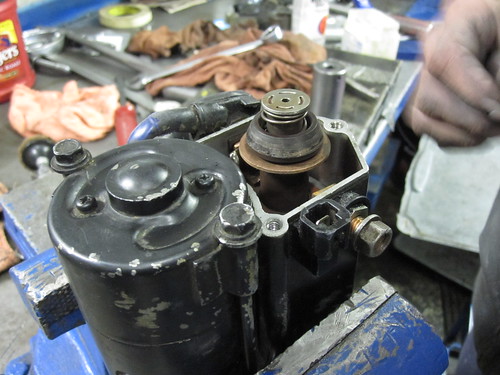
While worn, Jay said it still has life in the contacts and should not be the cause in the situation.

4296020061_2766626dbf.jpg

Jay wants to conduct the bench test and see if it is working and if what the issue is - if any.

4296020317_0b830b33c1.jpg

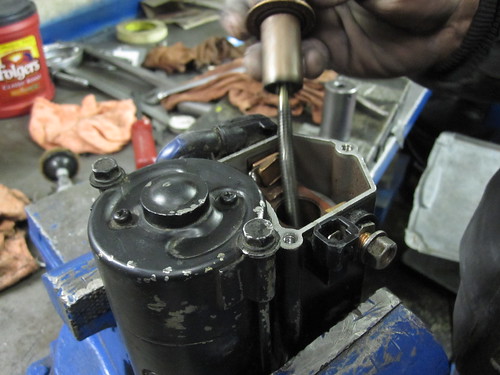
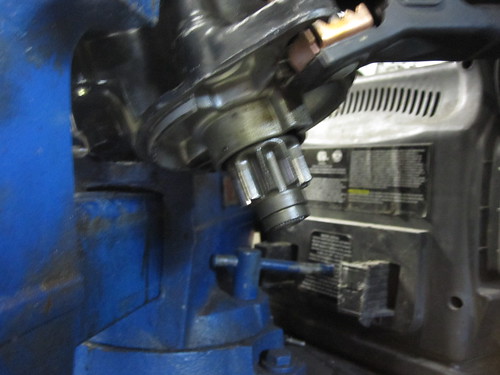
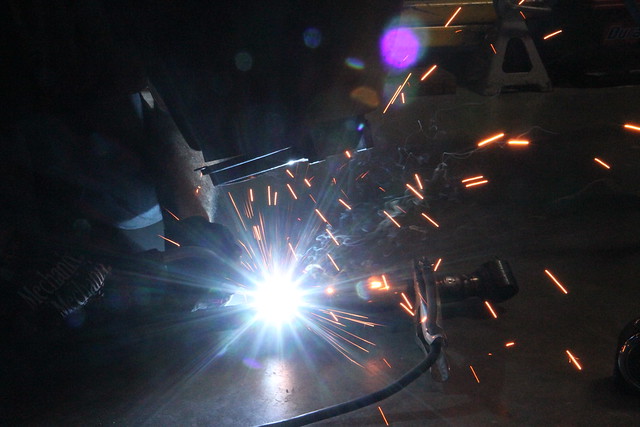
So with the "juice" applied, it is engaging the starter shaft to extend outward, but the motor is not actually turning the starter. Bad starter.

4296766522_2146e3cf06.jpg

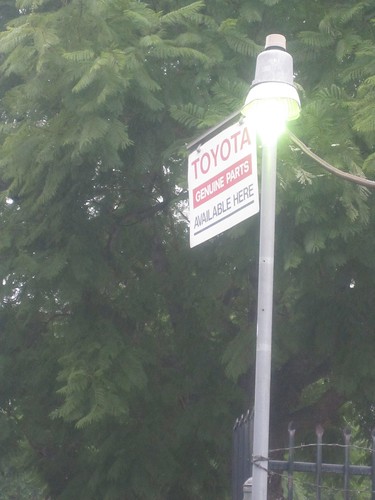
Yes, it's time to start fresh and insist on GENUINE PARTS for the ADV80! So Eric of Yota Masters gets me sorted with his local Toyota dealer to get me in So, next day I'm out to dealer to pick up a new starter, exchange my core and be on my way! A starter for Saturday delivery and that I can pick up as the Yota Crew would be in the desert. Fair enough for me!

4296021429_be239b4a84.jpg

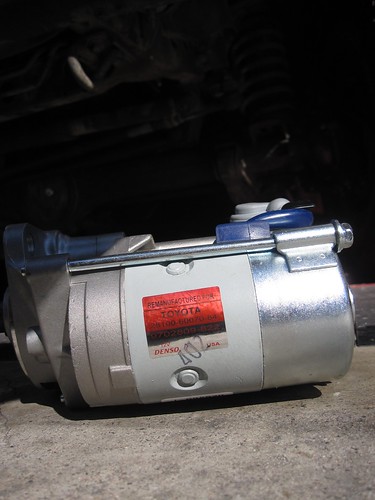
So, next day I'm out to dealer to pick up a new "factory-freshy-re-built" starter, exchange my core and be on my way!

4296021799_30b1b3269f.jpg

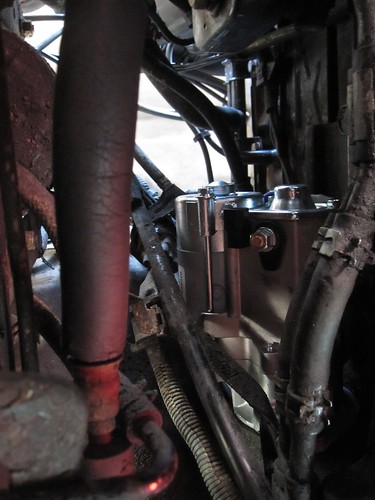
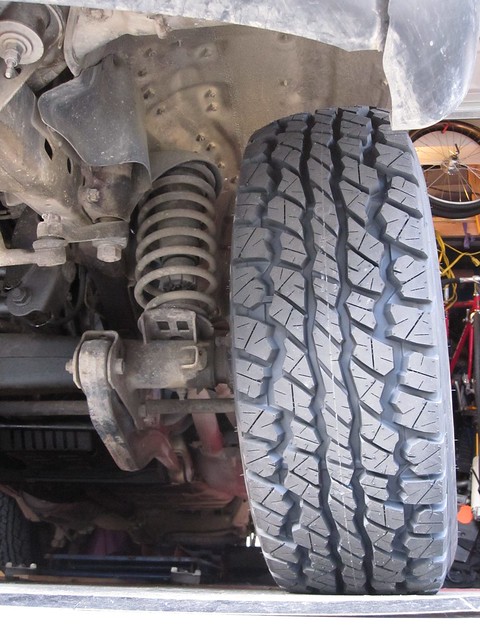
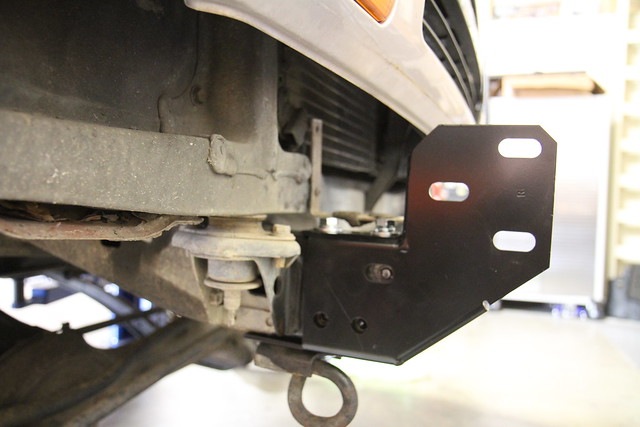
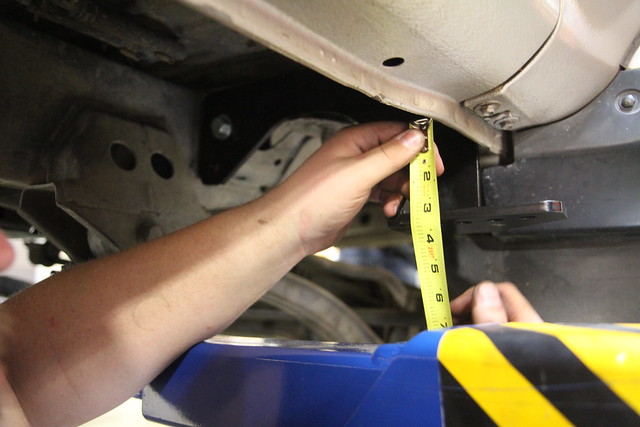
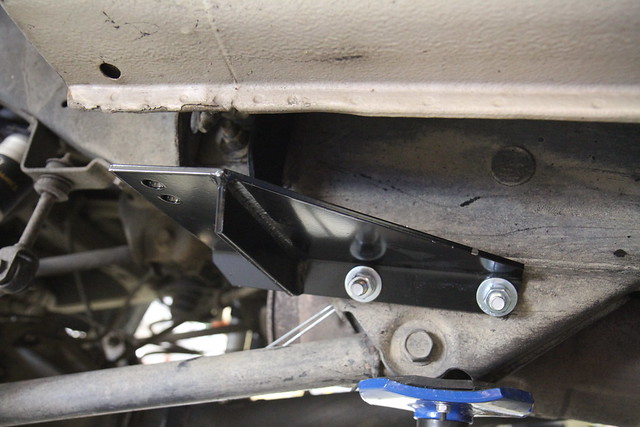
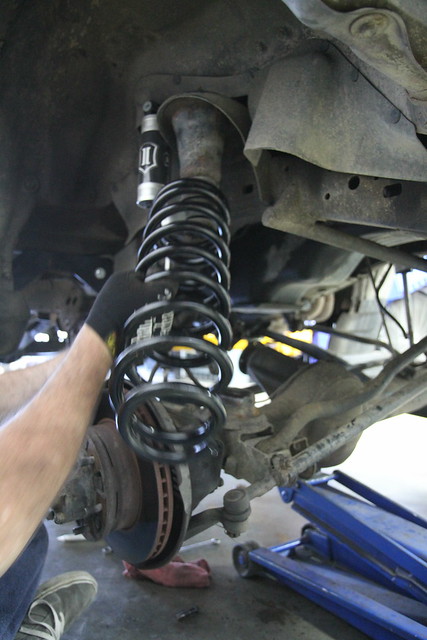
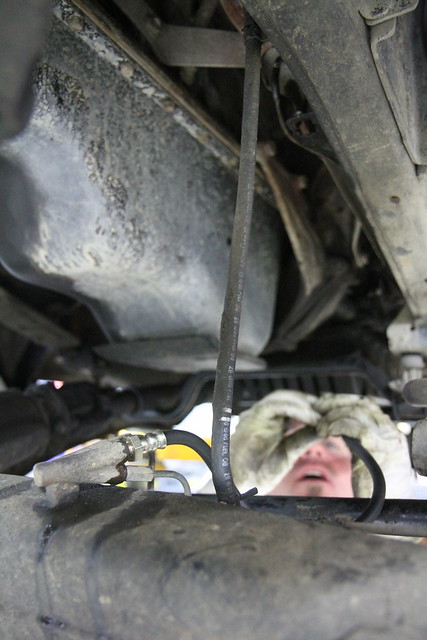
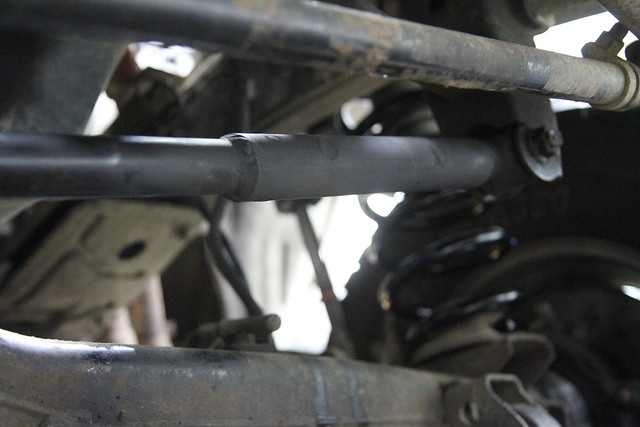
That is where the starter has to go back into...

4296022017_0a7408758a.jpg

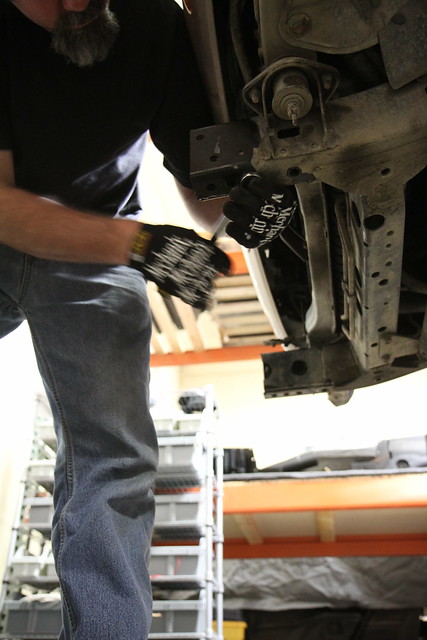
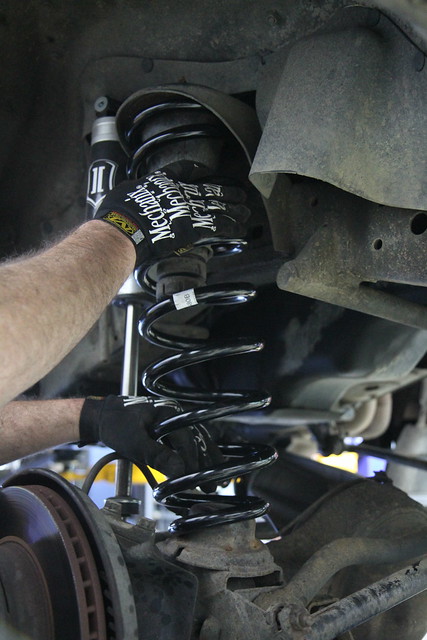
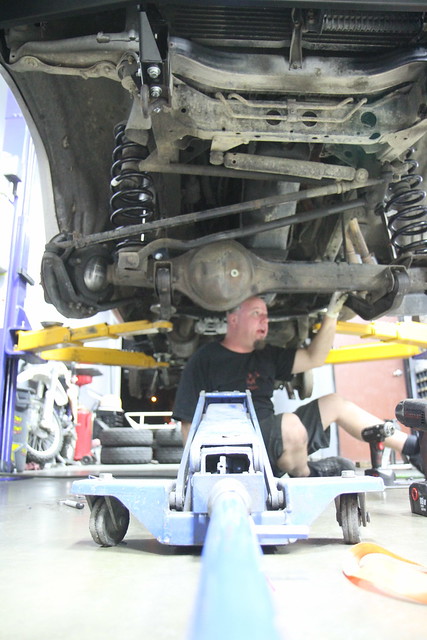
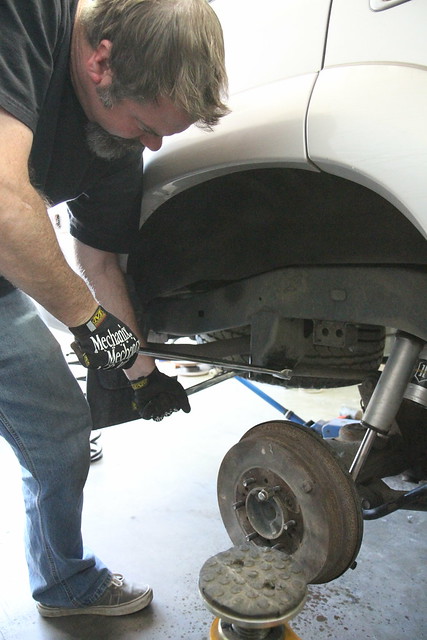
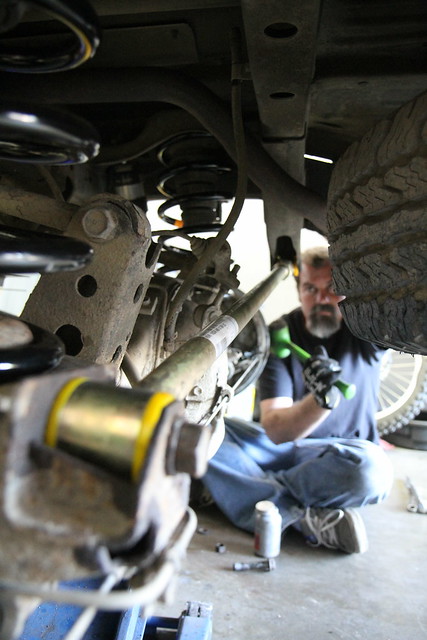
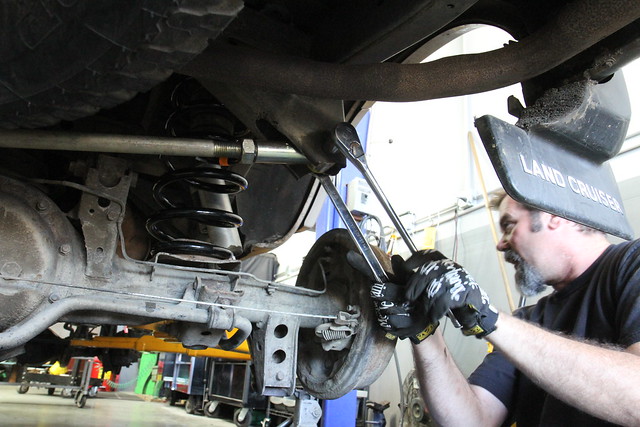
Time for me to get back down in the floor... Starter ready to be mounted back in from the underside of the truck.

4296767936_caabceaf2b.jpg

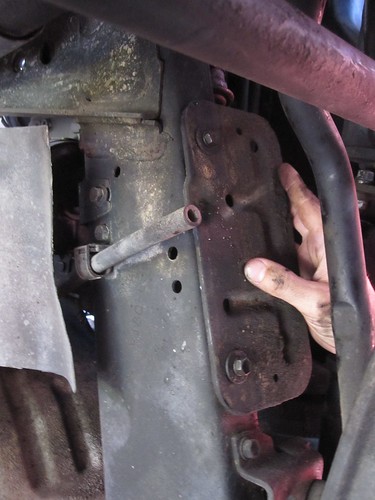
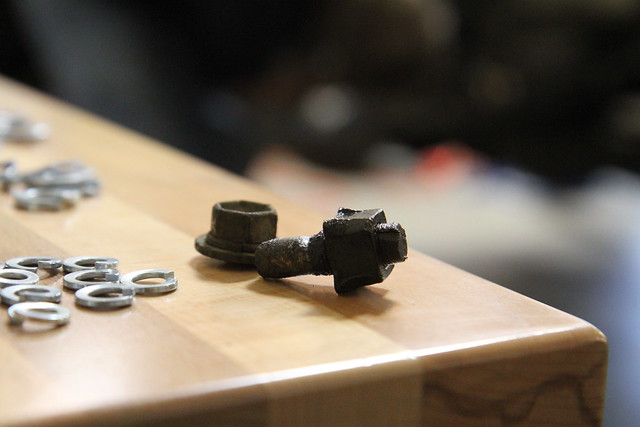
Wrestle the starter into position and get it bolted down and wires re-attached. Should be ready for action.

4296022477_c829bd940b.jpg

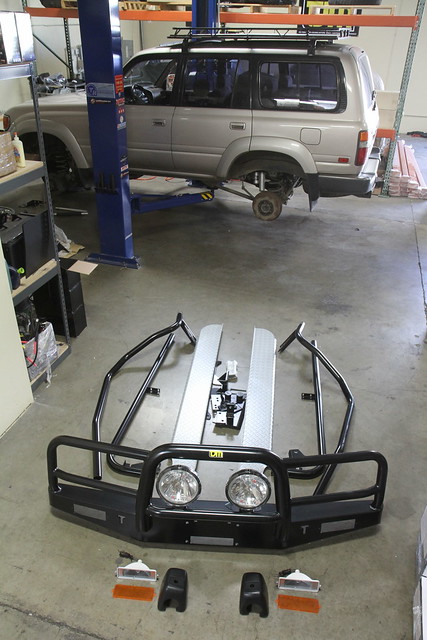
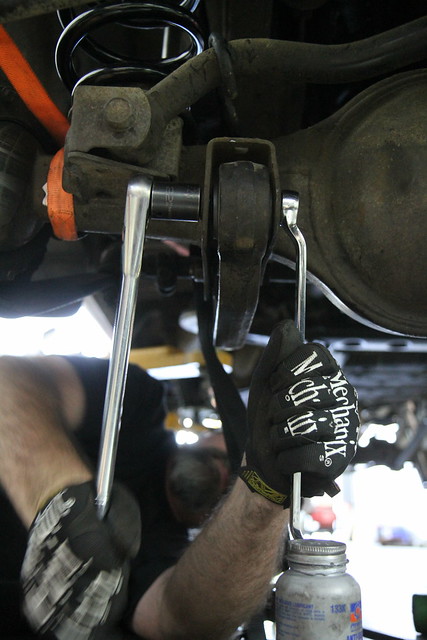
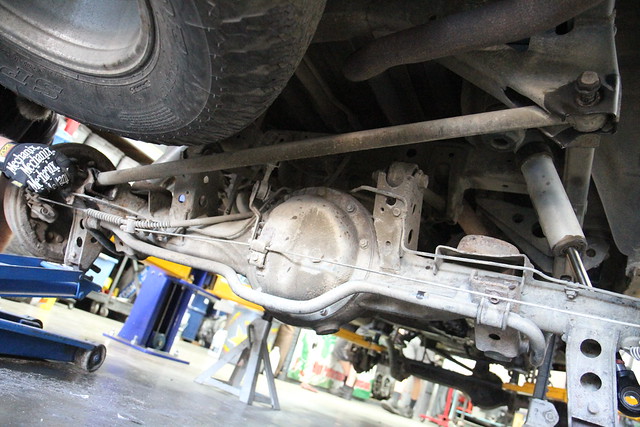
Put the splash-plate back into place.

4296028909_266c8b648f.jpg

My ADV80 is now happy now that it has a freshy-starter!:)


[
 

Mauka2Makai

Explorer
Hey Mauka2Makai,

I have the gates saved to my Google Maps as I do not have GPS cords for these. I've just cruised around and found these over the past few years looking for all the closest dirt roads to my house and exploring as much of Santa Ana Mountains as possible in my "backyard" for those little quicky-ADV missions when you can not do the longer over-nights. I've seen all the dirts roads up here for years every time I fly in and out of John Wayne Airport, so I started exploring.

View attachment 110803
Silverado Canyon Big White Gate:
https://maps.google.com/maps/ms?msi...ll=33.747621,-117.58274&spn=0.000939,0.001742


View attachment 110802
Skyline Drive Big White Gate:
https://maps.google.com/maps/ms?msi...l=33.837047,-117.601786&spn=0.000913,0.001742


View attachment 110804
Main Divide Truck Trail Big White Gate:
https://maps.google.com/maps/ms?msi...l=33.661835,-117.448495&spn=0.000915,0.001742

Those three are the main gates I use. The following two I have passed through but rarely and they seem to be closed more often than the first three:

Bedford Motor Way Big White Gate:
https://maps.google.com/maps/ms?msi...l=33.796791,-117.531331&spn=0.000914,0.001742

Indian Truck Trail Big White Gate:
https://maps.google.com/maps/ms?msi...l=33.730089,-117.456082&spn=0.000457,0.000871


Perfect... Thanks for sharing.
 

GCRad1

Adventurer
Added Roof Rack - Wilderness Racks

4665095030_f3aed8f07f.jpg

I have had this Wilderness Racks roof rack for some time now as I had it mounted on the wifes Jeep Commander for a family road trip or two. Then it was suspended to the roof of the garage as a makesift basket shelf for a while and has been hanging for way too long - holding up a bunch of junk and its was time to move junk out!

4667874586_73e57413b1.jpg

I have yet to remove the factory racks. I will be getting some shorter replacement bolts and remove the racks and replace the screws with shorter screws, but I have to take out a couple of stock bolts and find out what the thread pitch is, so that is more time searching.

4667250623_45058edfa5.jpg

Now I just need to get out on some adventure action and make use of the rack! but its just - Work Work Work for now!!!
 

GCRad1

Adventurer
July 4th Fireworks at Big Bear Lake, CA

4773854354_1625ee967b_z.jpg


We decided to go check out the fireworks display at Big Bear Lake this year and took the adventure route up the backside of the mountain through Redding and up dirt road -1N54, basically bypassing the paved roads into Big Bear, taking the more scenic way up the mountain.

Scenic Check:
4773853676_49715d13ff_z.jpg

This is a little bridge off the Middle COntrol Road just before we turn up the backside of Big Bear. Every little adventure needs a little bridge of sorts, especially with kids in tow!


4773855188_c02803556f_z.jpg

I looks like an adventure...

4773855506_bd11497b6f_z.jpg

4773855818_c013d53477_z.jpg

And spectacular views too!

Up and over:
4773220225_5abbe0c179_z.jpg

We where not the only ones with the idea to go spectate from atop the remote location as several people where already up on the mountain. We found our little spot and Kona, the family dog is taking in the view.

4773856912_45d6b1df7d_z.jpg

Hotdogs and air show:
4773218097_7bf0cbde0c_z.jpg


4773220889_567ba44500_z.jpg

Sun is setting and boats are making their way on onto the water to find their own unique view.

The mood was being staged:
4773863280_9981d0e52c_z.jpg

4773224425_16876cb915_z.jpg


4773869630_dbd9104d30_z.jpg

The show ran for about 45-minutes and while my images where not so great with the hand held, I like how the tree was lit and you can see the boat lights along with the fireworks. Awesome show and as the newspaper stated, Big Bear Fireworks Show is one of the top five in the state. Will we go again next year? you bet! We have our next viewing location planned and will go early to stake it out!

Roll down the hill into Snow Summit Resort:
4773232913_f09dbe8dde_z.jpg

Wife and kids appreciate "civilization" for a quick natural break before heading back home.
 

GCRad1

Adventurer
Grease Gun & Zerks

NO "Grease Gun" thread ExPo!?!?!?!
We have a pancake thread and "umpteen" shovel threads; these two i've subscribed to:
Expedition Shovels
High Quality Shovel
and
Hand Tools: The highest quality/value

and NOT ONE grease gun discussions!?!?!

This is probably not the "BEST" but I bought on impulse. I was at Home Depot picking up some stuff and saw the grease gun, recognized the Lucas logo, package say's "Lifetime Warranty" on the box and thought what the heck! I just need to get it and get some grease into my drive shafts.
4836893484_cb166cc469_z.jpg

Lucas Grease Gun $24 Dead Presidents @ Home Depot. Tube of Lucas Grease was extra.

While I checked my front steering control arms and they had nothing in the way of Zerk fittings, I need to consult my Manual and see if there is an official chart for all the Zerk Fitting locations.

Ah, looks like there are only 6-Zerks on the 80-Series along the drive shaft and 2 nuts on the knuckles. I figured the rig would be loaded with Zerks!?
 
Last edited:

GCRad1

Adventurer
These Falken High Country Tires - Overland Perfect!

3785746809_e89d8023cc_z.jpg

These Falken High Country's should work really good for both freeway and dirt ways. Lots of rubber contact so plenty grippy for the So-Cal emergency freeway stops [too many people texting while driving] and the tires are not loud and obnoxious with overly large lug spacing like mud terrain's. Part of my preventative driving tactics is to drive the underpowered 3FE in the slow lane to its namesake; Land Cruiser - like it say's on the back nameplate!

They are different than the typical all-terrain's that looks a bit more like a rally tire [noisy]. The Falken High Country's have a good rubber contact divided with wide sipping running with the road instead of across which makes for more noise for that freeway rolling.. The cross sipping runs in curved patterns which provides grip laterally and the shape [curved] help with the noise reduction, instead of "pockets" that you get with other all terrain's. I like them for what I am doing...
 

GCRad1

Adventurer
Wood Top Safari Sniper Roof Rack

5844137655_cab2b23c21_z.jpg

I have had this Garvin Industries - Wilderness Roof Rack on my rig and I came across a good idea while reading AFRICA4X4Cafe as it actually tells us the purpose and great idea for running a sheet of plywood on the roof of our rigs! For me, WITHOUT A/C STILL, I had a trip coming up and wanted a way to cut down on heat! Having the sheet of plywood on the roof provides a thermal barrier. But would it work as in actually keep my rig cooler inside? Only one way to find out!

5844137863_6e0197b05d_z.jpg

5844686782_ccfe4b596b_z.jpg

I removed the long runners and will lay the plywood directly in there place.

5844686582_2a3f489d7f_z.jpg

Cut the wood to fit and ready to toss it up top.

5844138461_b92cb651f4_z.jpg

I will use T-nuts to bolt the plywood sheet to the roof rack.

5844138687_0d9e2d2747_z.jpg

Wood is in place. Yea, I know there are a thousand little details that I could have done like make the sheet go all the way from side to side instead of setting it inside the bolts that hold the rack to the roof. It's just a test run sheet... if it works and I like it, I can come back and take more time and do it better. My trip is coming up quick...

5844687448_f8d585d412_z.jpg

So its time to bolt it down.... ooops! Screws are too short! Strap it down and off to HomeDepot.

5844139099_6fdd7d6219_z.jpg

HomeDepot's bolts where a scratch too long... Good thing I have a die-grinder!

5913395231_d0527d209a_z.jpg

Bolts are cut and ready for a road test and the temp is warming up!
 

GCRad1

Adventurer
ICON VEHICLE DYNAMICS Piggy-Back Prototype Shocks for the 80 Series

ICON Vehicle Dynamics is using my 80-Series for test fitment and specifications for their HD 2.5 V.S. Series Piggy-Back Shocks and the V.S. Series 2.0 Aluminum Shock line.

6015858107_6b805e57c9_z.jpg

Pictured above: HD 2.5 V.S. Series Piggy-Back Shock

With the shocks bolted into place we did quick eye-balling droop test:
6015066869_6f4cc65126_z.jpg

Front was 26" off the ground.
Rear tire was 27" off the ground.

The short side feedback: AWESOME! great ride - not harsh, solid supportive feel and I got about an inch lift as my original shocks where SHOT!. But, anything would have been better than the worn out stock suspension i was previously on, so a more constructive feedback will develop as we get out and test it more and develop the whole package.

Here is the complete story - ICON VEHICLE DYNAMICS Piggy-Back Prototype Shocks for the 80 Series: http://www.expeditionportal.com/forum/threads/66412-ICON-VEHICLE-DYNAMICS-Piggy-Back-Prototype-Shocks-for-the-80-Series
 

GCRad1

Adventurer
TJM T15 Deluxe Bull Bar & TJM OUTBACK Side Steps w/ Sidebars

6774676323_e427f77274_z.jpg

Truck is on the rack for some work finally!

Got some Jewlery sorted out for the ADV80!!!
6774738851_cc53dba4c3_z.jpg

Adding some protection! Adding the steel TJM T15 Deluxe Bull Bar along with TJM OUTBACK Side Step with sidebars.

6774758887_022b69ce95_z.jpg

Loosing the crusty stock bumper.

6774722029_cd19f171b3_z.jpg

Everything gets loosened by hand as the rig is old and crusty and breaking bolts is very easy.

6774778851_1e6d8c9890_z.jpg

And even with the hand - we break two bolts. I should have started coating the bolts a week or so ago with Liquid Wrench.

6774728569_2414fe21e4_z.jpg

I lay out all the bolts, nuts, washers in an organized fashion to make sure we have everything.

6774725695_0739d69ce5_z.jpg

Reading instructions is a good thing.

Following instructions is better!
6774753775_7074d5d6c0_z.jpg

We start by mount the heavy duty mounting brackets onto the frame. These will hold the bumper. I think it was nine bolts all together per mount.

6774776577_1d85fc5ce1_z.jpg

Mount up the other side mount and take a quick measurement as we will be placing on the big TJM T15 Deluxe Bull Bar onto these mounts.

6774794079_84571f667f_z.jpg

Now the bumper is ready to get mounted.

6774819983_5e9c8d3c5f_z.jpg

Bumper is mounted.

Next Up:
6774788613_1f0e1e5ff7_z.jpg

Side Bars and Side Steps.
 

GCRad1

Adventurer
Now its time to mount the side bars and side steps. The side steps are mounted with these plates:
6774804477_6578e6a52d_z.jpg

6774811737_0d23033656_z.jpg


6775856167_944e3b2c4a_z.jpg

Side bars / side steps fitted into position and time to secure it all down.

6775852335_5453d5deb6_z.jpg

But the tricky part is sorting out the connection between the front bumper and the side bars. Once you have it where you think you want it, you commit and drill the holes in the bumper tube and the side bar tube so the connecting plates will be held in place.

Then you get to do it all over again on the other side:
6775884705_8c6ab07779_z.jpg

6775876509_a5c604769c_z.jpg

WIth side bars and side steps all mounted, on to the next project.

NEXT UP FOR INSTALLATION: TJM Progressive Coil Spring XGS 4" lift to complement the ICON Shocks..

6774706029_7d2587d962_z.jpg

6775143429_22531437a9_z.jpg

Front: TJM Progressive Coil Spring XGS 4" Lift 80 Series 770FRC480B

6775296805_f6c275c198_z.jpg

Yanking out these old jakalope of springs!

6775301929_e33b07df1f_z.jpg

New and old front springs.

6775307585_d24283ba08_z.jpg

6775319727_29f0d67e53_z.jpg

In with the new and 4" lift improved!

NEXT UP:
6775333633_2ee38bf720_z.jpg

Castor correction.
 
Last edited:

GCRad1

Adventurer
6775168321_1ec14a1a1b_z.jpg

So with the radius arm out, time to press out the old rubber...
and press in the TJM Castor ADJ XGS 2.5 Degree correction kit #66310R
6774806957_4b72fd9944_z.jpg

6775171189_eeb2ab7d26_z.jpg


SubiWorks of Temecula has all the technical tools needed such as this press and he is also long time friend and GravelCrew member.
6775183045_bf39a426ba_z.jpg

6775189197_2f887c1149_z.jpg


With the factory bushing pressed out, now we get to install the new one's with 2.5 degree of correction for the 4" lift that has been added.
6775220425_b04d5a9ab5_z.jpg

6775229963_5a2de27d88_z.jpg

TJM supplies this little chart diagram so you can aling the bushings up to achieve the proper degree.

6775271345_9f1277e05d_z.jpg

The process of pressing them in is the reverse of pressing them out.

6775290555_d4b5124110_z.jpg

Right side arm is pressed and ready for install, but we have the left side to do too.

6775416313_2ff69b9bfa_z.jpg

Left side removed, press out old bushings and re-pressed with the new bushing - its a repeat process of the right side. Ready to re-install.

Arms are back in and checking everything over.
6775436857_305d303f15_z.jpg

Chris of SubiWorks is a bonafide WRC mechanic and will be returning to the circuit again this year for a few key events in Australia and South America. He also comes with a lot of previous years in, under and around Jeeps too! And on top of that, he has a lot of experience in Baja too. Truth be told, Chris was my rally car chief mechanic that got me the 1st place championship for the Western States Rally Championship back in 2003. So, yea, I take a lot of pride in knowing that Chris has overseen a lot of my projects!

6775446245_649b213da8_z.jpg

I need to extend the driveshaft breather vent line at some point.
Here Chris is installing the new TJM Brake Line Kit XGS Extended LC 80 and 100 Series 658BLKIT04 658BLKIT05:
6774832069_17754cc0aa_z.jpg

6775465833_d99e57e098_z.jpg

Brakes are a major item of necessity, espeically in racing. Chris is a brake genie and I was a brake-fire-monster with my rally car. I love it when Chris does my brakes as I know they will be DONE RIGHT! Yes, its a simple task... but just kowning that he has overseen my brakes gives me confidence. I have had brakes go wrong, but never on his watch!


LUNCH TIME!!!
6775014693_89105d85f5_z.jpg

Chris takes us for a spin in his SubiWorks Overland Spec Subaru Forester.

I have two video clips to check out of his rig:
1] Climbing:SubiWorks Overland Spec Subaru Forester | Flickr - Photo Sharing!
2] Traverse: SubiWorks Overland Spec Subaru Forester | Flickr - Photo Sharing!
 

GCRad1

Adventurer
TJM Progressive Coil Spring XGS

6774925203_759a78f377_z.jpg

TJM Progressive Coil Spring XGS 4" Lift 80 Series 770RRC480B added to the rear. This spring is said to be comparable to Medium Rate with comfort. Still working on getting technical data for comparisons. My thought is that I am going to make use of an air bag support system in conjunction with this spring as later down the road I will be adding a motorcycle carrier to the rear hitch. I drive this rig every day to work so I do want some comfort, but I do carry some weight on the weekend outttings. I do not have a drawer system, but if I do, I will go for as light-weight as possible. I will add a roof top tent from time to time and or also use the roof rack for work purposes. That is how I opted for this spring vs. the heavy's.

6774899731_344769eb50_z.jpg

Yank out the old crusty stock rear springs.

6774877317_c11101ec95_z.jpg

Here is a side-by-side comparison of the new and old rear springs.

While the springs are out, we are going to add the TJM adjustable rear track bar.
6774834881_b37163ea6b_z.jpg

TJM XGS Rear Adjustable Panhard Rod for the 80-Series

6774936439_51d06242ab_z.jpg

6774962301_3883d5e8a9_z.jpg

6774967769_7c510ef779_z.jpg

Lots of crusty old bolts requires the use of hand tools vs. air tools. Just for good measure when removing old parts that have most likely never been touched.

6774978153_4c087e2df7_z.jpg

TJM Adjustable Rear Track Bar vs. Stock Fixed Track Bar

6774981131_3d6fa634cf_z.jpg

Installing the new 4" lift springs requires a little "footage" to help push down on the axle to make room for the larger spring.

6774993265_d1757792bf_z.jpg

Both rear's are in now its time for the track bar.

6775112443_42e656972a_z.jpg

A little attitude and a green BFH is needed to get the poly bushings to comply with being squeezed into place.

Did I mention...
6775120623_bcc4584161_z.jpg

We use Anti-Seeze juice on the bolts.

6775126291_fc601bd0e0_z.jpg

Measure for lift and repeat process for the other side.

6775132045_c28847591b_z.jpg

Hand tightning habbit... air tools all around.

At the time, I was unable to get my hands on the TJM front adjustable track bar.
6775470203_ff5776bf76_z.jpg

So we improvize. Here is my buddy Scott cutting my stock bar! To turning back from here! We could, but more cutting will be involved.

6775489777_14f476029e_z.jpg

Scott added a sleeve over the stock bar to gain some length in the bar. The holes are for additional welding surface area.

6775532983_a75e6324d6_z.jpg

6775835171_cd5994e8a6_z.jpg

Here is Scott welding up the bar.

6775847921_1ce8c7a6f5_z.jpg

Installed and stealth looking.

THE RESULTS:
6775892241_54d1b1431b_z.jpg

Only leads to needing more!
 

Forum statistics

Threads
185,886
Messages
2,879,174
Members
225,450
Latest member
Rinzlerz
Top